Simon Says Stamp Divine Peony

Hello Crafty Friends, and welcome back! I’m so glad that you stopped by! I’m back today with a card featuring some new products from Simon’s latest release, Sunny Vibes. Let’s get right into the details, shall we?

Main Products:
- SSS Divine Peony
- SSS Just Breathe Stamp, Die, Bundle
- SSS Orchid Rose Bouquet Stamp (link is to a similar set)
- SSS Postage Stamp Edge Frames
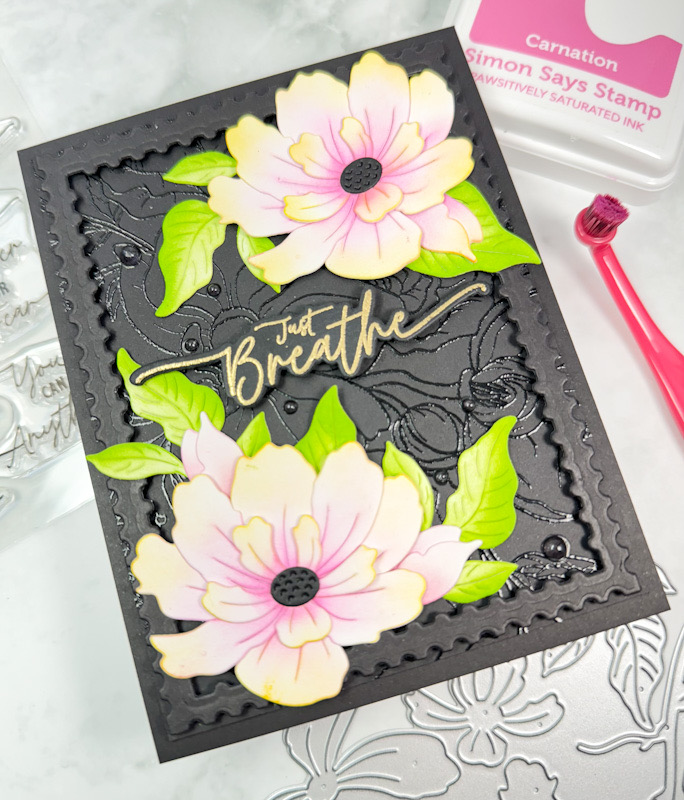
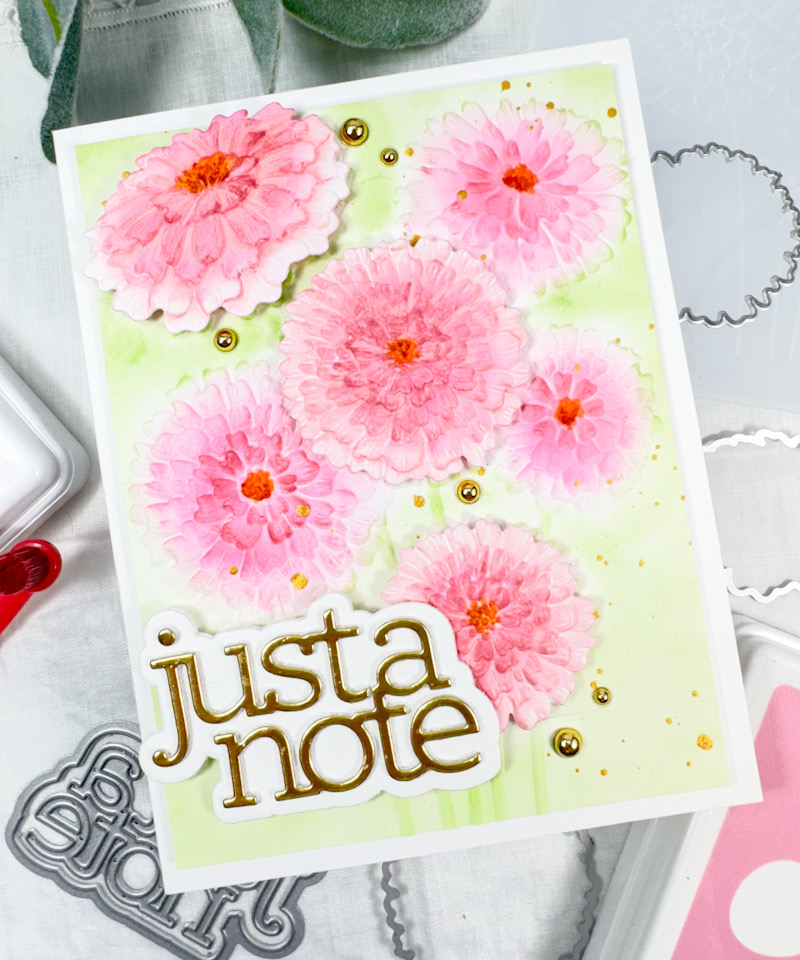
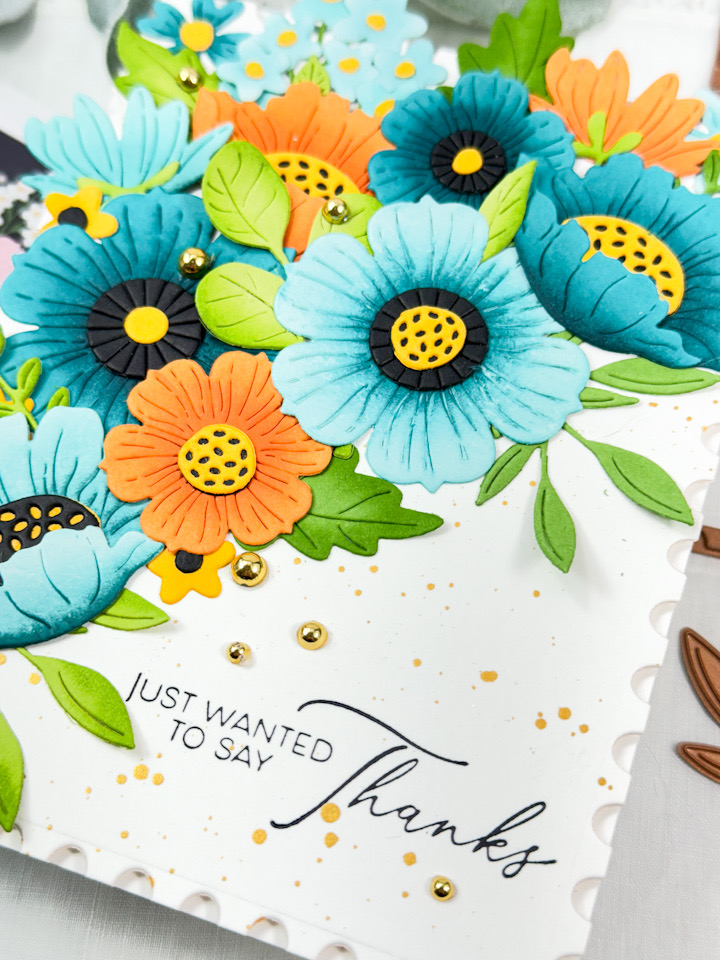
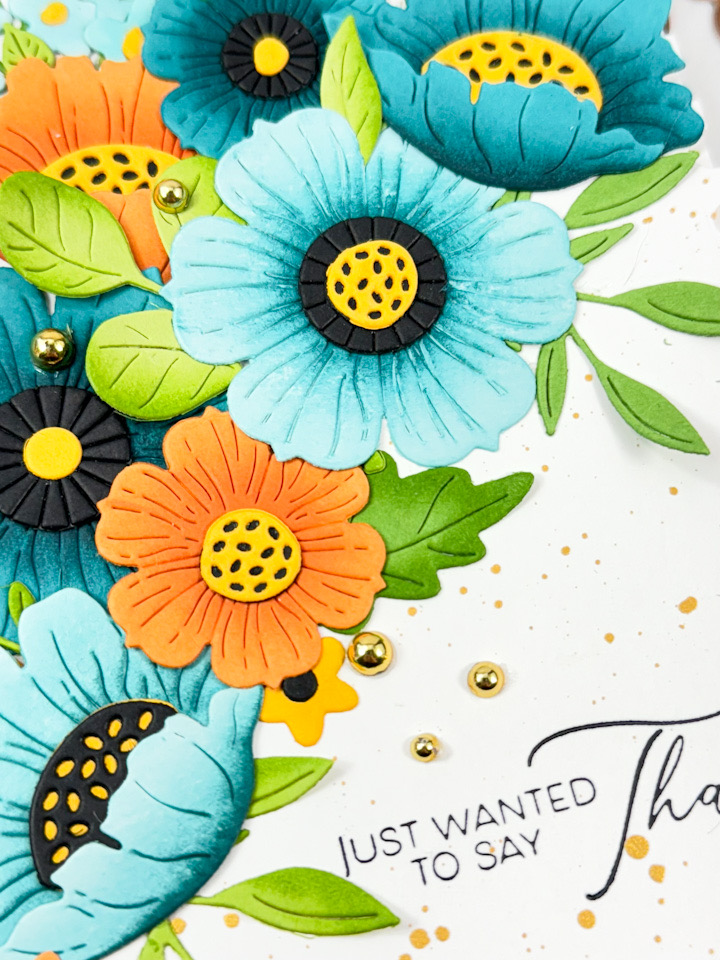
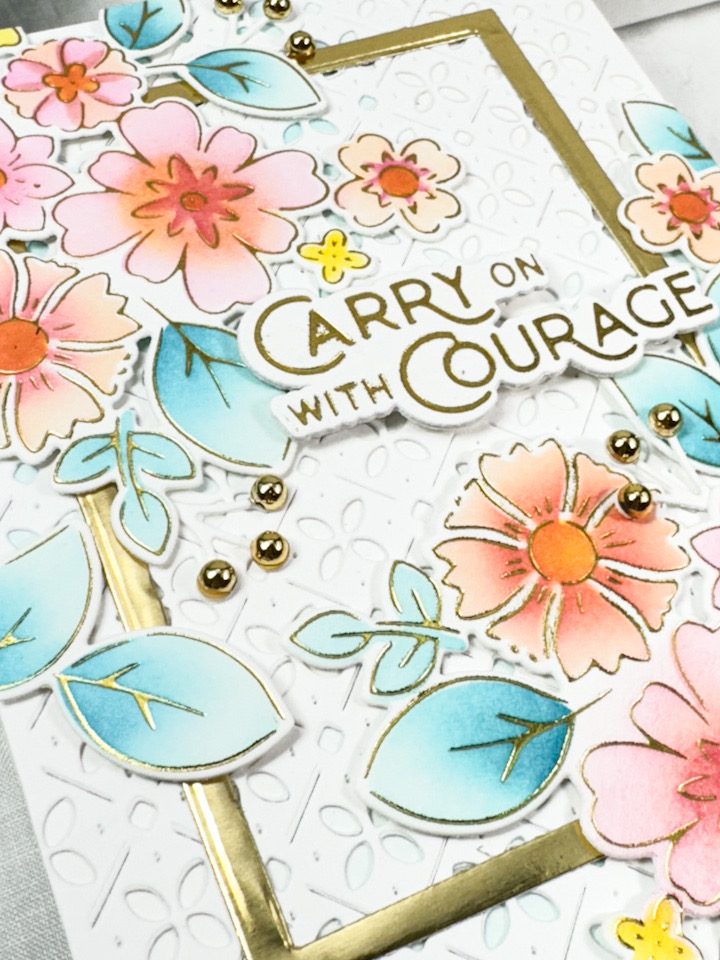
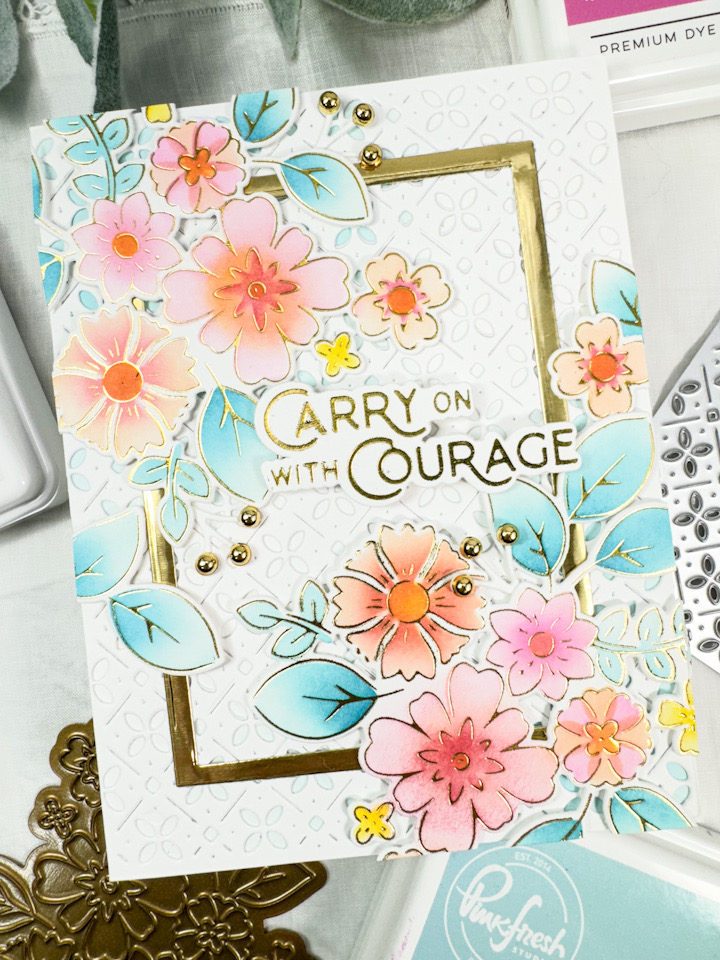
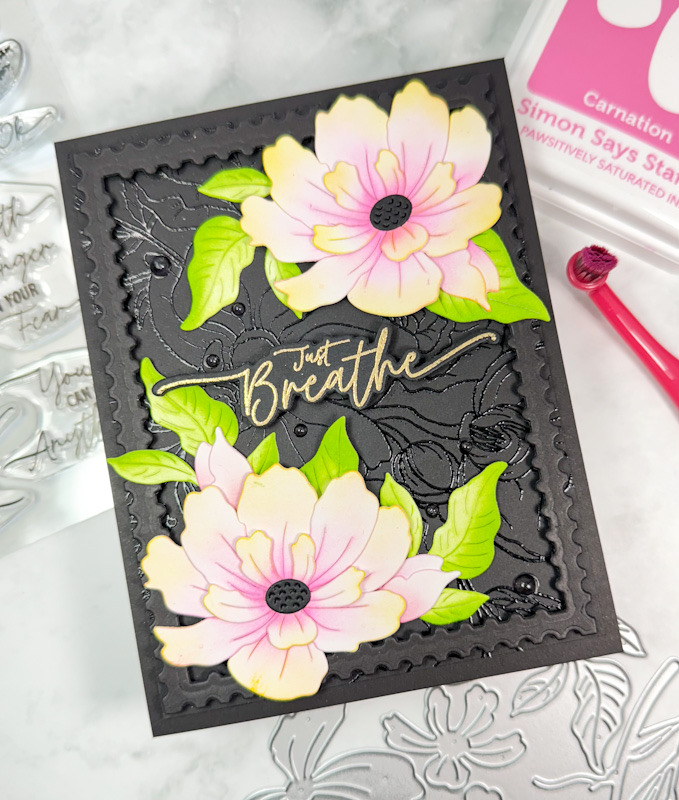
I began this project by die cutting the SSS Divine Peony three times from Neenah 110lb cardstock. I cut it three times, but only used two of the larger flowers for this project. I did some light ink blending using SSS Pawsitively Saturated Inks in Bubblegum, Carnation, Celery, Pearfection and Sunbeam. Once the ink blended was complete, I assembled the flowers and set those aside with the leaves, while I worked on the rest of the card.
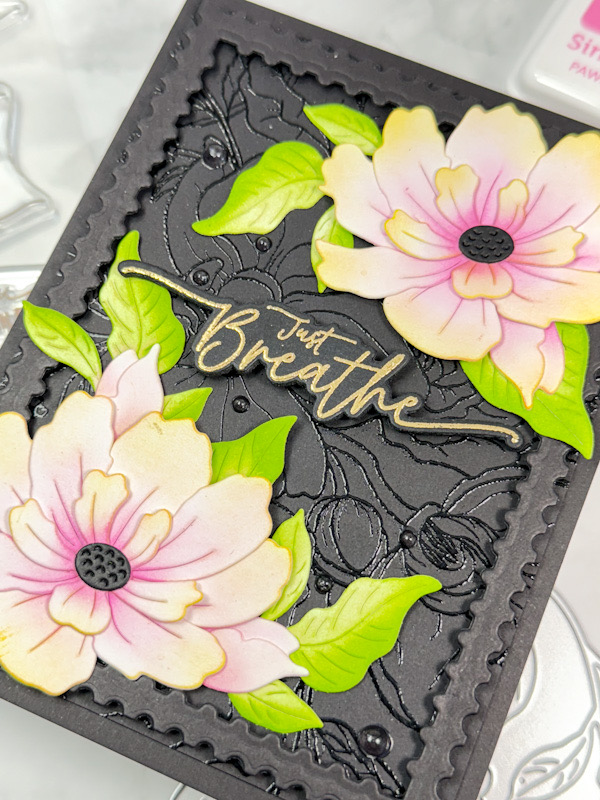
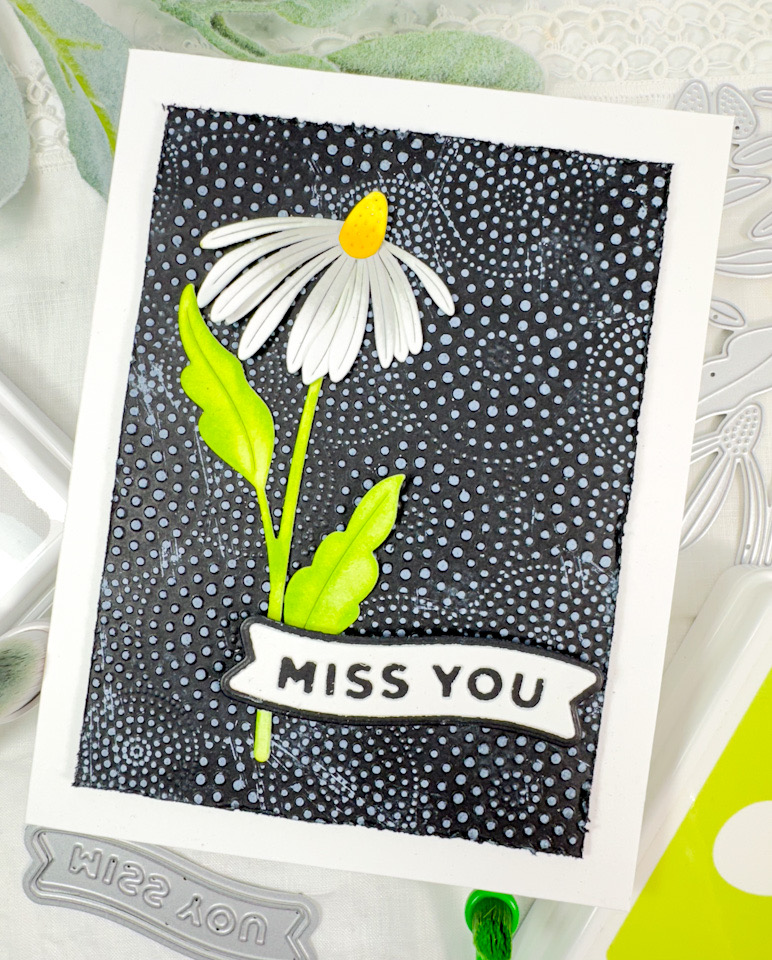
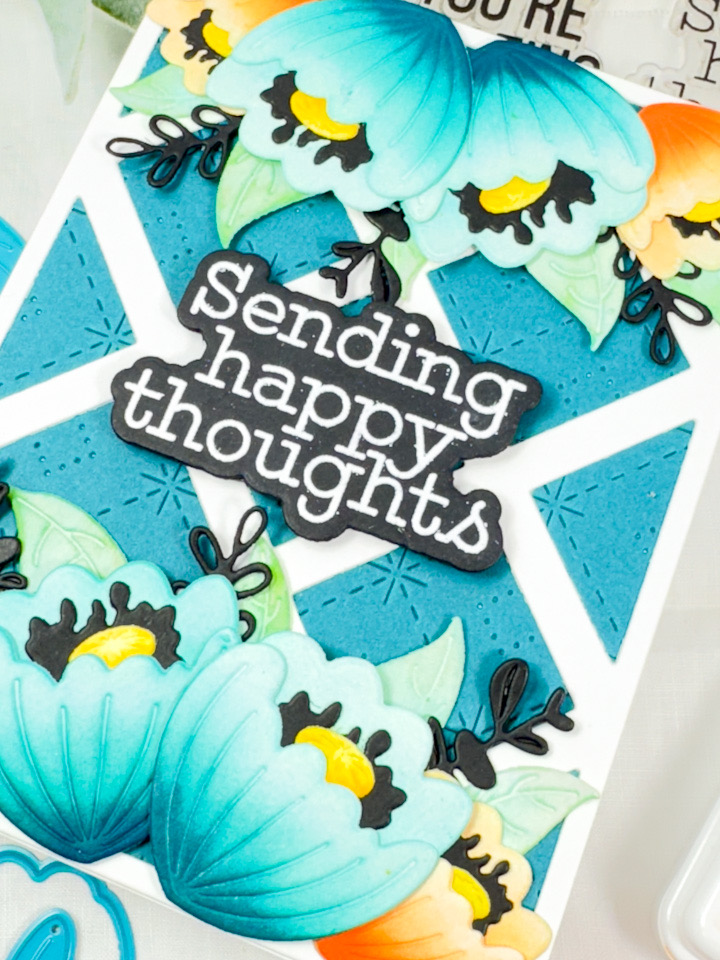
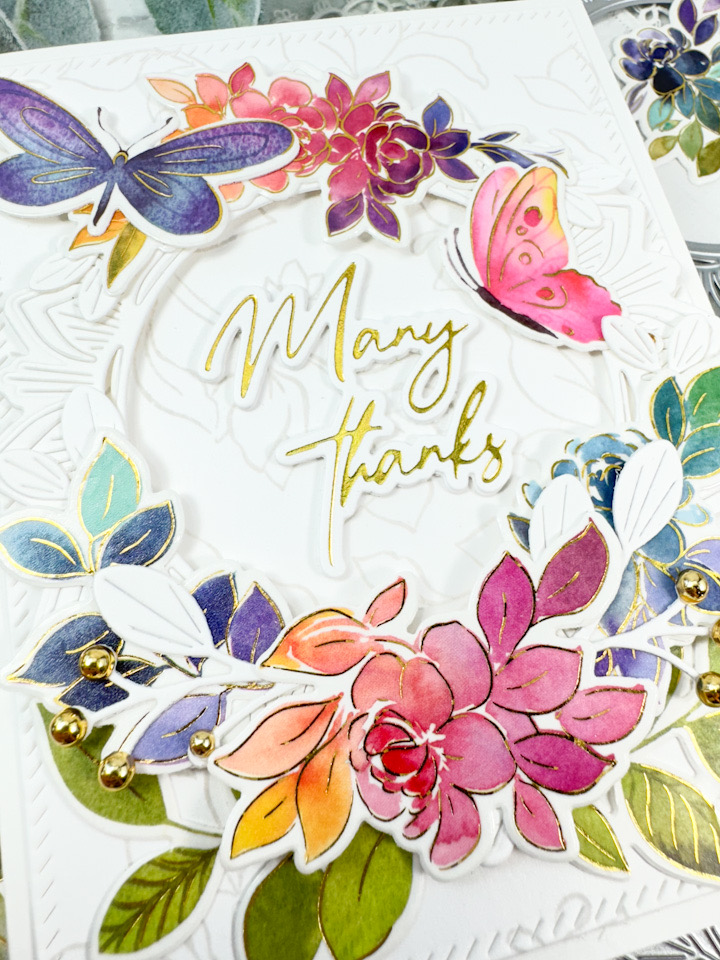
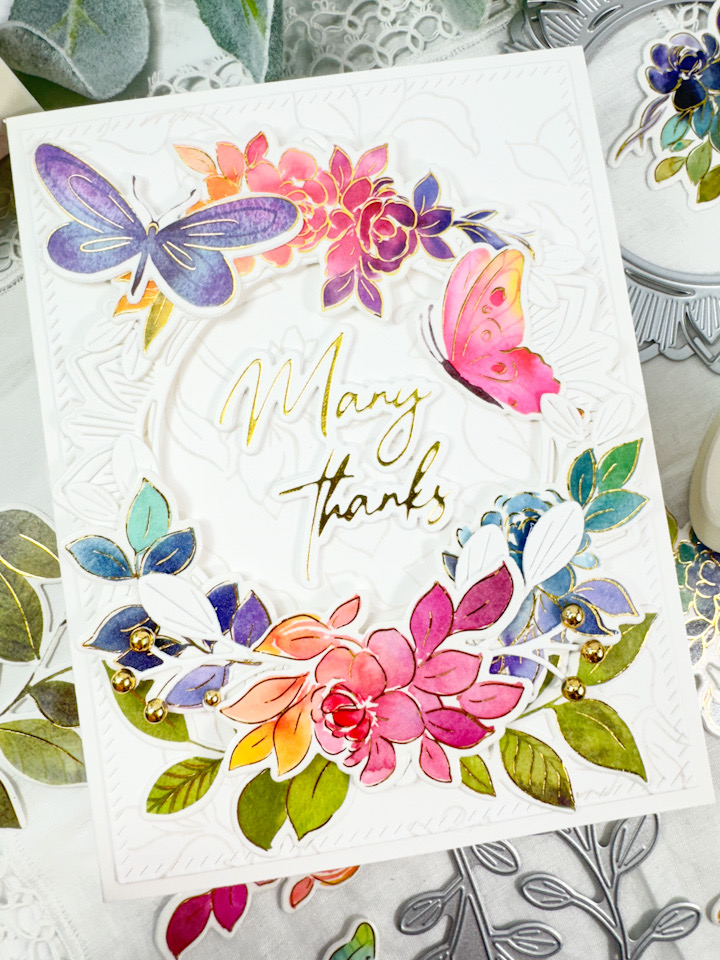
I knew that I wanted a black on black background, so I stamped the SSS Orchid Rose Bouquet onto a panel of black cardstock using VersaMark ink and heat set that using Ranger Clear Embossing Powder. I also stamped the sentiment from the SSS Just Breathe set onto a scrap of black cardstock using the same ink, and heat set that using Ranger Princess Gold Embossing Powder. I used the coordinating die to trim out the sentiment, along with two additional cuts, and adhered all of those together using liquid glue.
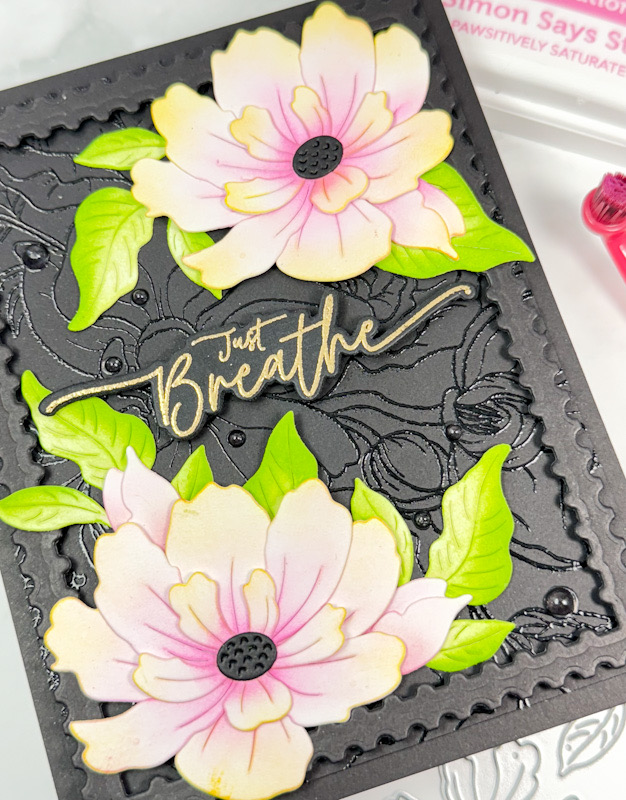
I used two dies from the SSS Postage Stamp Edge Frames to cut a frame from black cardstock. The frame was adhered to the stamped panel using SSS 3D Foam Strips, and I trimmed off the excess around the edges. The leaves were glued in place, along with the buds, and the flowers were secured with the foam strips. The sentiment was also adhered with foam strips, and some clear drops were added to finish up. I didn’t want a white border showing from the card base, so I added a black panel, and then secured my floral panel atop that.
That does it for this one. I hope you enjoyed it, and I hope it inspires you to get crafty in your space! Thanks again for stopping by, and don’t forget to stay awesome, friend!

Other Products:
- SSS Pawsitively Saturated Inks: Bubblegum, Carnation, Celery, Pearfection, Sunbeam
- SSS Blender Brushes
- SSS 3D Foam Strips
- SSS Place and Score Embellishment Wand
- SSS Bone Folder
- SSS Dot Tape Runner
- SSS Anti-Static Brush Powder Tool
- SSS Triangle Trays
- VersaMark Ink
- Ranger Clear Embossing Powder
- Ranger Princess Gold Embossing Powder
- Tim Holtz Scissors
- Wagner Heat Tool
- Neenah Classic Crest Solar White 110lb Cardstock
- Black Cardstock
- Bearly Art Glue
- Scor-Buddy
- Misti
- Spellbinders Platinum 6
- Clear Drops
* Affiliate links used at no cost to you. What does this mean? If you use the links within this post to make a purchase, I receive a small commission, which allows me to continue posting crafty content for your enjoyment. I truly appreciate your support!
Latest Posts
- Simon Says Stamp Grateful Heart

- Simon Says Stamp Braided Greetings

- Together By Design Color Cube Floral

- Simon Says Stamp Cute Duckling

- Simon Says Stamp Watercolor Wild Rose