Simon Says Stamp Thank You Magnolias

Hello Friend, and thanks for stopping by today! I’m super excited and honored to be joining Simon Says Stamp for Day 2 of the blog hop to celebrate the Sweetheart and Smitten releases!

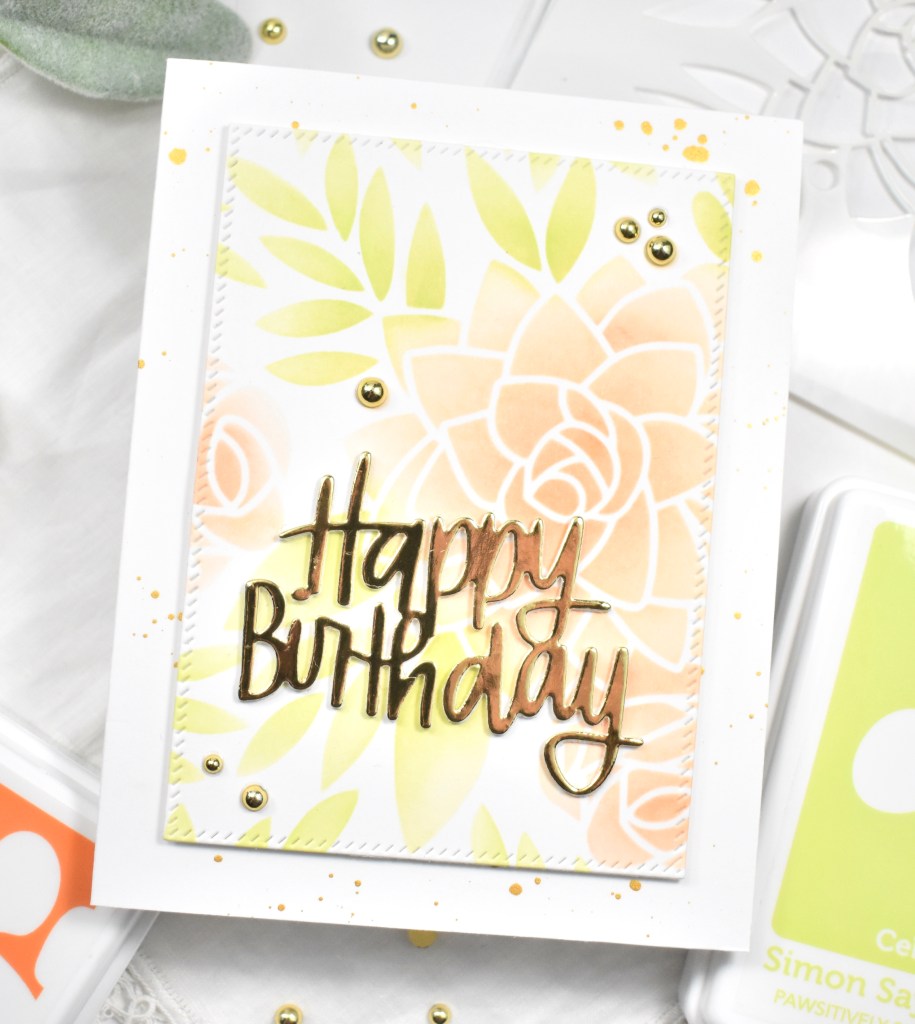
Simon is giving away a $25 coupon from every stop along the hop, so be sure to follow along and leave comments for your chance to win! You can also check out Day 1 of the hop here. There’s also a blog hop exclusive offer for a free Hearts and Stars stencil with any purchase. Just follow the directions on the graphic to redeem yours. Don’t delay, this offer expires on January 14th at 11:59pm ET. My project for the hop is featuring the new Whirl Diamond Plate, which I love! Let’s get to the details!
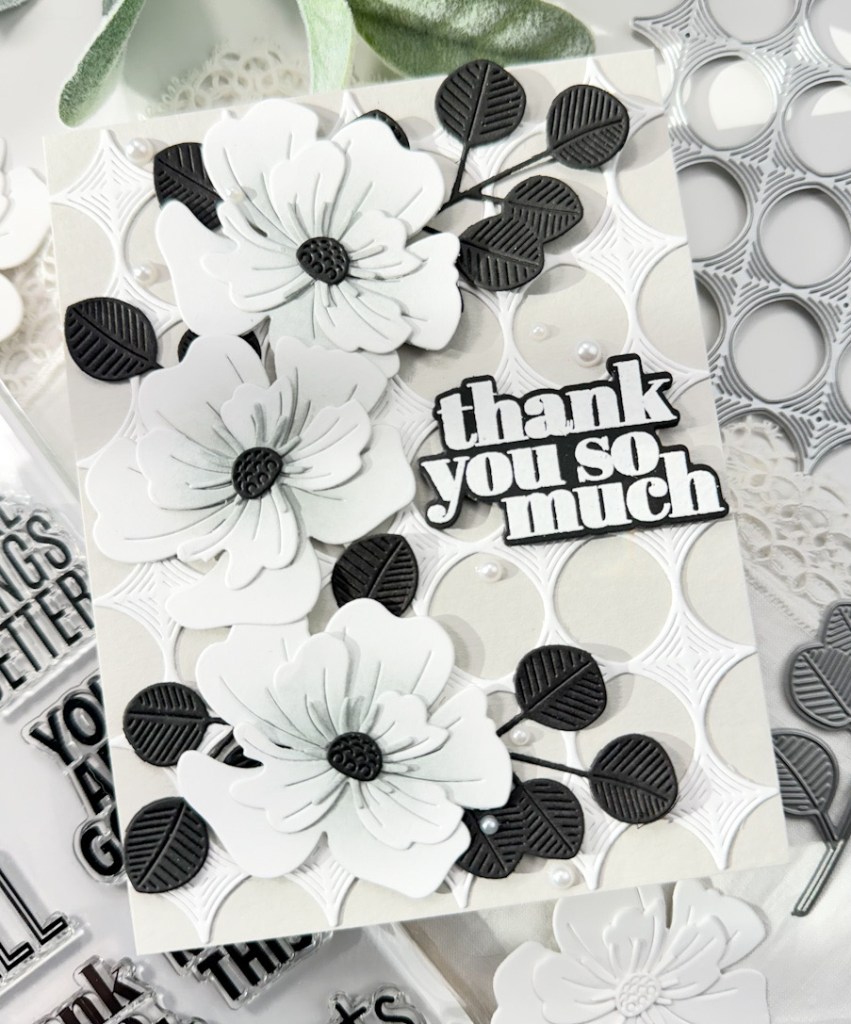
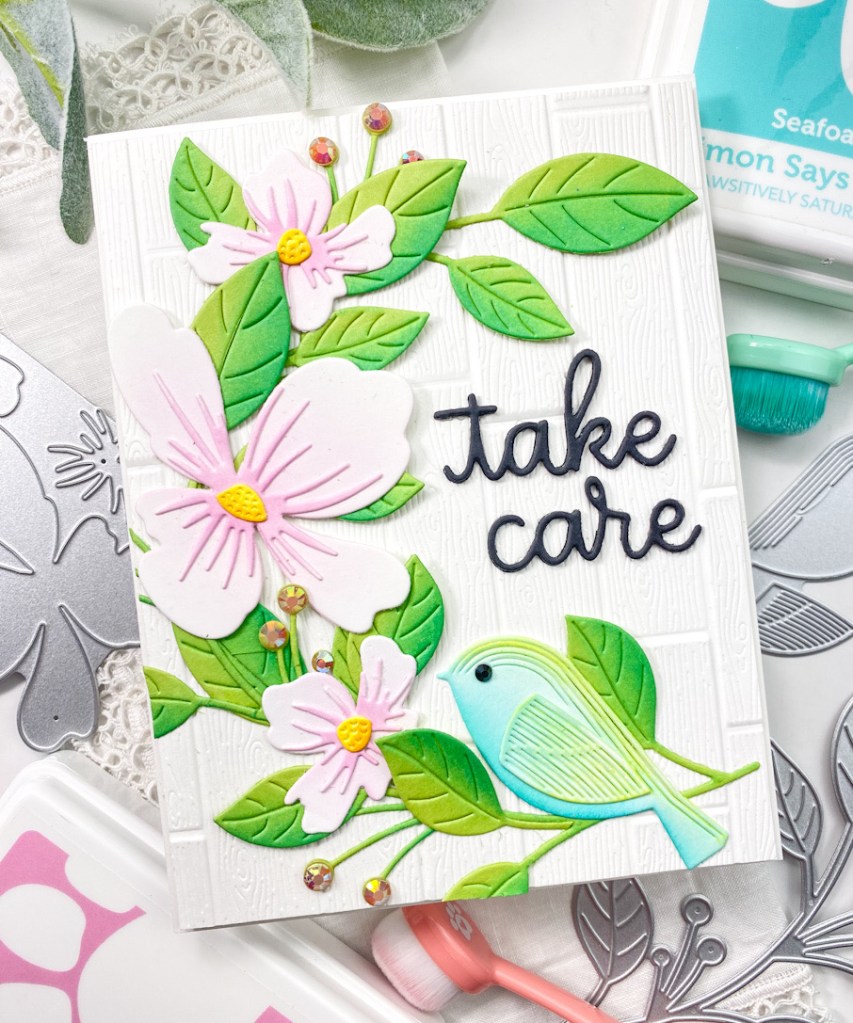
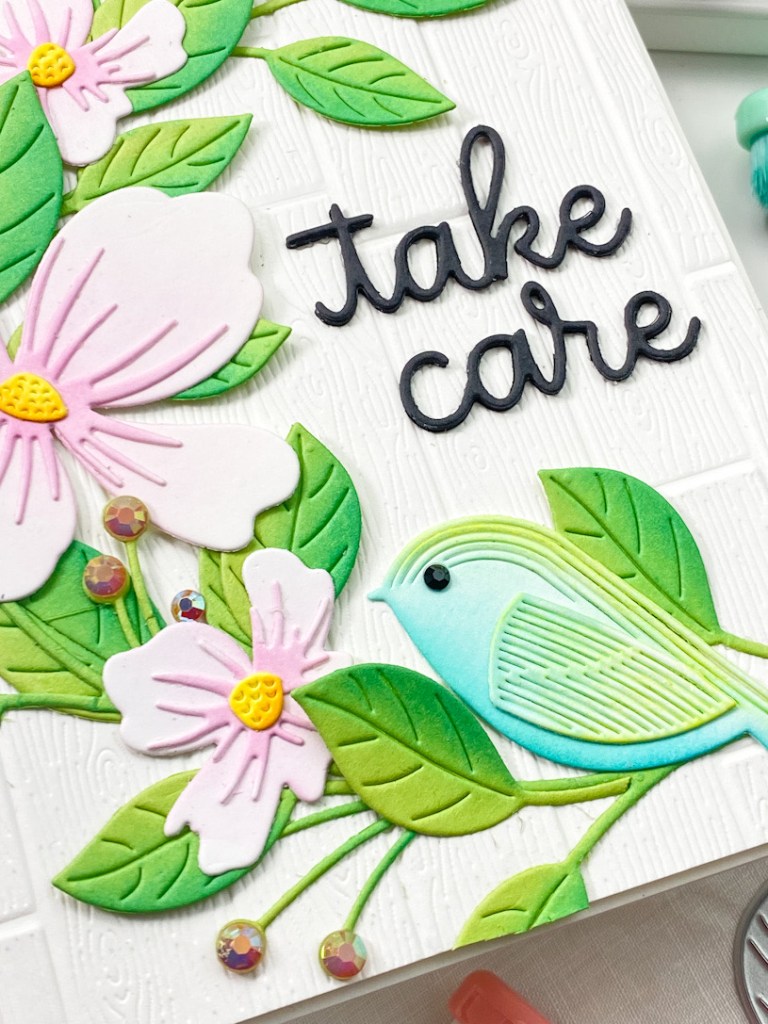
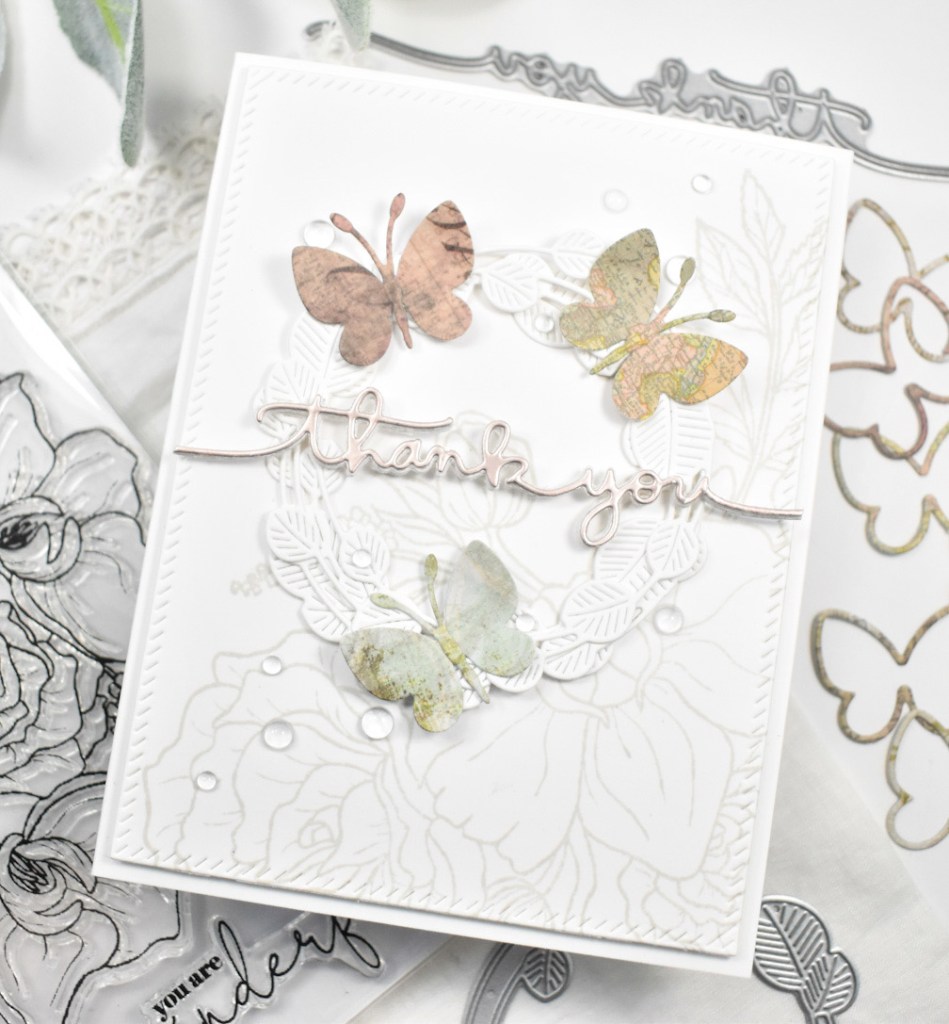
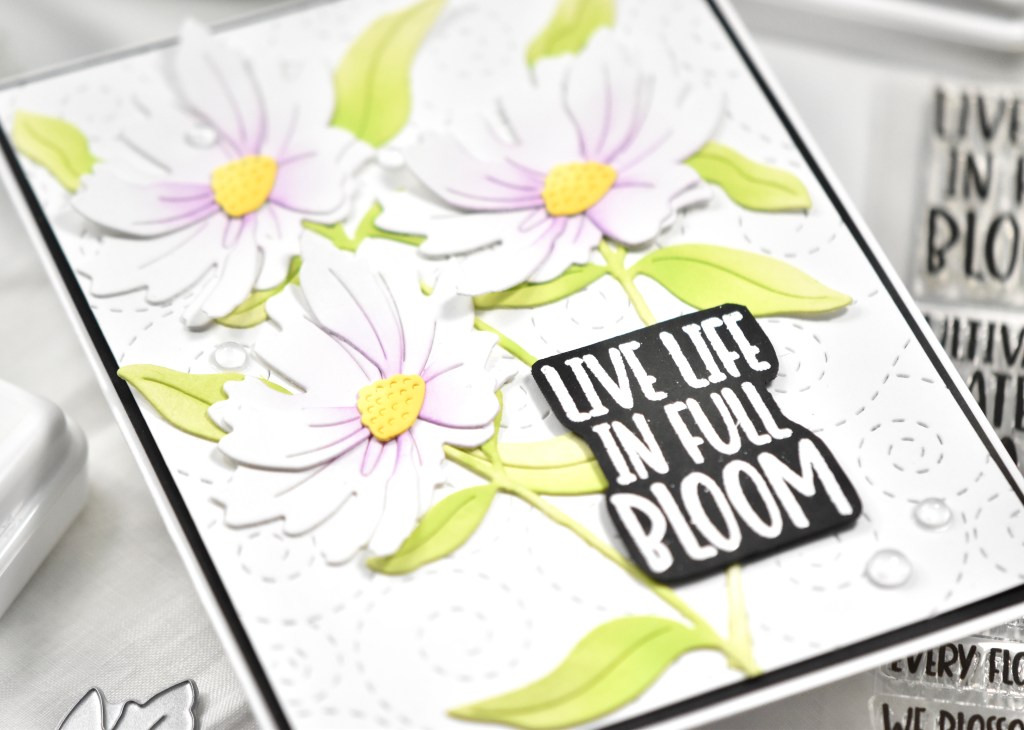
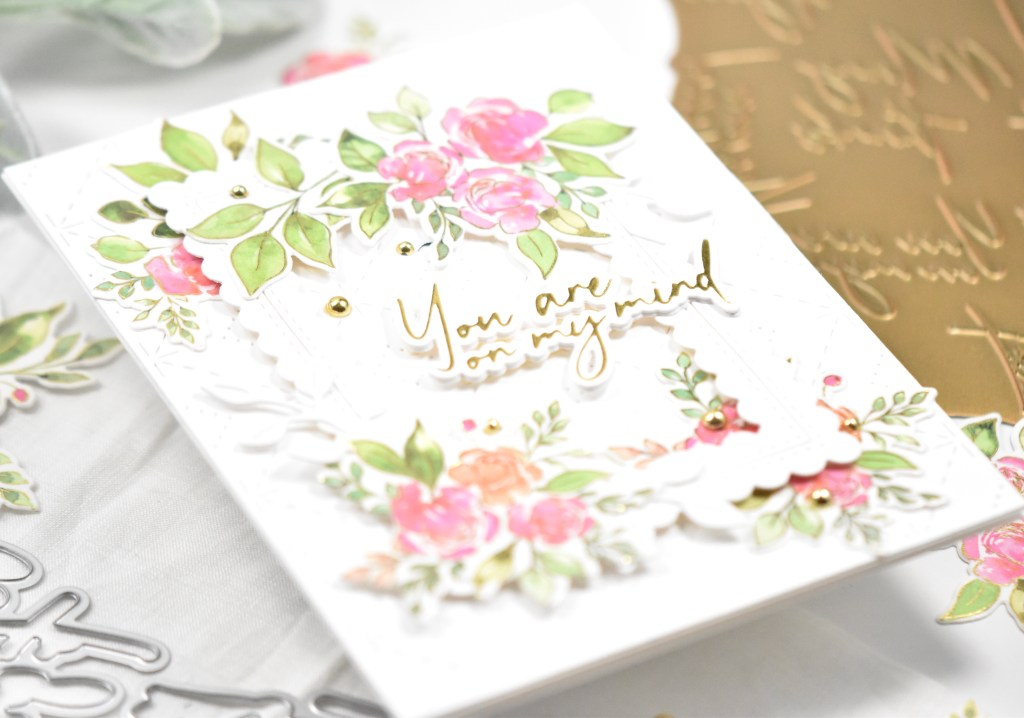
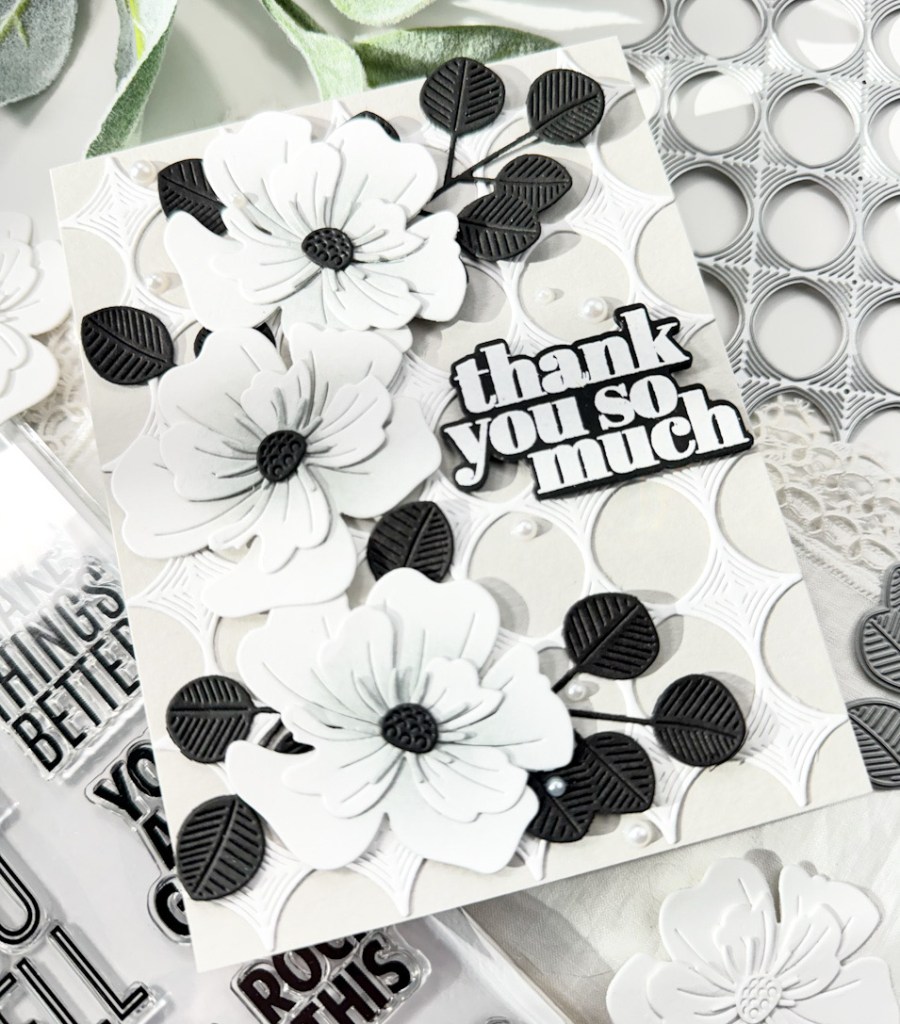
I love the color scheme of this card. I ended up using a thank you sentiment, but I think these colors would lend themselves well to a sympathy card as well. I began this card by cutting three flowers using the SSS Etched Magnolia Blossom set from Neenah 110lb cardstock. I did some ink blending on each layer of the blossom using PFS Misty Coast ink. Once the ink blending was complete, I adhered all of the layers together using liquid glue. In the process of assembling the flowers, I decided that the center of the blossoms would be better in black, so I cut a few of those.

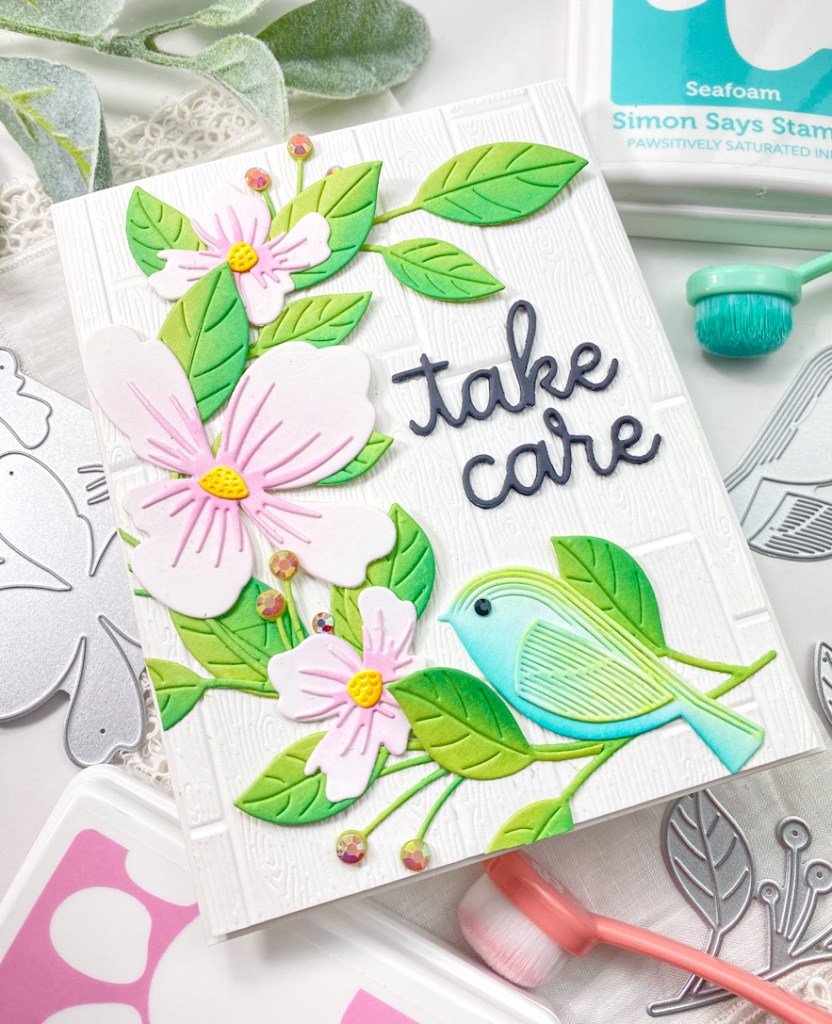
Moving ahead, and working on the other elements of the card, I cut the SSS Whirl Diamond Plate from Neenah 110lb cardstock and glued that to a panel of SSS Fog cardstock. I played around with the placement of the florals and decided that I needed some black leaves and used the SSS Eucalyptus Leaves die for that. I adhered the florals to the panel using foam tape and glued the leaves underneath.
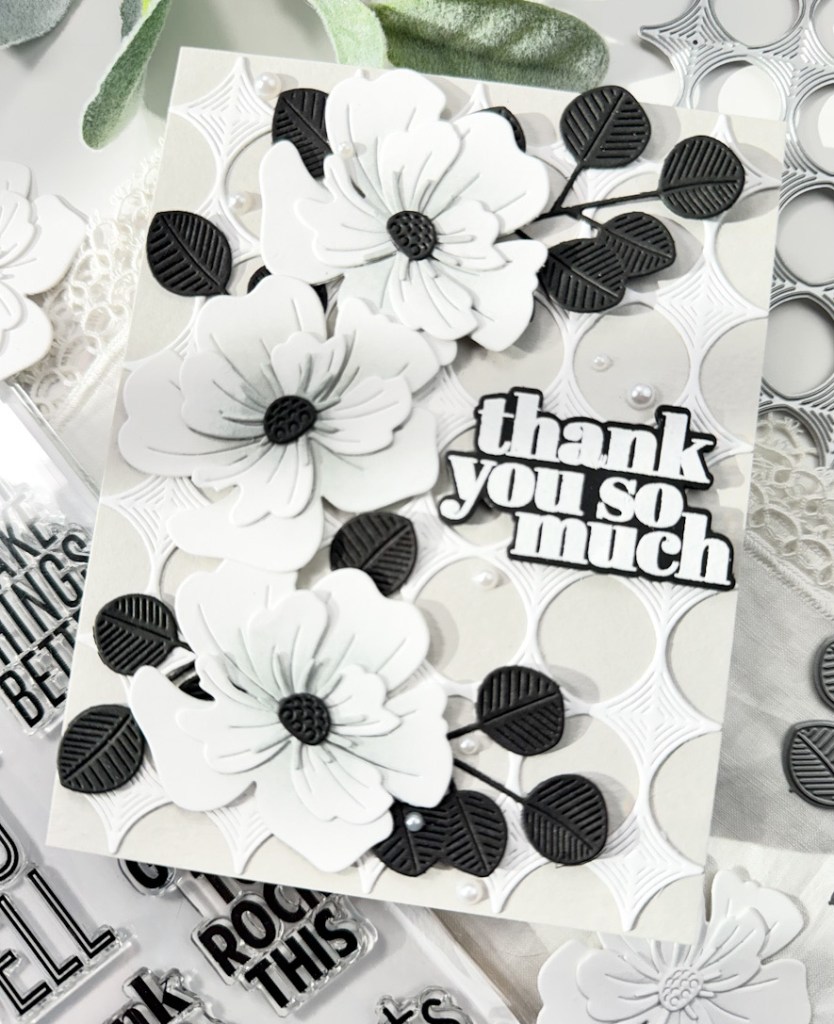
For the sentiment, I used the SSS XL Greetings 3 set and stamped it on black cardstock using VersaMark ink and heat set that using SSS Detail White Embossing Powder. I then used the coordinating die to trim it out, along with two others and adhered all of those together, for added dimension.

The sentiment was adhered to the panel using foam tape and the panel was adhered to the card base using foam tape as well. To finish up, I added some white pearls for a little bit of added interest.
That does it for this card! I hope you enjoyed it, and I hope it inspires you to get crafty in your space! Don’t forget to comment along the hop for Day 1 AND Day 2 for your chance to win! Simon will announce all of the winners on their blog on Wednesday, January 17th. Thanks again for stopping by. Have a wonderful day and stay awesome friend!
Hop Order:
Supply List:
- SSS Whirl Diamond Plate
- SSS Etched Magnolia Blossom
- SSS Eucalyptus Leaves
- SSS XL Greetings 3 Stamp, Die, Bundle
- SSS Detail White Embossing Powder
- SSS Black Cardstock
- SSS Fog Cardstock
- SSS Blender Brushes
- SSS Bone Folder
- SSS Place and Score Embellishment Wand
- SSS Triangle Trays
- SSS Foam Tape
- PFS Misty Coast Ink
- VersaMark Ink
- Wagner Heat Tool
- Tim Holtz Scissors
- Neenah Classic Crest Solar White 110lb Cardstock
- Bearly Art Glue
- Anti-Static Powder Tool
- White Pearls
- Scor-Buddy
- Misti
- Spellbinders Platinum 6
* Affiliate links used at no cost to you. Thank you so much for your support!
Latest Posts
- Simon Says Stamp Grateful Heart

- Simon Says Stamp Braided Greetings

- Together By Design Color Cube Floral

- Simon Says Stamp Cute Duckling

- Simon Says Stamp Watercolor Wild Rose