Spellbinders Birthday Mountain Daisy

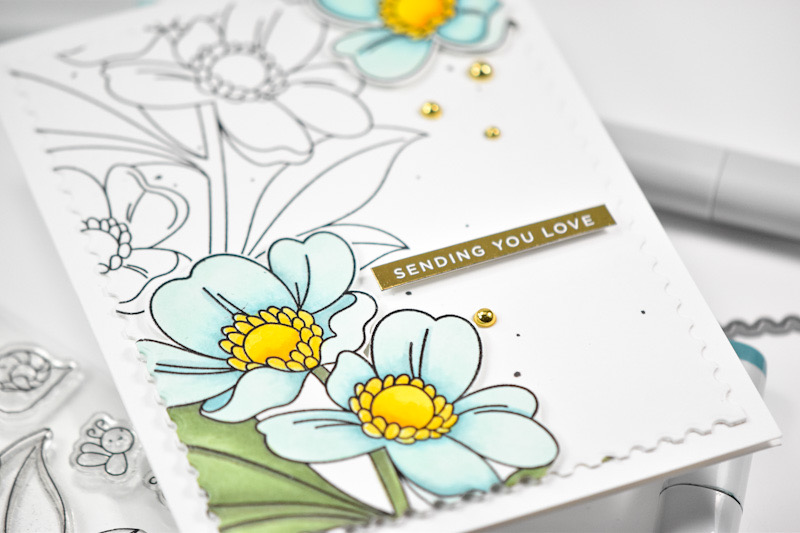
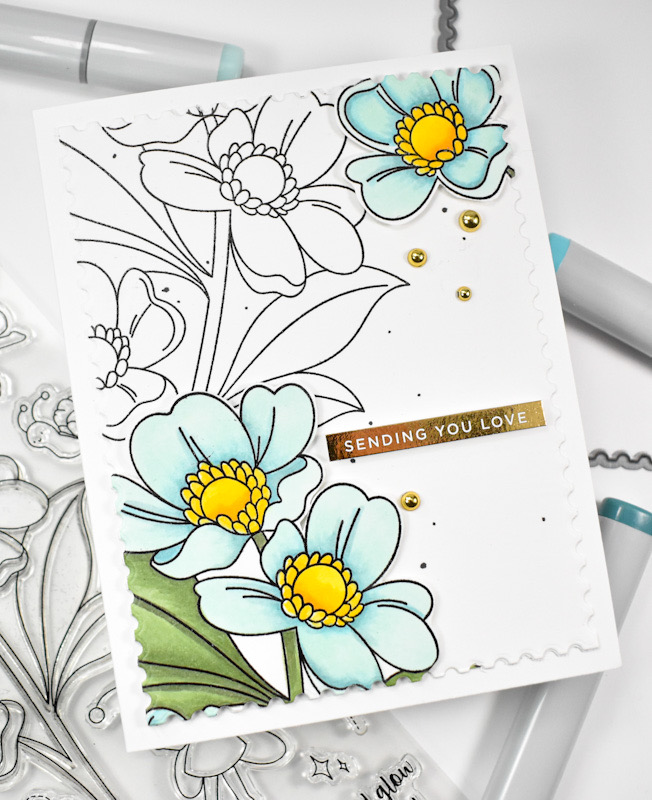
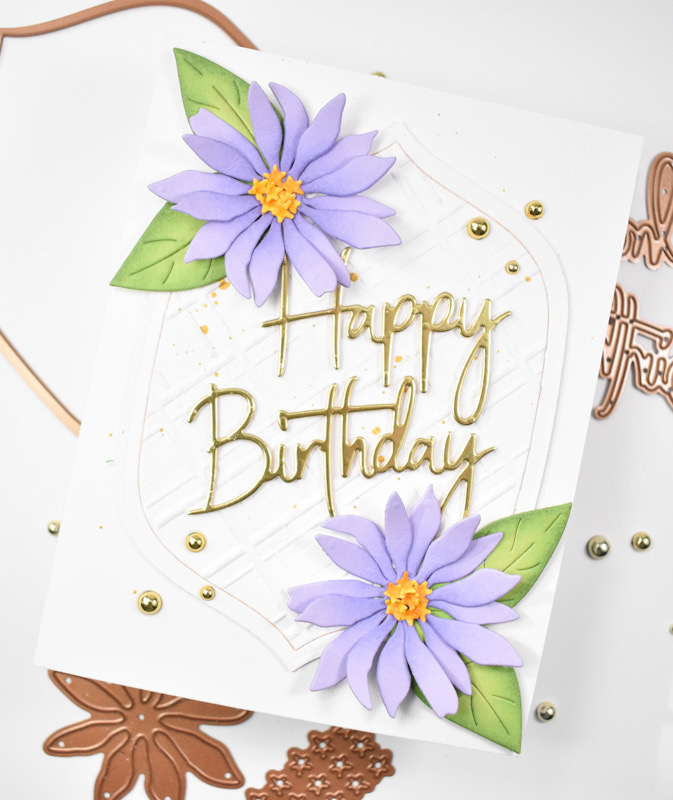
Hello Crafty Friends and welcome back! I’m back today with a project featuring the new Lavender Mountain Daisy from Spellbinders and Susan Tierney Cockburn! You guys know that I love florals, so I was thrilled to be able to work with some of Susan’s latest floral die cuts! Let’s go ahead and get into the details!
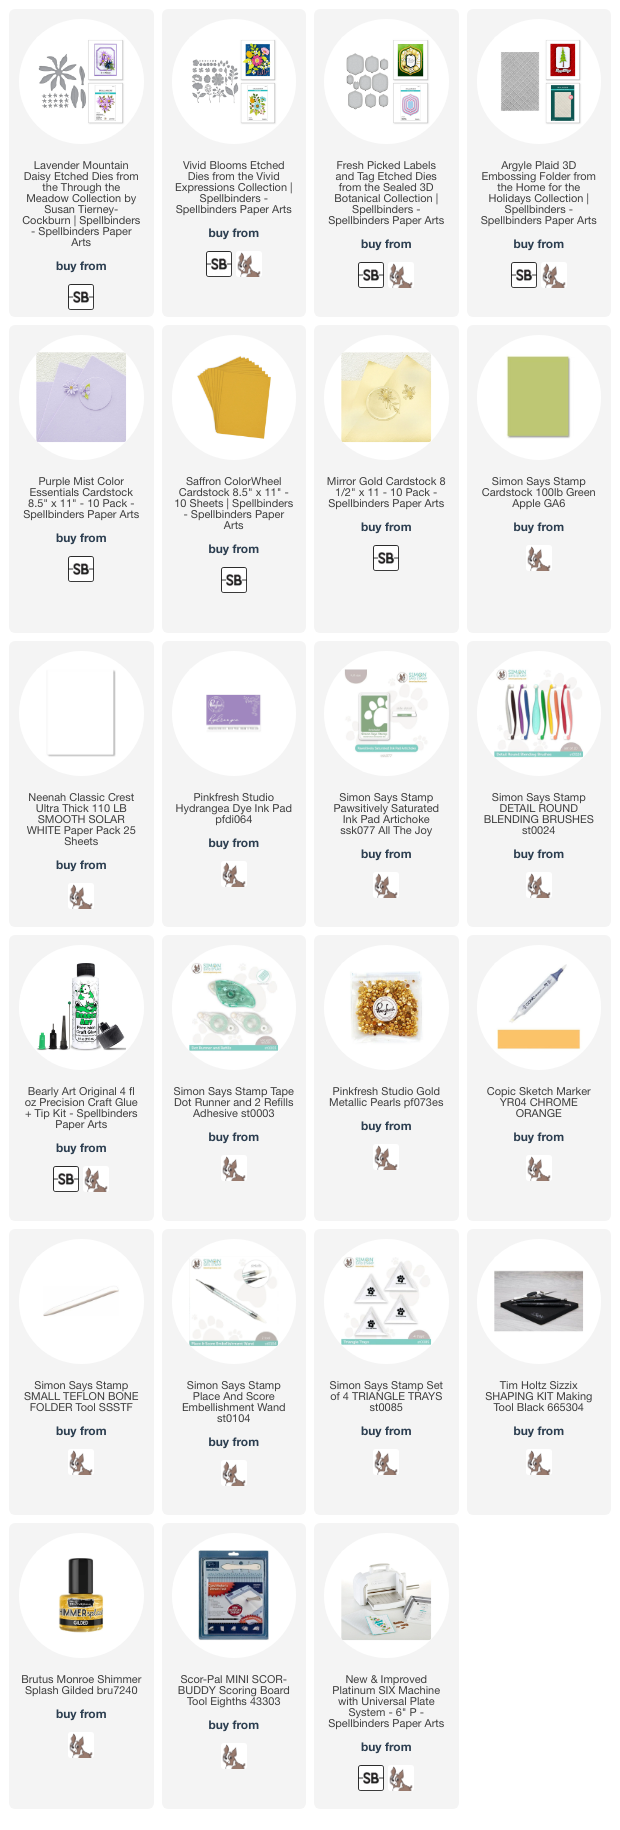
NOTE: all supplies are linked to multiple sources in the thumbnails at the end of this blog post.

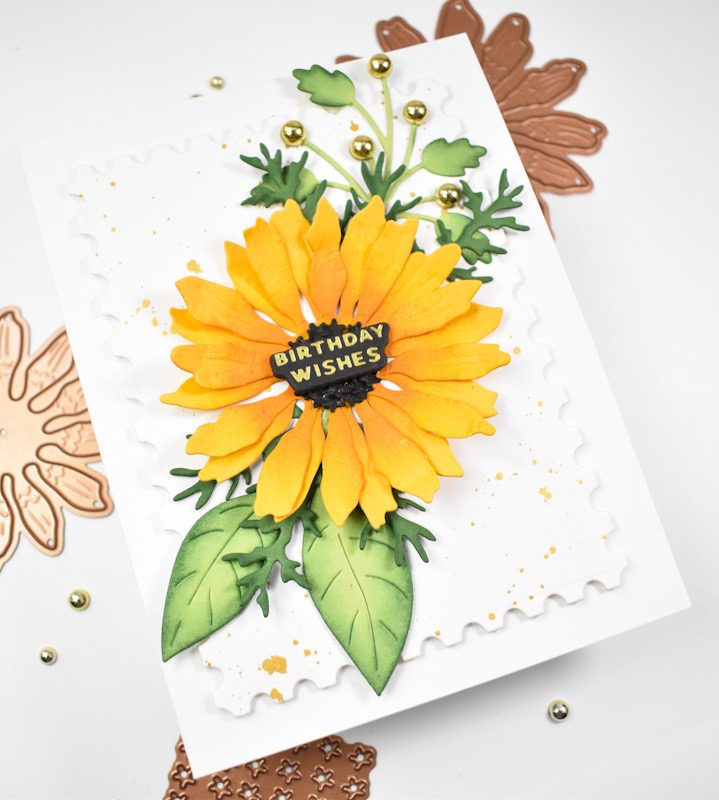
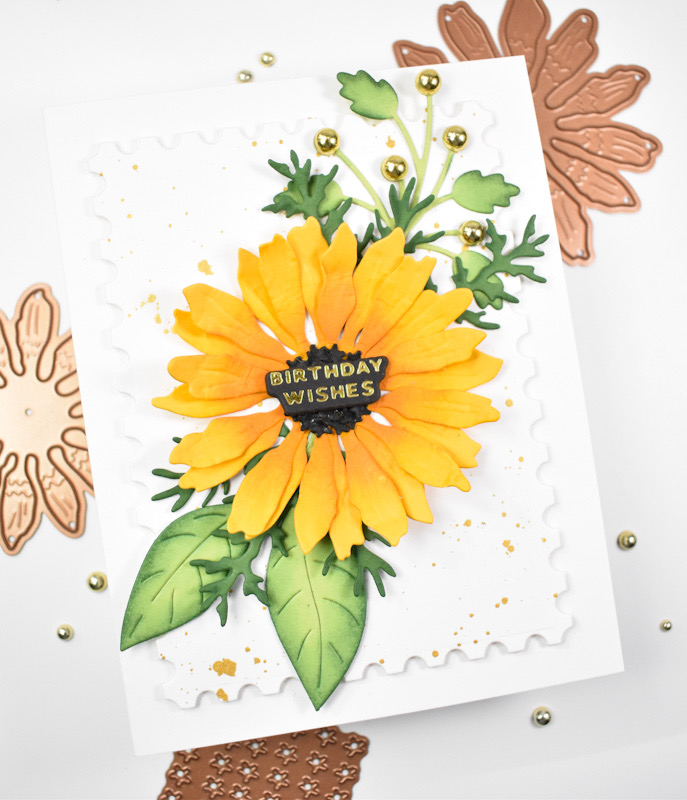
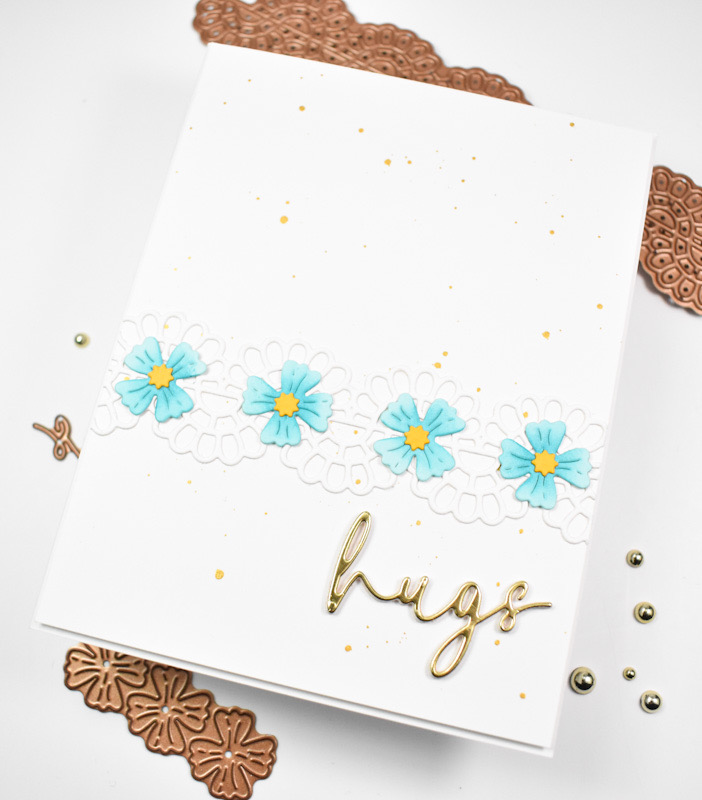
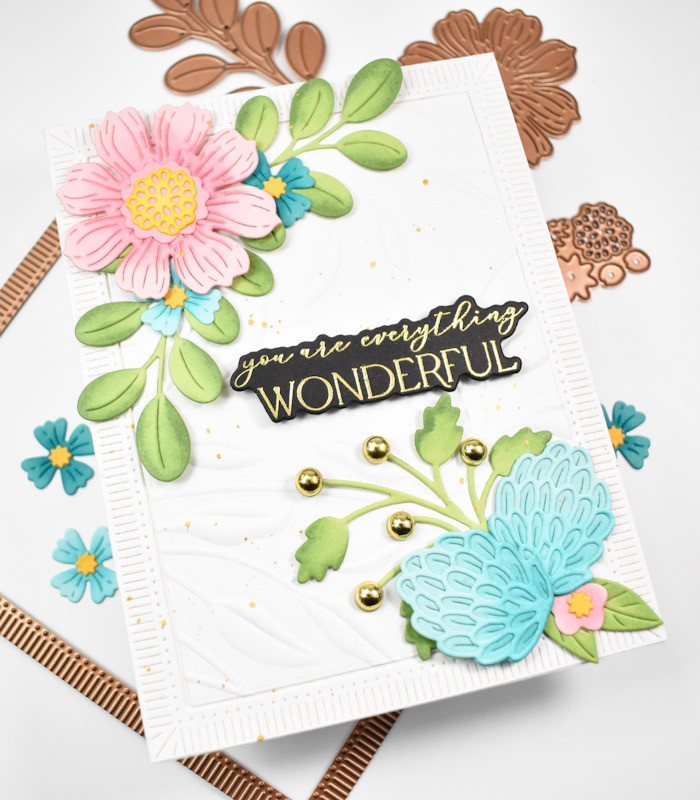
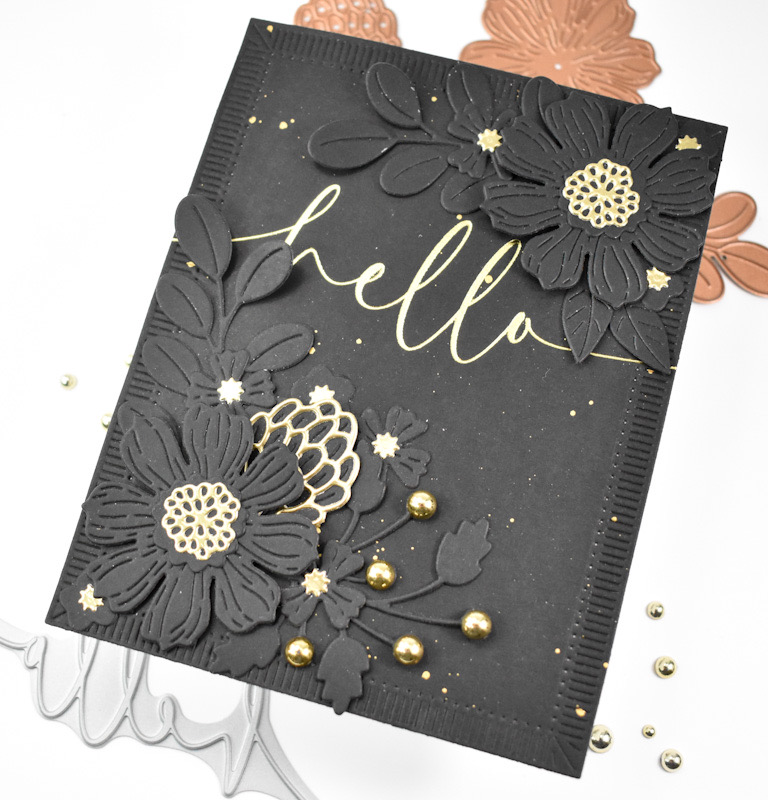
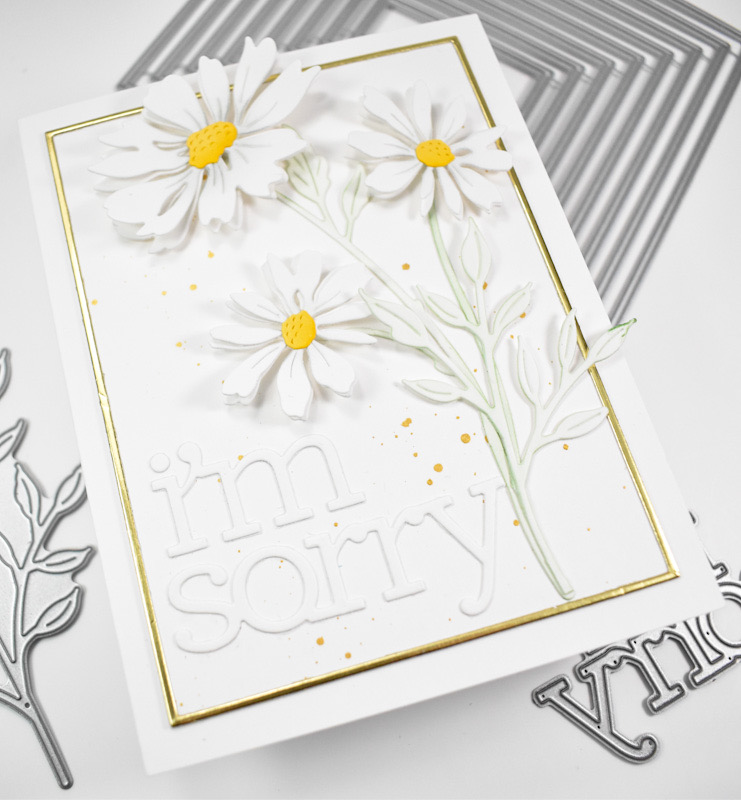
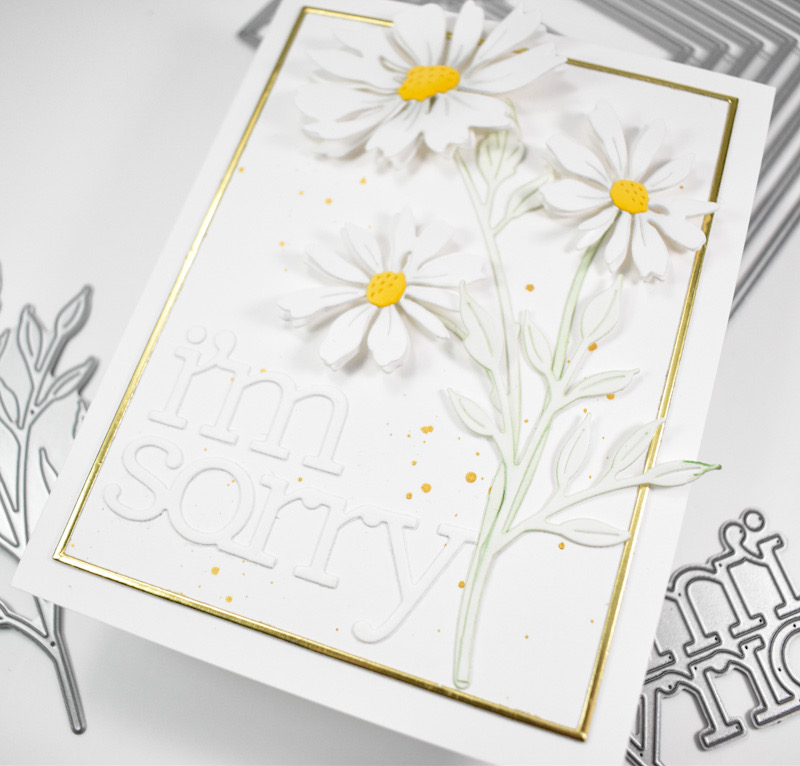
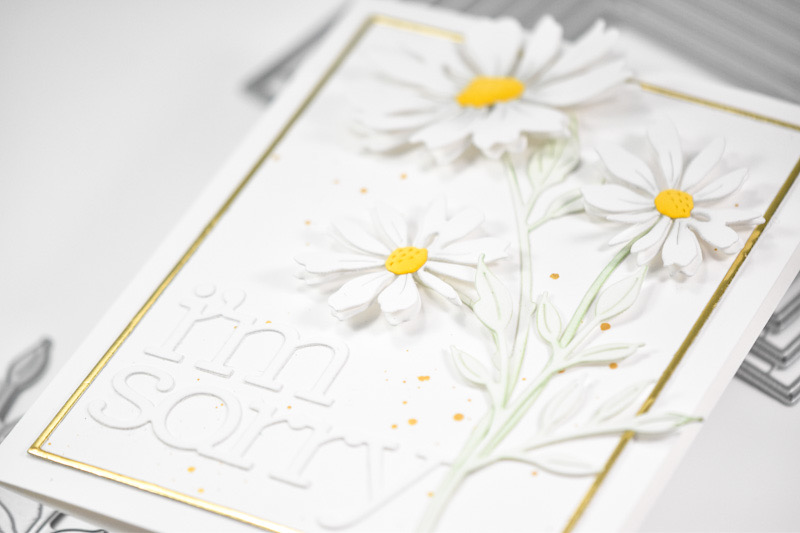
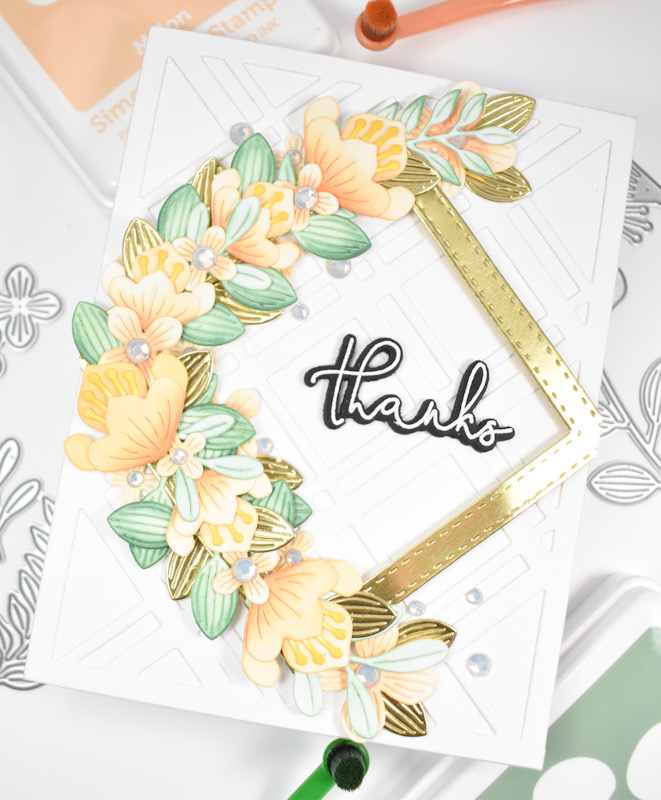
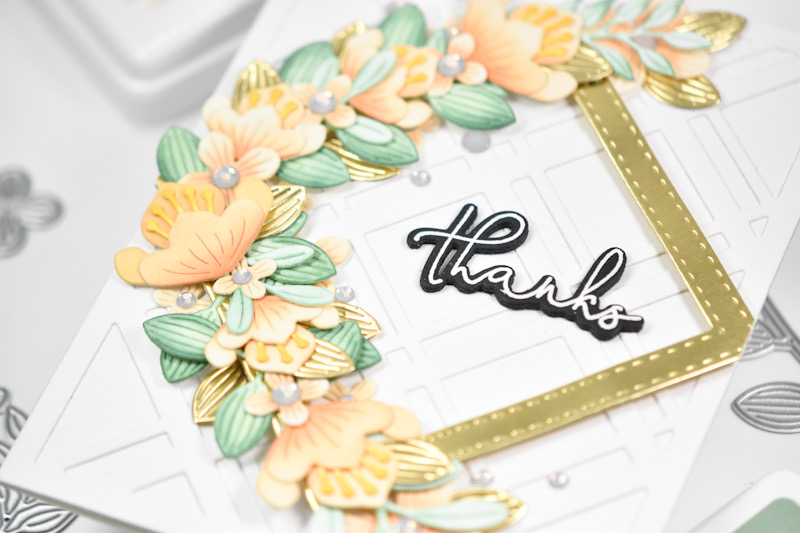
I began this project by die cutting a few of the daisies and centers from Purple Mist and Saffron cardstock. I did some ink blending on the flowers using PFS Hydrangea ink, and I used Copic marker YR04 on the centers. I used the Sizzix Shaping Kit to shape the center pieces and then I went ahead and assembled the flowers.
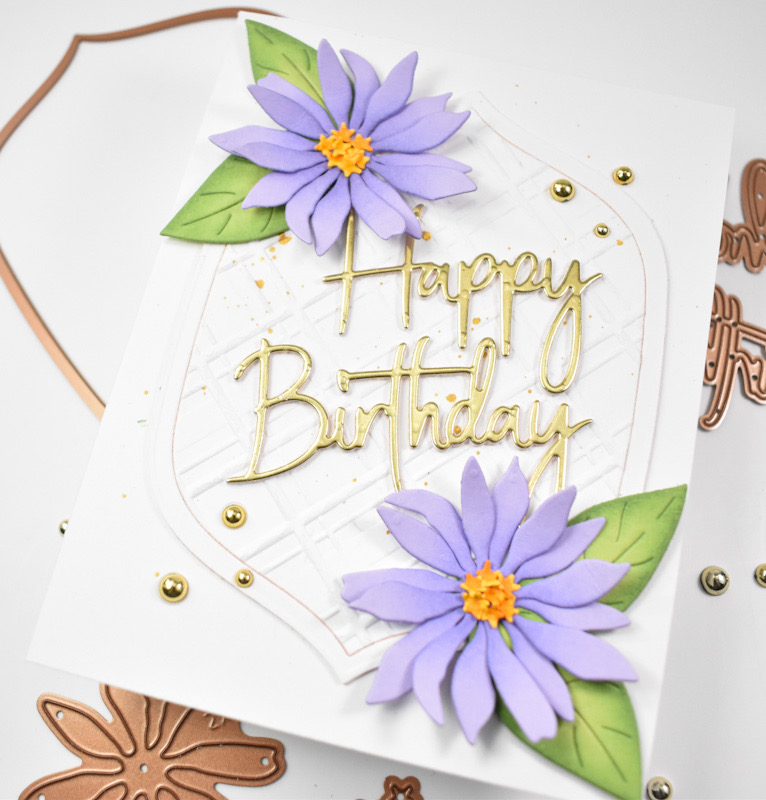
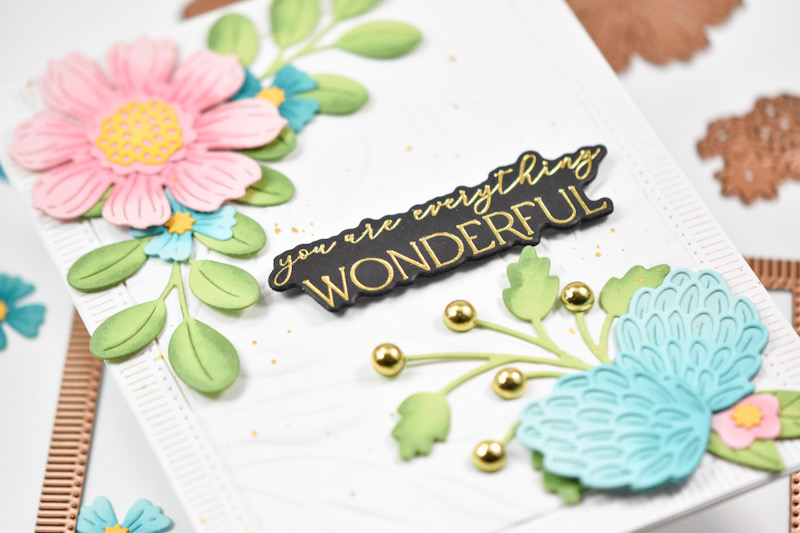
Now as you all know, I always need greenery so I die cut a few leaves from the Vivid Blooms set from Green Apple cardstock and did some ink blending on those as well using Artichoke ink. For my background, I used the Fresh Picked Labels and Tag to create a focal point. The center portion that was cut out to create the frame was then run through the machine using the Argyle Plaid 3D Embossing Folder to add a bit of texture.
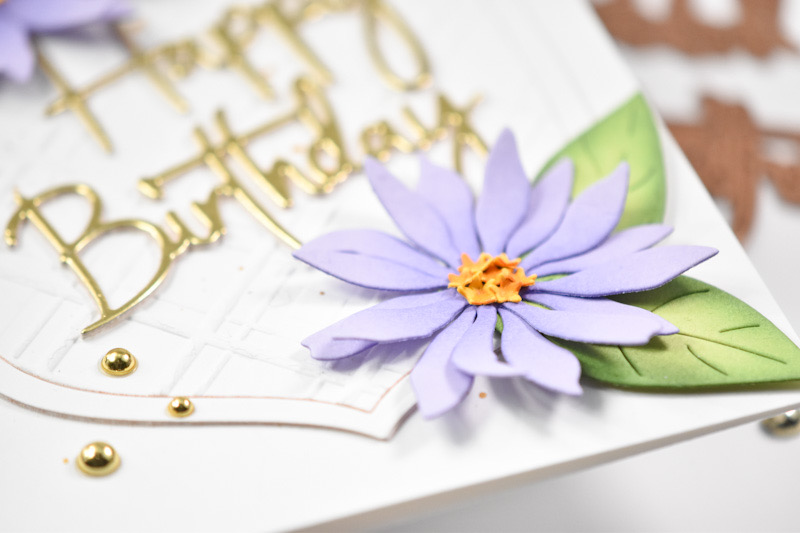
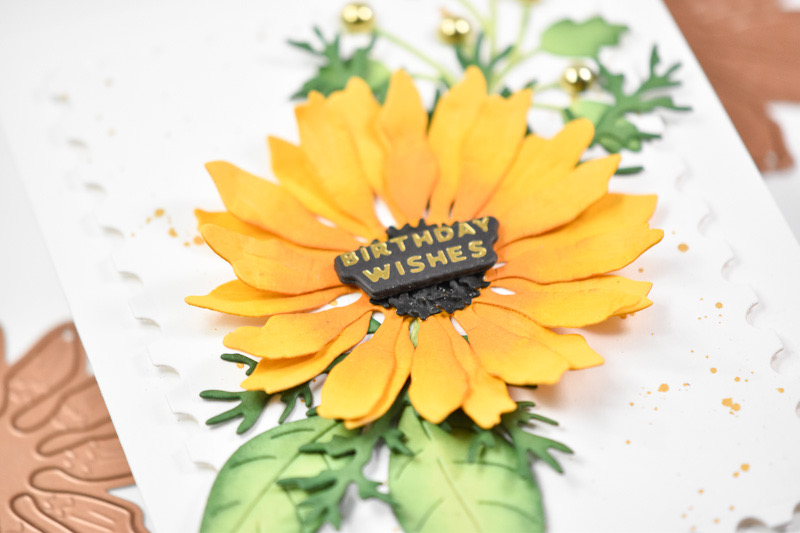
The sentiment, which is from the Simply Perfect Mix & Match Sentiments, was die cut once from gold cardstock and twice from Neenah 110lb cardstock for a stacked sentiment. I was unable to locate this set on the Spellbinders website, so I’m assuming that it must have been discontinued. But, if you’re wanting to recreate this project, just use what’s in your stash! Before assembling, I did splatter both the panel and the card base with gold acrylic ink. The textured panel was adhered to the card base using liquid glue, as well as the flowers, leaves and sentiment. To finish up, I added a few Gold Metallic Pearls.

That does it for this card! I hope you enjoyed it as much as I did! Don’t forget to check out all of the February releases from Spellbinders! Thanks again for joining me, and have a wonderful day!

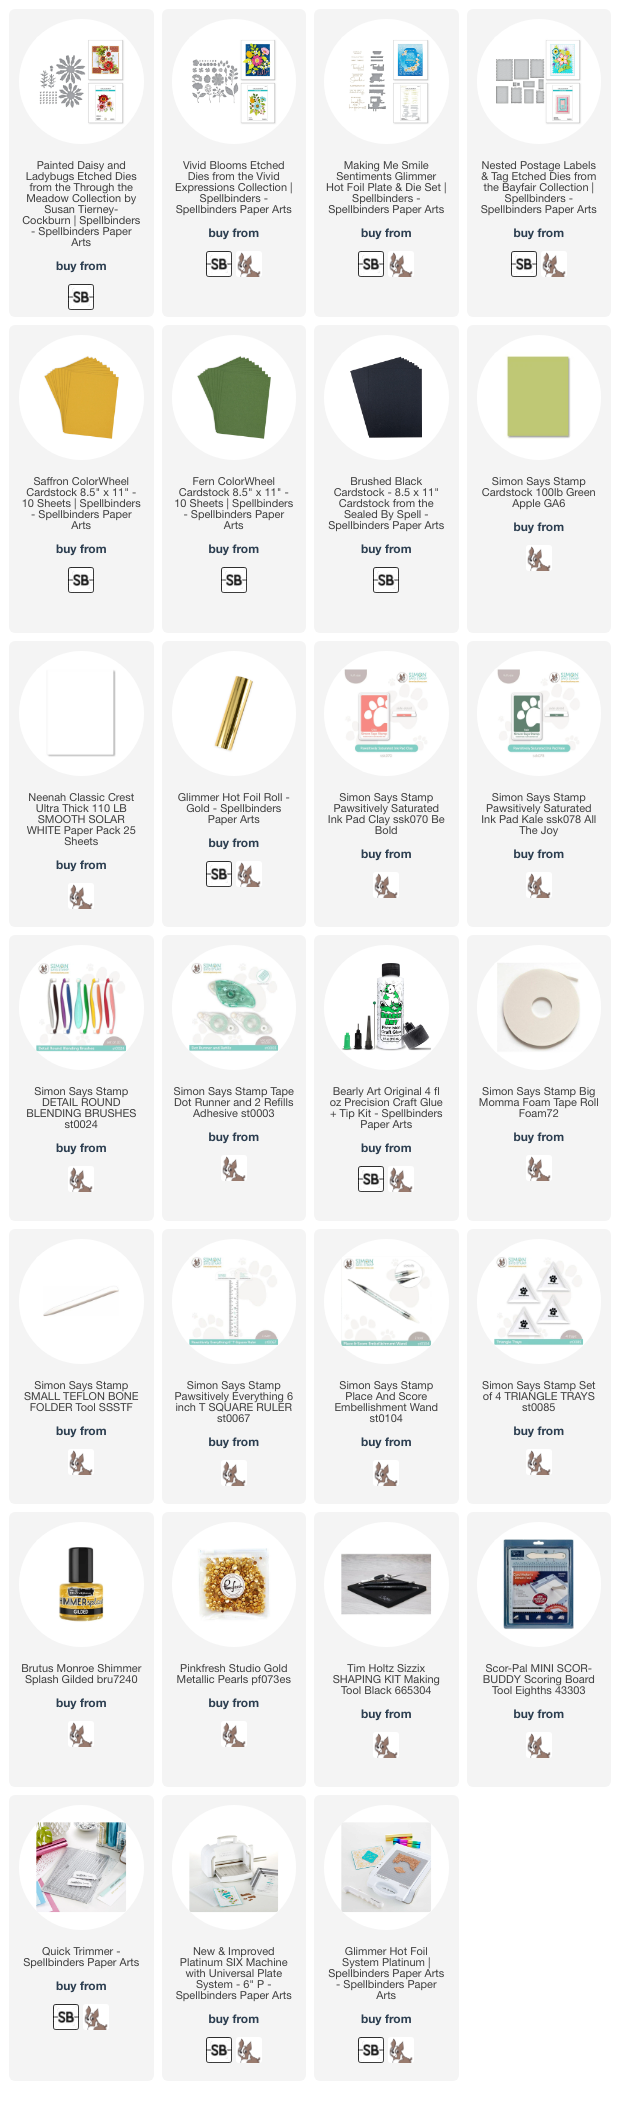
Supply List
Affiliate links used at no cost to you. What does this mean? If you use the links within this post to make a purchase, I receive a small commission, which allows me to continue to post crafty content for your enjoyment. I truly appreciate your support!
Latest Posts
- Simon Says Stamp Grateful Heart

- Simon Says Stamp Braided Greetings

- Together By Design Color Cube Floral

- Simon Says Stamp Cute Duckling

- Simon Says Stamp Watercolor Wild Rose

Latest Instagram Posts