Simon Says Stamp Bright Starry Sky

Hello Crafty Friends, and welcome back! I’m back today with a card featuring the new Starry Sky Foil Transfer Cards from Simon’s latest release, Cheering for You. Have you checked out the new release yet? I would love to know your favorites! Let go through the deets for this one, shall we?

NOTE: all supplies are linked to multiple sources in the thumbnails at the end of this blog post.

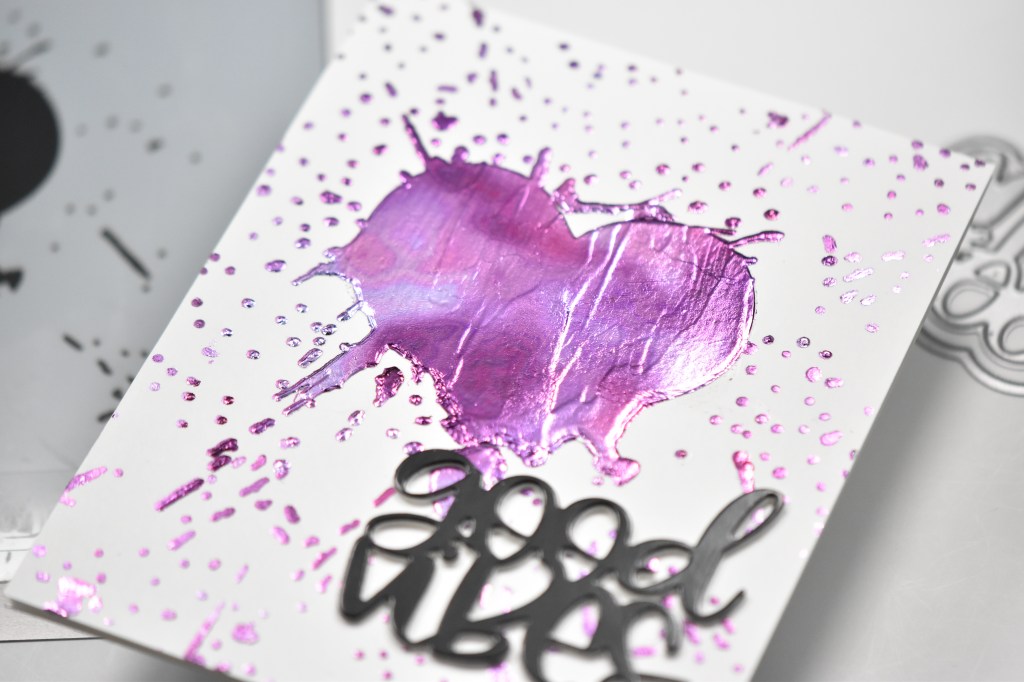
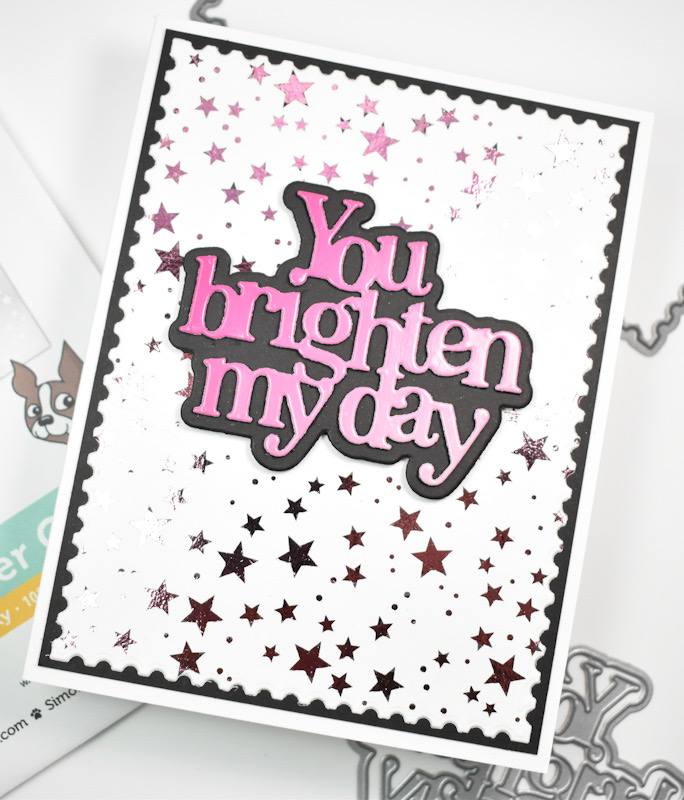
I began this card by foiling the Starry Sky panel using pink foil and the Minc Mini. Once the foiling was done, I trimmed it down using the SSS Postage Stamp Edge Frame and adhered it to a black panel.

I used the SSS You Brighten My Day for the sentiment and cut that once from SSS Color Blend Cardstock and twice from black cardstock. I also cut the shadow portion twice and adhered all of the pieces together using liquid glue for a stacked sentiment.

The panel was adhered to the card base and the sentiment was adhered using SSS 3D Foam Strips for added dimension.

That does it for this card! A super simple card for today, but I love the pink foil with the pink sentiment. Don’t forget to head on over to Simon’s website to check out the entire Cheering for You release. Thanks for stopping by, and I hope you have an awesome day!

Supply List:

Affiliate links used at no cost to you. What does this mean? If you use the links within this post to make a purchase, I receive a small commission, which allows me to continue to post crafty content for your enjoyment. I truly appreciate your support!

Latest Posts

Latest Instagram Posts

Erin Lee Creative Graffiti Heart Vibes

Hello and welcome back! I’m so glad that you stopped by! I’m still playing with my Erin Lee Creative goodies, and today’s card is featuring the Graffiti Heart Stencil along with the Good Vibes Layering Die. Let’s not waste any more time and get right to the deets!

To begin, I cut a panel of Neenah Classic Crest Solar White 110lb cardstock to an A2 size and adhered the Graffiti Heart Stencil to it using masking tape. I then used Deco Foil Transfer Gel Duo to give it a good coat, and then set it aside to dry.

Once the gel was dry, I applied a sheet of Deco Foil Amethyst Watercolor and ran it through the die cutting machine. This stencil does not cover a full card panel, so I carefully used the smaller splatter portions of the stencil to repeat the process.

I could really only repeat the process on two small sections of the panel at a time, so that’s what I did! I applied the gel, set it aside to dry and then added more foil. I don’t remember how many times this was repeated, but I wanted the whole panel covered.

A mistake that I made while making this card, was not putting a clean piece of paper over the previously foiled heart, so it picked up marks and such from my die cutting plate. With that being said, I had to re-apply gel to the heart and re-foil it. The second time around, I didn’t get it quite smooth enough, but I just went with it anyhoo! We’re just going to say that it adds to the graffiti character! I hate making mistakes, but it’s part of life, and now I know for the next time!

I die cut the Good Vibes sentiment once from Glossy Black cardstock and twice from Neenah 110lb and adhered those together using liquid glue. My panel was then adhered to the card base, which is also Neenah 110lb, using foam tape for dimension.

That finishes up this card! I hope you like it and I hope it inspires you to get crafty! This was my first time using the Deco Foil sheets, and I quite like this way of foiling! I’ll definitely be doing this more in the future! Thanks again for stopping by and don’t forget to stay awesome!

Supply List:

*Some affiliate links used at no cost to you. Thank you for your support!

Latest Instagram Posts