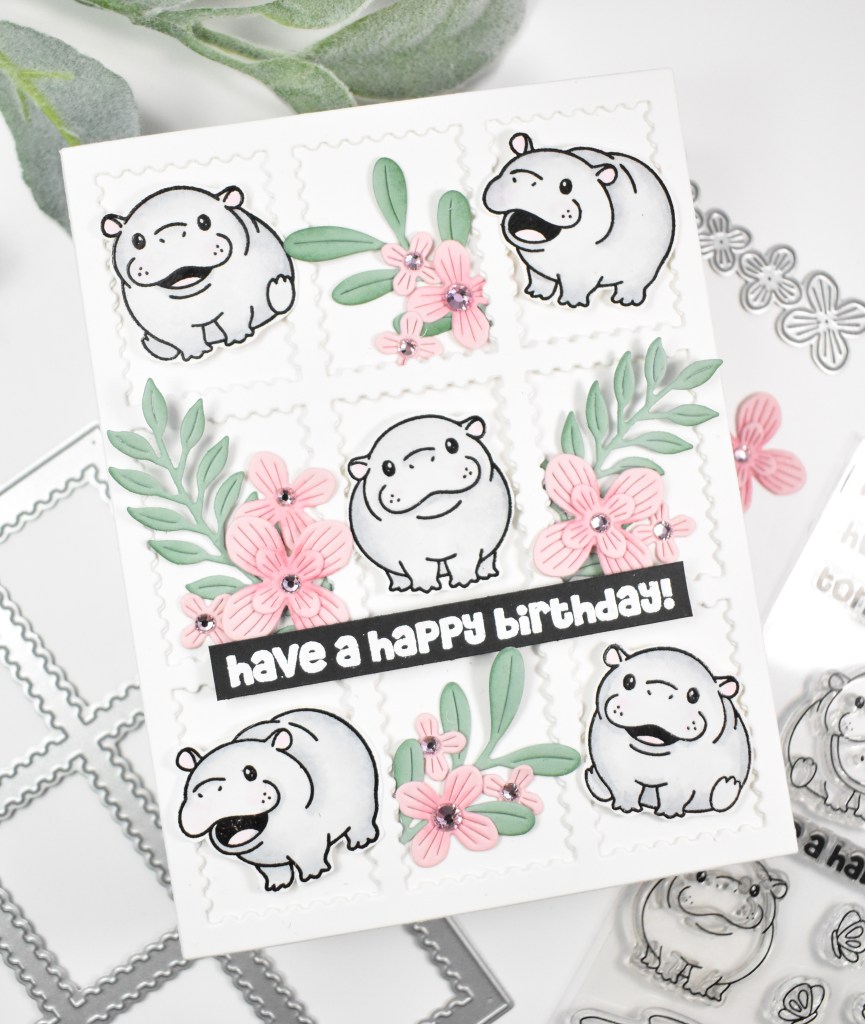
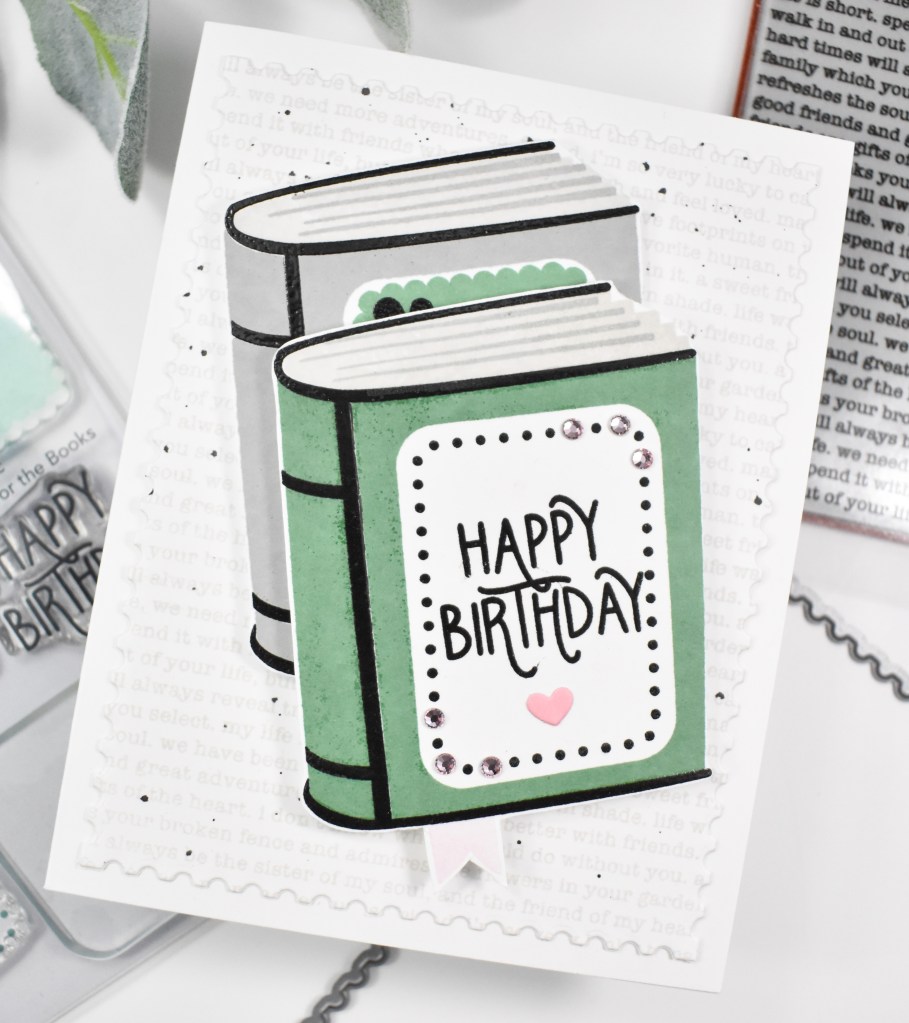
Simon Says Stamp Groovy Birthday

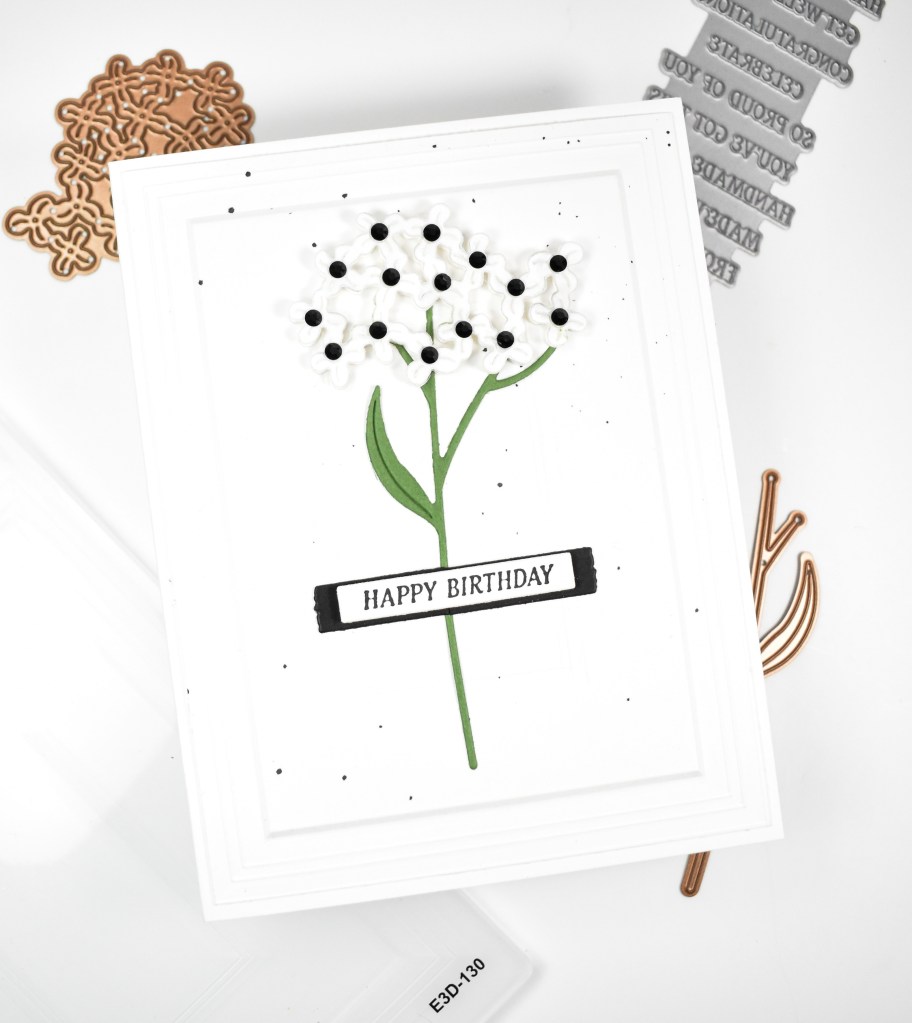
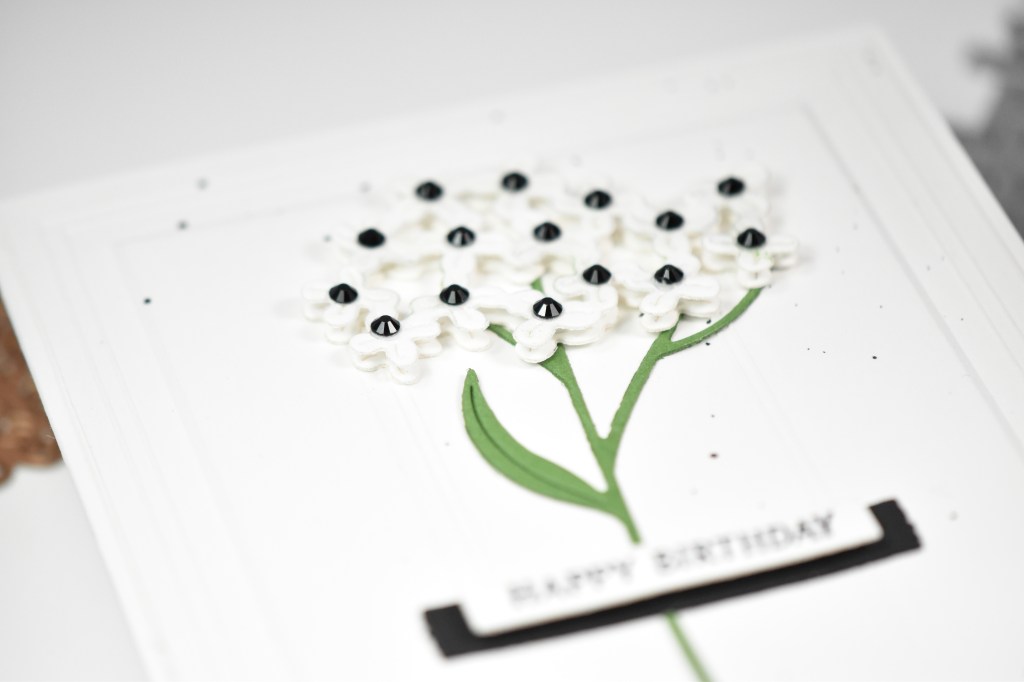
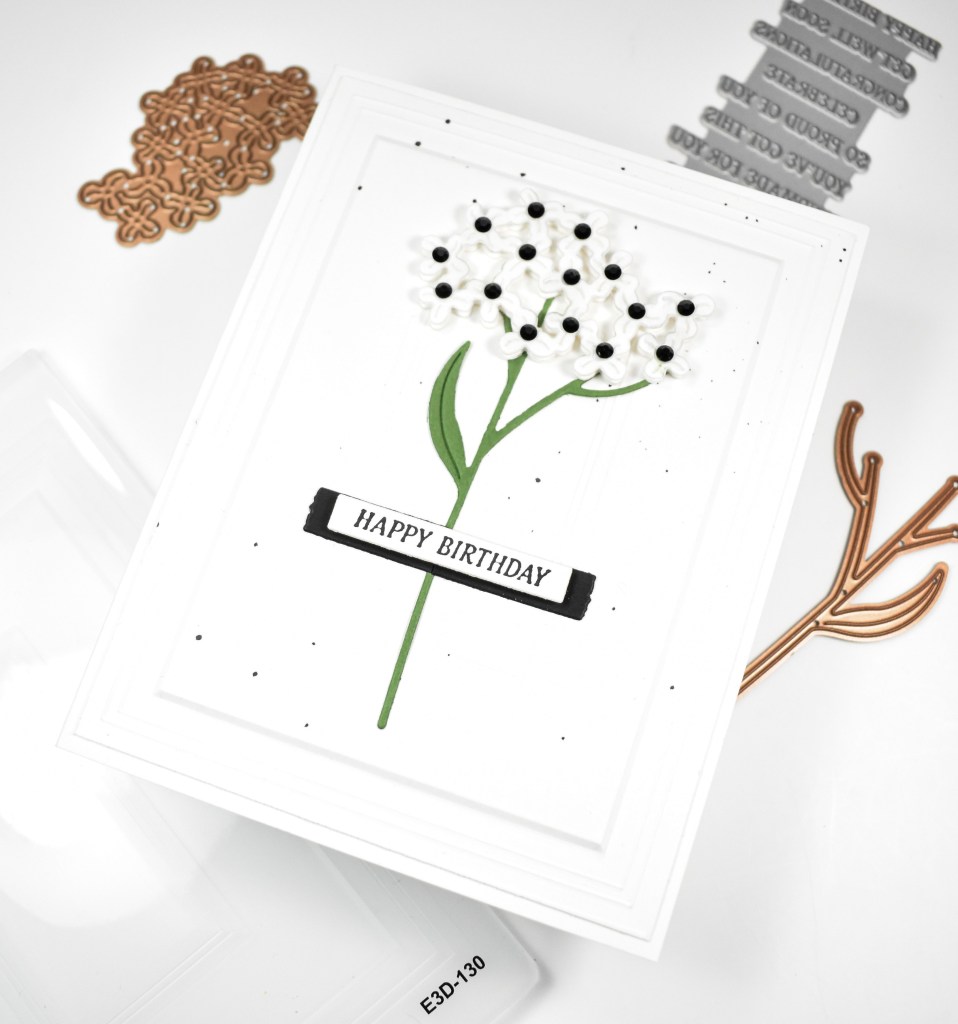
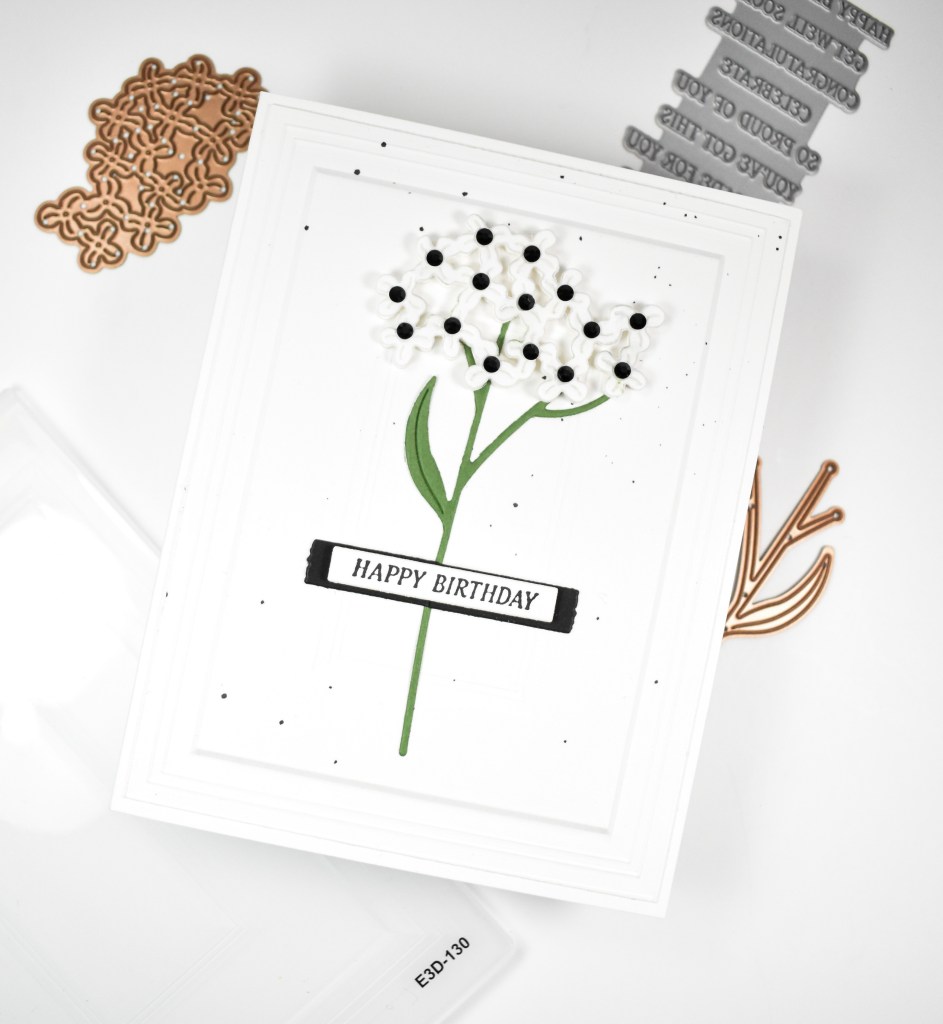
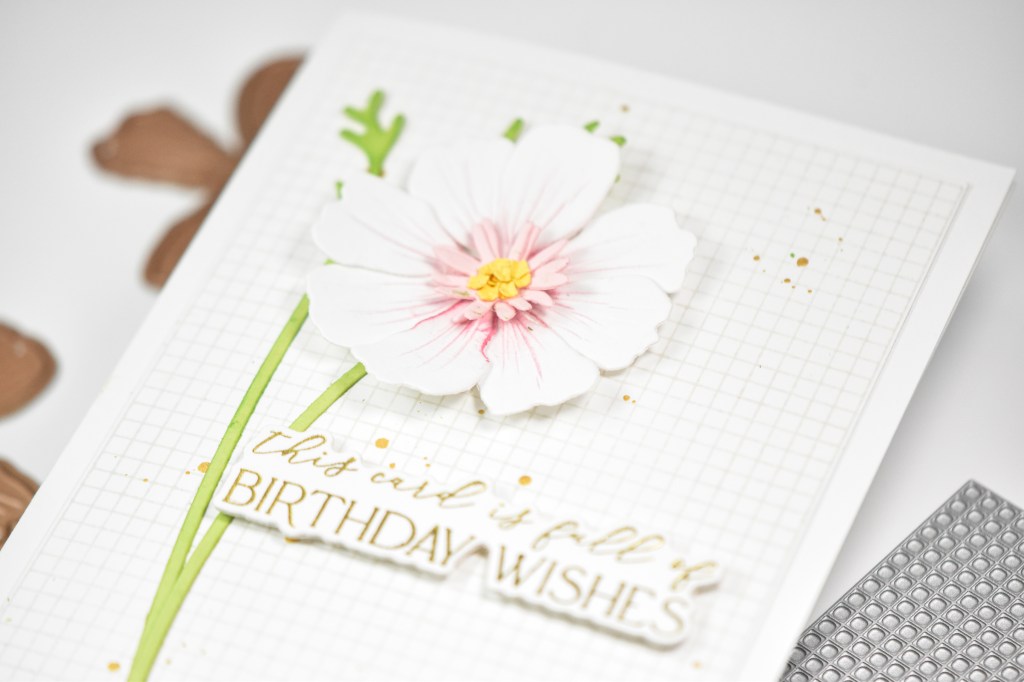
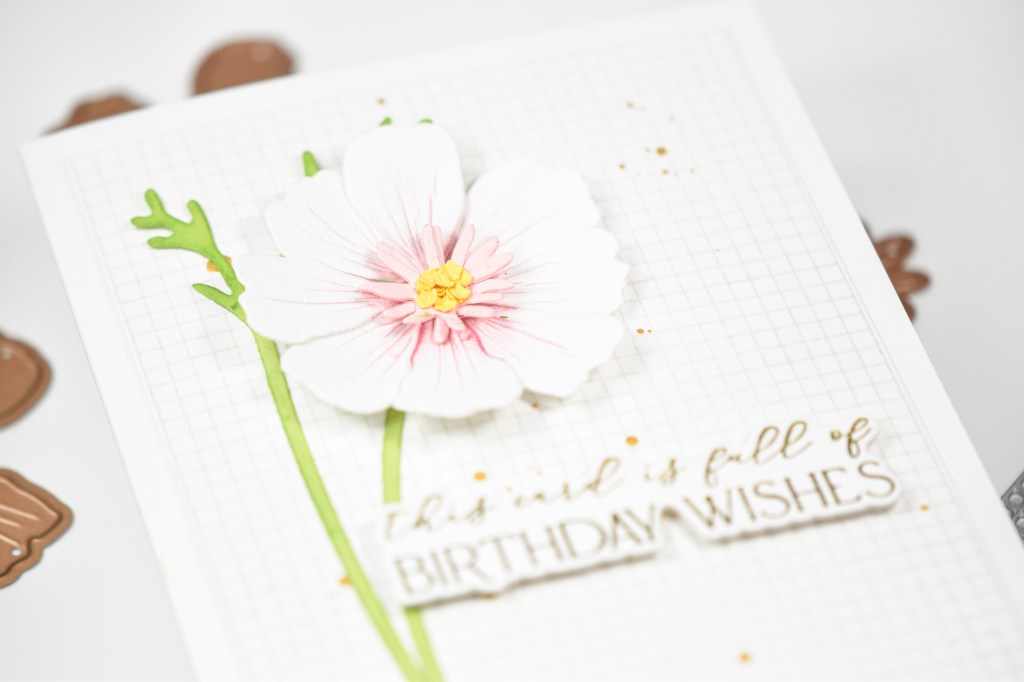
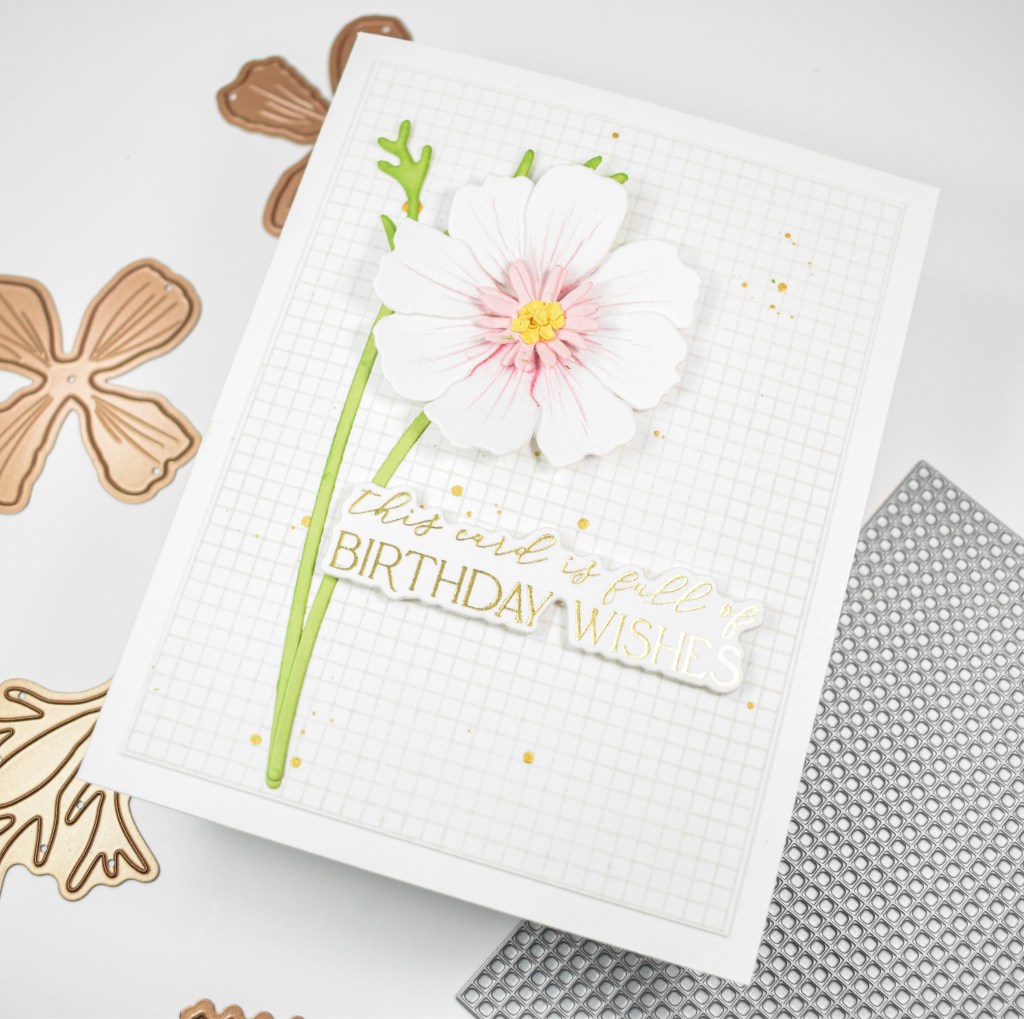
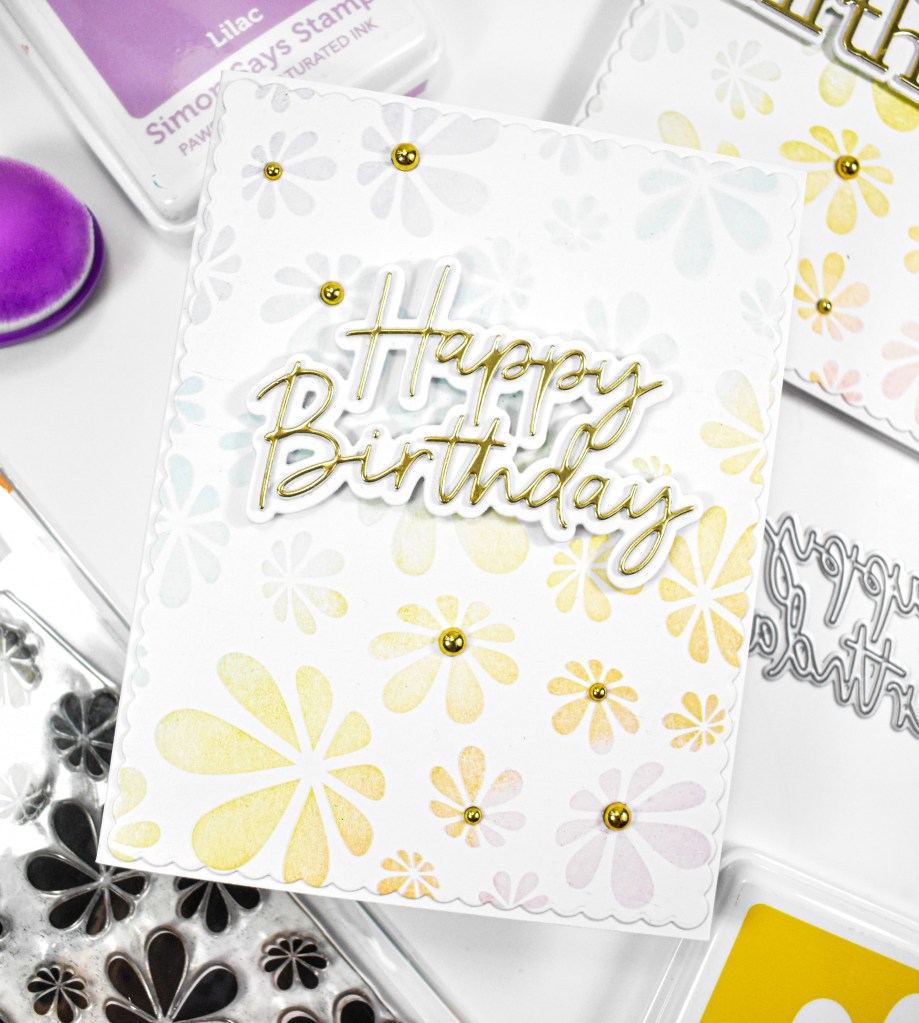
Hello Friends, and welcome back to my blog! I’m still playing with goodies from the Beautiful Moments release, and today’s project is featuring the Groovy Daisies. I decided while I was stamping that I would go ahead and create two panels, so let’s go ahead and get into the details!
NOTE: all supplies are linked in the thumbnails at the end of this blog post.
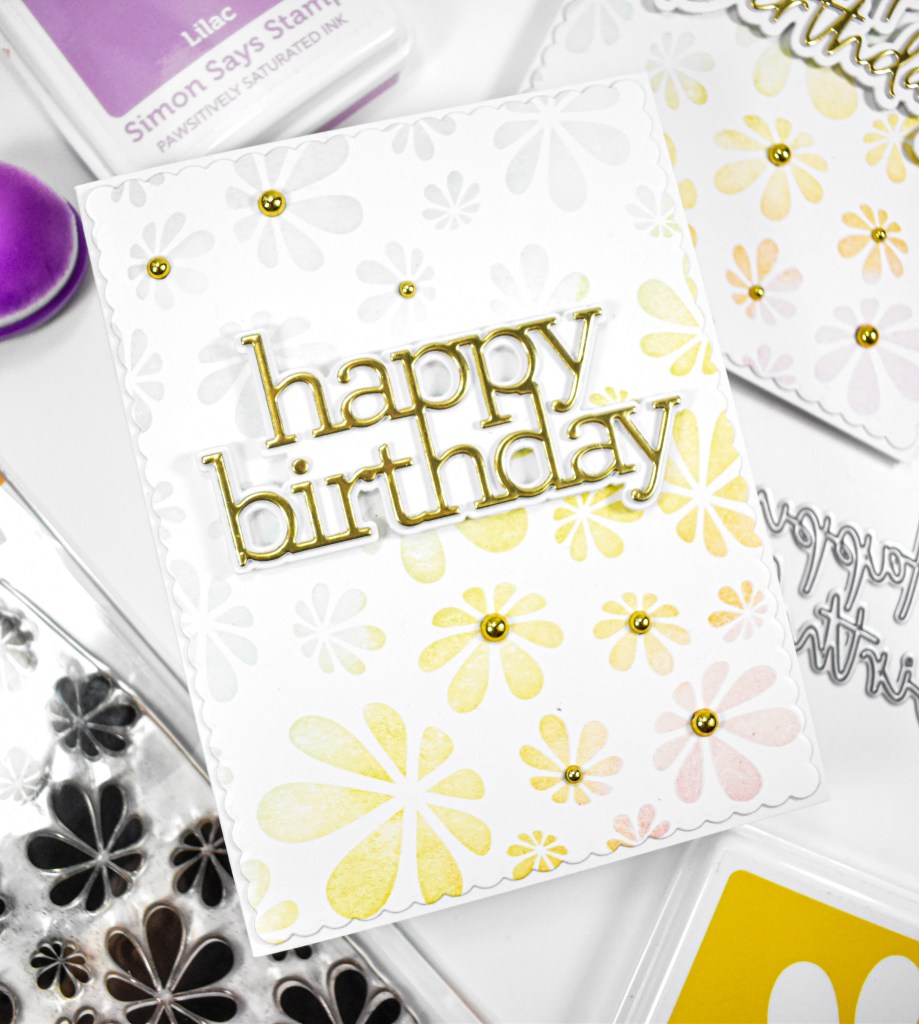
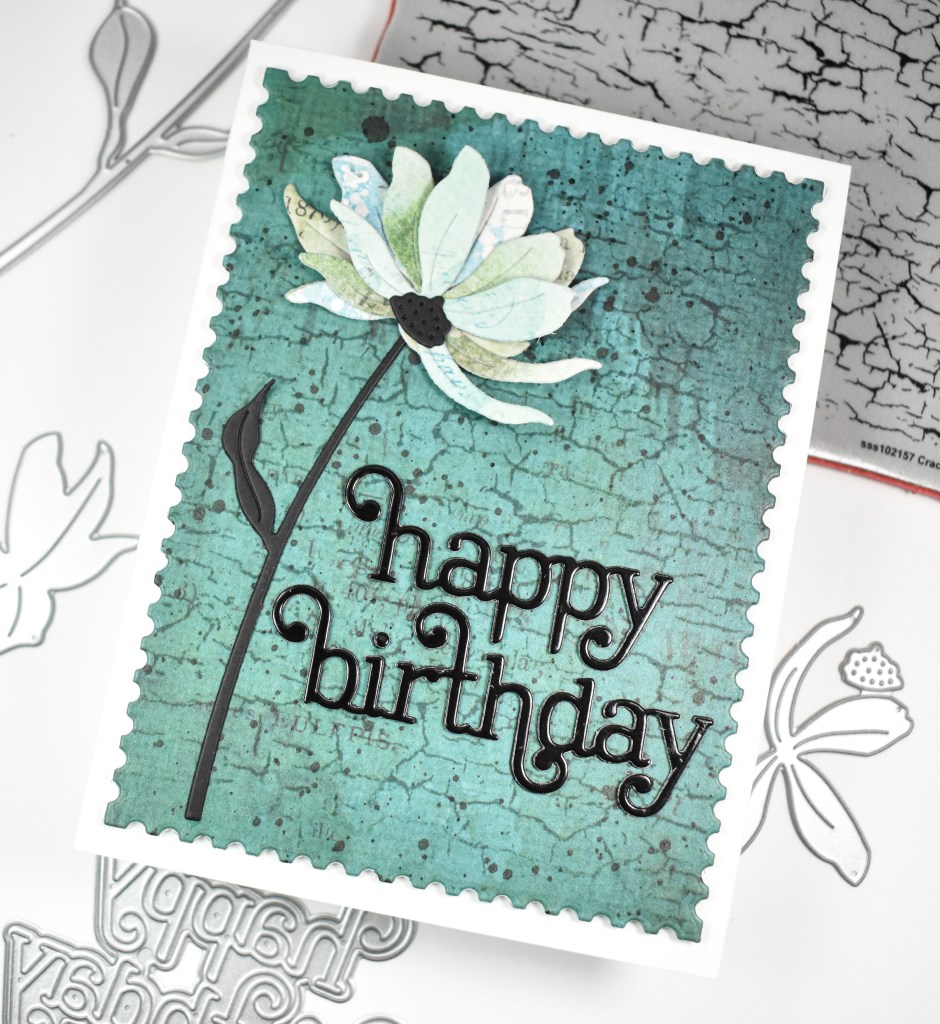
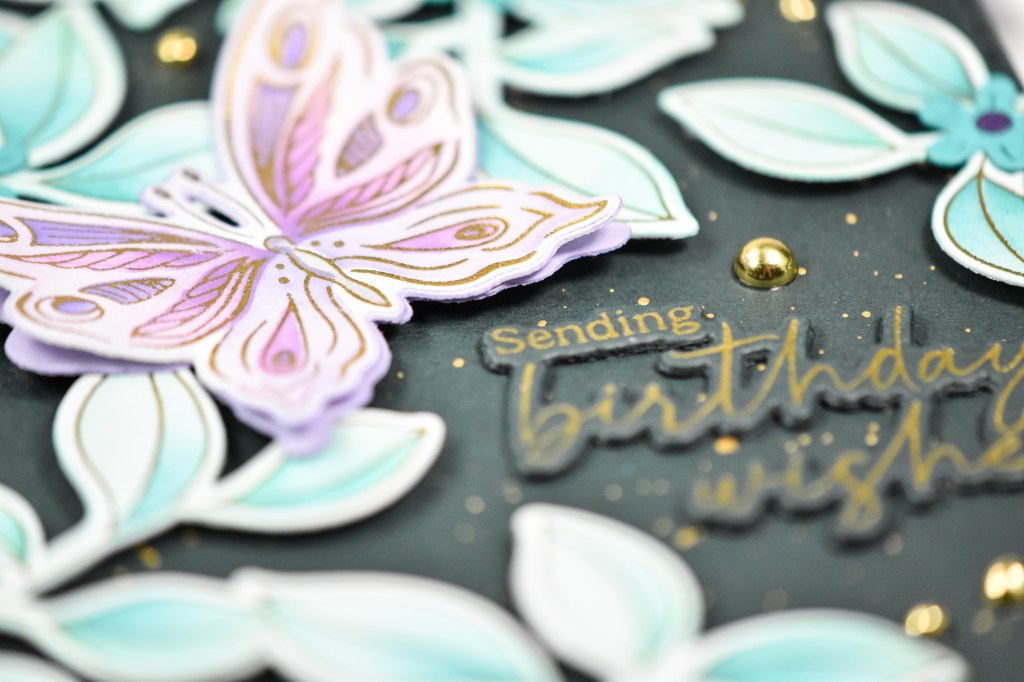
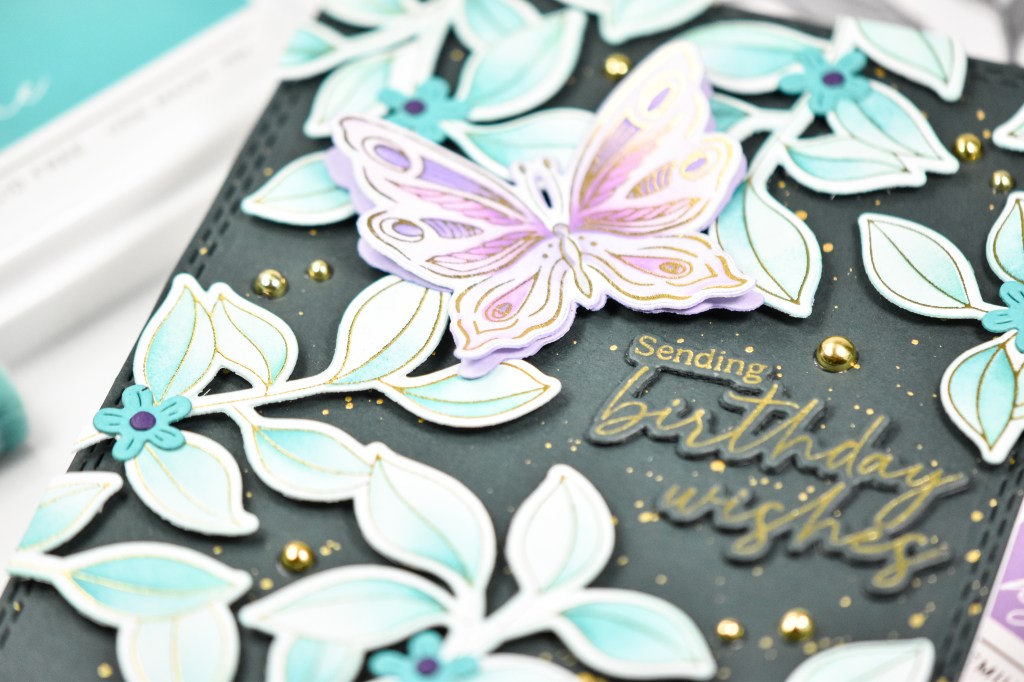
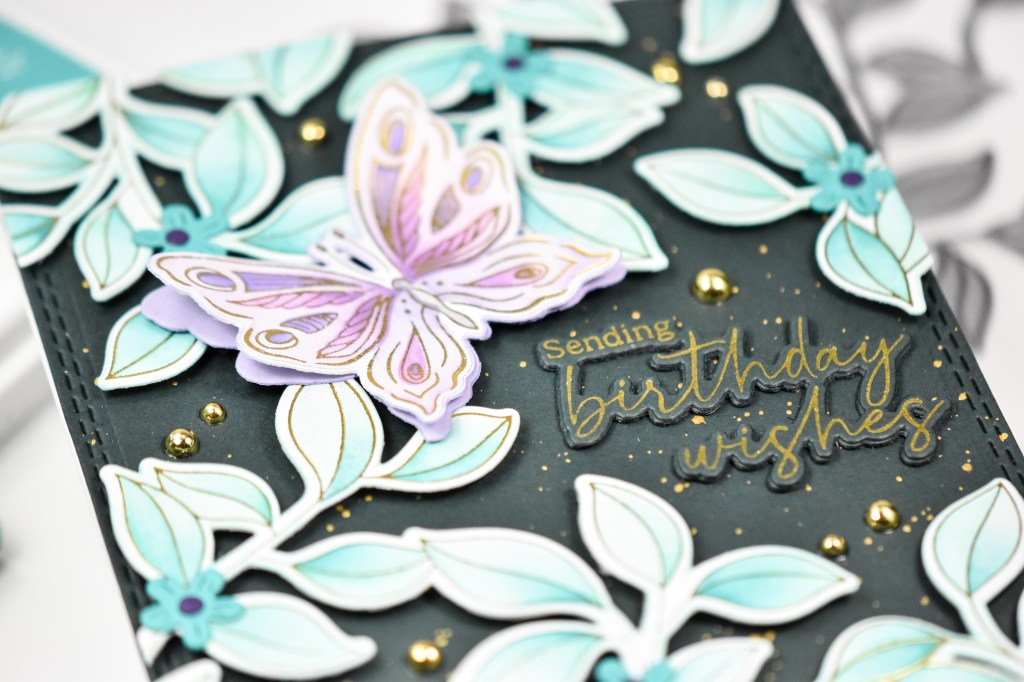
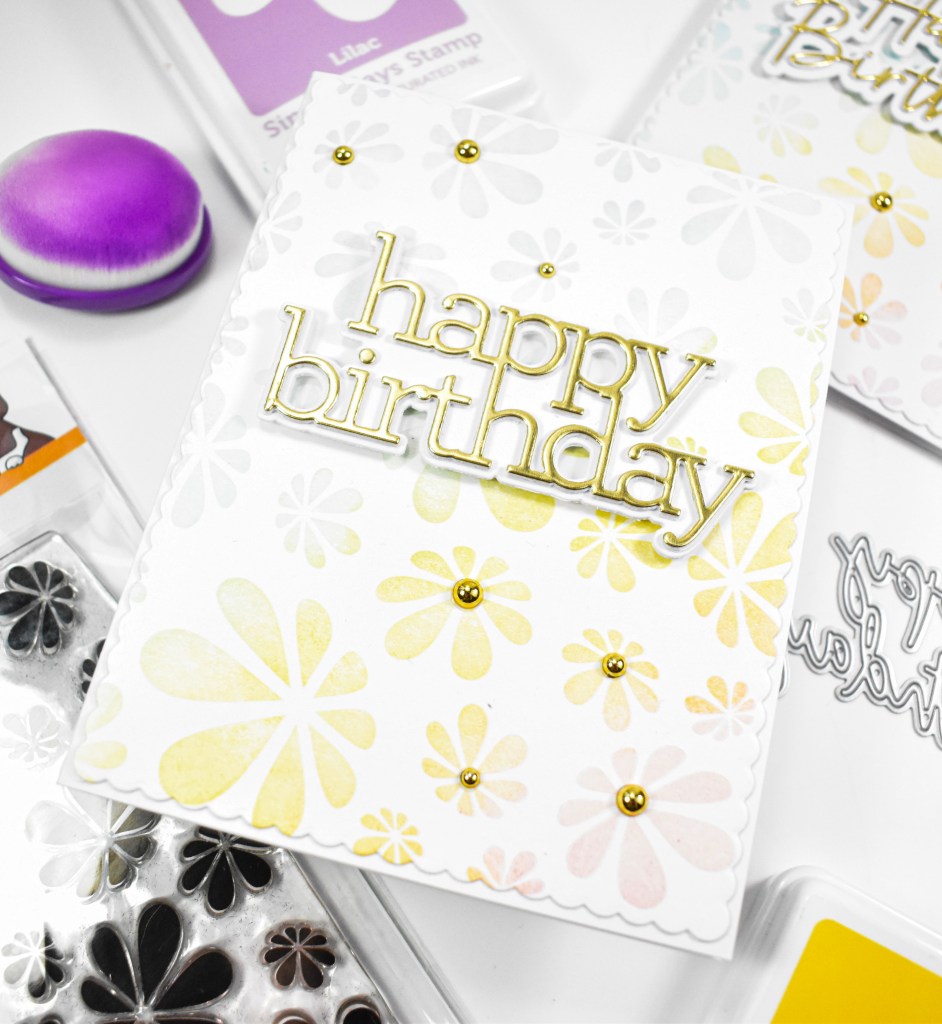
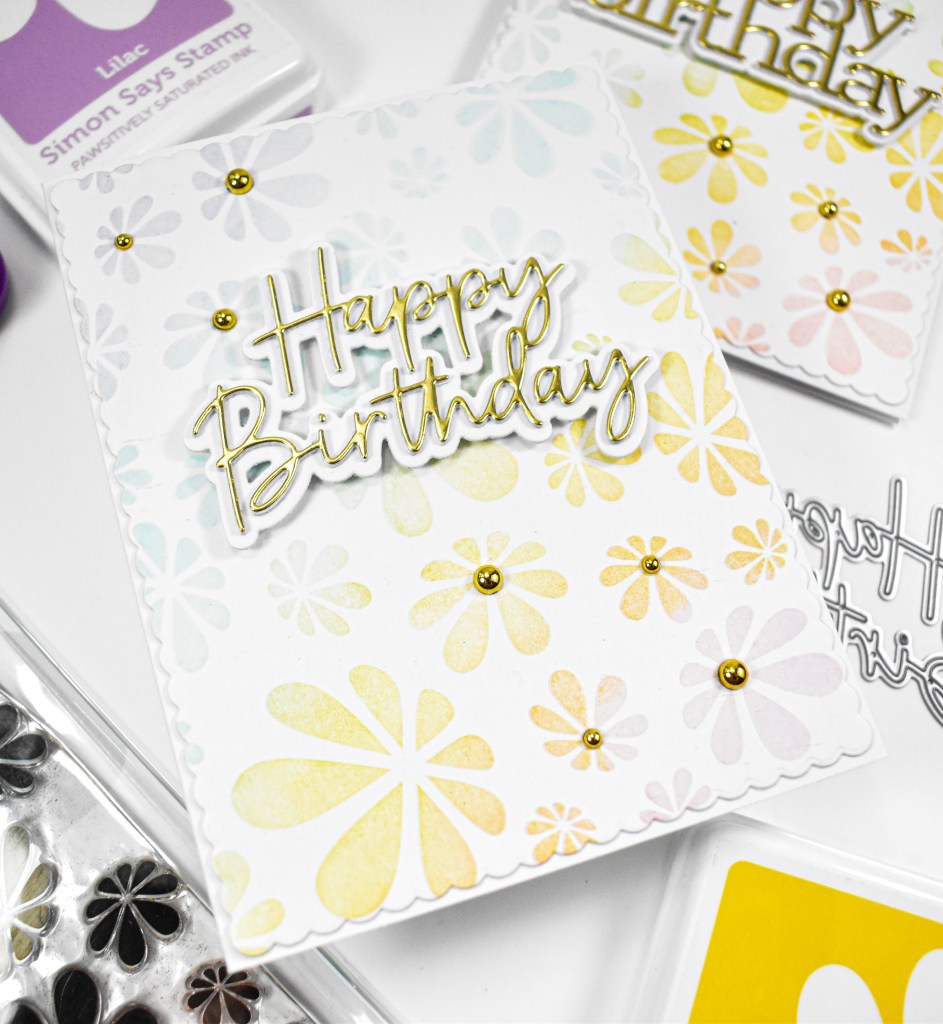
Both panels were created the same, so I put my first panel in the Misti and added some Bubblegum ink to one corner, softening the ink line with a blending brush. I stamped that and moved on to the next color, softening each of the ink lines with a brush so that I didn’t have any of the harsh lines. The other colors that were used were Zest, Seafoam and Lilac.


I trimmed both panels down using the A2 Scalloped Rectangles and then went to work on the sentiments. Those were cut once with gold cardstock and twice from Neenah, as well as cutting the shadow portion twice. All of those layers were adhered together for a stacked sentiment.
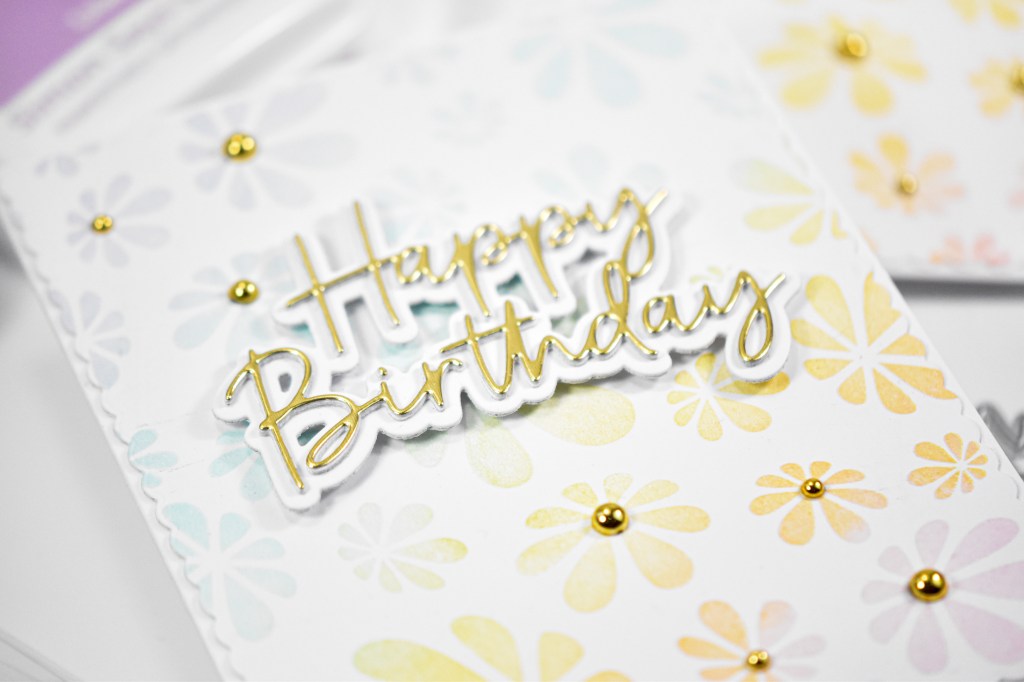
The panels were adhered to the card base, the sentiments were adhered using foam strips, and some gold metallic pearls were added to a few of the flowers to finish up.
That does it for these projects! My ink blending is super light, and I think these would be gorgeous using some darker colors as well. I might have to give that a go sometime soon! Thanks for joining me, and I hope you have a fabulous day!
Supply List
Affiliate links used at no cost to you. What does this mean? If you use the links within this post to make a purchase, I receive a small commission, which allows me to continue to post crafty content for your enjoyment. I truly appreciate your support!
Latest Posts
- Simon Says Stamp Groovy Birthday

- Simon Says Stamp Amazing Scattered Leaves

- Simon Says Stamp Beautiful Friend Floral

- Together by Design Featuring Pinkfresh Studio

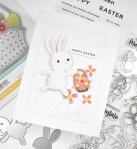
- Simon Says Stamp Basket Bunny
Latest Instagram Posts