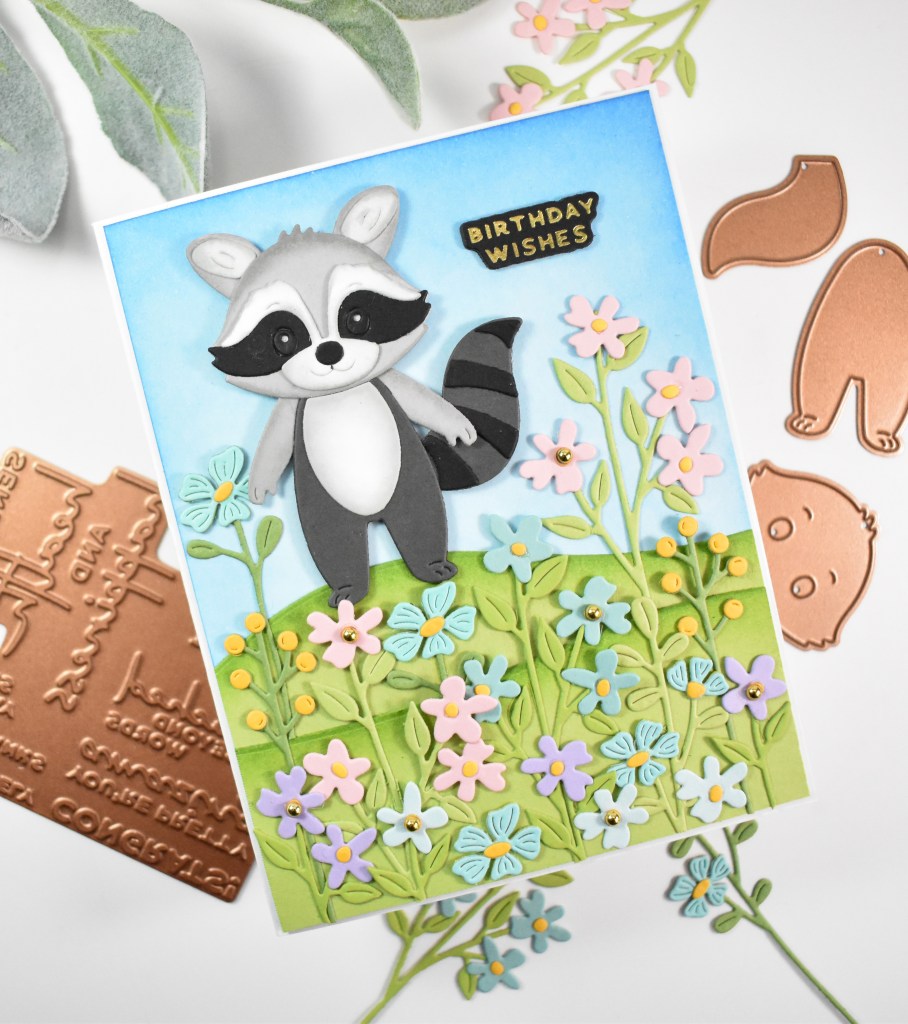
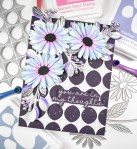
Spellbinders Trailside Birthday Raccoon

Hello Friends, and thanks for joining me! My friend, Allison Frazier, has a brand new collection with Spellbinders, and I was super excited to get to play with this Trailside Trio set! There are lots of products and add-ons for this set, but for today, I’m just playing with the trio. Let’s go through the details.
NOTE: all supplies are linked to multiple sources in the thumbnails at the end of this blog post.
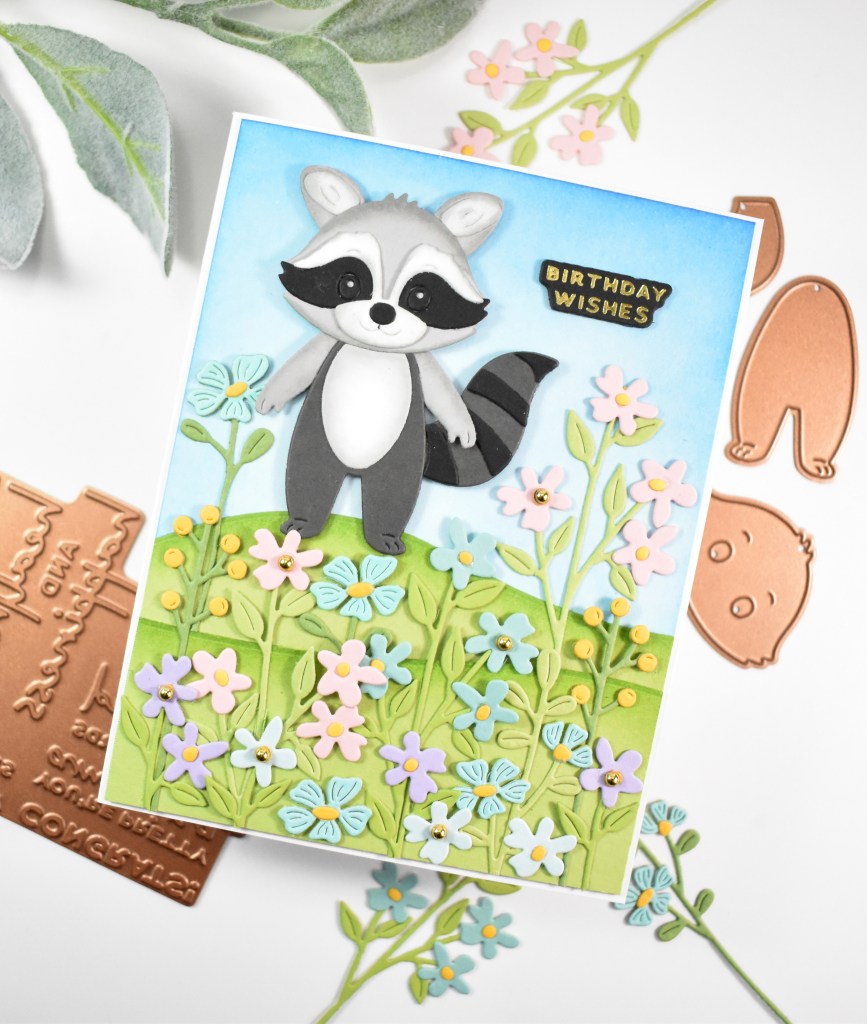
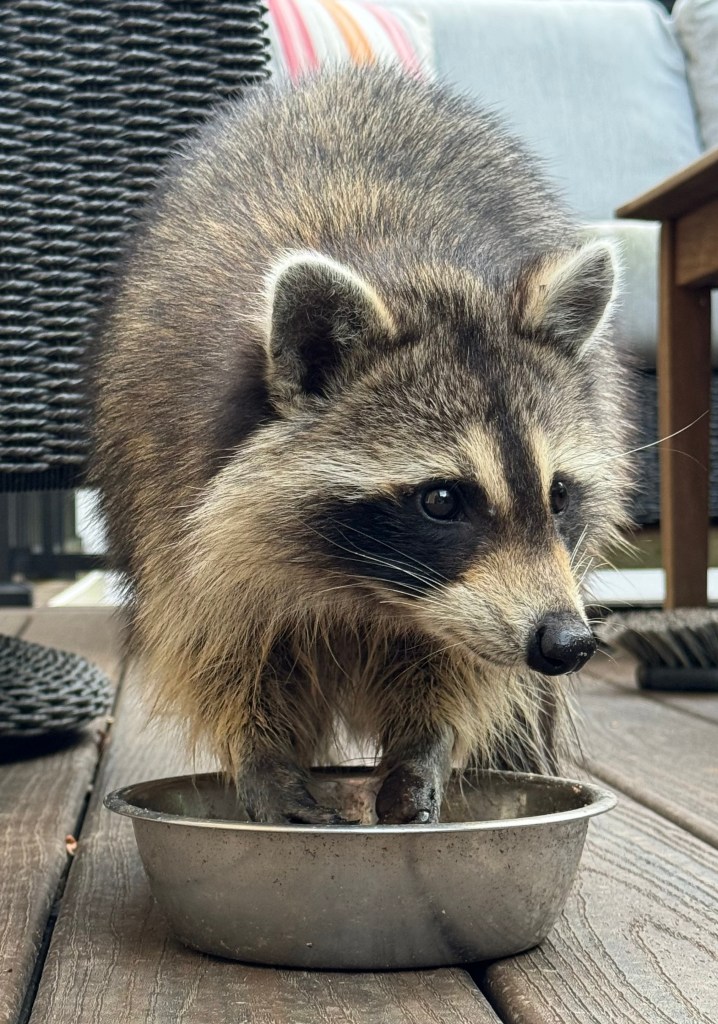
I love this set because my friend designed it, but I also love this set because I live on several acres of land, and we see these same animals on our property every day! I chose to play with the raccoon, because there is a raccoon that comes to visit me almost daily! She came the first time as a baby with her Mom back in 2021, and just last year, she brought her very own baby to visit me as well. She does allow me to pet her and hang out with her on the deck. So there you have it, a little glimpse into my life! I’ll add a pic of her at the bottom of this post, if you’re interested in seeing my raccoon friend!
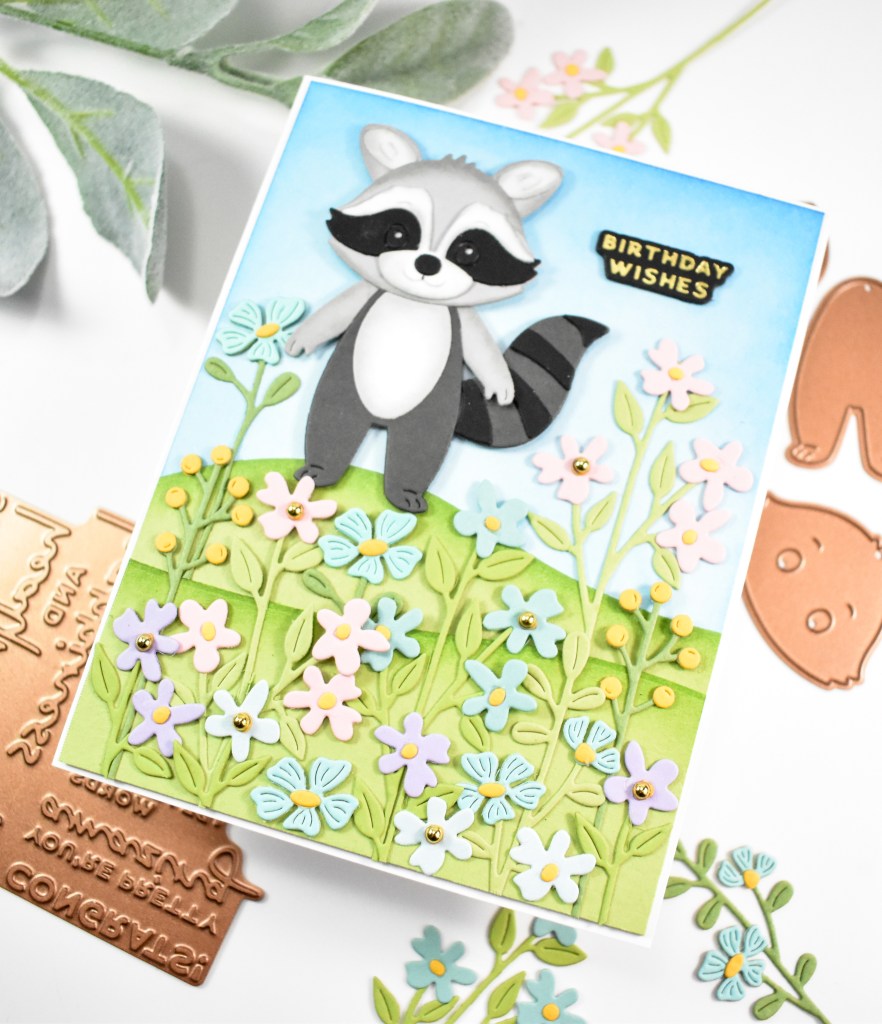
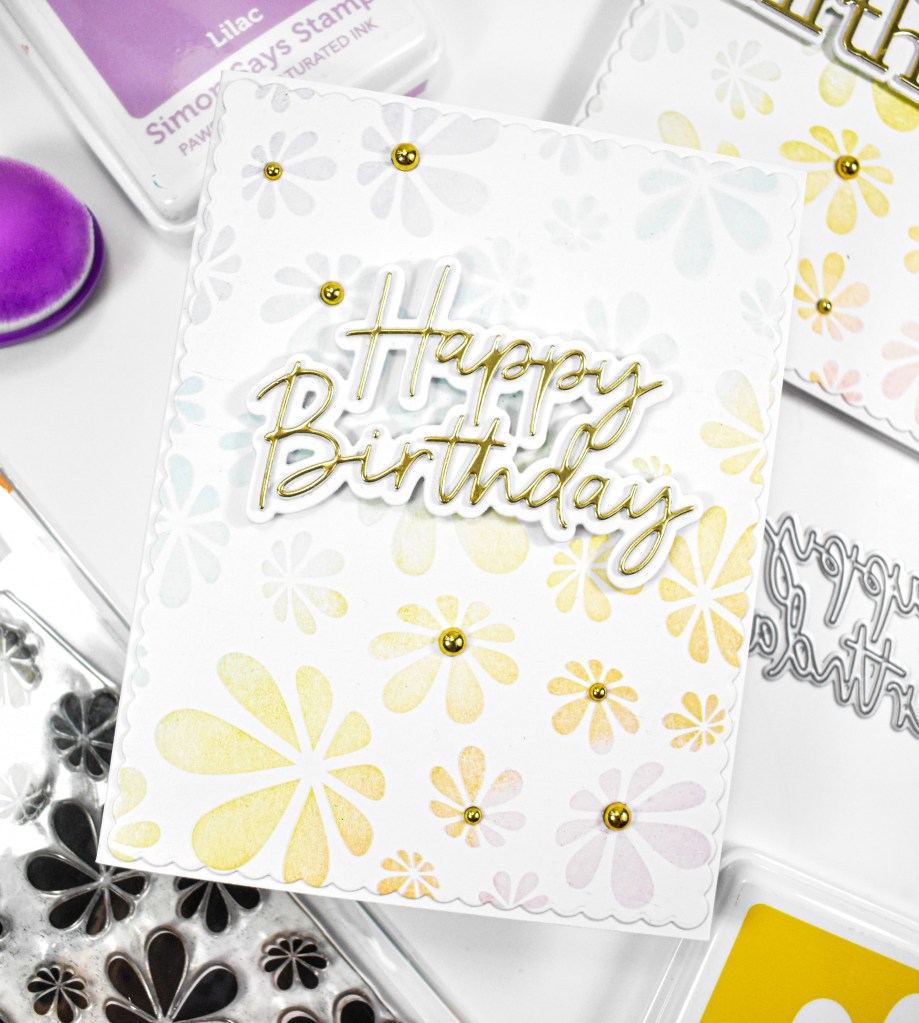
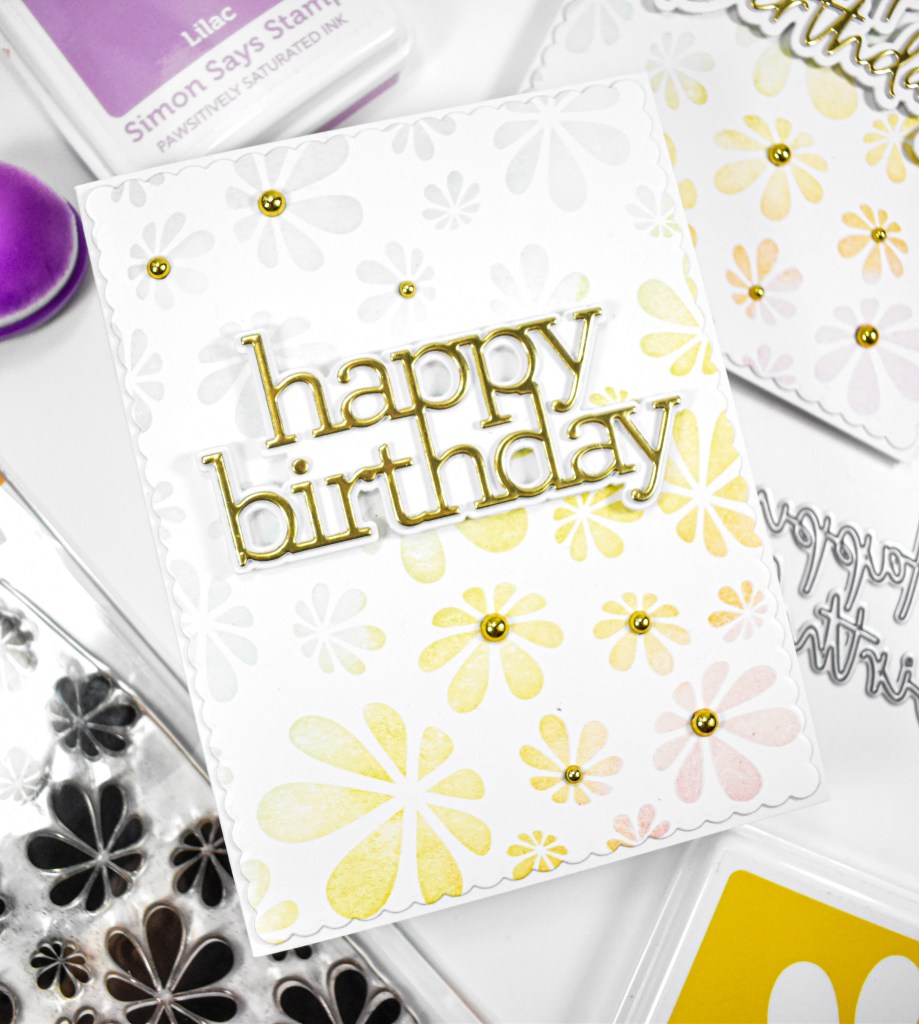
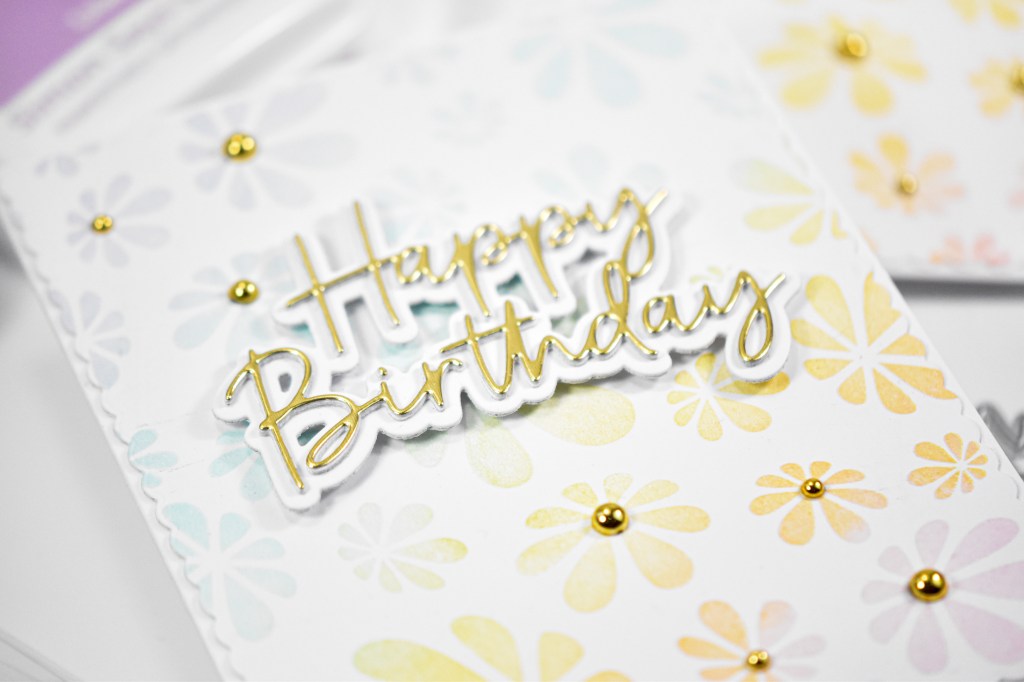
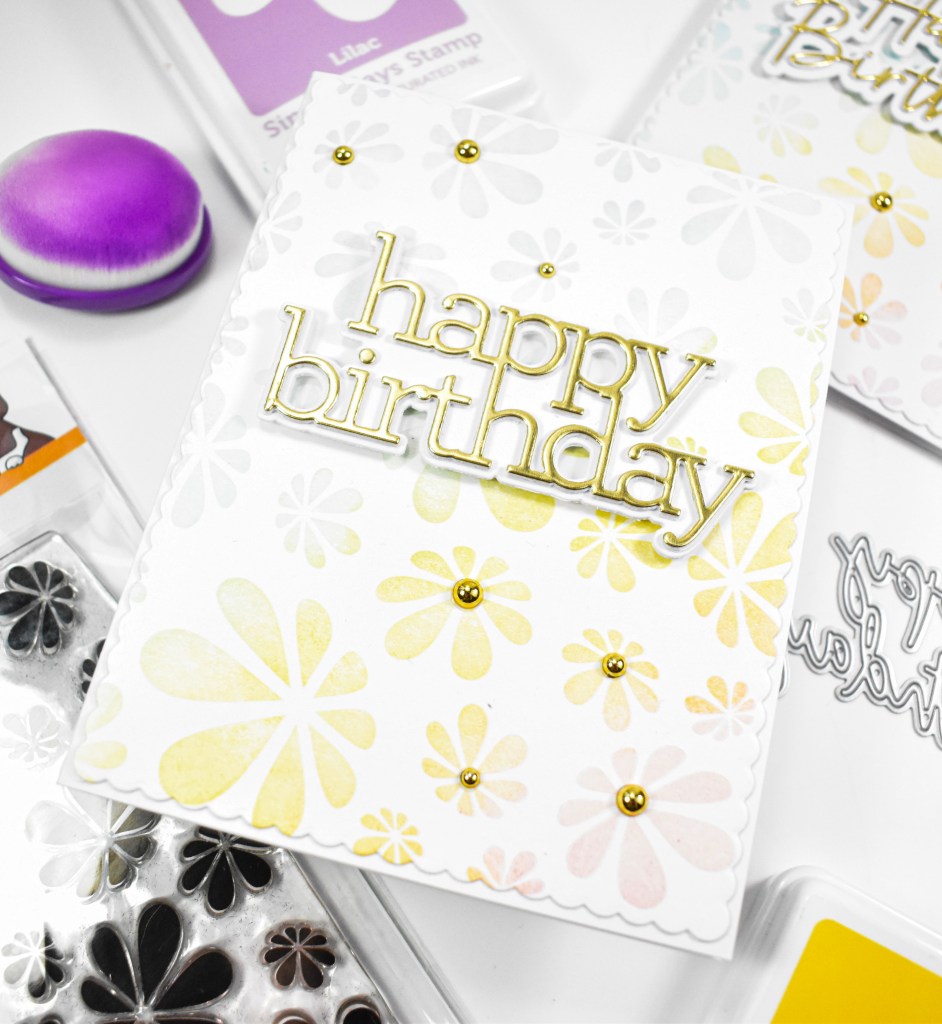
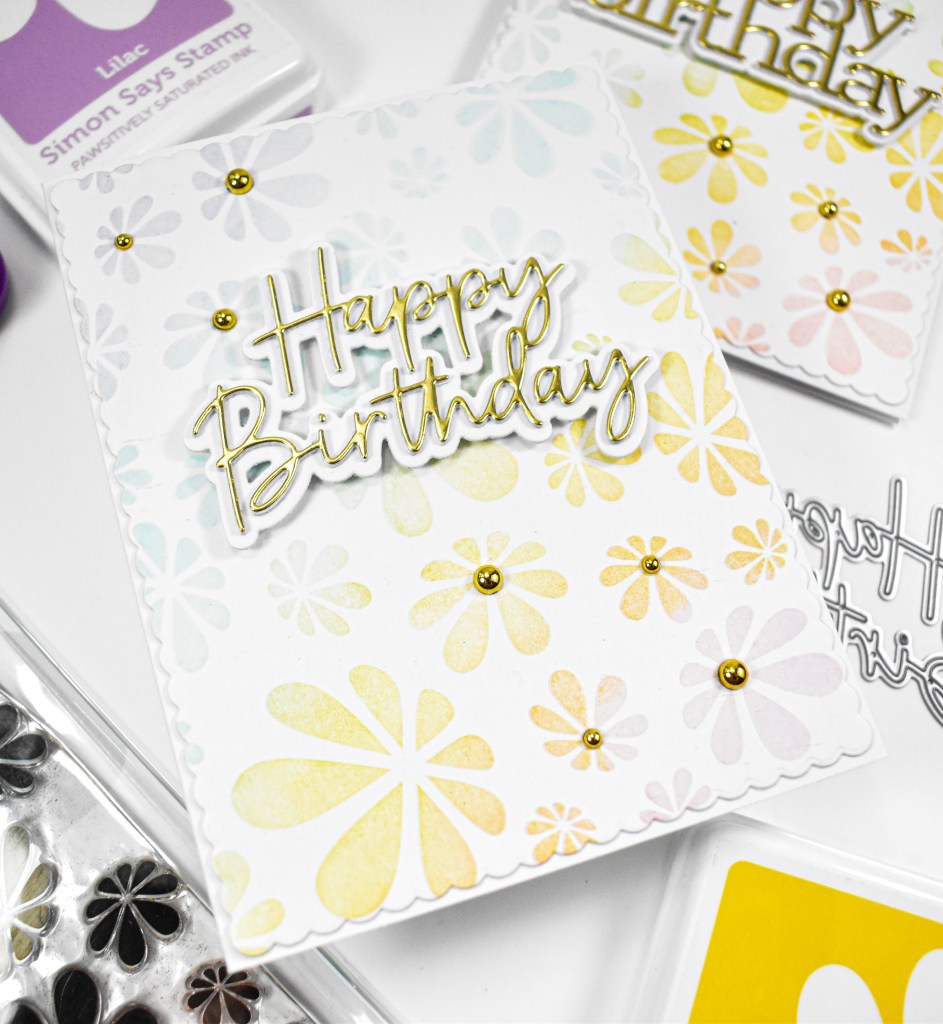
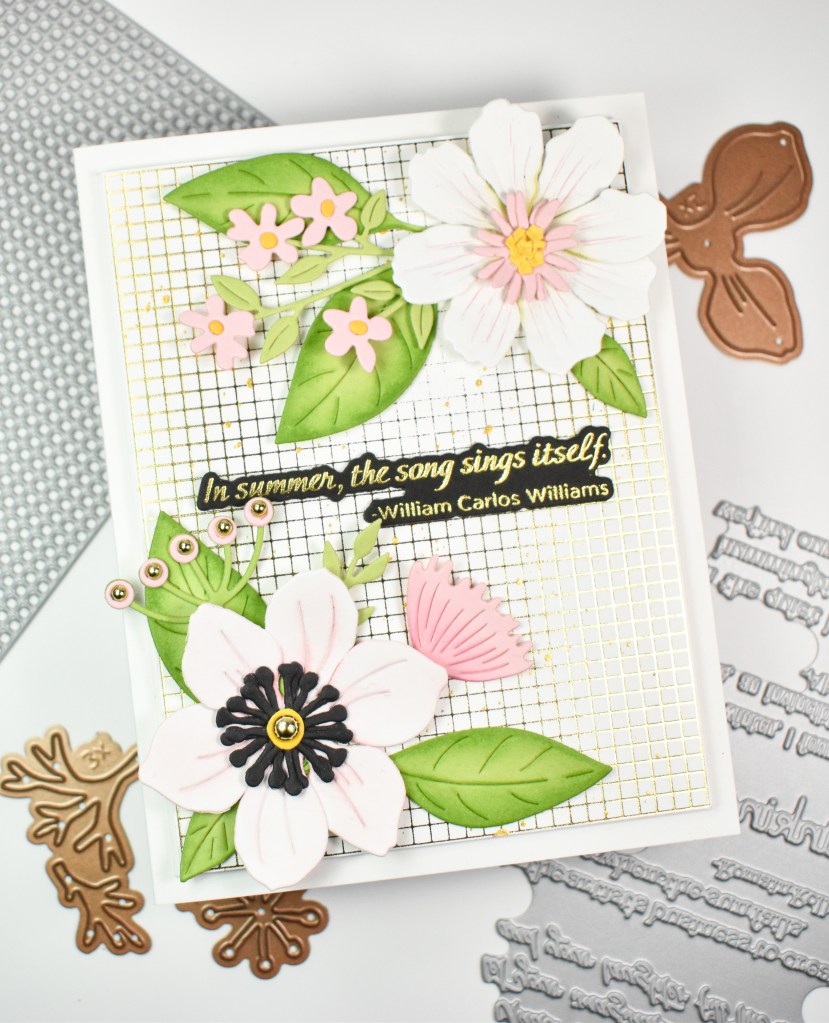
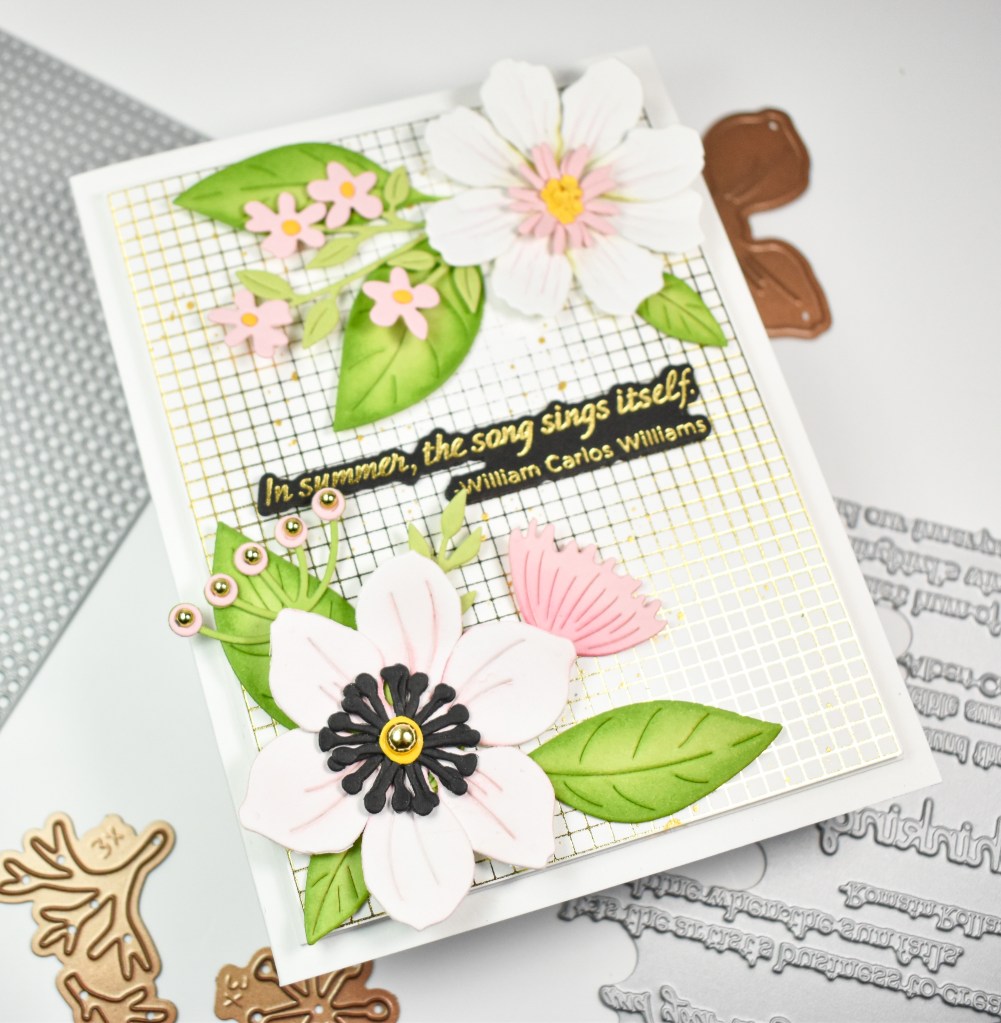
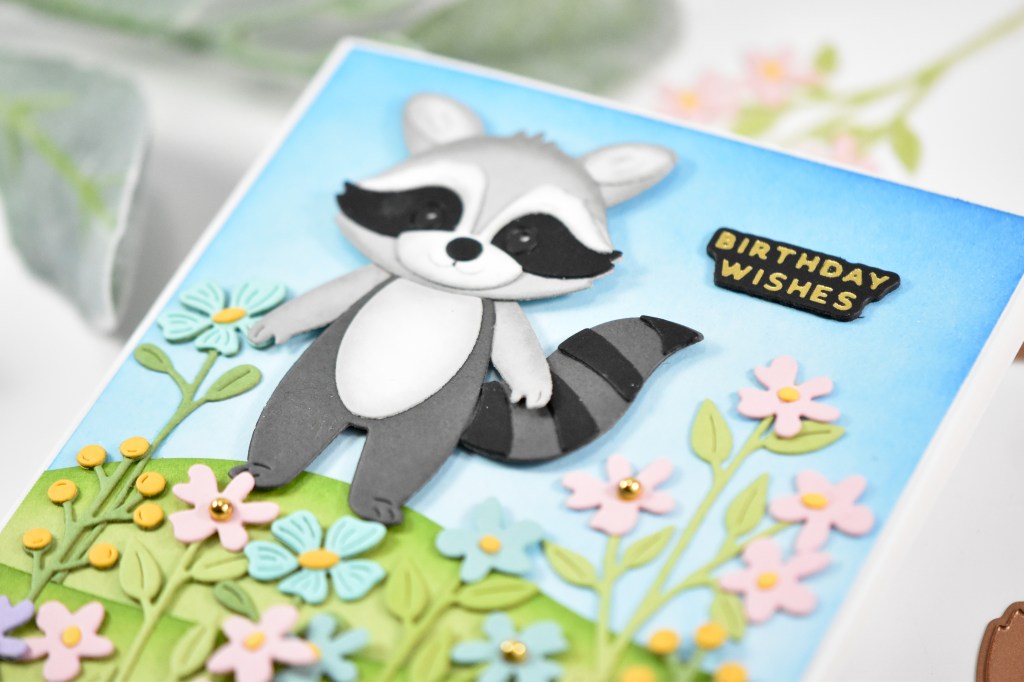
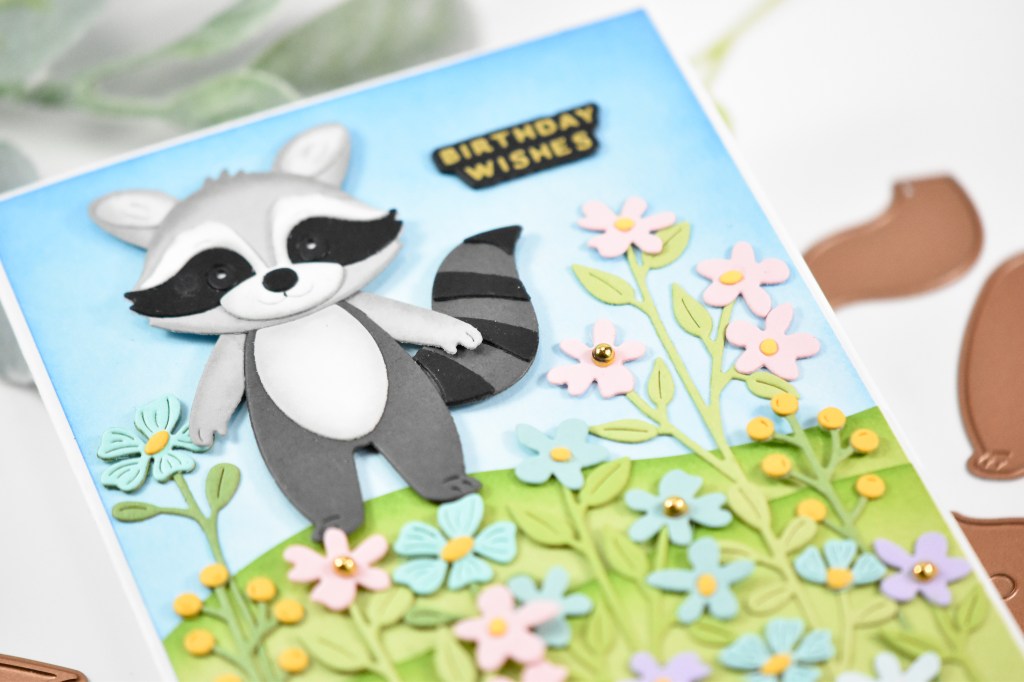
I first die cut all of the pieces of the raccoon from different gray colors, white and black cardstock. On the white portions, I did some light ink blending using Flannel ink before assembling the raccoon with liquid glue. The design of this card came about because I actually had all of these flowers already assembled, so I thought a flower field could be super cute.
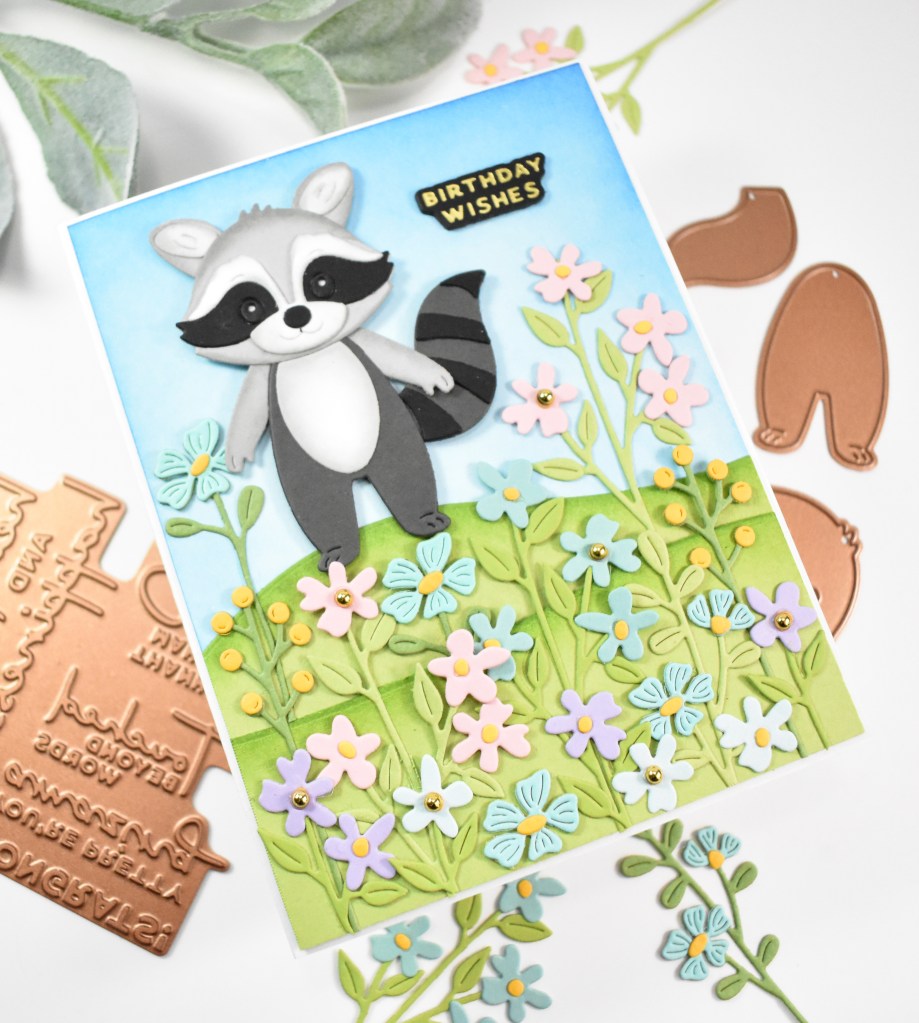
I used an older DOML set to cut the hills from green cardstock, and did some ink blending on the tops of those using Pearfection ink. Before adhering those to the card base, I did some blue ink blending to create a sky using Cadette ink. The flowers were adhered using glue, while the raccoon was adhered using foam tape. The sentiment was gold foiled onto black cardstock and adhered with liquid glue as well. To finish up, I added a few gold metallic pearls to some of the flower centers to tie in the gold sentiment.
That does it for this project! I hope you like it, and I hope you’ll swing over and check out Allison’s collection on the Spellbinders website. Thanks again for joining me, and I hope you have a wonderful day!
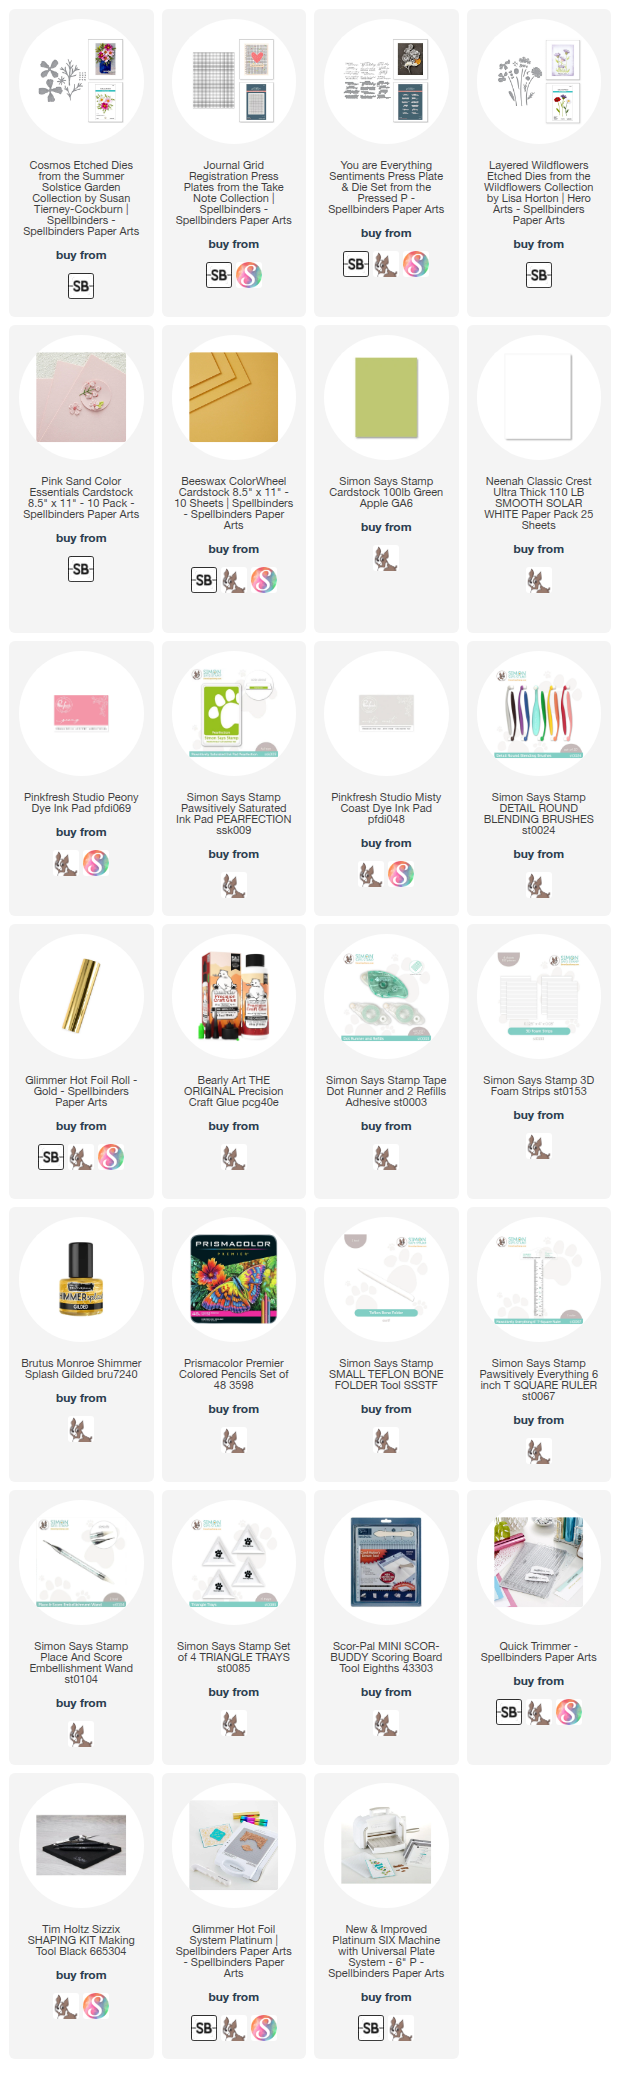
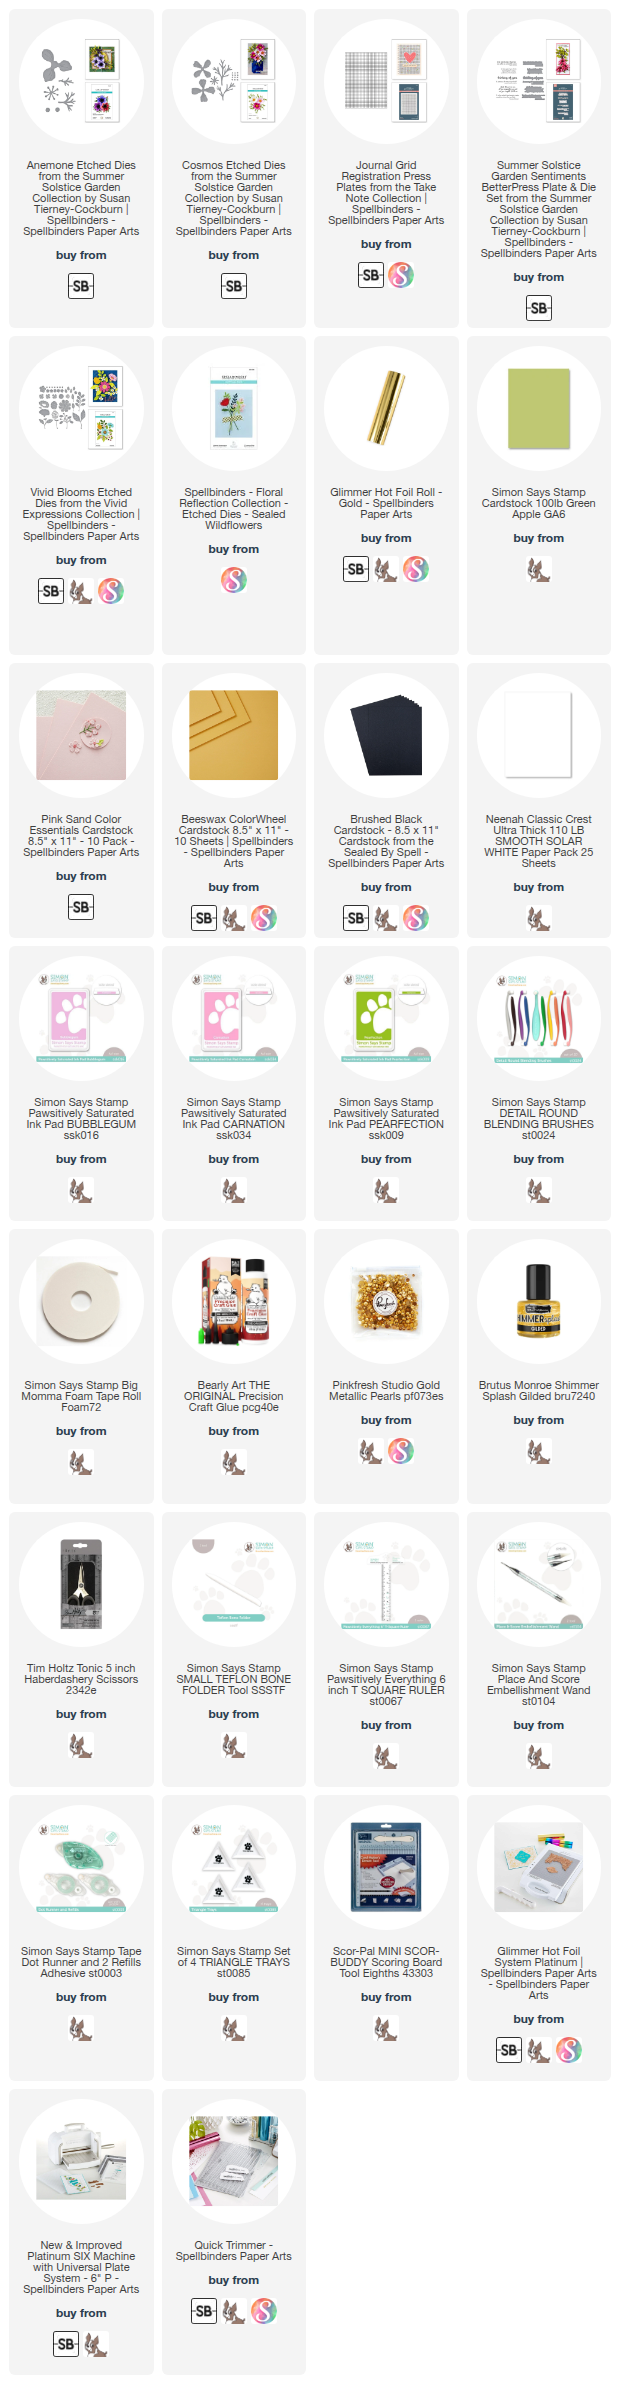
Supply List
Affiliate links used at no cost to you. What does this mean? If you use the links within this post to make a purchase, I receive a small commission, which allows me to continue to post crafty content for your enjoyment. I truly appreciate your support!
Latest Posts
- Simon Says Stamp Grungy Dewdrop Daisy

- Simon Says Stamp Pastel Birthday Wishes

- Simon Says Stamp Best Fish

- Simon Says Stamp Circle Thanks

- Simon Says Stamp Glowing Daisies
Latest Instagram Posts