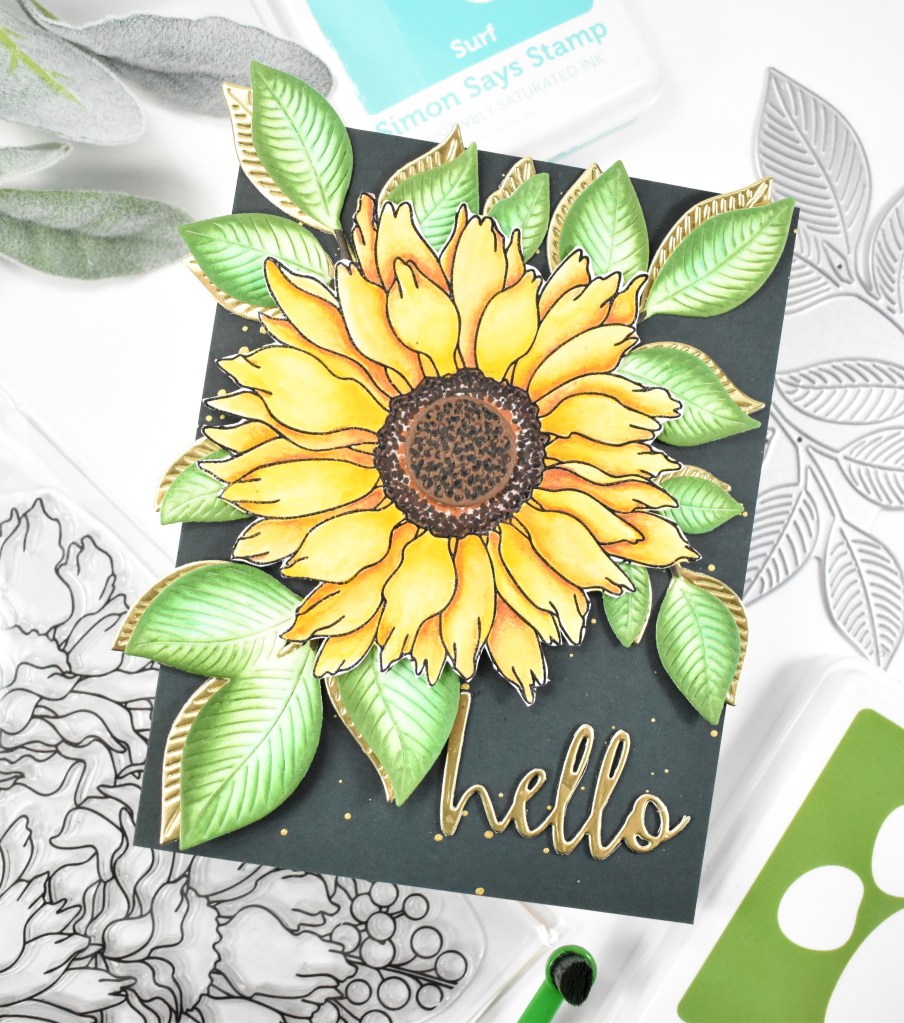
Simon Says Stamp Hello Sunflower

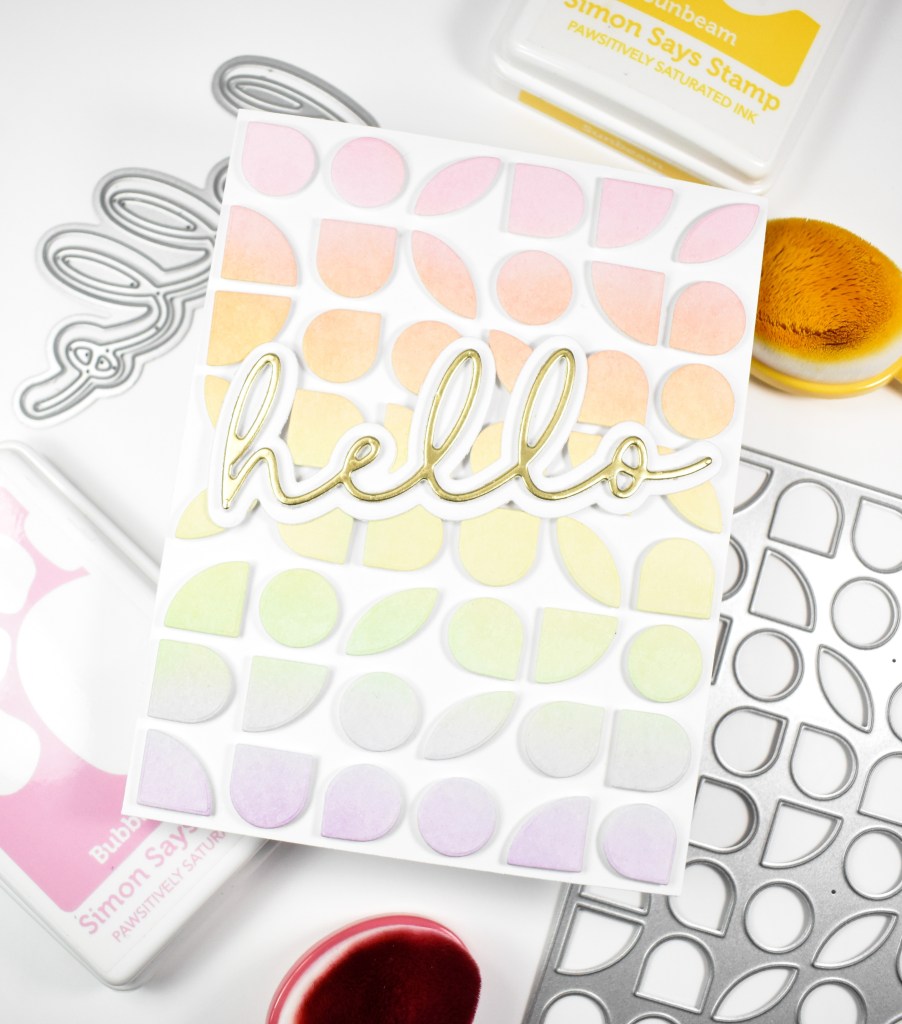
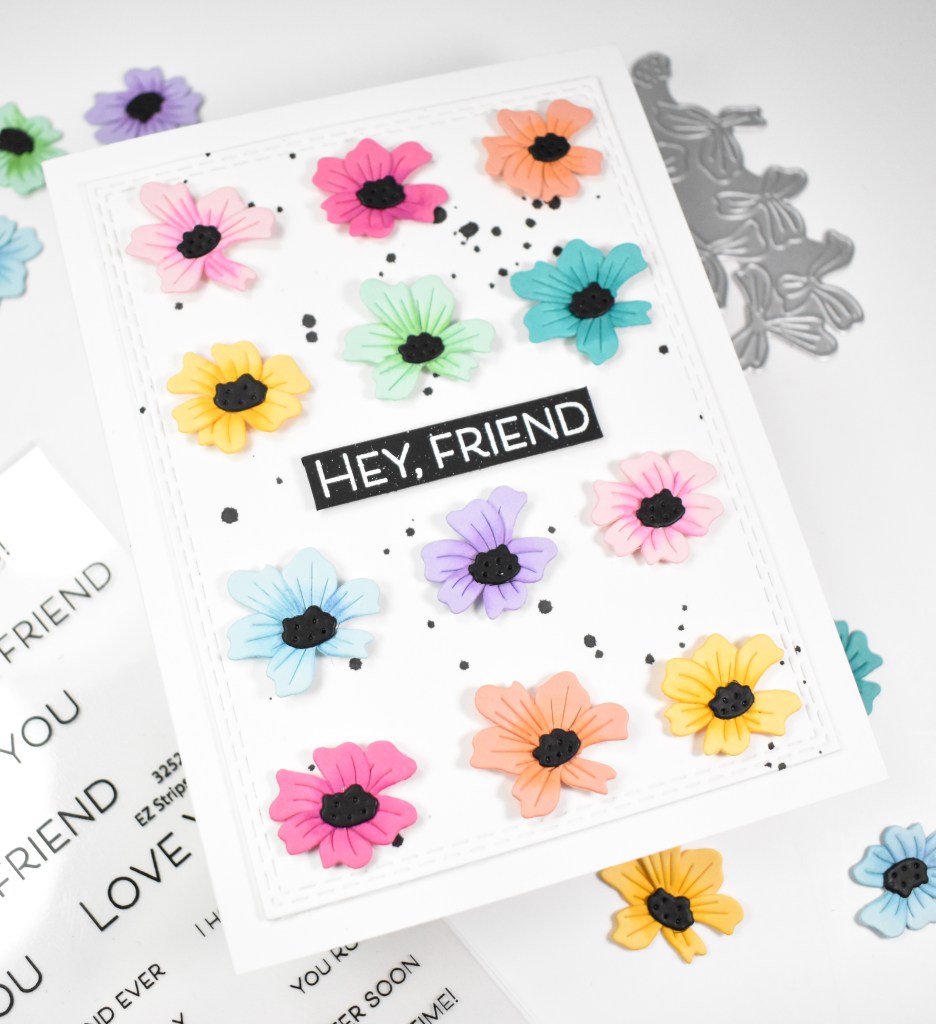
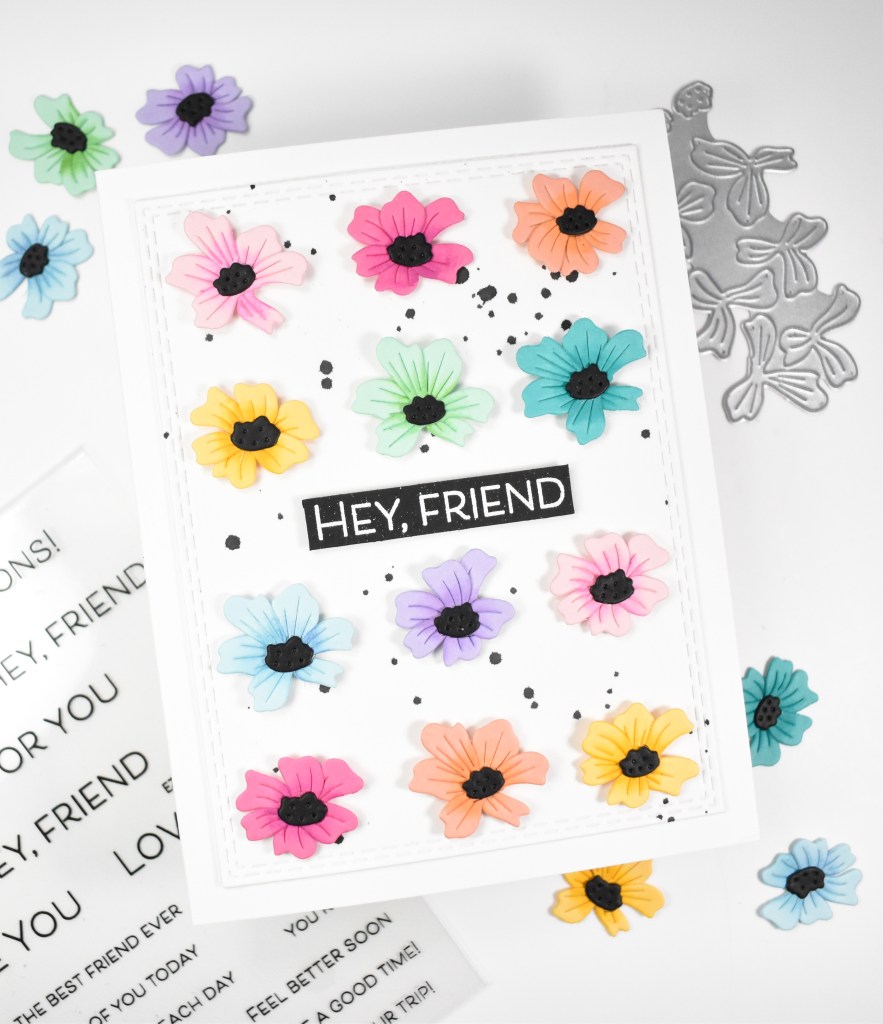
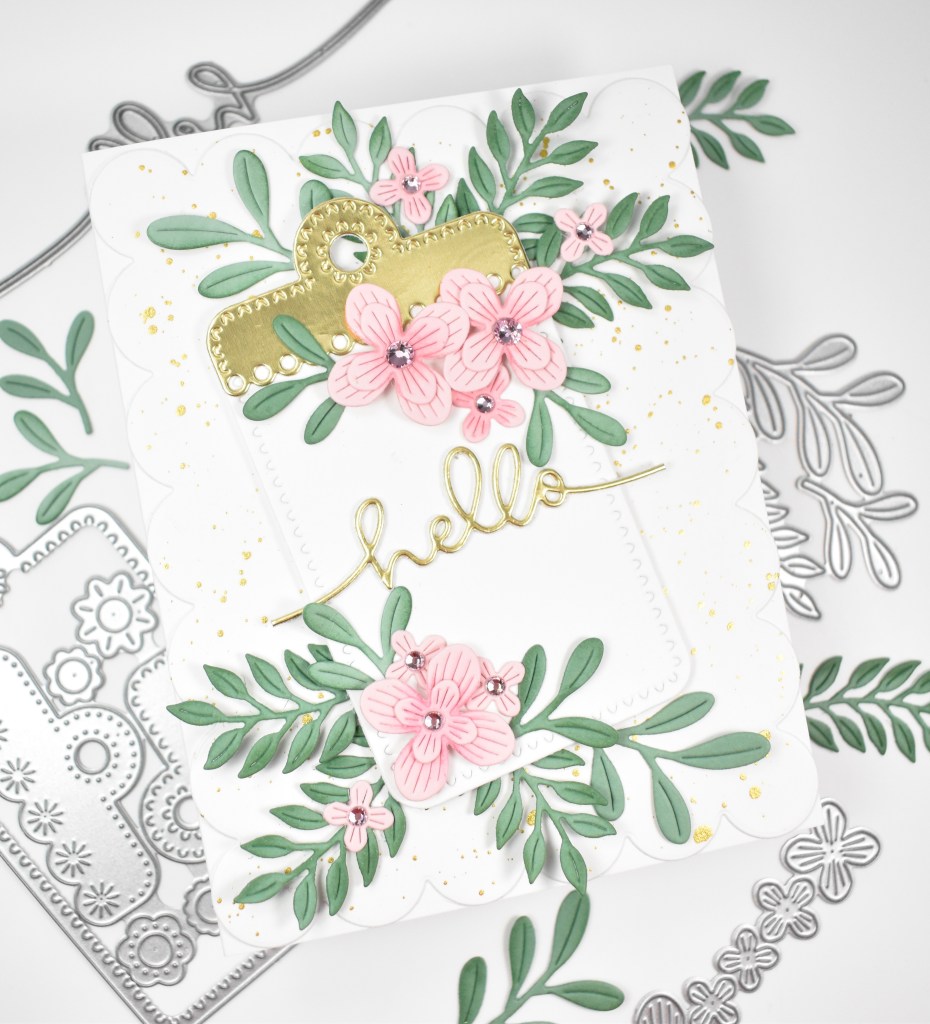
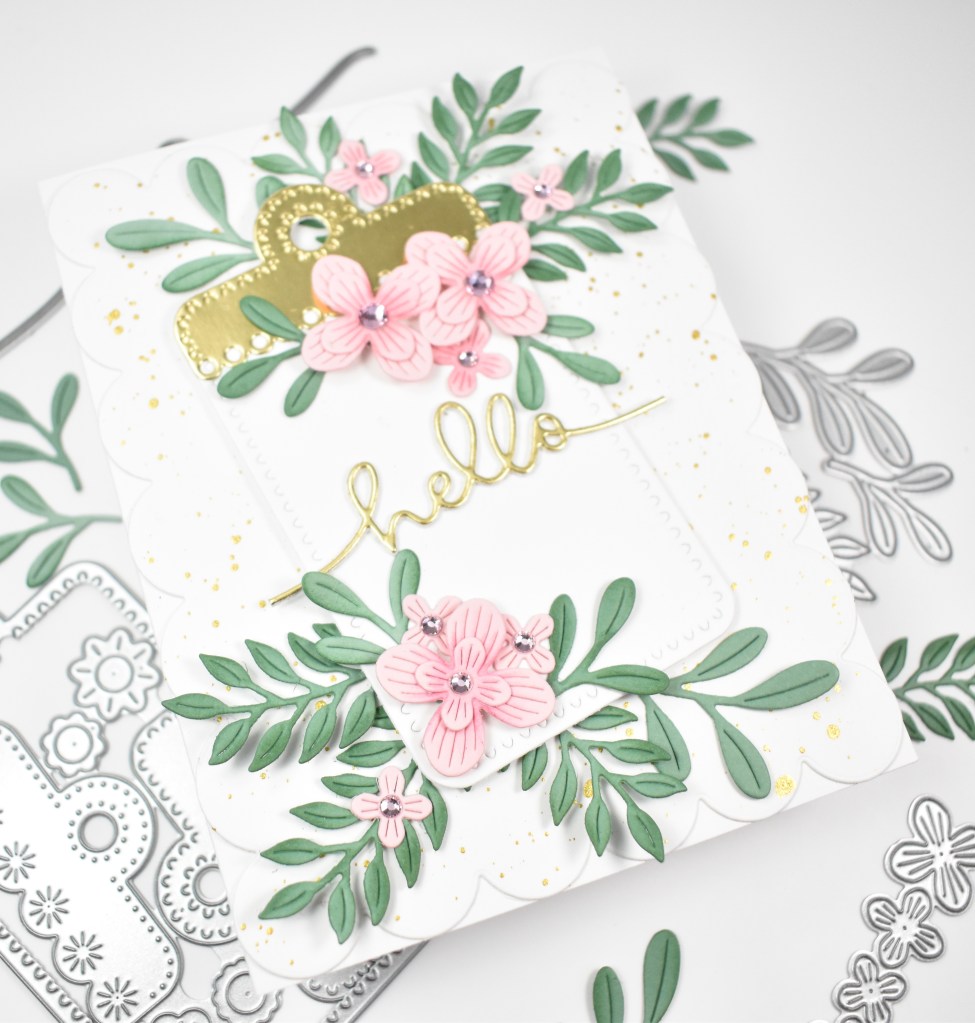
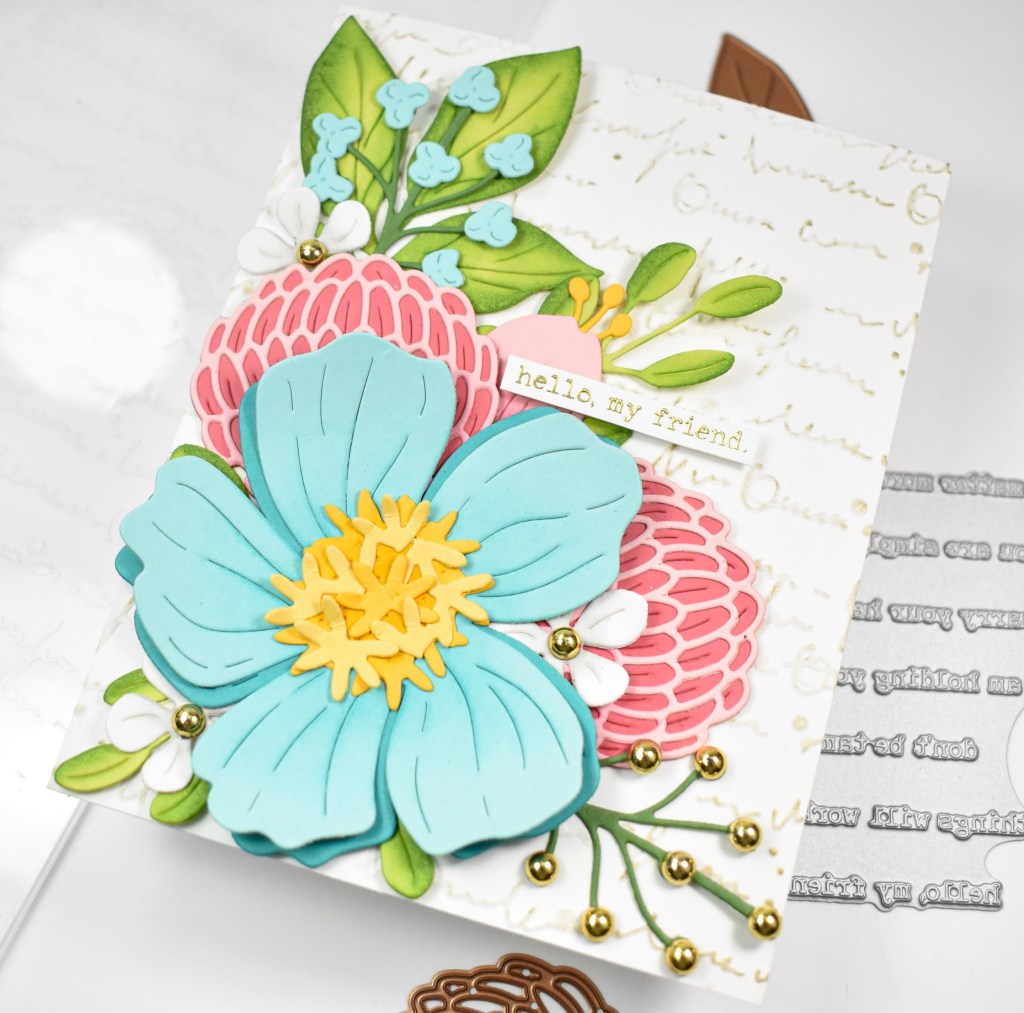
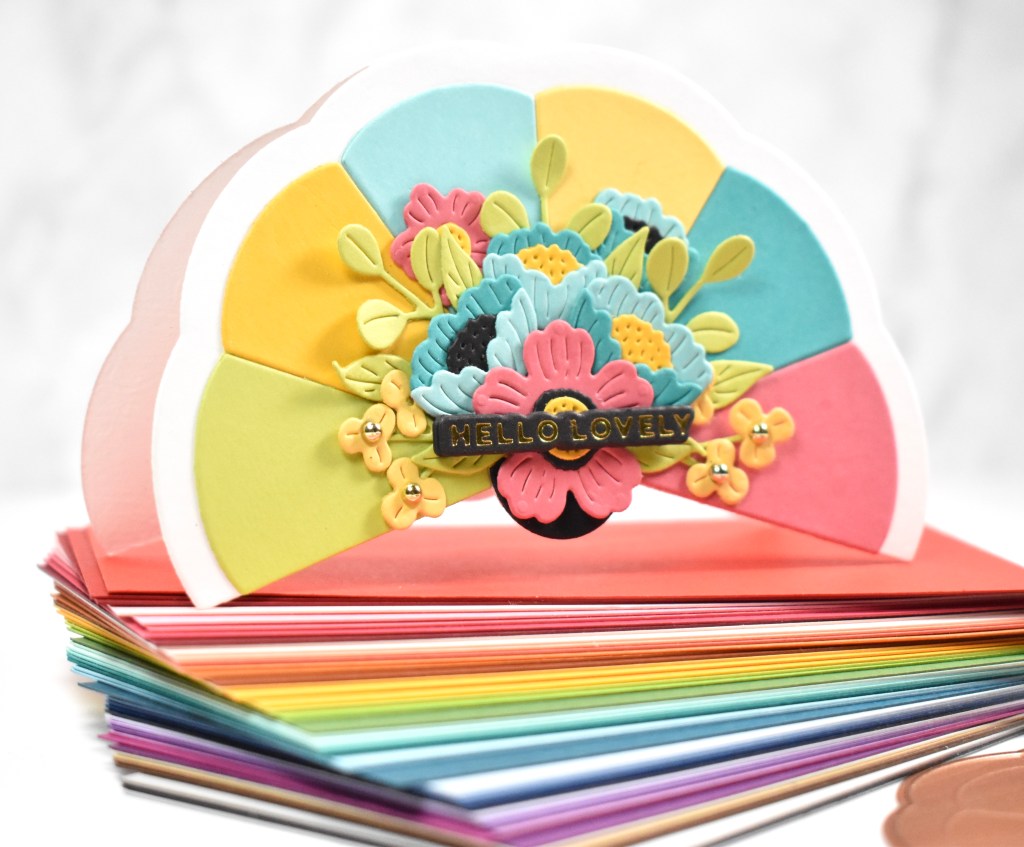
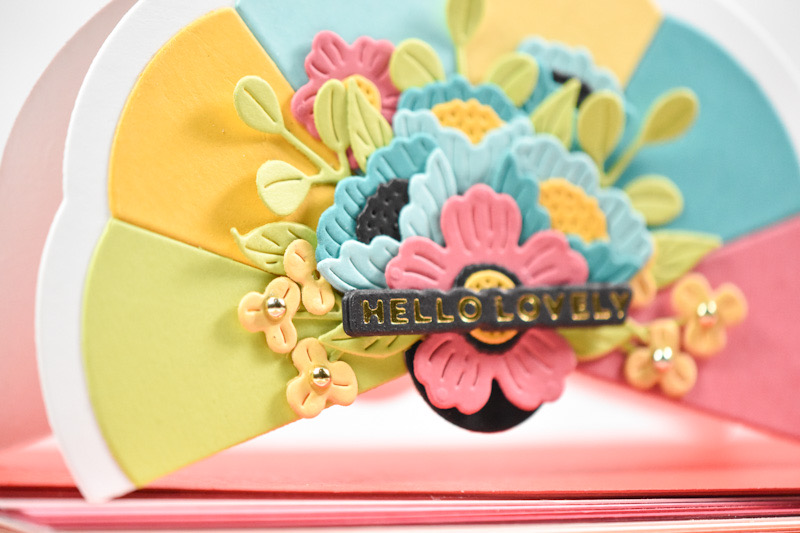
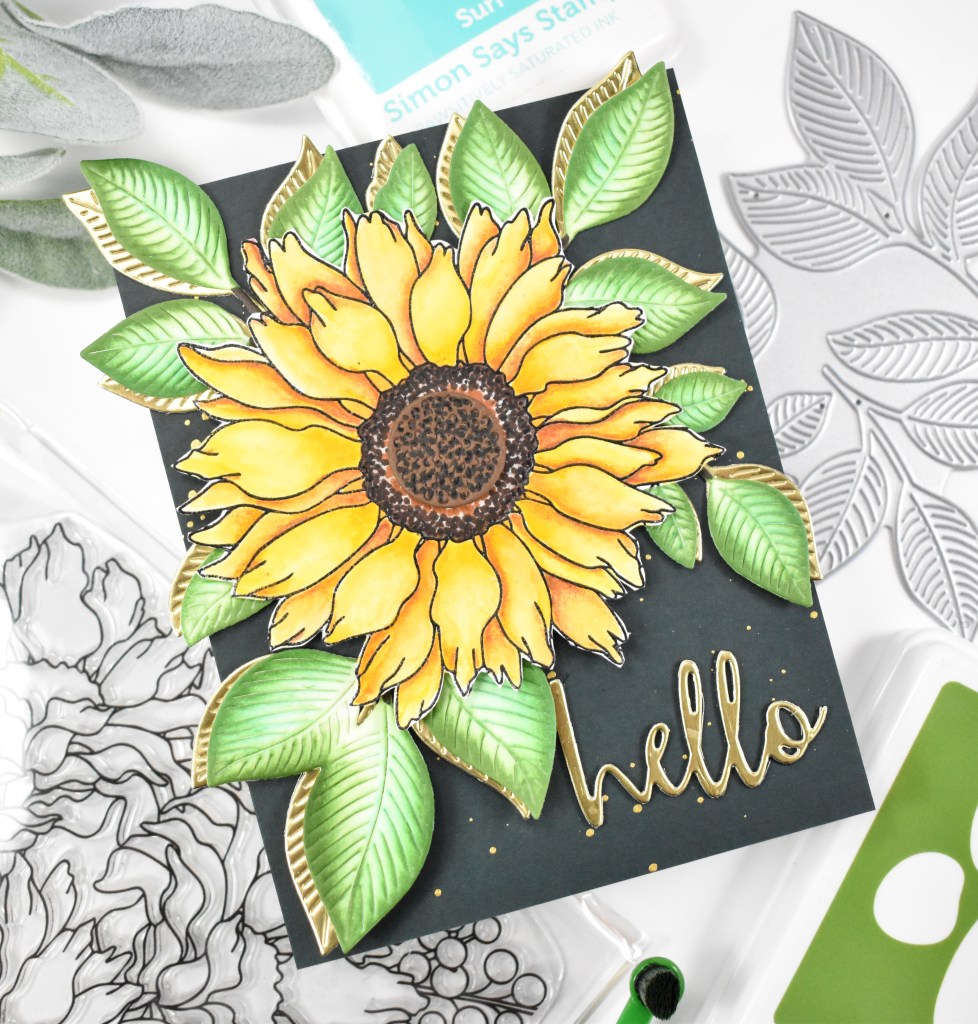
Hello Friends, and welcome to STAMPtember! Have you had a chance to check out the entire STAMPtember release yet? I’d love to know your favorites in the comments! Stay tuned for a huge blog party taking place tomorrow! I really had fun making this card, which uses the new Sunflower Dreams stamp paired with some other leaves. Let’s go through the details!
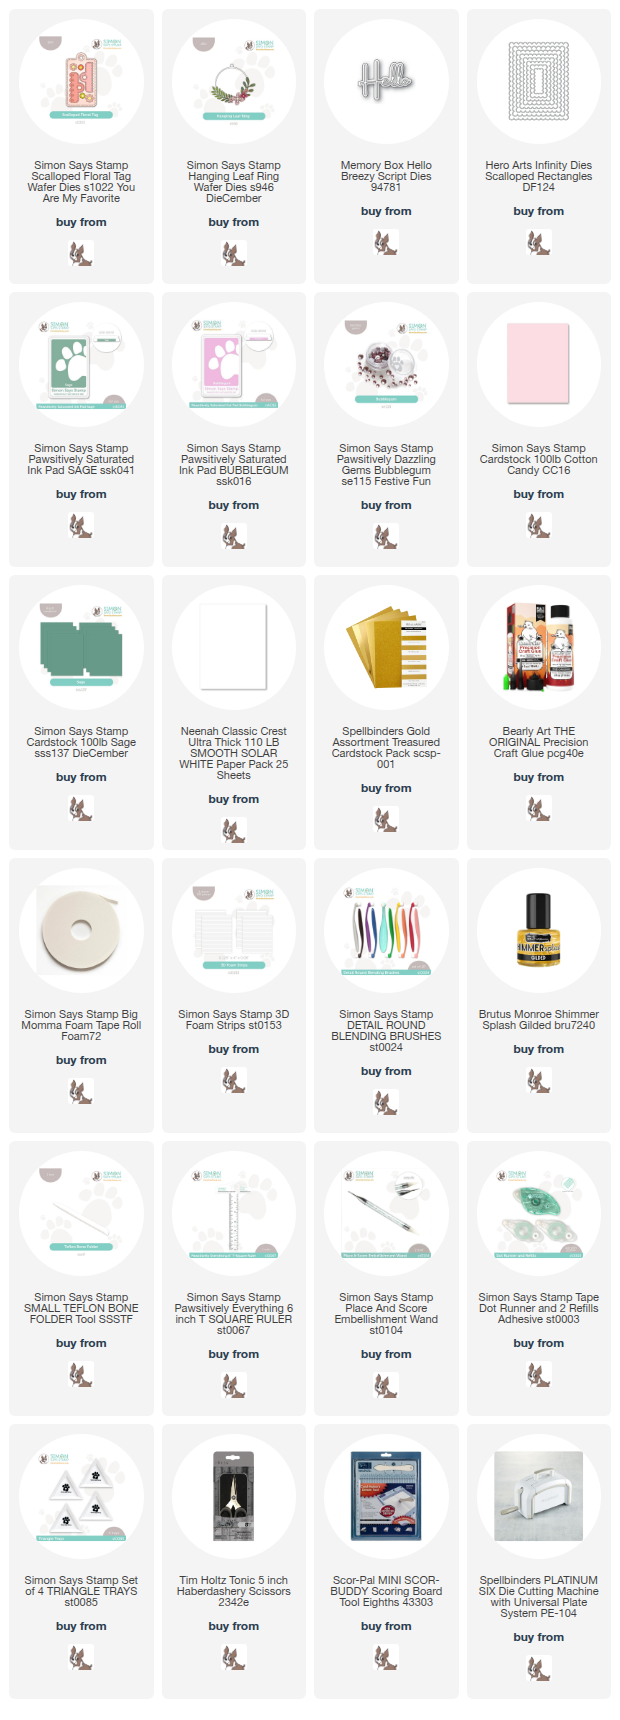
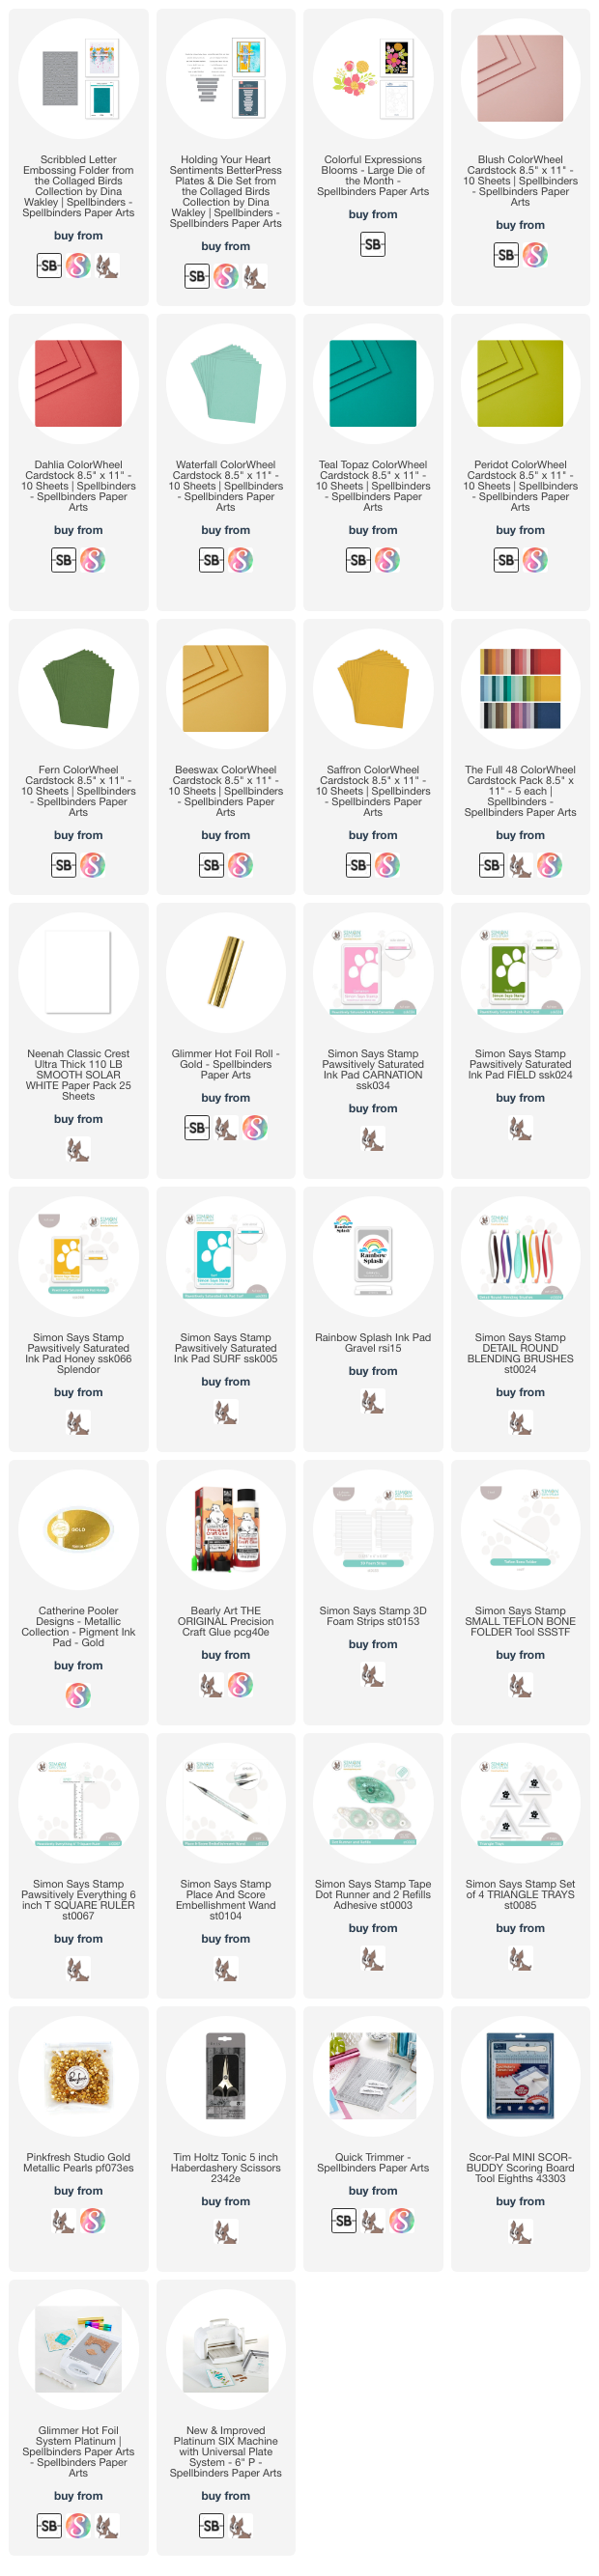
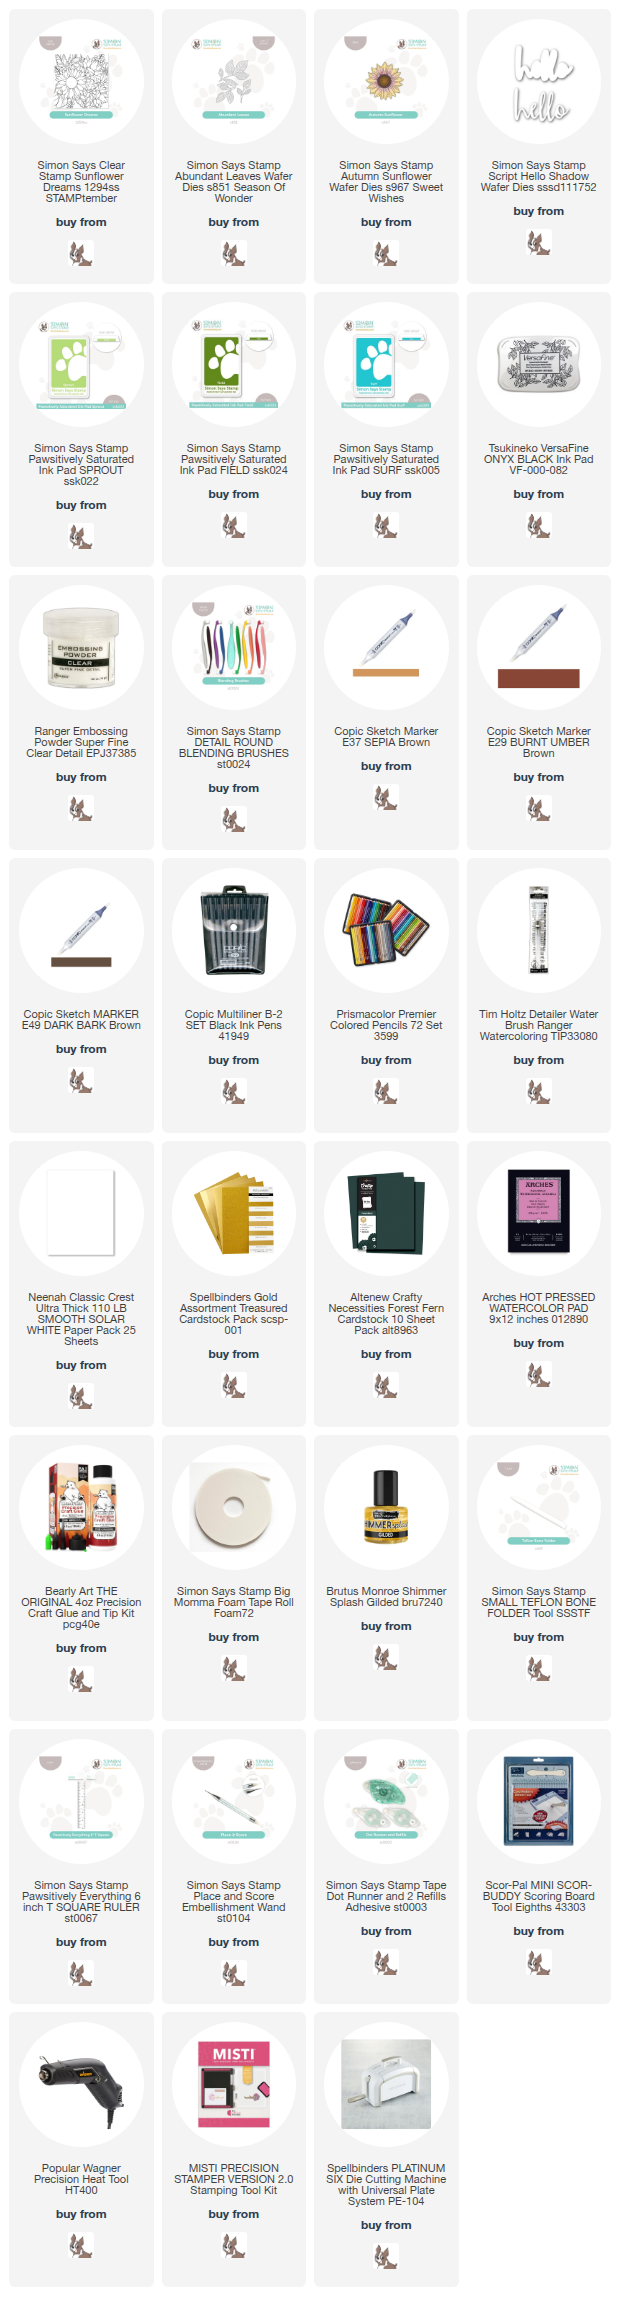
NOTE: all supplies are linked in the thumbnails at the end of this blog post.

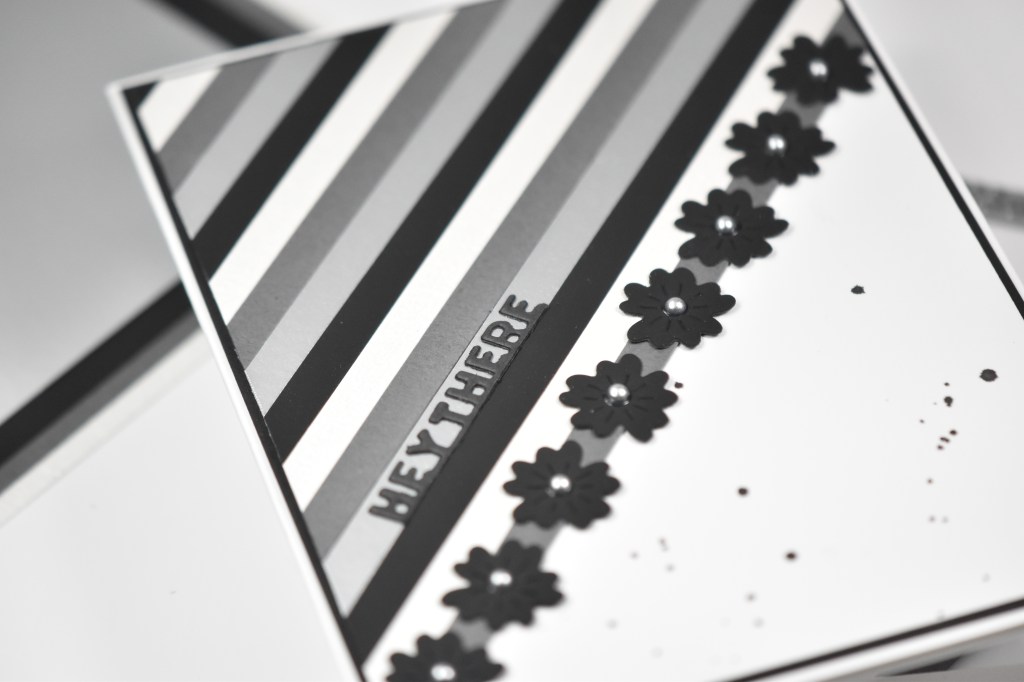
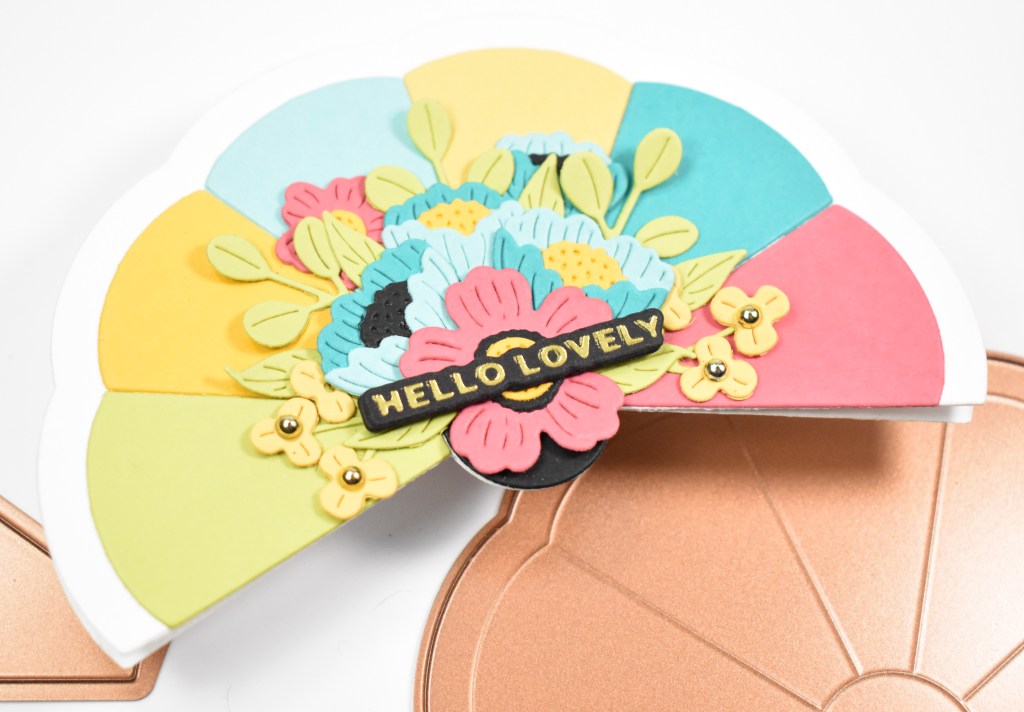
I began this project by stamping the Sunflower Dreams onto a panel of watercolor paper using VersaFine Onyx Black ink and heat setting it using clear embossing powder. I then pulled out my watercolors and painted the main flower only. Once I was done with the painting, I went back in and added some details using colored pencils, Copic markers and a Copic Multiliner pen. Because I only wanted the larger flower, I set out on the tedious task of fussy cutting.
I then die cut the Abundant Leaves several times from Neenah, as well as gold cardstock, and I cut the center of the flower from the Autumn Sunflower set. I went ahead and ink blended the green leaves using Sprout, Field and Surf inks. The sentiment was cut once from gold cardstock and twice from the dark green cardstock to create a stacked sentiment.
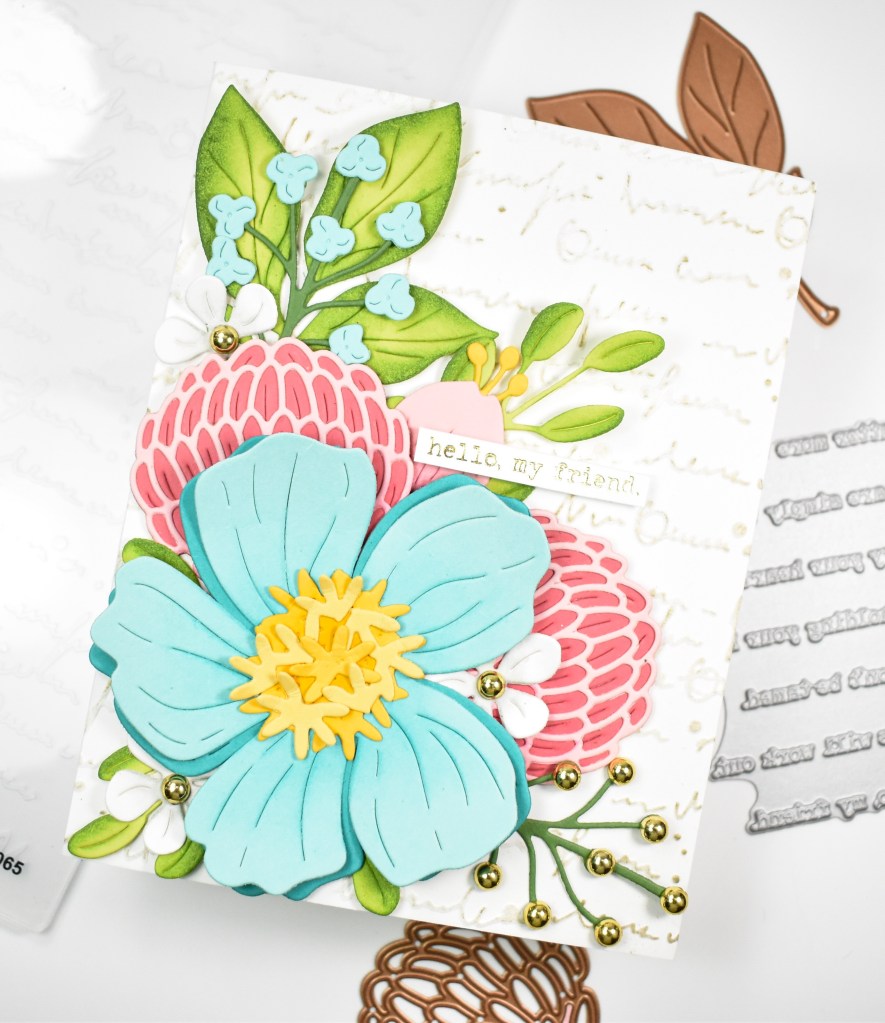
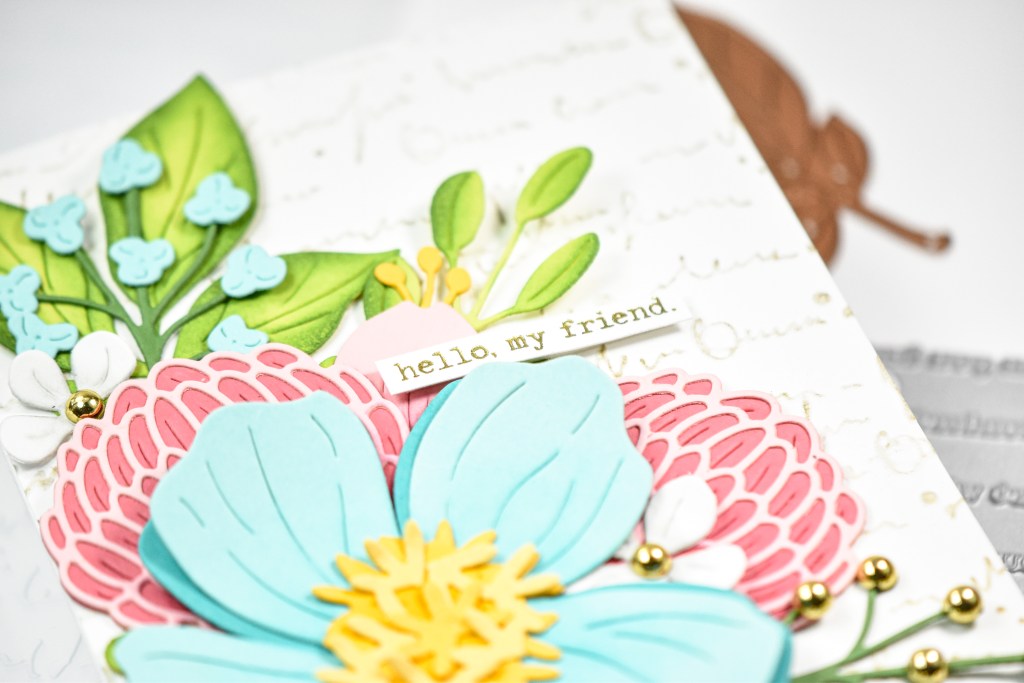
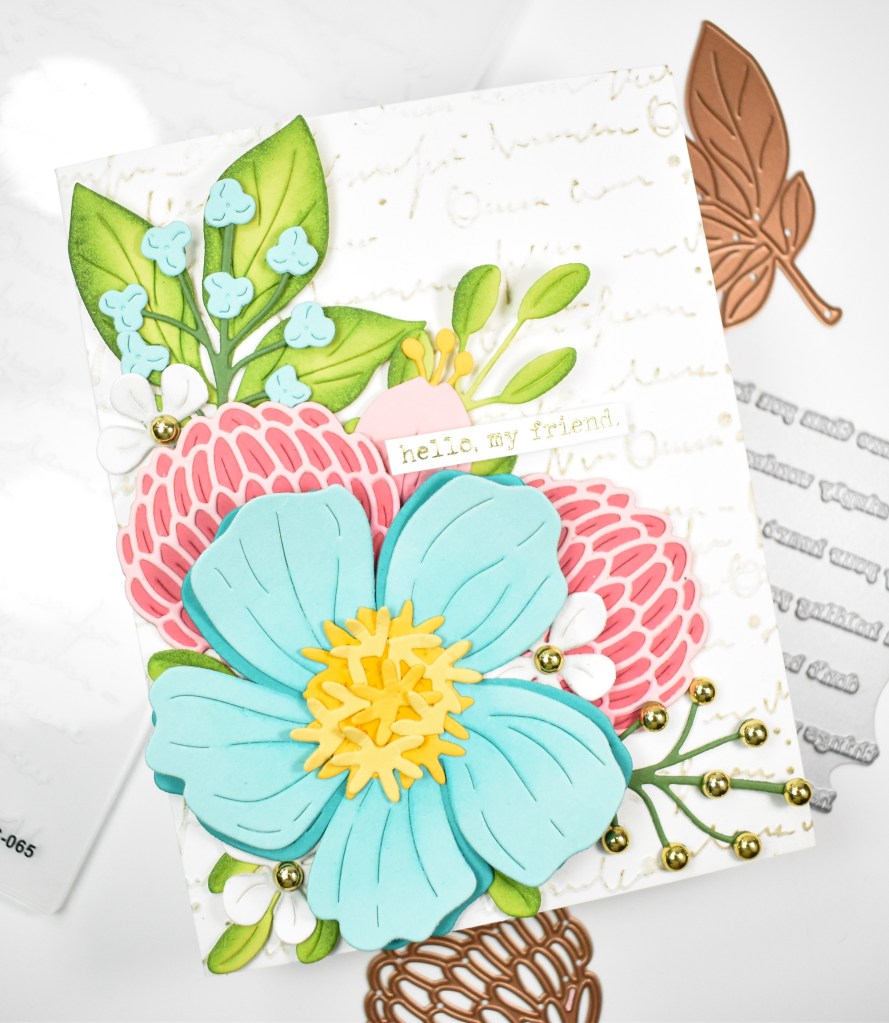
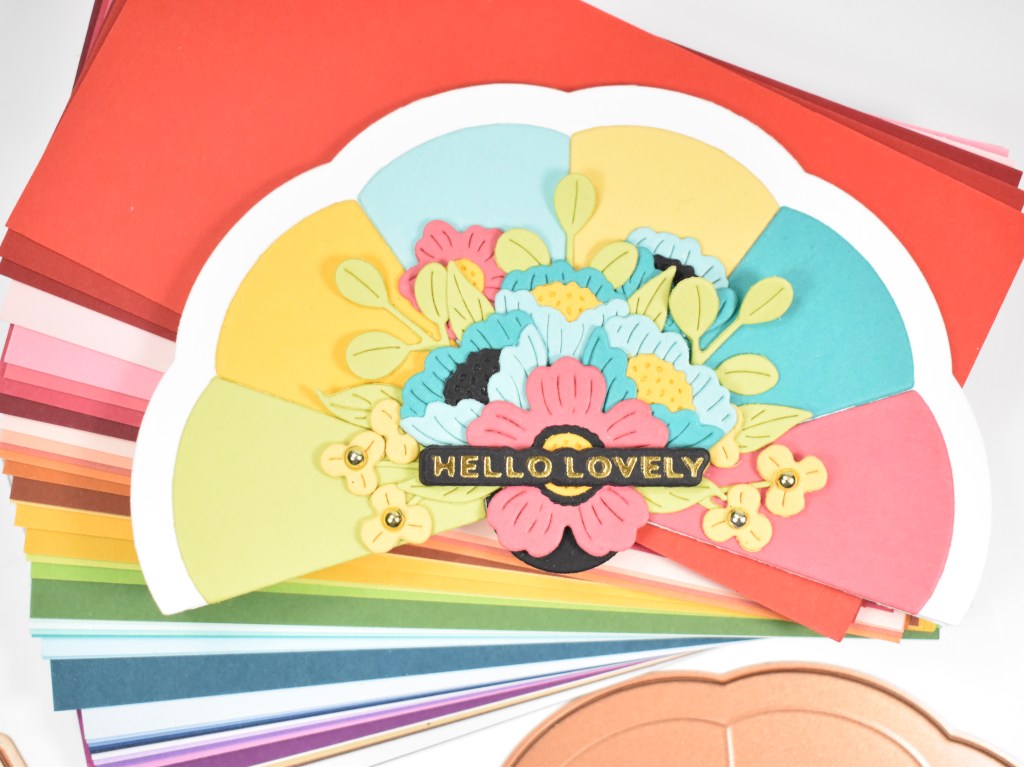
The forest green background was gold splattered before adding the other elements. The gold leaves were added first, with the green leaves being offset slightly. The sunflower was added using foam tape, as was that extra sunflower center that was cut. The sentiment was adhered directly to the card panel using liquid glue to finish up.
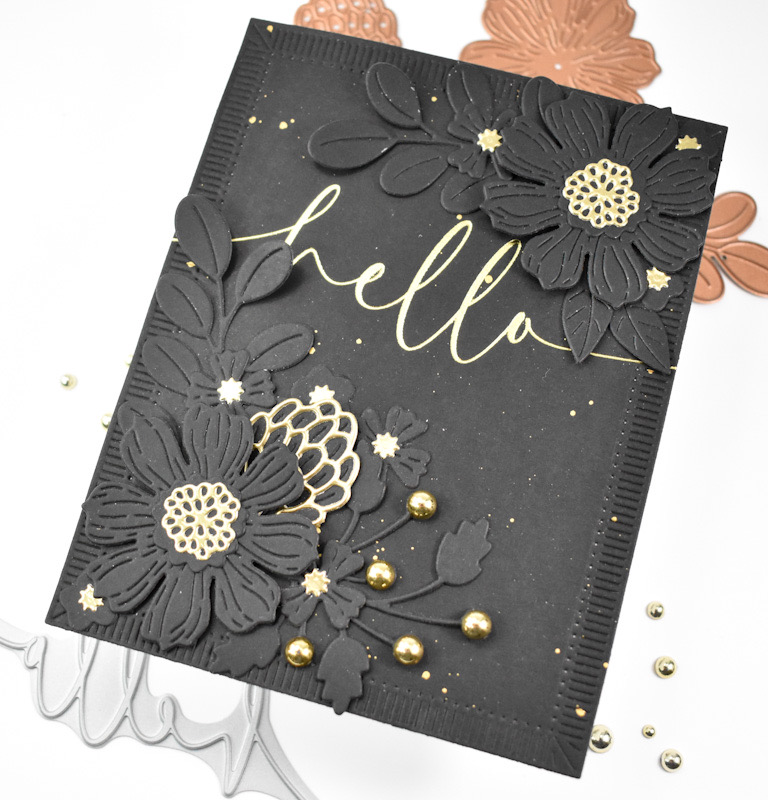
That does it for this project! I hope you like it! I do love the contrast of the background with the flower and leaves. Don’t forget to check out the entire STAMPtember release, and stay tuned all month for lots of surprises! Thanks again for joining me, and I hope you have a fabulous day!
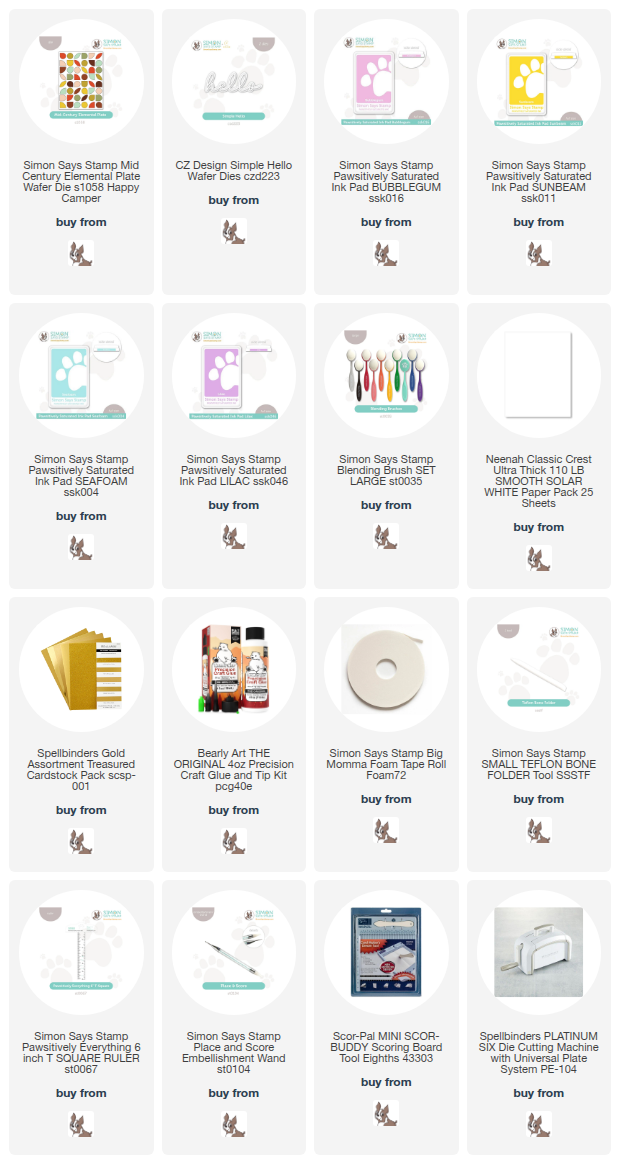
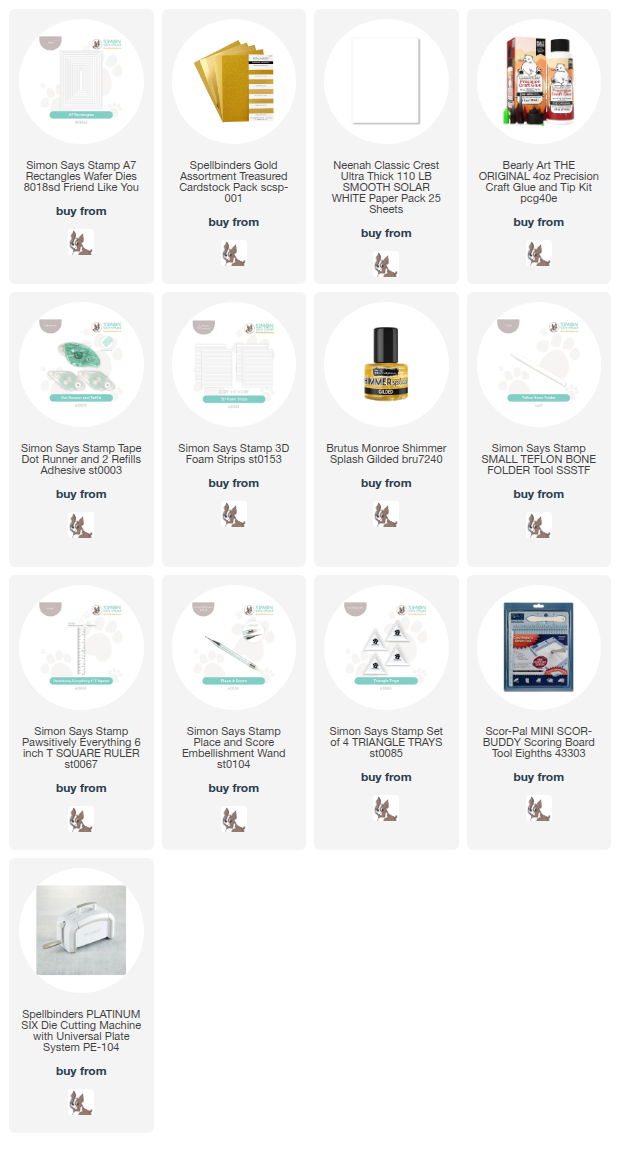
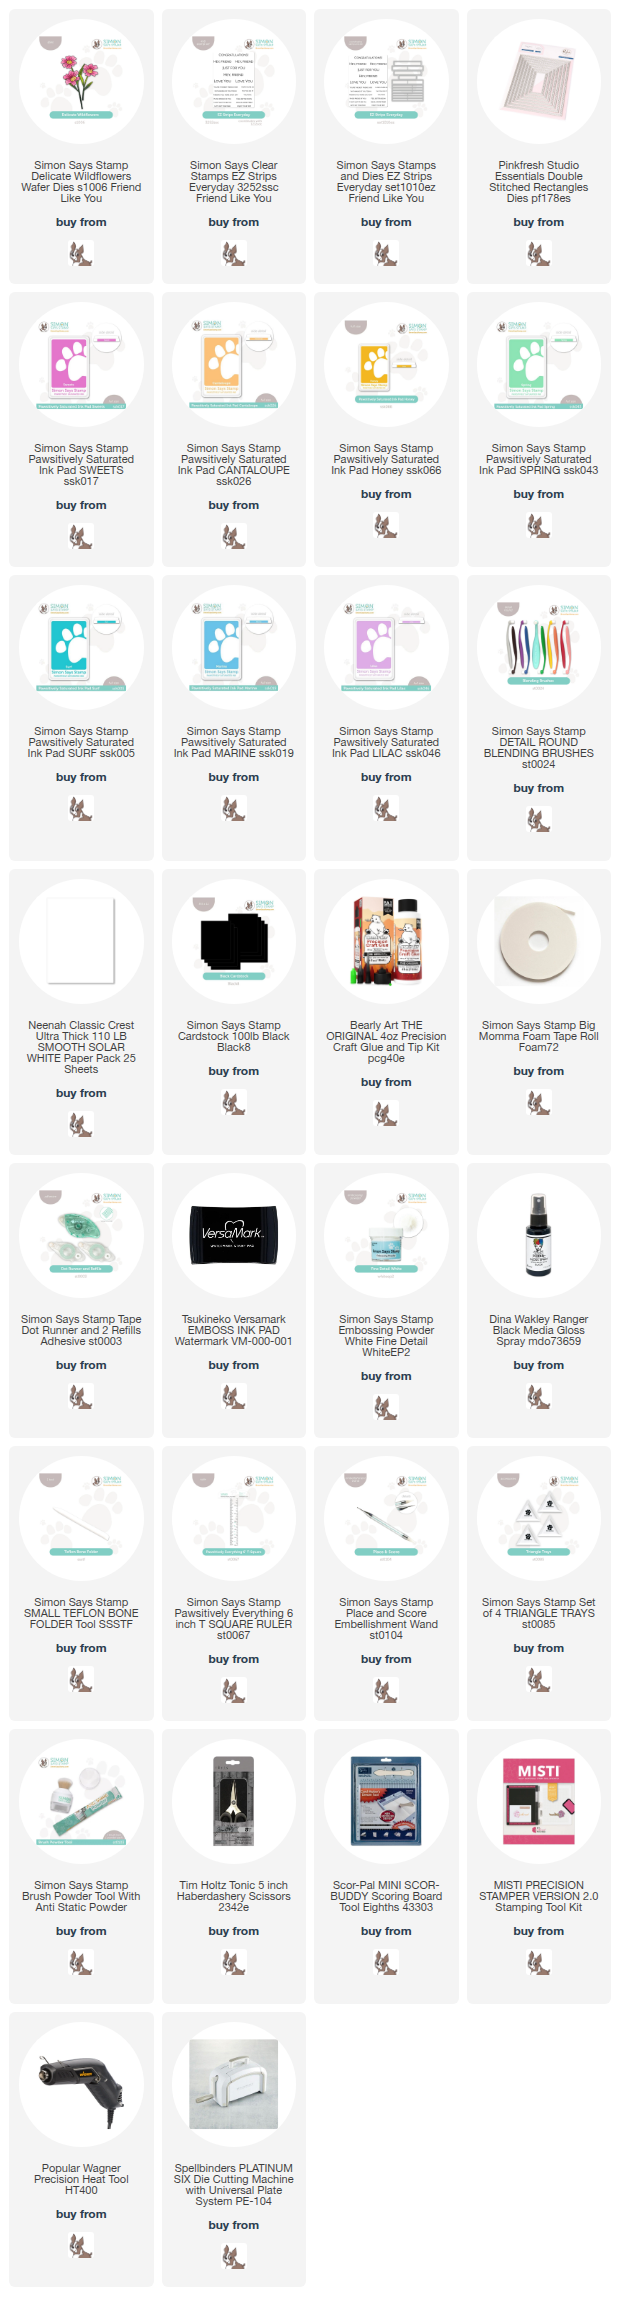
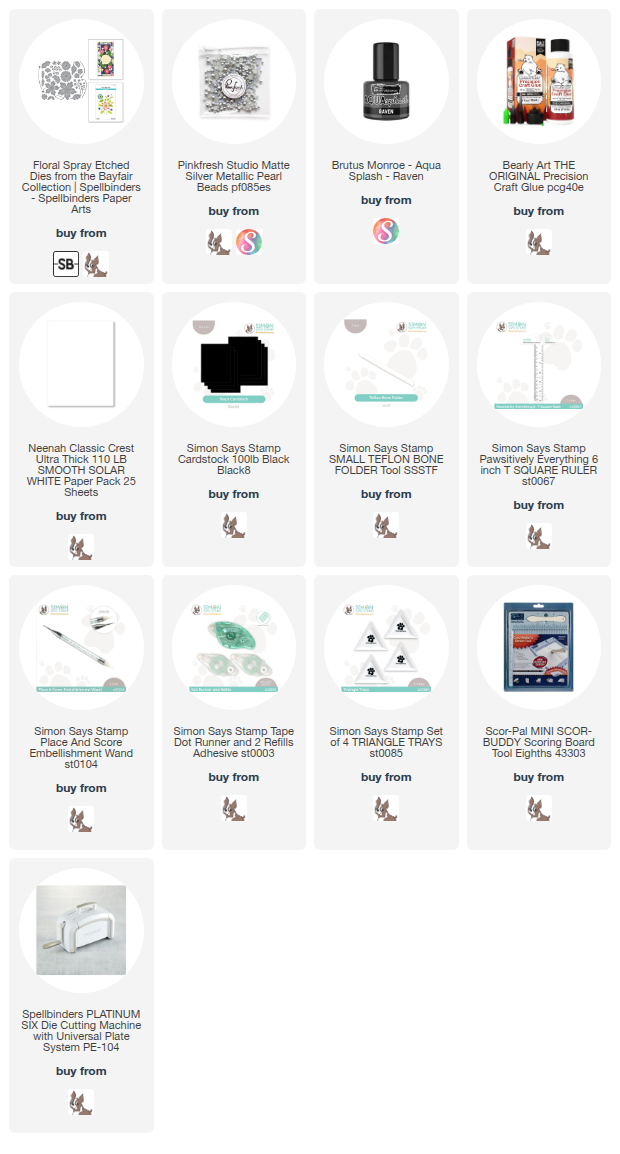
Supply List
Affiliate links used at no cost to you. What does this mean? If you use the links within this post to make a purchase, I receive a small commission, which allows me to continue to post crafty content for your enjoyment. I truly appreciate your support!
Latest Posts
- Simon Says Stamp Tattered Florals

- Simon Says Stamp Amazing Floral

- Simon Says Stamp Friendly Butterflies

- Simon Says Stamp Graceful Hugs

- Simon Says Stamp Hello Butterflies

Latest Instagram Posts