Simon Says Stamp Hello Bloom

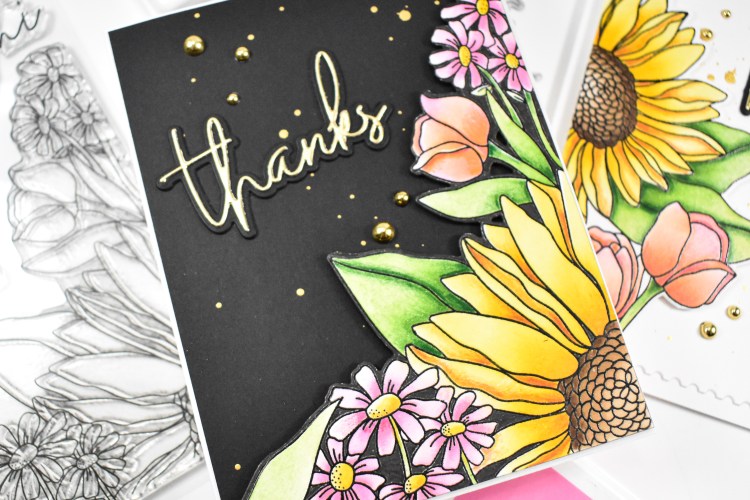
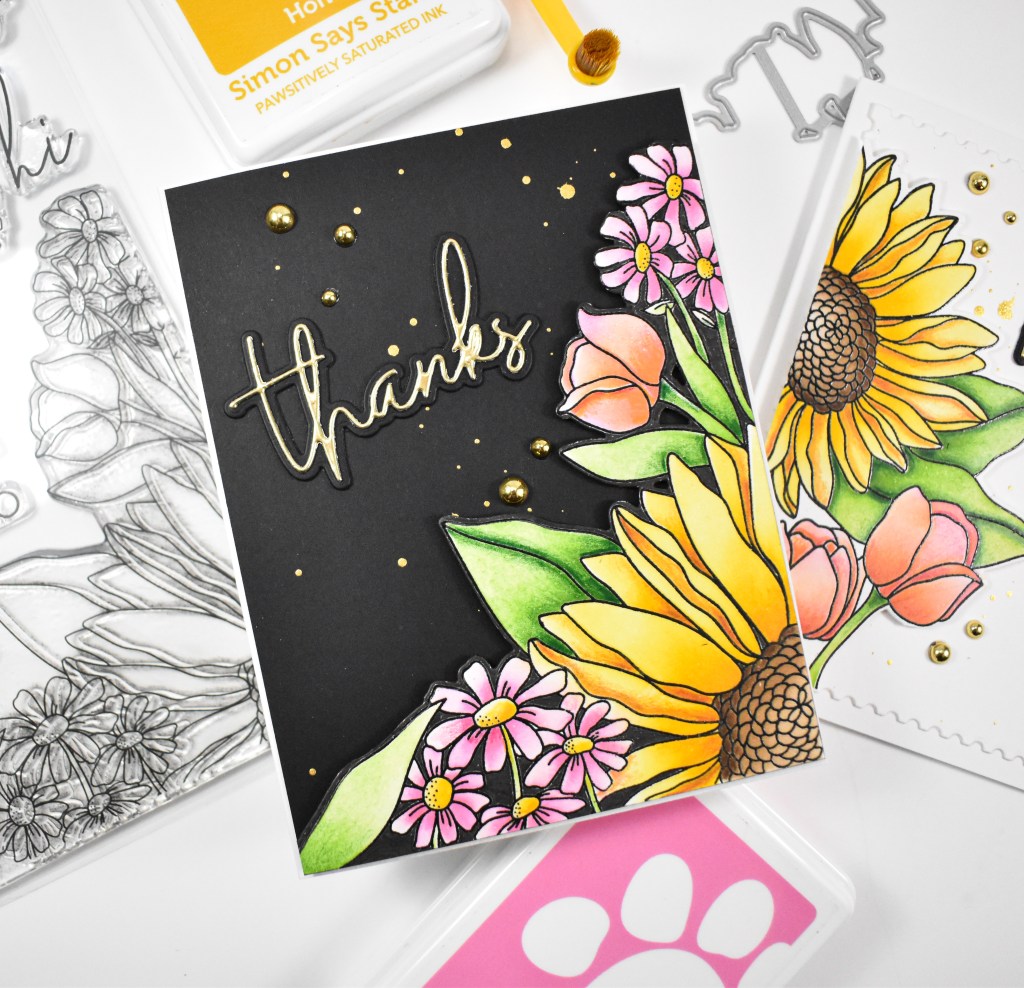
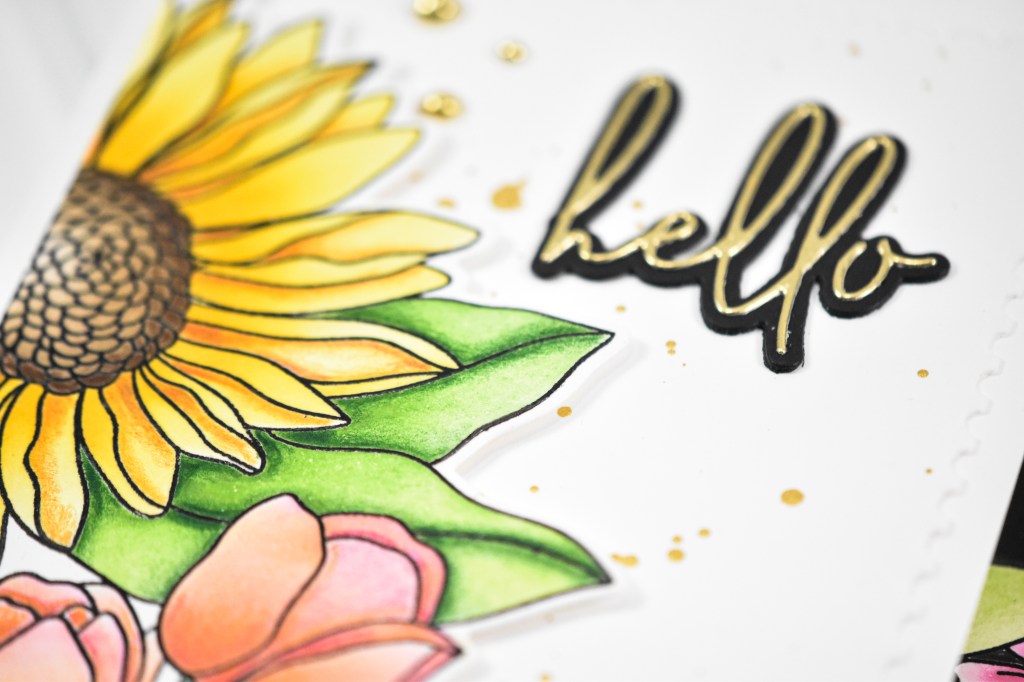
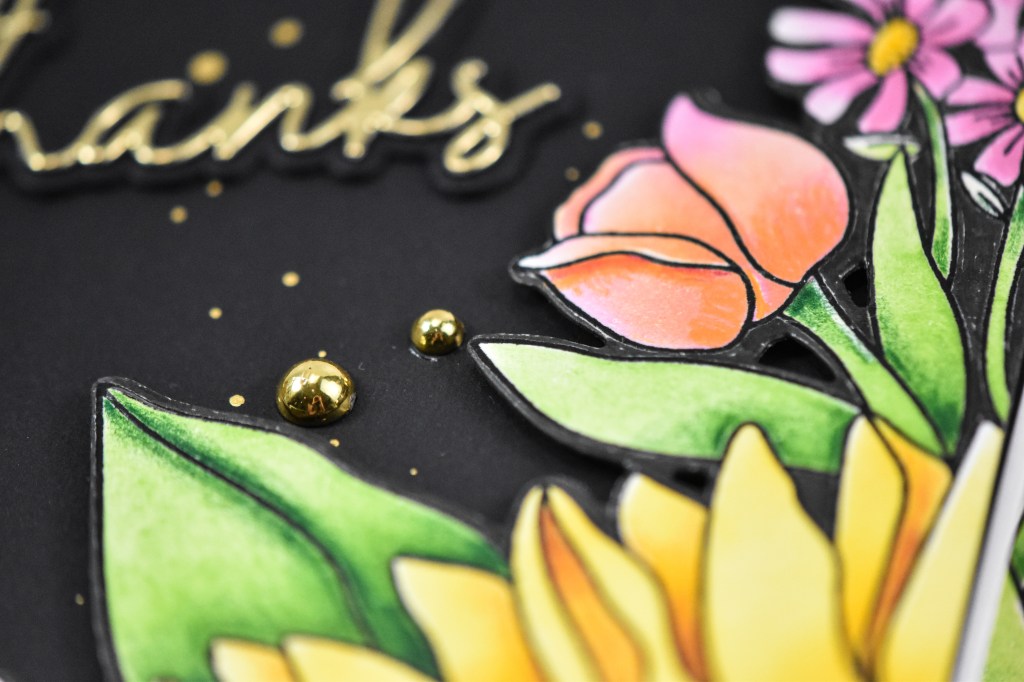
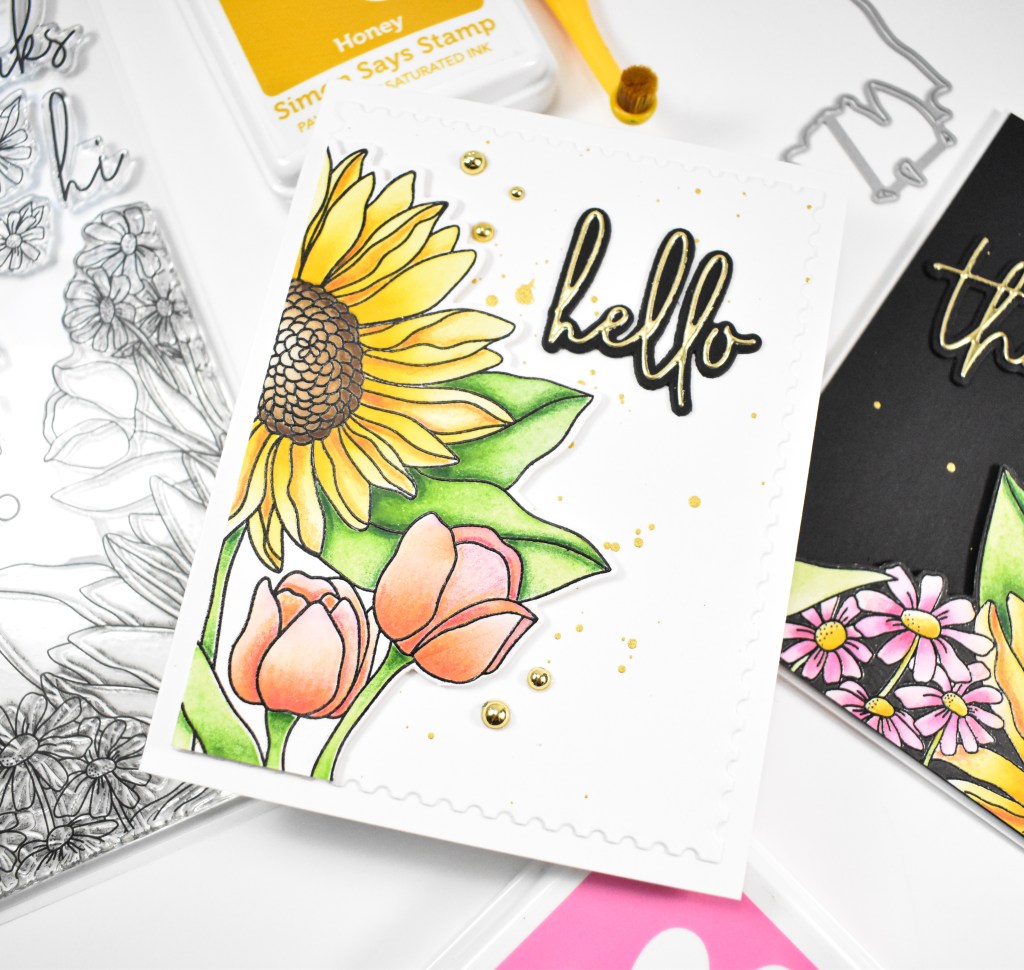
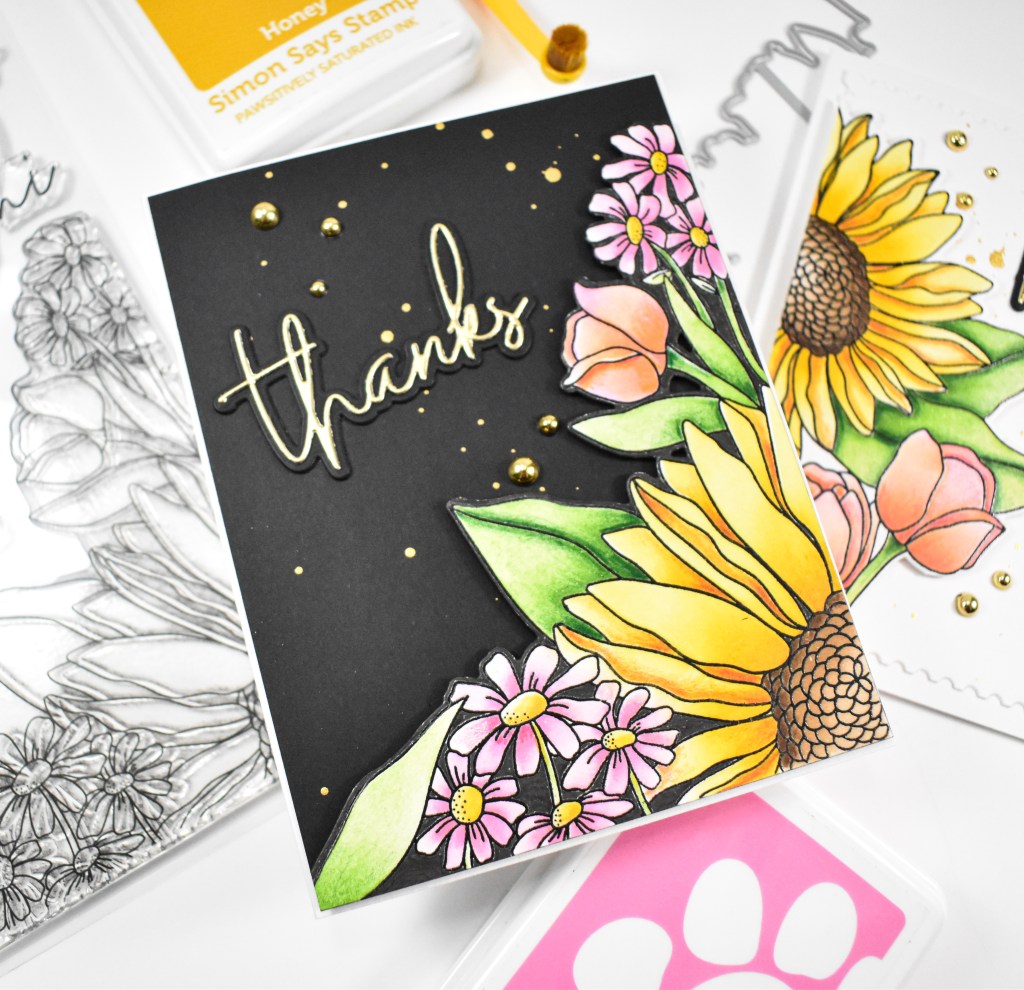
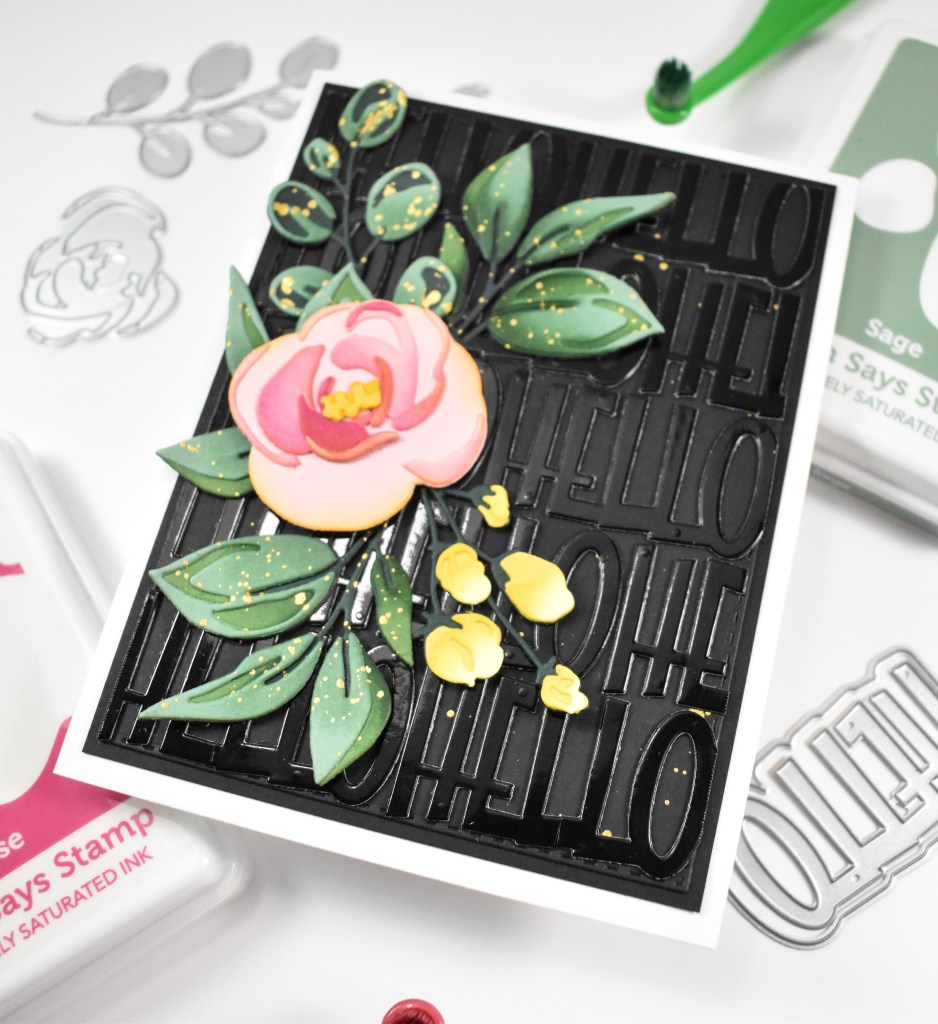
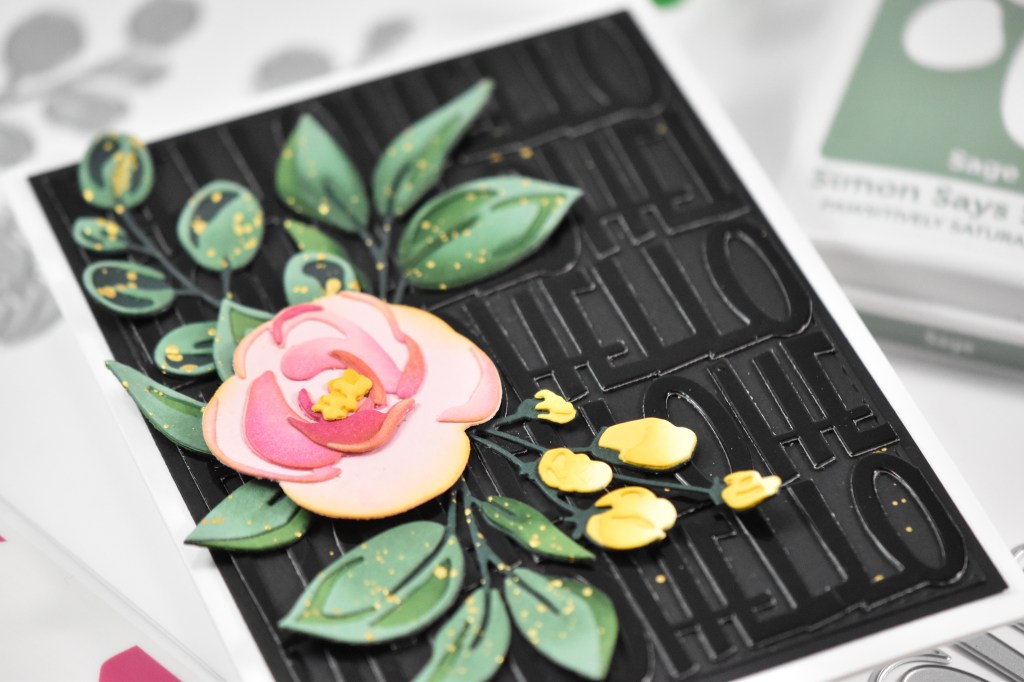
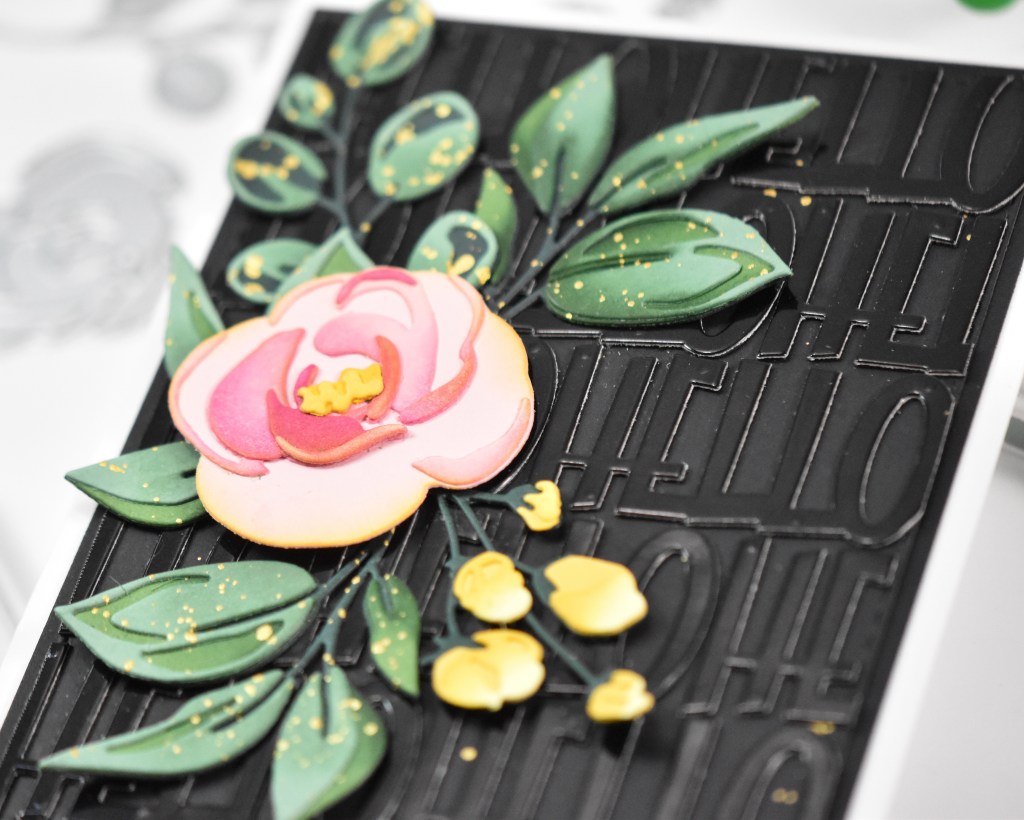
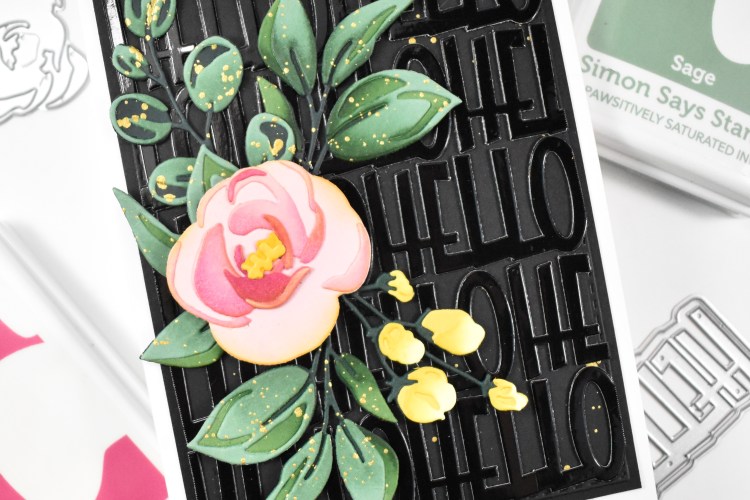
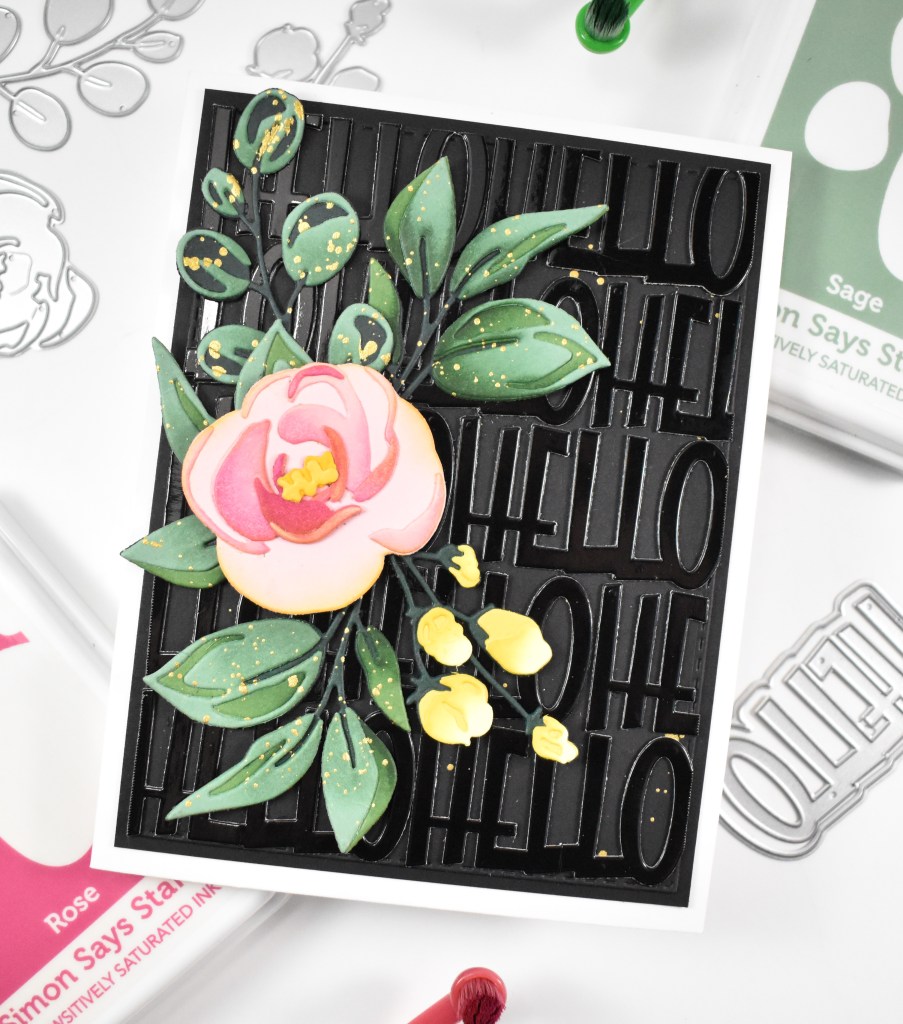
Hello Friends, and welcome back! Sometimes I like creating backgrounds with small dies, and today’s post features just that! I paired the hello from Simon’s newer set, Paper Cut Word Mix 1 along with the Tim Holtz Bloom Colorize. Let’s run through the deets!

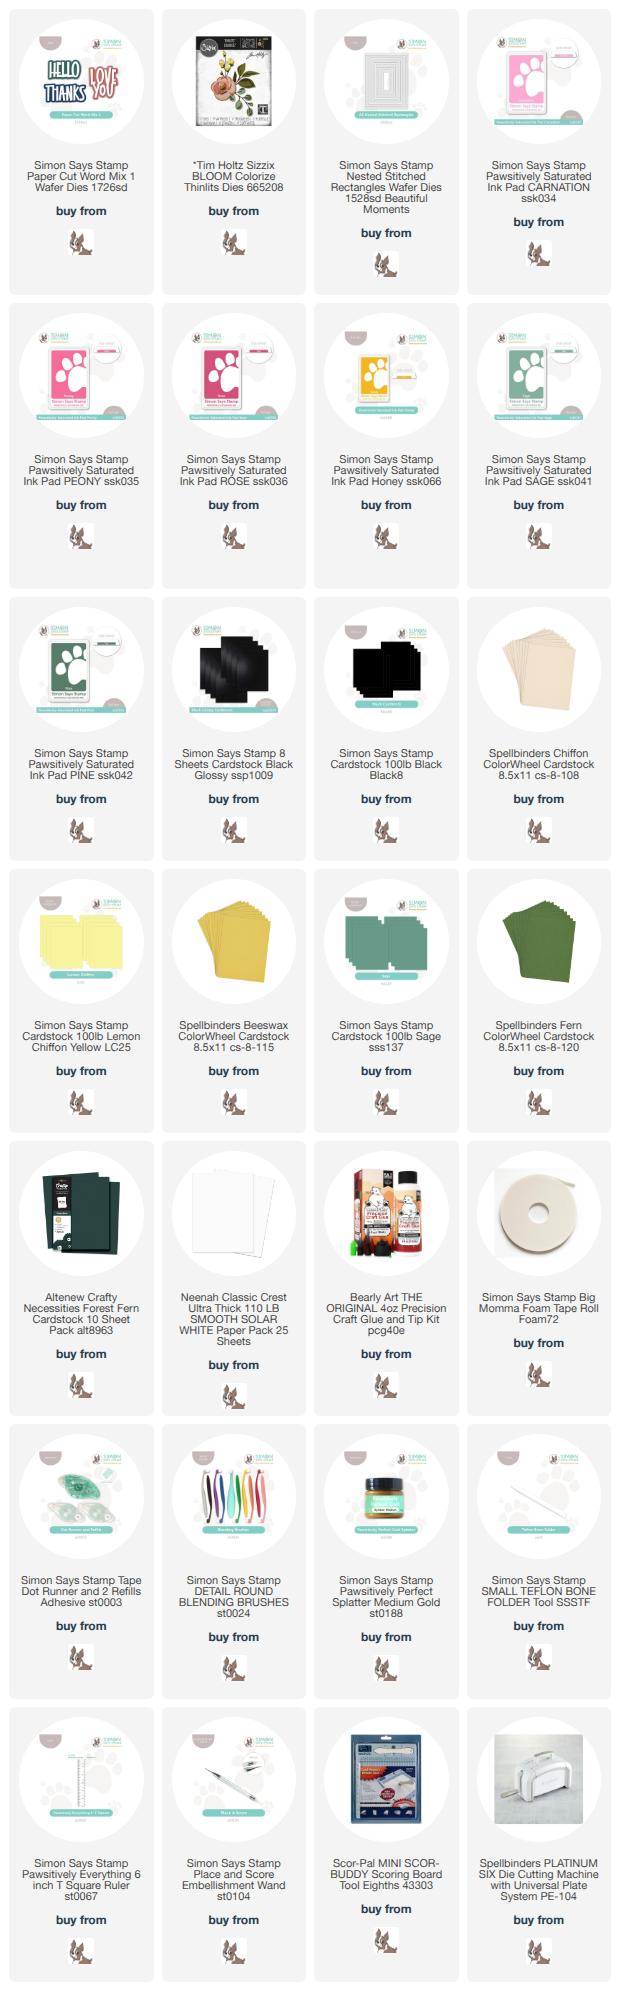
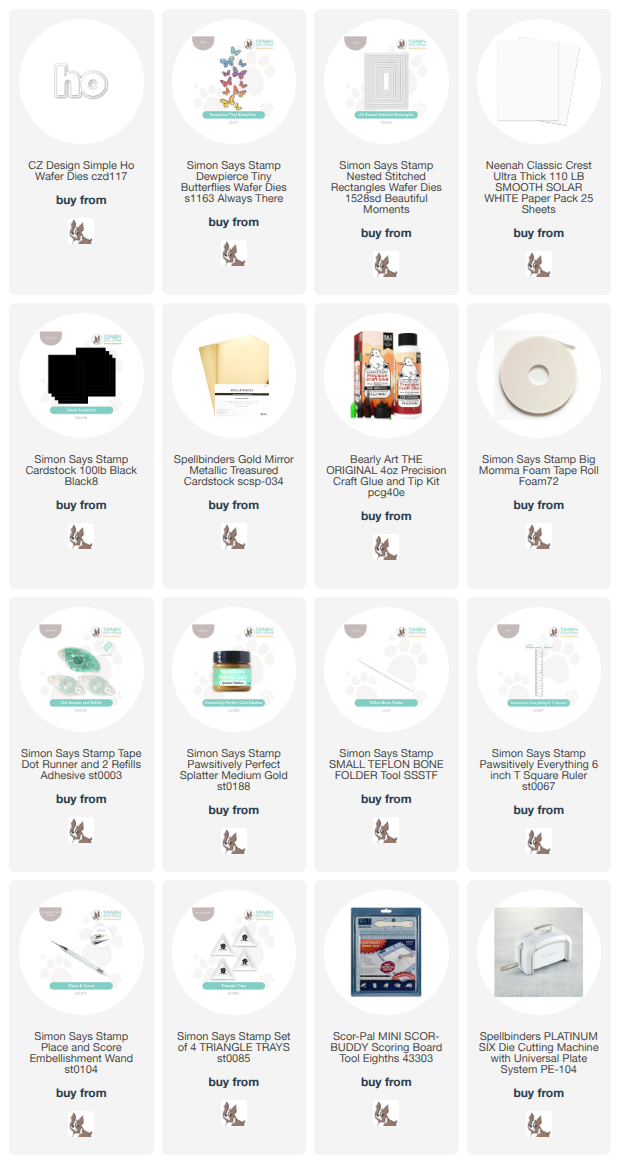
NOTE: all supplies are linked in the thumbnails at the end of this blog post.
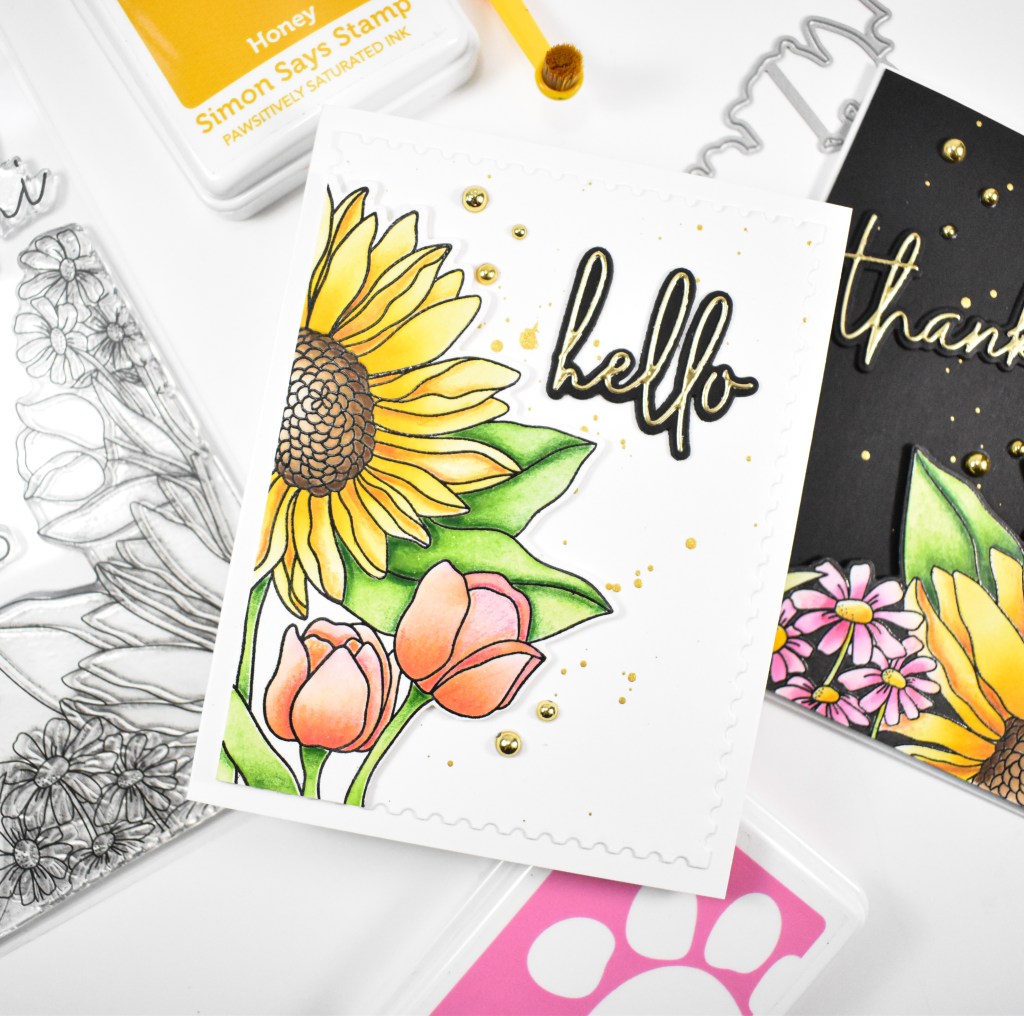
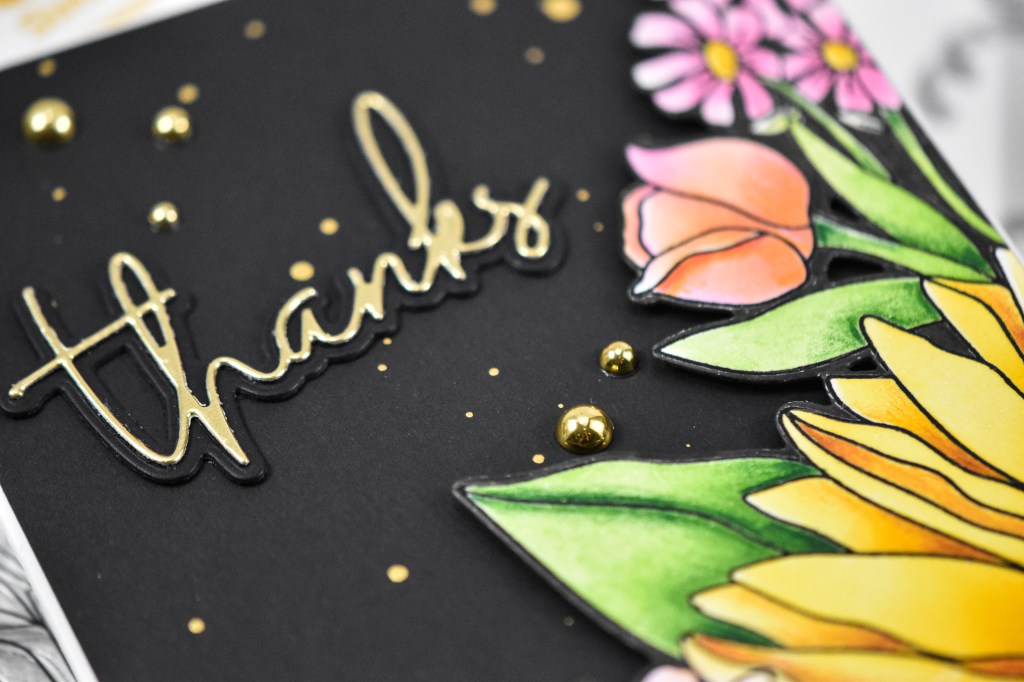
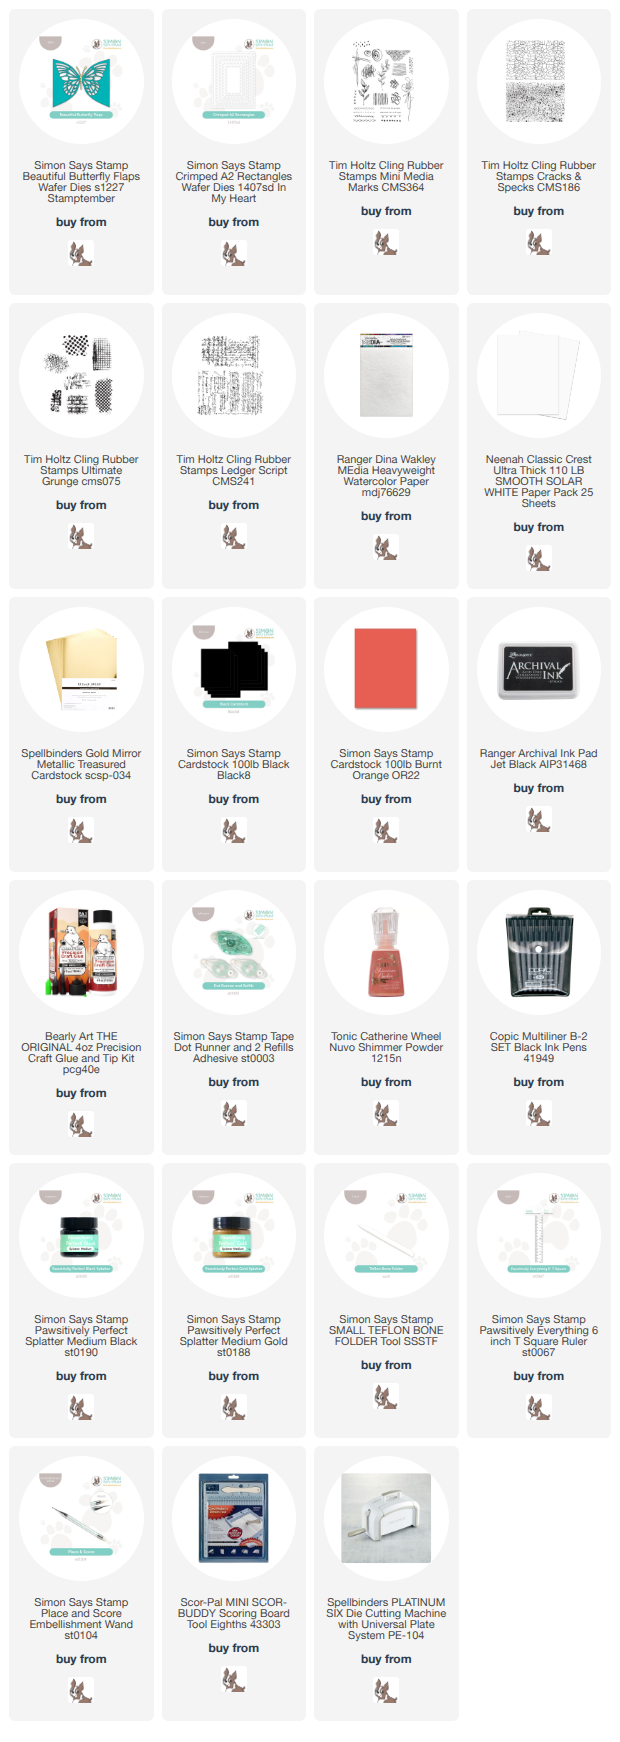
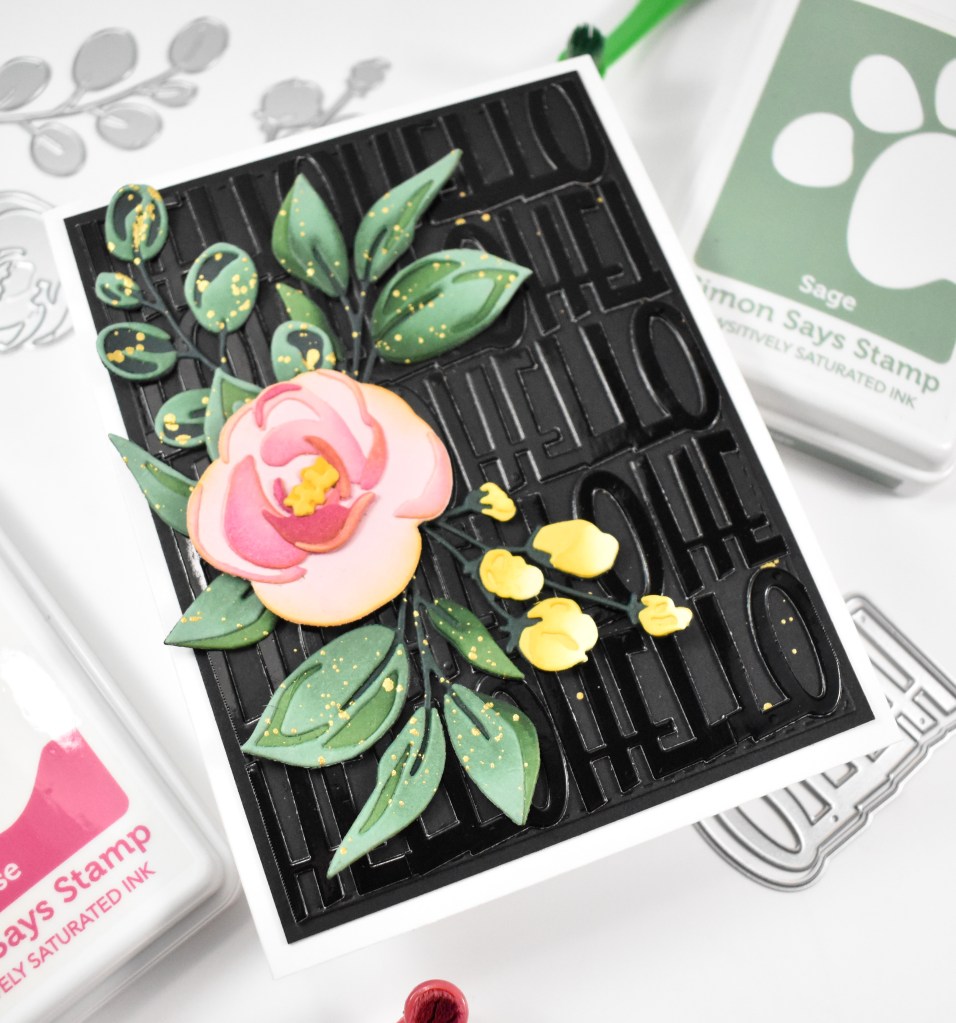
I began this project by die cutting all of the hello pieces first from black mirror cardstock and regular black cardstock. All of those were adhered together and set aside. I then die cut the pieces of the flower and leaves from pink, yellow, Fern, Forest, Sage and Beeswax cardstock. Of course I have to add ink blending, so I used Carnation, Peony, Rose, Honey, Sage and Pine for that.

Once everything was ink blended, I assembled my pieces and gave the leaves and black background panel some gold splatter. The background panel got trimmed down using the A2 Nested Stitched Rectangles before securing the hello sentiments with liquid glue. The excess was trimmed off and the panel was adhered to another black panel before being adhered to the card base.

The leaves and yellow flowers were glued in place, and the pink flower was secured with a bit of foam tape to finish up.

This project was a bit time consuming, but I absolutely love how it turned out, and I hope you do too! Thanks again for stopping by to check out today’s project, and I hope you have a great rest of your day!

Supply List:

Affiliate links used at no cost to you. What does this mean? If you use the links within this post to make a purchase, I receive a small commission, which allows me to continue to post crafty content for your enjoyment. I truly appreciate your support!
Latest Posts

Latest Instagram Posts
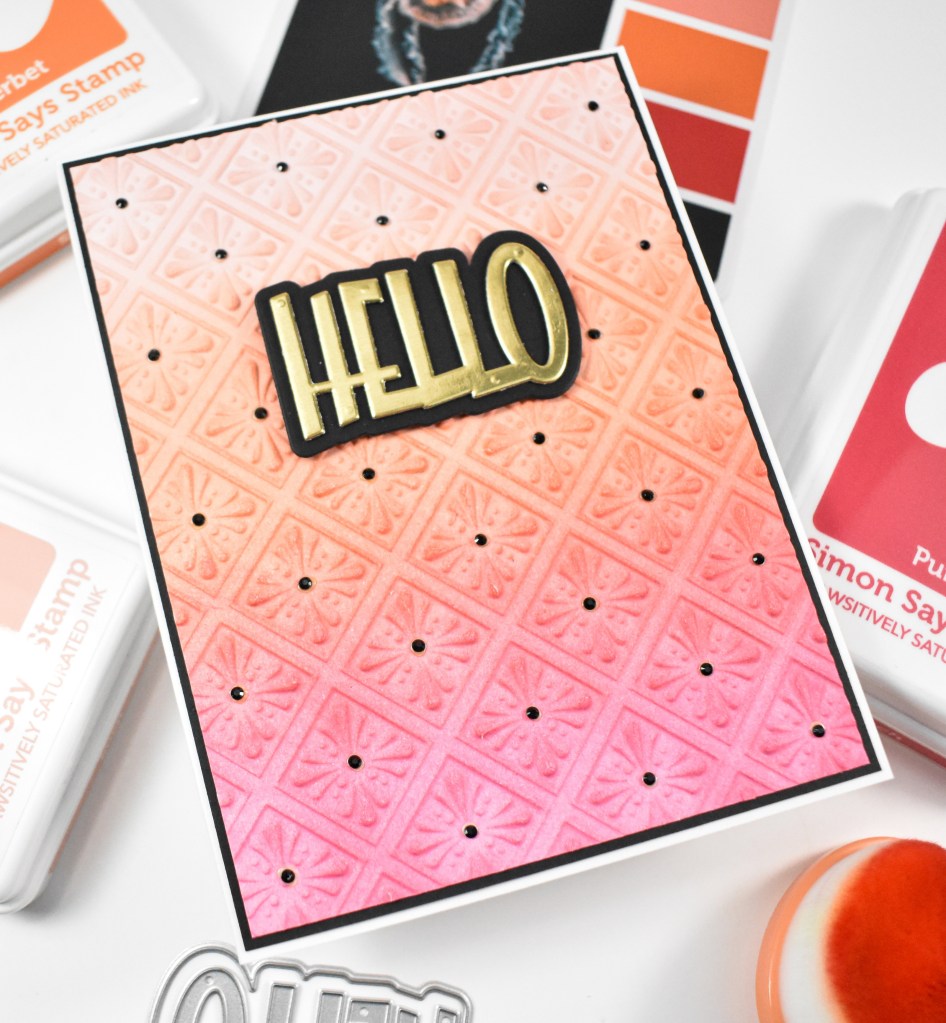
Simon Says Stamp Bedazzled Hello

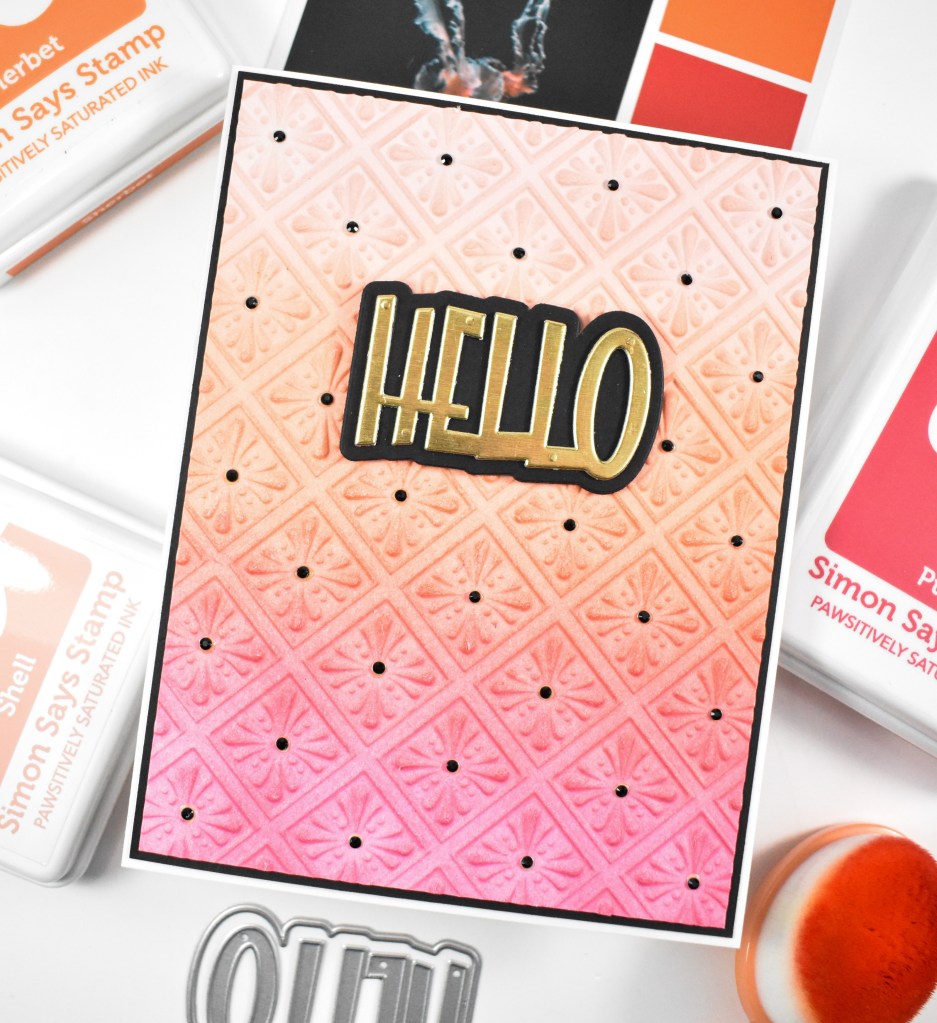
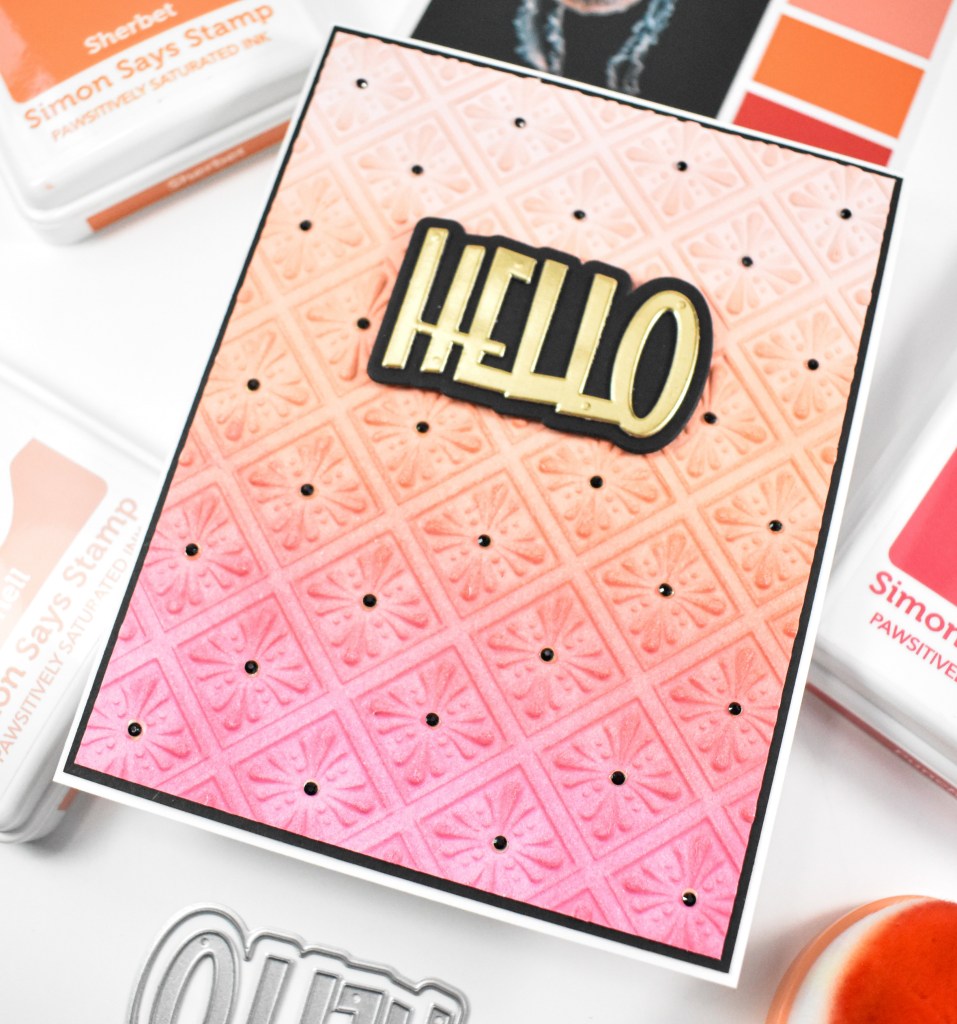
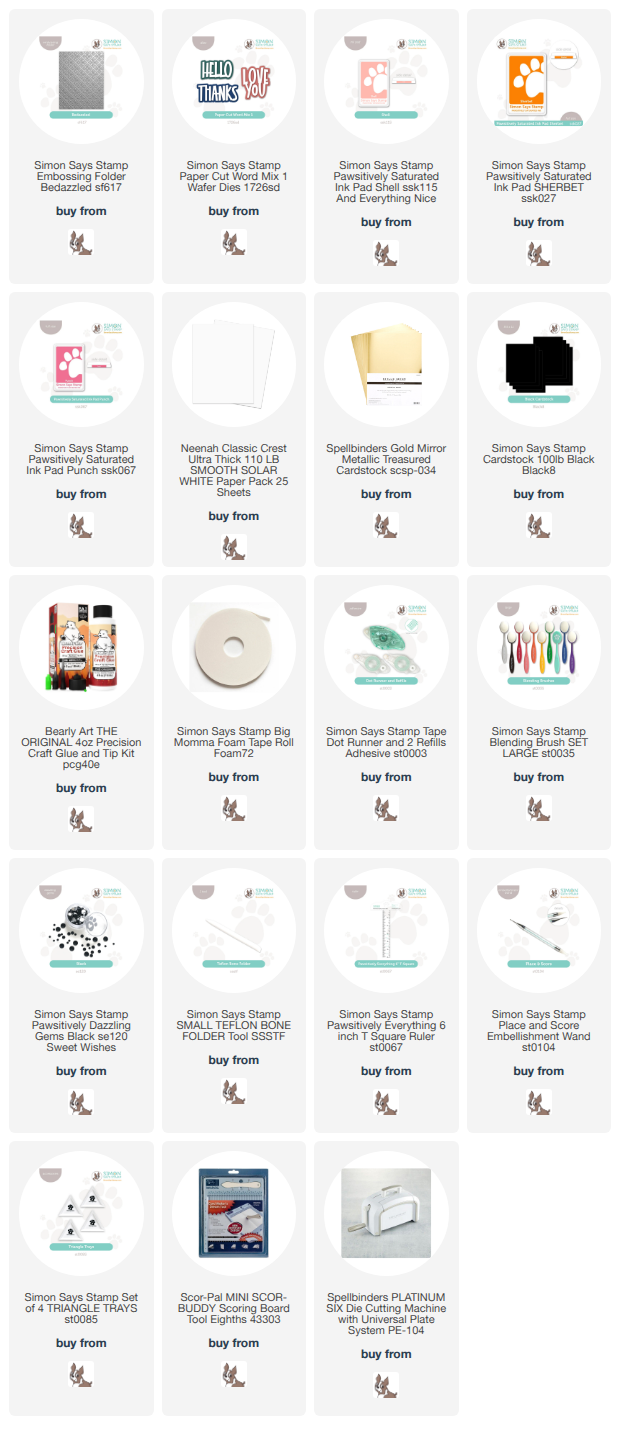
Hello, Hello! Thanks so much for stopping by to check out today’s quick project using the new Bedazzled Embossing Folder along with the Paper Cut Word Mix from Simon’s latest release, Every Happiness. Here’s the deets for this project!

NOTE: all supplies are linked in the thumbnails at the end of this blog post.

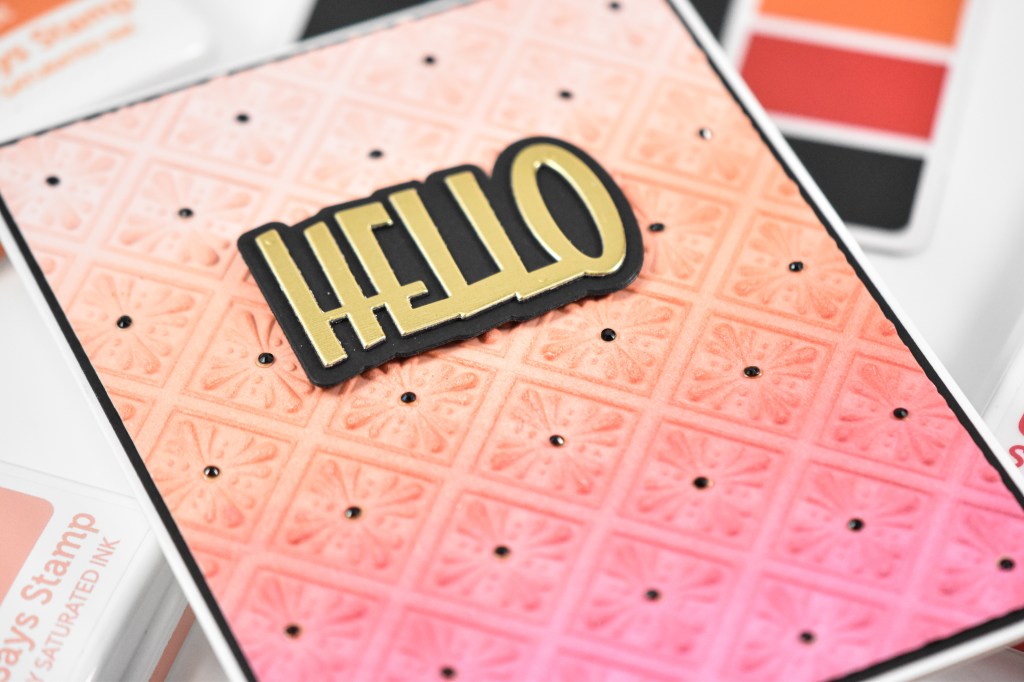
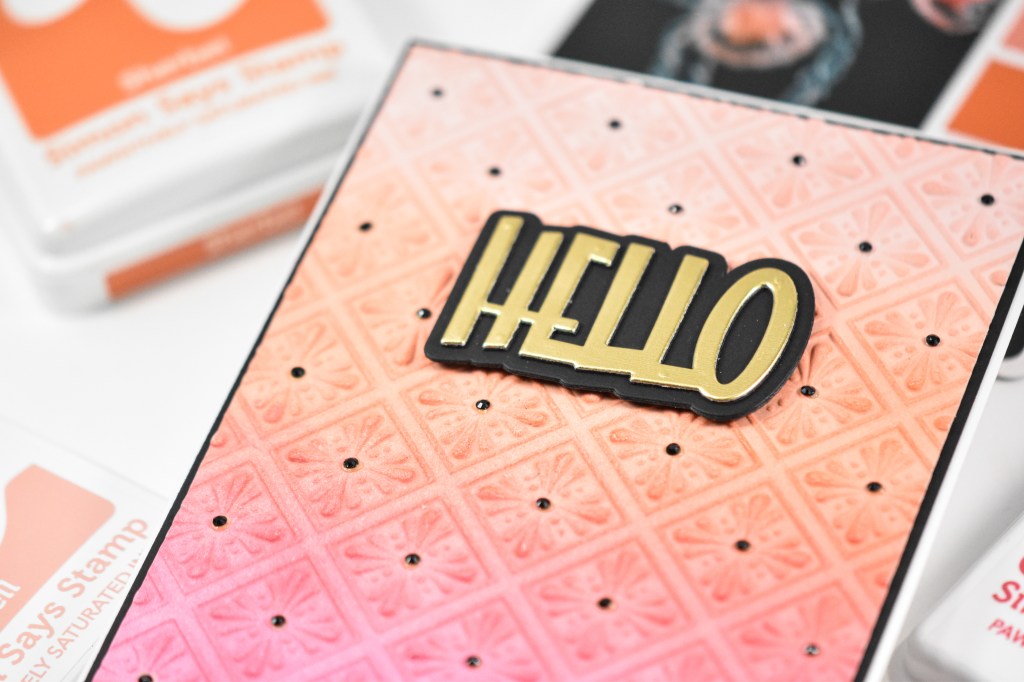
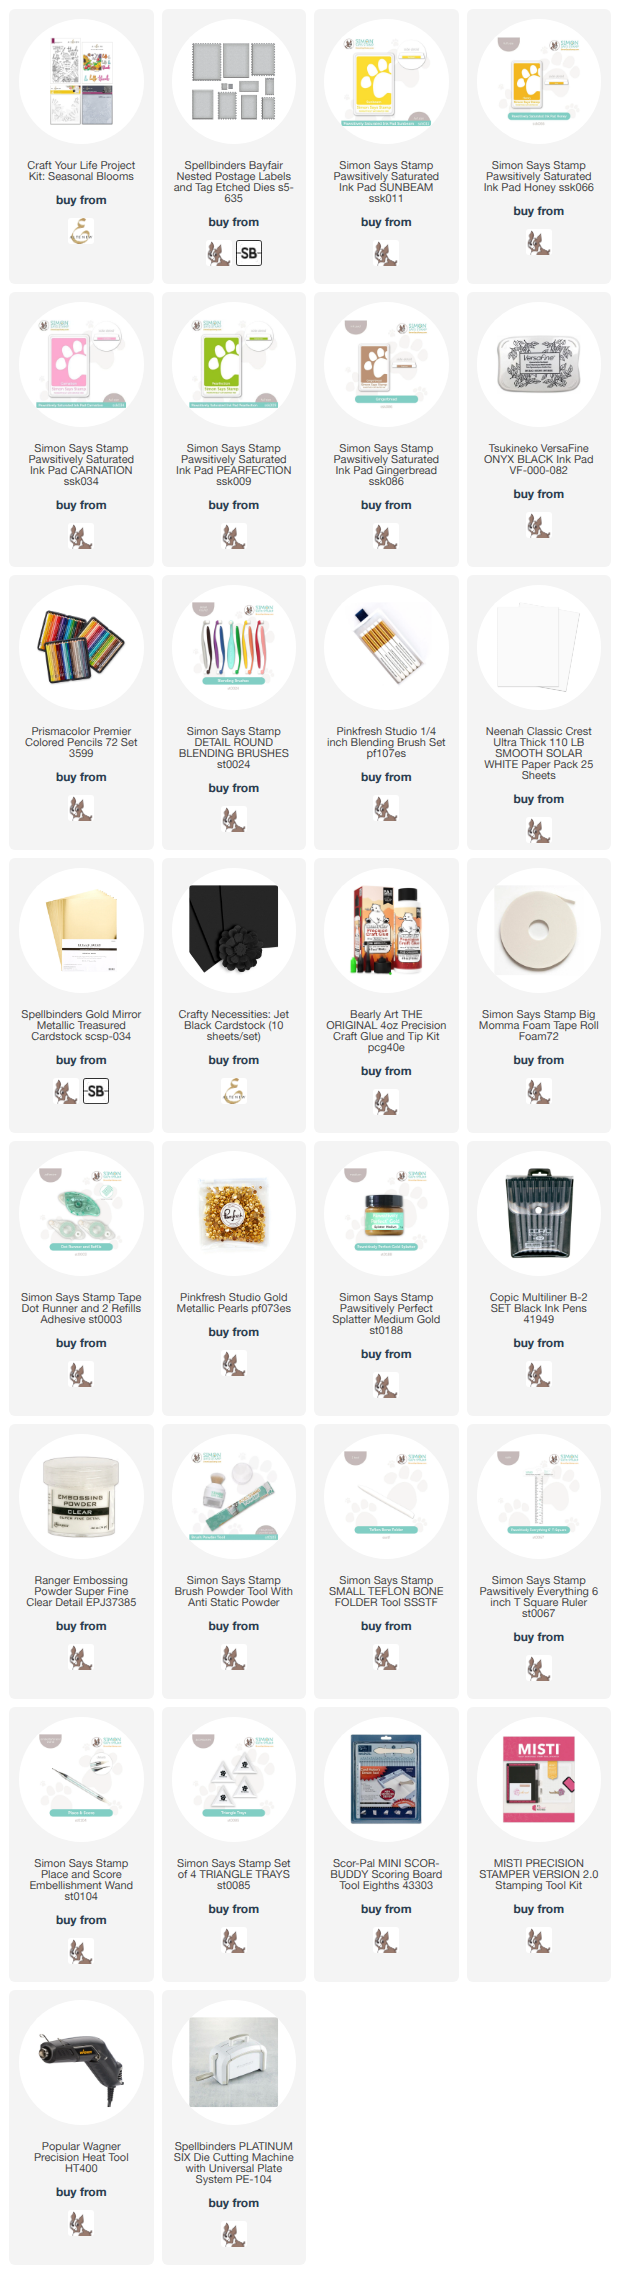
I began this project by embossing a panel of Neenah 110 cardstock using the folder and doing some ink blending using Shell, Sherbet and Punch inks. I did pull my color inspiration from The Color Cubes, because I wanted to try something a little different. Once I was done with that, I added a black panel for some contrast and added a tiny black gem to the centers of the medallion if you will.

I then die cut the hello from gold and black cardstock, adhered all of those together and added it to the panel using foam tape.

See, super simple project for today! The longest part was adding all of the gems! Thanks so much for joining me, and I hope you have a fabulous day! Don’t forget to stay awesome!

Supply List

Affiliate links used at no cost to you. What does this mean? If you use the links within this post to make a purchase, I receive a small commission, which allows me to continue to post crafty content for your enjoyment. I truly appreciate your support!

Latest Posts

Latest Instagram Posts
Together By Design Featuring CZ Design “Simple Ho”

Together By Design is a monthly collaboration where a small group of designers all create with products from the same featured brand. Each of us chooses a favorite product and puts our own creative spin on it, showing just how many different ways one brand can inspire. Follow along, explore every project, and discover new designers and new favorites along the way.

This month’s featured brand/product:  CZ Designs “Simple Ho”

Here is a list of designers participating this month:

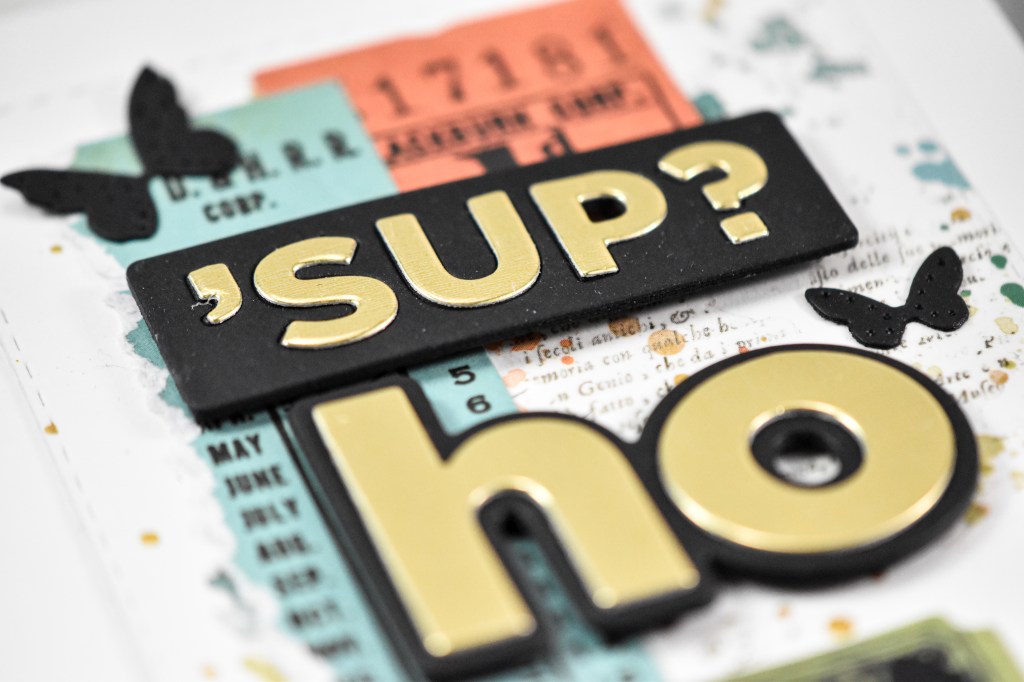
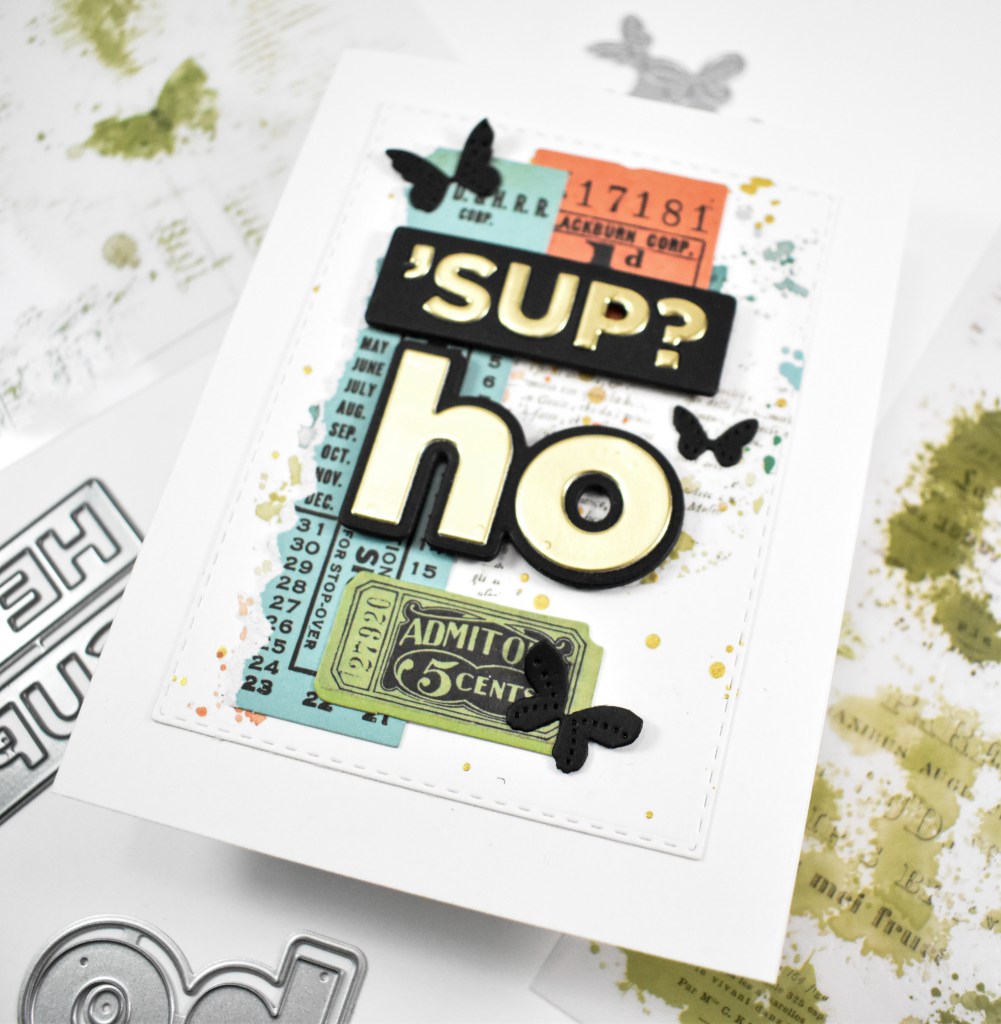
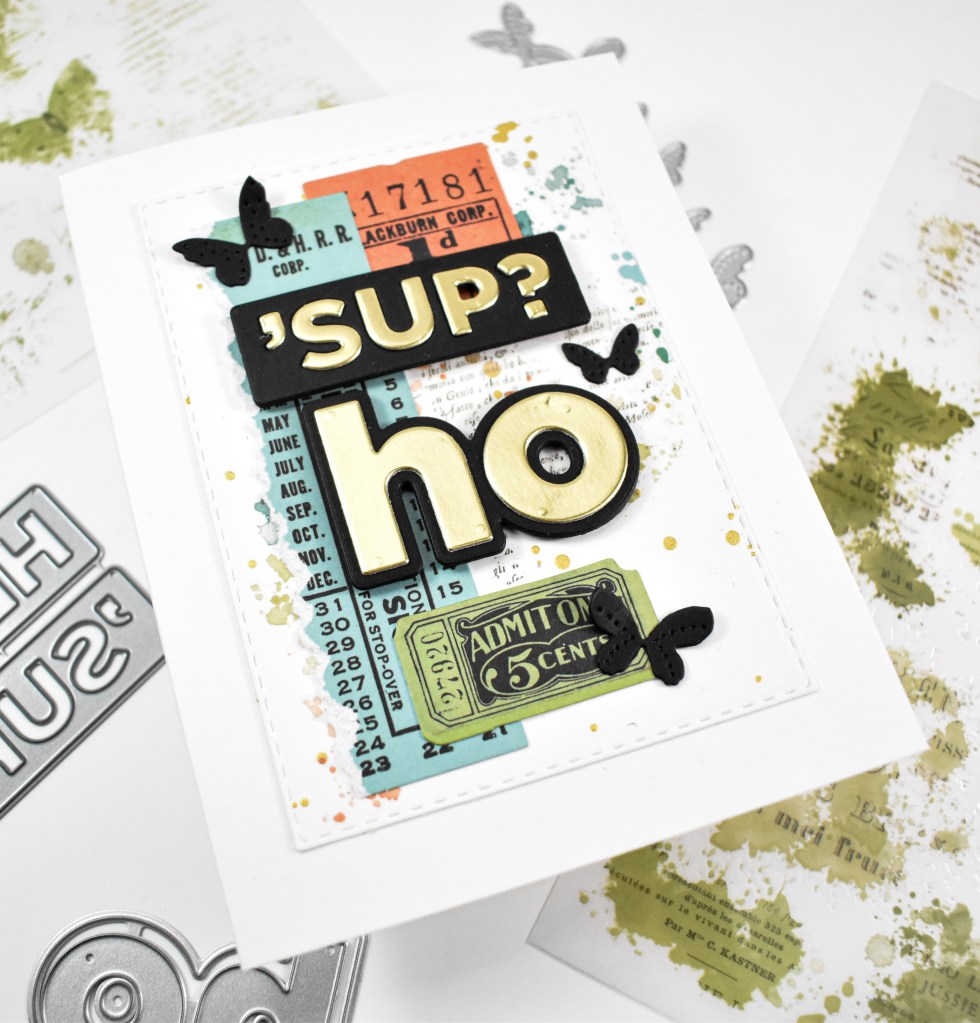
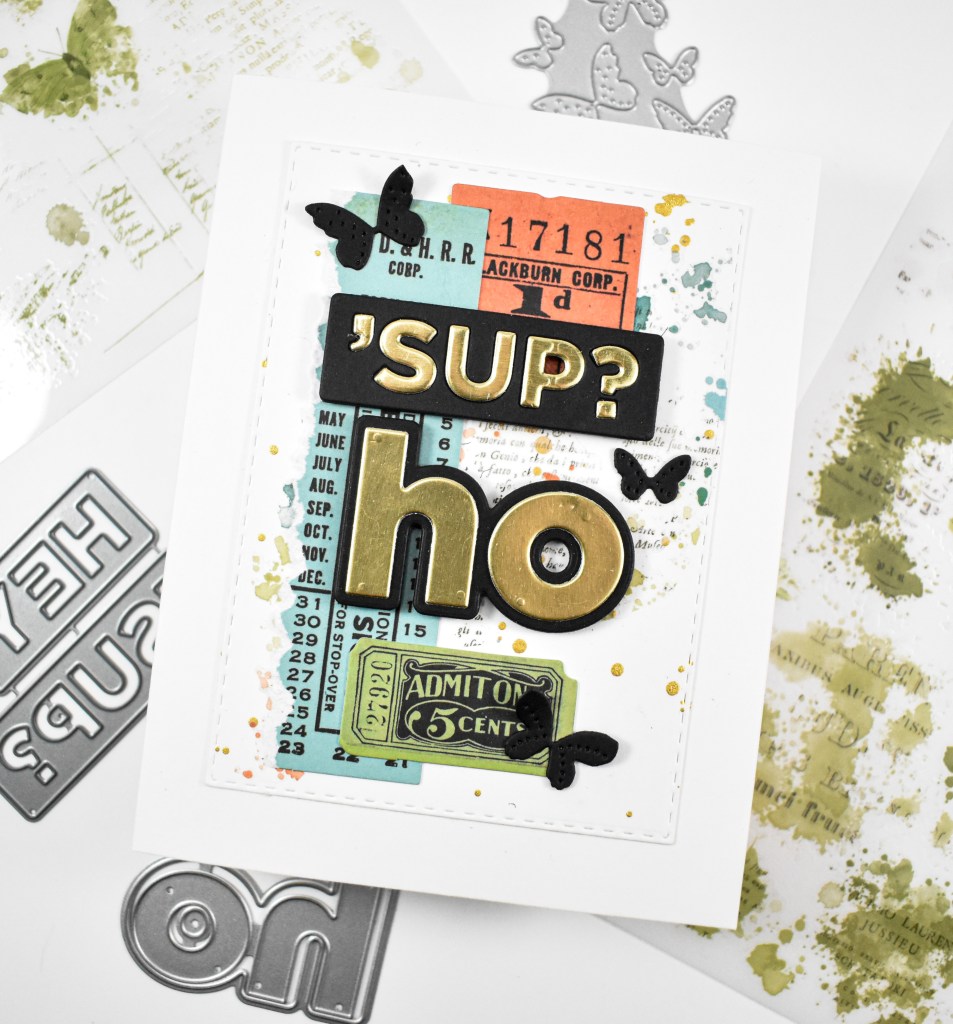
I’ll start by saying that I chose this month’s product .. If you know me personally, you know that I’m quite churlish with a weird sense of humor. I will often use the term Ho as a funny greeting, or a funny term of endearment. I mean absolutely no disrespect when I’m using the term. While at CREATE this year with my friends, I saw this die cut hanging in the Holiday section and I jokingly said, “Wassup, Ho?” And things spiraled from there, using various sentiments that we saw with the word Ho at the end of it. Examples, You’re doing great, Ho. Sending love and hugs, Ho. You make everything better, Ho. You get the idea! Hence, Ho became our chosen product for this month’s design.

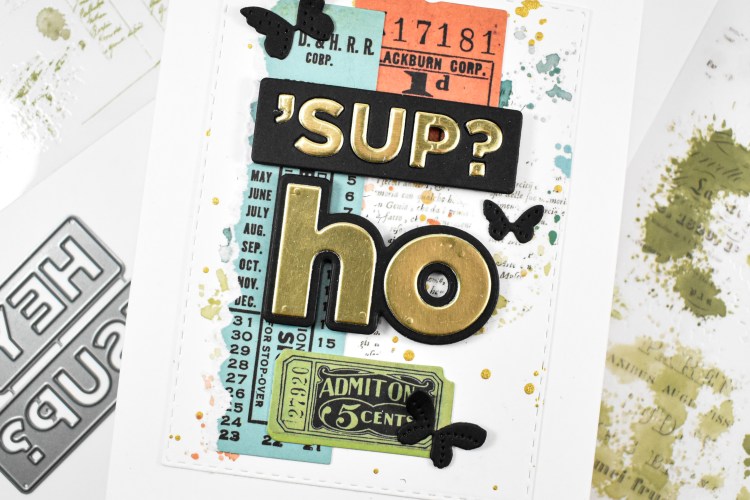
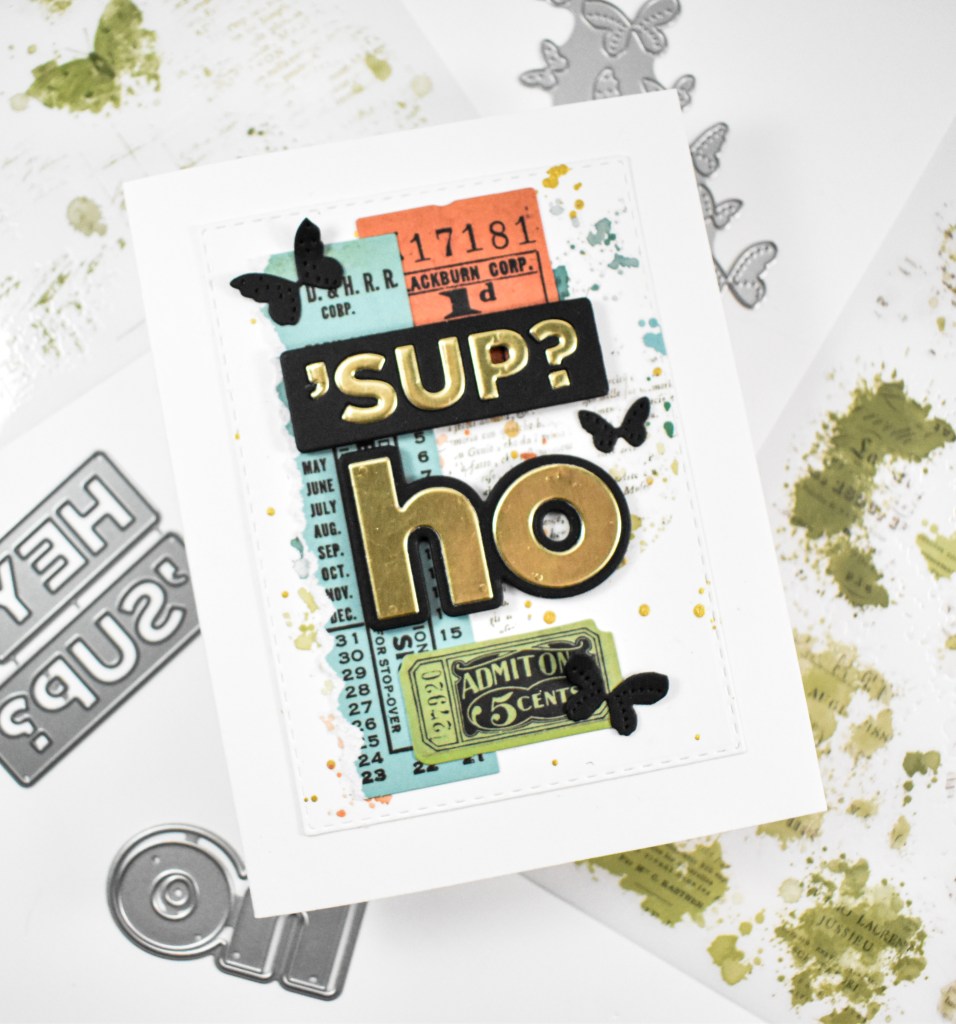
I recently purchased a bunch of 49 and Market products, to include rub-on transfers and various ephemera pieces, so I decided to put some of those to good use! However, in searching for these products online, it appears that it has sold it, which tends to be the case with the 49 and Market collections. My apologies on that. I began this project by die cutting a panel using the Nested Stitched Rectangles and adding some gold splatter, followed by some rub-on transfers.

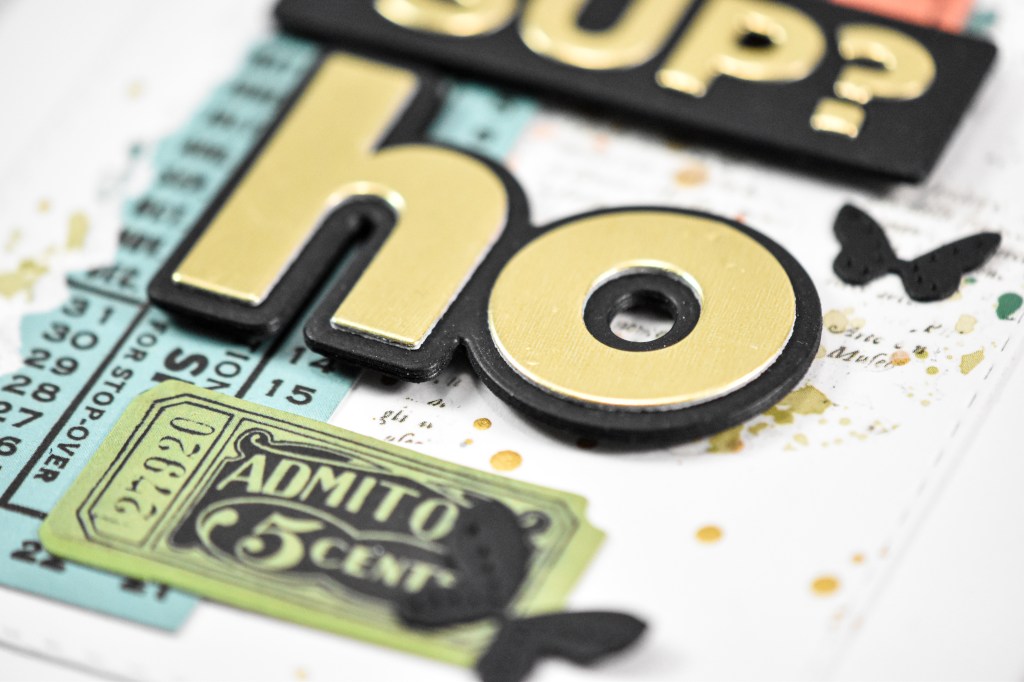
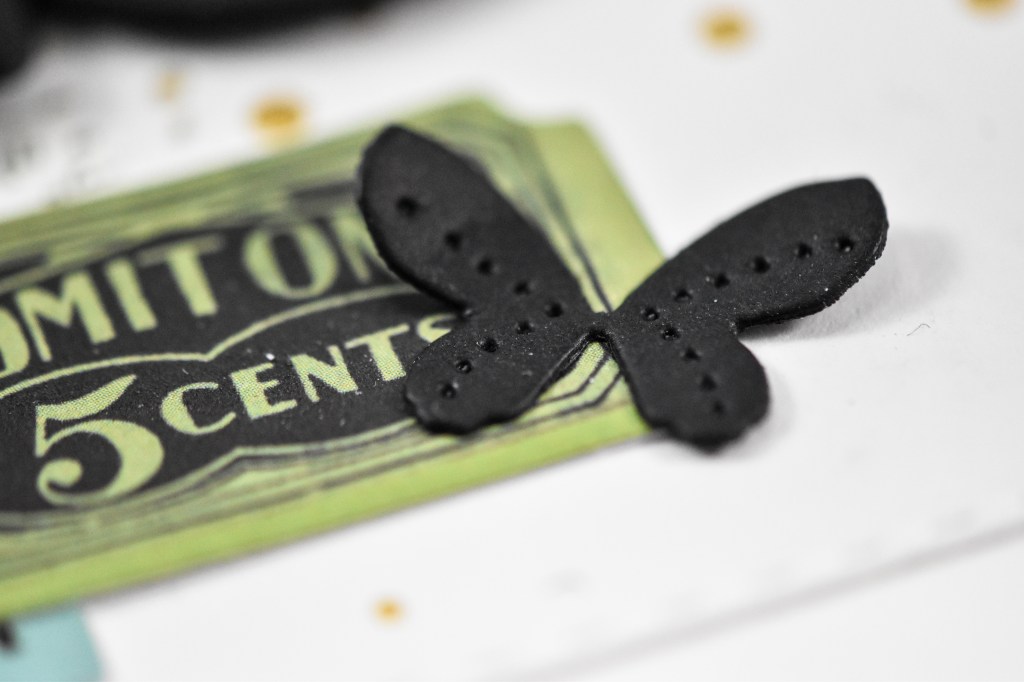
I pulled some ephemera pieces that would match the colors of the rub-ons that I used. Next, I die cut the sentiments a bunch of times from black and gold cardstock, adhering all of those together for a very stacked sentiment. Unfortunately, it appears that the “sup” die cut has been discontinued, which is sad, because I really like it! I tore the edge of one piece of ephemera and secured it with liquid glue, along with the other pieces, while the sentiments were adhered using foam tape. I felt some black butterflies were in order, so I cut and added a few of those to finish up.

I hope that if you’re seeing this card, you are finding humor and not finding offense, because it really is just my weird sense of humor. I hope you’ll check out the posts from my friends to see how their creative juices flowed using the say die cut. Thanks so much for stopping by, and I hope you have yourself a fabulous day!

Supply List:

Affiliate links used at no cost to you. What does this mean? If you use the links within this post to make a purchase, I receive a small commission, which allows me to continue to post crafty content for your enjoyment. I truly appreciate your support!

Latest Posts

Latest Instagram Posts
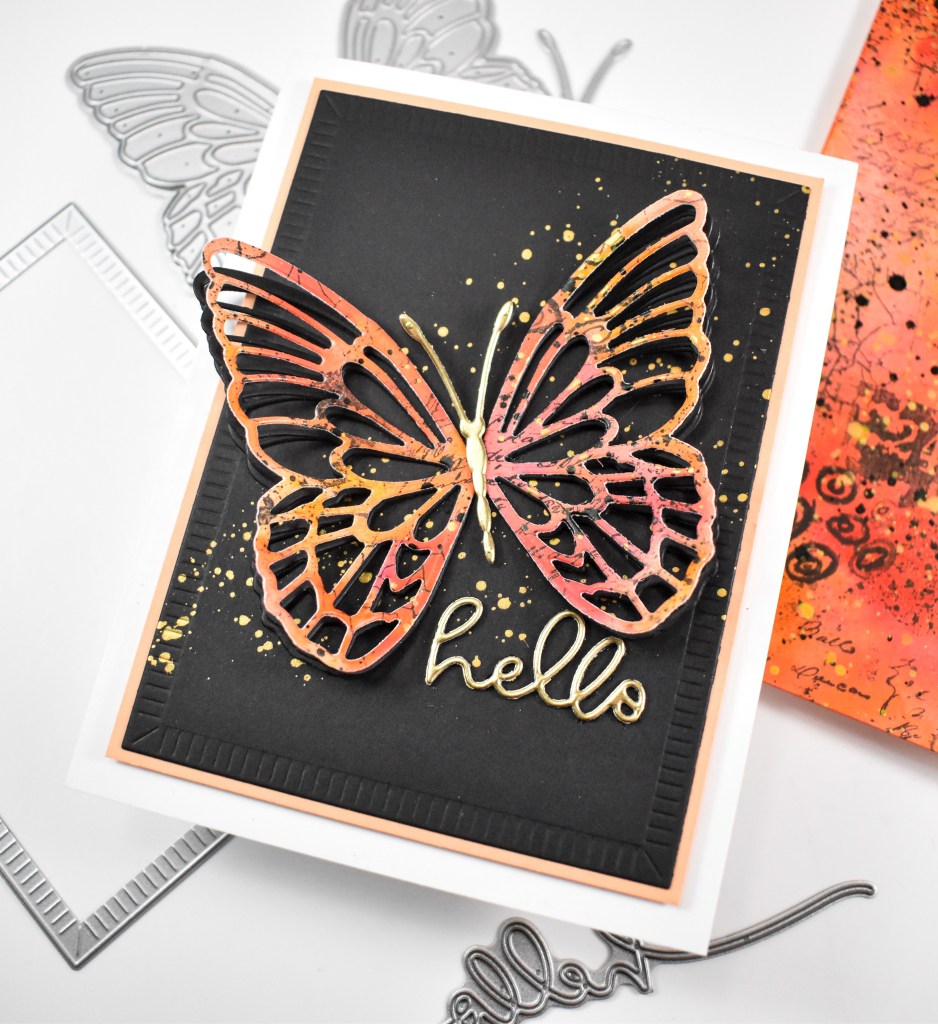
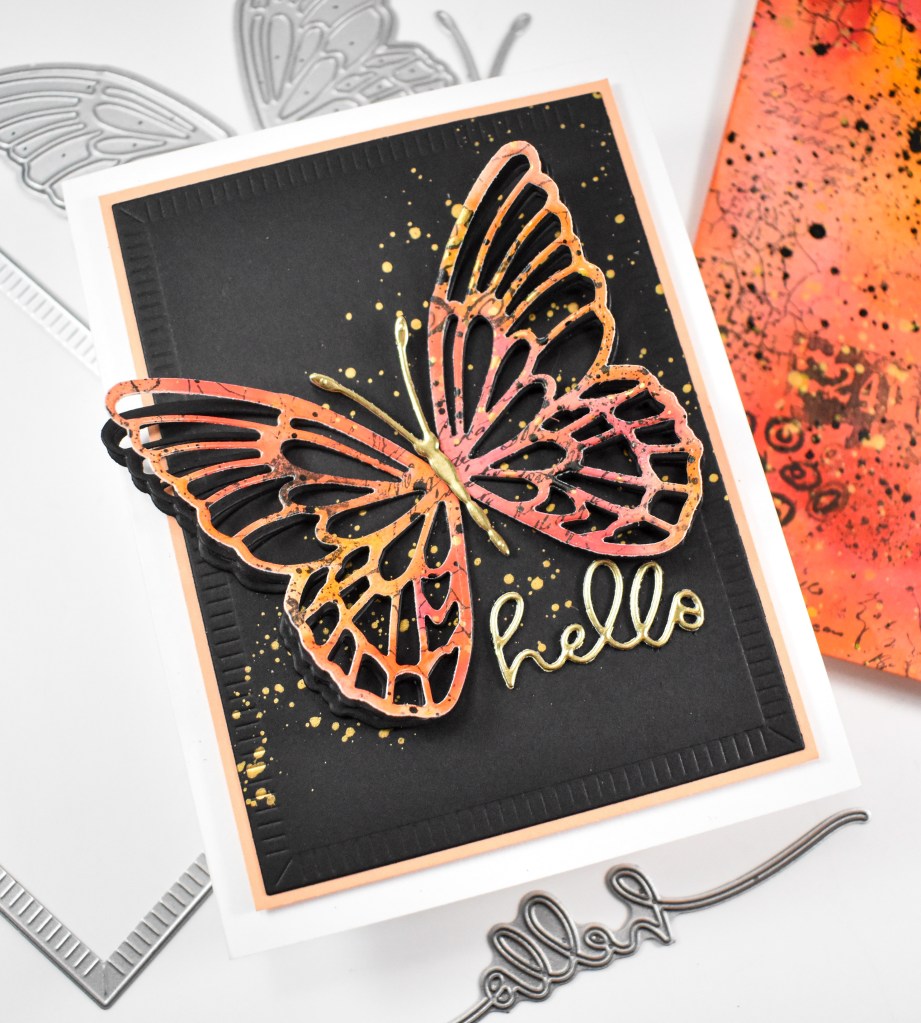
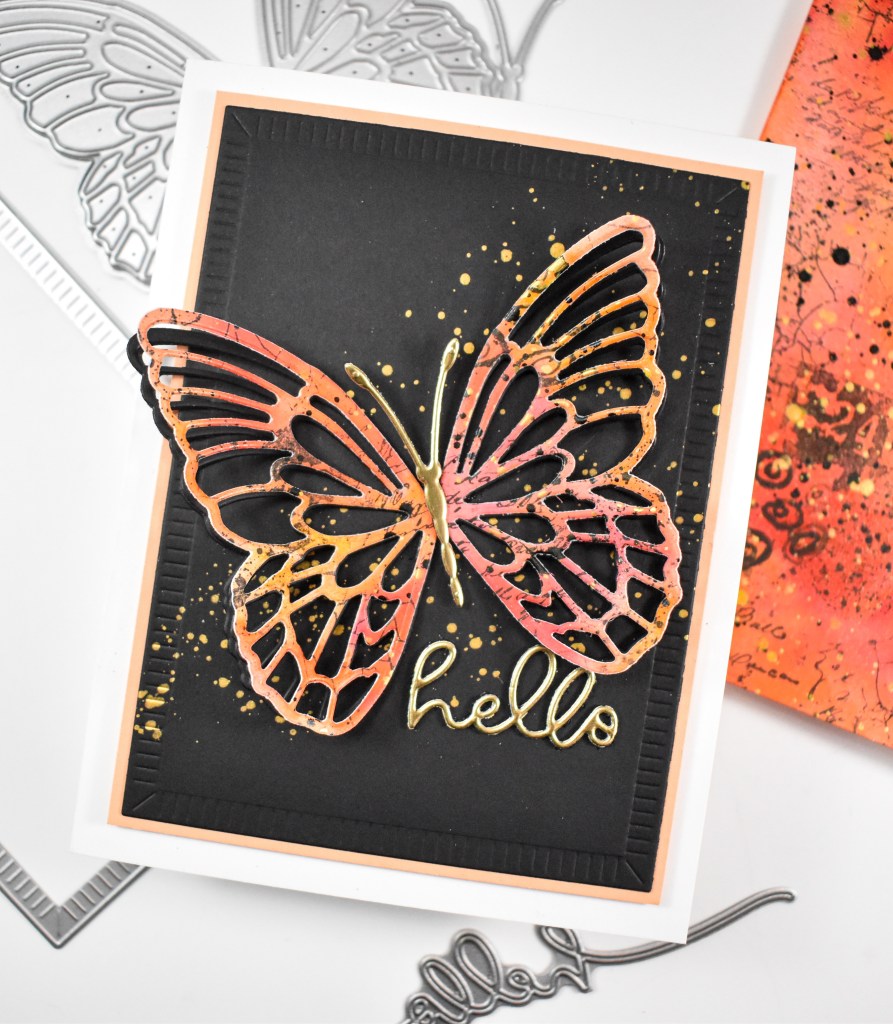
Simon Says Stamp Hello Butterflies

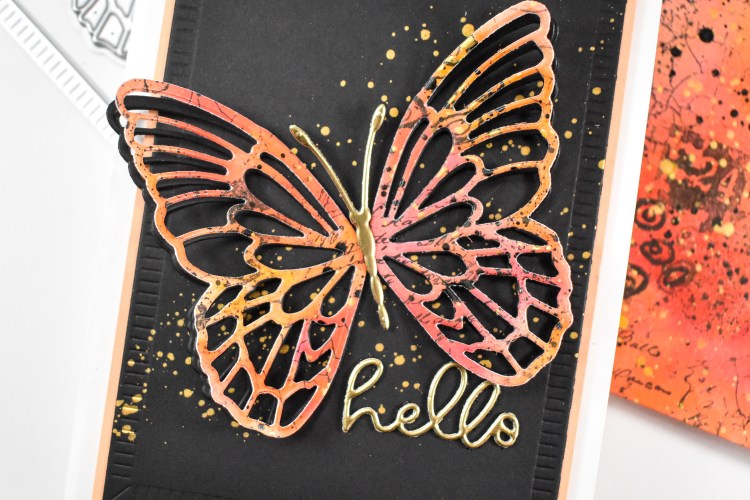
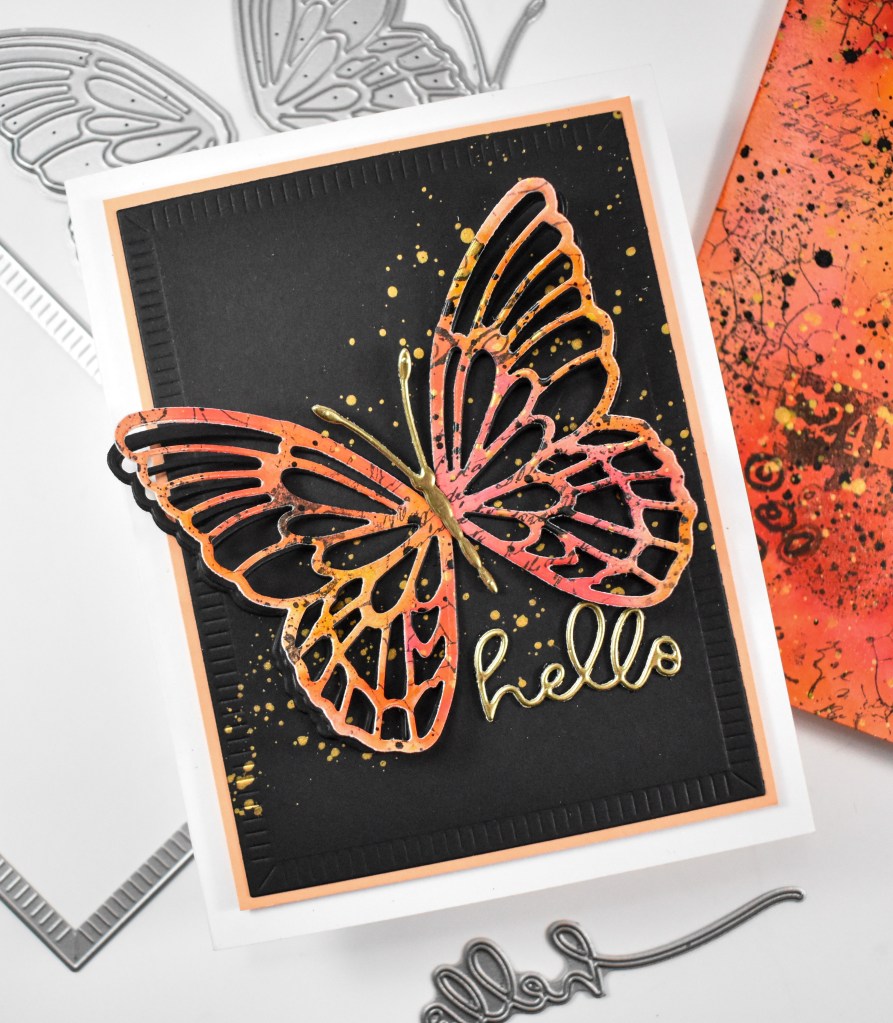
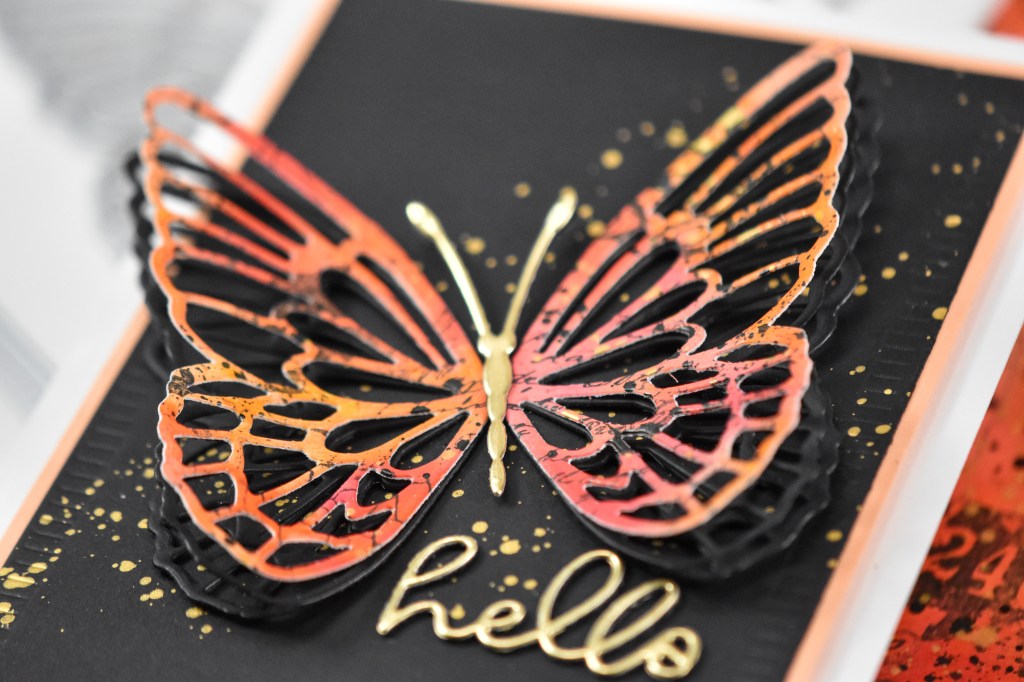
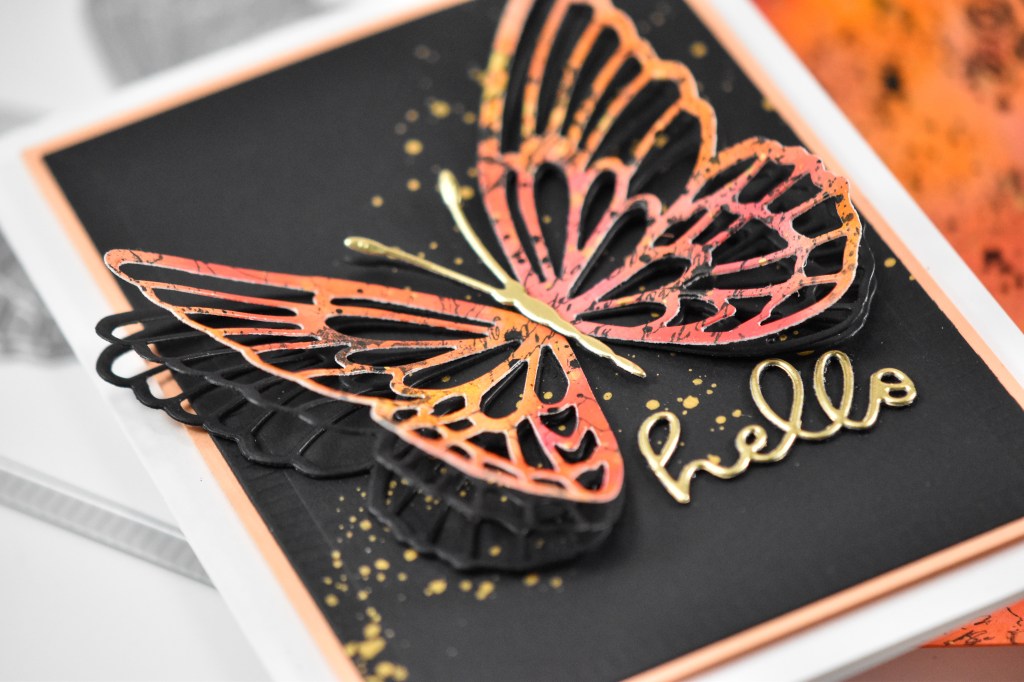
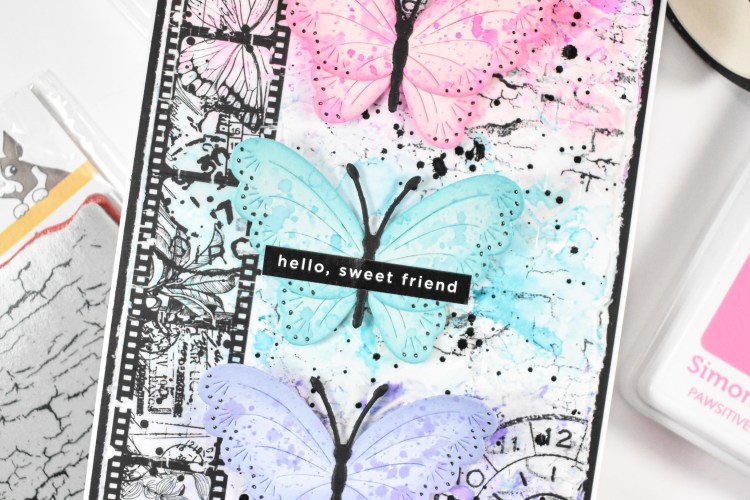
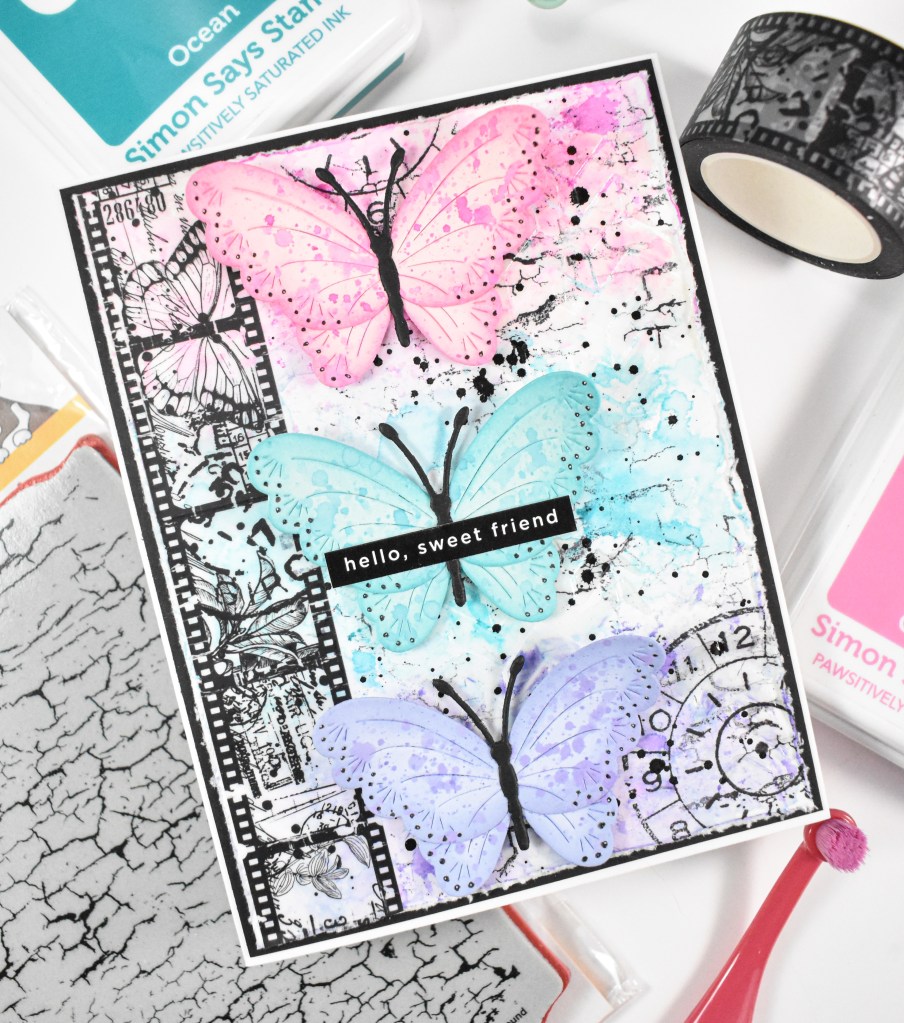
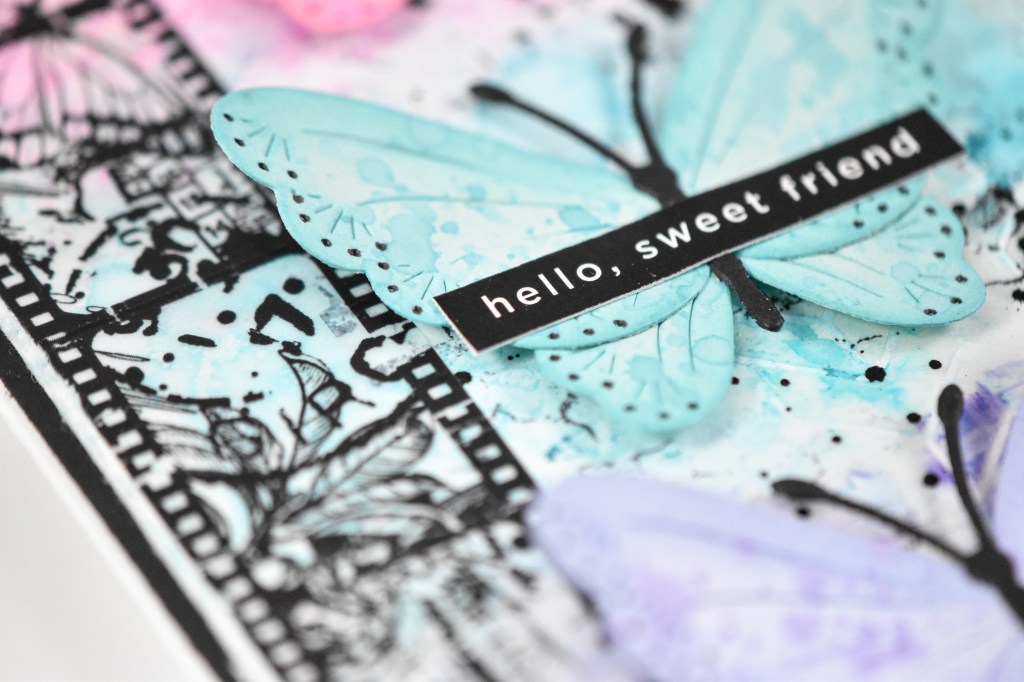
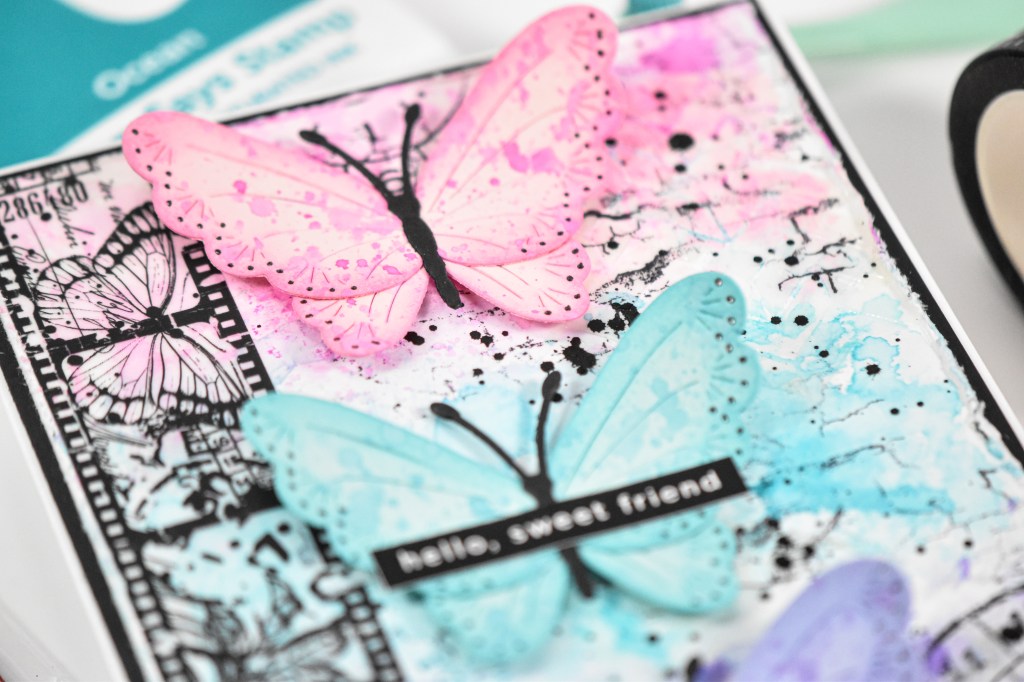
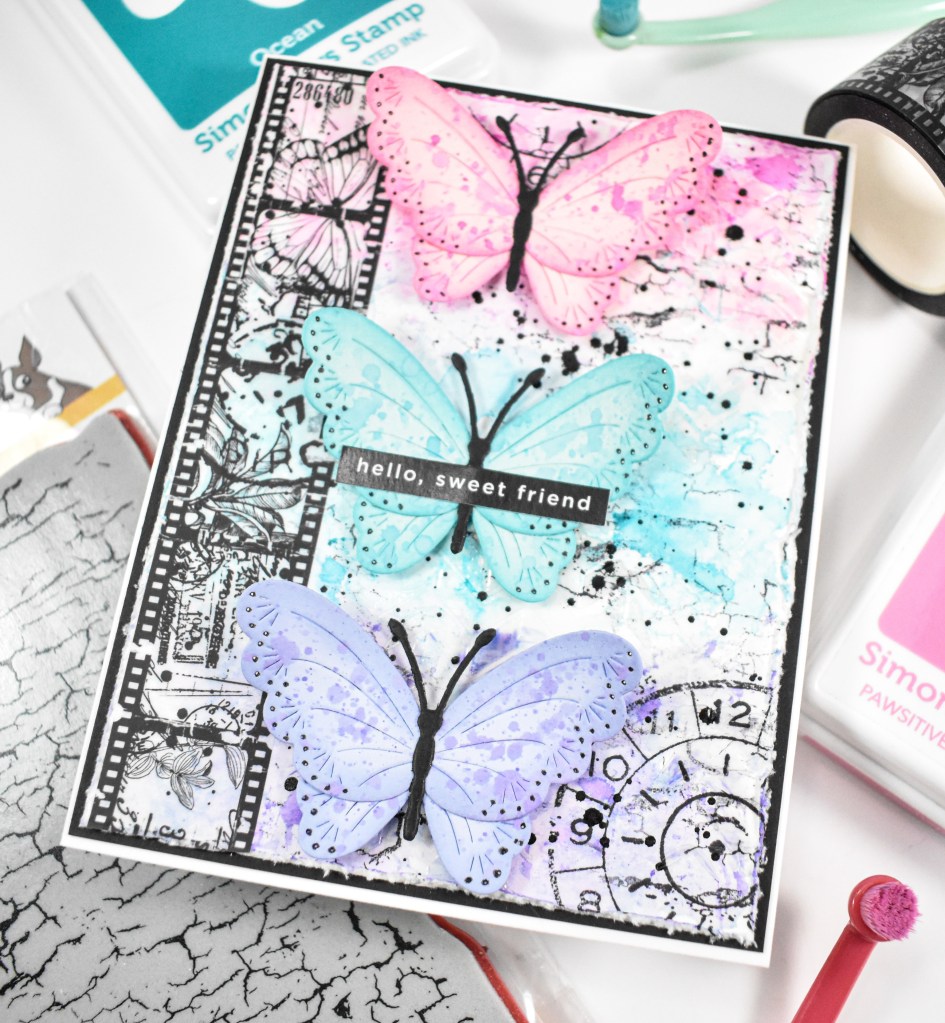
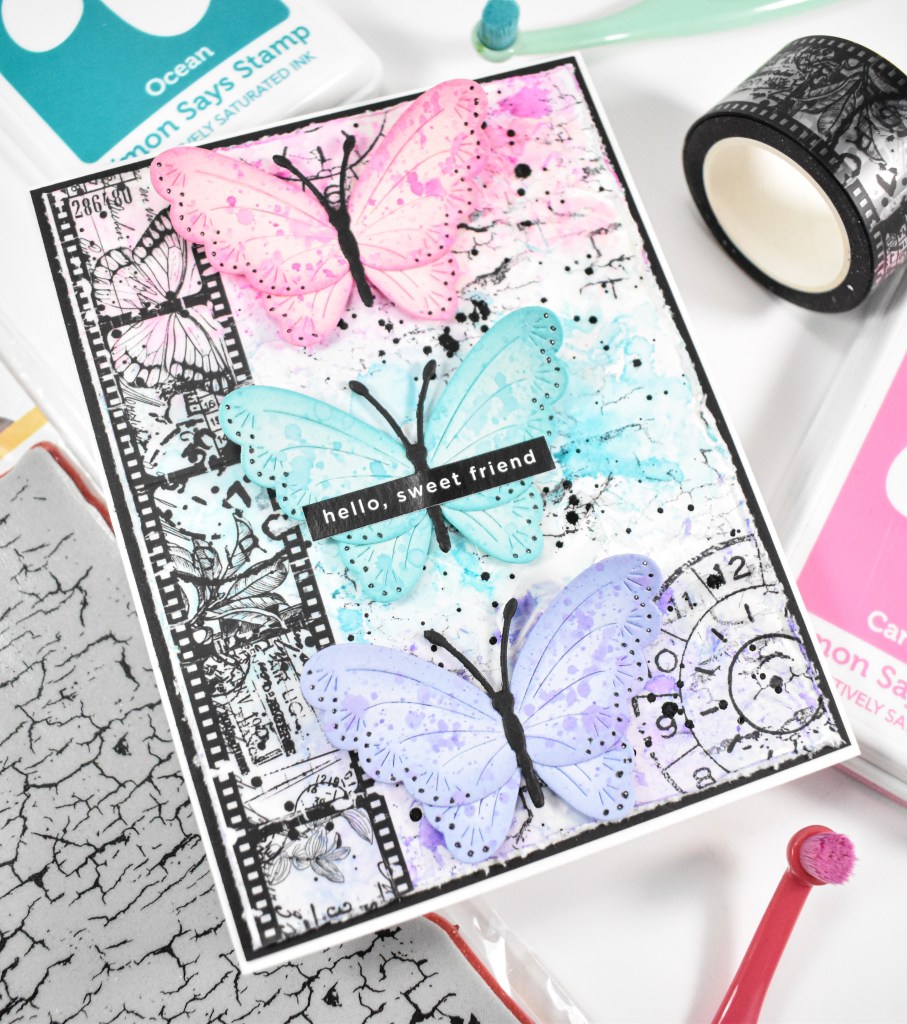
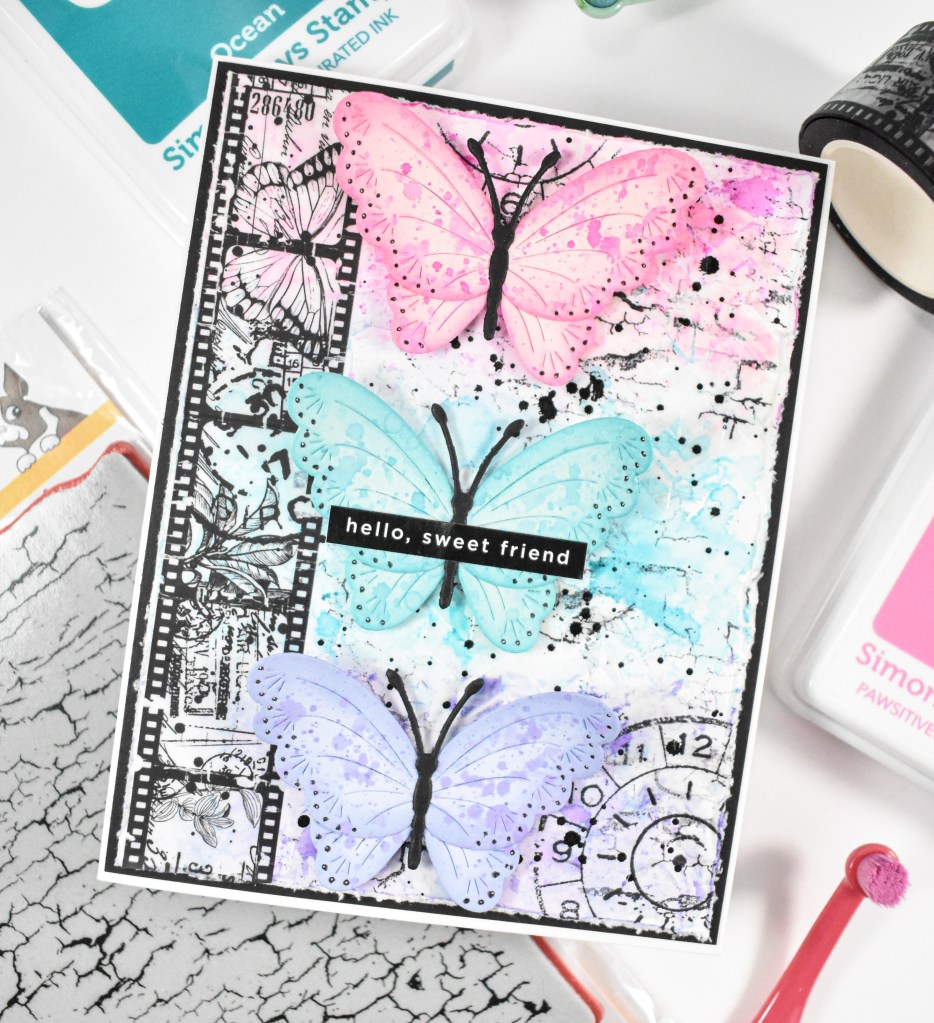
Hello Friends, and welcome back! I got myself into a grungy, creative mood, so I created another card featuring the Dewpierce Butterfly from Simon’s latest release, Always There. There’s quite a bit going on, so let’s jump right in to it!

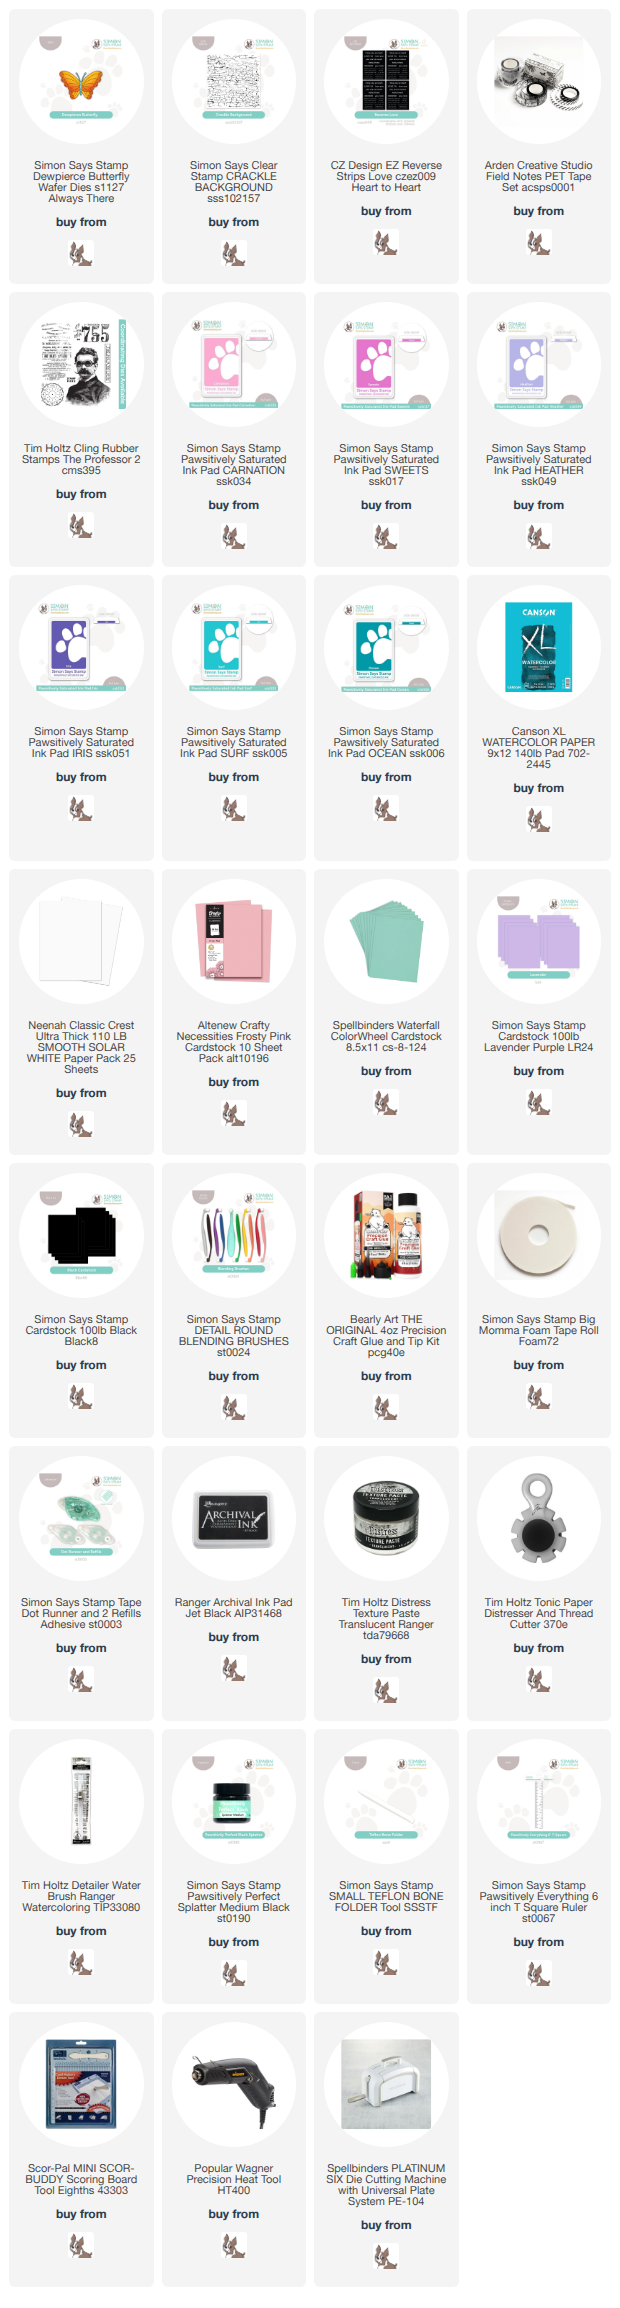
NOTE: all supplies are linked n the thumbnails at the end of this blog post.

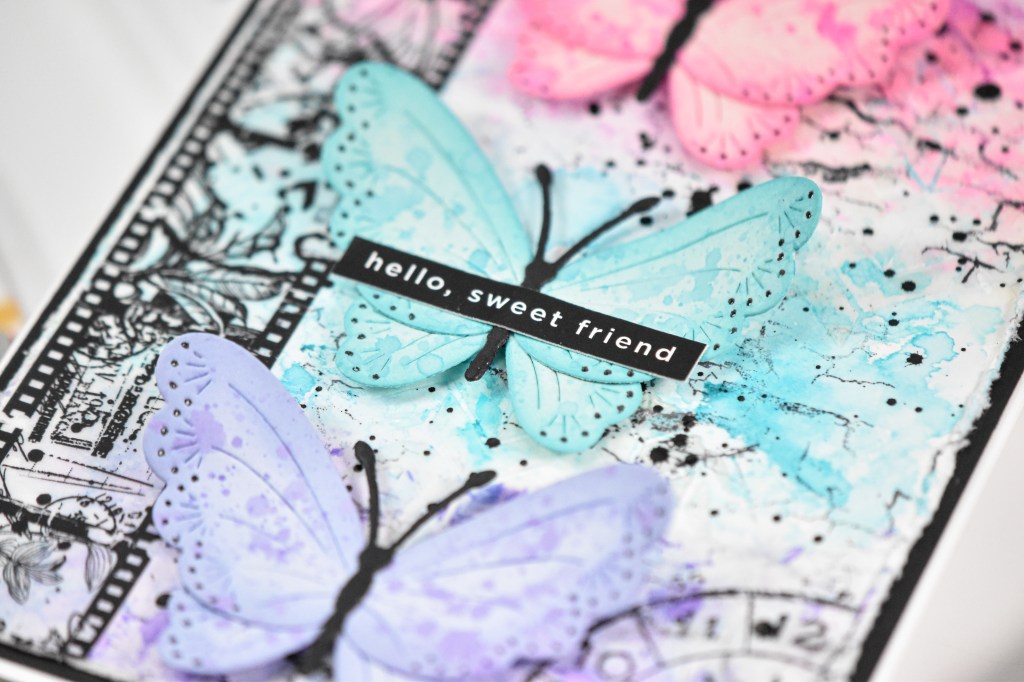
I began by die cutting the butterfly once from pink, aqua and purple cardstock and die cutting the body from black. I did some ink blending on the edges of the butterflies using Carnation, Heather and Surf inks. Those were then assembled using liquid glue and set aside while I worked on the rest of the card.

I pulled a panel of watercolor paper and a water brush and loosely added those same inks to the panel I just smooshed the ink onto my glass mat and added it from there. No paints were involved, just ink pads. I dried the panel using my heat tool and then did some stamping using Archival Black ink and the Simon Crackle Background, as well as the Tim Holtz Professor 2 set. A healthy dose of black splatter was also added before distressing the edges of the paper.

Now, here’s the part that I’m not so happy with, but it is what it is. I pulled the Simon Large Chevron Stencil, which is discontinued, along with some Translucent Gloss Crackle Paste and applied that to my panel in three different areas. As far as I can tell, it did not crackle, it just added some clear gloss. I guess in hindsight, it would have been better to maybe use opaque crackle paste .. I’m not sure, I’ll have to try it again at some point.

Some PET Tape was added to one side of the panel for some added visual interest, as well as to bring all of the black elements together. I decided that I wanted some darker ink on the panel, so I pulled Sweets, Iris and Ocean inks. The same smooshing on the glass mat occurred, and I dabbed a plastic bag, with a wadded up paper towel inside, into some water and then into the ink and lightly smooshed that onto the panel. The butterflies needed a bit of splatter too, so I used those same darker inks and splattered those with a paintbrush before being adhered to the card with foam tape. A sentiment strip was added to the middle to finish up this project.

That does it for this one! I hope you enjoyed it as much as I did! I’ll try a different paste next time to see if I get better results. Thanks so much for stopping by, and I hope you have an awesome day!

Supply List

Affiliate links used at no cost to you. What does this mean? If you use the links within this post to make a purchase, I receive a small commission, which allows me to continue to post crafty content for your enjoyment. I truly appreciate your support!

Latest Posts

Latest Instagram Posts
Simon Says Stamp Peony Hello

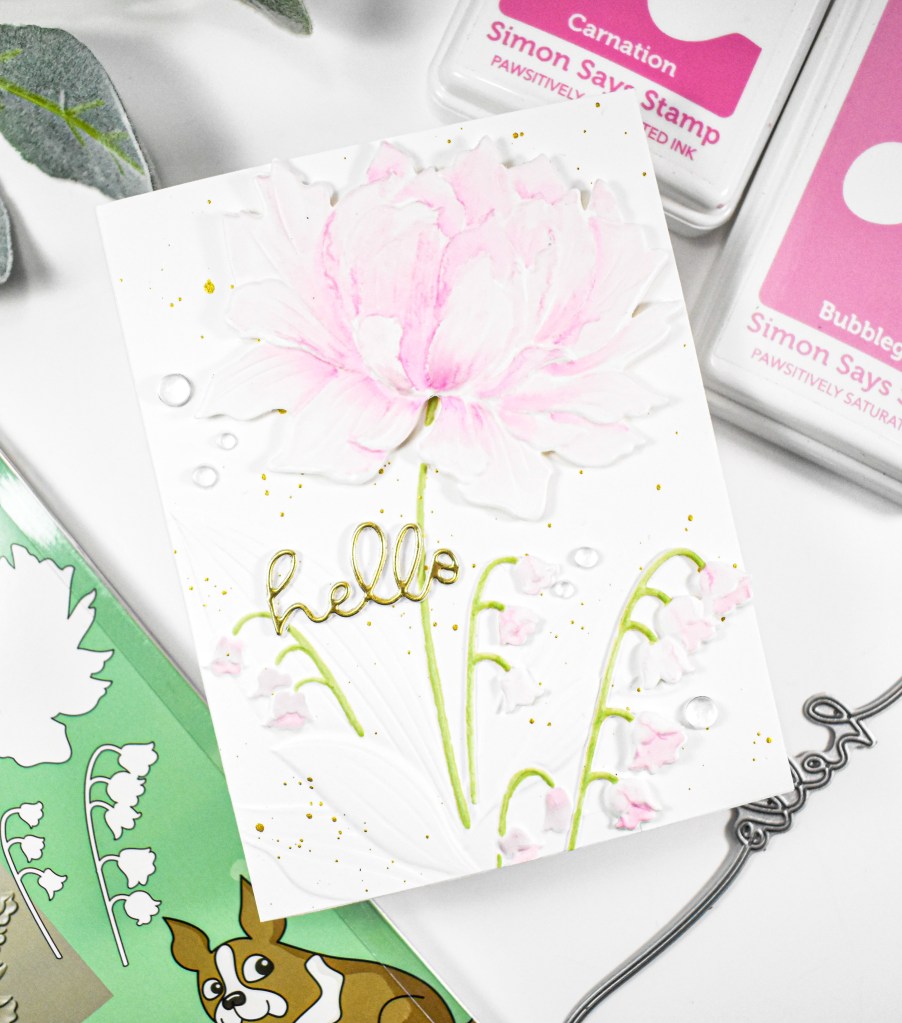
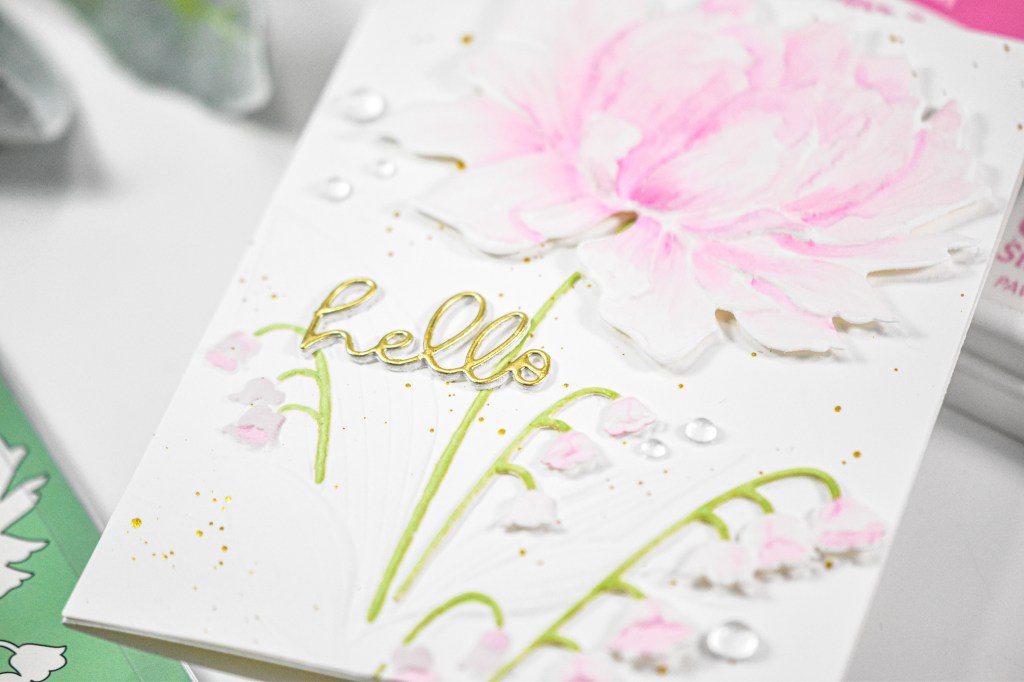
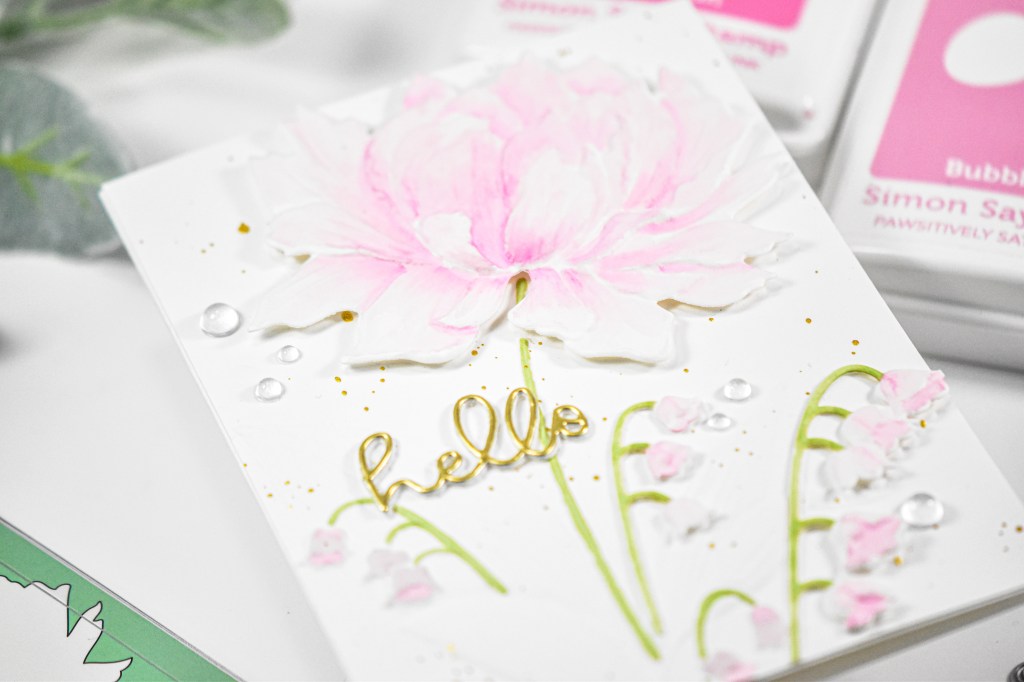
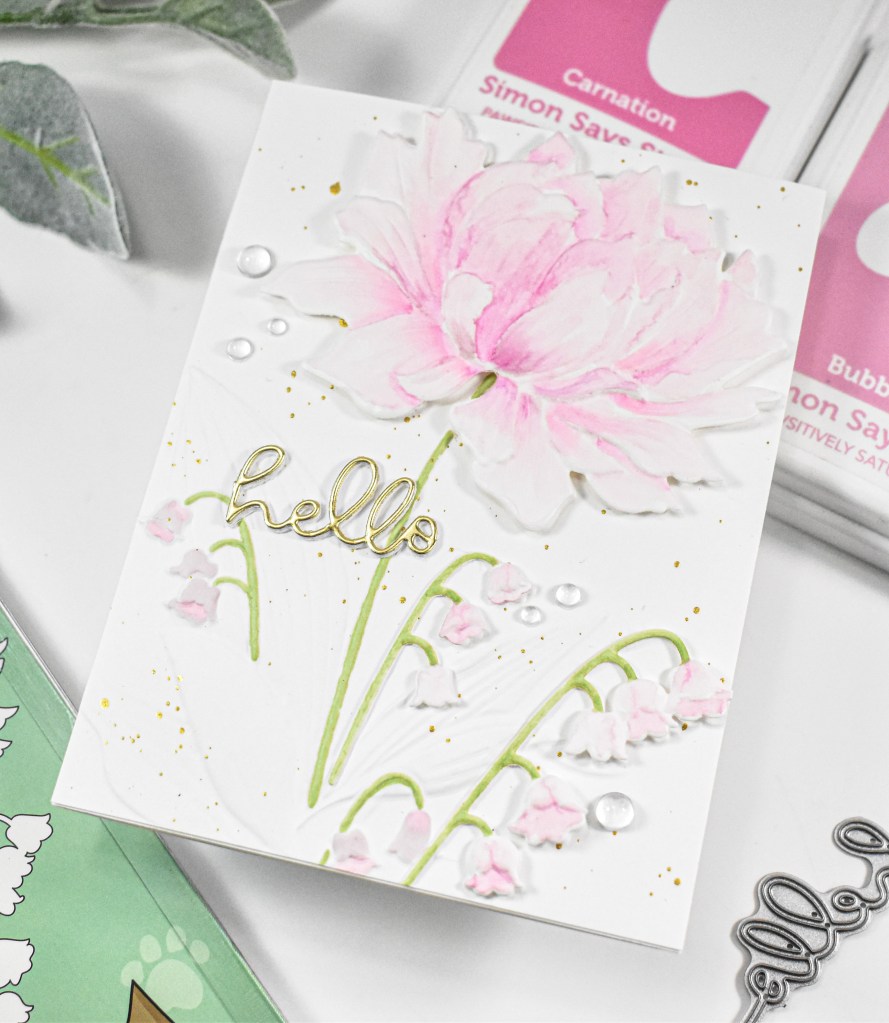
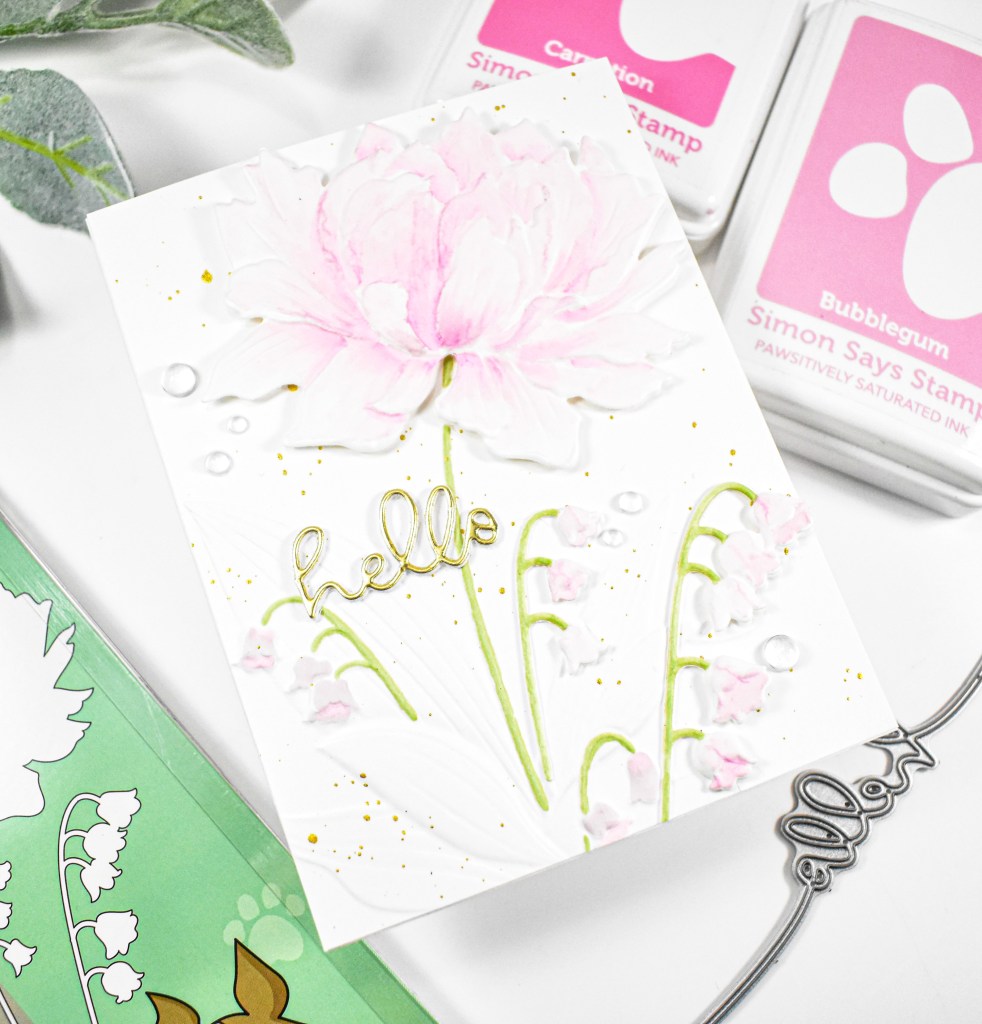
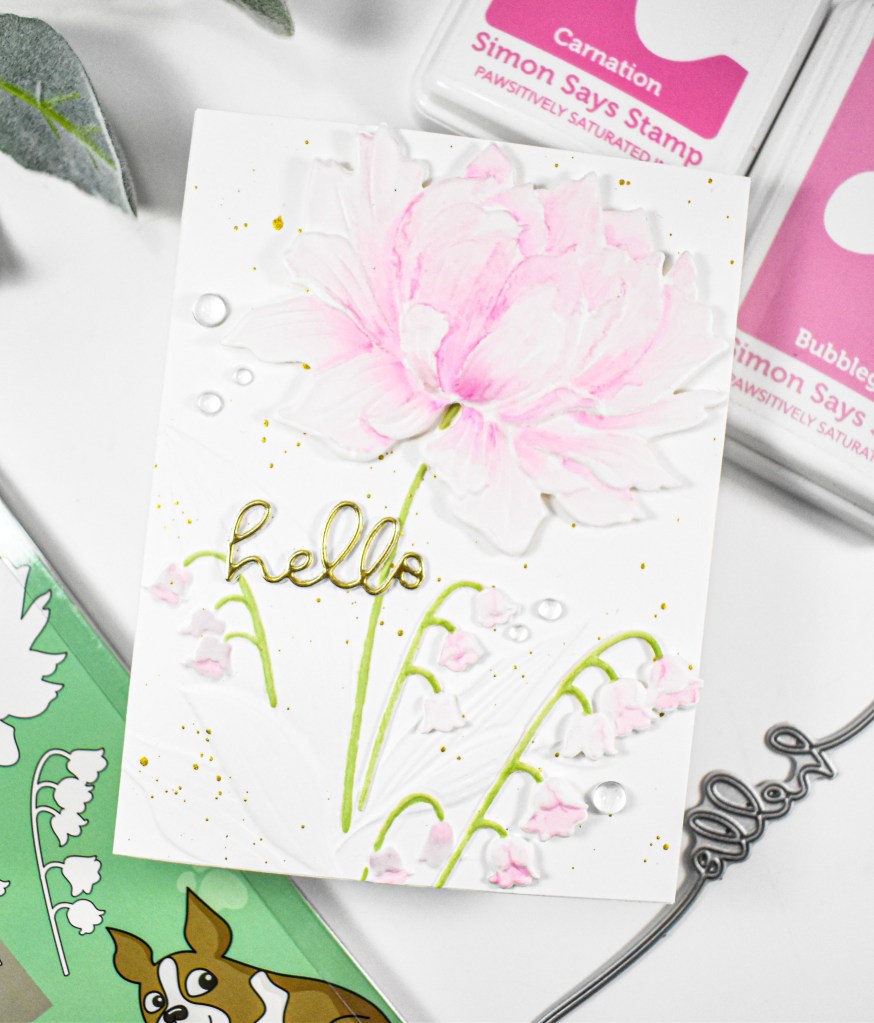
Hello there, and welcome back to my blog! The Always There release from Simon is live, and I’m back with a post featuring the new Peony & Bells Embossing Folder with Cutting Die. Let’s go ahead and get right into the details!

NOTE: all supplies are linked in the thumbnails at the end of this blog post.

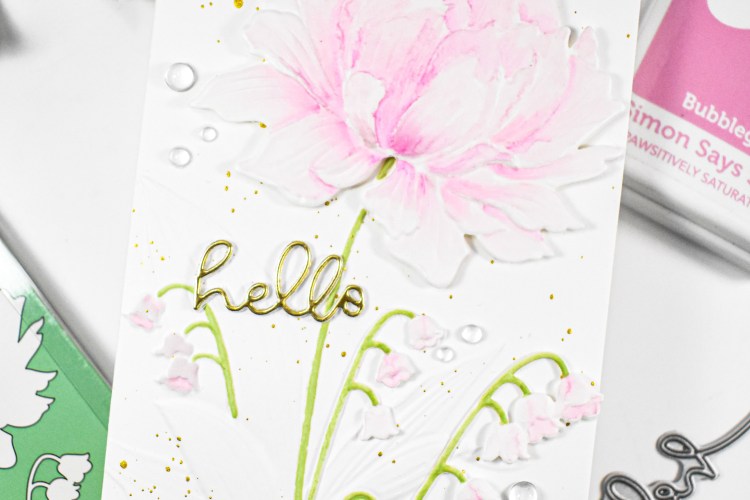
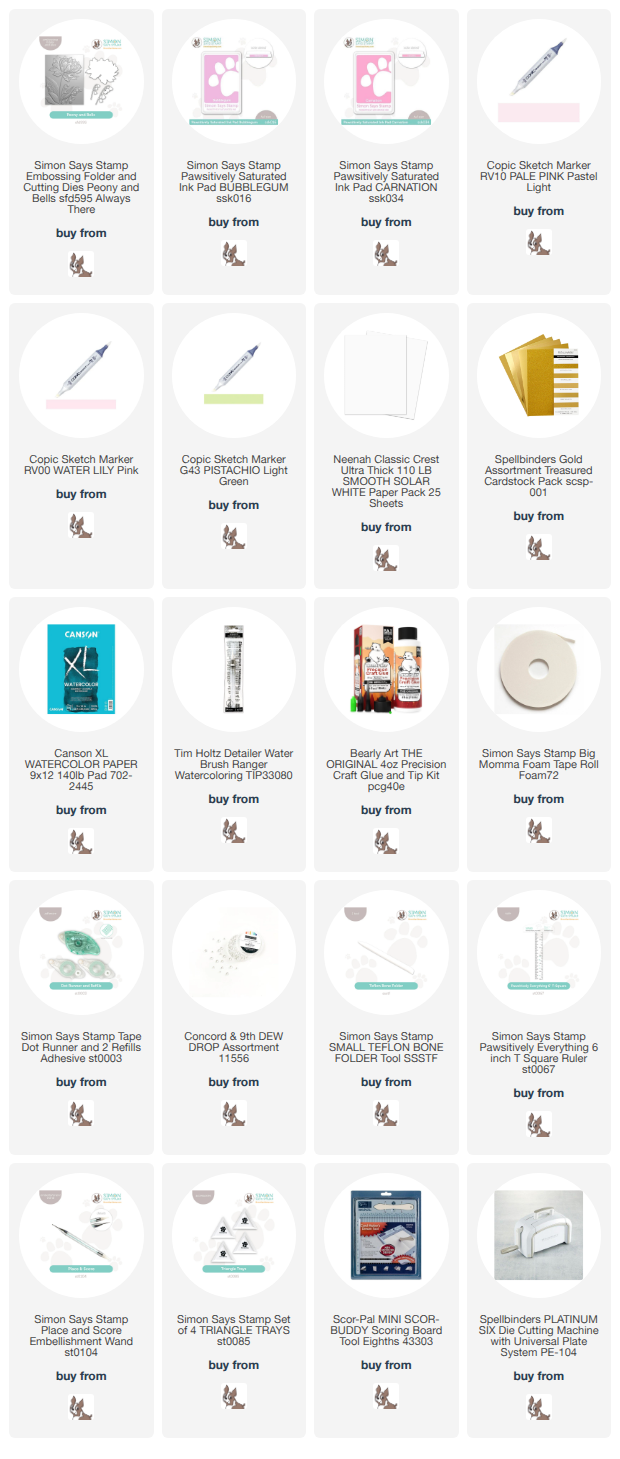
I began this project by embossing the peony onto a panel of Neenah 110lb cardstock. I also cut a scrap of watercolor paper and embossed the die cut pieces with that. I used a water brush along with Bubblegum and Carnation ink to add color to the flowers. I just smooshed the ink onto my glass mat and dipped the brush there.

Once I was finished with the watercoloring, I used Copic markers G43, RV00 and RV10 to add color to the stems and other flowers. Before adhering the die cut flowers to the panel, I did some gold splatter for a bit more interest.

The large flower was adhered using foam tape, while the smaller flower stem was added with liquid glue. The sentiment, which is from a retired set, was cut once from gold cardstock and twice from Neenah 110lb for a stacked sentiment. That was secured with glue, along with a few dew drops to finish up.

That does it for this project. I hope you enjoyed it, and I hope you’ll stop by and check out the entire Always There release over on Simon’s website. Thanks for stopping by, and have an awesome day!

Supply List

Affiliate links used at no cost to you. What does this mean? If you use the links within this post to make a purchase, I receive a small commission, which allows me to continue to post crafty content for your enjoyment. I truly appreciate your support!

Latest Posts
Latest Instagram Posts