Simon Says Stamp + Tim Holtz STAMPtember Collaboration Set

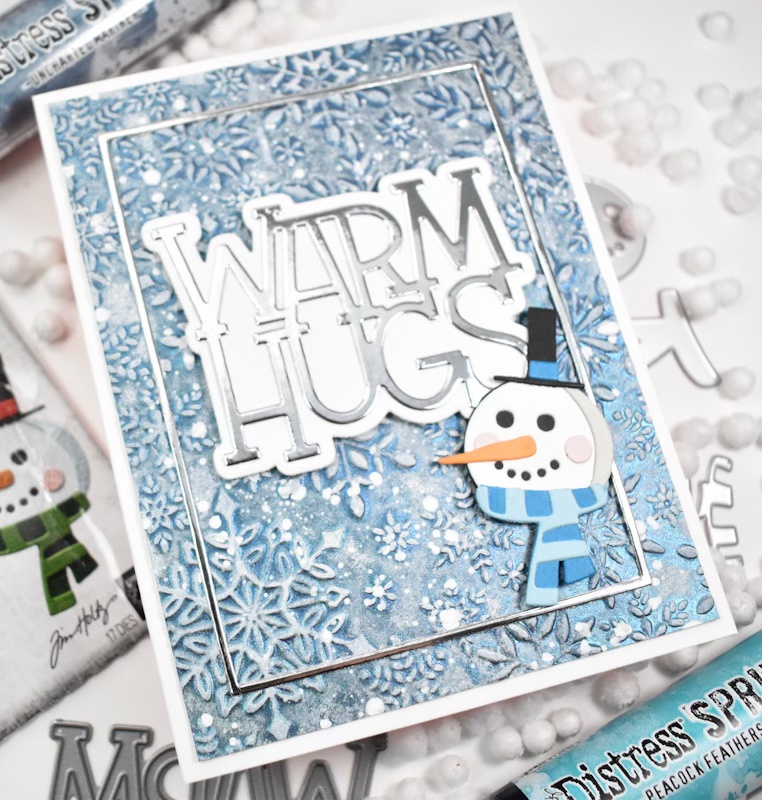
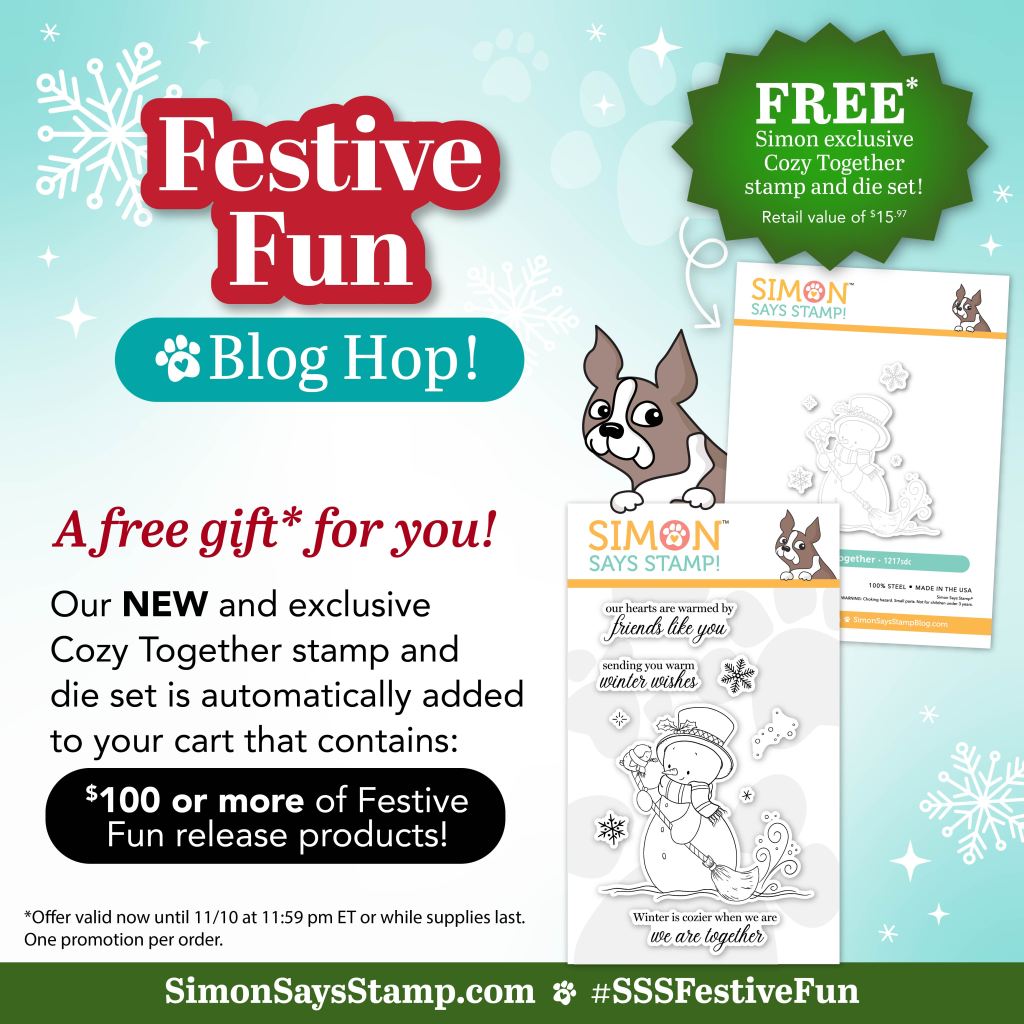
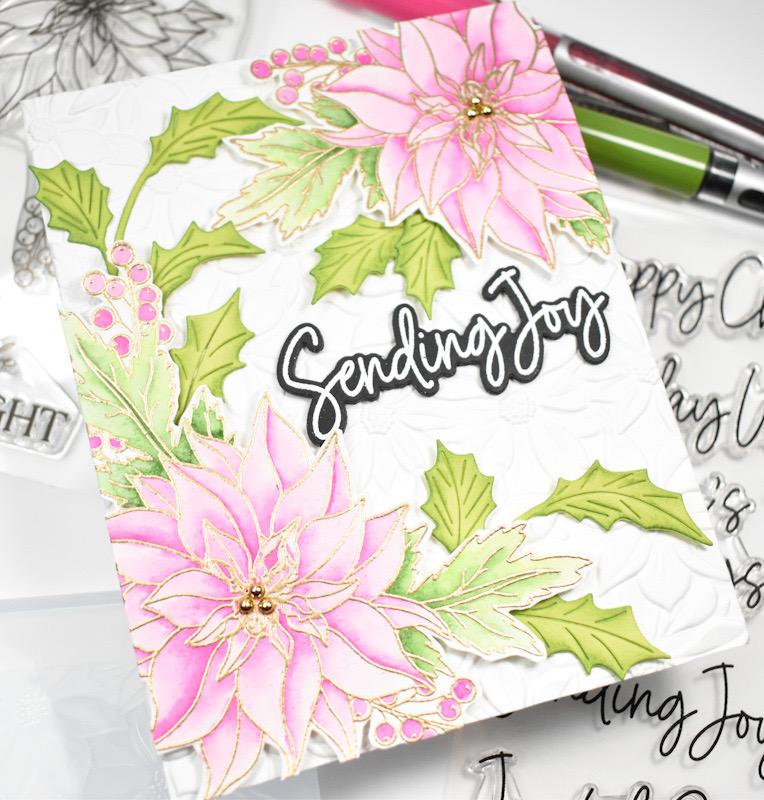
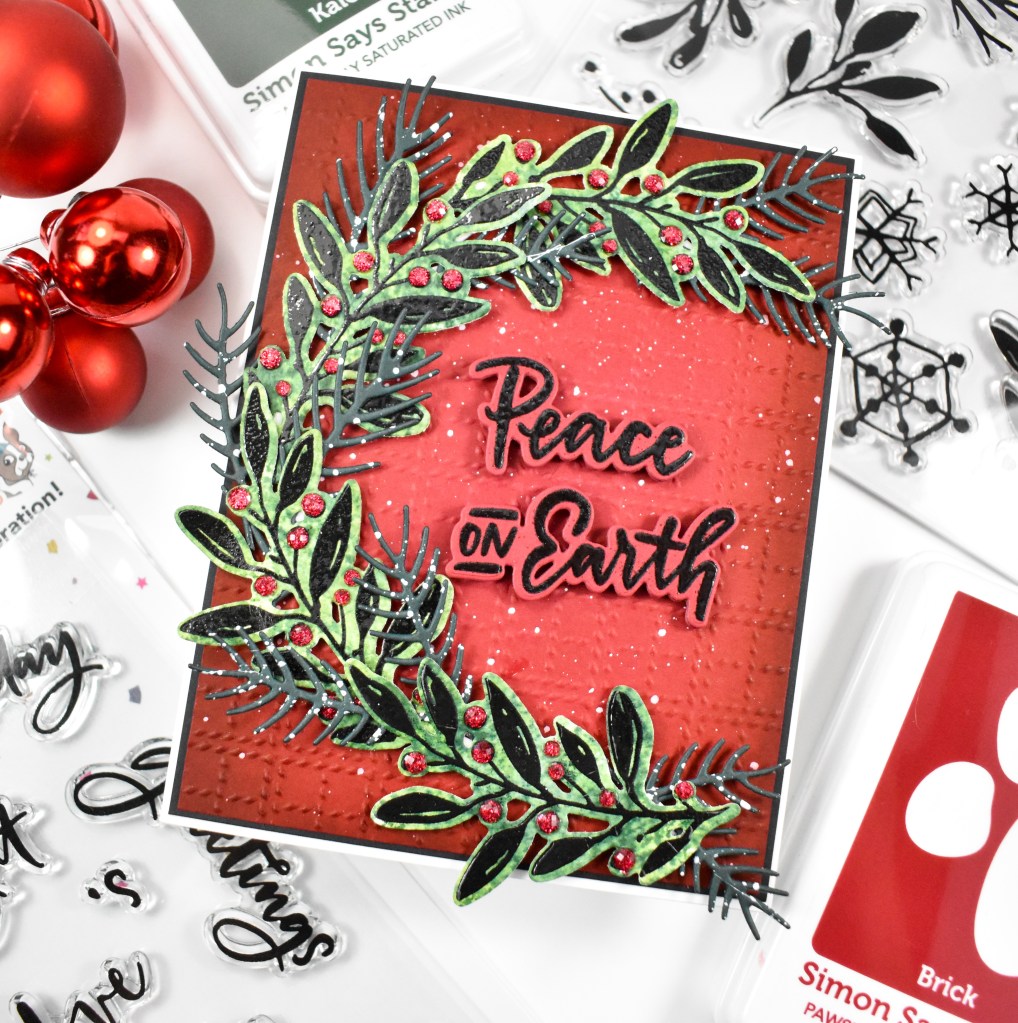
Hello Friends, and welcome back! It’s time for the Tim Holtz Collaboration that you’ve all been waiting for! Tim actually has SIX new holiday products that are part of Tim’s STAMPtember Technique Workshop! How exciting is that?! As you know, from previous classes with Tim, these kits sell out super fast, and there are limited quantities available! With that being said, if you’d like one, don’t delay in grabbing yours TODAY! My project is featuring the new Festive Watercolor along with the new Festive Sentiments, so let’s go ahead and go through the deets!

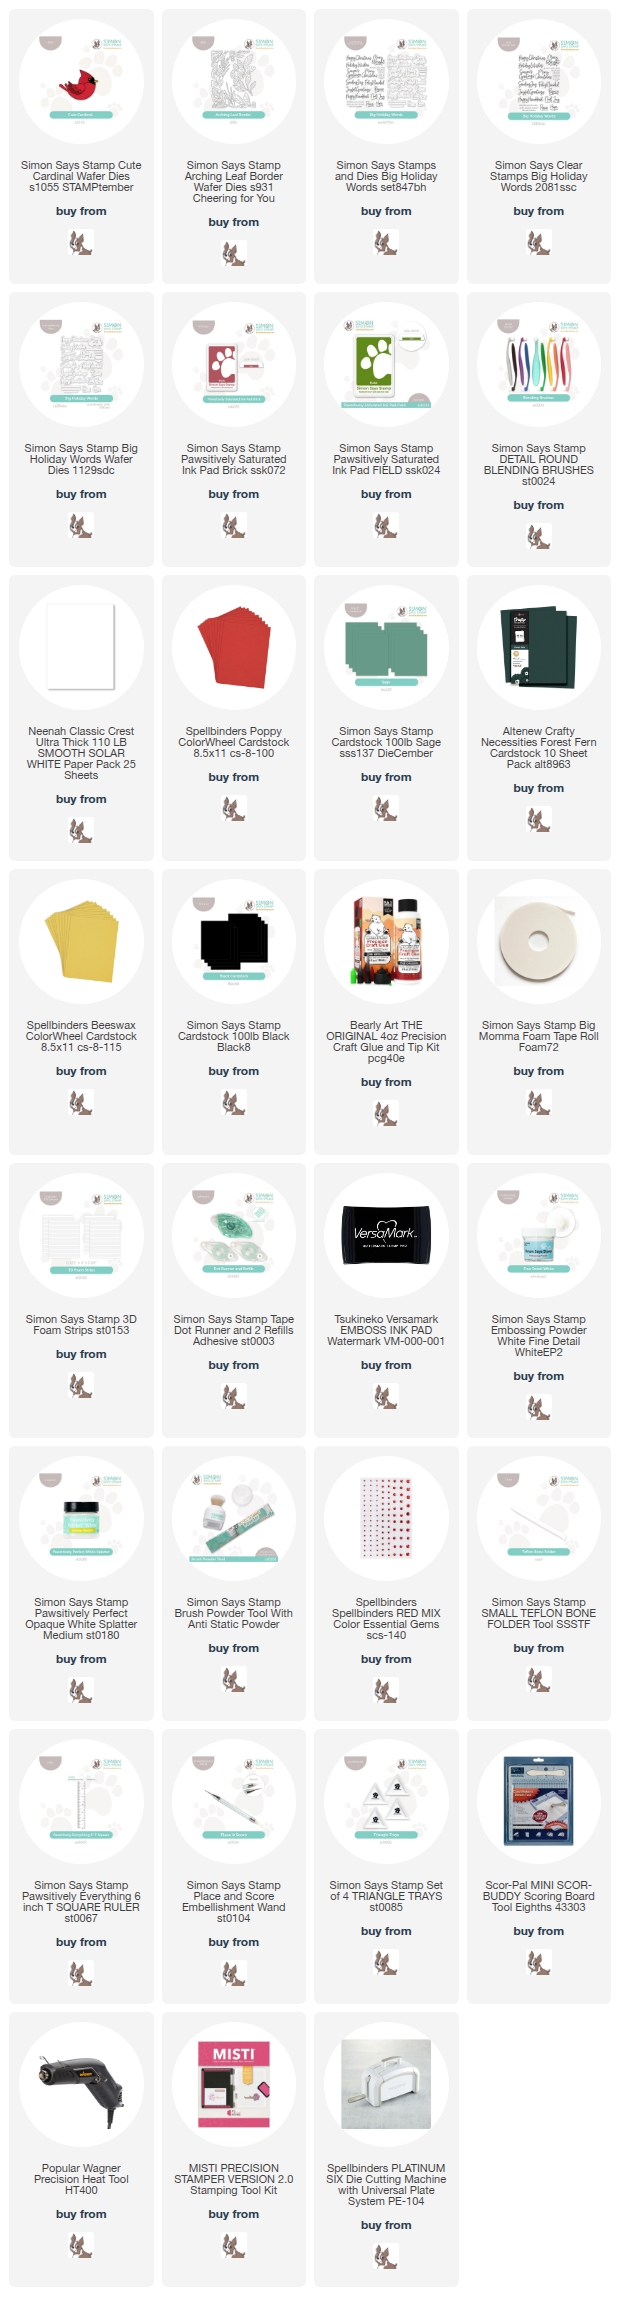
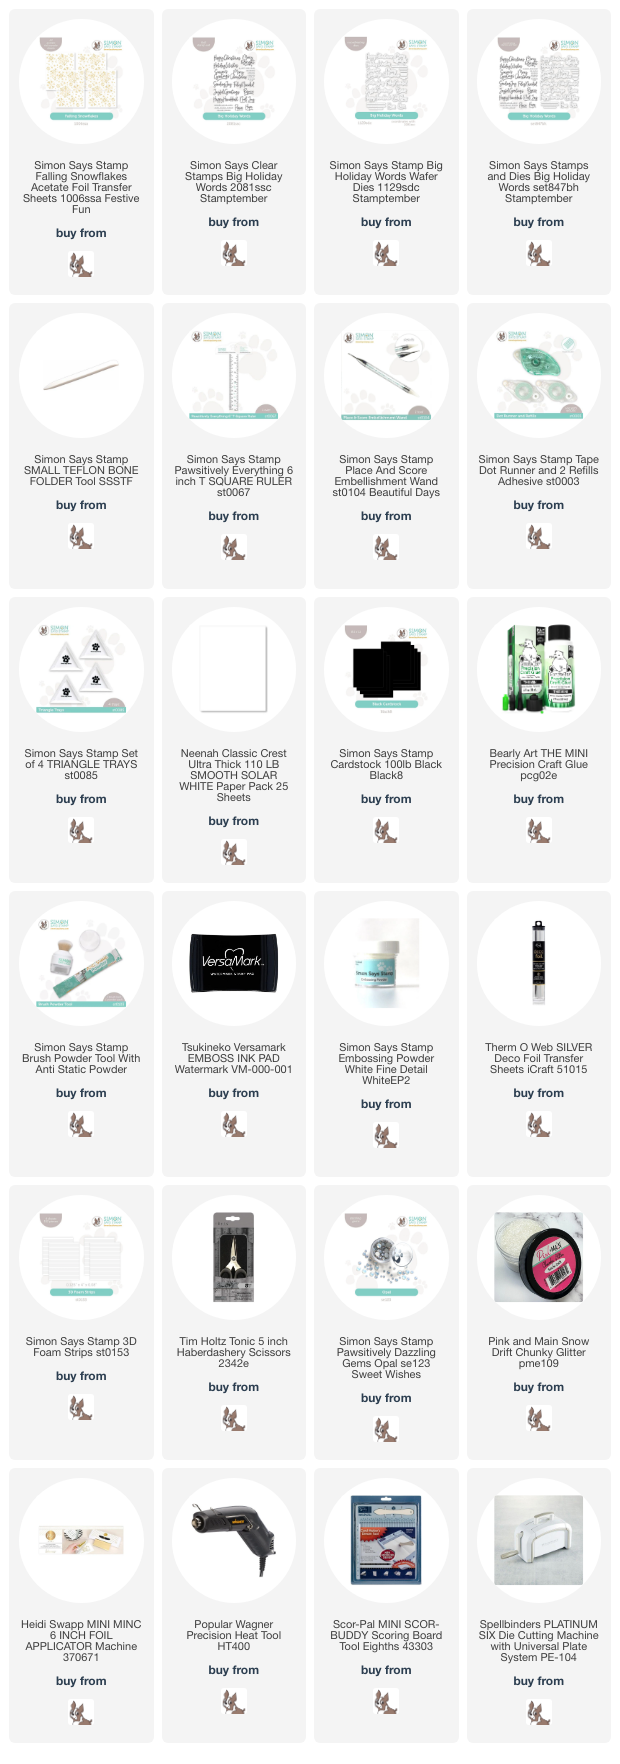
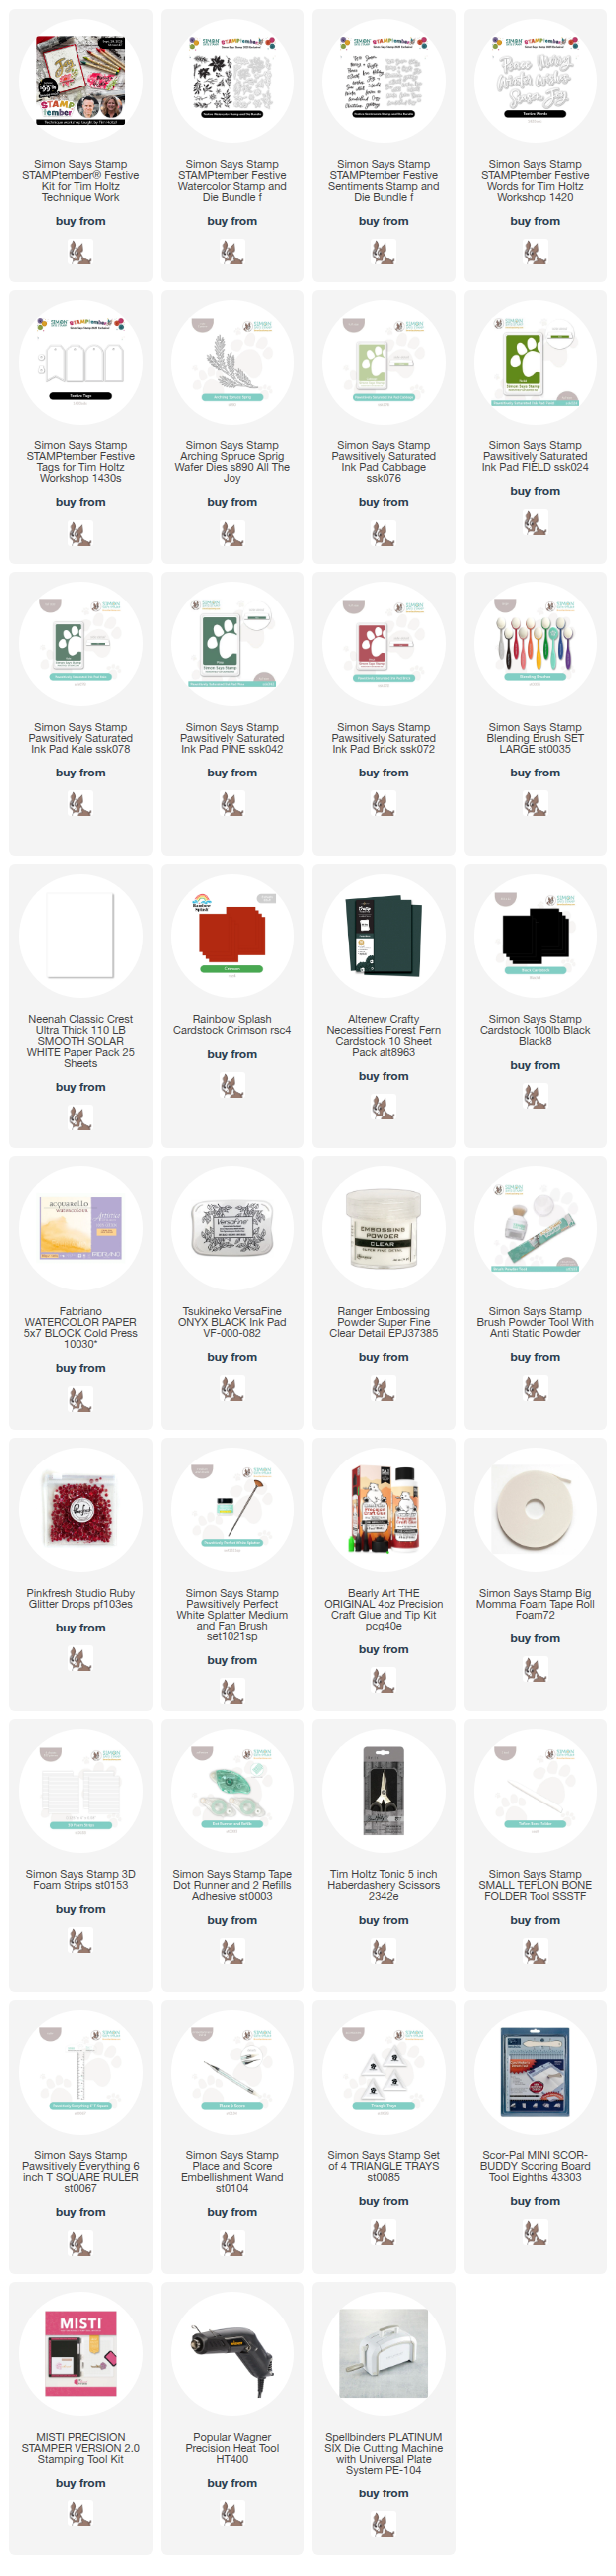
NOTE: all supplies are linked in the thumbnails at the end of this blog post.
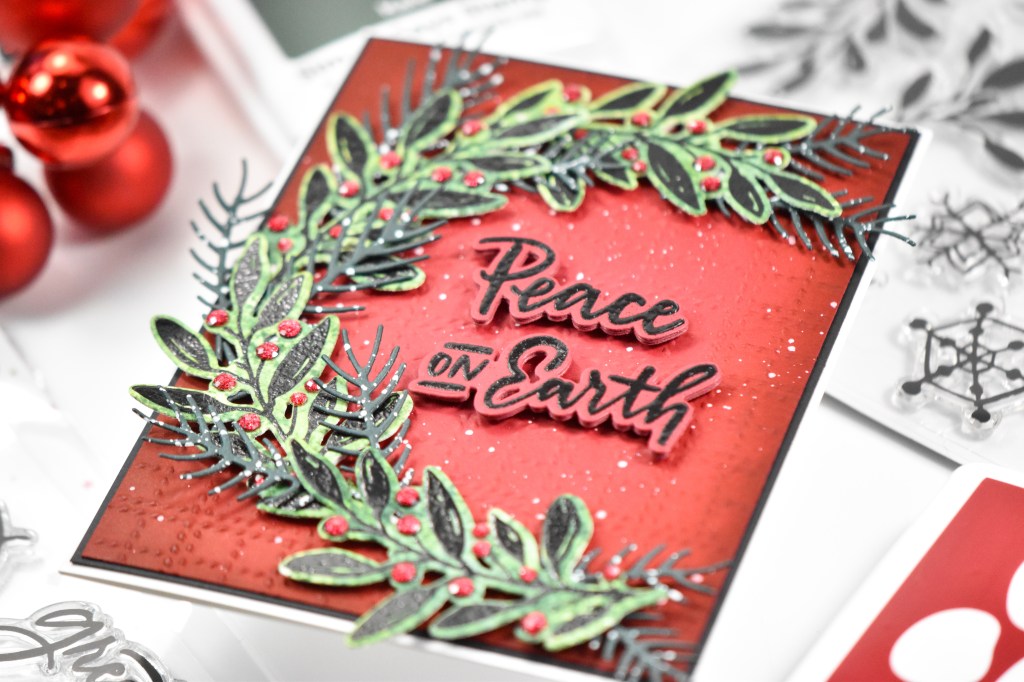
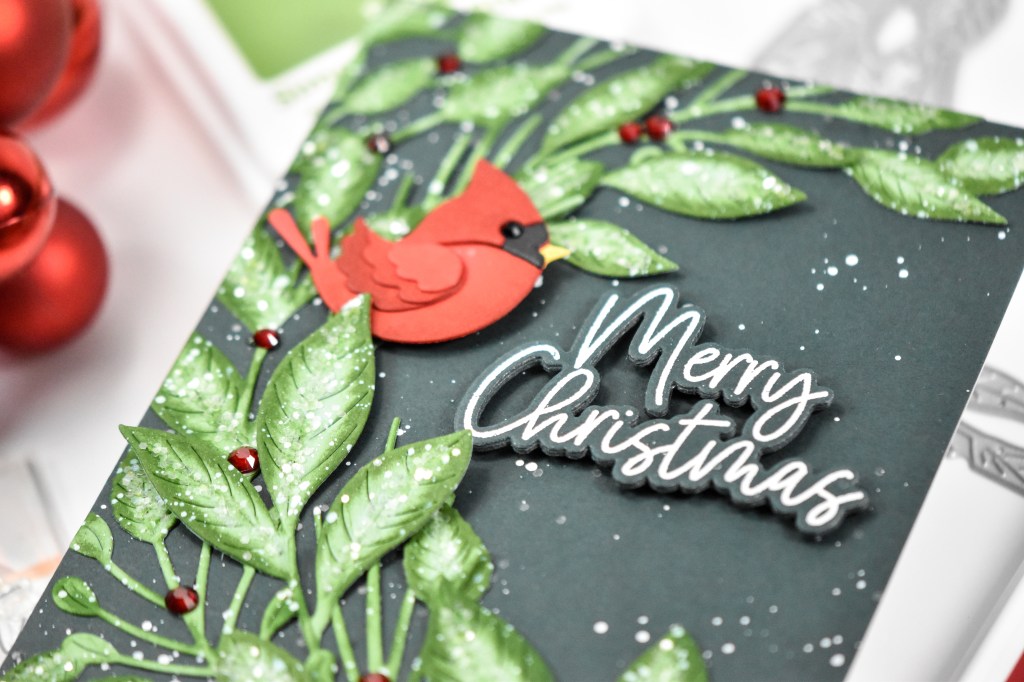
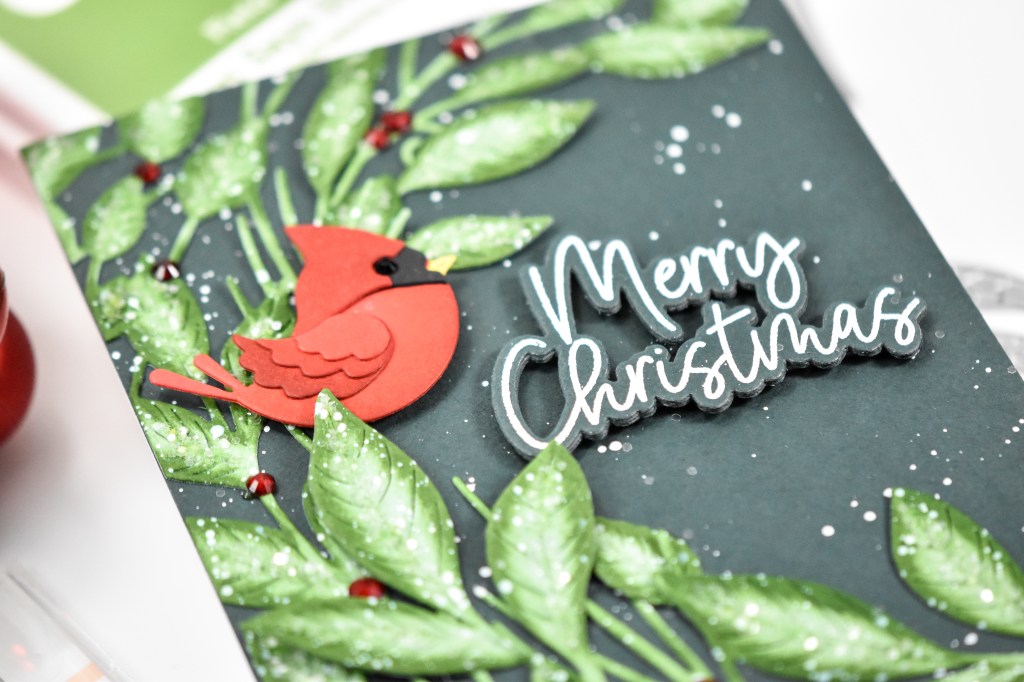
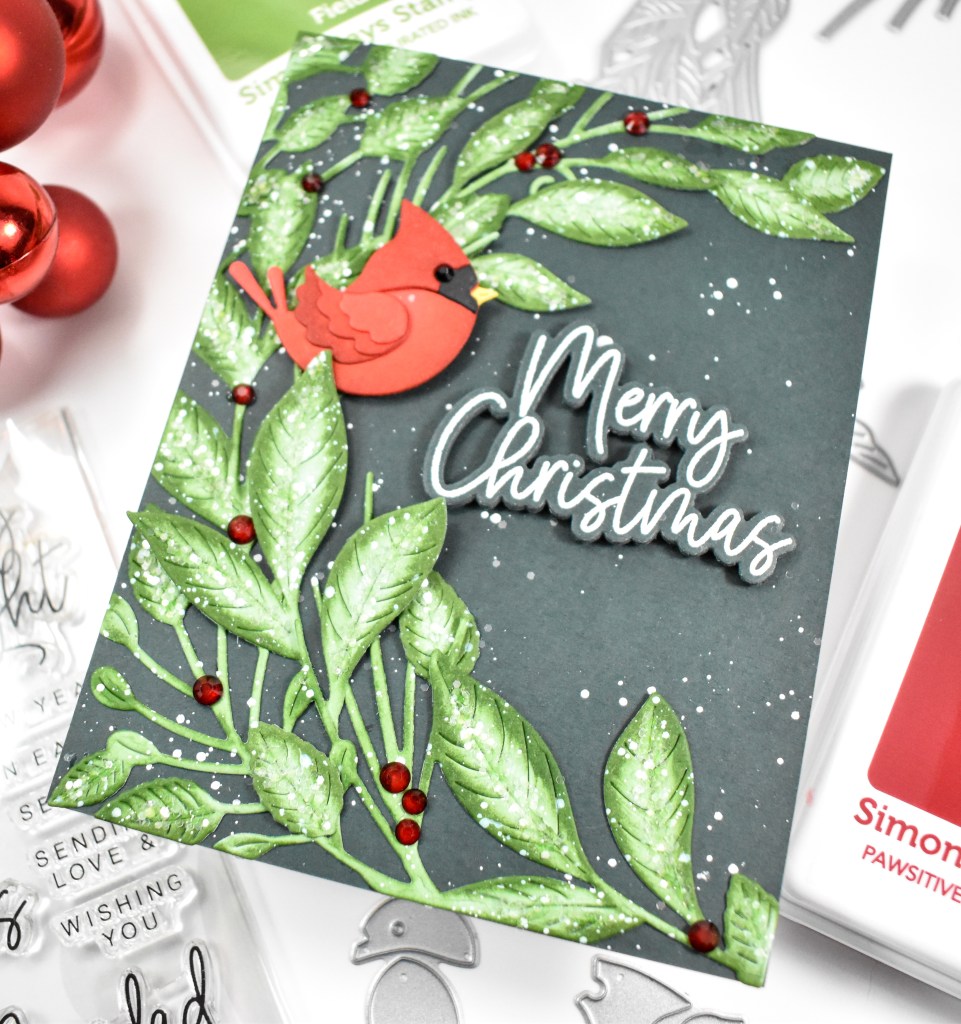
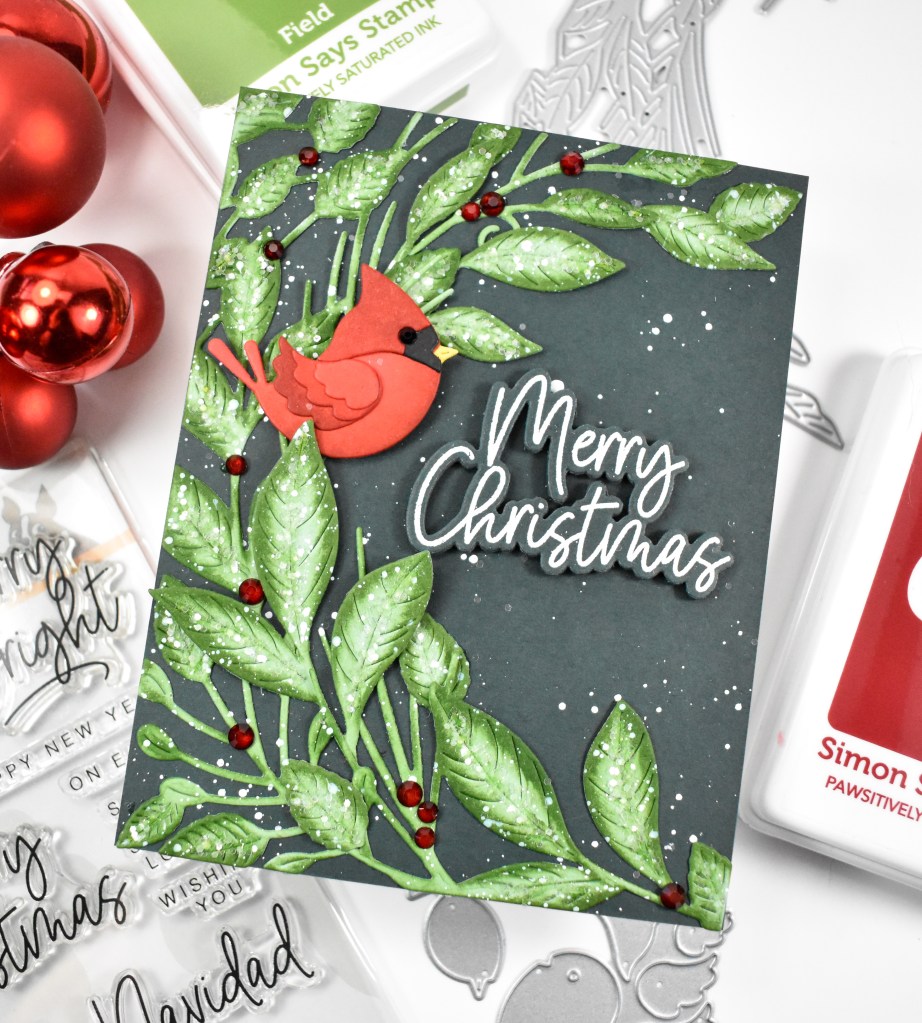
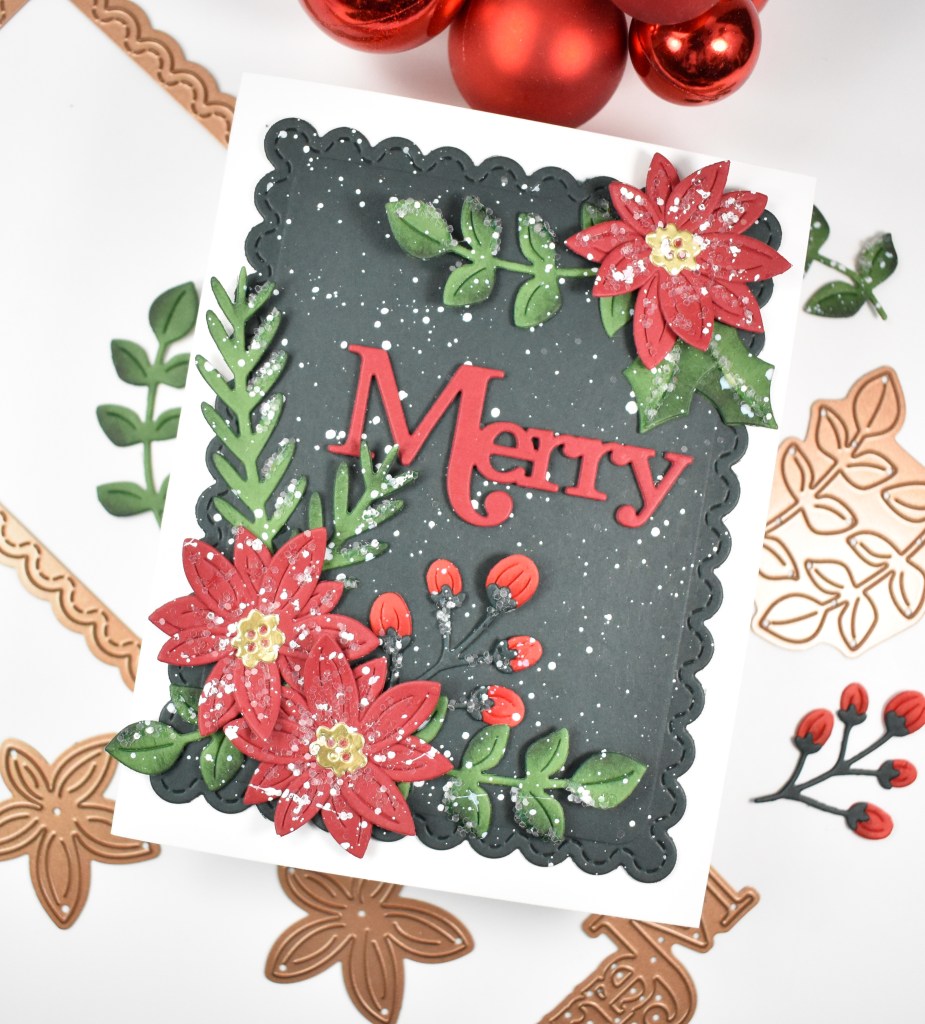
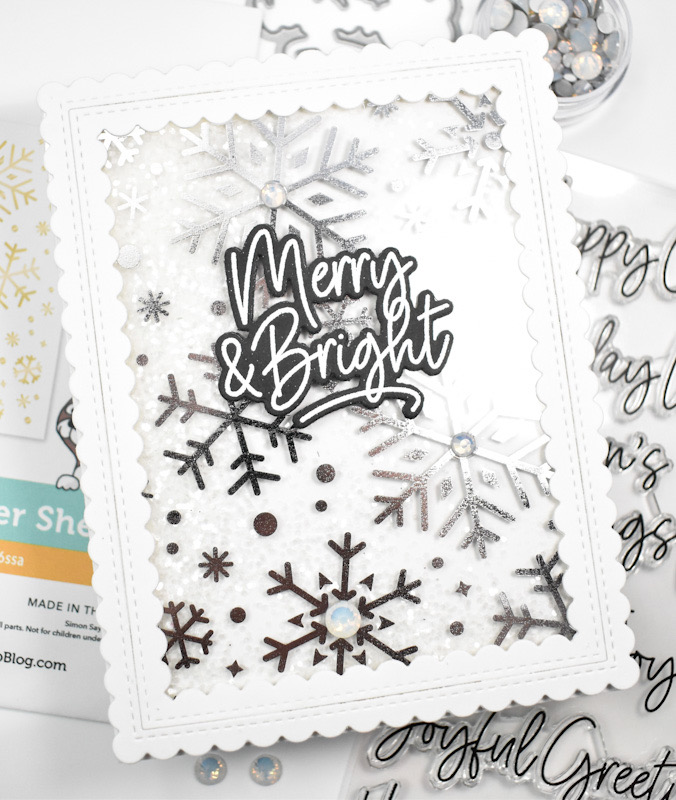
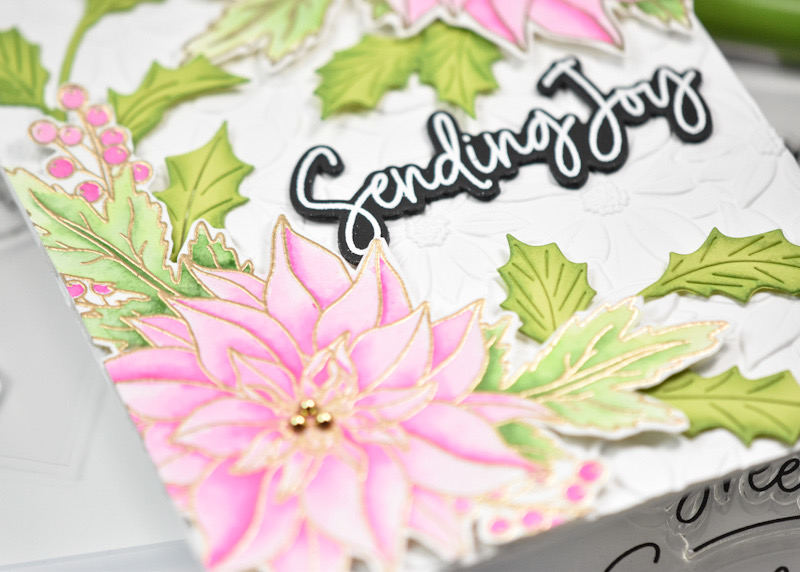
I began this project by creating an ink smooshed panel using Simon Cabbage, Kale, Pine and Field inks. I worked one color at a time, and smooshed the ink onto my glass mat and spritzed it with water. I smooshed my panel into the puddle and dried it with my heat tool before moving on to the next color. Once I was satisfied with the panel, I stamped a leaf from the Festive Watercolor set using VersaFine Onyx Black ink and heat set it using clear embossing powder. I did this several times to have enough to make a swag.

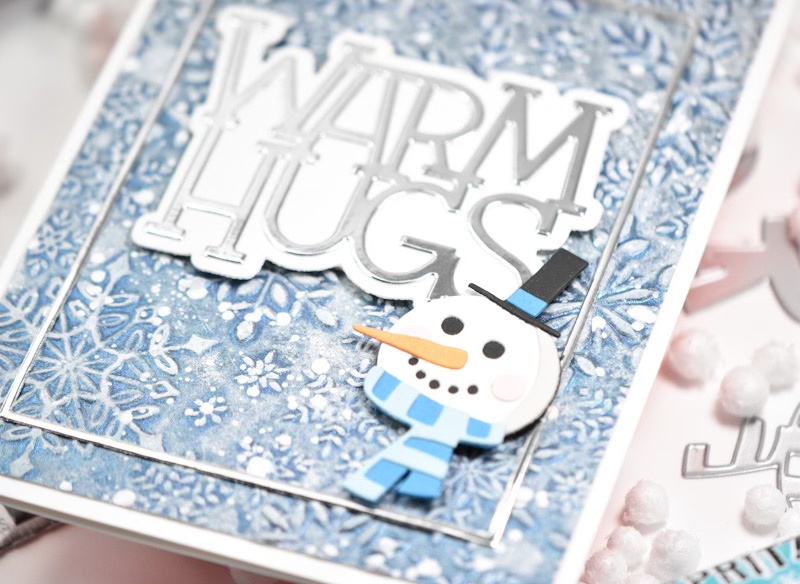
I then used the coordinating die to trim those leaves out. I stamped the sentiment, which is from the new Festive Sentiments set, onto Crimson cardstock using VersaFine again, and heat setting it the same way. I did cut the sentiment three times for a stacked sentiment look.

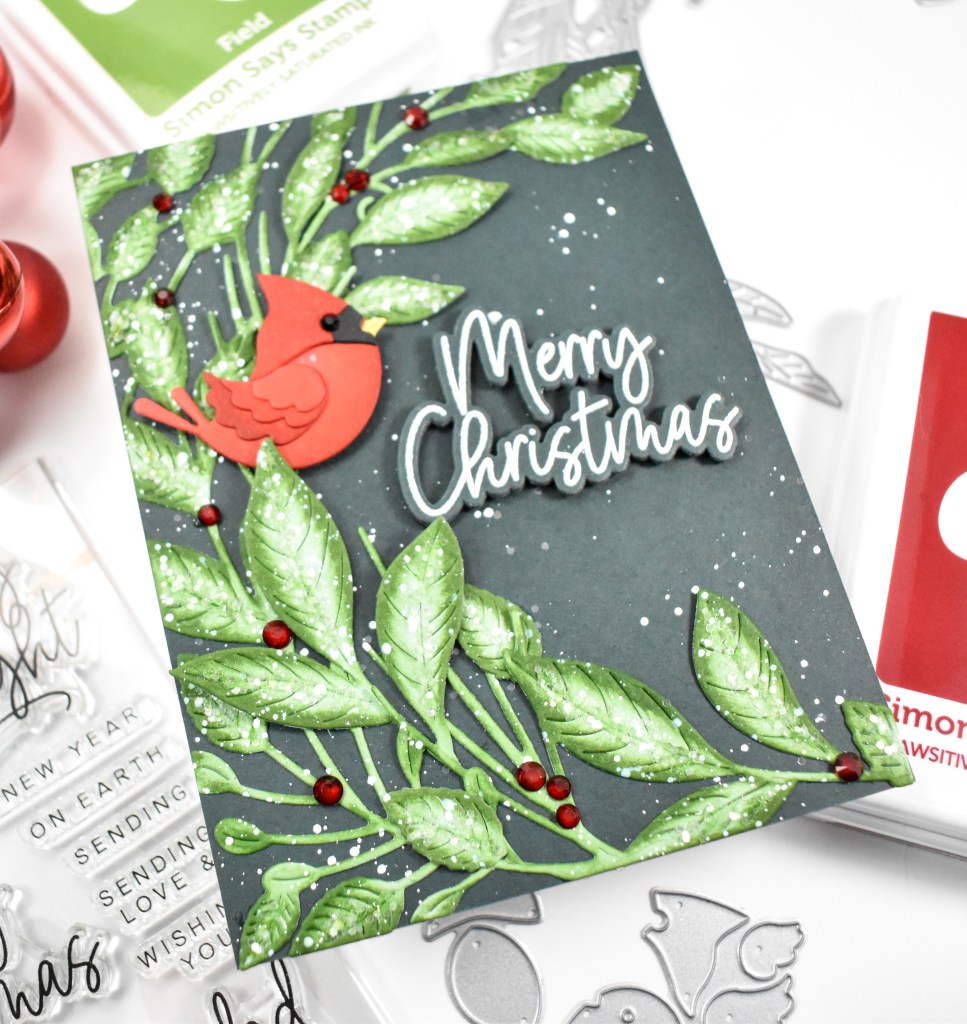
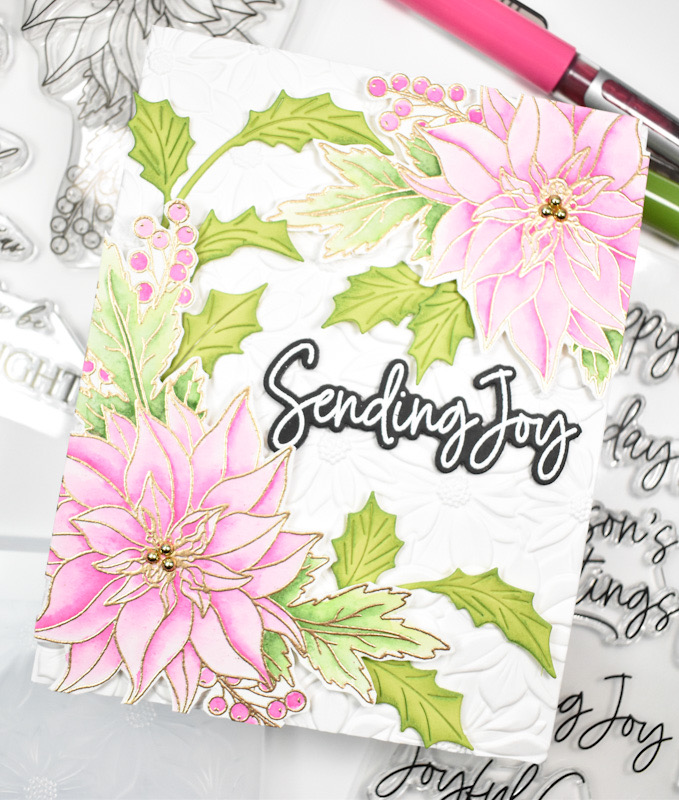
My background was created using a really old embossing folder from Tim Holtz with some ink blending on the edges using Brick ink for some added depth. As I always say, I needed more leaves, so I used the Arching Spruce Sprig from Simon and cut those from Forest cardstock. I took everything over and gave it a good white splatter!
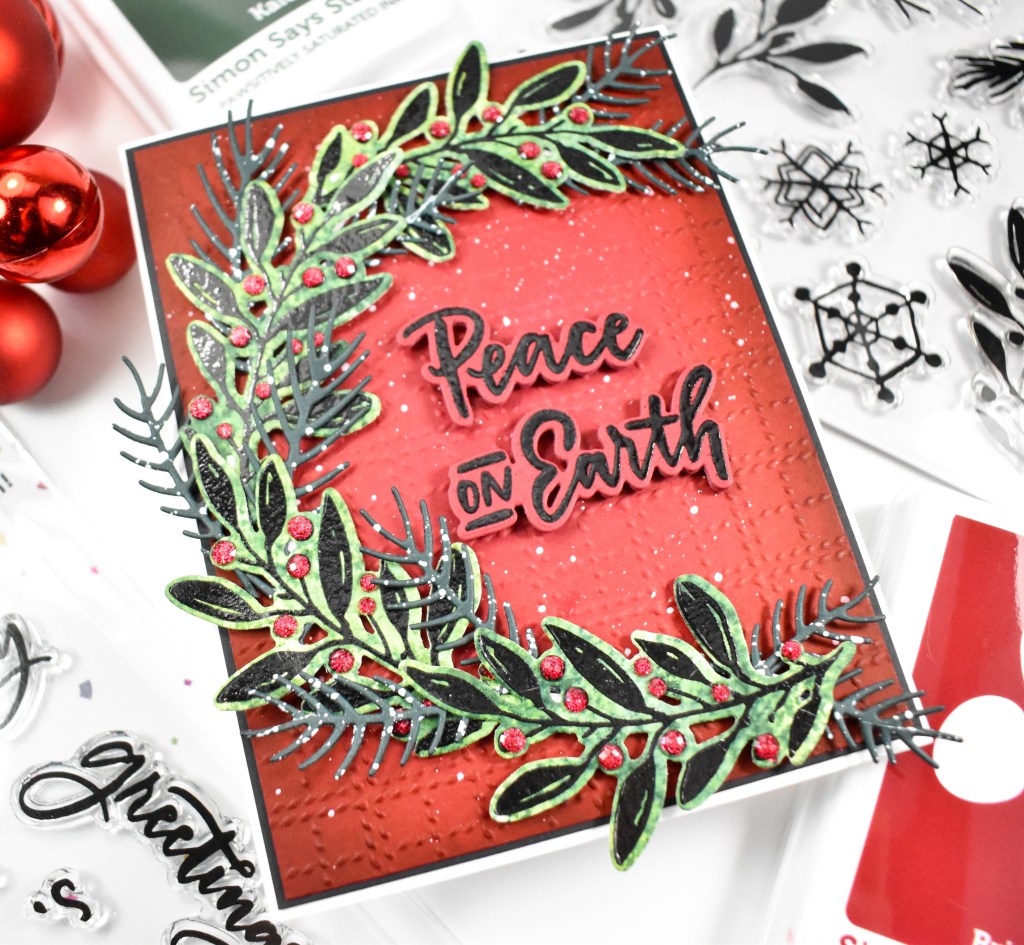
I adhered the stamped leaves and sentiment using foam strips and tucked in the other leaves, securing those with liquid glue. The panel was adhered to a black panel for added contrast, and I added some red gems to areas where a berry might go to finish up.
That does it for this project! I hope you enjoyed it as much as I did! Be sure to snag your kit TODAY for this workshop, as supplies are limited! Thanks again for joining me, and I hope you have a wonderful day!
Supply List
Affiliate links used at no cost to you. What does this mean? If you use the links within this post to make a purchase, I receive a small commission, which allows me to continue to post crafty content for your enjoyment. I truly appreciate your support!
Latest Posts
- Simon Says Stamp Striped Missing You

- Simon Says Stamp Best Mom

- Simon Says Stamp Latte Birthday Wishes

- Simon Says Stamp Thinking of You Whirl Butterflies
- Simon Says Stamp Groovy Birthday

Latest Instagram Posts