Simon Says Stamp Braided Greetings

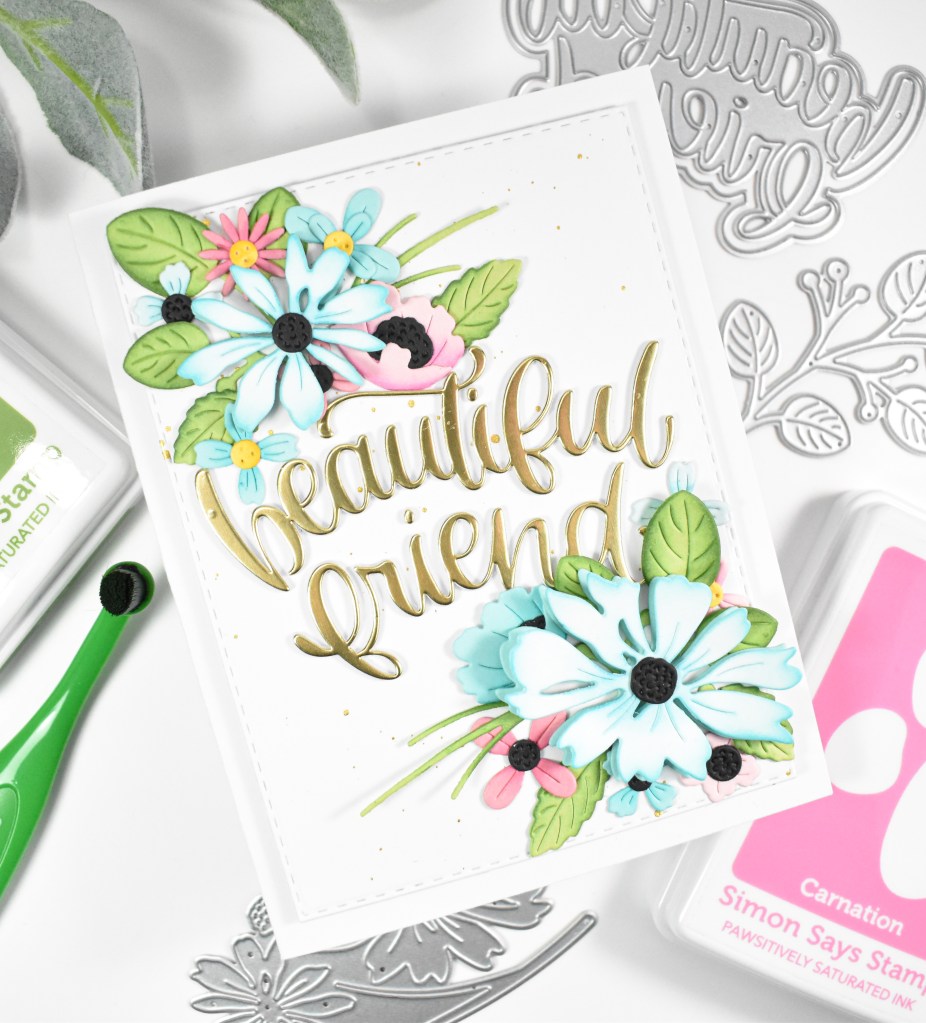
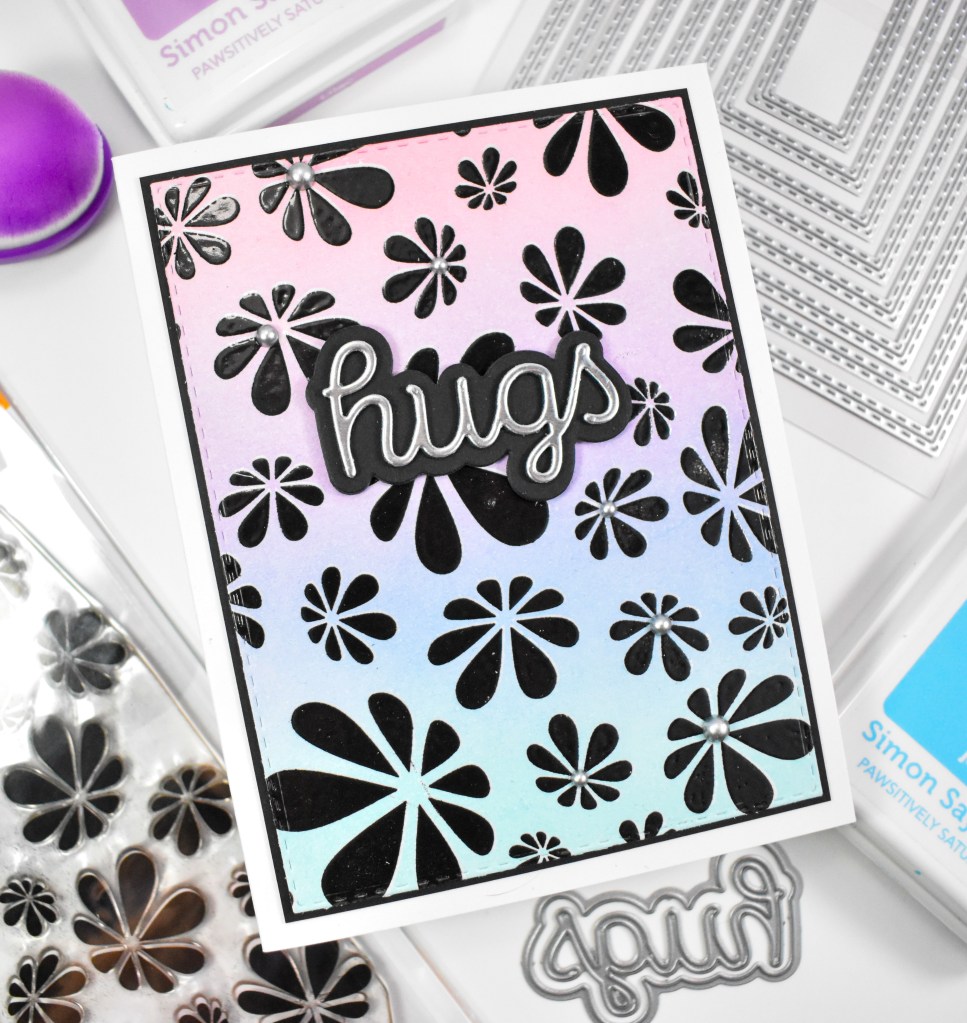
Hello Crafty Friends, and thanks for joining me! Today’s projects are featuring the new Braided Embossing Folder from Simon’s latest release, In My Heart. These were super simple, so let’s quickly run through the deets!
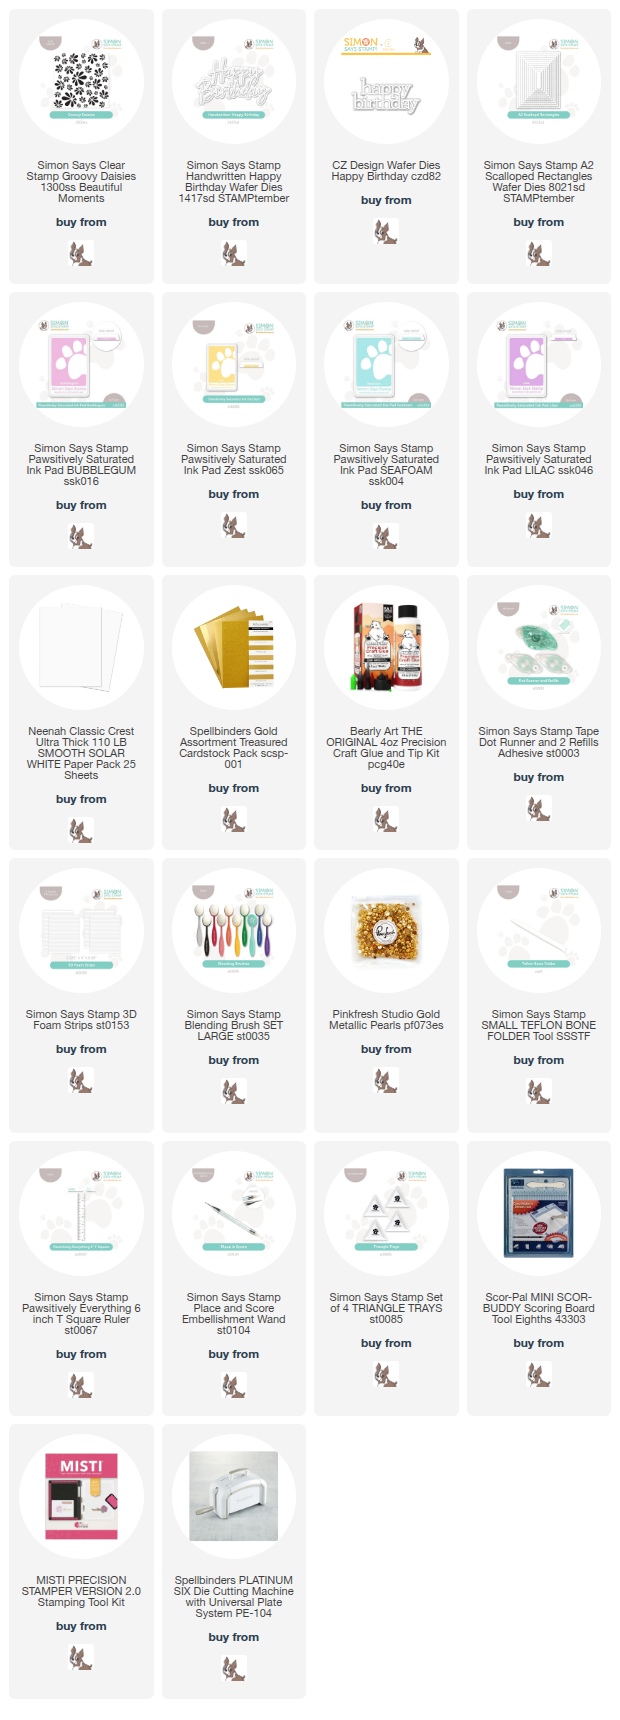
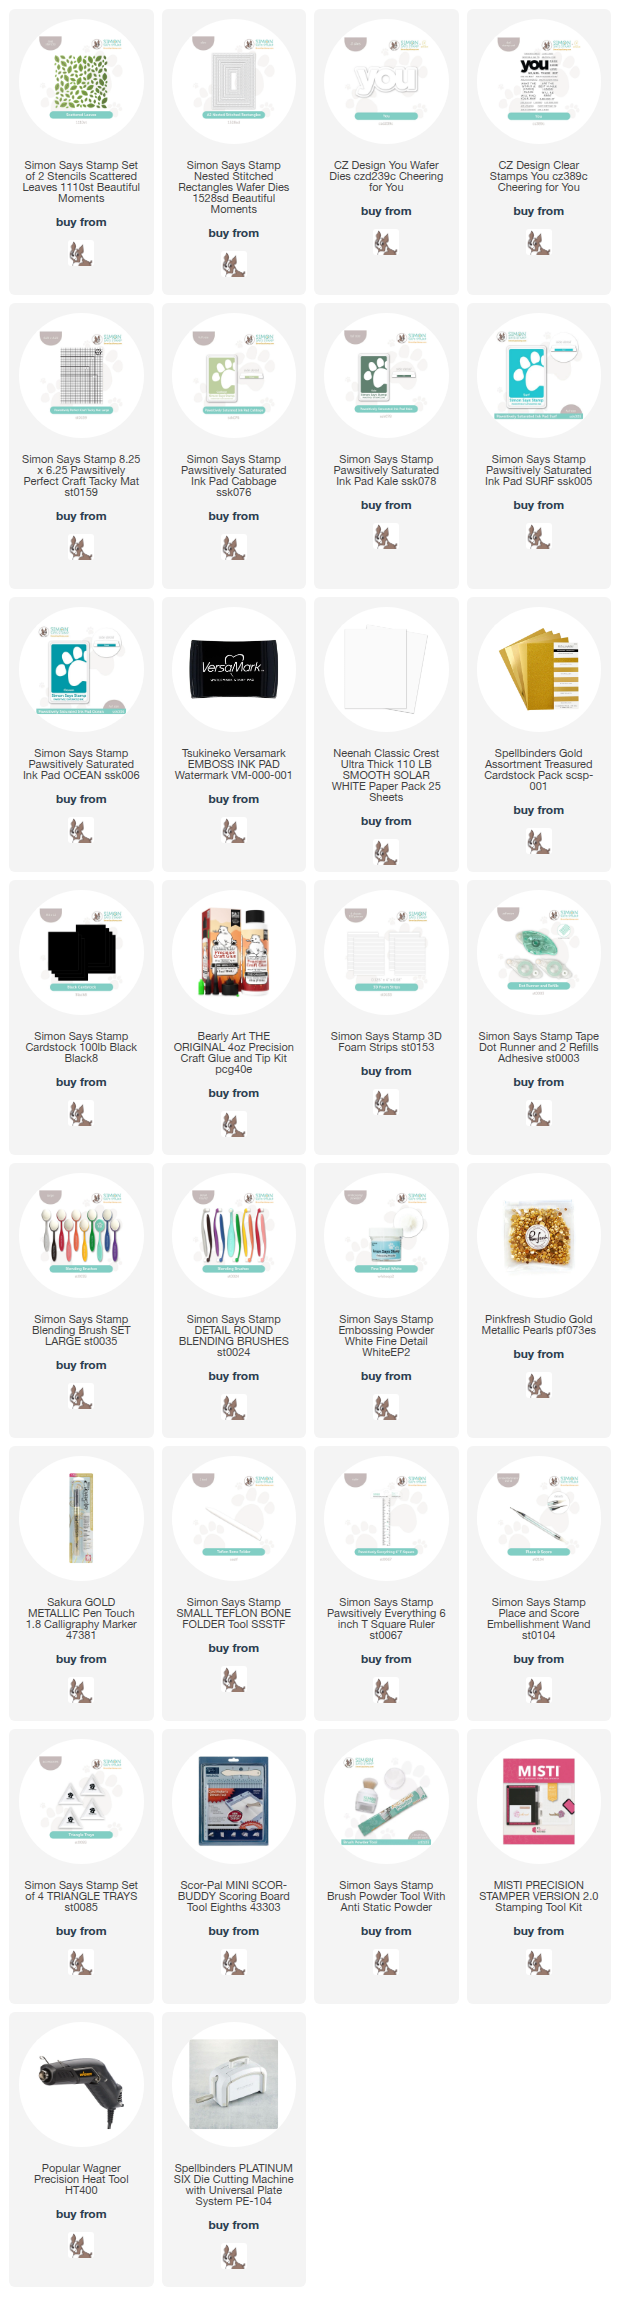
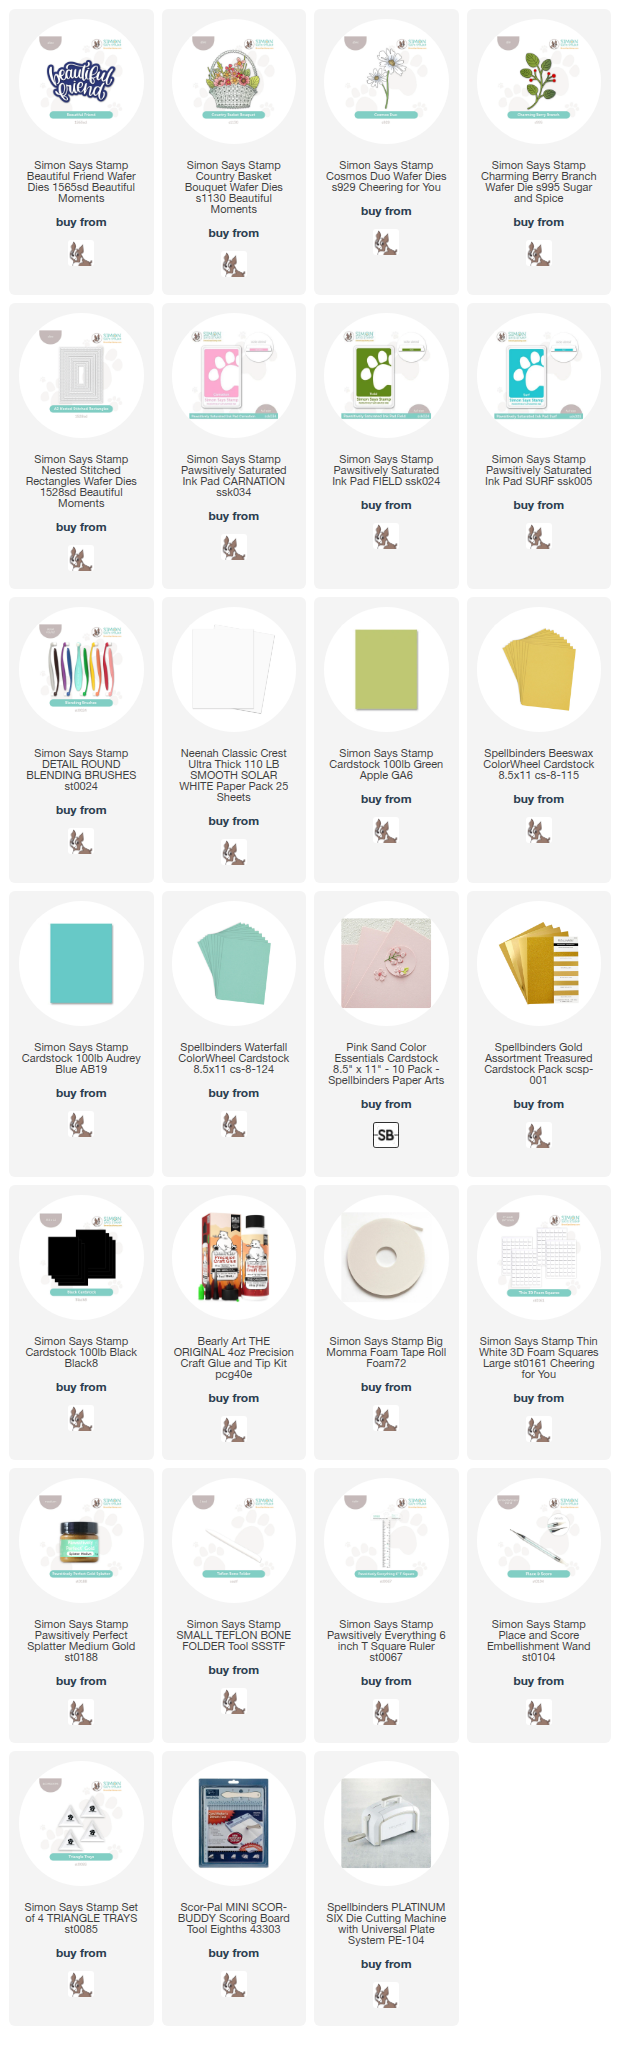
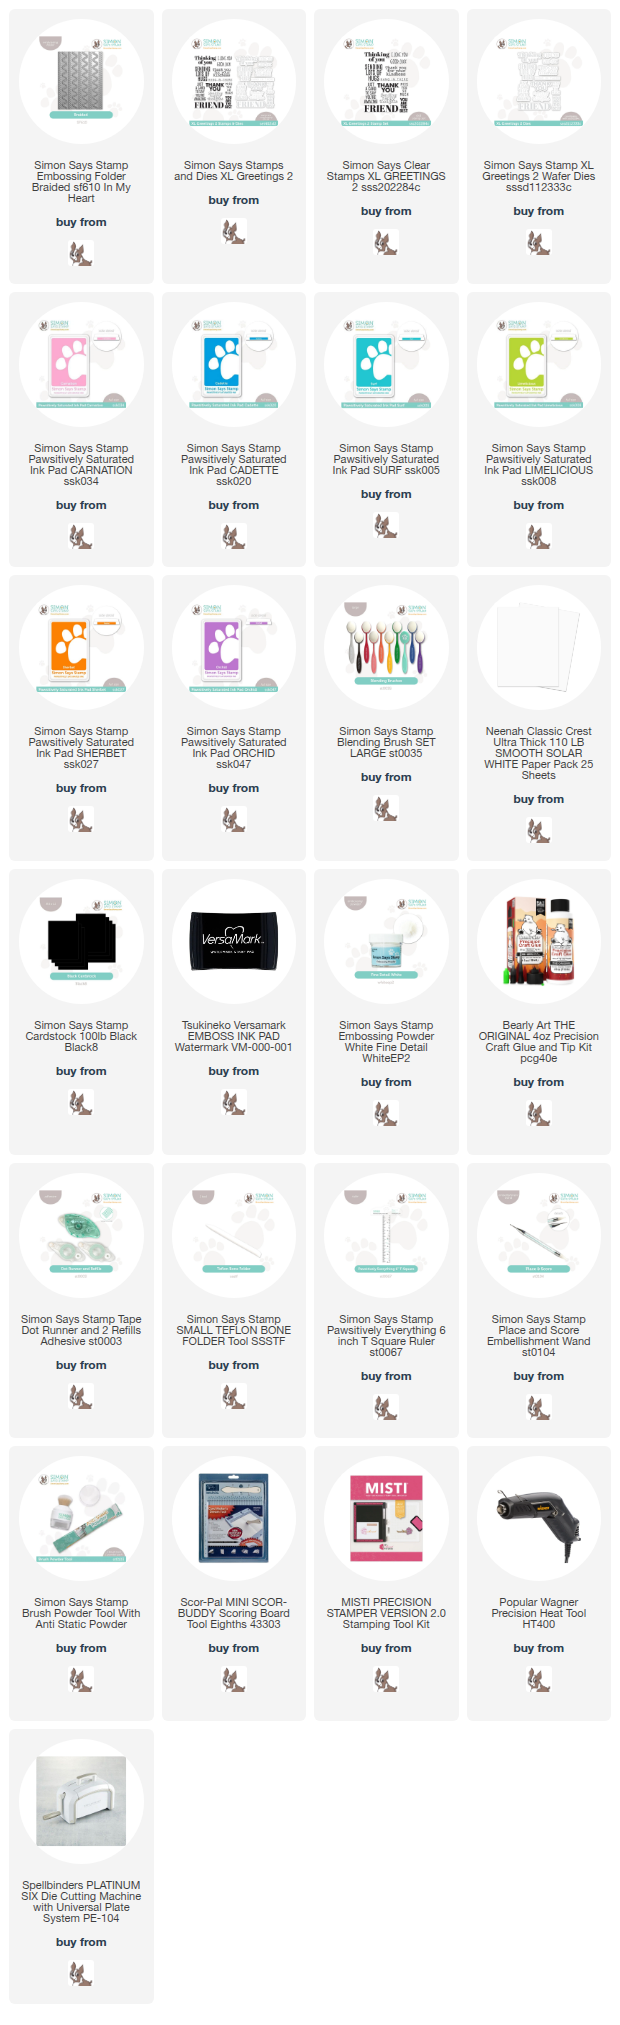
NOTE: all supplies are linked in the thumbnails at the end of this blog post.
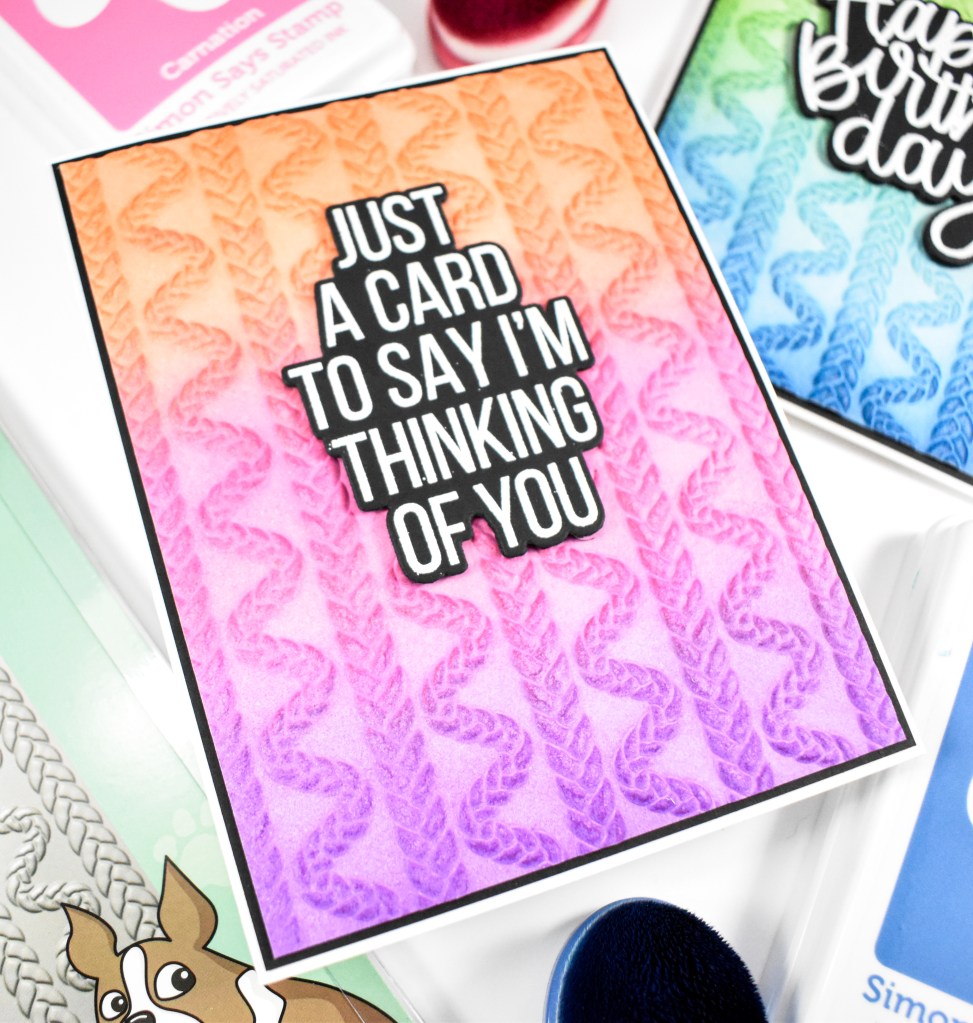
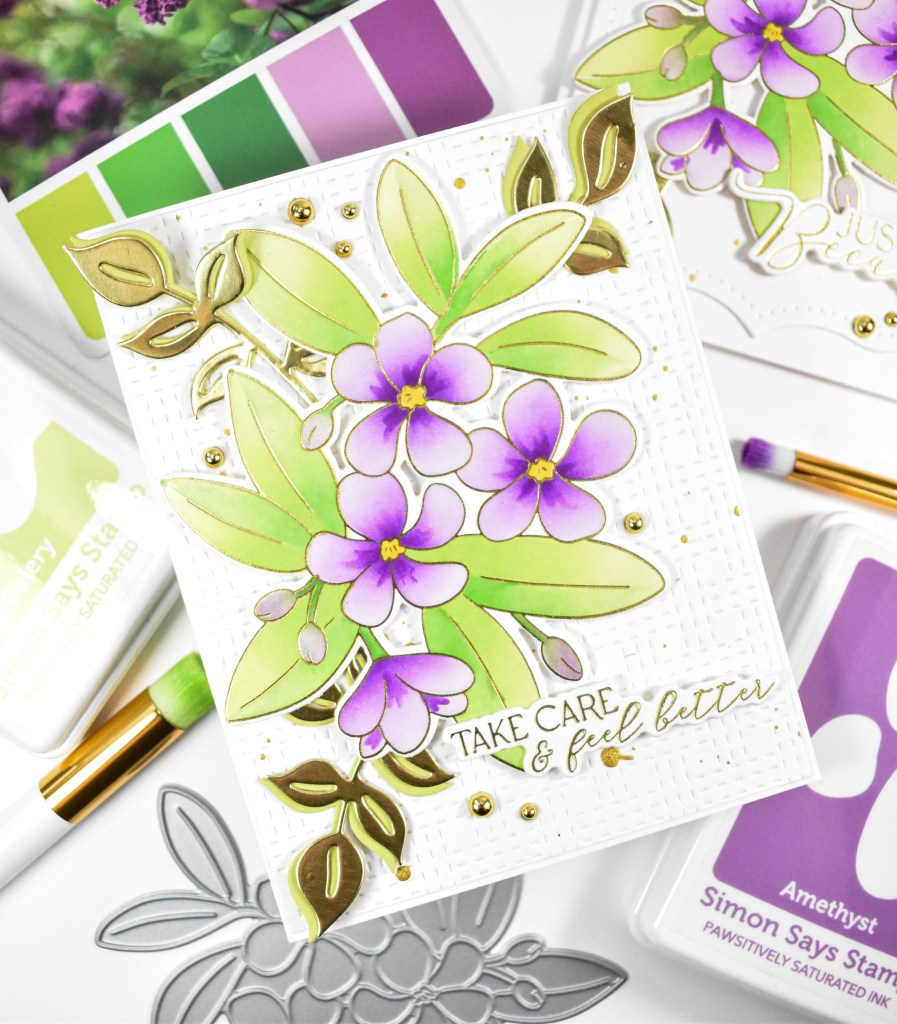
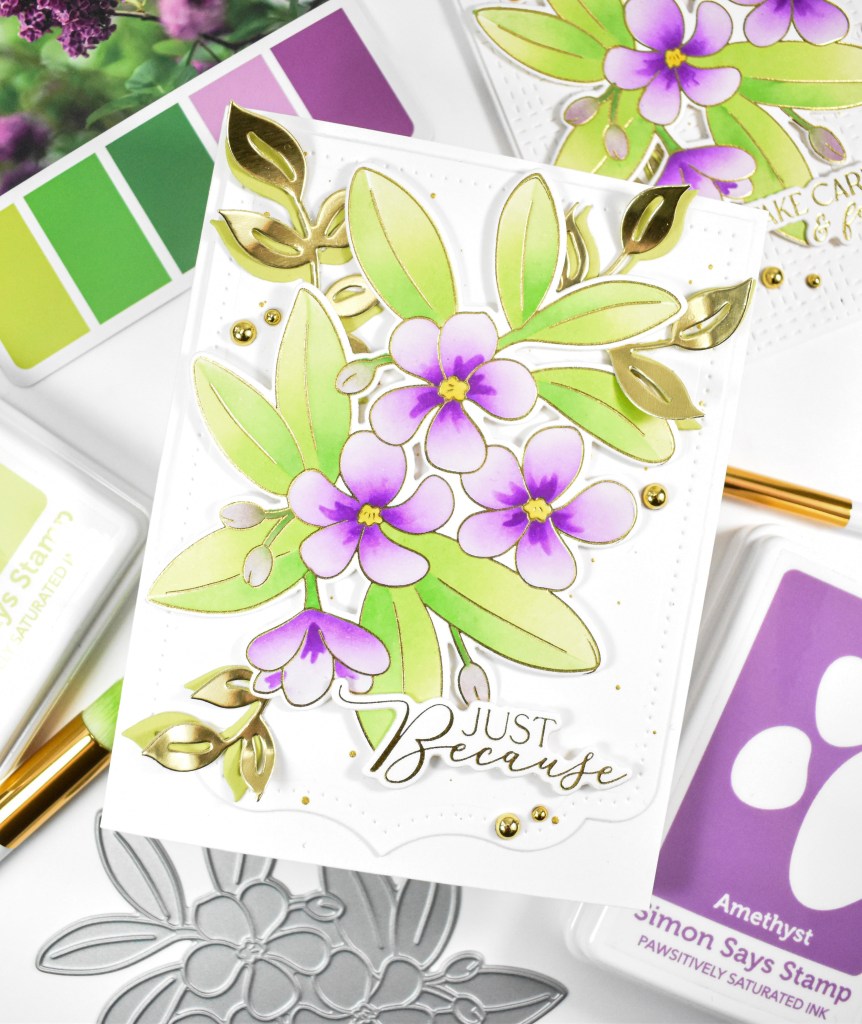
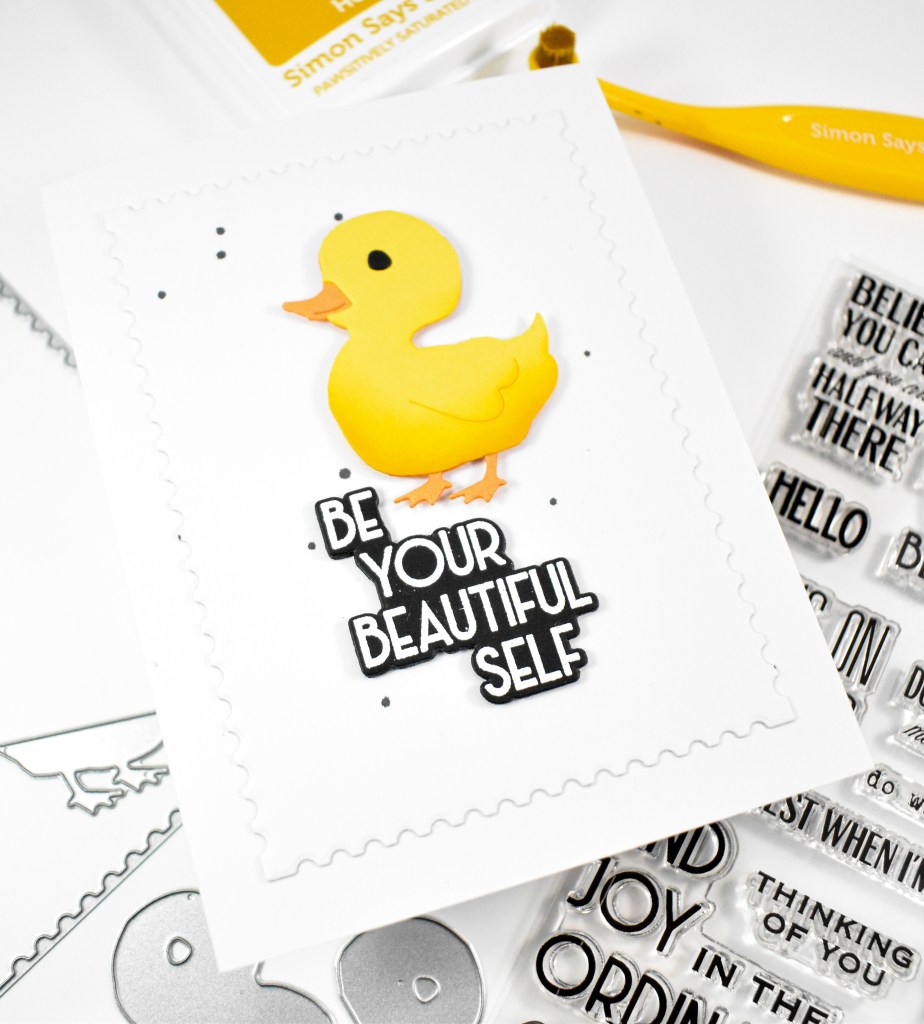
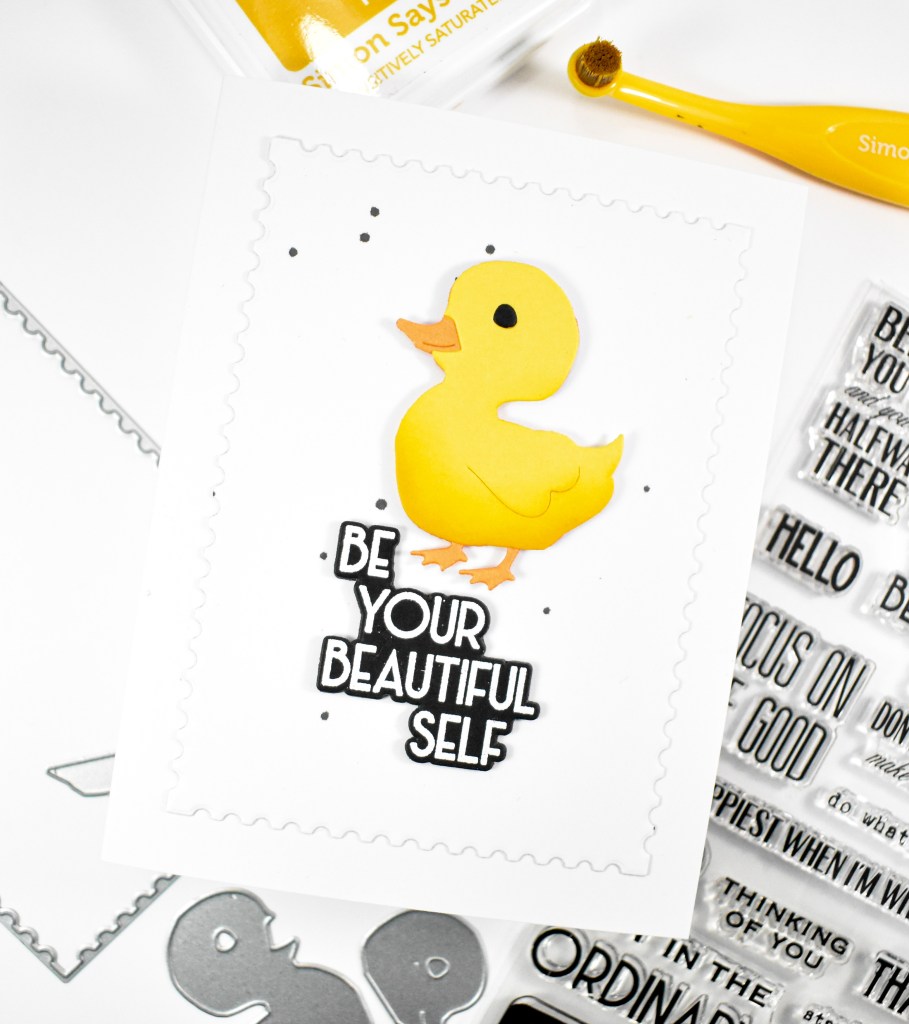
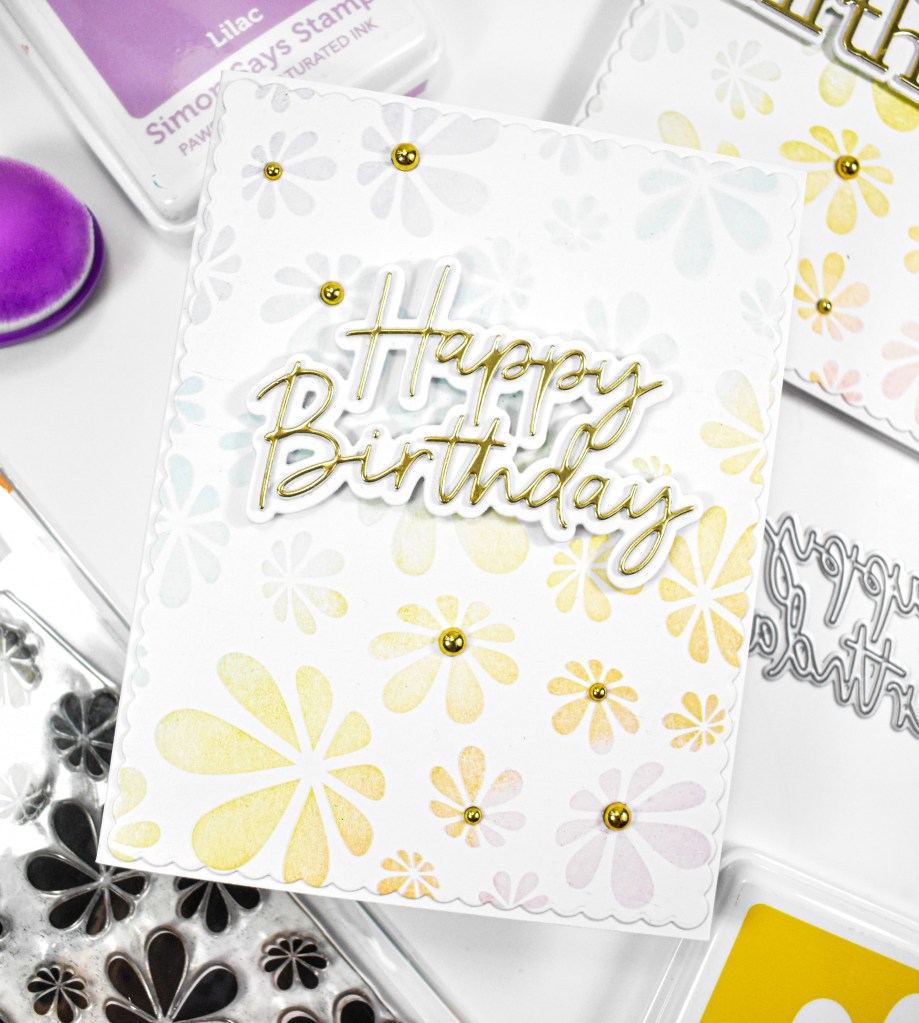
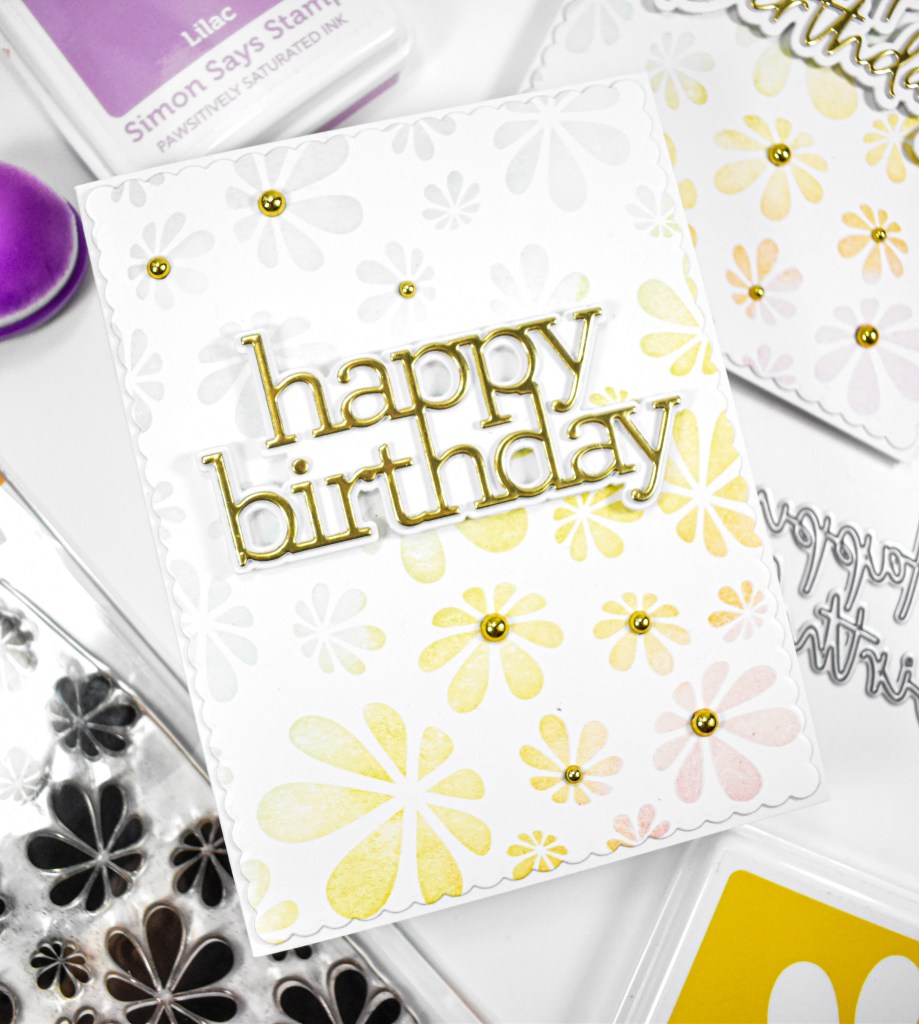
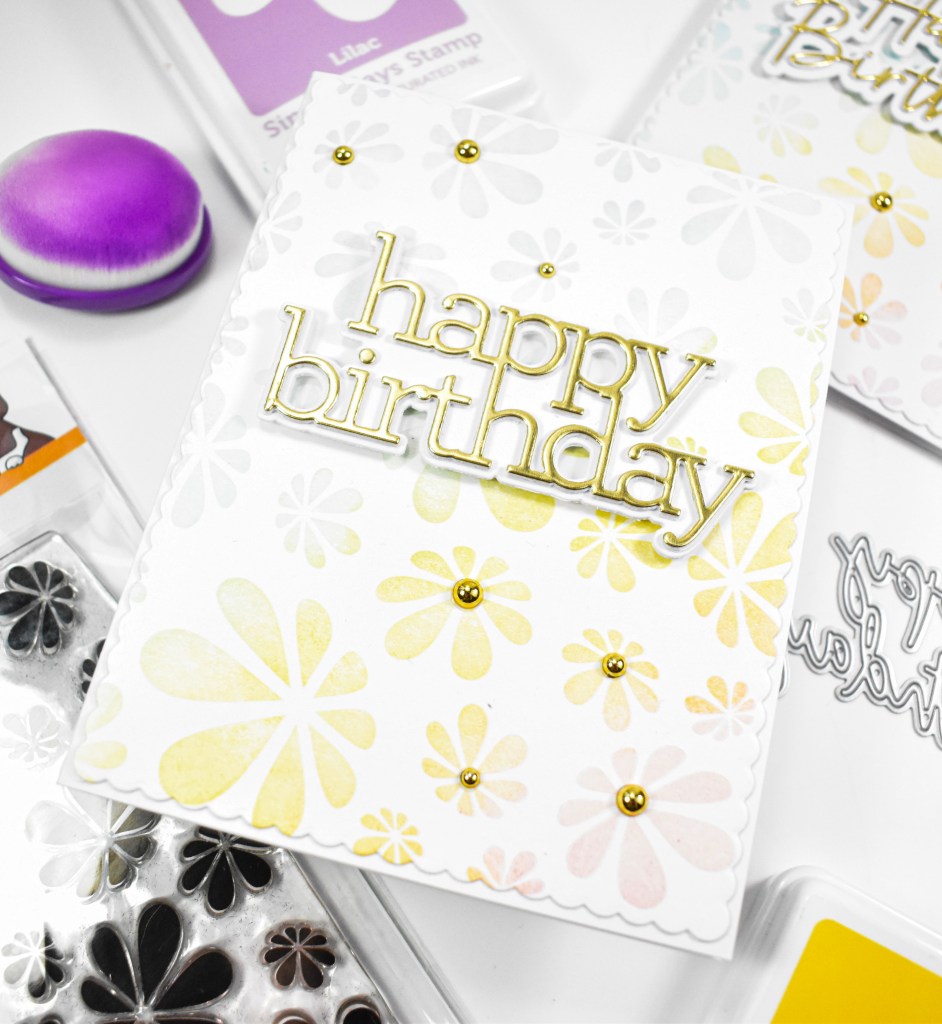
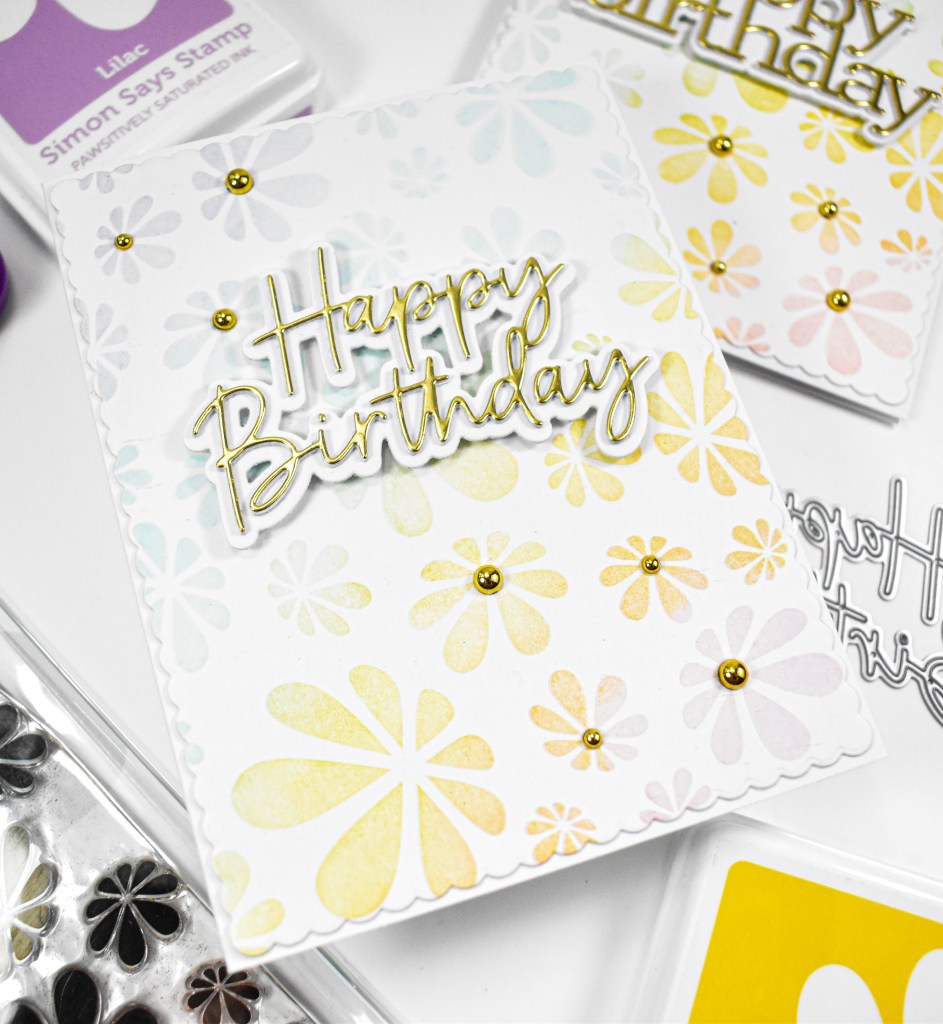
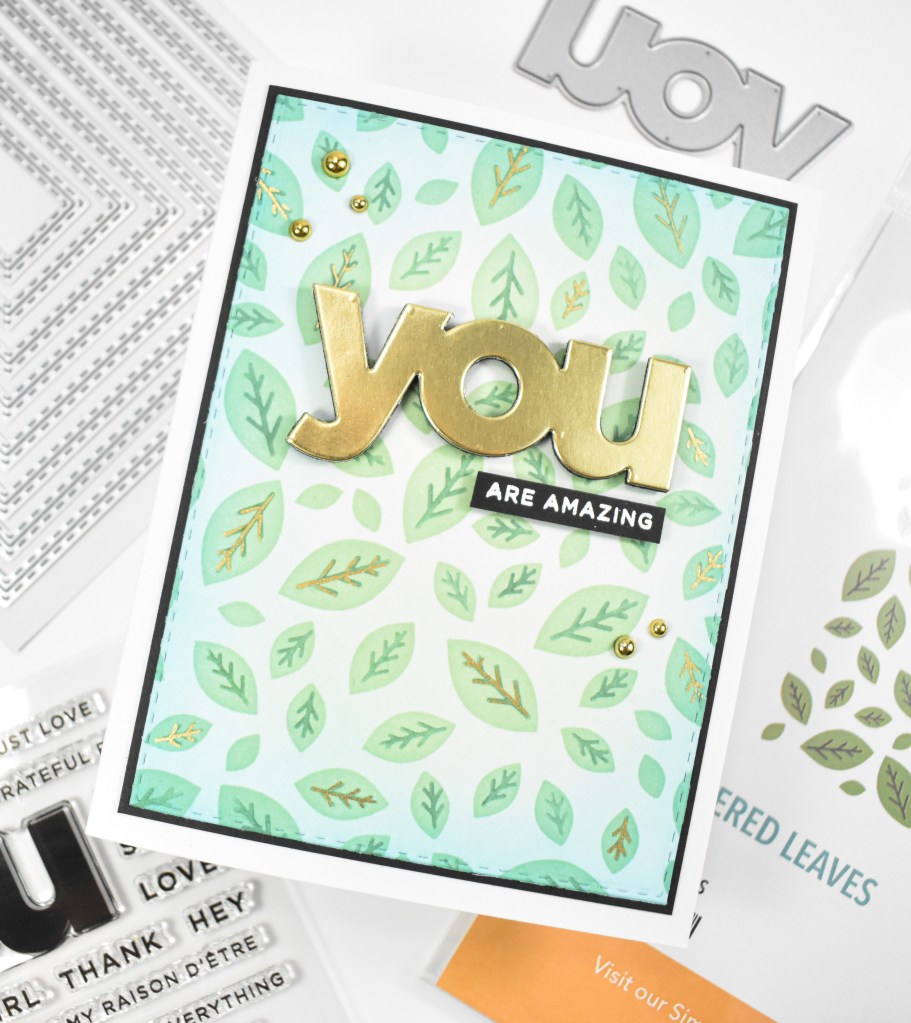
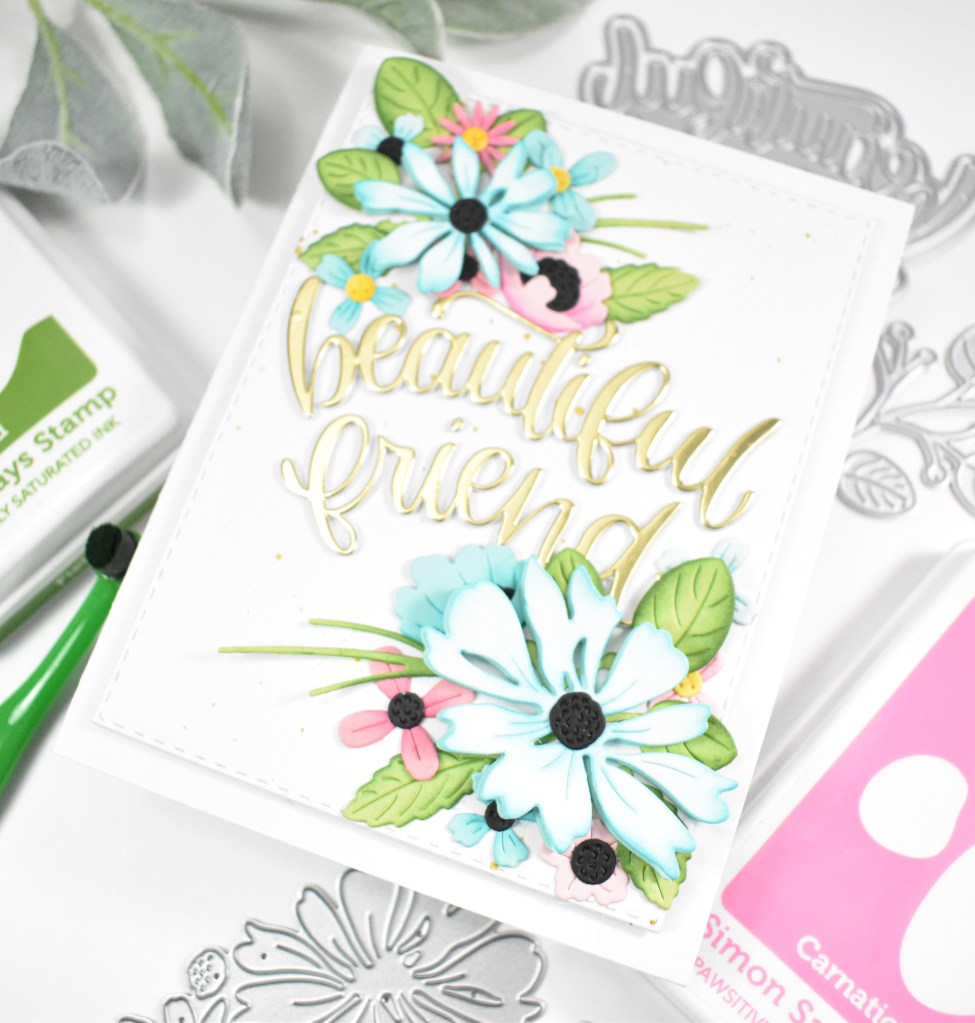
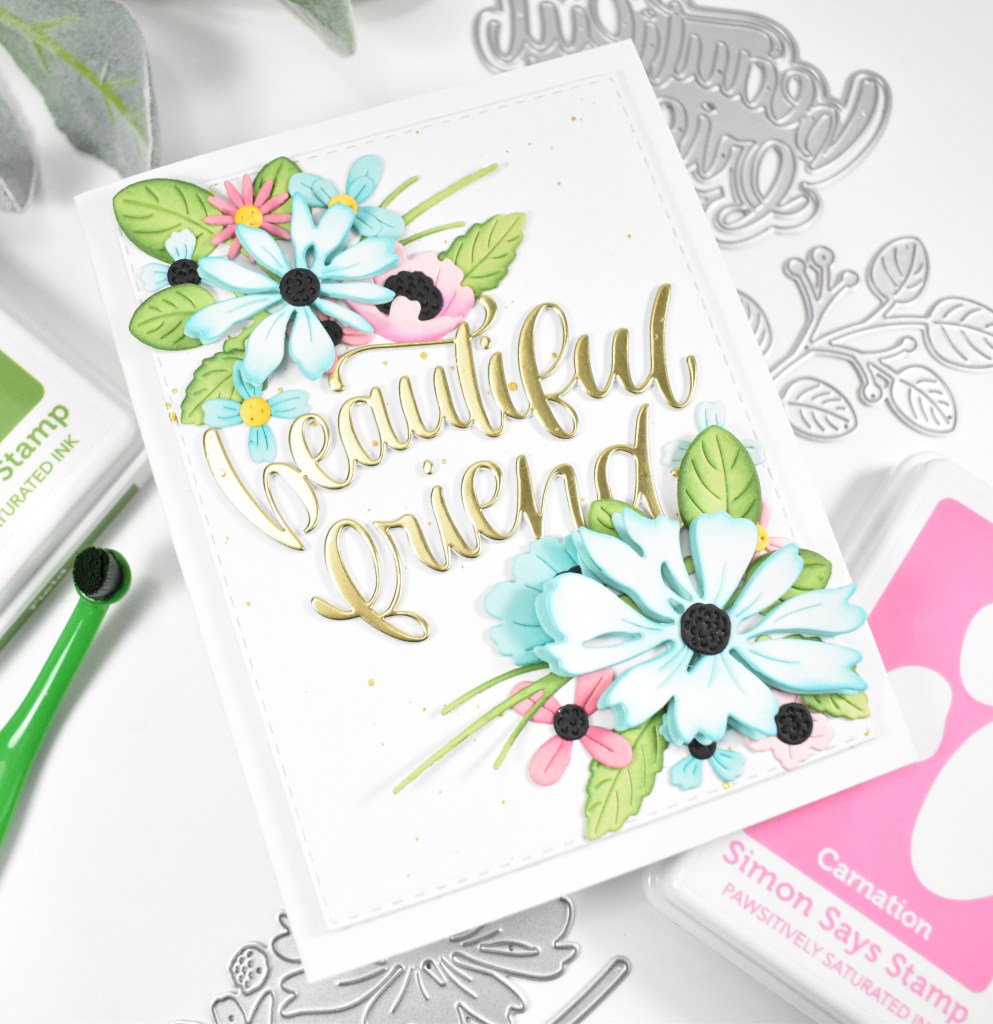
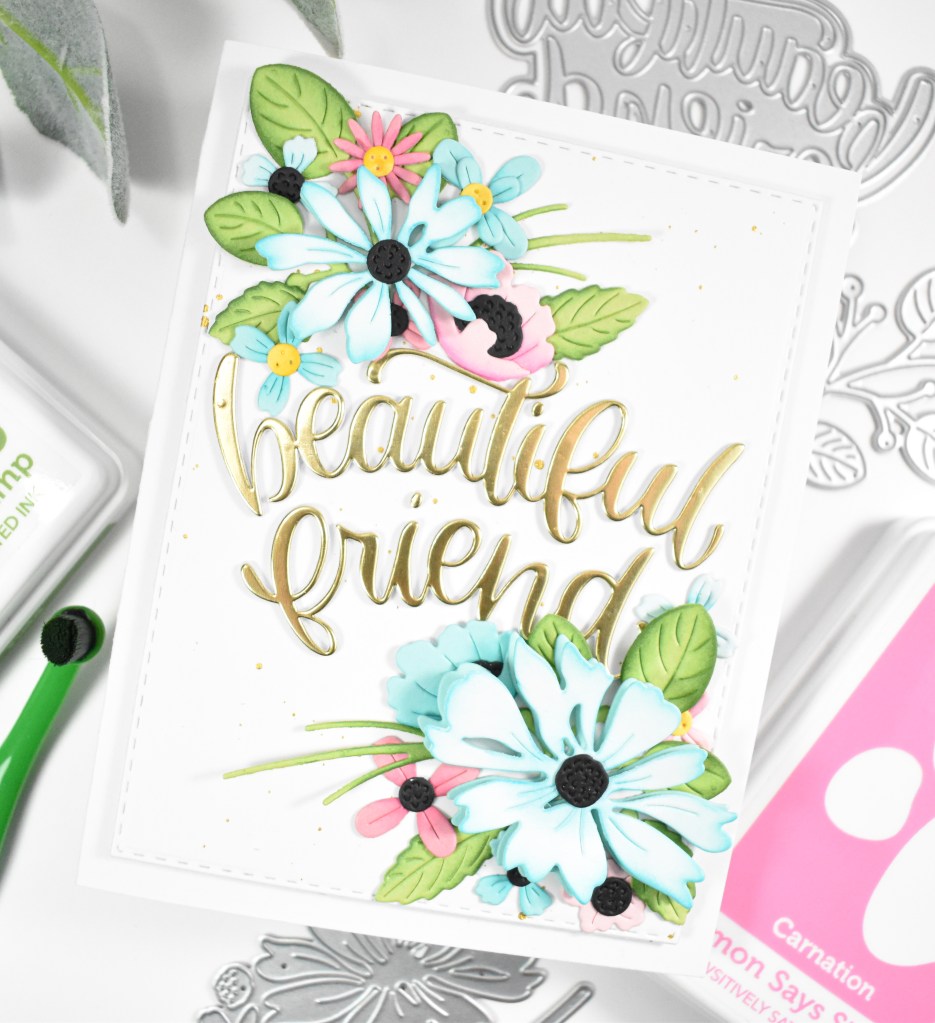
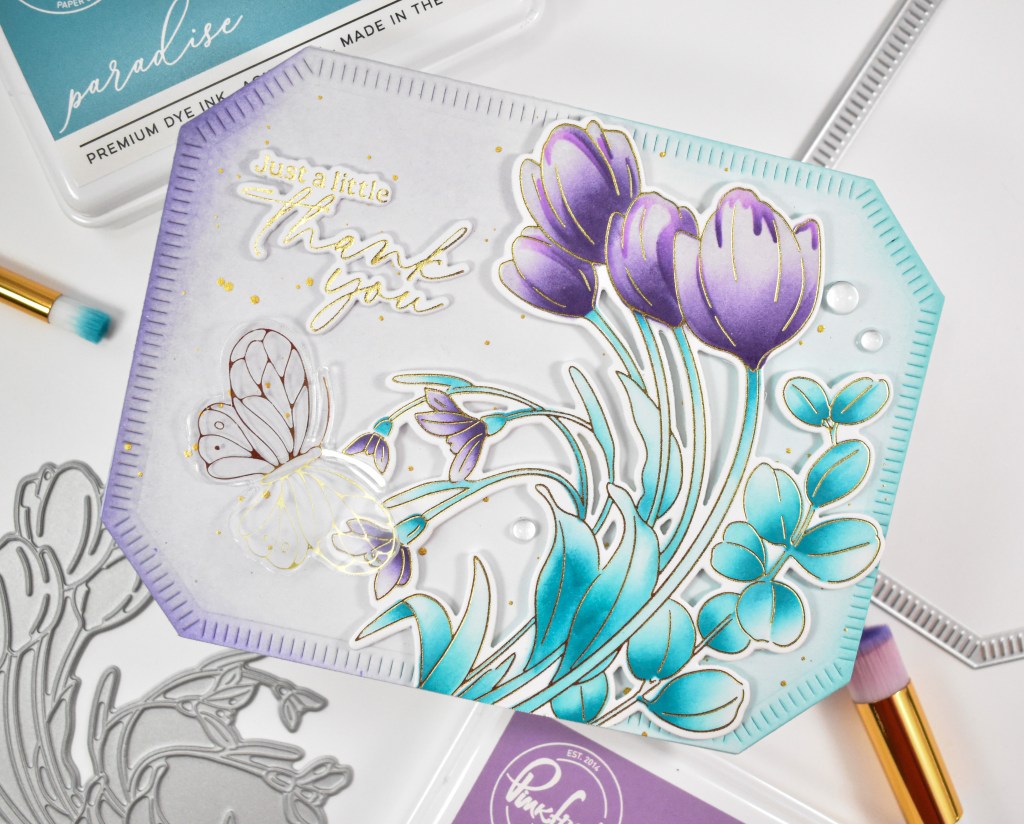
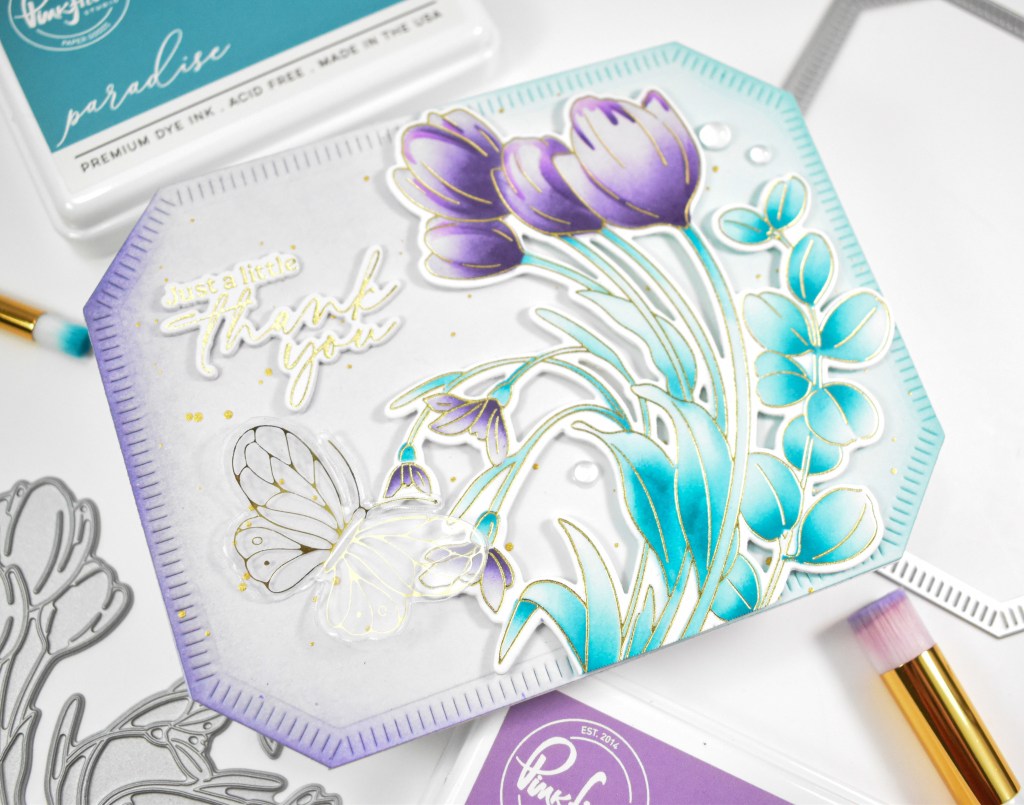
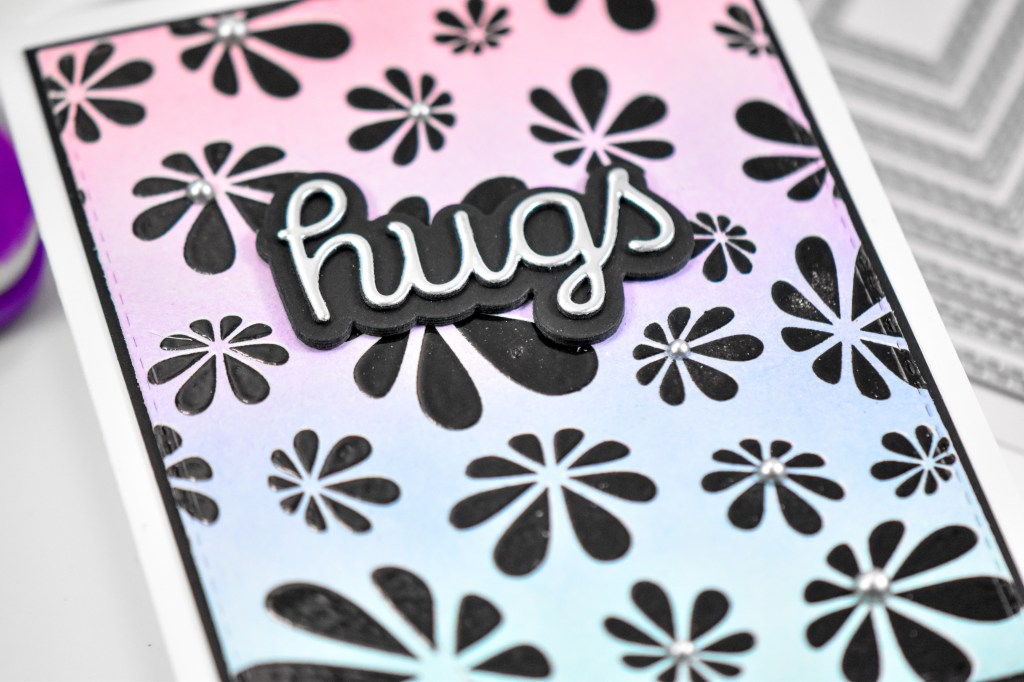
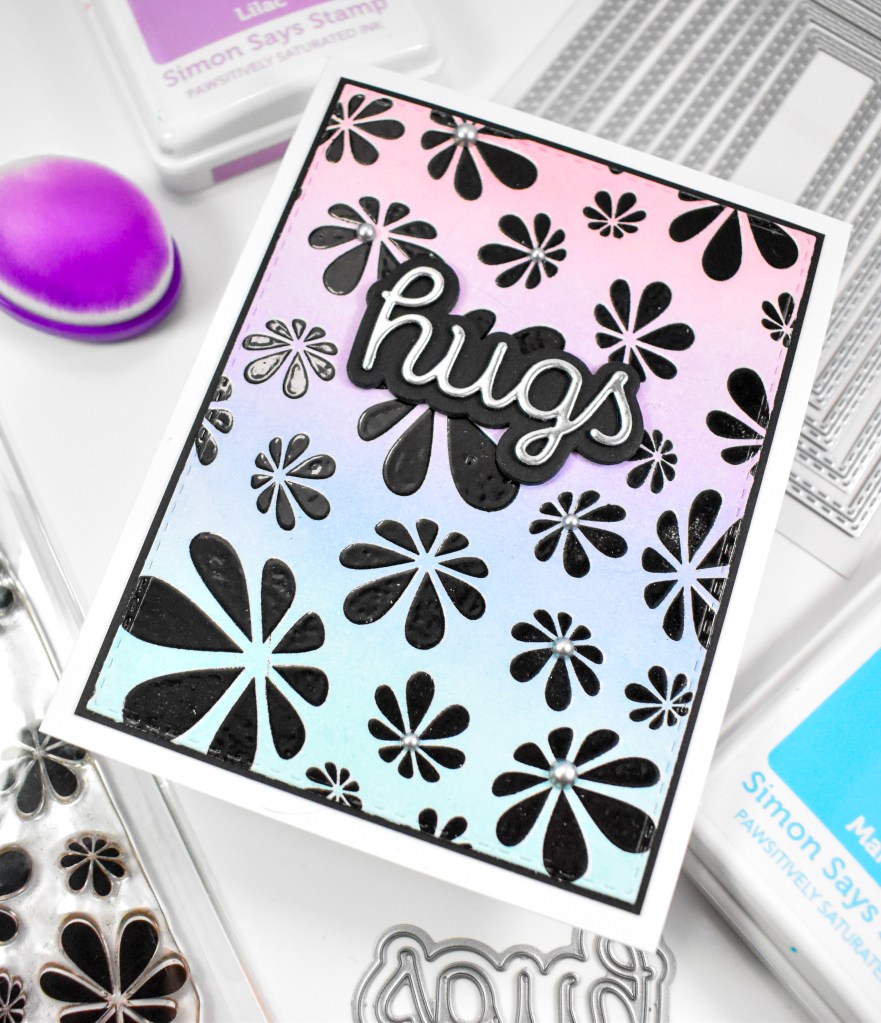
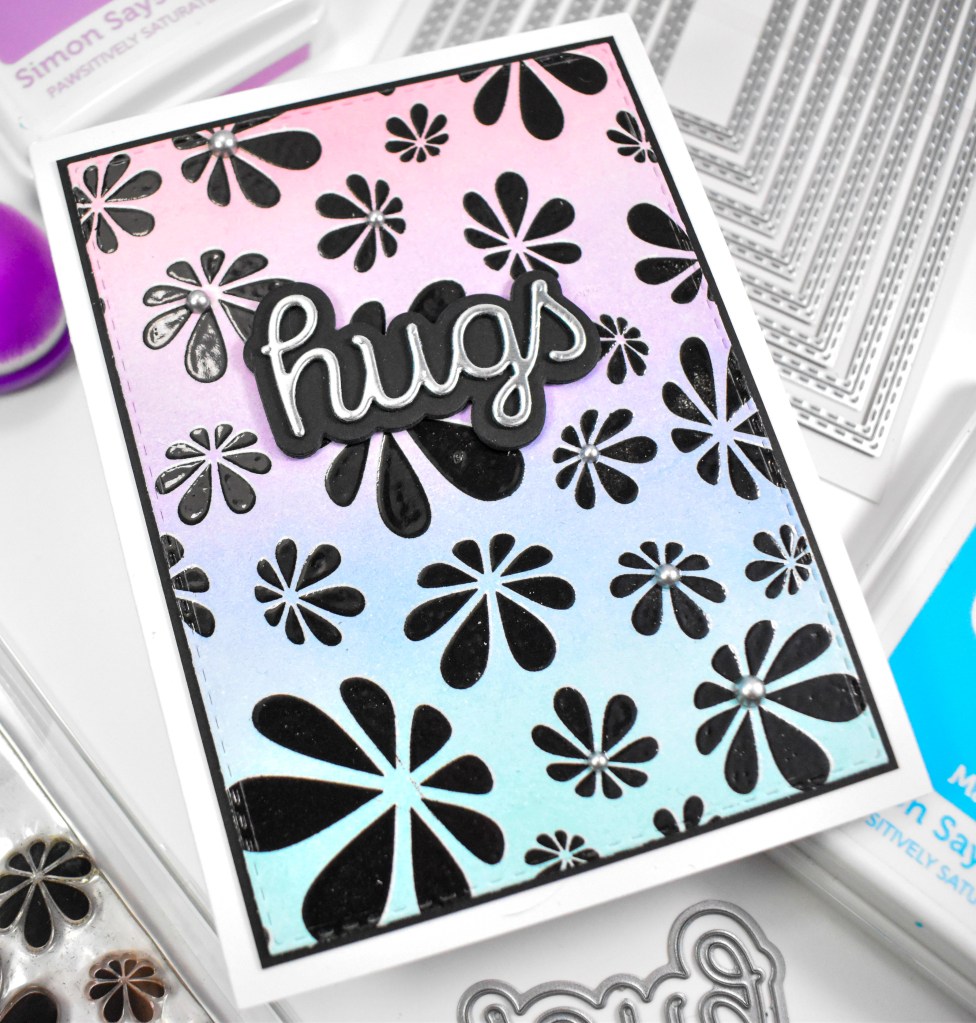
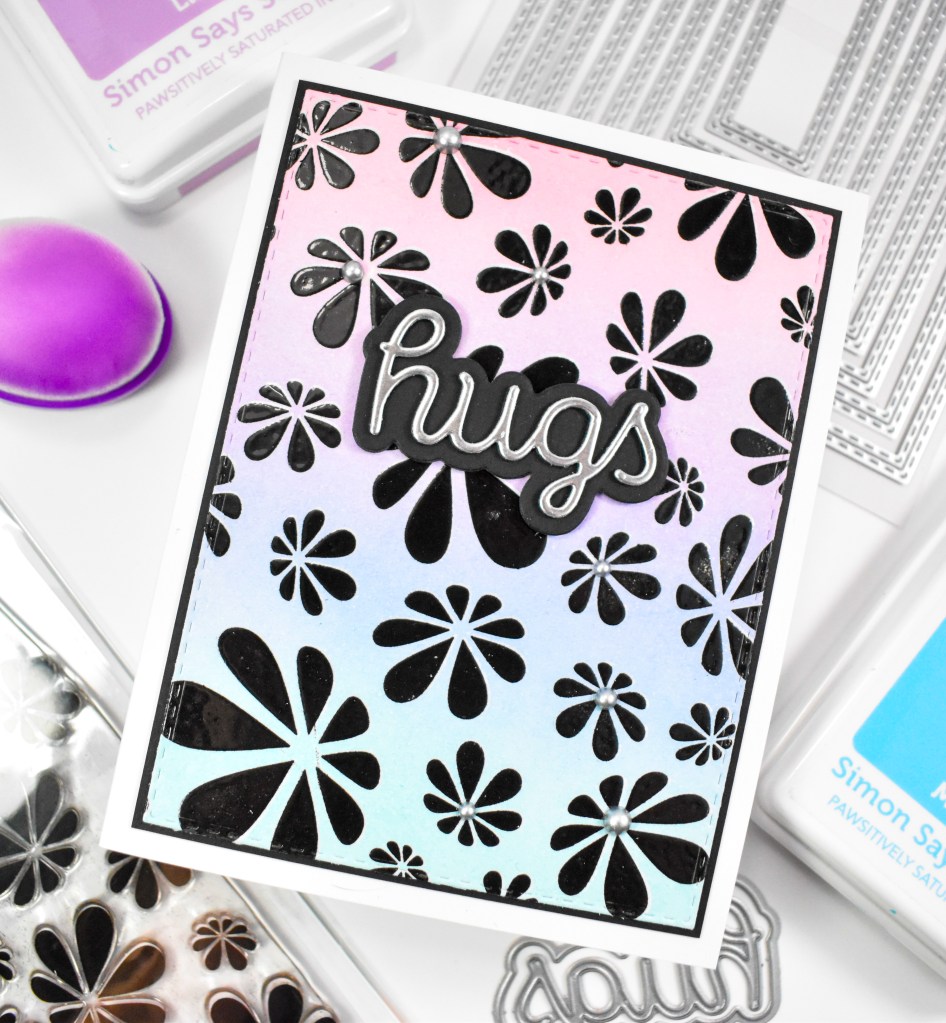
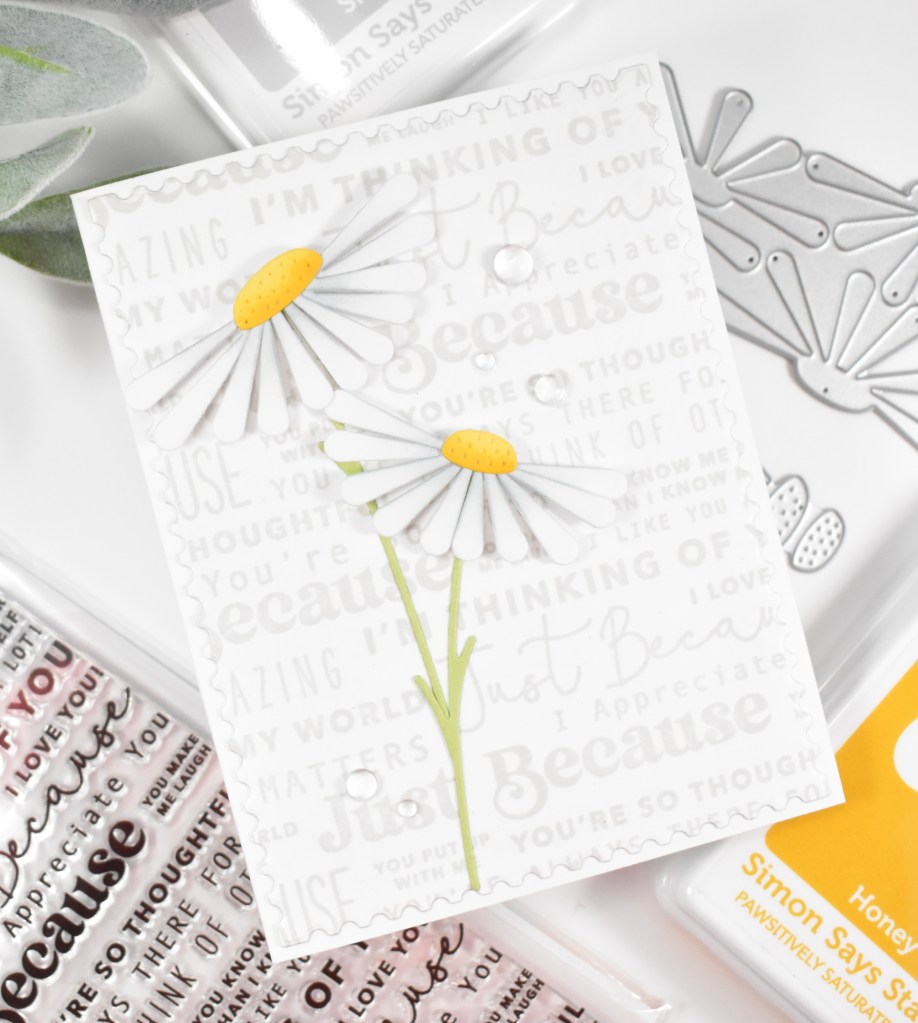
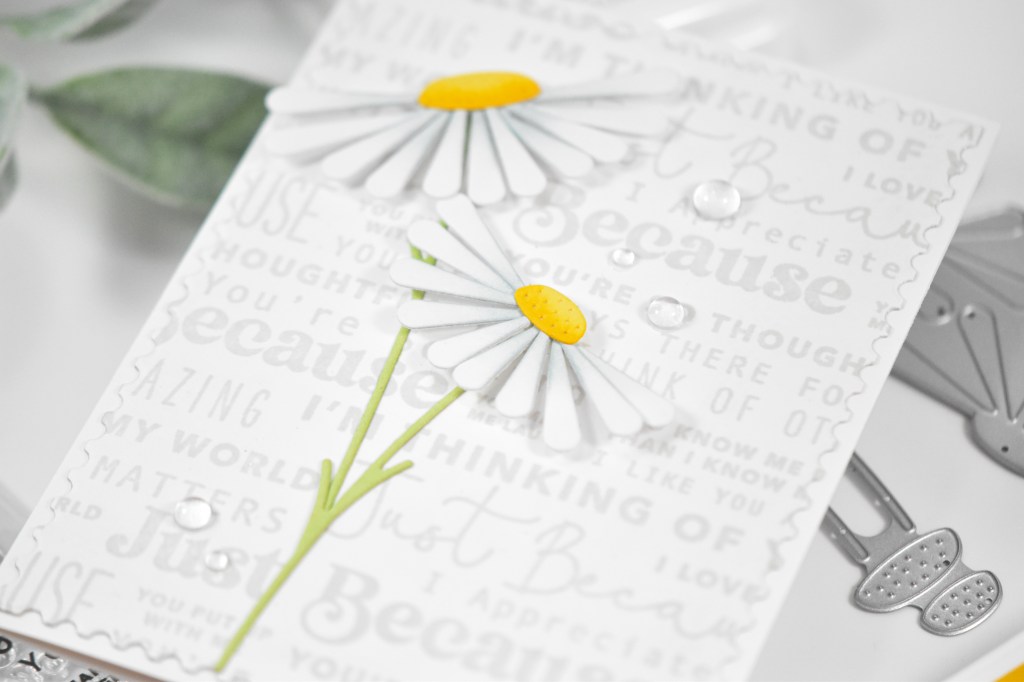
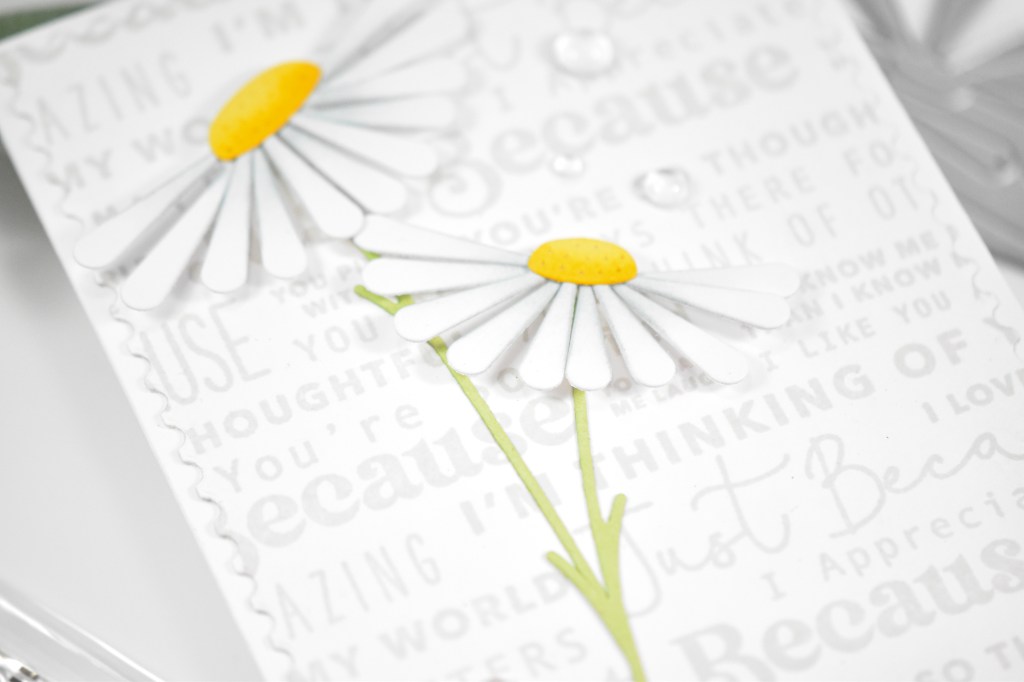
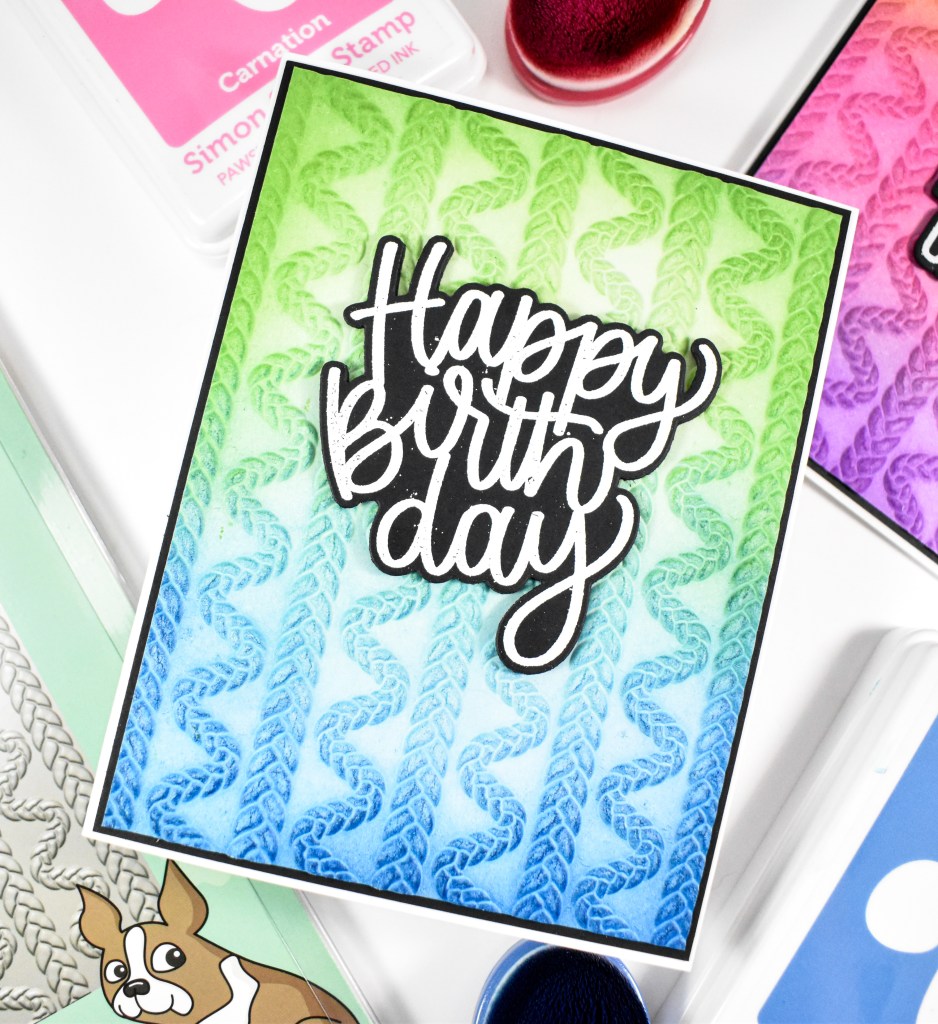
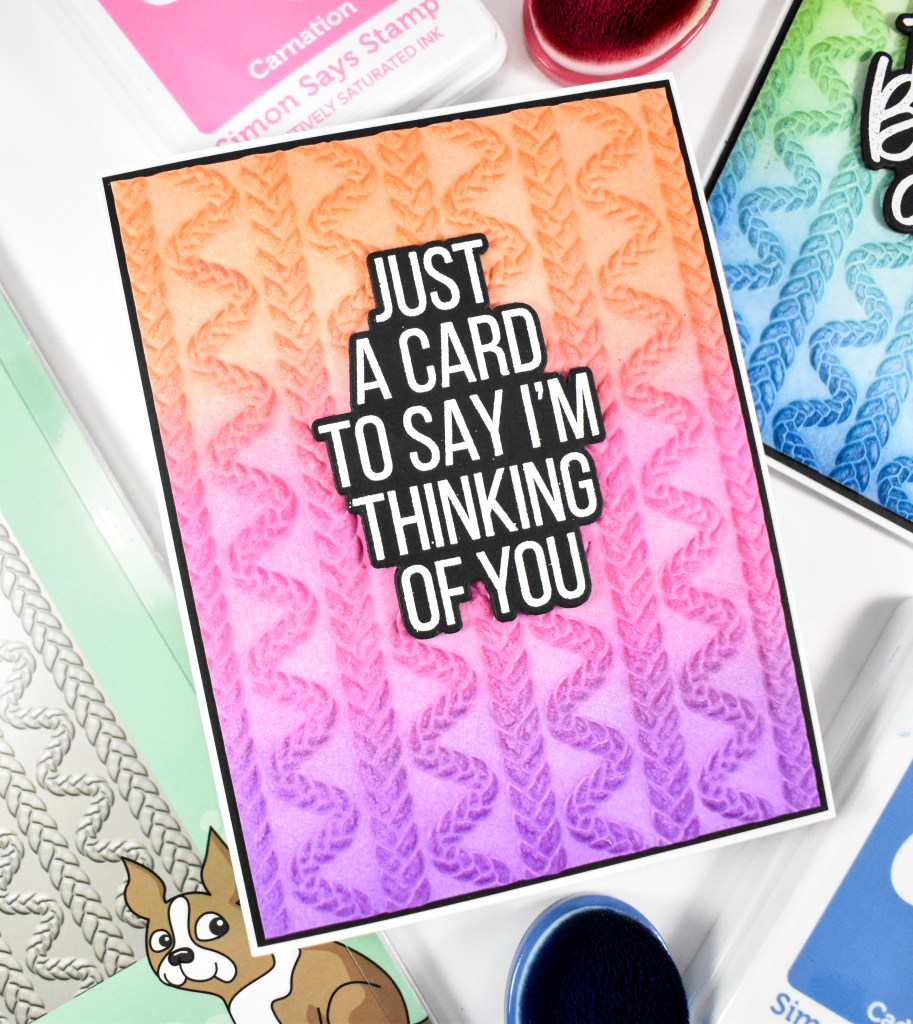
I began by running the embossing folder through the machine using Neenah cardstock to create two panels. I then did some ink blending on the panels using Carnation, Cadette, Surf, Limelicious, Sherbet and Orchid. Or at least that’s what I think that I used! I’m always really good about writing everything down, so I’m not quite sure what happened with these projects!
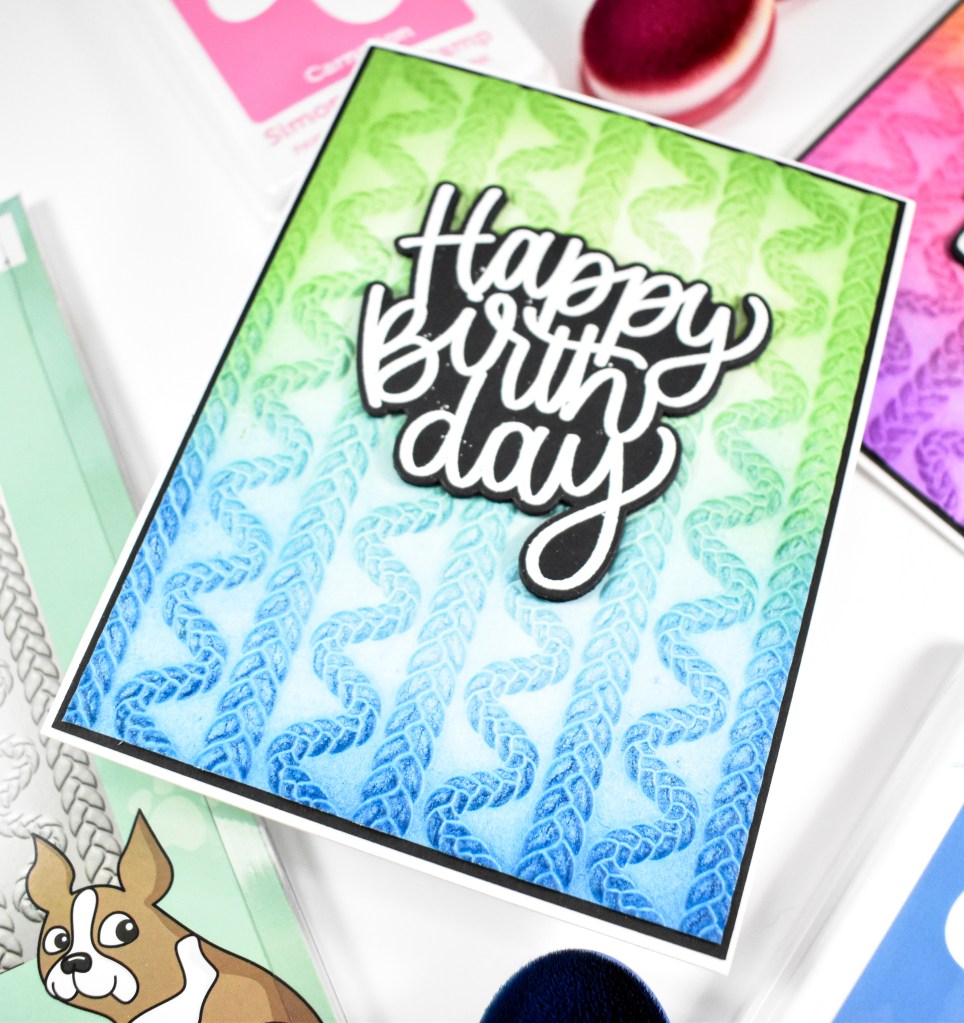
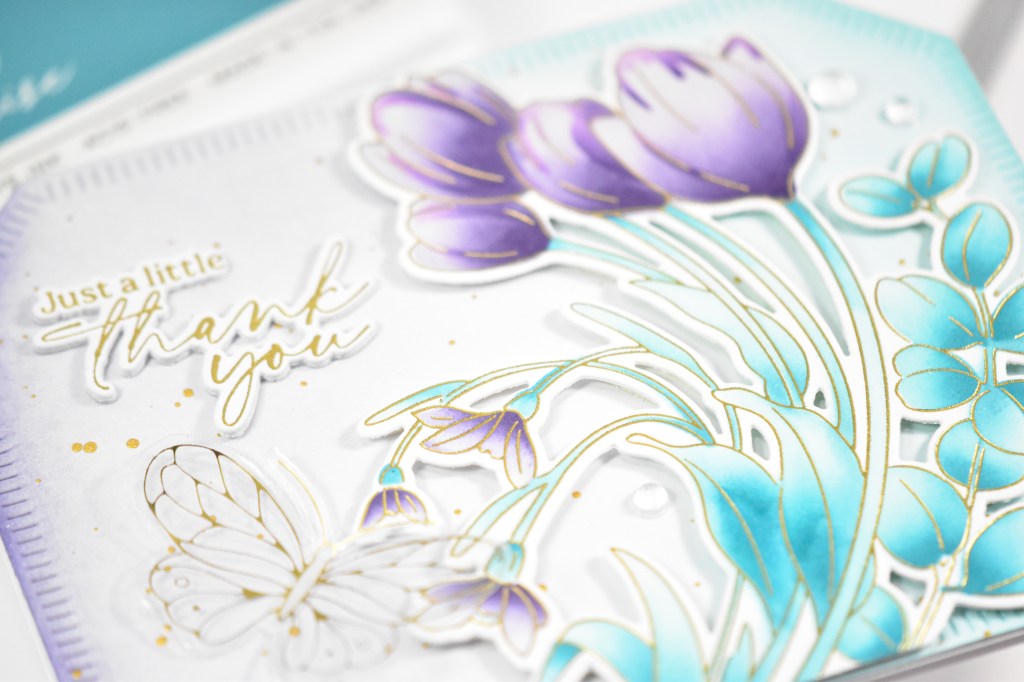
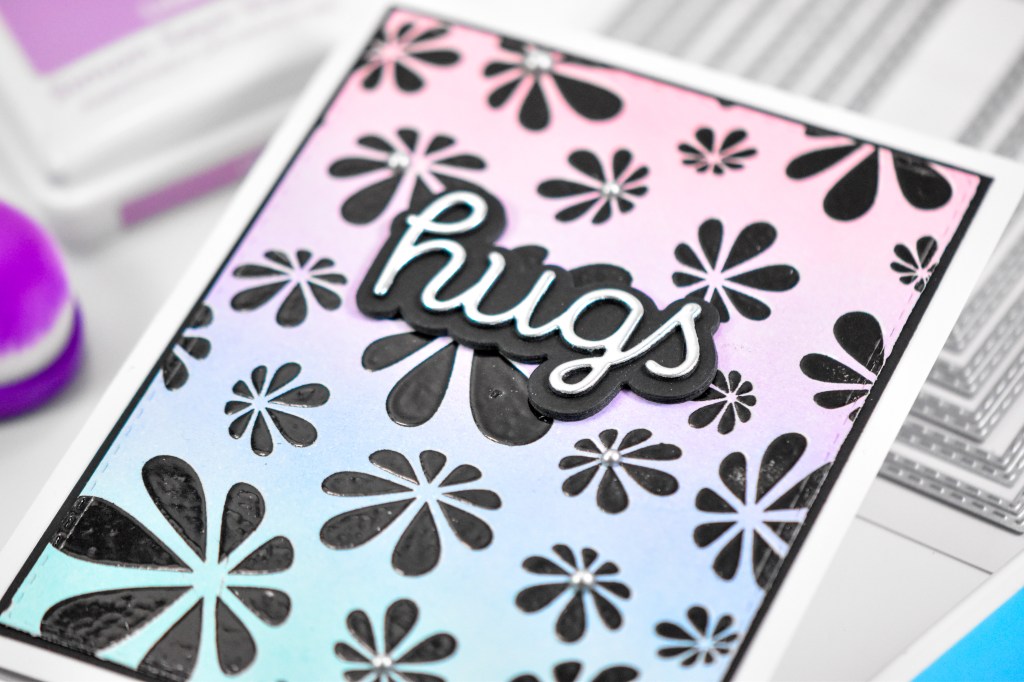
The sentiments were stamped using VersaMark ink, heat embossed using Detail White Embossing Powder and trimmed out four times for a stacked sentiment. I was unable to find one of the sets on the Simon website, so I assume that it was discontinued. I’m sorry about that, and I’m sad, because that was a really great set! The panels were trimmed down, adhered to a black panel and then the card base. Since the sentiments were stacked, I just went ahead and secured those using liquid glue to finish up.
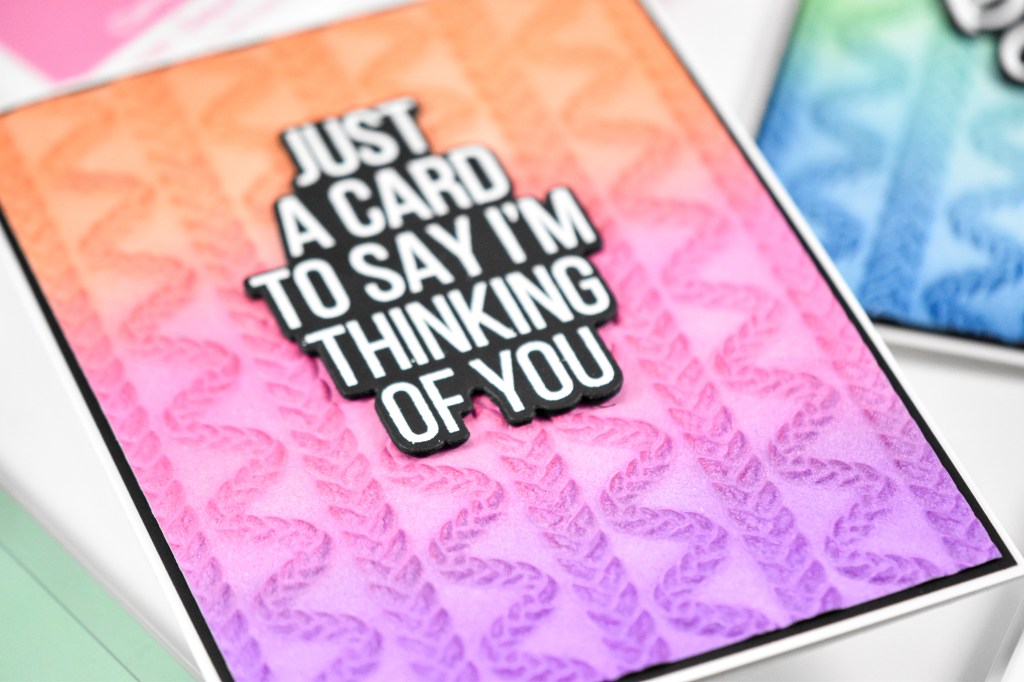
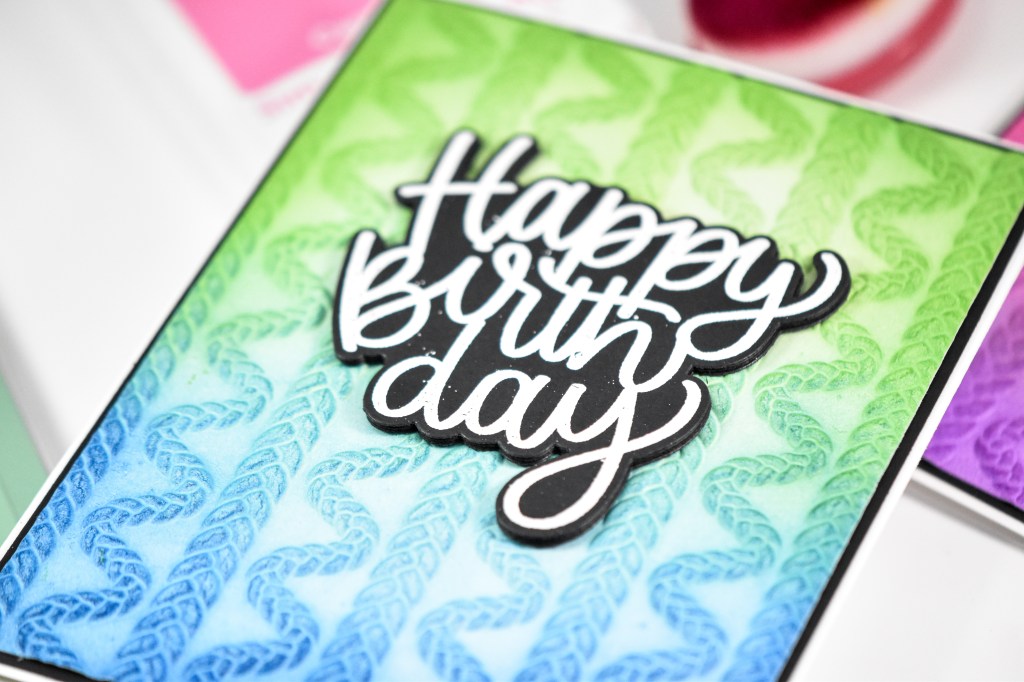
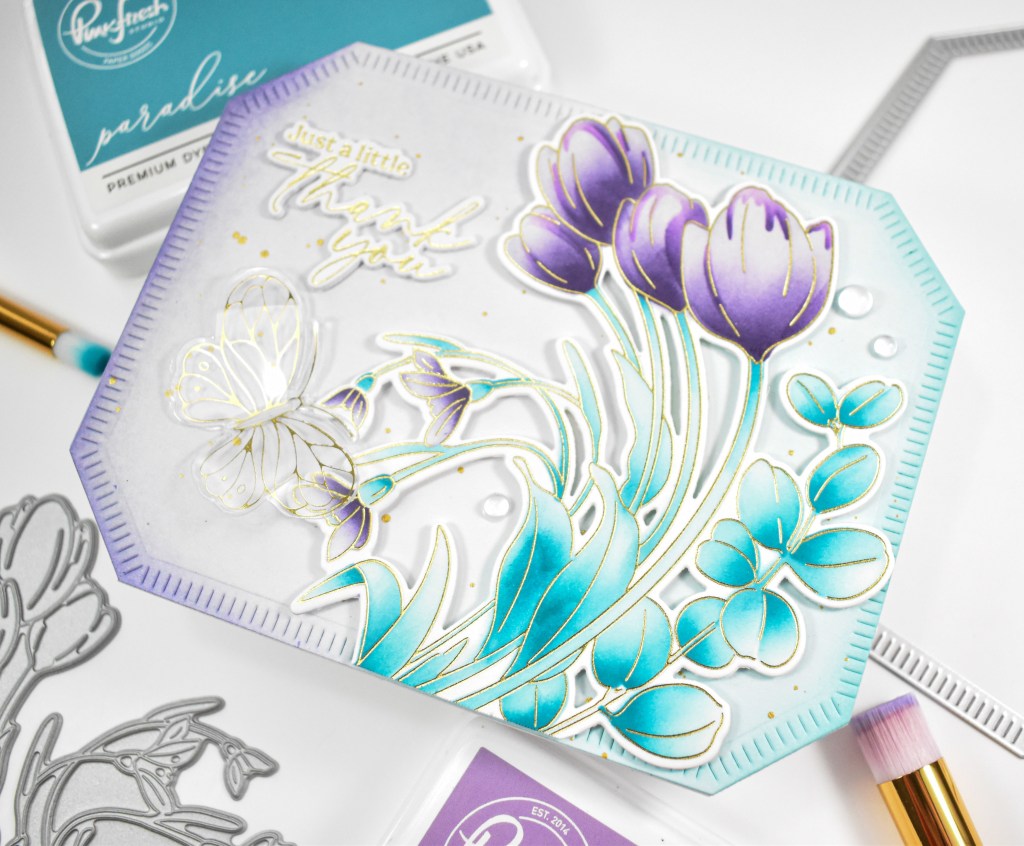
Two quick cards for the win! These types of embossing folders are great for super quick cards, in my opinion. They look great ink blended with a simple sentiment. Thanks again for stopping by, and I hope you have an awesome day!
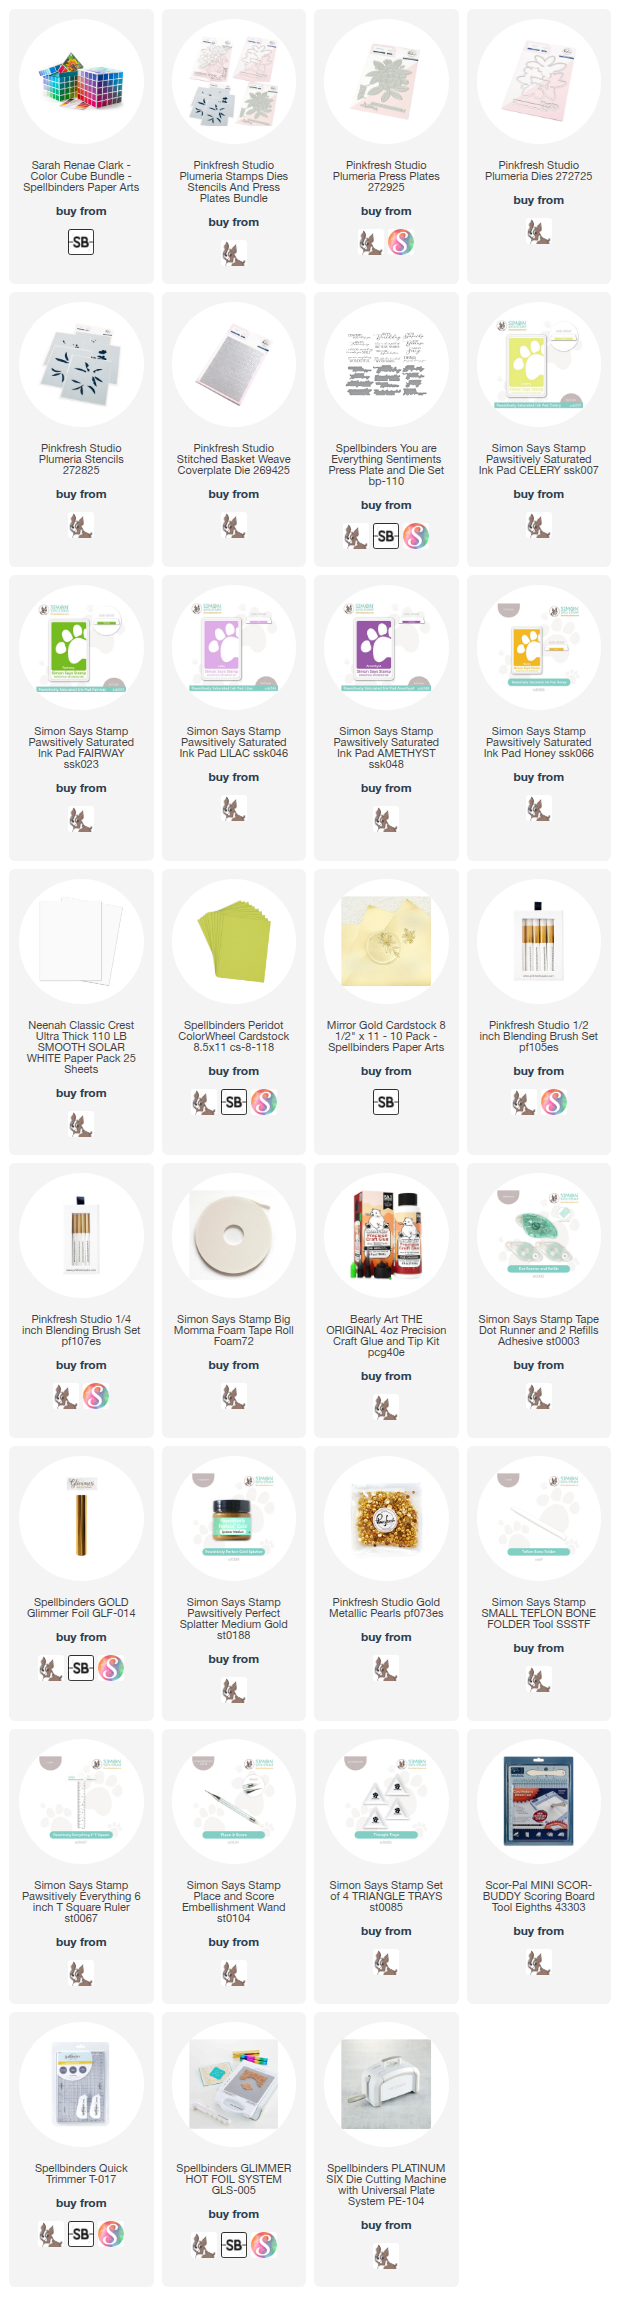
Supply List
Affiliate links used at no cost to you. What does this mean? If you use the links within this post to make a purchase, I receive a small commission, which allows me to continue to post crafty content for your enjoyment. I truly appreciate your support!
Latest Posts
- Simon Says Stamp Braided Greetings

- Together By Design Color Cube Floral

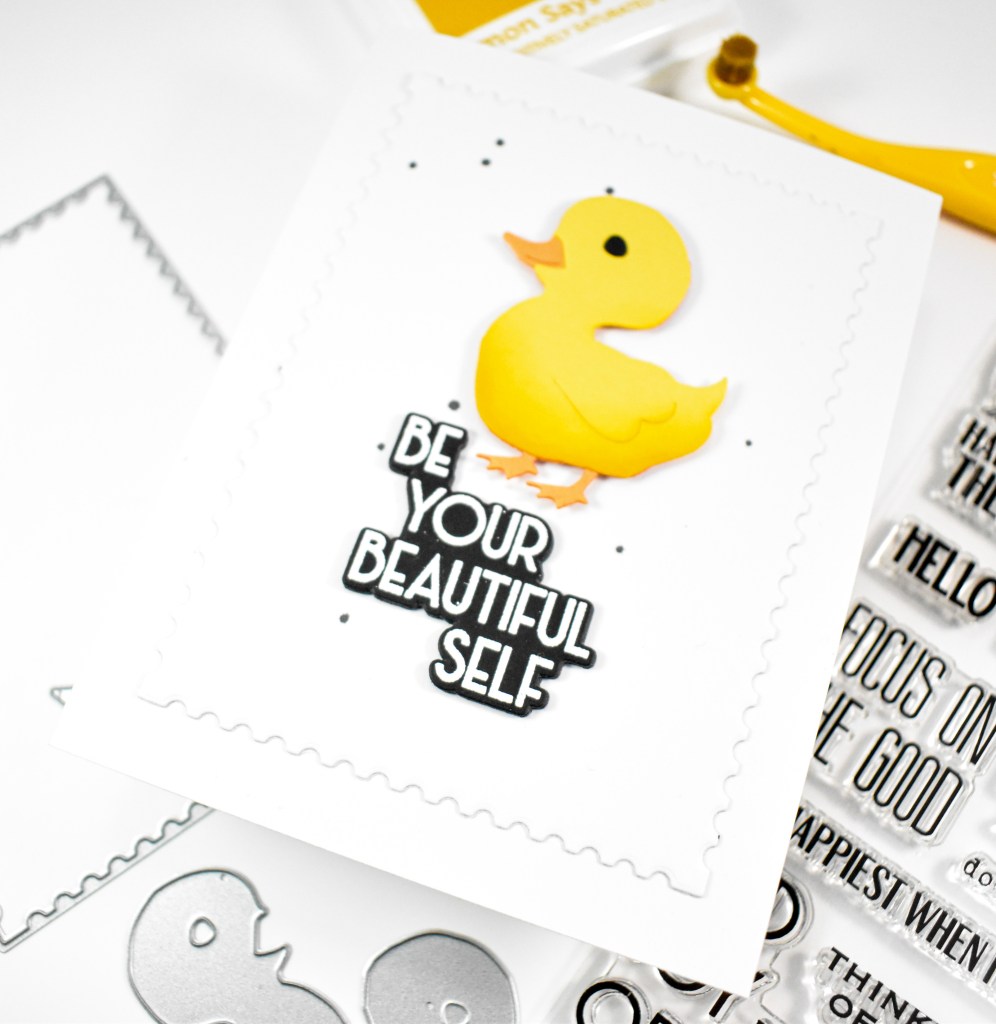
- Simon Says Stamp Cute Duckling

- Simon Says Stamp Watercolor Wild Rose

- Simon Says Stamp Striped Missing You

Latest Instagram Posts