Birthday Bouquet

PinkFresh Studio Joyful Bouquet
Hey there! It has been way too long, I know! I’m new at this and am working to find myself a groove! Anyhoo, I’m glad you stopped by!

I just received my PinkFresh Studio shipment, which included the new Joyful Bouquet stamp, die and washi set, and I had to play right away! To begin my project I rolled out this beautiful washi onto some Neenah Classic Crest 110lb cardstock and used the coordinating die to cut all of the pieces out.

I used the PinkFresh Studio Stitched Scallop Rectangles to cut a panel of 110lb cardstock and die cut the Happy Birthday sentiment from the Classic Words die set. I cut the sentiment three times from 110lb cardstock and once from gold cardstock. Why? Because dimension is life! I will never stop saying that! I adhered all of my sentiment pieces together using Craft Tacky Glue.
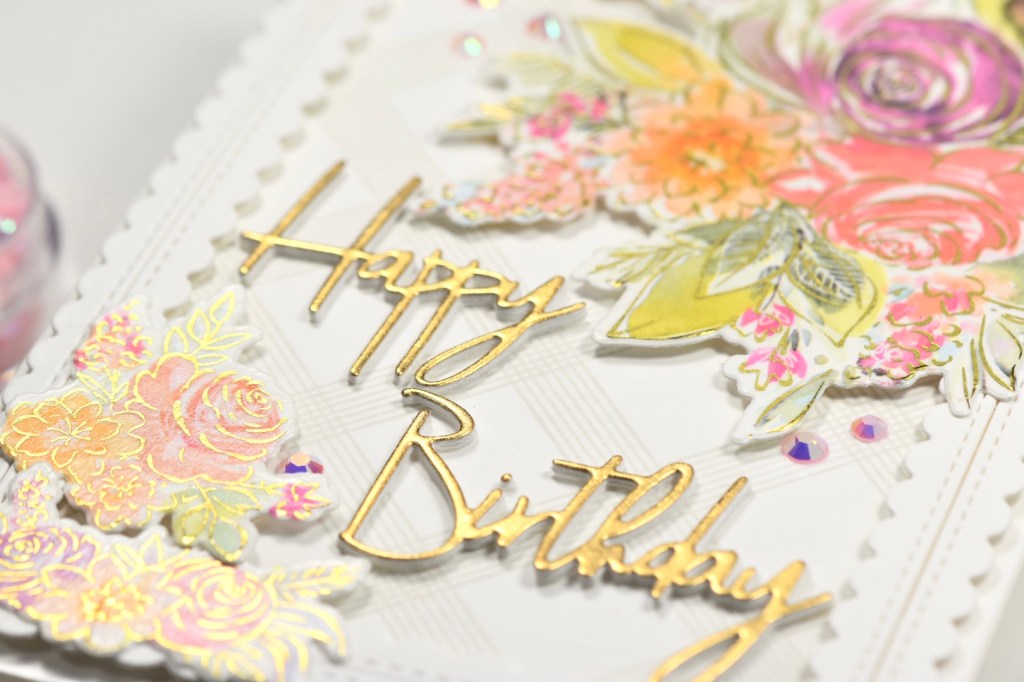
I needed a background for my frame, so I stamped the PinkFresh Studio Diamond Tiles on a piece of 110lb cardstock using Misty Coast ink. Once that was done, I trimmed my stamped panel a tad bit smaller than my frame, and adhered those together using 3M Foam Tape.
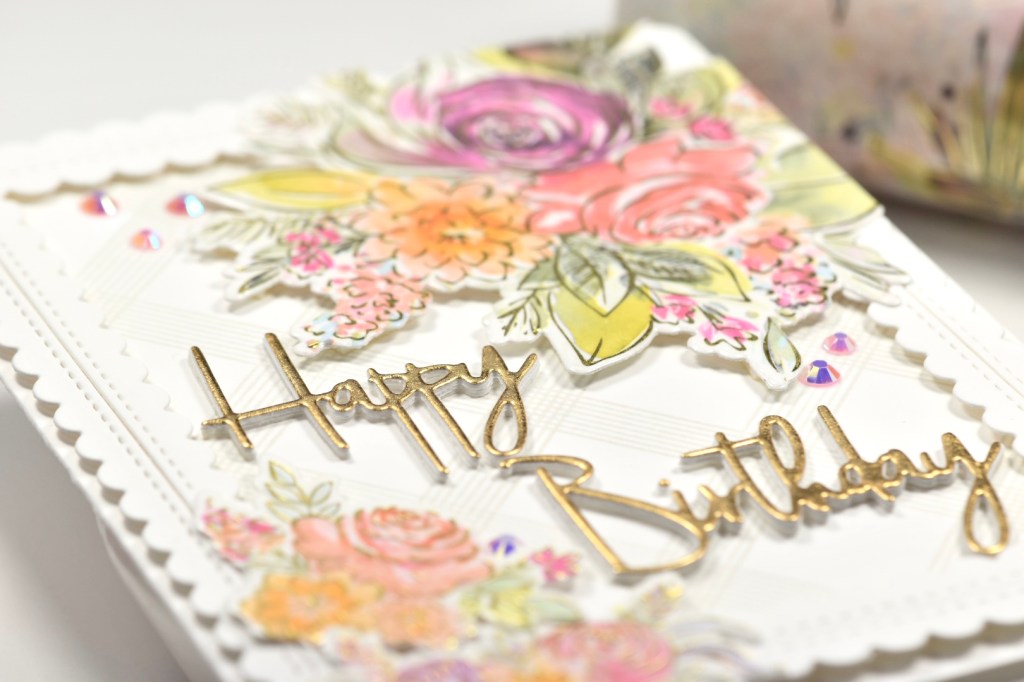
I just need to say … This washi is GORGEOUS! Moving on, I played around with the positioning of my sentiment and flowers to get the perfect placement and then adhered my sentiment to the panel using Craft Tacky Glue and adhered my floral pieces using foam tape. I trimmed the excess off with scissors.

My panel was then adhered to my card base, which is Neenah Classic Crest 110lb cardstock. And as we all know, no card is complete without some bling, am I right? I used the PinkFresh Jewels Mix to add that needed sparkle to my project.

That does it for my project today! I’m so glad that you stopped by and I hope this inspires you to get crafty in your space.
Don’t forget to stay awesome!
Supply List:
- PinkFresh Studio Joyful Bouquet Washi Tape
- PinkFresh Studio Joyful Bouquet Die
- PinkFresh Studio Diamond Tiles stamp
- PinkFresh Studio Stitched Scallop Rectangles
- PinkFresh Studio Classic Words Die set
- PinkFresh Studio Jewels Mix
- PinkFresh Studio Misty Coast Ink
- Neenah Classic Crest 110lb Cardstock
- Craft Tacky Glue
- 3M Foam Tape
- Marvy Jewel Picker
- Gold Cardstock
- Tim Holtz Scissors
- Misti
- Gemini Jr.
*Affiliate links used at no cost to you. Thank you for your support!
- Simon Says Stamp Tattered Florals

- Simon Says Stamp Amazing Floral

- Simon Says Stamp Friendly Butterflies

- Simon Says Stamp Graceful Hugs

- Simon Says Stamp Hello Butterflies

