Chevron Hugs

Hello and welcome back friends! I’m so glad you stopped by! For today’s card I’m using the PinkFresh Studio Nested Chevron stamp and coordinating die to create a rainbow-ish look. I’ve had this set for a little bit, and finally decided to take it for a spin! The pop-out feature of this stamp, any many of their others, offers so many possibilities! To be honest, I wasn’t quite sure if I was going to like it, but dang, it’s pretty awesome! So glad that I went ahead a bought a few of the other sets when I bought this one!
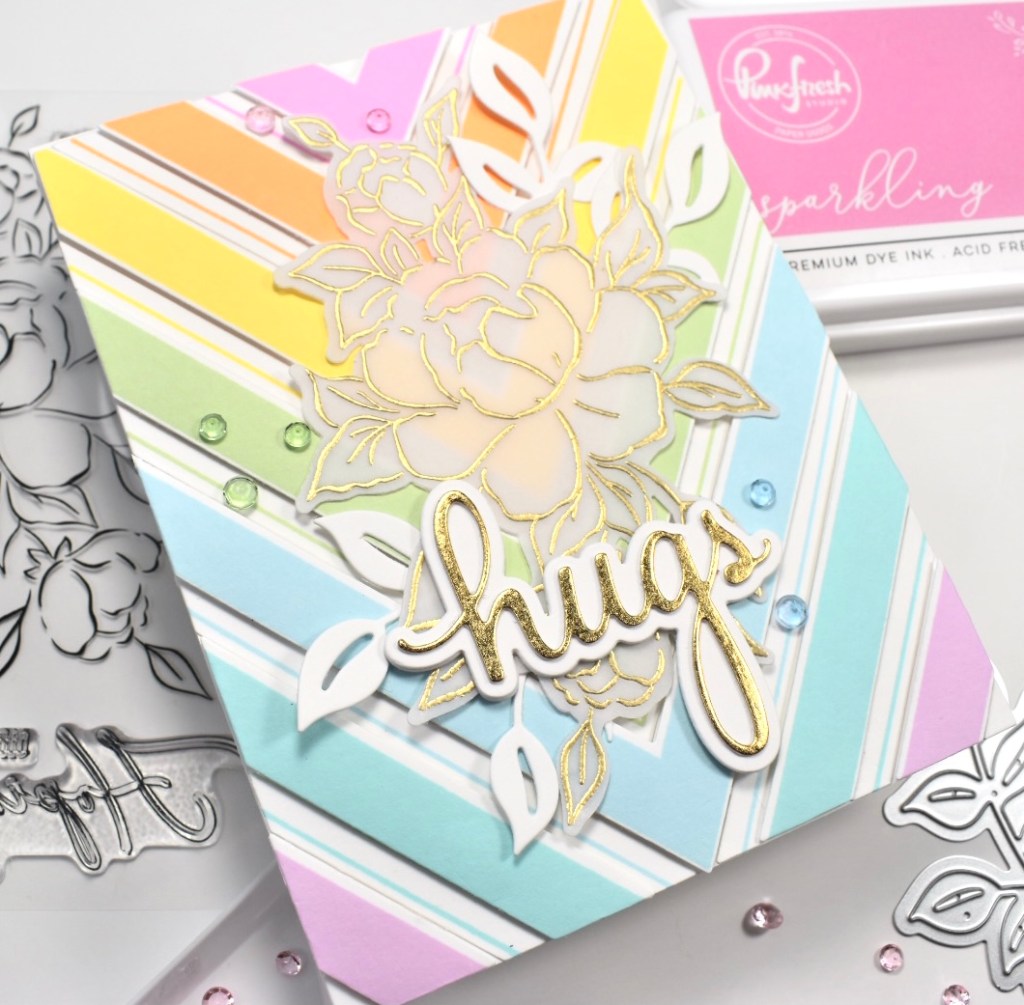
For my rainbow stamping, I chose PinkFresh Studio dye inks in Sparkling Rose, Apricot, Lemon Whip, Fresh Pear, Sky Blue, Ocean Breeze and Soft Lilac. I trimmed a piece of Neenah Classic Crest 80lb cardstock large enough to fit into my Misti and positioned my stamp in the middle of that. You can stamp different sections with different inks at the same time, but since I’m a newbie to these pop-out stamps, I stamped each section individually .. ya know, because I wasn’t really in the mood for messing something up!
This stamp is cool, because it has a frame which allows you to position the pieces correctly and straight .. which I need! So once all of my stamping was done, I die cut my Nested Chevron with the coordinating die. I cut another piece of Neenah 80lb to adhere my Chevron pieces to. I adhered the thin striped pieces to my panel using Craft Tacky Glue, and I adhered the solid stripes to the panel with 3M Foam Tape .. because as we all like to say, dimension is life!

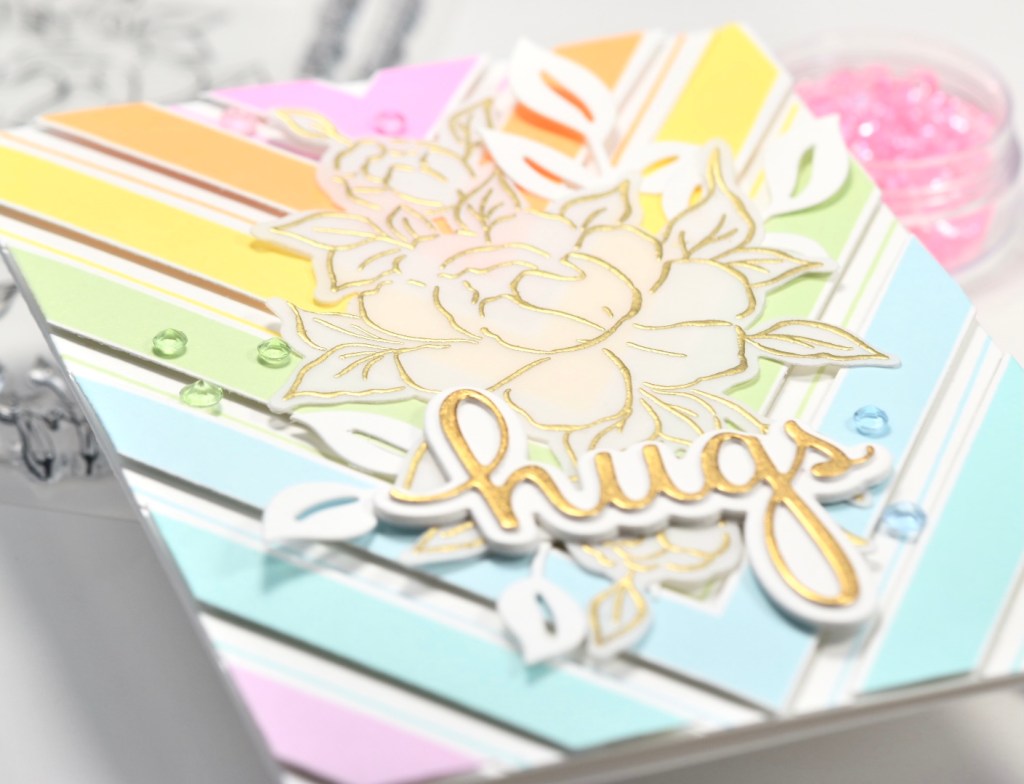
Moving along .. I stamped the new Choose Hope floral image using VersaMark ink on vellum twice, and embossed both of those using Simon Says Stamp Detail White Embossing Powder. Once those were cut with the coordinating die, I then glued those two pieces together and positioned them over my chevron to decide if I was happy with the look.
I decided that the white just wasn’t doing it for me, so I stamped the floral again, embossed it using Ranger Ink Princess Gold Embossing Powder and die cut it. That was so much better! Thank goodness! So I went ahead and adhered the gold floral to the white floral piece.

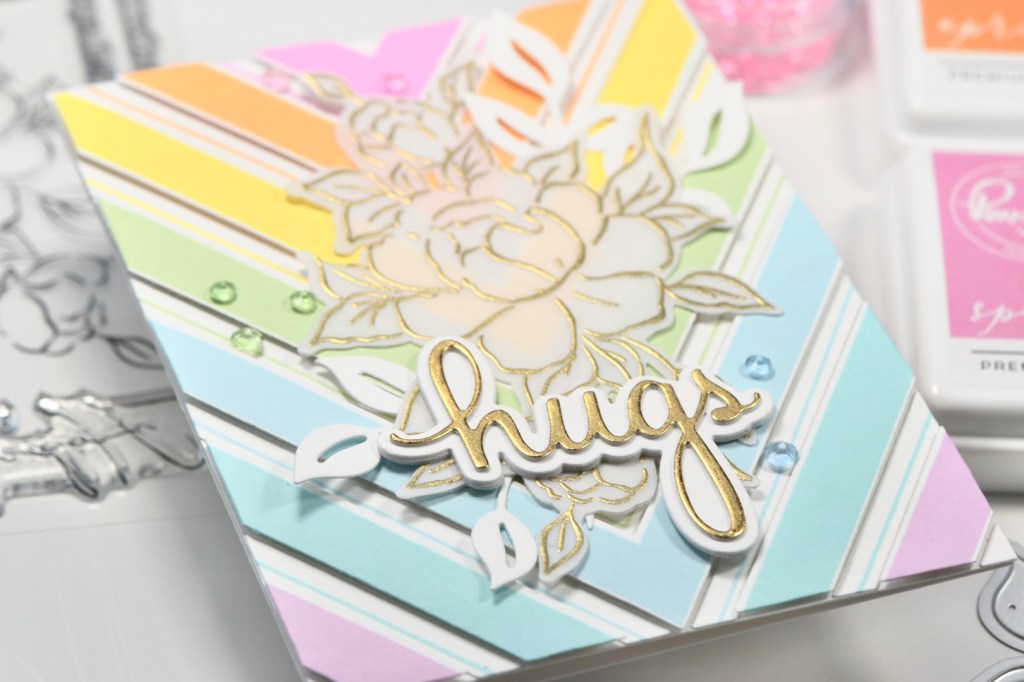
Back to the die cutting machine I go! I decided to use the Hugs sentiment from the PinkFresh Studio Sending Phrase Builder set, so I cut the shadow three times from Neenah Classic Crest 110lb cardstock and the detail sentiment once from Neenah 110lb and once from gold cardstock. While there, I went ahead and cut a few leaves from the new Curvy Leaves set as well. I adhered all of the sentiments together and determined the placement on top of the chevron pattern. Before gluing down the vellum piece, I tucked in some of the Curvy Leaves and adhered those. I then adhered the vellum piece to the chevron panel and the hugs sentiment on top of that. My finished panel was then adhered to my card base, which is Neenah 110lb. Of course you have to have embellishments, so I added a few PinkFresh Studio Crystals Mix.

So there’s my pretty little chevron rainbow-ish card! I hope you like it, and I hope it inspires you to get crafty today!
Thanks so much for stopping by and don’t forget to stay awesome!
Supply List:
- PinkFresh Studio Nested Chevron Stamp
- PinkFresh Studio Nested Chevron Die
- PinkFresh Studio Choose Hope Stamp
- PinkFresh Studio Choose Hope Die
- PinkFresh Studio Sending Phrase Builder
- PinkFresh Studio Dye Inks: Sparkling Rose, Apricot, Lemon Whip, Fresh Pear, Sky Blue, Ocean Breeze, Soft Lilac
- PinkFresh Studio Curvy Leaves
- PinkFresh Studio Crystals Mix
- VersaMark Ink
- Craft Tacky Glue
- Simon Says Stamp Detail White Embossing Powder
- Ranger Ink Princess Gold Embossing Powder
- Misti
- Gemini Jr.
- Neenah Classic Crest 80lb
- Neenah Classic Crest 110lb
- 3M Foam Tape
- Tonic Tim Holtz Scissors
- Wow Dual Speed Heat Tool
- Simon Says Stamp Tattered Florals

- Simon Says Stamp Amazing Floral

- Simon Says Stamp Friendly Butterflies

- Simon Says Stamp Graceful Hugs

- Simon Says Stamp Hello Butterflies

