Spellbinders Color Swatch Wheel
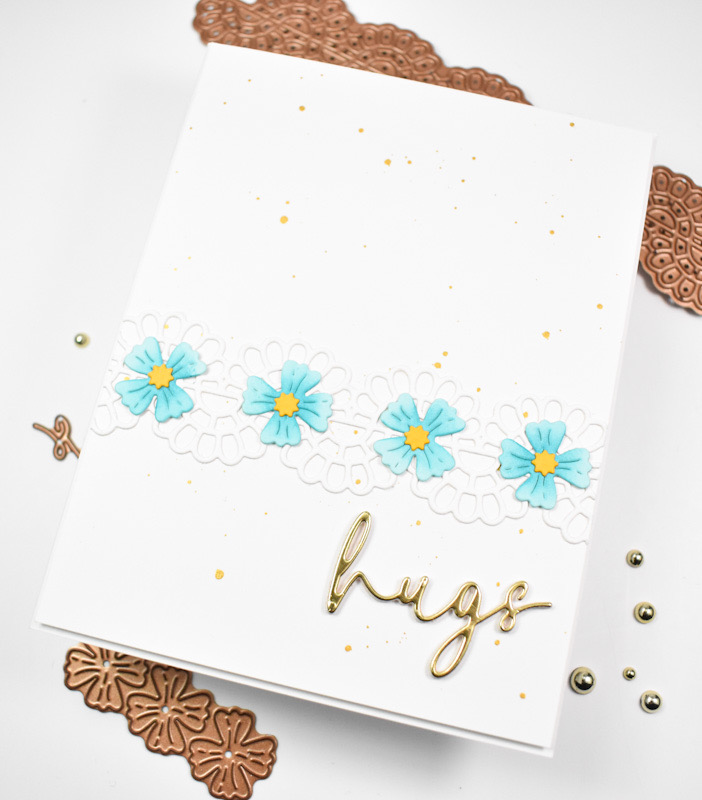
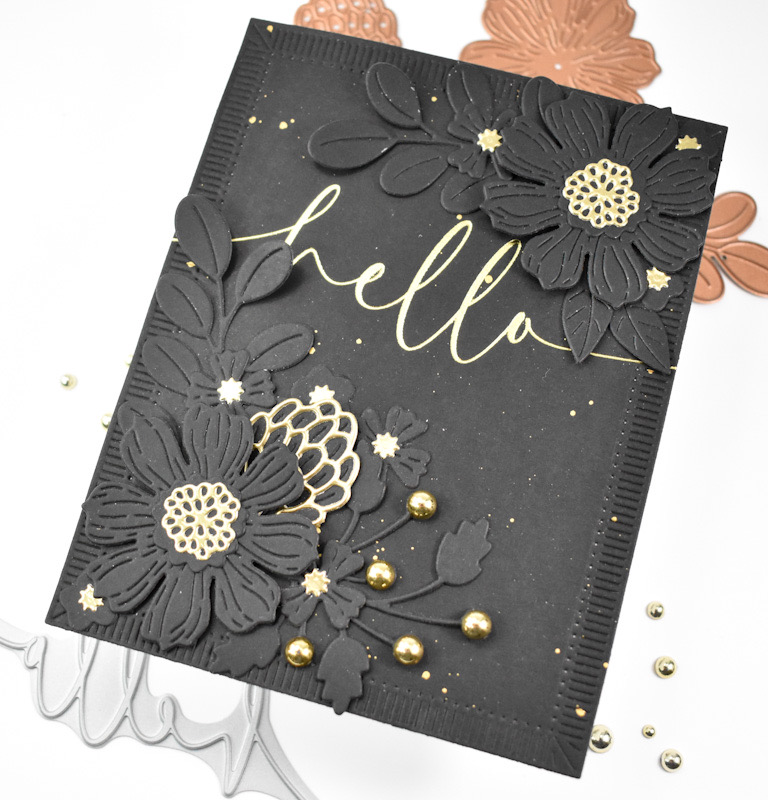
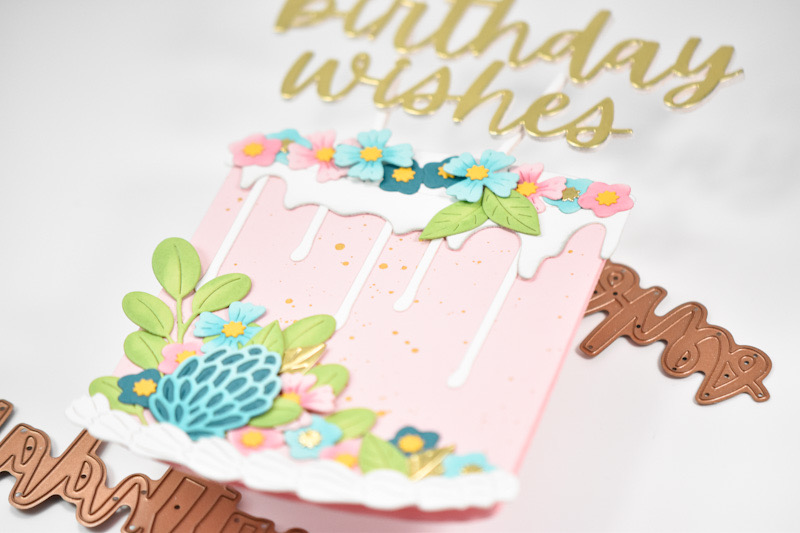
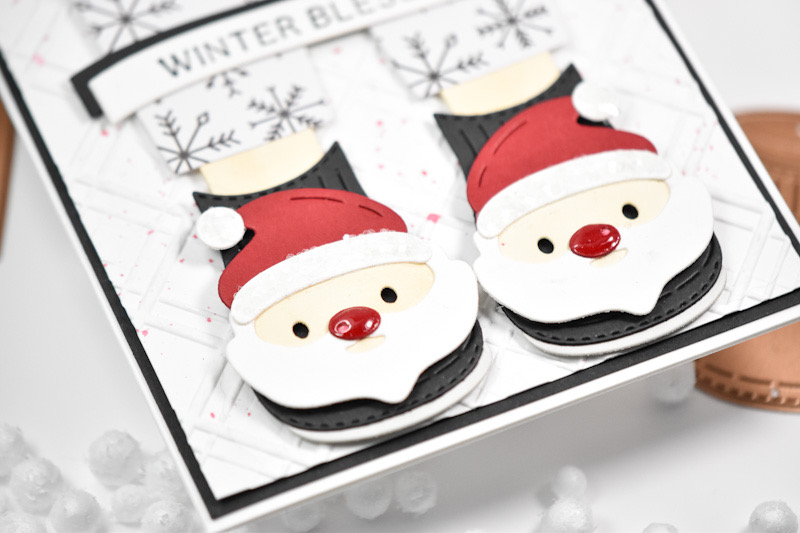
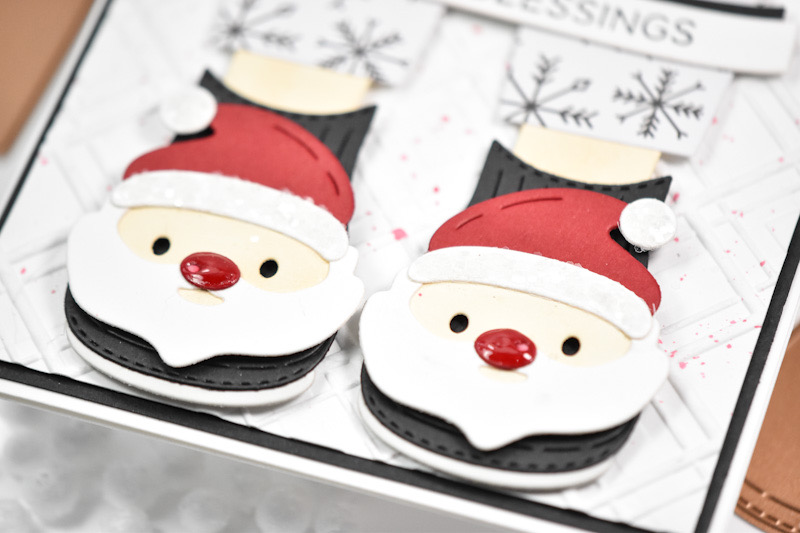
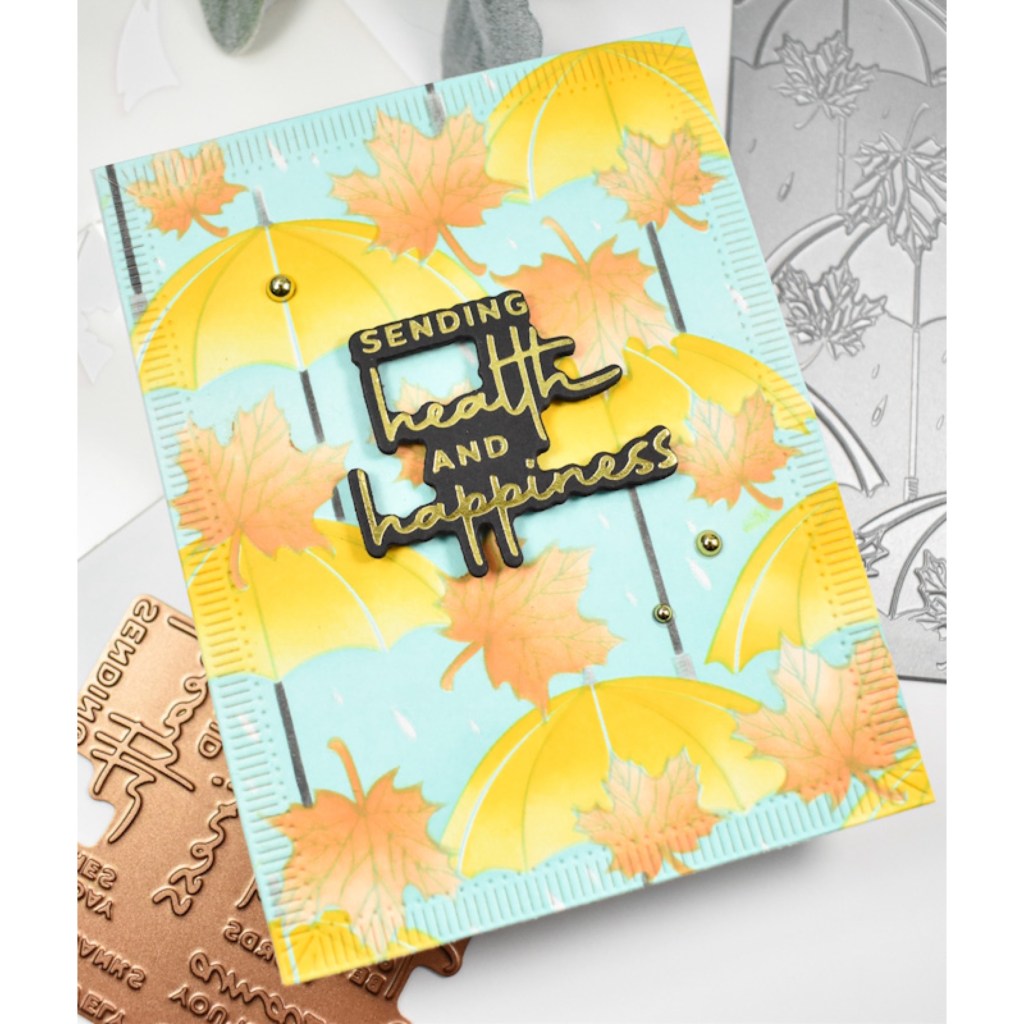
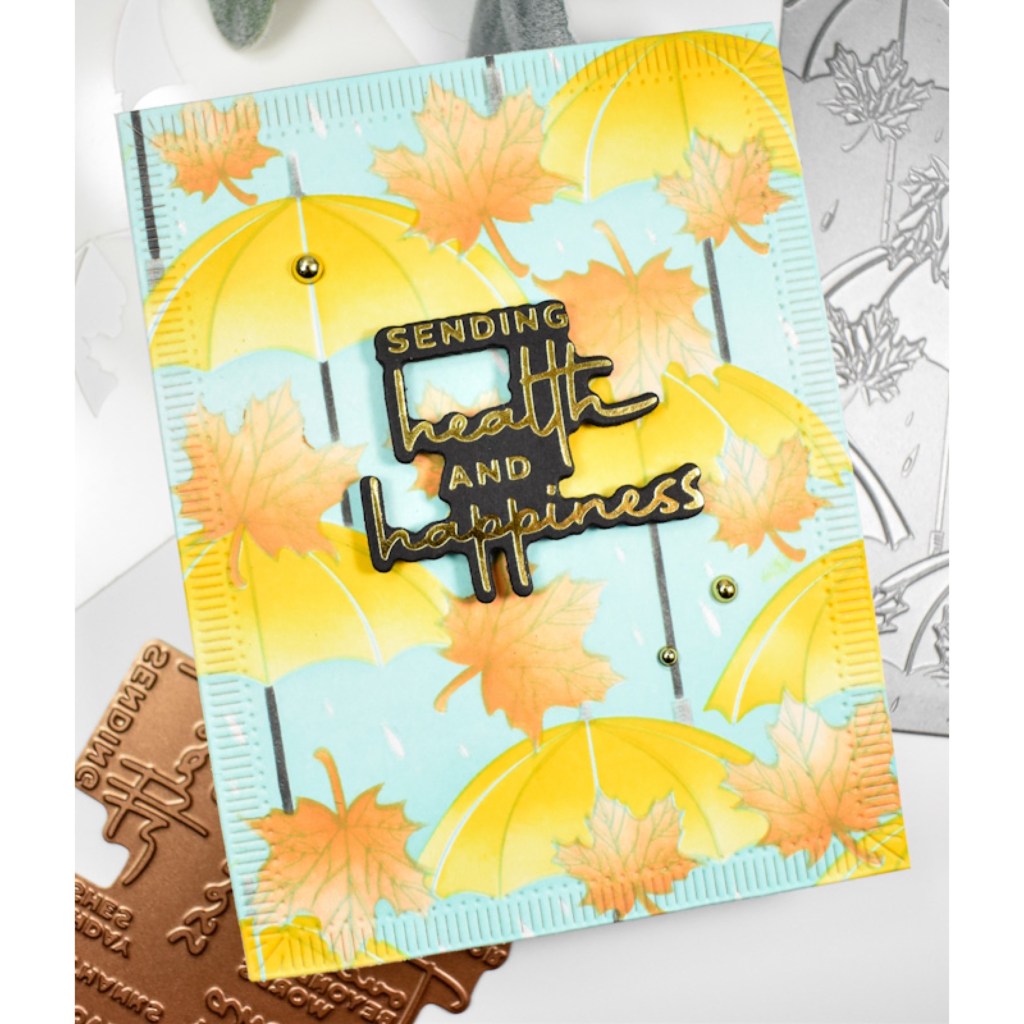
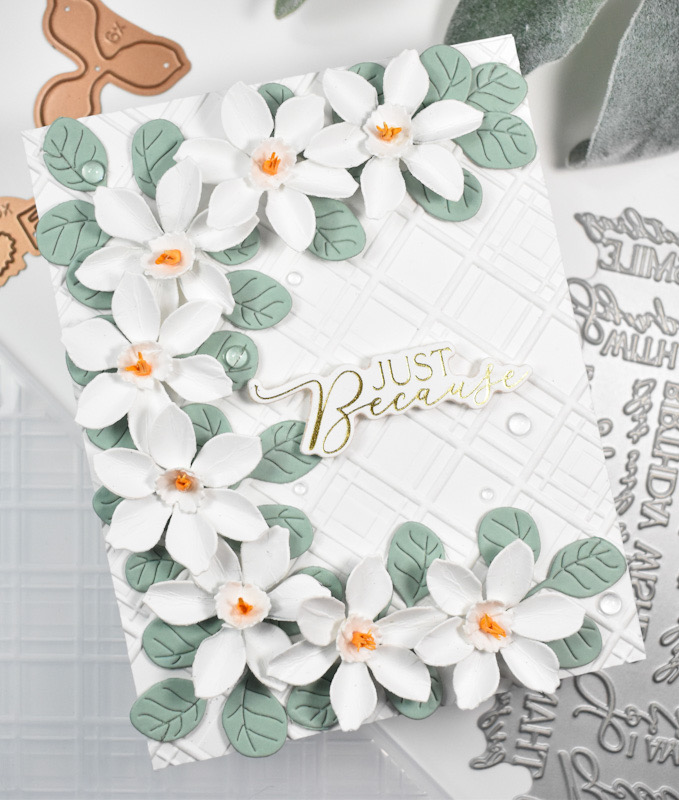
Hello Crafters and welcome back! Thanks so much for stopping by to check out today’s project featuring the new Spellbinders Color
Wheel cardstock colors and the Color Swatch Wheel dies. The purpose of this post is really just to inspire you with some color combinations that feature the colors of cardstock. Let’s go ahead and get into the details!
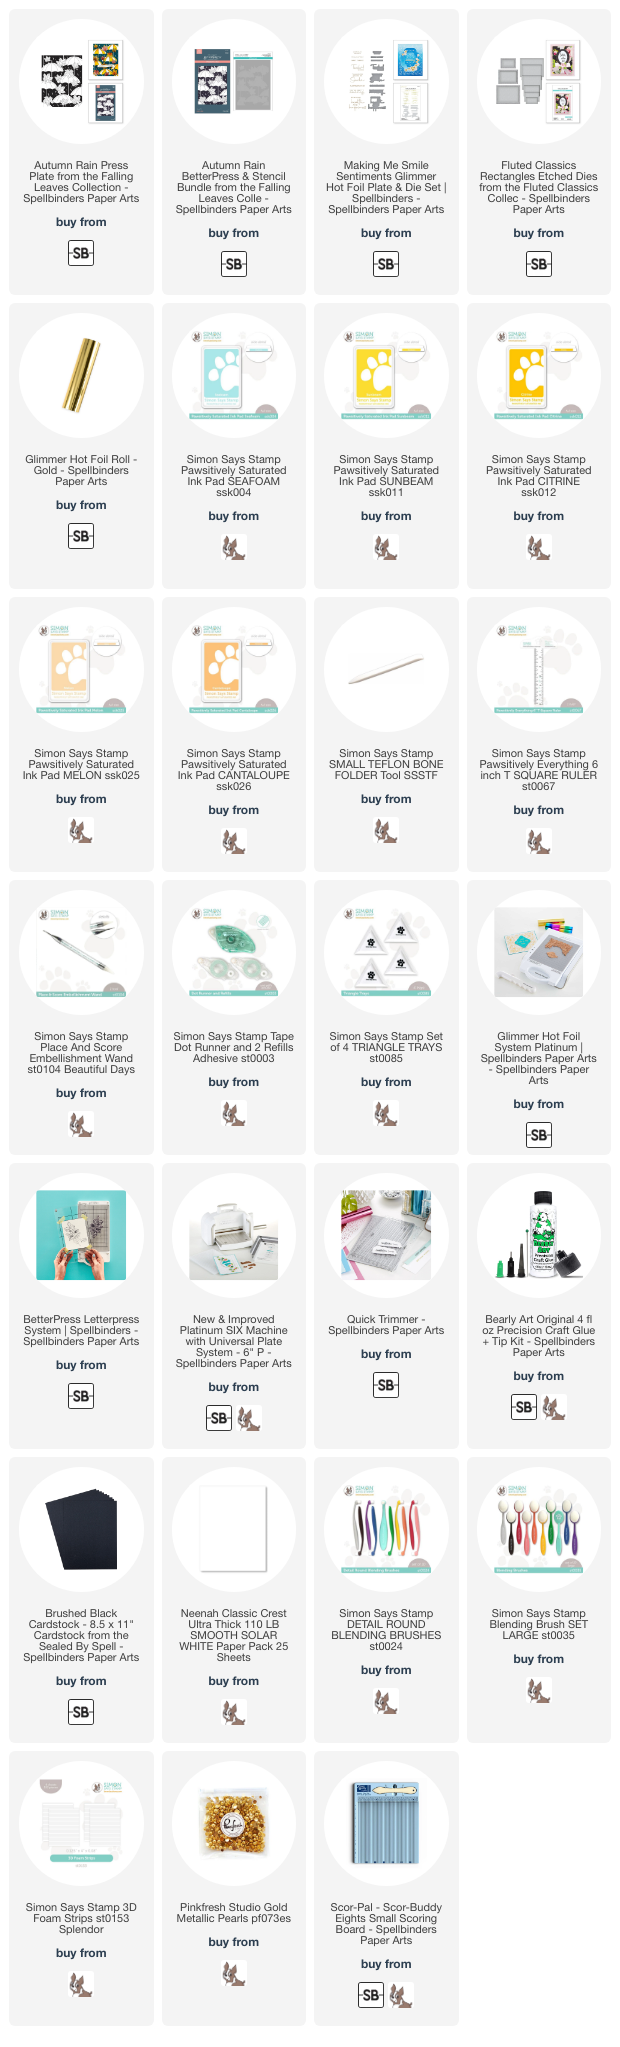
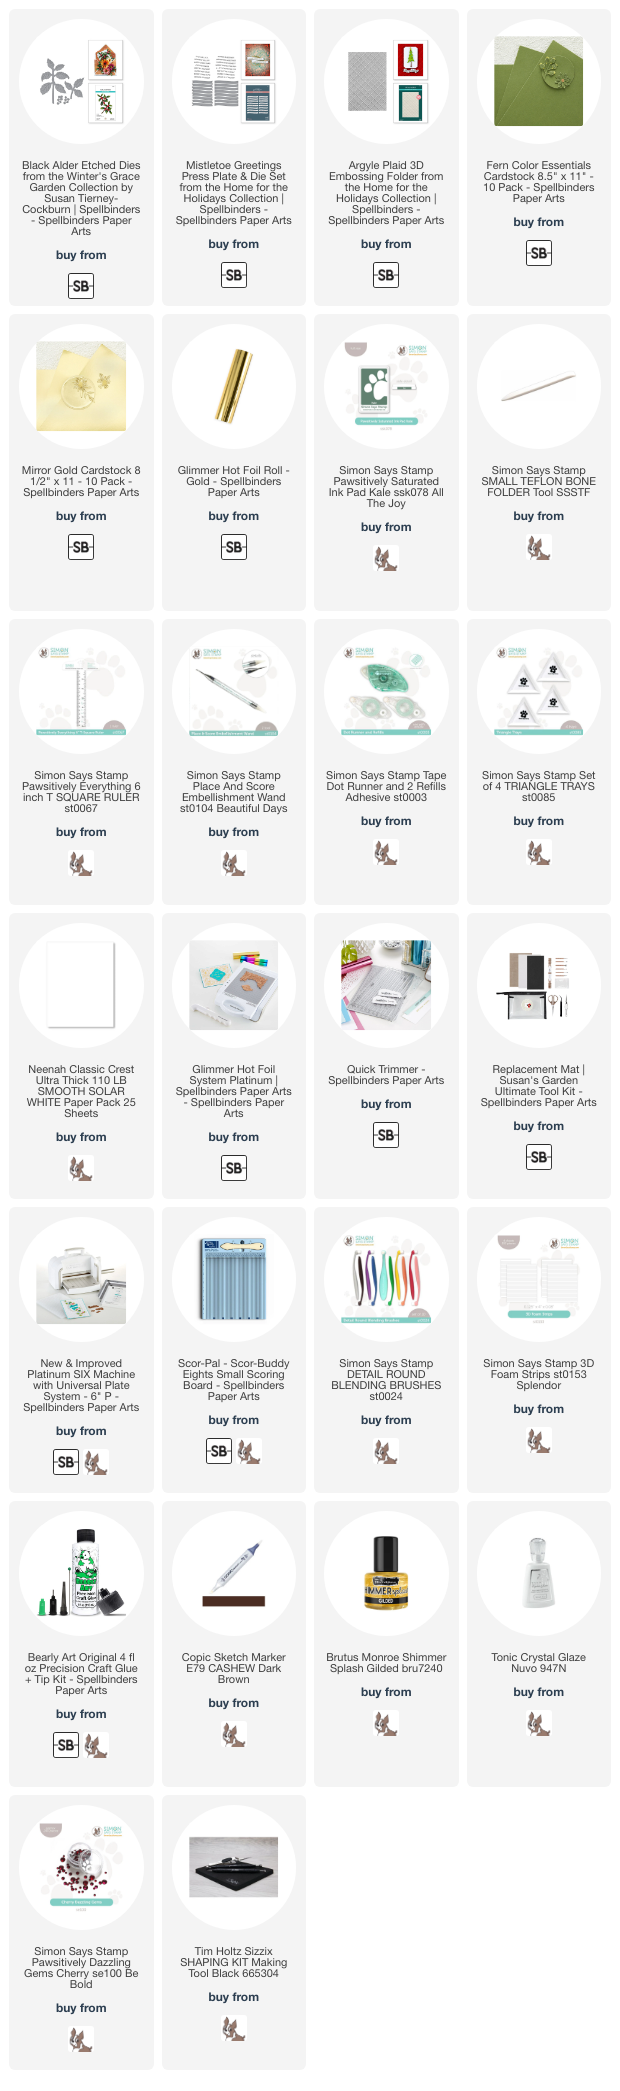
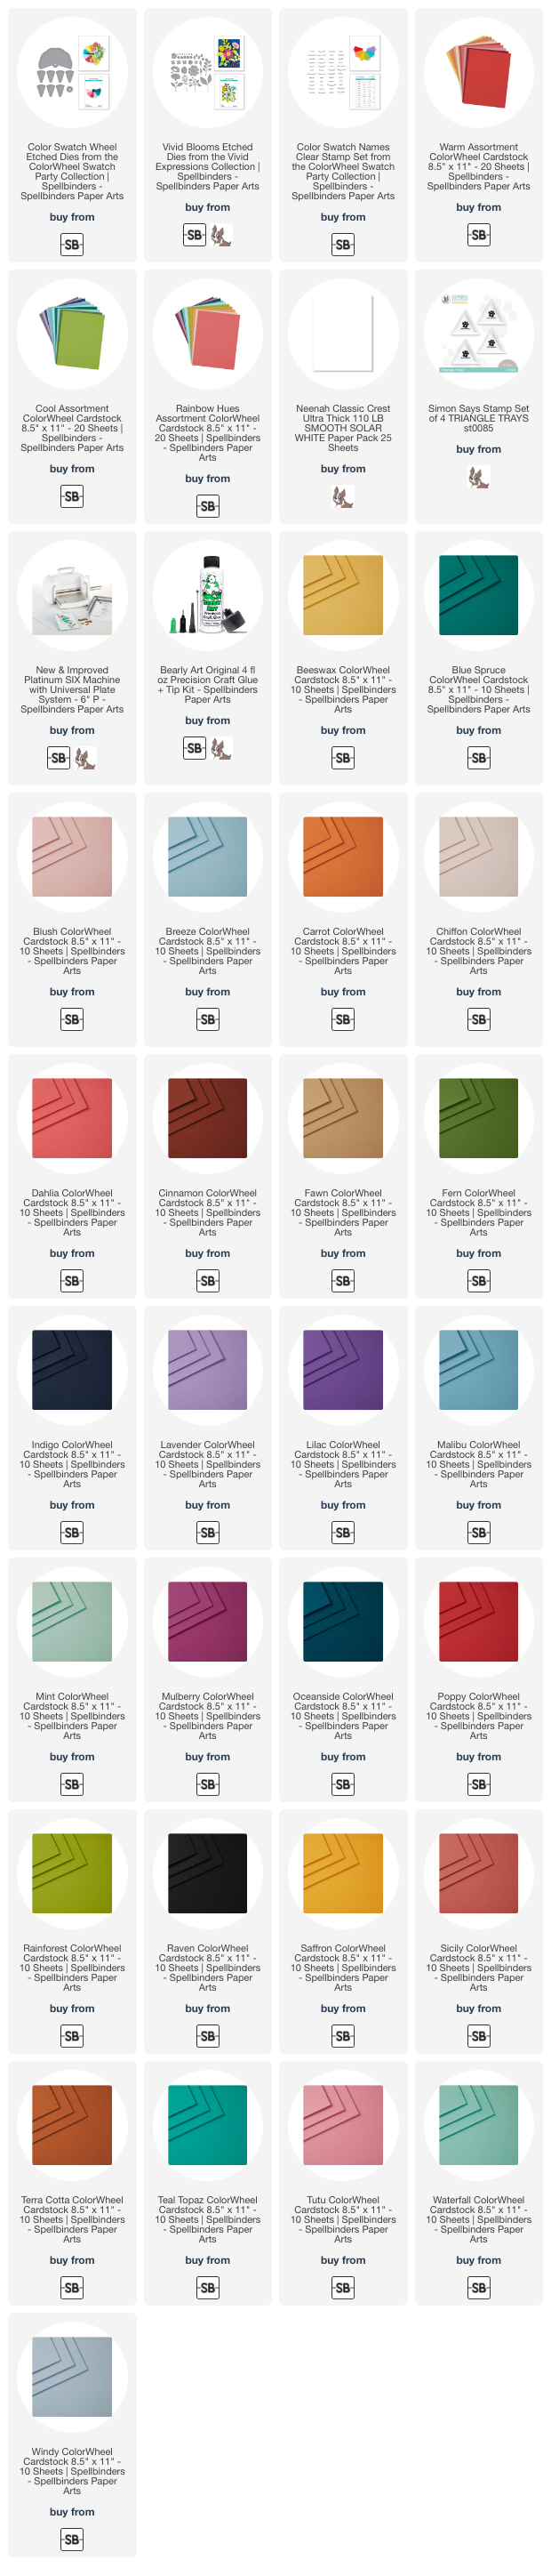
NOTE: all supplies are linked to multiple sources in the thumbnails at the end of this blog post.

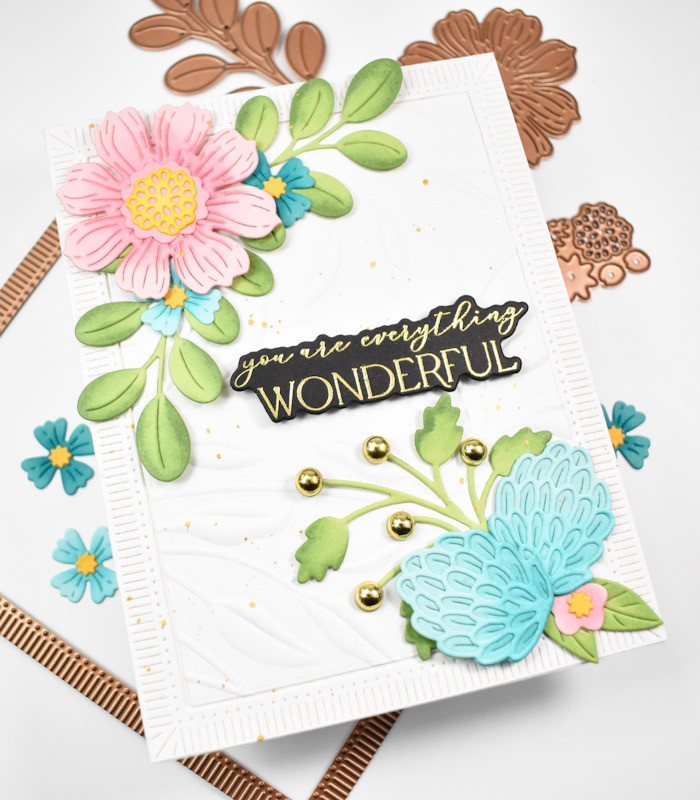
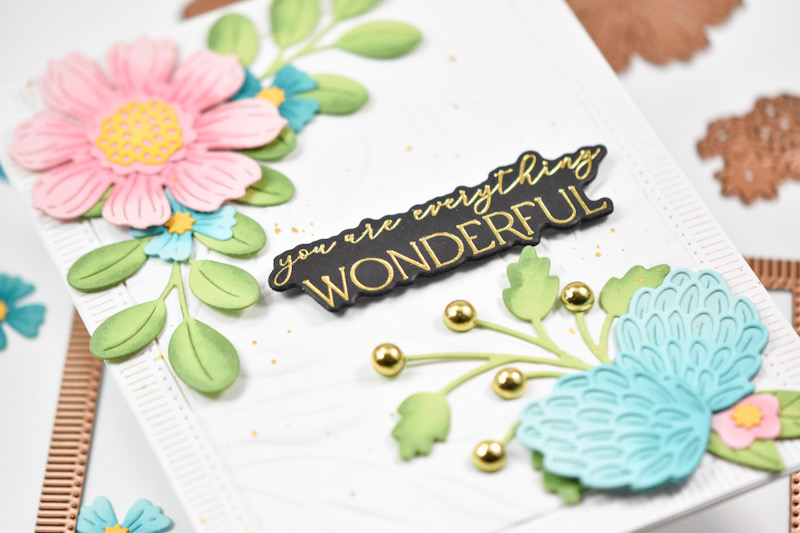
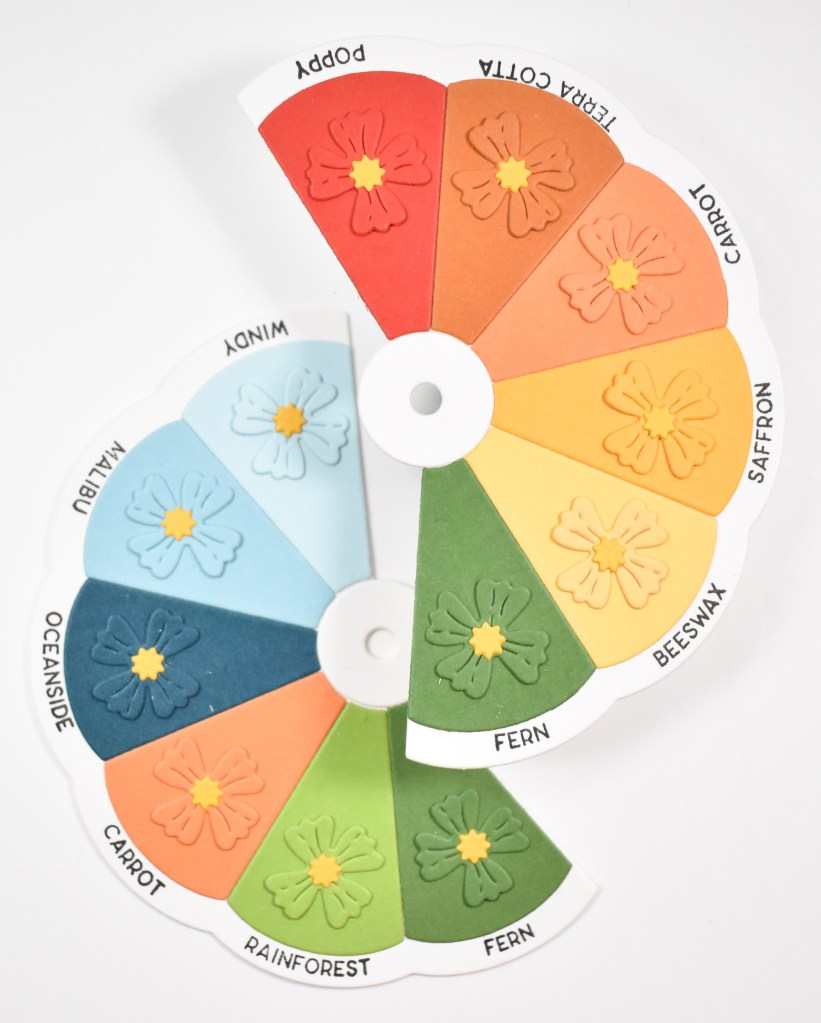
I took my color inspirations from the Color Cubes and matched the new Spellbinders cardstock colors to those, or as close as I could get them. I did add a die cut flower to each color as well, to give a little more detail. I hope you find some unique combinations that you might enjoy working with.

- Tutu
- Blush
- Mint
- Waterfall
- Beeswax
- Windy
- Orchid
- Tutu
- Chiffon
- Beeswax
- Carrot
- Poppy

- Mulberry
- Violet
- Lavender
- Lilac
- Indigo
- Raven
- Merlot
- Terra Cotta
- Beeswax
- Breeze
- Lilac
- Lavender
- Fern
- Beeswax
- Saffron
- Carrot
- Terra Cotta
- Poppy
- Fern
- Rainforest
- Carrot
- Oceanside
- Malibu
- Windy
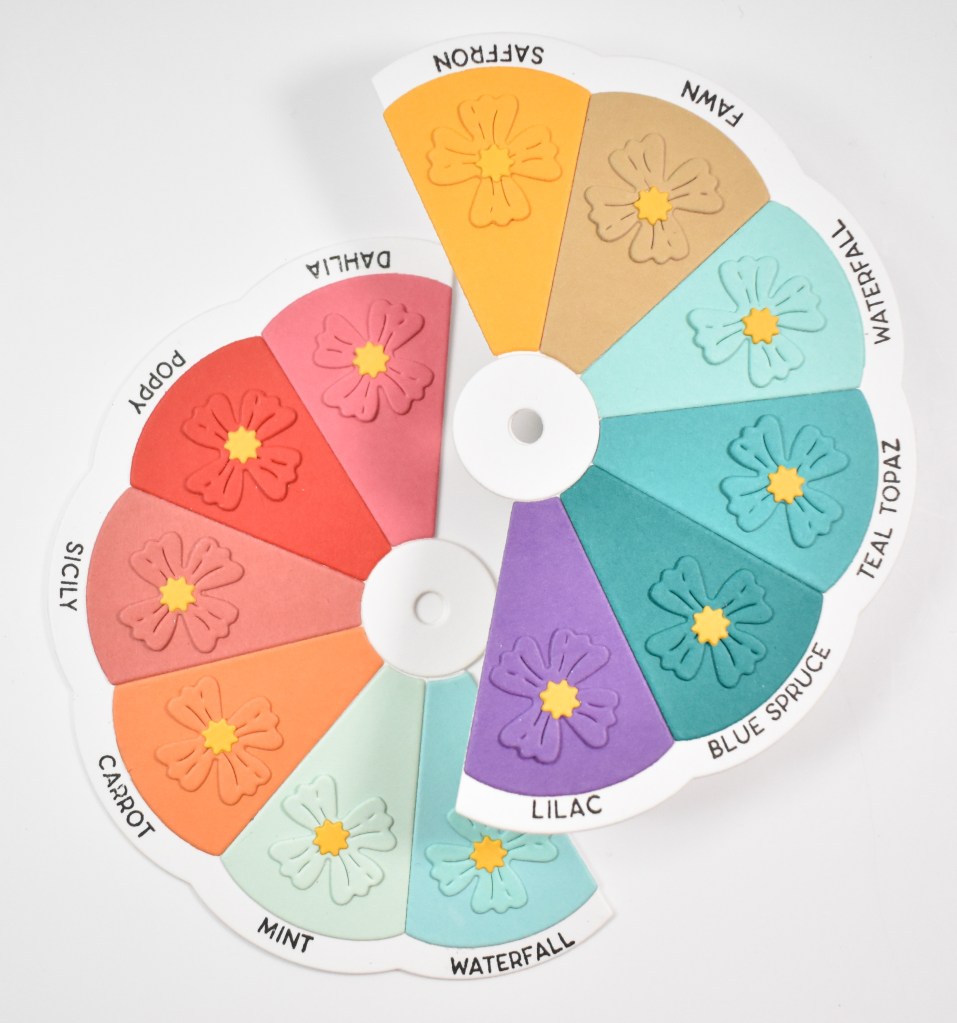
- Lilac
- Blue Spruce
- Teal Topaz
- Waterfall
- Fawn
- Saffron
- Waterfall
- Mint
- Carrot
- Sicily
- Poppy
- Dahlia

- Oceanside
- Teal Topaz
- Waterfall
- Mint
- Terra Cotta
- Cinnamon
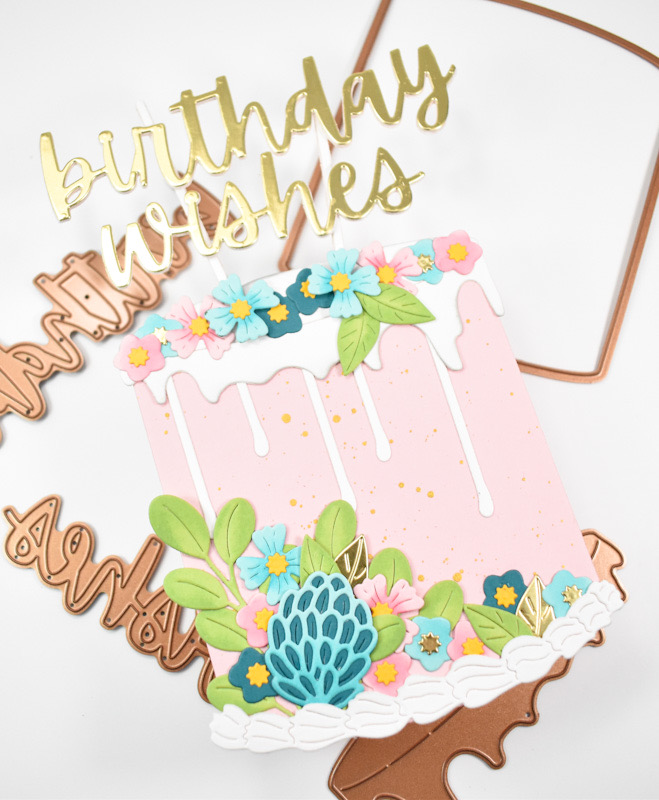
I could have made hundreds of combinations, but I got nine made. I was limited with my cardstock, so I made the best of it! If you haven’t used the Color Cubes, I highly recommend them! I do find myself getting stuck with colors sometimes, and it’s so helpful to just thumb through the cards to find a new combo that interests me. I’ve provided links to the colors that I used, along with some sampler packs. There are packs that include all of the colors as well, but at the time that this was written, those were out of stock and I was unable to provide a link to that.
That does it for this project! Like I said, I hope this post inspires you to try some new color combos, and to try the new cardstock colors from Spellbinders. Stay tuned for a shaped card using these dies! Thanks again for stopping by, and I hope you have a wonderful day!
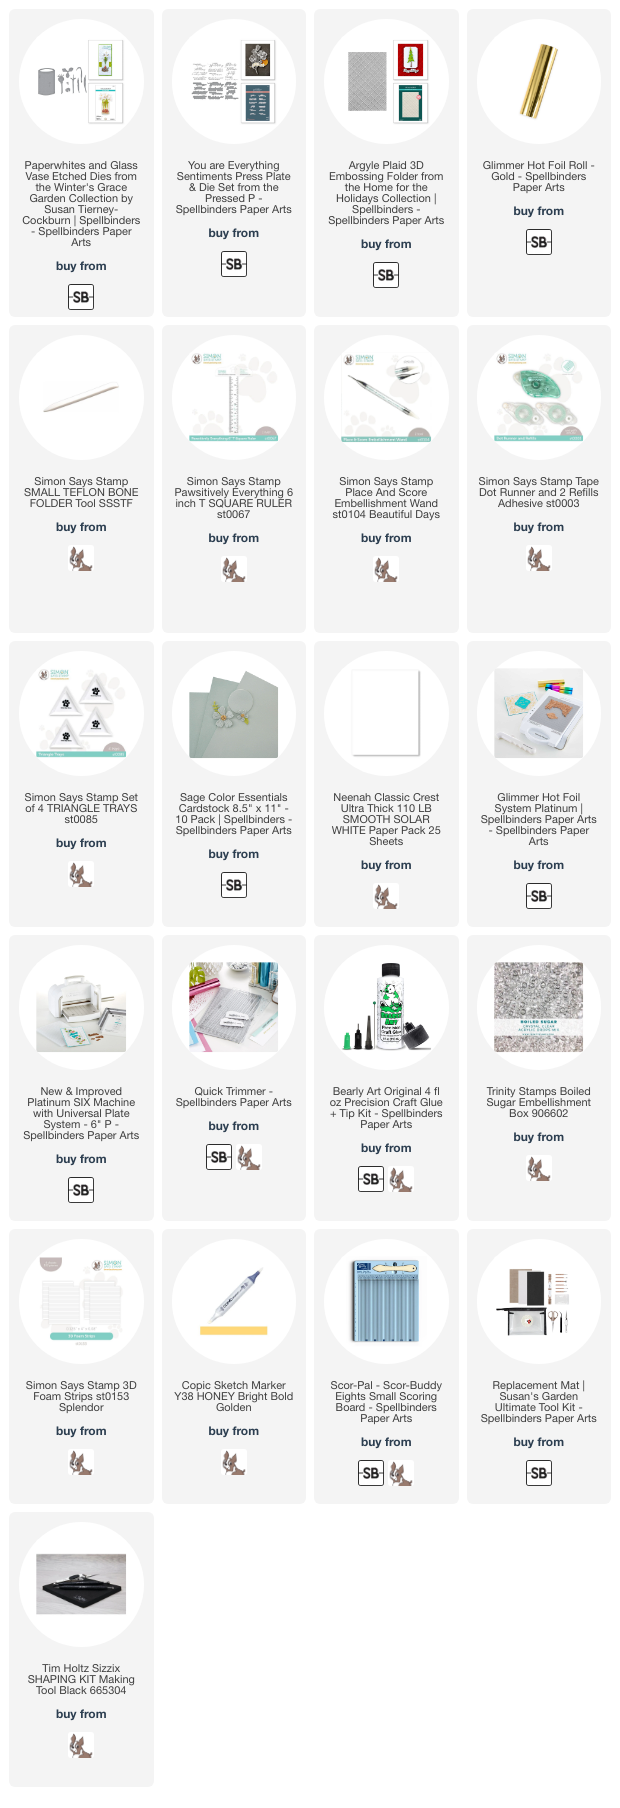
Supply List
Affiliate links used at no cost to you. What does this mean? If you use the links within this post to make a purchase, I receive a small commission, which allows me to continue to post crafty content for your enjoyment. I truly appreciate your support!
Latest Posts
- Simon Says Stamp Braided Greetings

- Together By Design Color Cube Floral

- Simon Says Stamp Cute Duckling

- Simon Says Stamp Watercolor Wild Rose

- Simon Says Stamp Striped Missing You

Latest Instagram Posts