PinkFresh Studio May Challenge – Flower Power

Hello Crafty Friends, and welcome back to my blog! I rarely participate in challenges, but decided that I would give the PFS May Challenge a go. The theme is Flower Power, and flowers are always up my alley, so why not?! Let’s run through the details, shall we?

Main Products:
- PFS Simplest Gestures Foil Plate, Die, Stencils
- PFS Wonderful Sentiment Foil Plate, Dies
- PFS Floral and Diamond Tiles Coverplate

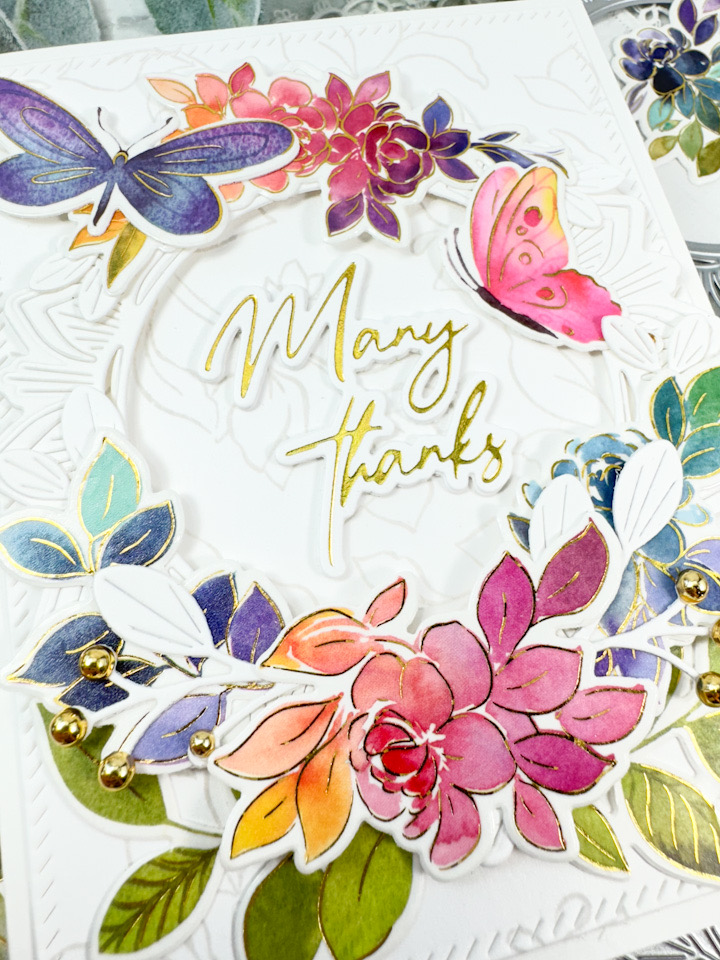
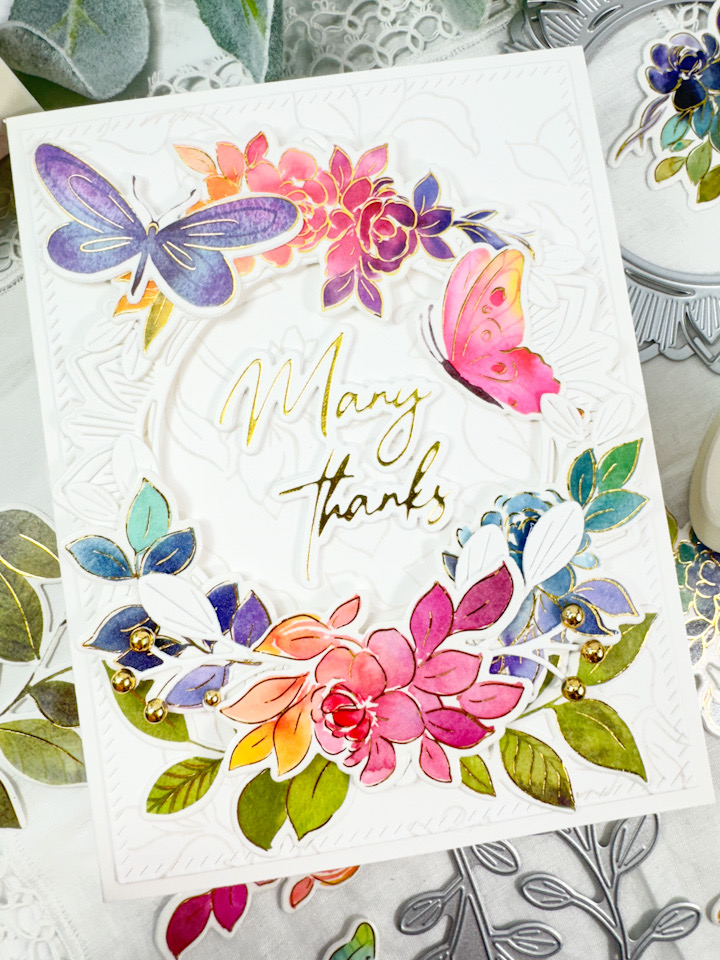
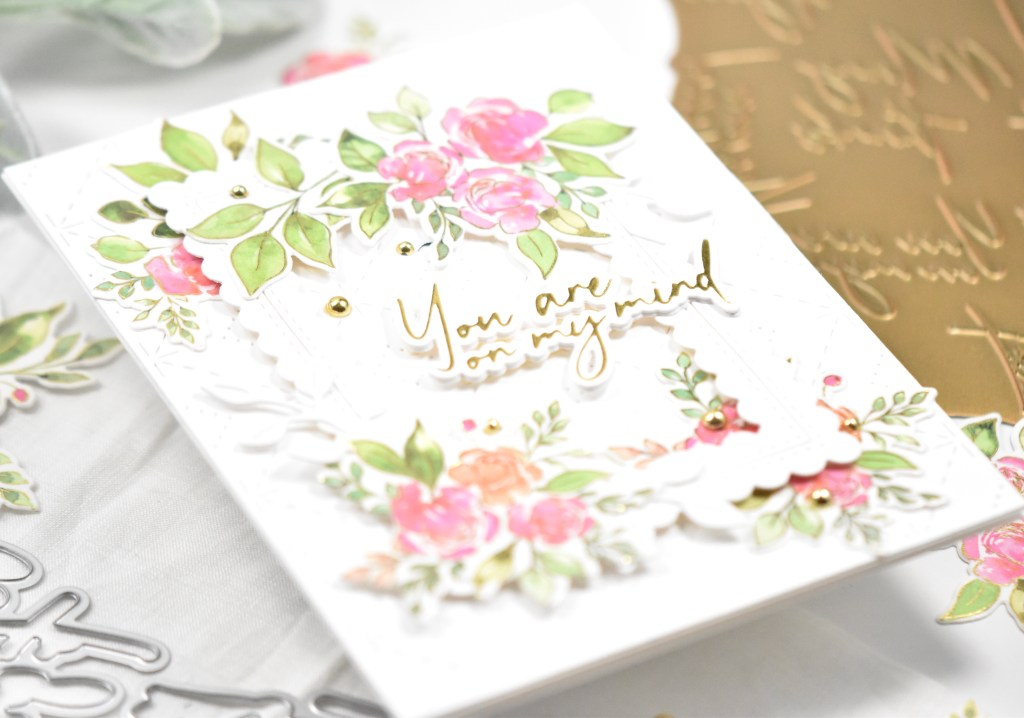
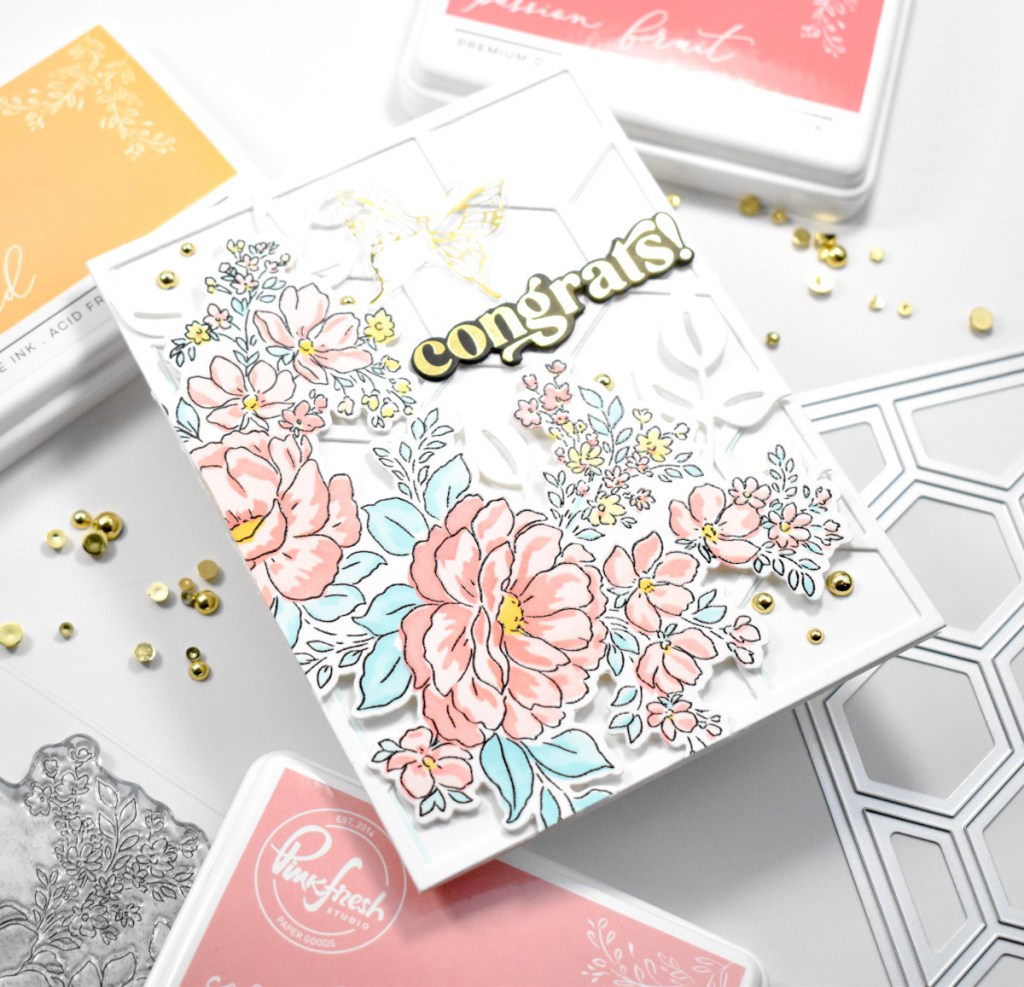
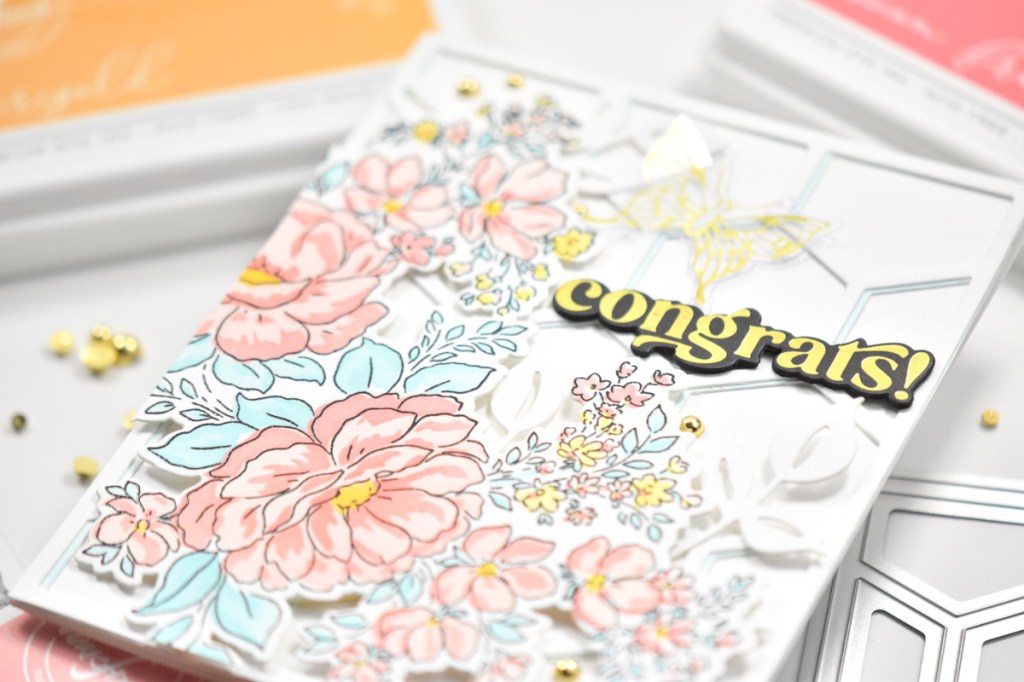
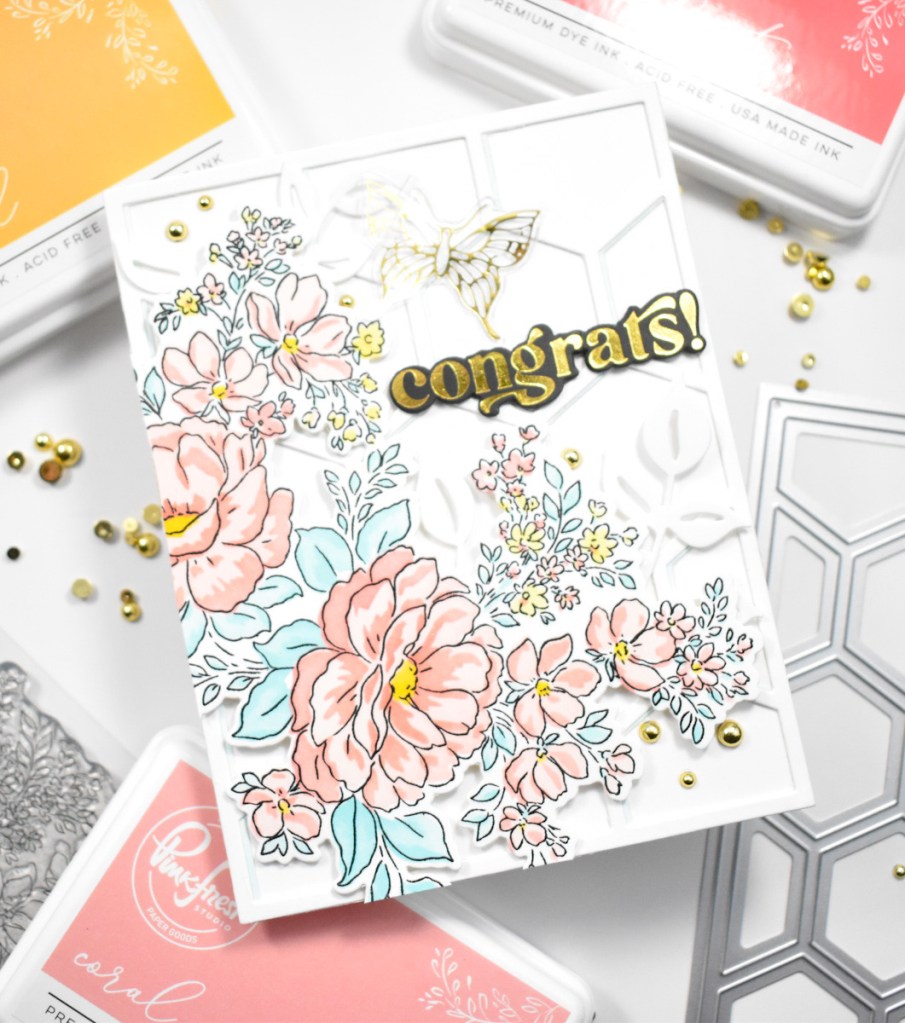
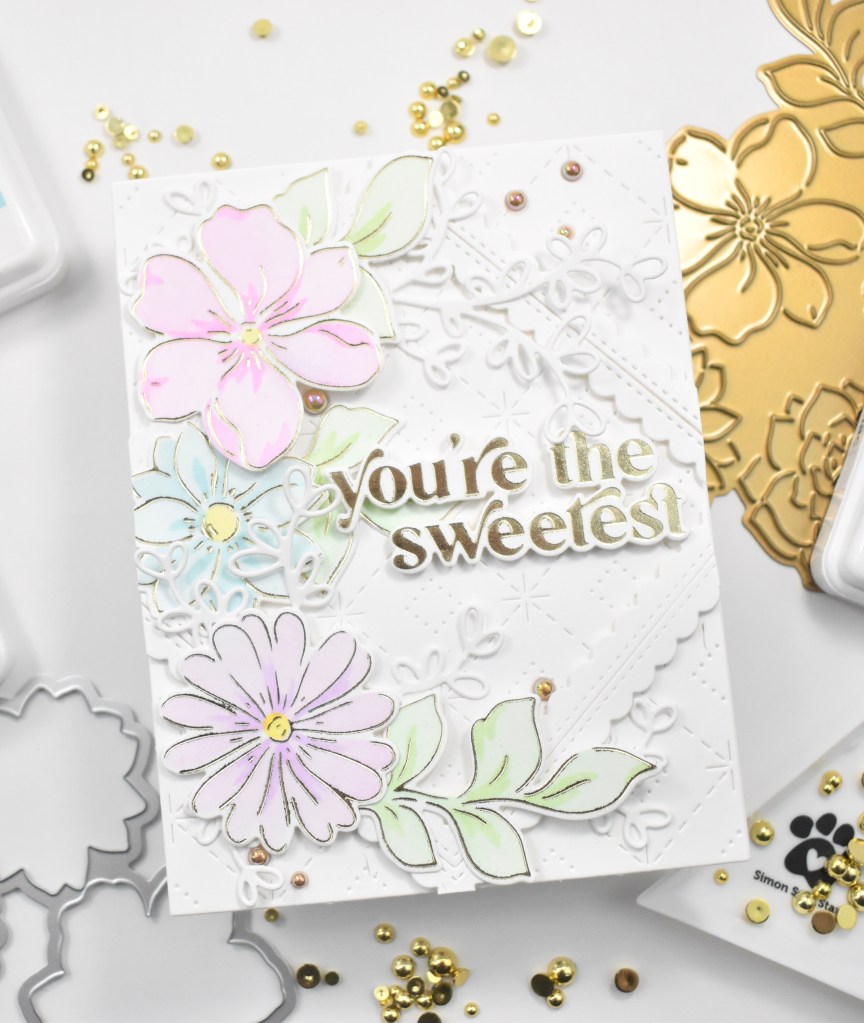
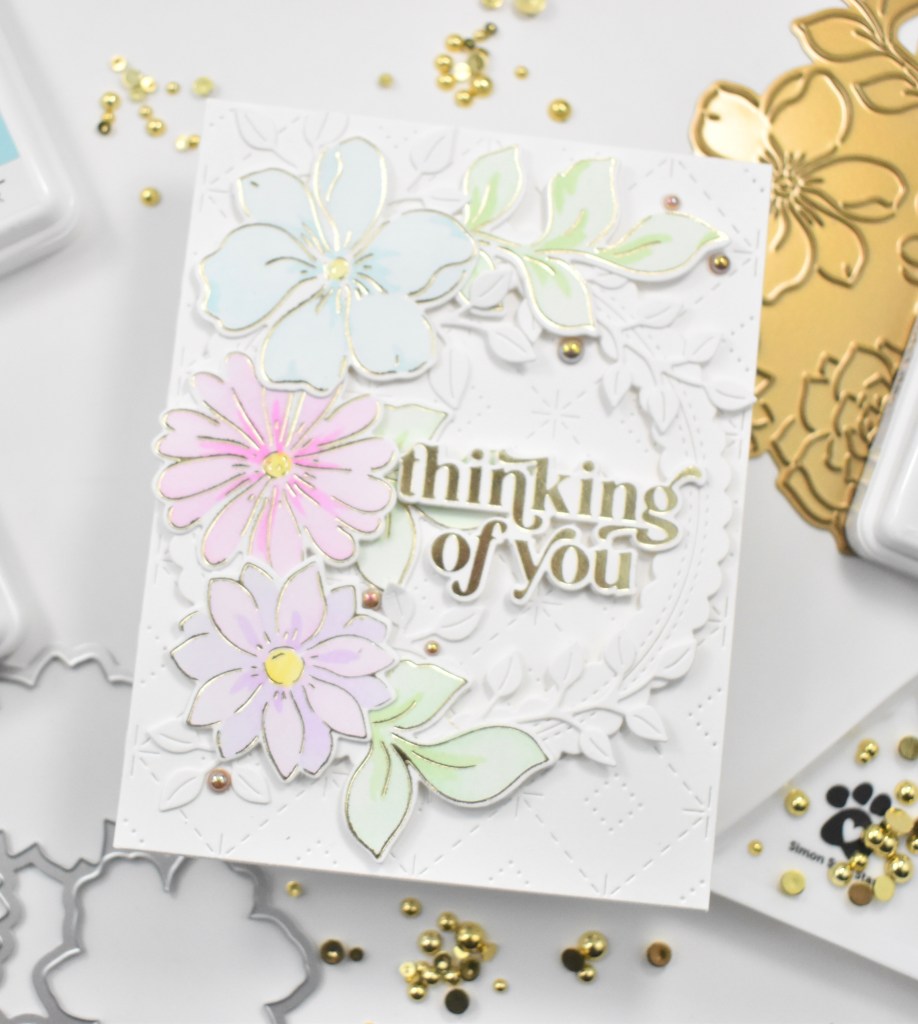
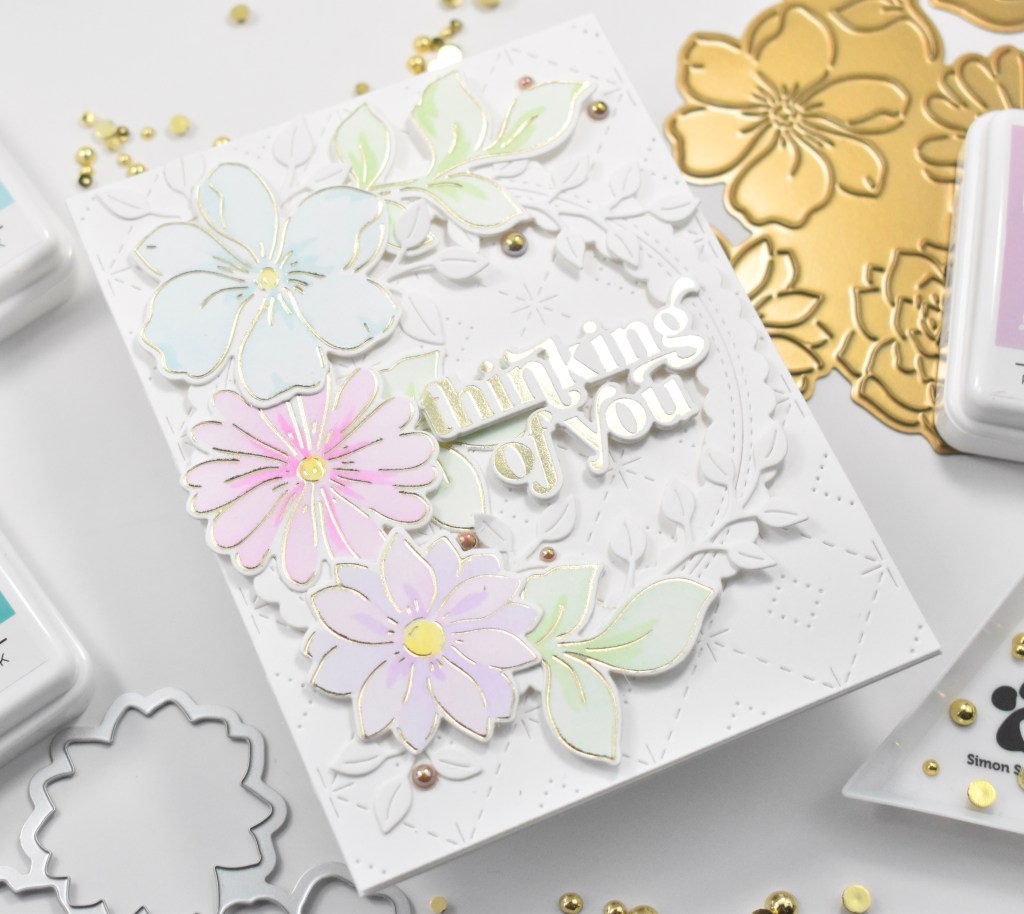
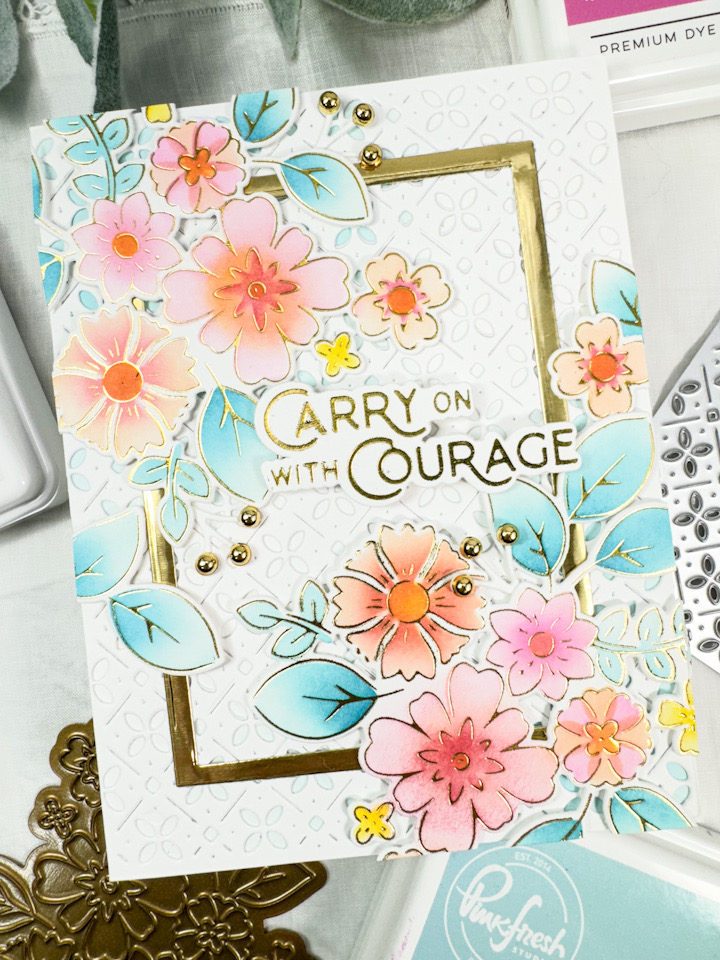
I began this project by foiling the PFS Simplest Gestures florals onto a panel of Neenah 110lb cardstock, using gold foil. I then used the coordinating stencils to do some ink blending using PFS inks in Bubble Gum, Sunkissed, Citron, Ocean Breeze and Atlantis. Once all of the ink blending was complete, I used the coordinating die to trim them out.

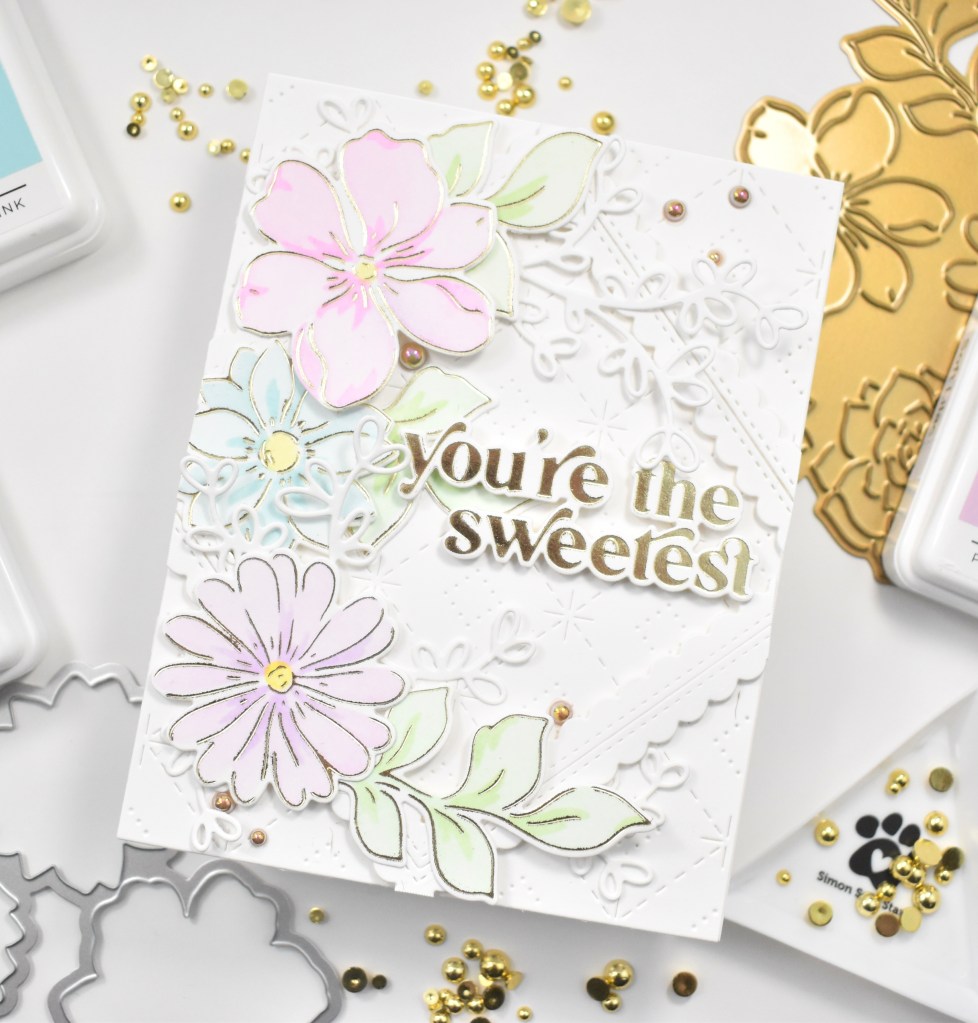
I went back to foiling for the sentiment using the PFS Wonderful Sentiment Foil Plate and coordinating die. I cut three and adhered all of the together using liquid glue for a stacked sentiment. Now to pull everything together! I did some light ink blending on my card base using leftover ink on the blending brush and glued the PFS Floral and Diamond Tiles panel atop that.
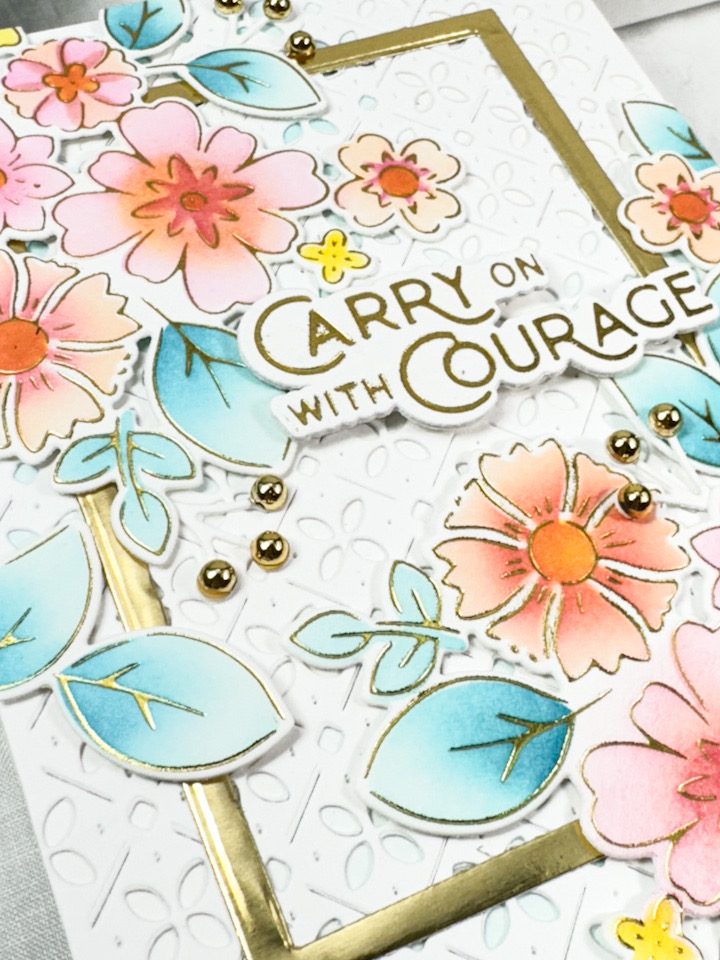
The card was needing a little something else, so I added a gold frame using the SSS A2 Thin Frames, and then adhered the florals using SSS Foam Squares. The sentiment was adhered amongst the flowers using SSS 3D Foam Strips for a little added dimension. I also used the SSS Budding Branches and cut a few of the ‘buds’, glued those in place and added some PFS Gold Metallic Pearls. I did trim off the excess flowers and added a few back in around the edges of the card to finish up.
That does it for this project! I hope you enjoyed it, and I hope it inspires you to get crafty in your space! Thanks again for joining me, and don’t forget to stay awesome!
Other Products:
- PFS Inks: Bubble Gum, Sunkissed, Citron, Ocean Breeze, Atlantis
- PFS Gold Metallic Pearls
- PFS Blending Brushes
- SSS Budding Branches
- SSS A2 Thin Frames
- SSS Foam Squares
- SSS 3D Foam Strips
- SSS Place and Score Embellishment Wand
- SSS Triangle Trays
- SSS Bone Folder
- SSS Blender Brushes
- Neenah Classic Crest Solar White 110lb Cardstock
- Gold Cardstock
- Bearly Art Glue
- Scor-Buddy
- Tim Holtz Scissors
- Spellbinders Glimmer Hot Foil System
- Spellbinders Gold Foil
- Spellbinders Platinum 6
* Affiliate links used at no cost to you. Thanks so much for your support!
Latest Posts
- Simon Says Stamp Happy Mail

- Simon Says Stamp Tattered Florals

- Simon Says Stamp Amazing Floral

- Simon Says Stamp Friendly Butterflies

- Simon Says Stamp Graceful Hugs