Simon Says Stamp Snowy Warm Hugs

Hello Crafty Friends and welcome back! Today I’m featuring the new Simon Says Stamp Exclusive die cut from Tim Holtz, Be of Good Cheer! What a fun little set to play with, AND it’s free with any $25 Tim Holtz branded purchase! Hurry though, this offer is only while supplies last! I created a few projects with this set, so let’s go ahead and go through the first one.

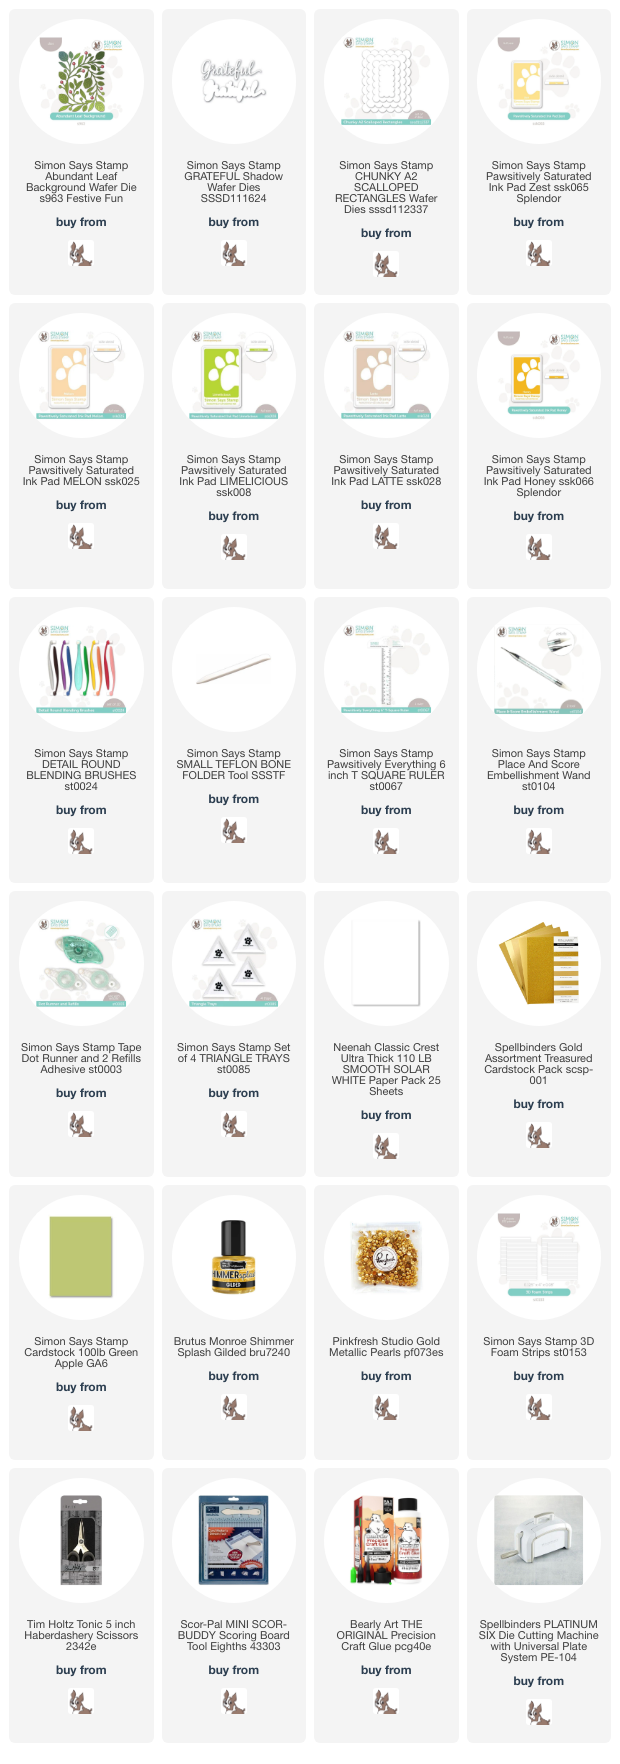
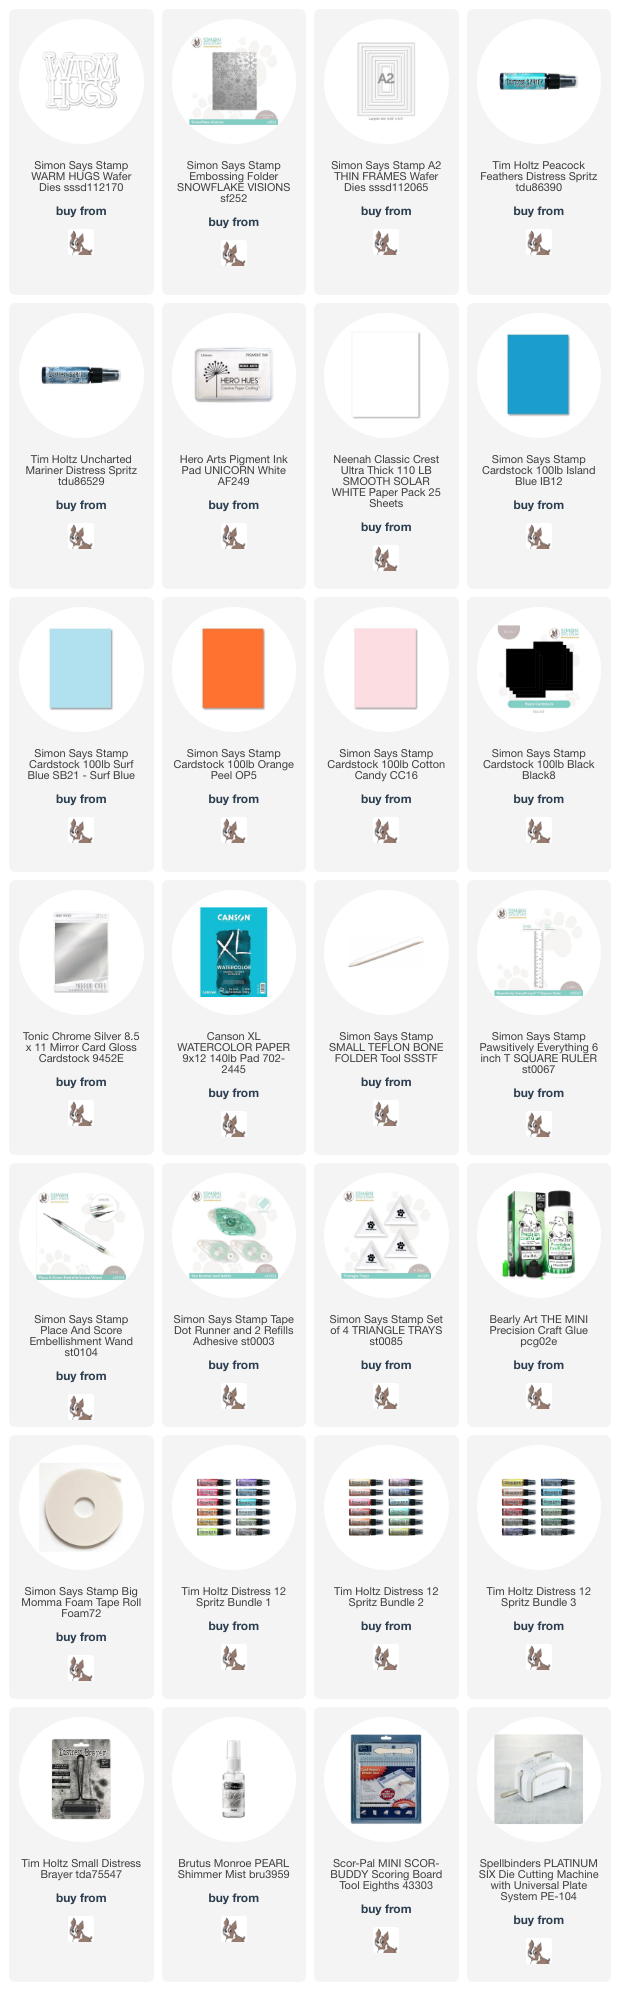
NOTE: all supplies are linked in the thumbnails at the end of this blog post.

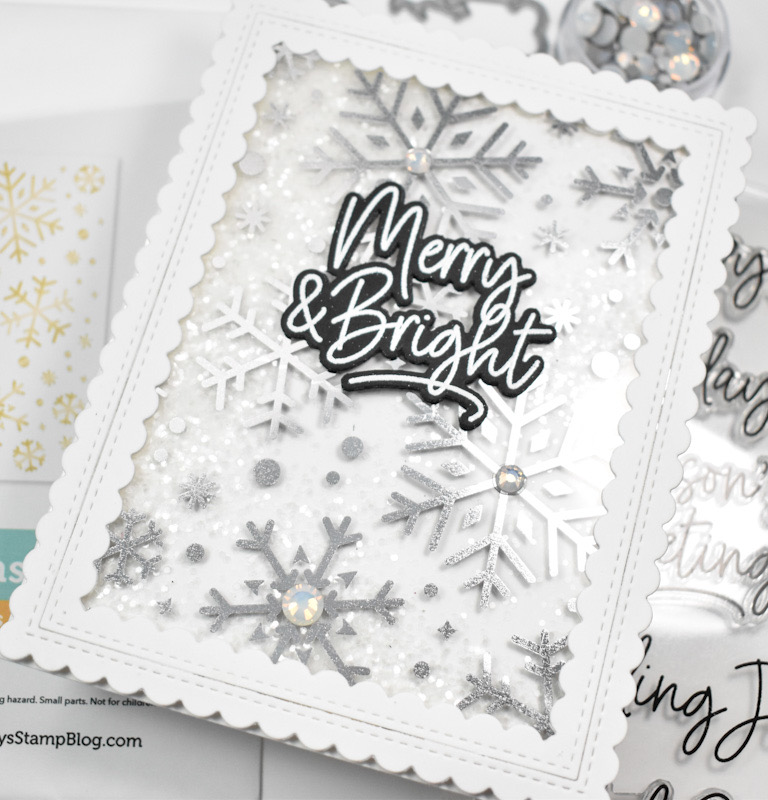
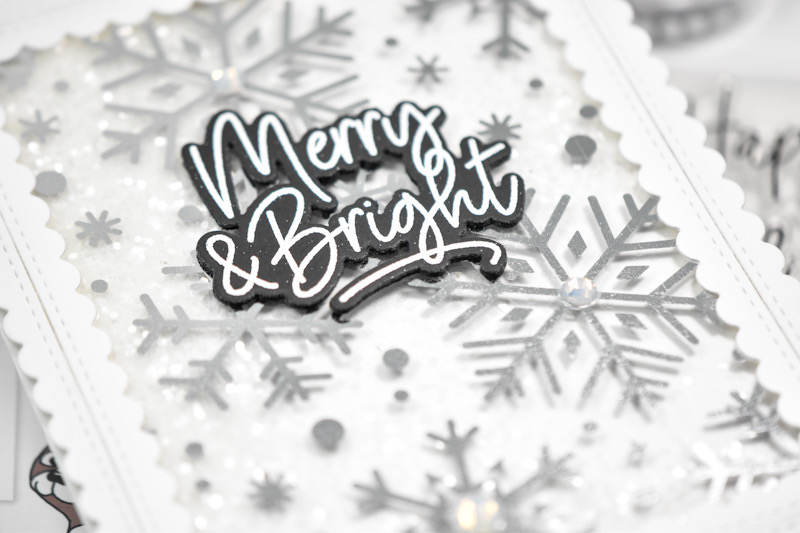
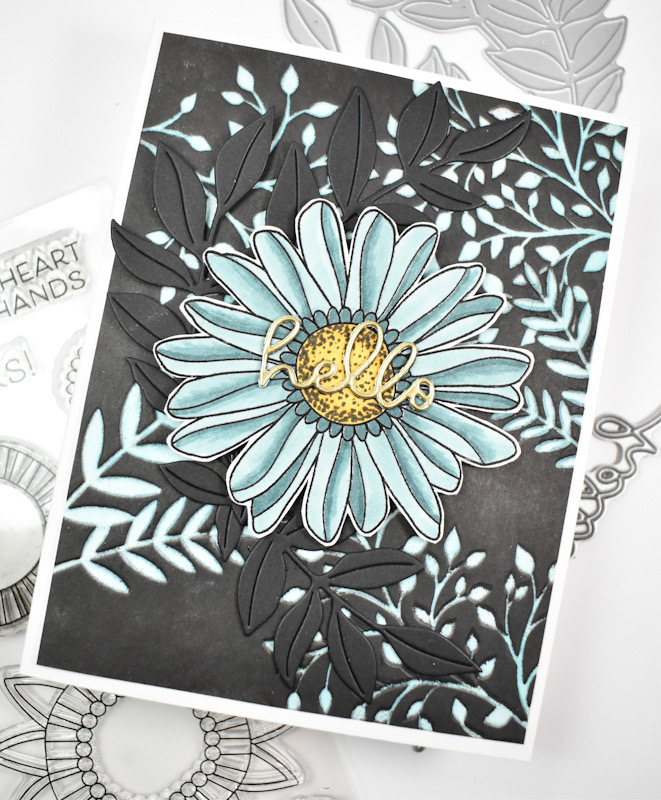
I began this project by embossing a panel of watercolor paper using the Snowflake Visions Embossing Folder. I used watercolor paper because I knew that I was going to be adding moisture, and I wanted a paper that good withstand that. I added some TH Distress Spritz in Uncharted Mariner and let that dry some before adding some Peacock Feathers Spritz. When that was dry, I used a brayer and white ink to roll over the raised portions of the panel to brighten it back up. I wasn’t done there .. I also added some white splatter to the panel as well.
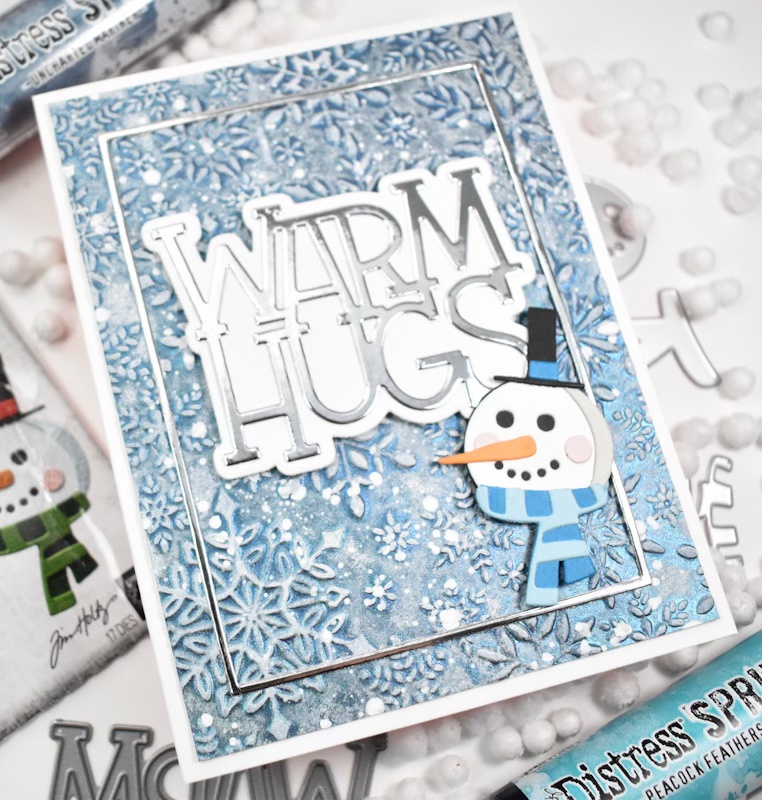
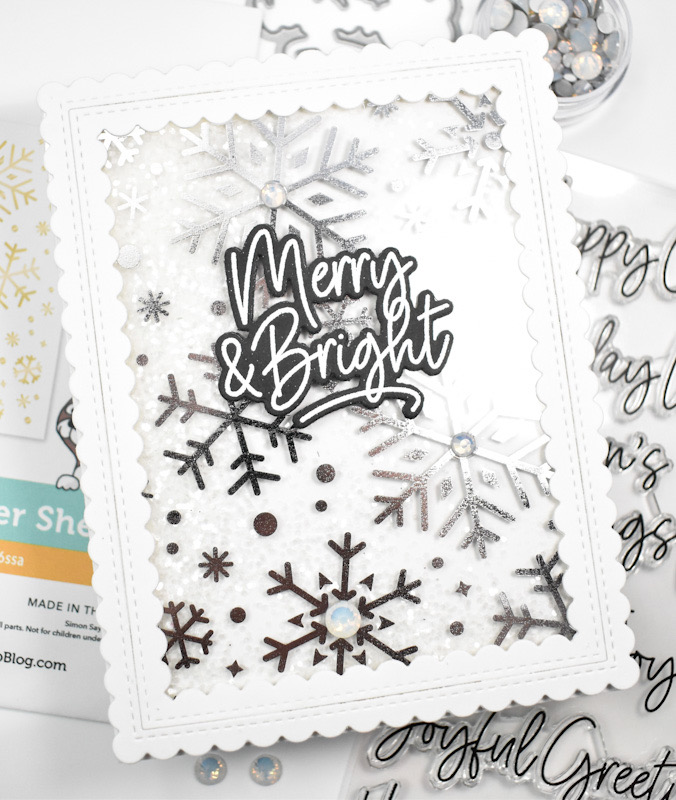
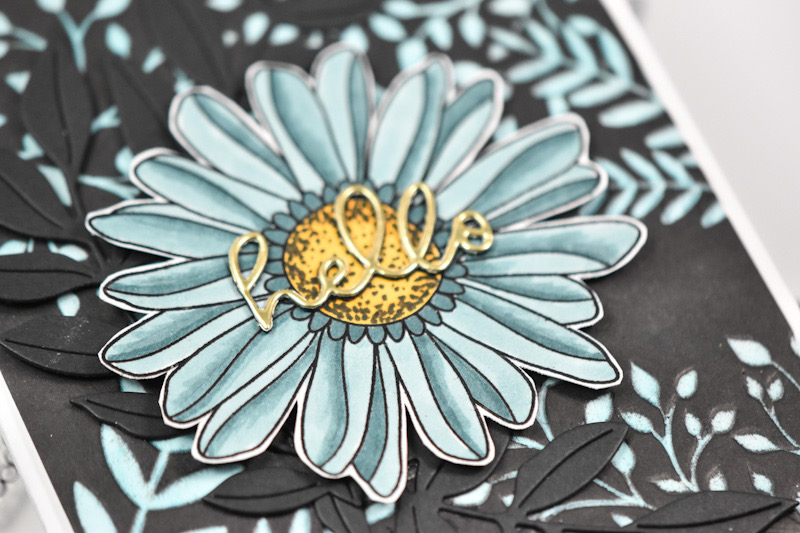
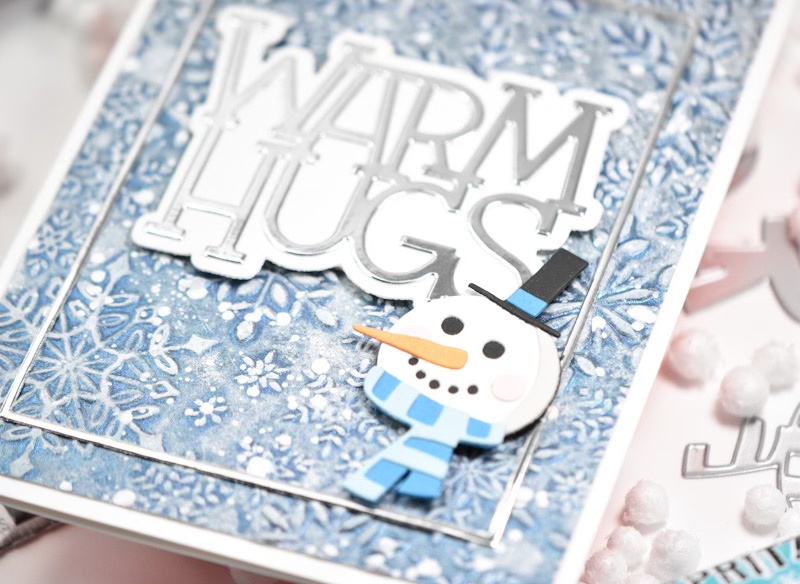
I set that aside to dry while I worked on the snowman. The snowman is several pieces so I cut the coordinating pieces from Neenah, black, blues, grey, orange and pink. Once those were all cut, I assembled the snowman using liquid glue. I also cut a silver frame using the SSS A2 Thin Frames set, and the Warm Hugs was also cut from silver cardstock as well. I did two additional cuts from Neenah and cut the shadow twice from Neenah and glued all of those pieces together for that stacked sentiment look.

The silver frame was glued to the panel, while the sentiment and the snowman were adhered using foam tape before being adhered to the card base.
That finishes up this project! I hope you enjoyed it! Don’t forget to check out the entire DieCember release, including this cutie set from Tim Holtz. Thanks again for joining me, and I hope you have a wonderful day!

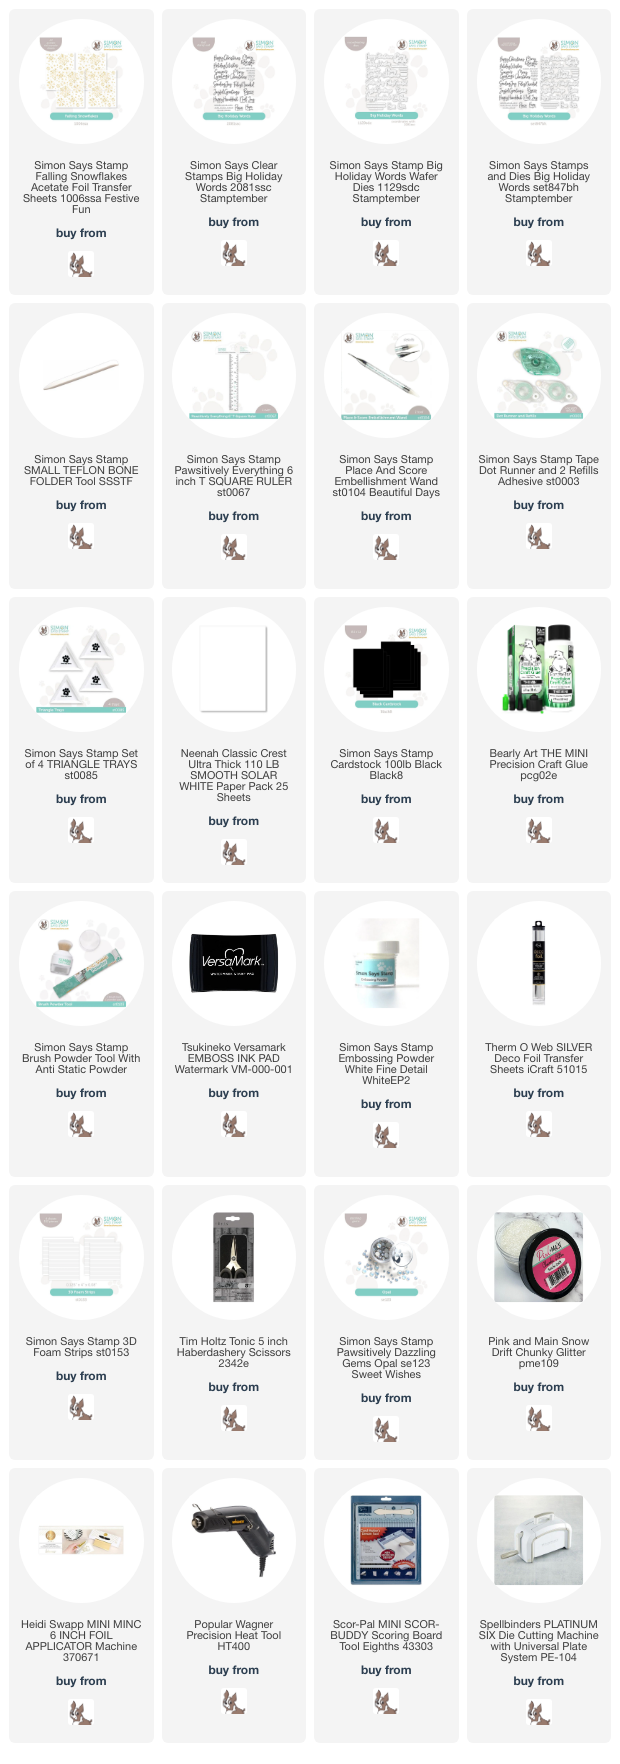
Supply List
Affiliate links used at no cost to you. What does this mean? If you use the links within this post to make a purchase, I receive a small commission, which allows me to continue to post crafty content for your enjoyment. I truly appreciate your support!
Latest Posts
- Spellbinders Trailside Birthday Raccoon

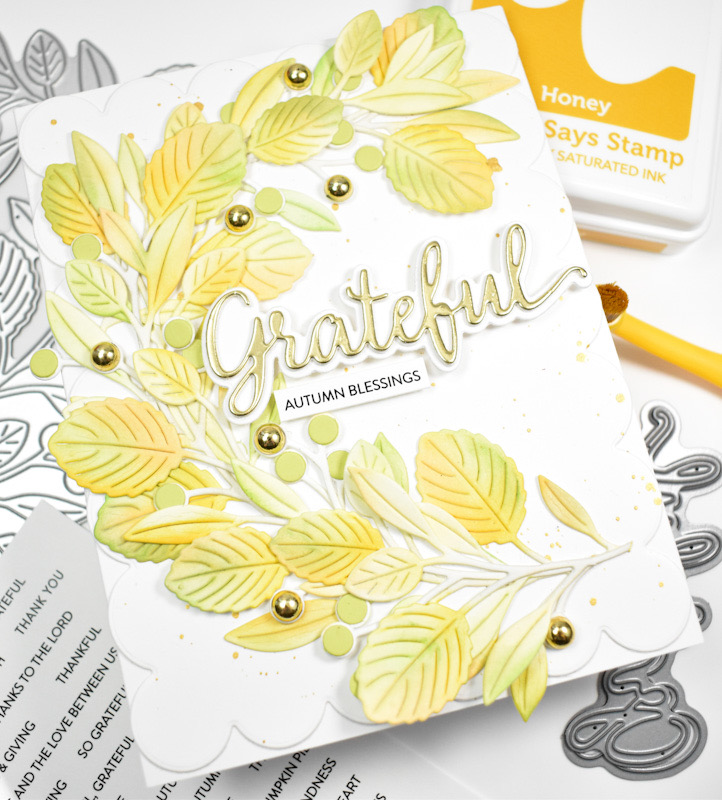
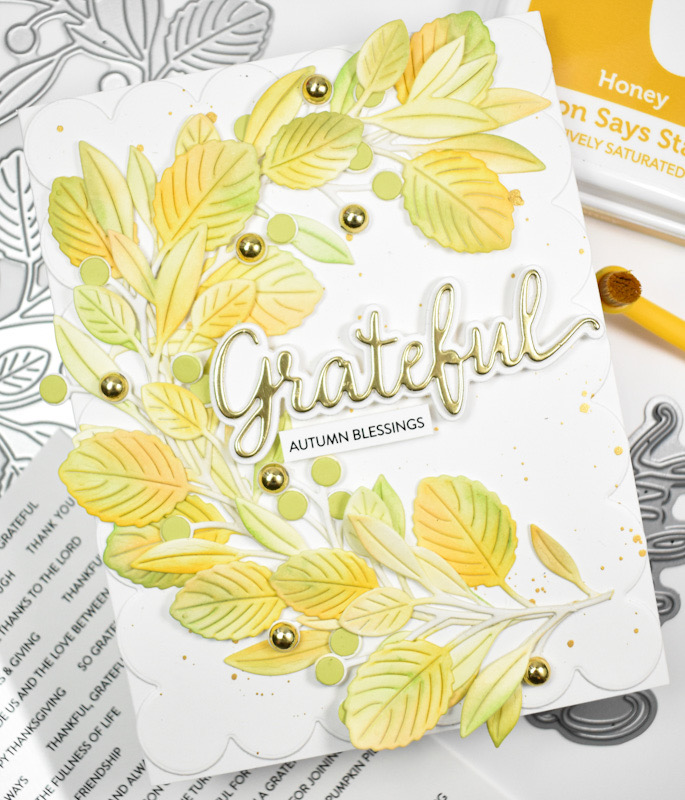
- Simon Says Stamp Grateful Heart

- Simon Says Stamp Braided Greetings

- Together By Design Color Cube Floral

- Simon Says Stamp Cute Duckling