Simon Says Stamp Mother’s Leafy Cluster

Hello and welcome back crafty friends! I’m so glad that you stopped by to take a look at today’s project featuring the new Mother die from Simon’s latest release, Be Bold. Let’s go ahead and run through the deets for this one, shall we?

Main Products:
- SSS Mother
- SSS Leafy Cluster Stamp, Die, Stencil, Bundle
- SSS Etched Meadow Flower and Leaves
- SSS Flower Bundle
- SSS A2 Thin Frames
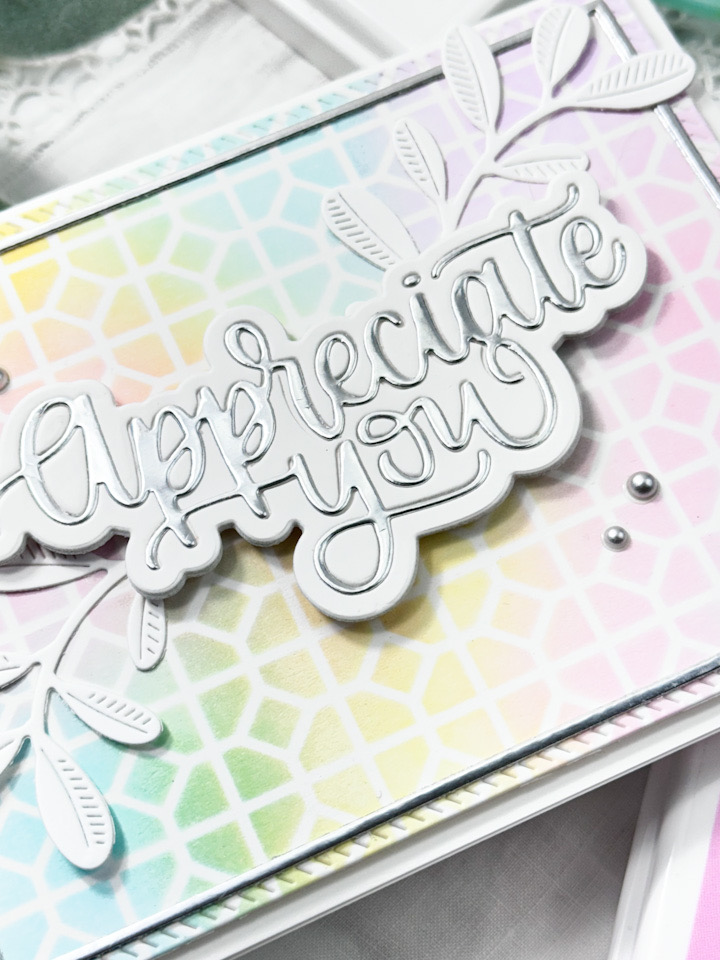
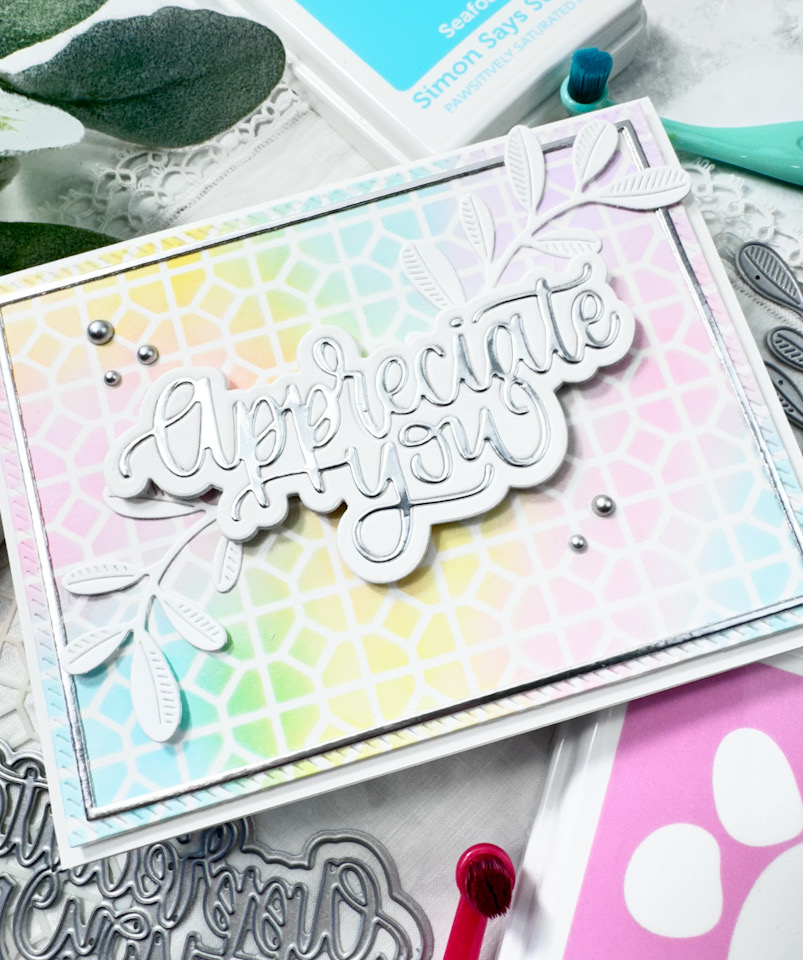
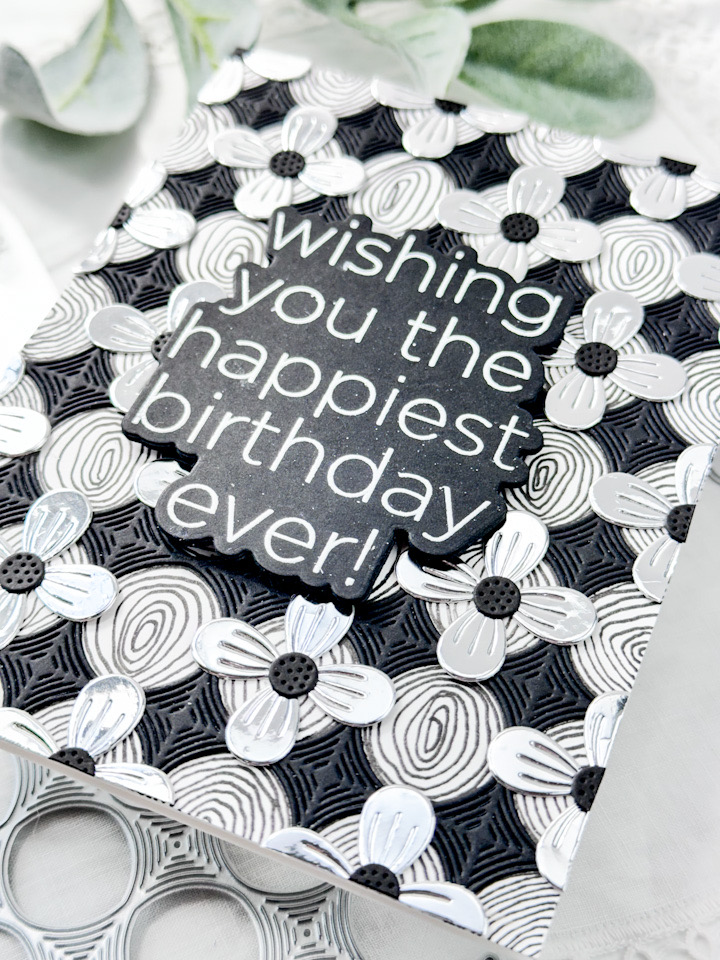
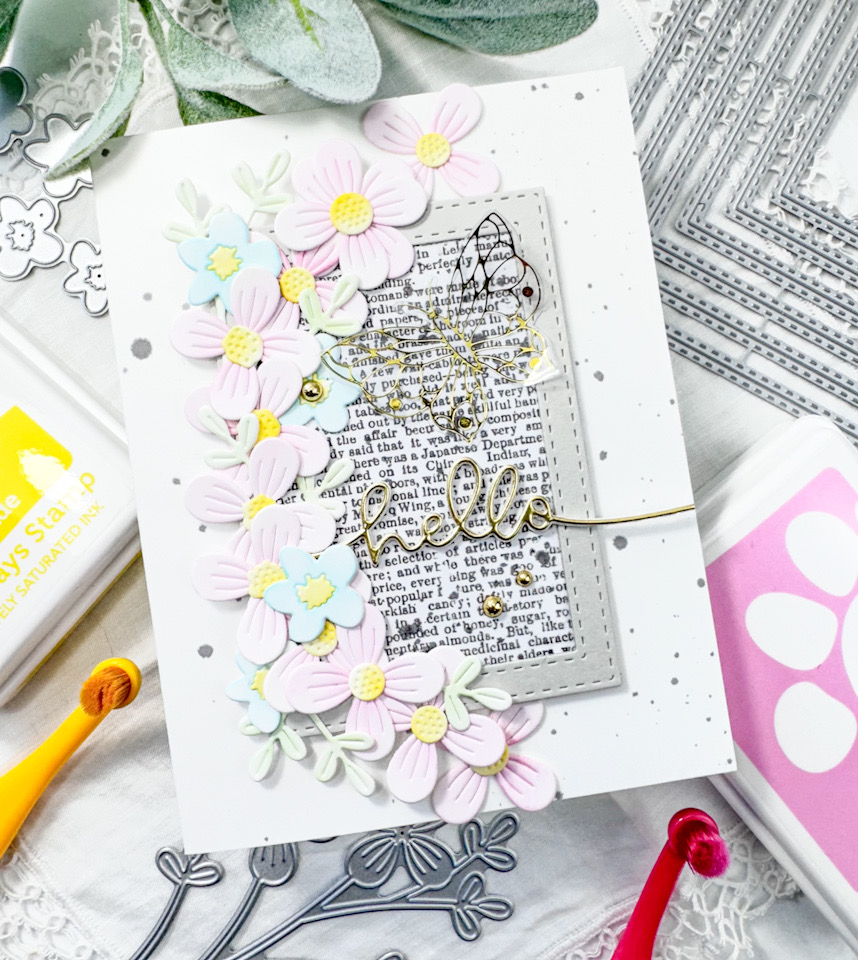
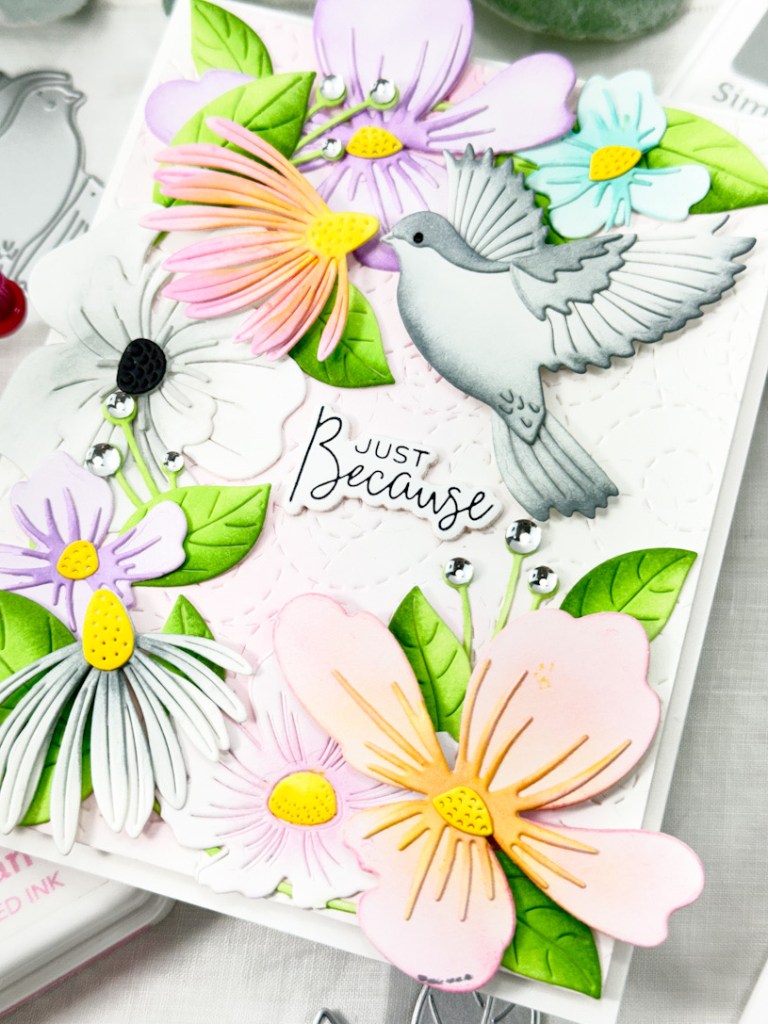
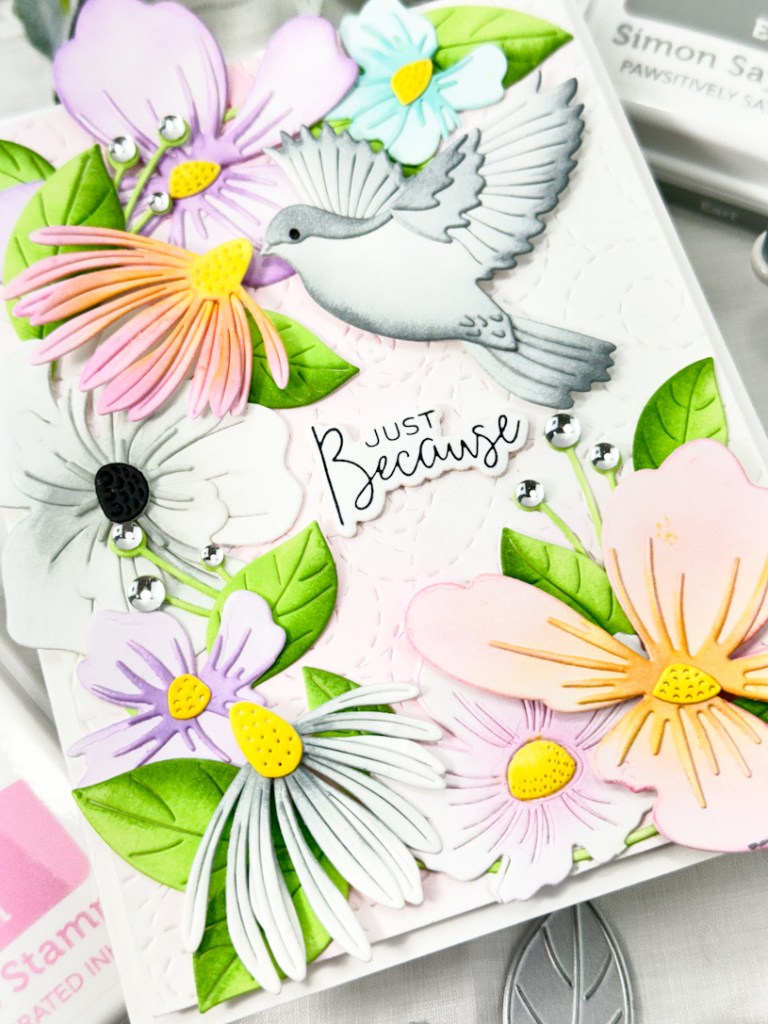
I began this card by selecting a color combo from The Color Cubes and stamping the SSS Leafy Cluster onto a panel of Neenah 110lb cardstock using VersaFine Onyx Black ink and heat setting that with Ranger Clear Embossing Powder. I then used the coordinating stencils to do the ink blending using SSS Pawsitively Saturated Inks in Blush, Petunia and Watermelon, along with Pinkfresh inks in Atlantis and Metropolis. Once the ink blending was complete, I used the coordinating dies to cut them out.

I cut the SSS Mother die once from SSS Matte Silver cardstock and twice from Neenah 110lb cardstock, and I also cut the shadow portion of the die twice and well. All of those pieces were adhered together using liquid glue and set aside while I worked on the remaining elements of the card. I always seem to need more leaves on my cards, so I opted to use the SSS Etched Meadow Flower and Leaves, along with the SSS Flower Bundle and cut some of those using the same matte silver cardstock.

For the background, I used the PFS Diagonal Stitched Rectangles to cut a panel of black cardstock, and splattered it using white acrylic ink. I then used the SSS A2 Thin Frames to cut a frame from the same silver cardstock. Now for the assembly! I glued the silver frame in place, glued the silver leaves in place and then glued the Leafy Clusters in place.

The sentiment was also glued in place. I chose a sub-sentiment from the SSS Reverse Love Sentiments Strips and adhered that using SSS 3D Foam Strips so that it would match the height of the main sentiment. I added a few PFS Matte Silver Pearls before adhering the panel to the card base using foam tape.

That does it for this one! I really like this color combo, and am enjoying The Color Cubes, especially when I get stuck on putting colors together. I hope you enjoyed this project too! Head on over to Simon’s website to check out the entire Be Bold release! I’d love to know your favorites! Thanks again for stopping by, and don’t forget to stay awesome, friend! Have a wonderful day!
Other Products:
- SSS Pawsitively Saturated Inks: Blush, Petunia, Watermelon
- SSS Reverse Love Sentiment Strips
- SSS Matte Silver Cardstock
- SSS Blender Brushes
- SSS Place and Score Embellishment Wand
- SSS Anti-Static Brush Powder Tool
- SSS Triangle Trays
- SSS 3D Foam Strips
- SSS Foam Tape
- SSS Bone Folder
- PFS Diagonal Stitched Rectangles
- PFS Matte Silver Pearls
- PFS Inks: Atlantis, Metropolis
- Neenah Classic Crest Solar White 110lb Cardstock
- Black Cardstock
- VersaFine Onyx Black Ink
- Ranger Clear Embossing Powder
- Wagner Heat Tool
- Bearly Art Glue
- Tim Holtz Scissors
- Scor-Buddy
- Misti
- Spellbinders Platinum 6
- White Acrylic Ink
- The Color Cubes
* Affiliate links used at no cost to you. Thanks so much for your support!
Latest Posts
- Spellbinders Trailside Birthday Raccoon

- Simon Says Stamp Grateful Heart

- Simon Says Stamp Braided Greetings

- Together By Design Color Cube Floral

- Simon Says Stamp Cute Duckling