Simon Says Stamp You’re Amazing

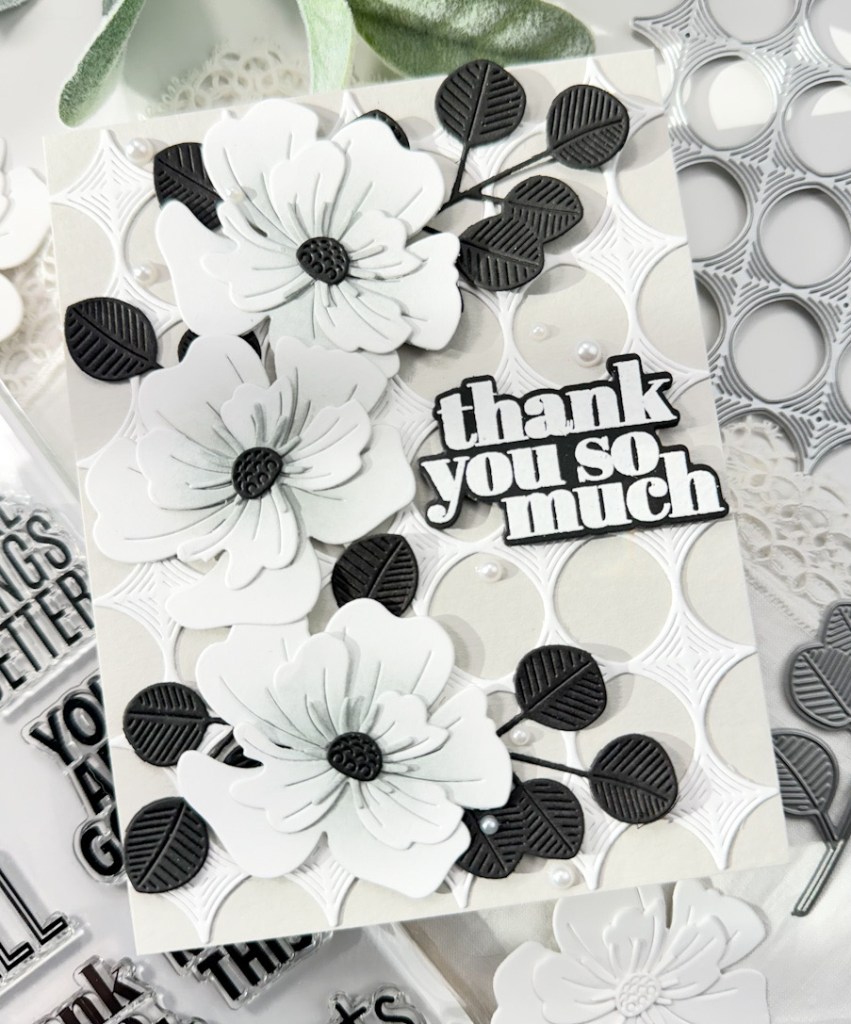
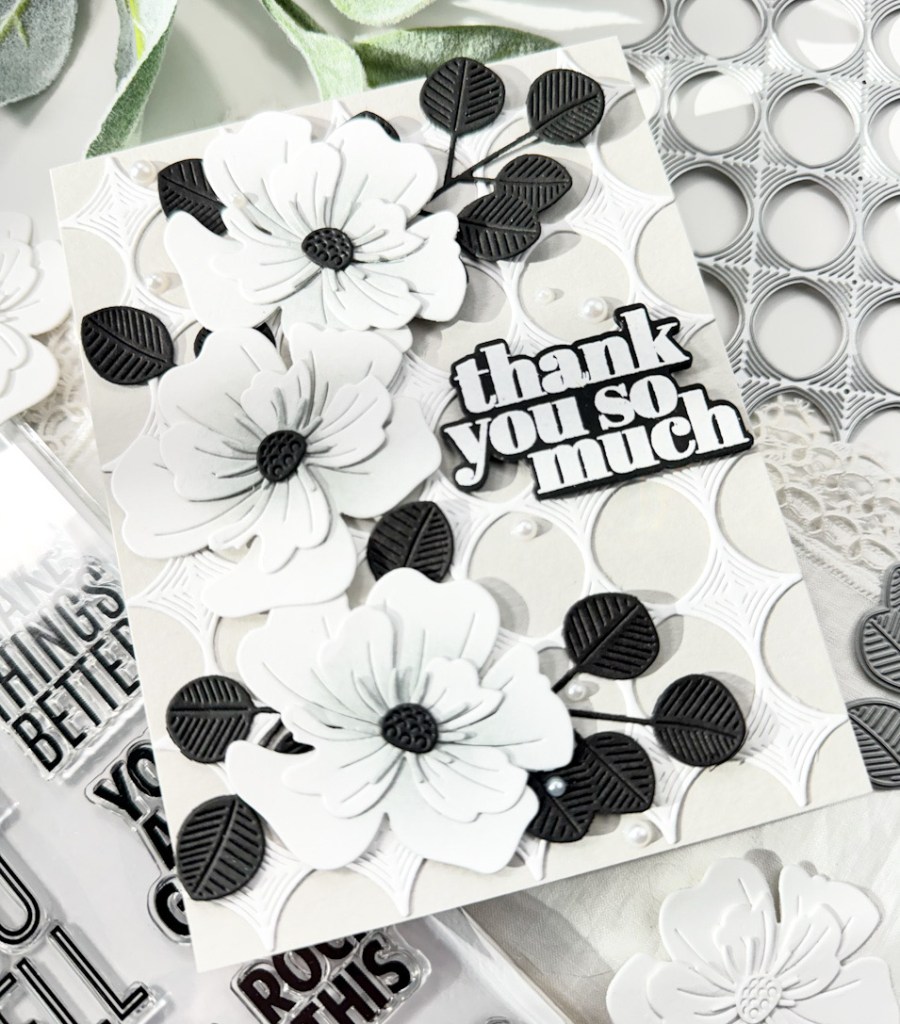
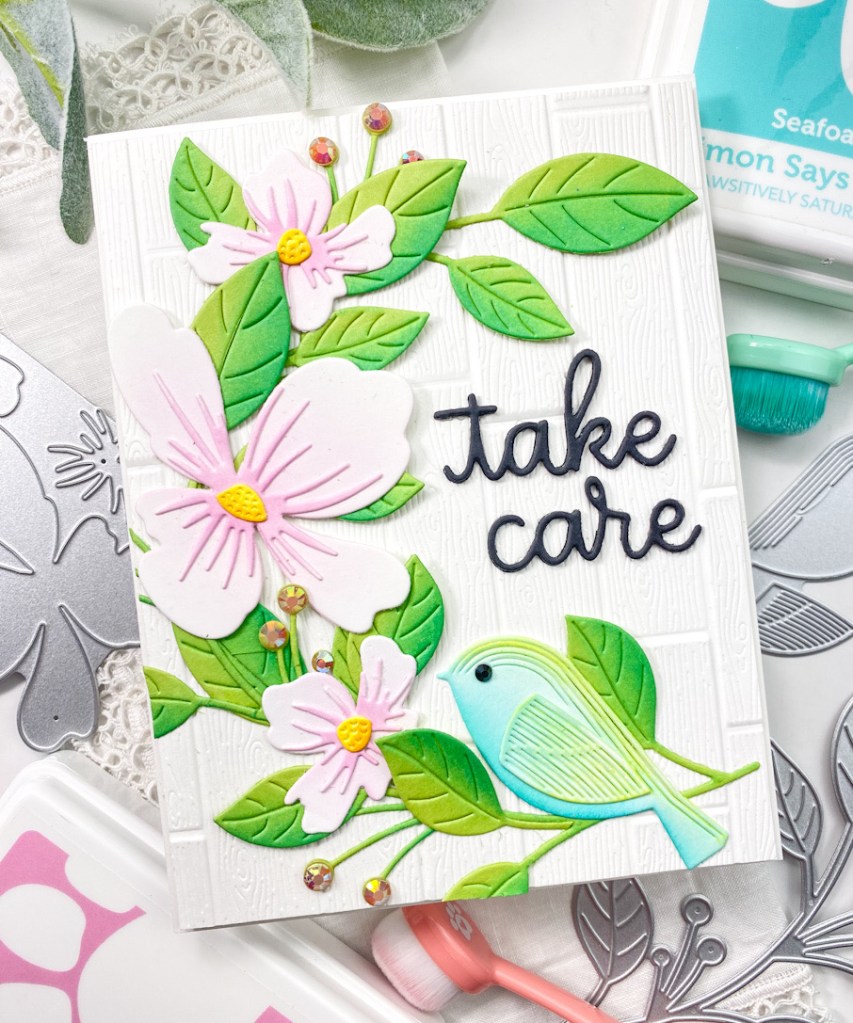
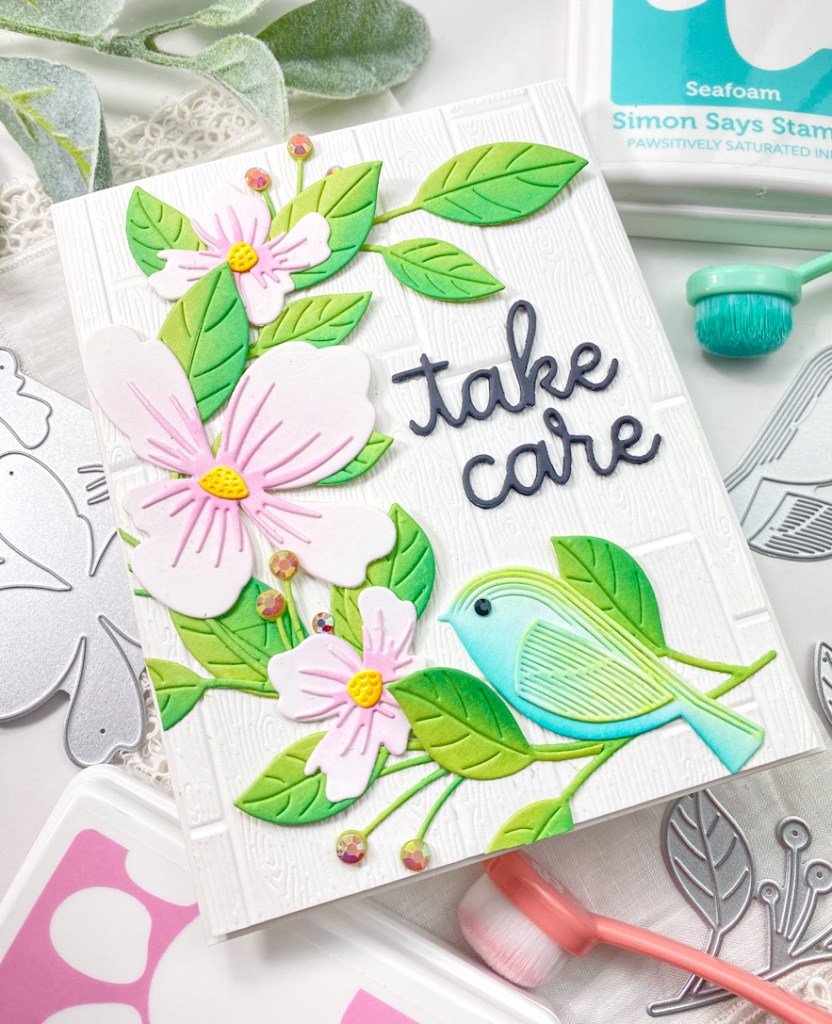
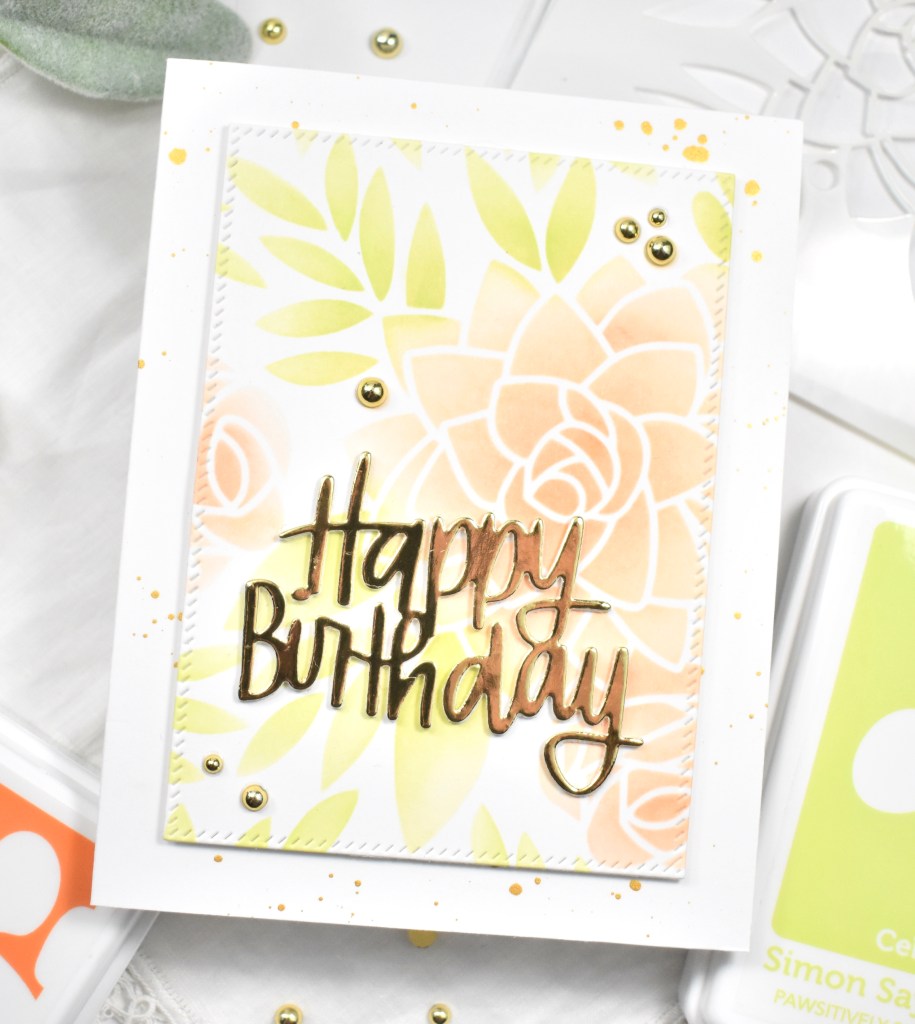
Hello Crafty Friends, and welcome back! I’m so glad that you’re here! Today’s card is featuring the Friendship Leafy Cluster Stamp and Stencil from Simon Says Stamp’s latest release, Sweetheart. Have you checked out the release yet? What are your favorites? I had a lot of fun with the ink blending on this one, so let’s go through the details!

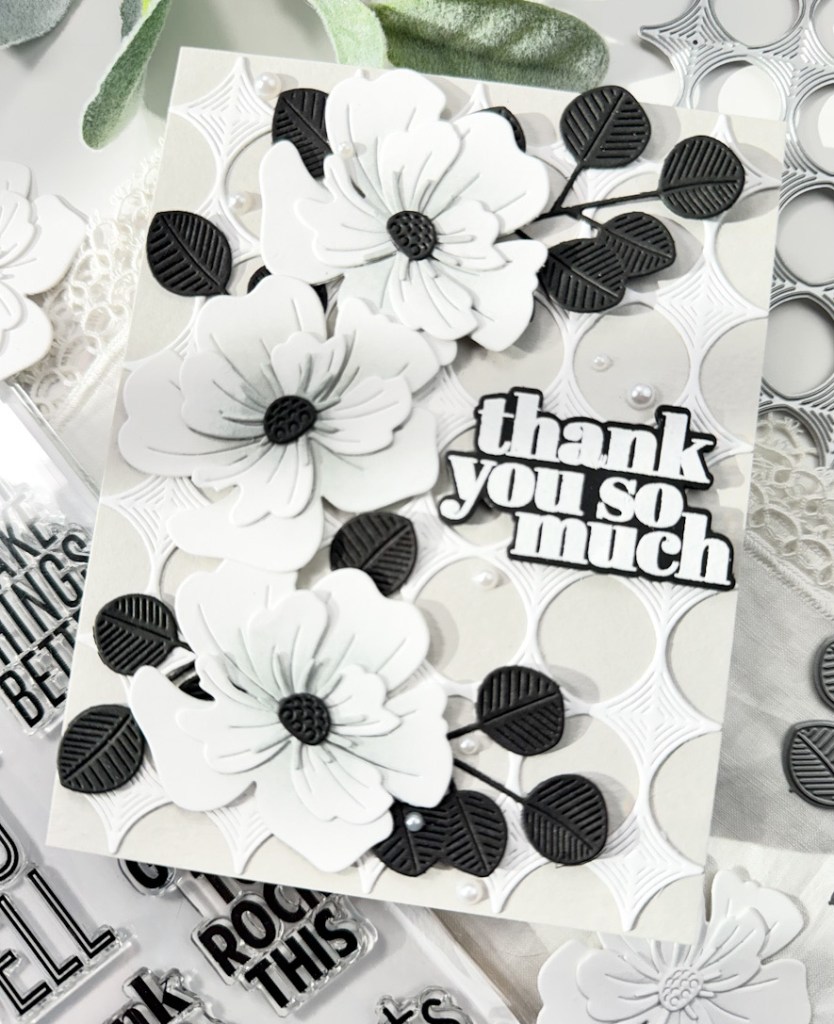
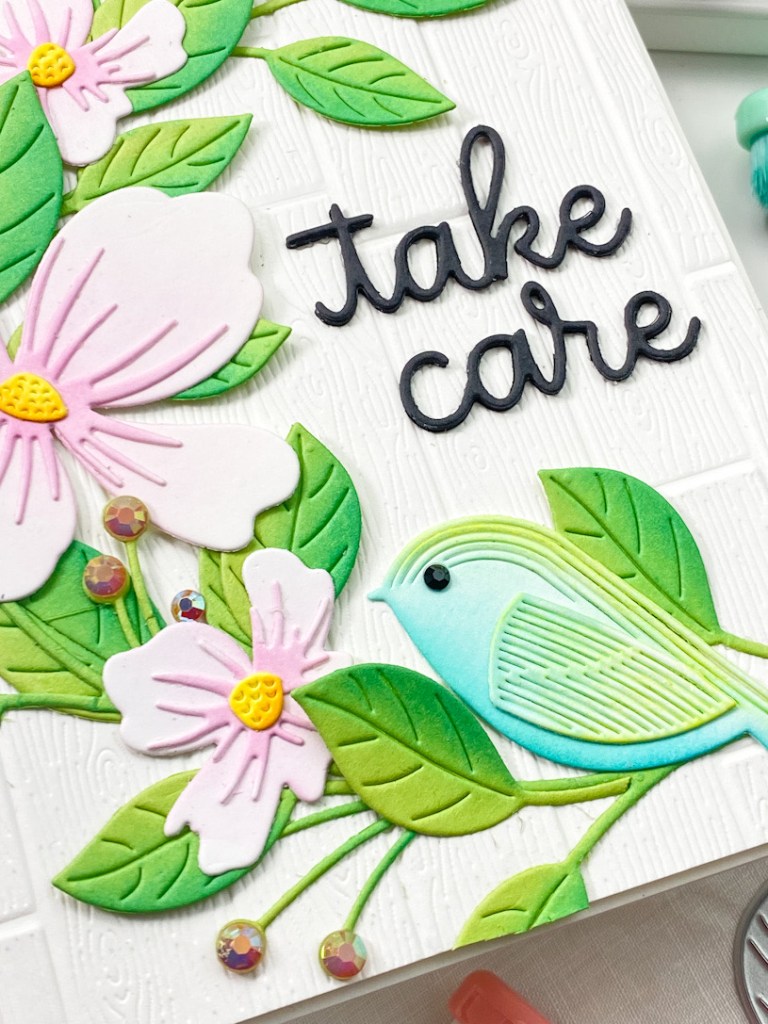
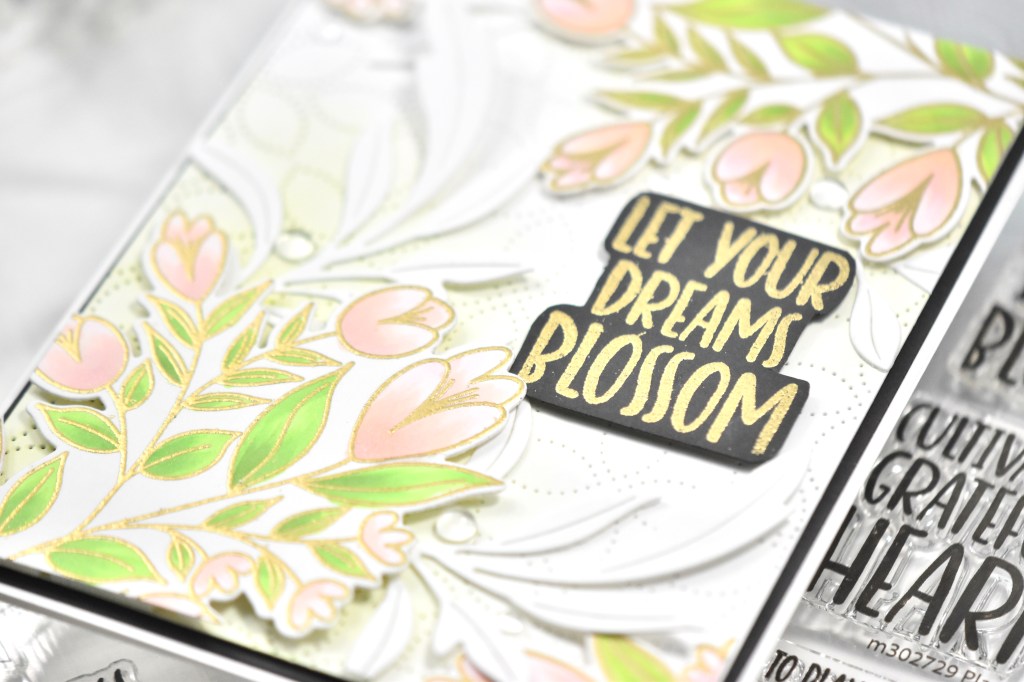
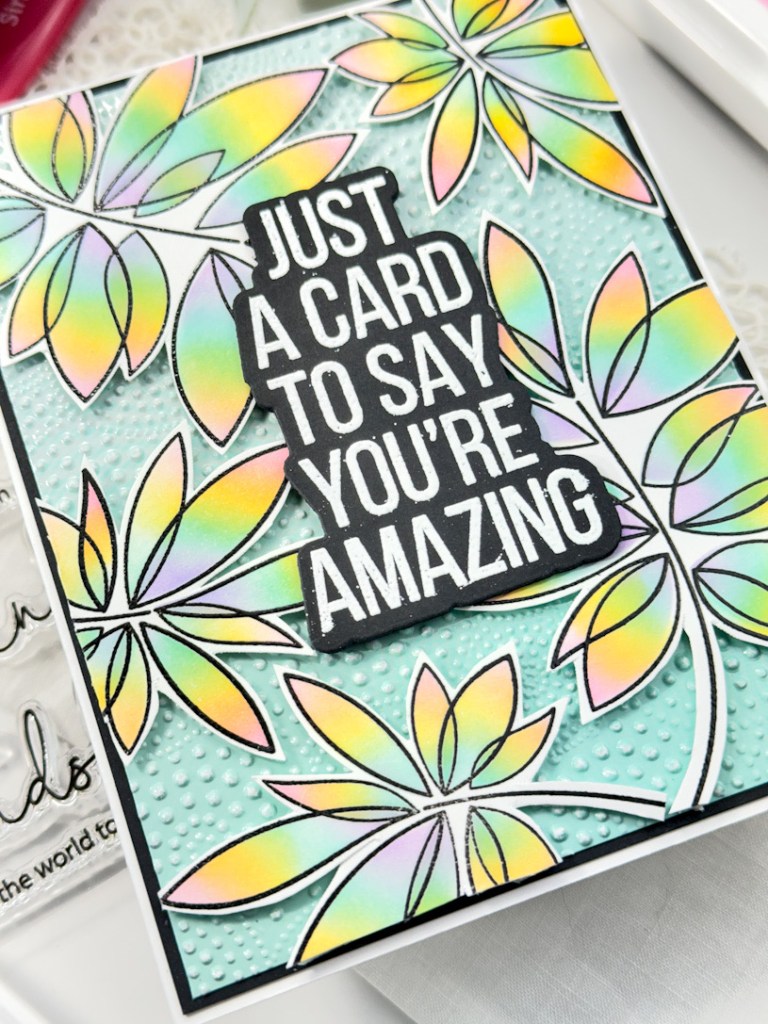
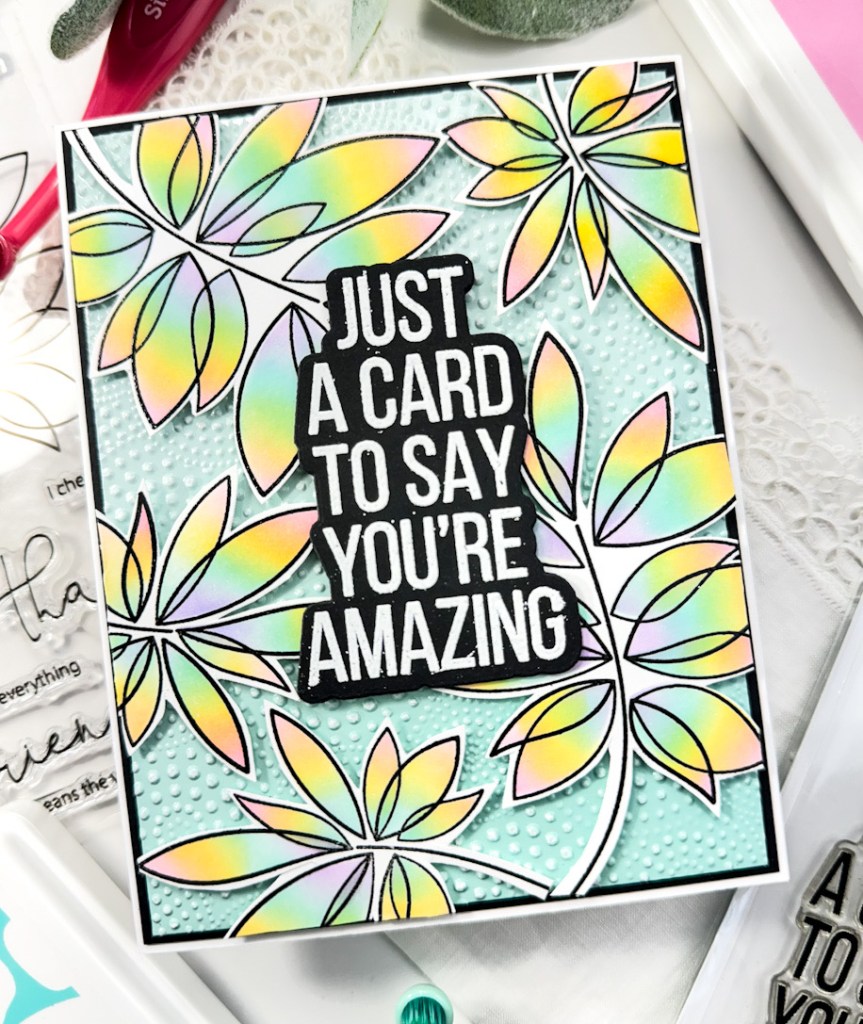
I began by stamping the leaf clusters on some Neenah 110lb cardstock using VersaFine Onyx Black ink, and heat setting them using Ranger Clear Embossing Powder. I then began the ink blending with the stencil using SSS Pawsitively Saturated Ink in Bubblegum, Lemonade, Seafoam and Lilac. Once the ink blending was complete, I fussy cut the leaves and set them aside while I figured out the rest of the card.
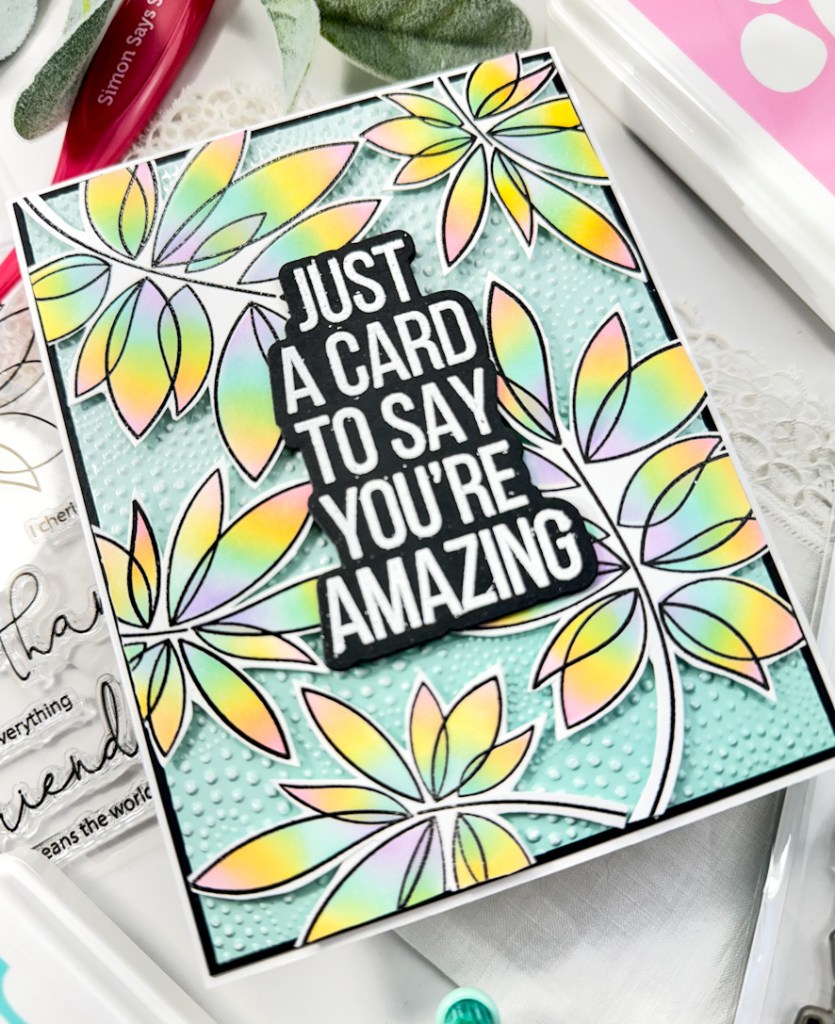
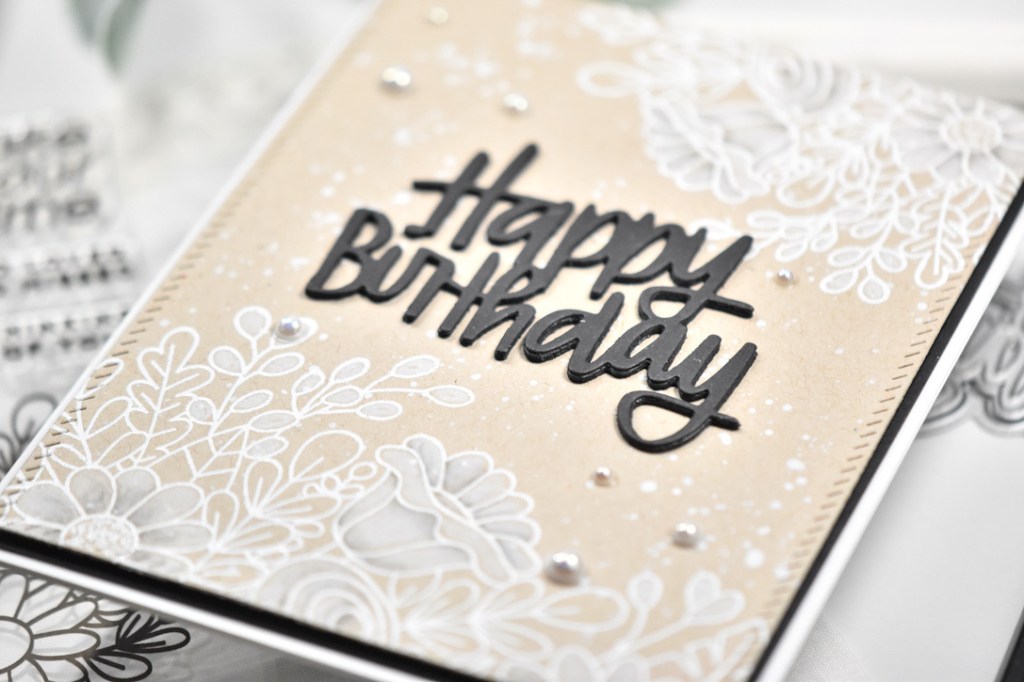
I pulled a panel from the SSS Color Blend Pastel cardstock pack and used the SSS Dibble Dot Embossing Folder on it. That was then adhered to a black panel for contrast. I stamped the sentiment, which is from the SSS XL Greetings 2 set, on a scrap of black cardstock using VersaMark Ink and heat set that using SSS Detail White Embossing Powder. I then used the coordinating die to trim it out, along with two additional cuts, and adhered all of those together using liquid glue.

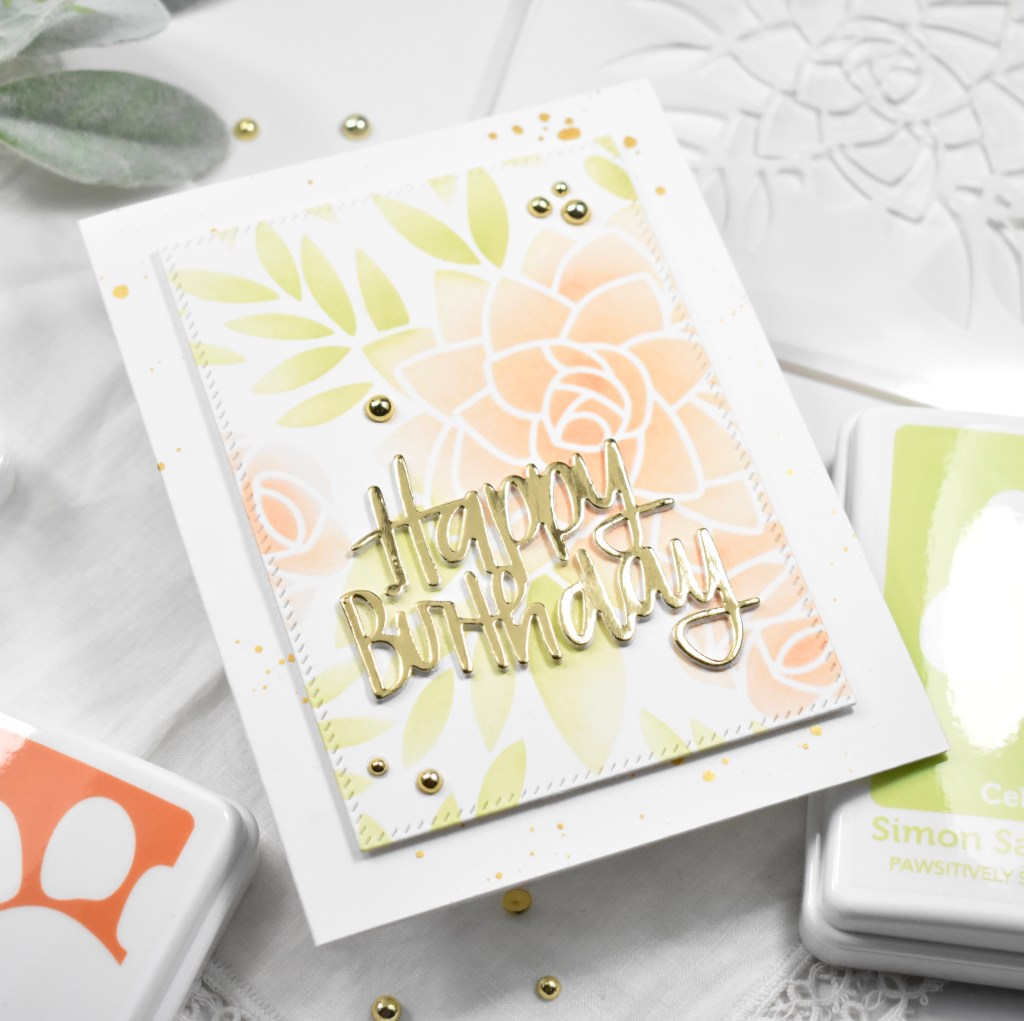
The leafy clusters were then adhered to the embossed panel using foam tape, trimming off the excess, and the sentiment was glued directly atop the leaves. Everything was then adhered to the card base to finish up.
That does it for this project! I hope you enjoyed it! I really like how this one turned out, and am really happy with the colors. Thanks again for stopping by! Have a wonderful day, and don’t forget to stay awesome!
Supply List:
- SSS Friendship Leafy Cluster Stamp, Stencil, Die, Bundle
- SSS Pawsitively Saturated Ink: Bubblegum, Lemonade, Seafoam, Lilac
- SSS Dibble Dot Embossing Folder
- SSS XL Greetings 2 Stamp, Die, Bundle
- SSS Color Blend Cardstock Pastels
- SSS Blender Brushes
- SSS Detail White Embossing Powder
- SSS Bone Folder
- SSS Foam Tape
- SSS Place & Score Embellishment Wand
- SSS T-Ruler
- SSS Black Cardstock
- Neenah Classic Crest Solar White 110lb Cardstock
- VersaMark Ink
- VersaFine Onyx Black Ink
- Ranger Clear Embossing Powder
- Wagner Heat Tool
- Tim Holtz Scissors
- Misti
- Scor-Buddy
- Bearly Art Glue
- Anti-Static Powder Tool
- Spellbinders Platinum 6
* Affiliate links used at no cost to you. Thanks so much for your support!
Latest Posts
- Spellbinders Trailside Birthday Raccoon

- Simon Says Stamp Grateful Heart

- Simon Says Stamp Braided Greetings

- Together By Design Color Cube Floral

- Simon Says Stamp Cute Duckling