Simon Says Stamp I Love You Dual Diamonds

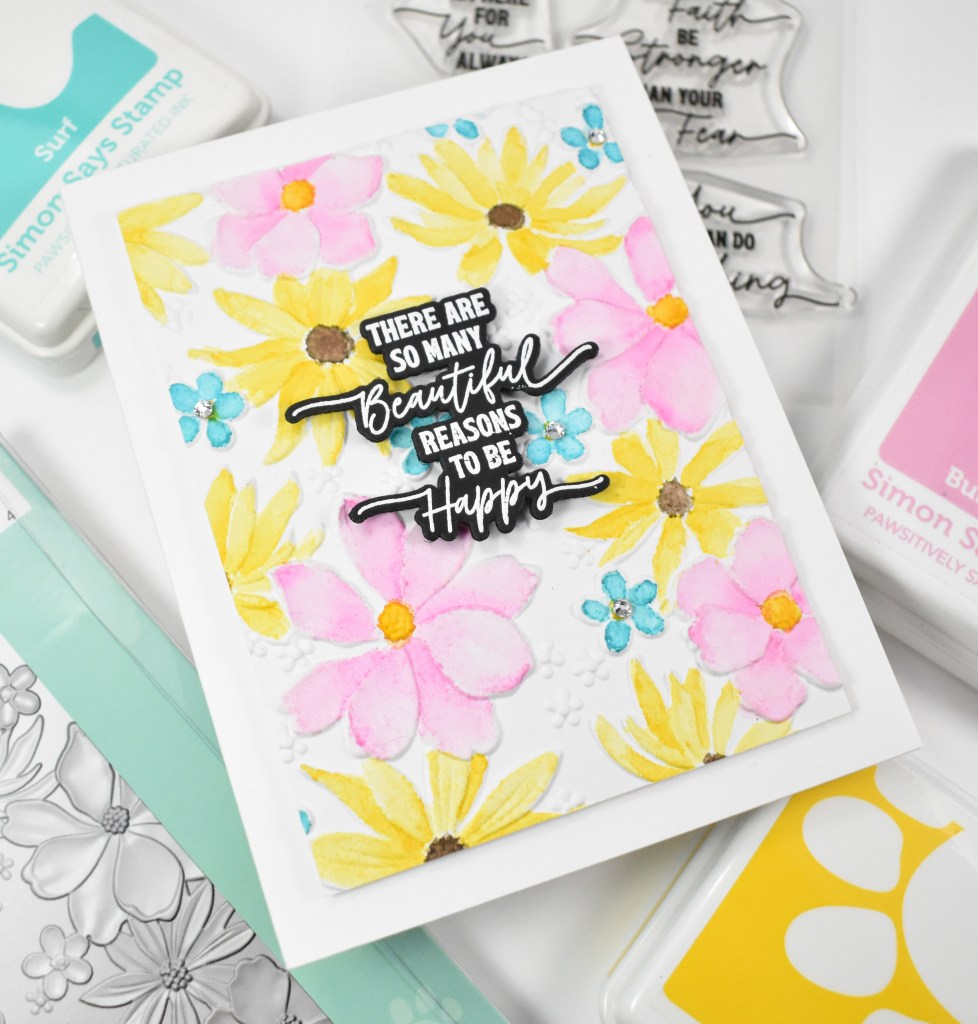
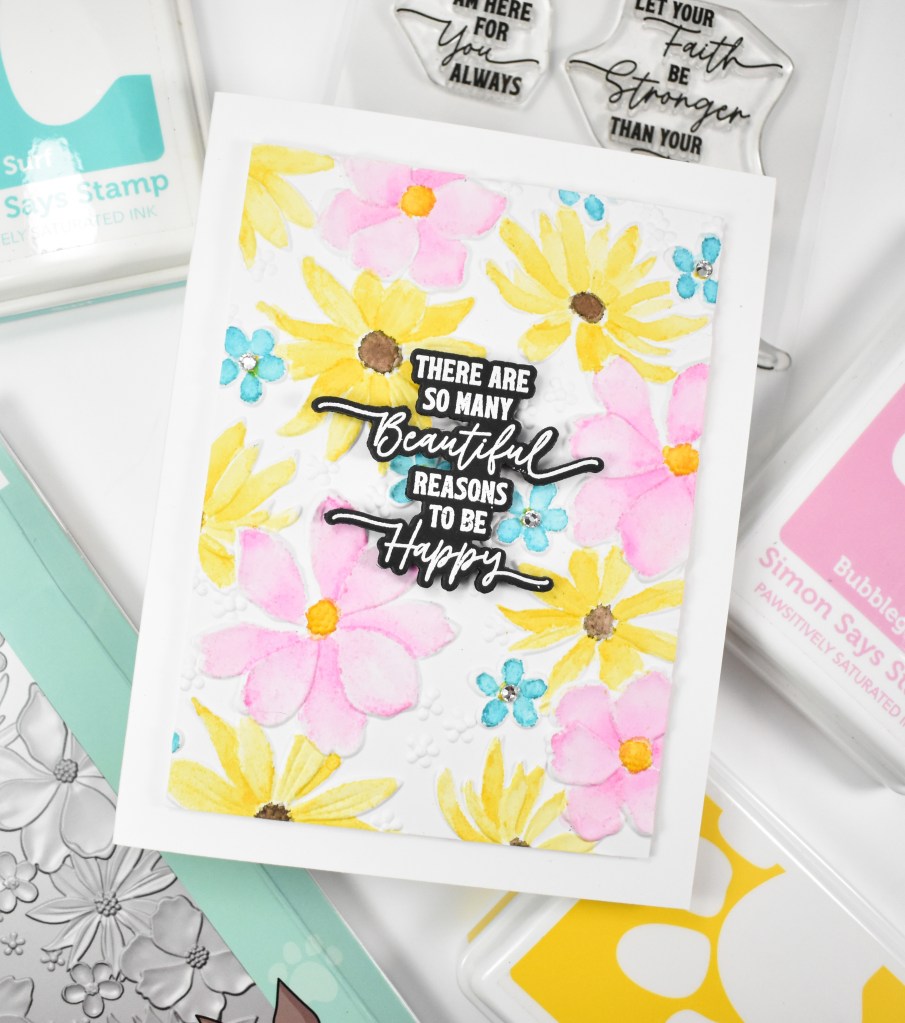
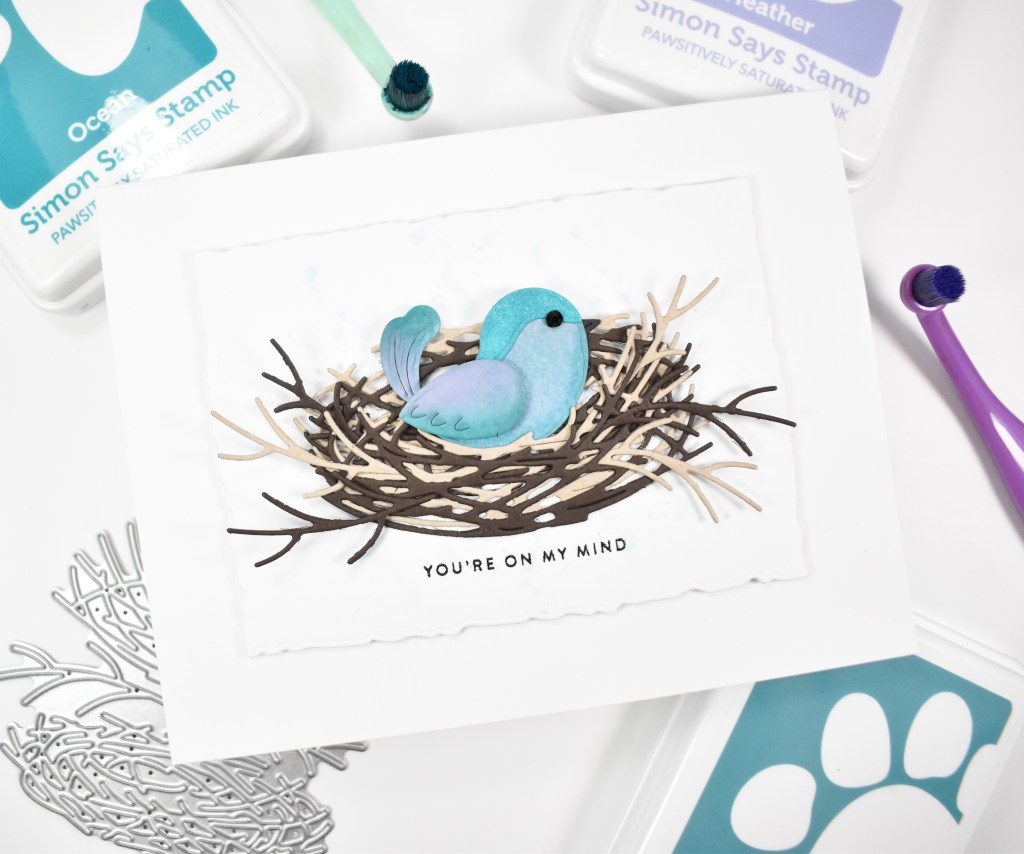
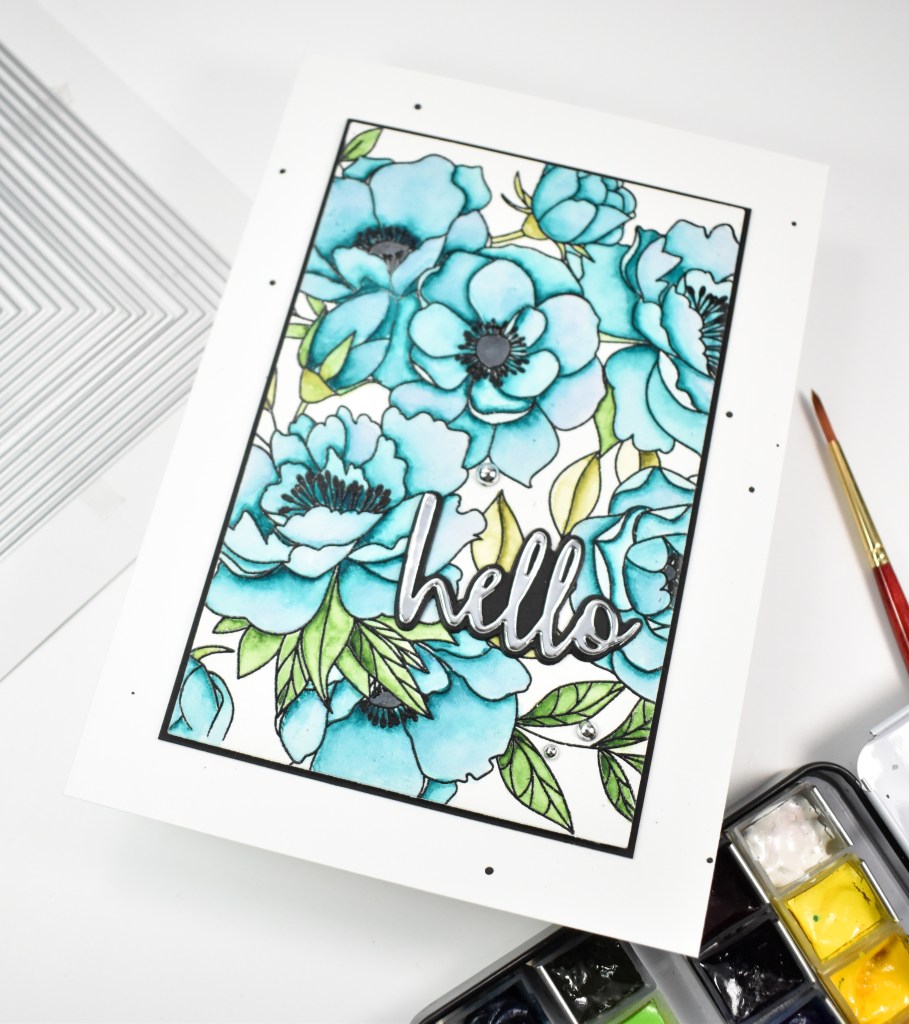
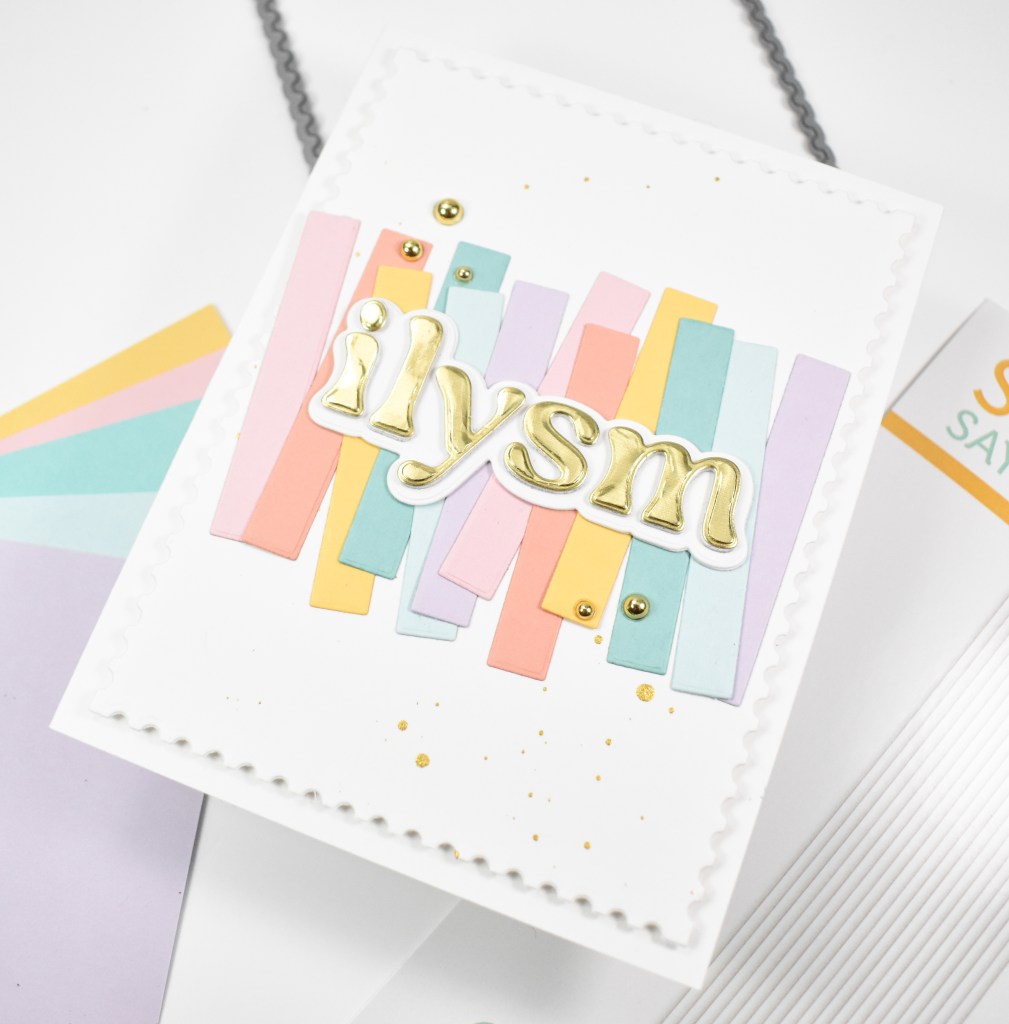
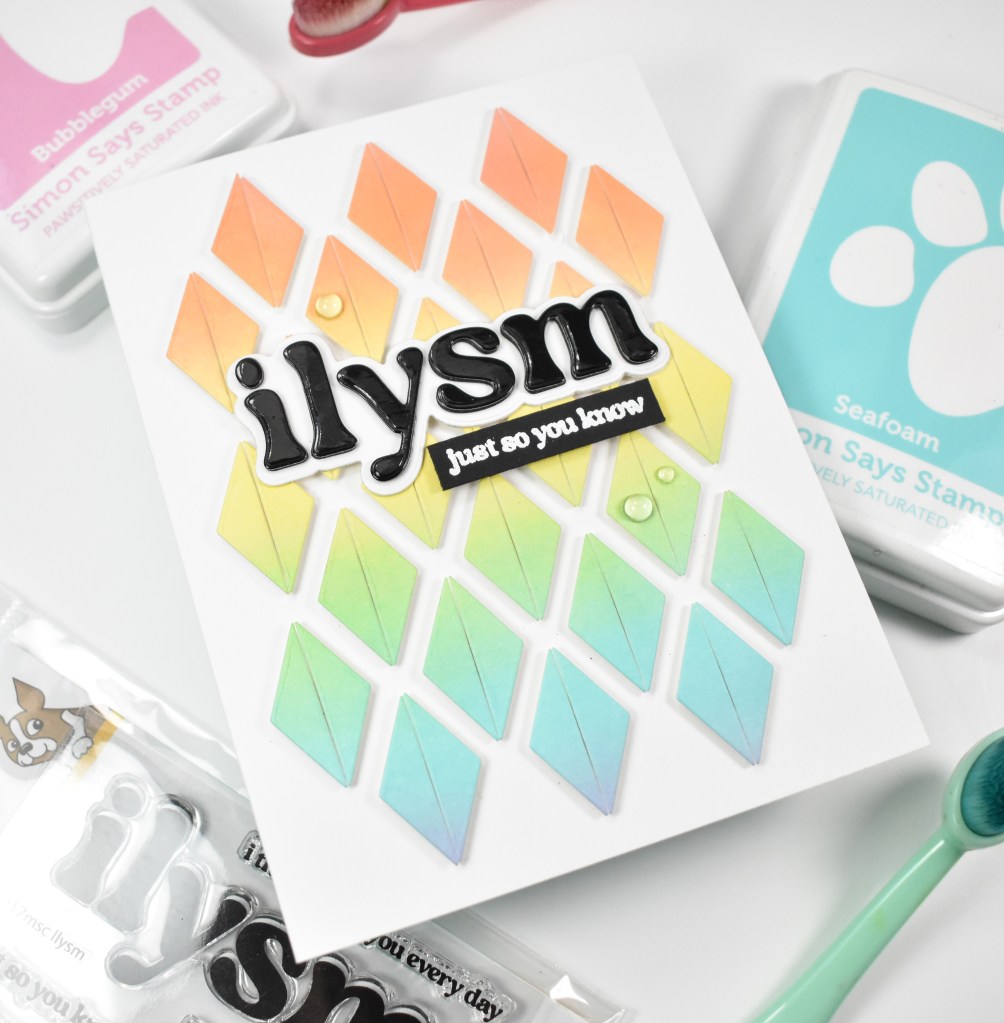
Hello Crafty Friends, and welcome back to my blog! I’m back today with a card featuring the new Dual Diamonds from Simon’s latest release, Happy Camper. This card is also featuring the new ilysm stamp and die set, so let’s go ahead and go through the details!

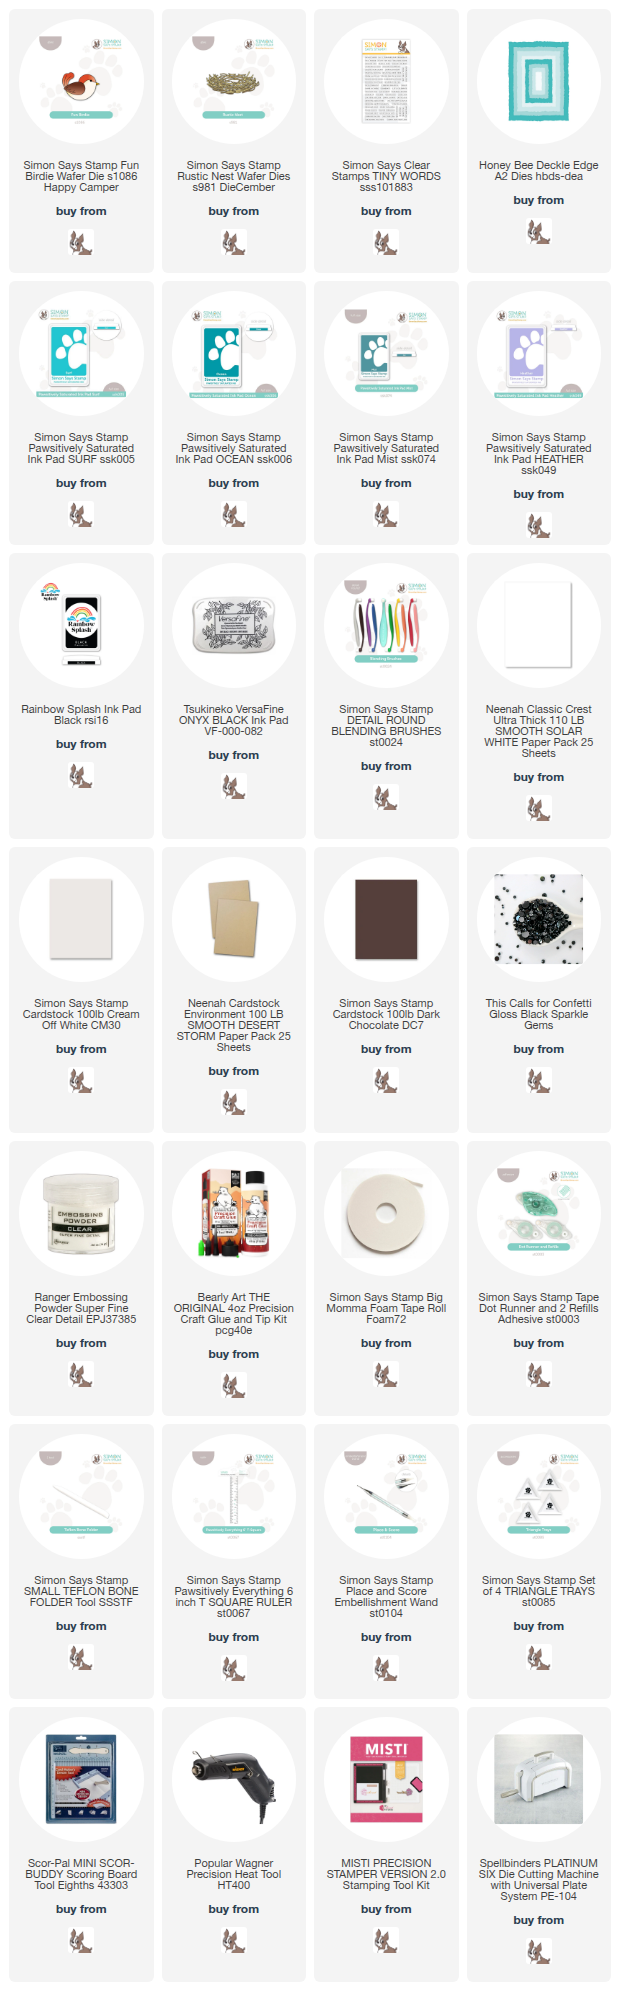
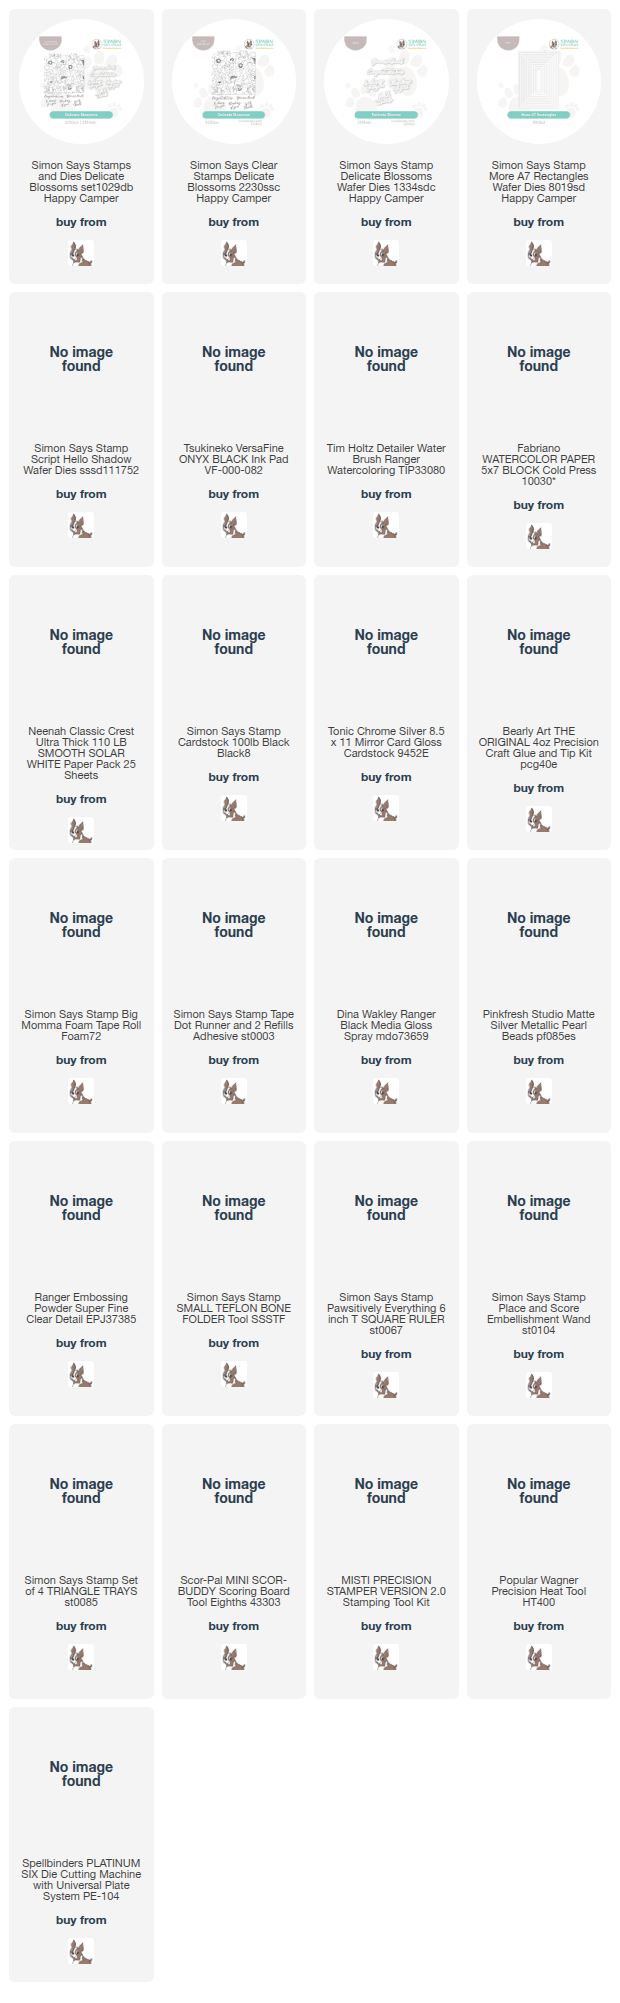
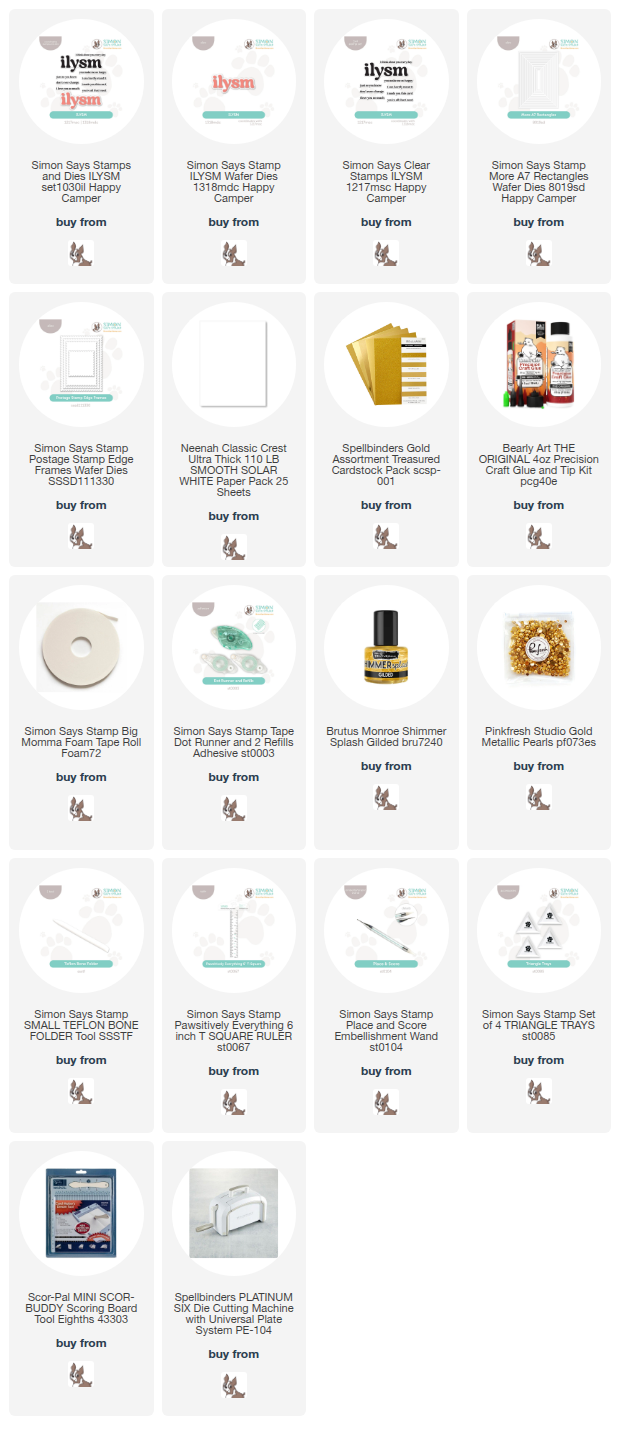
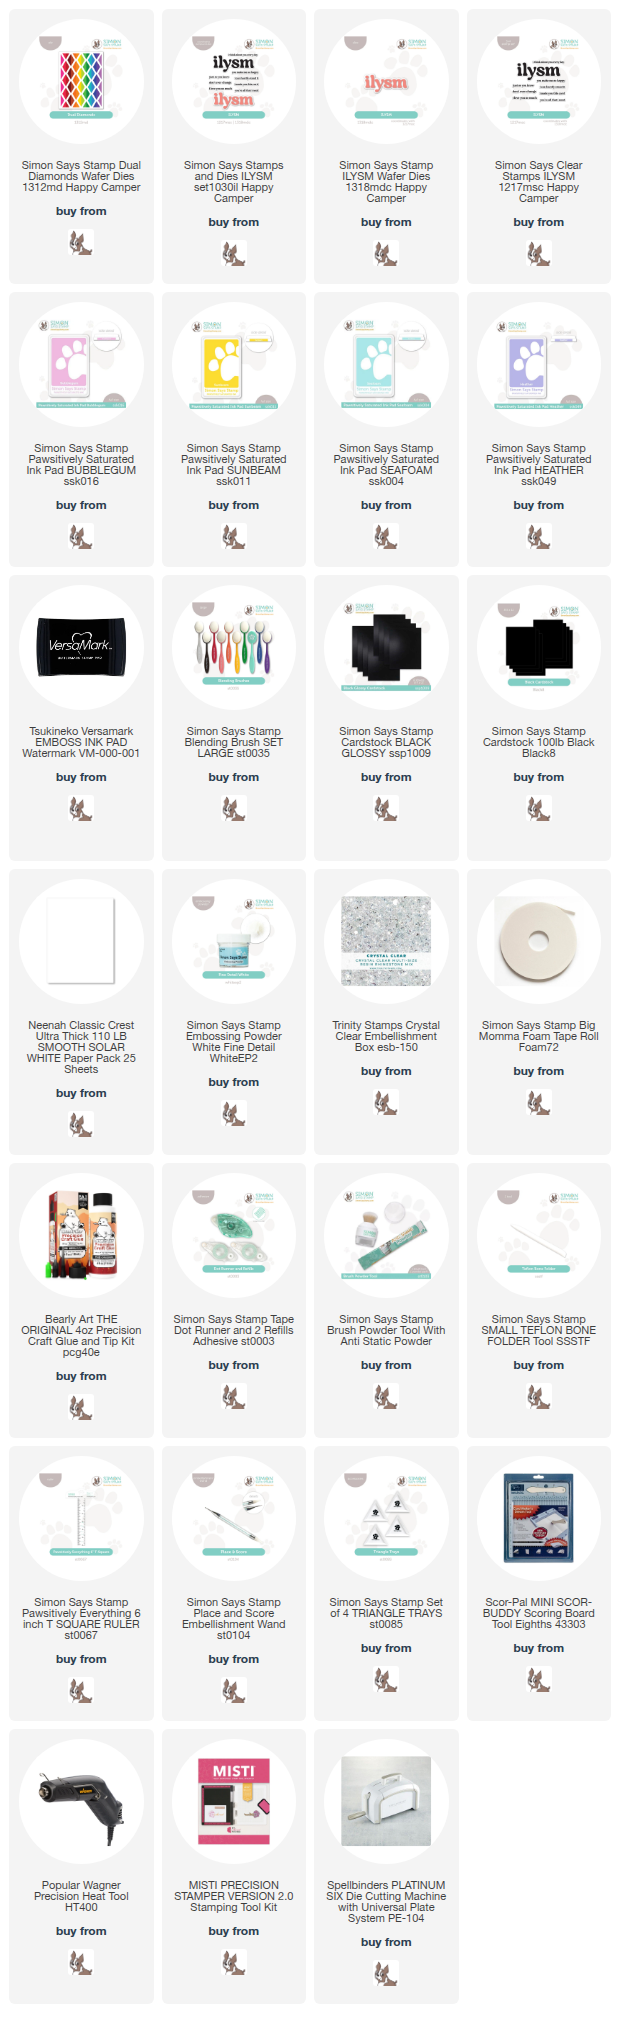
NOTE: all supplies are linked in the thumbnails at the end of this blog post.

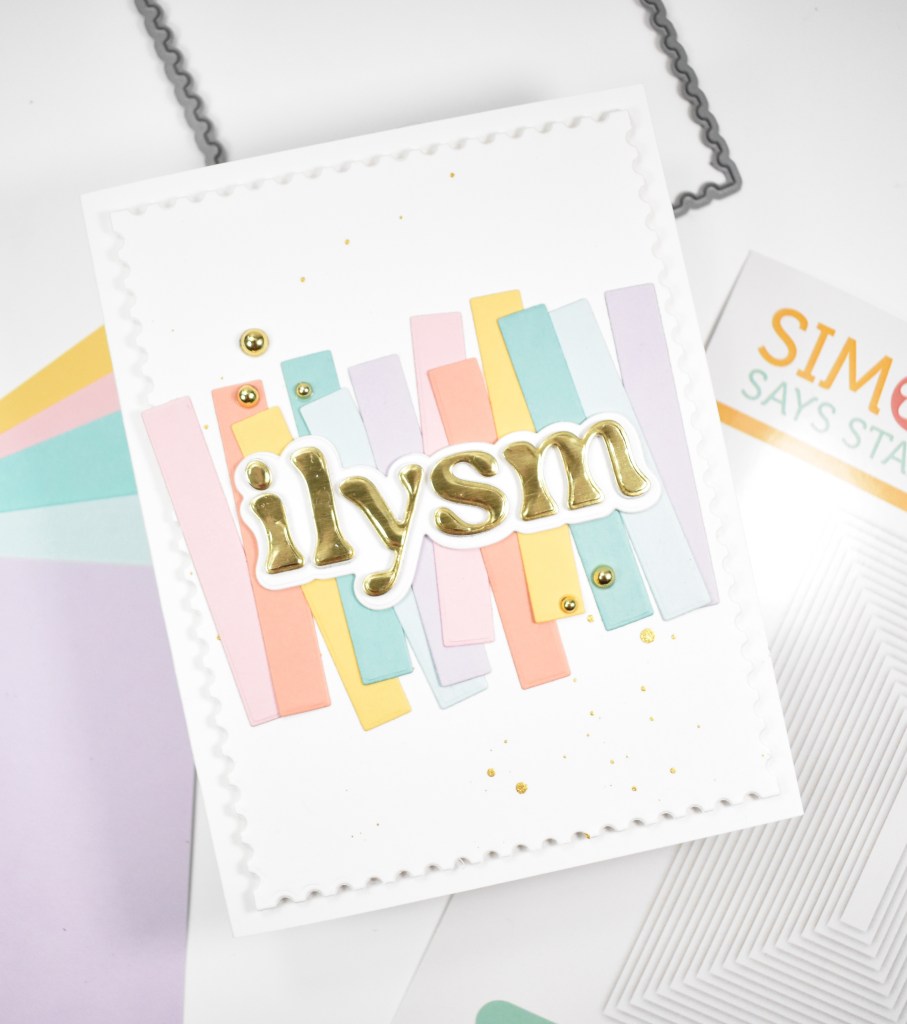
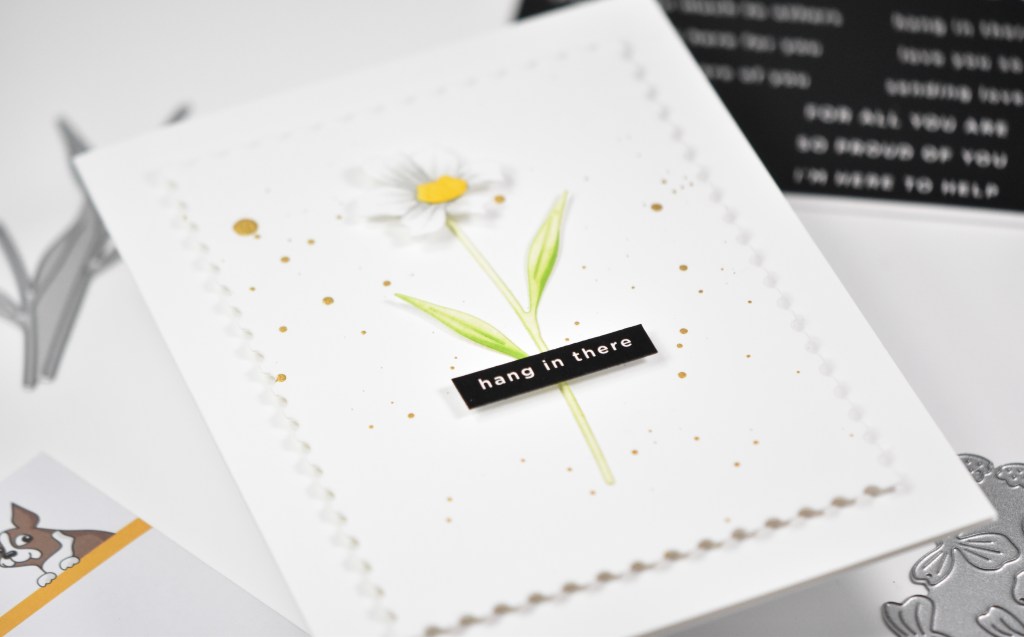
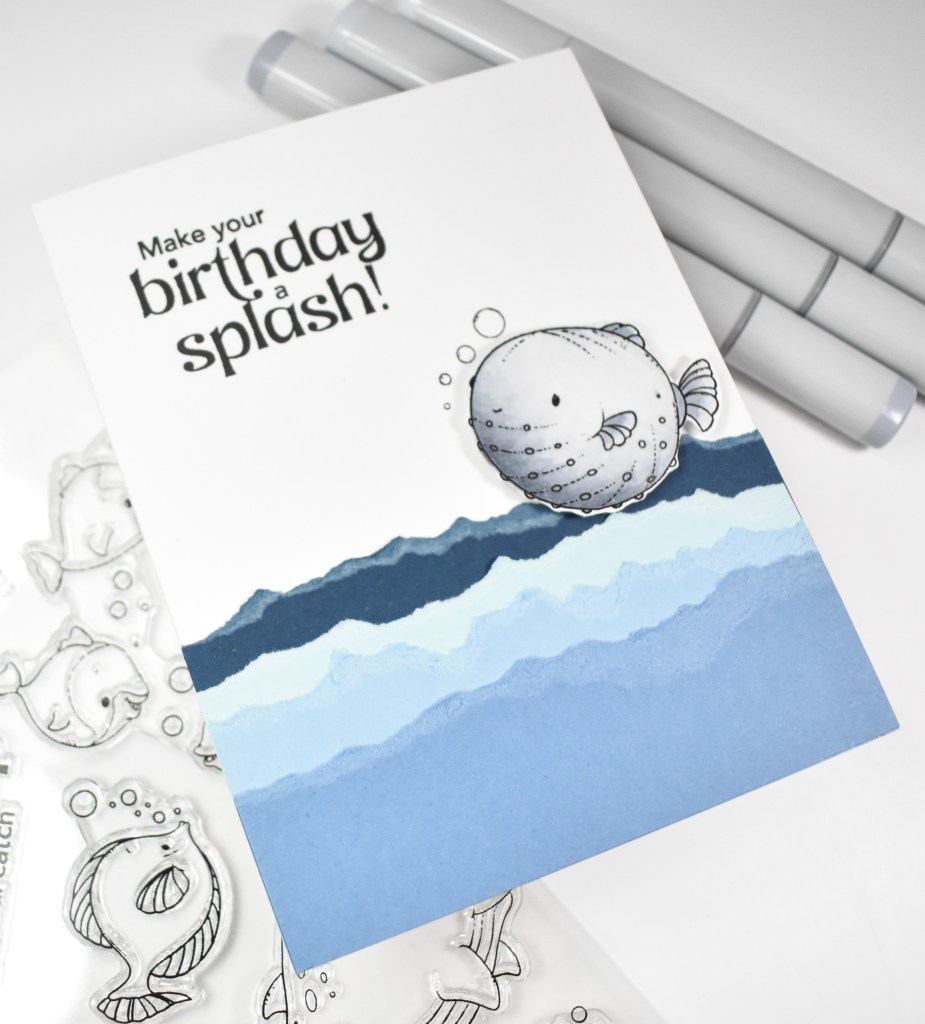
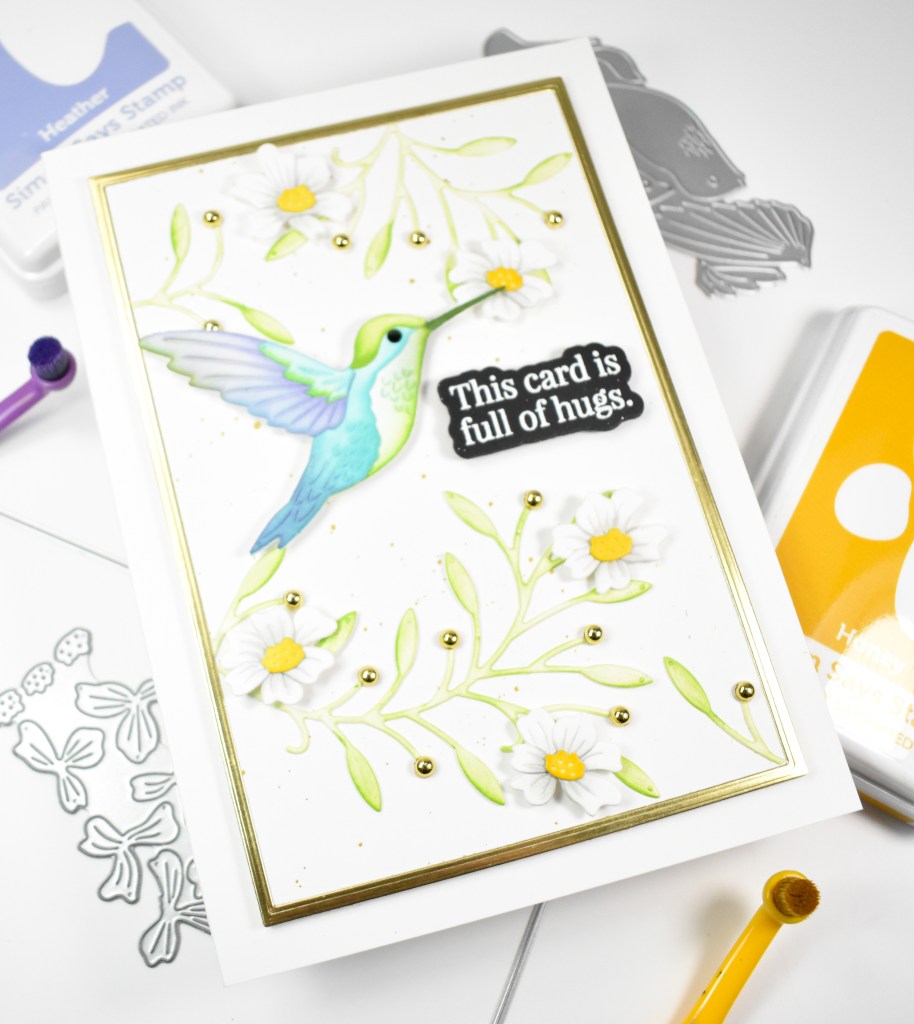
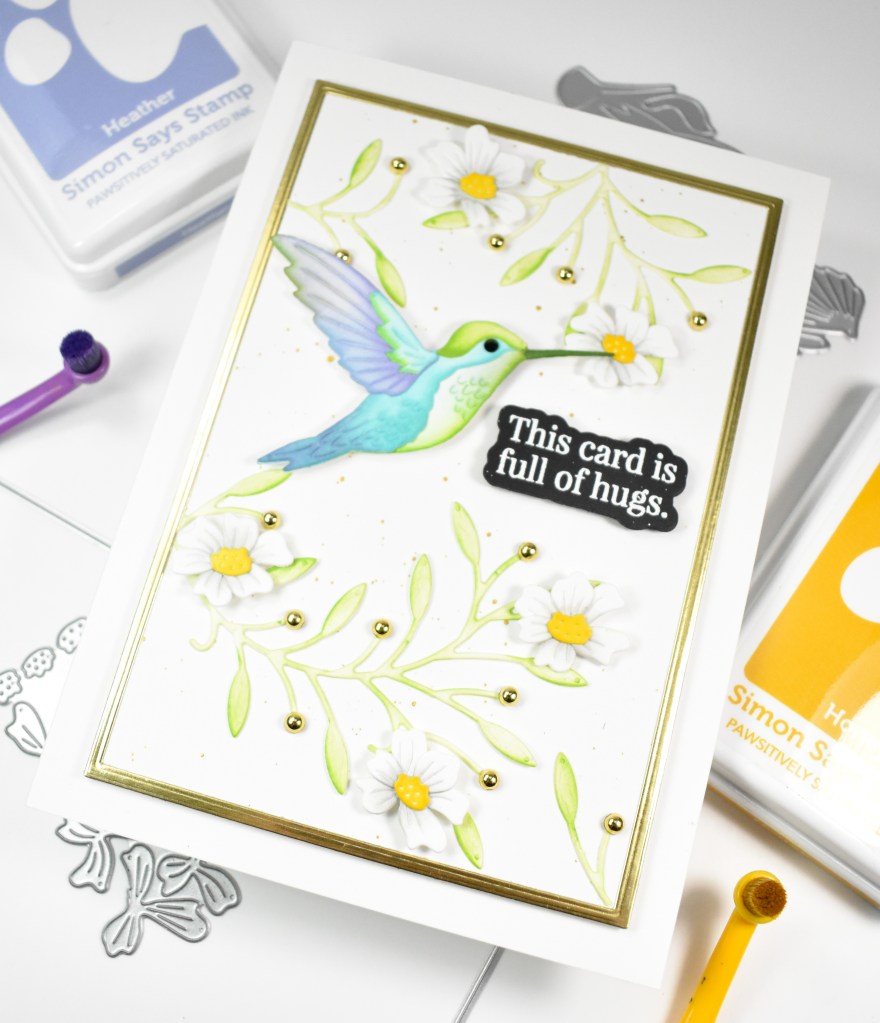
I began this project by ink blending a panel of Neenah 110lb cardstock using Bubblegum, Sunbeam, Seafoam and Heather inks. I then ran the panel and die through the machine, being careful to keep the pieces in place. I went ahead and placed some Press n Seal to the front of the panel and added pieces of foam tape to the back of the diamonds.

I pulled the negative frame portion from the Press n Seal and placed that, along with my card base into the corner of the Misti. Once I removed the backing from the foam tape, I lined up the diamonds with the guide piece in the Misti. I could then carefully remove the negative frame piece, and all of my diamonds are perfectly lined up!

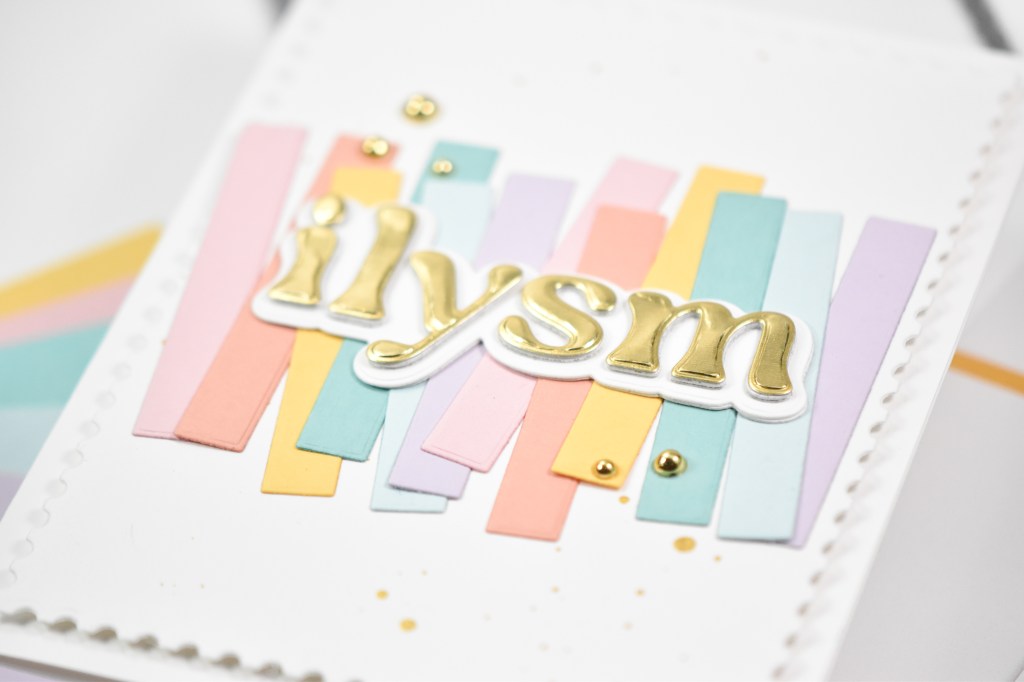
I die cut the ilysm sentiment once from black glossy cardstock and twice from black cardstock, while cutting the shadow portion twice from Neenah. All of those were adhered together and glued directly to the card. The sub sentiment was stamped using VersaMark ink, heat set with Detail White Embossing Powder, trimmed down and adhered with foam tape to finish up.
That does it for this project. I hope you enjoyed it as much as I did! I do love a great ink blended panel! Don’t forget to check out the entire Happy Camper release over on Simon’s website. Thanks again for joining me, and have a wonderful day!

Supply List
Affiliate links used at no cost to you. What does this mean? If you use the links within this post to make a purchase, I receive a small commission, which allows me to continue to post crafty content for your enjoyment. I truly appreciate your support!
Latest Posts
- Simon Says Stamp Grateful Heart

- Simon Says Stamp Braided Greetings

- Together By Design Color Cube Floral

- Simon Says Stamp Cute Duckling

- Simon Says Stamp Watercolor Wild Rose

Latest Instagram Posts