Simon Says Stamp Birthday Books

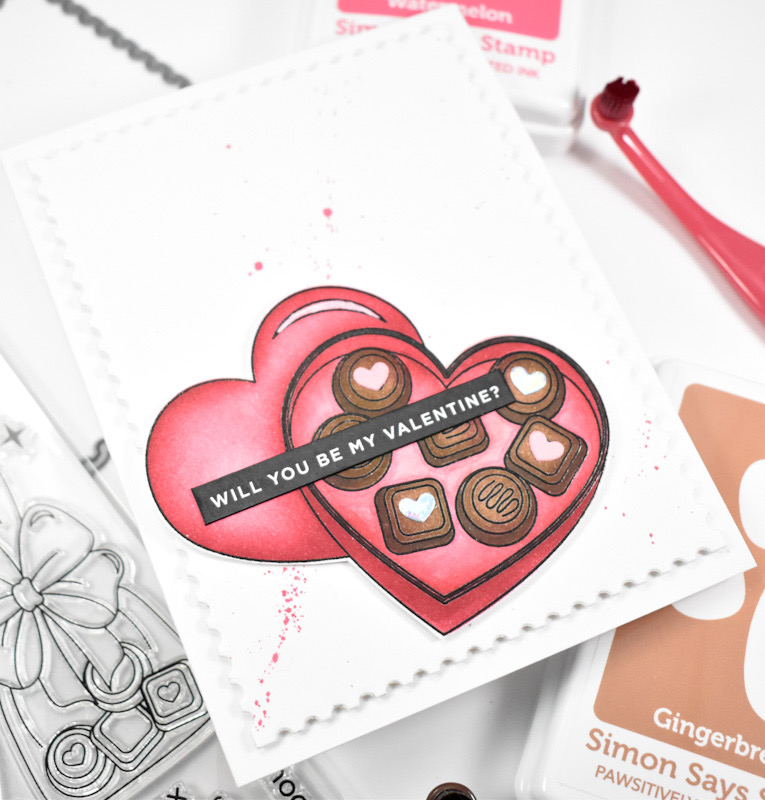
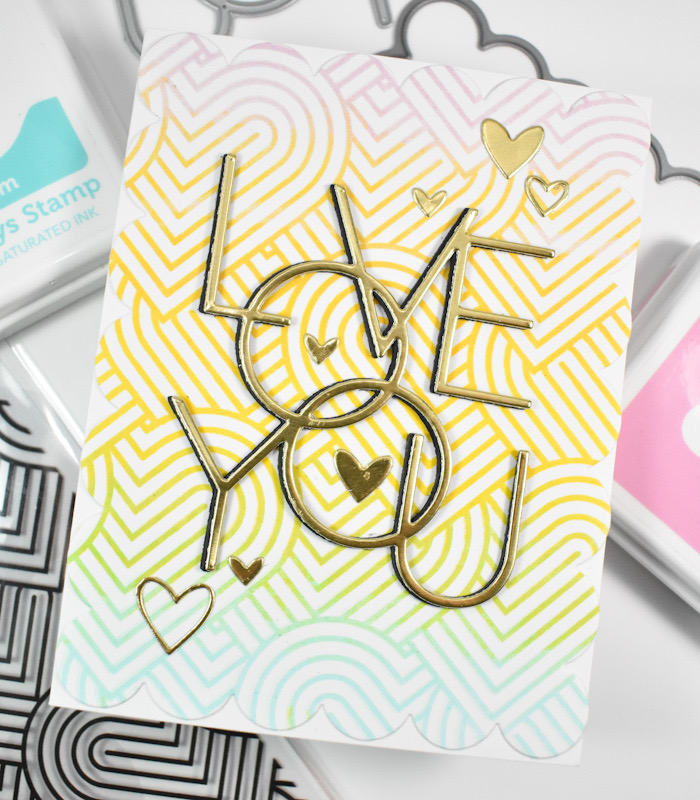
Hello Crafty Friends, and welcome back to my blog! I’m back today with a project featuring the new One for the Books set from Simon’s latest release, Favorite Things. Let’s go ahead and run through the details!
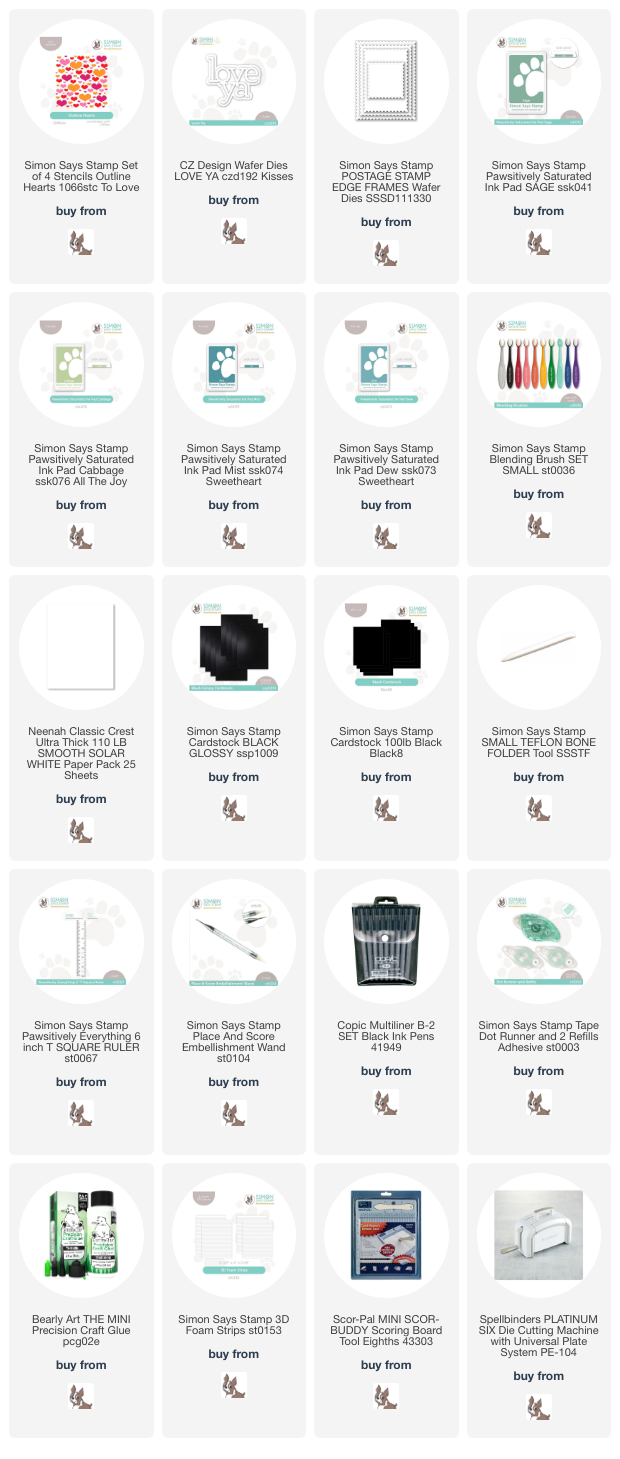
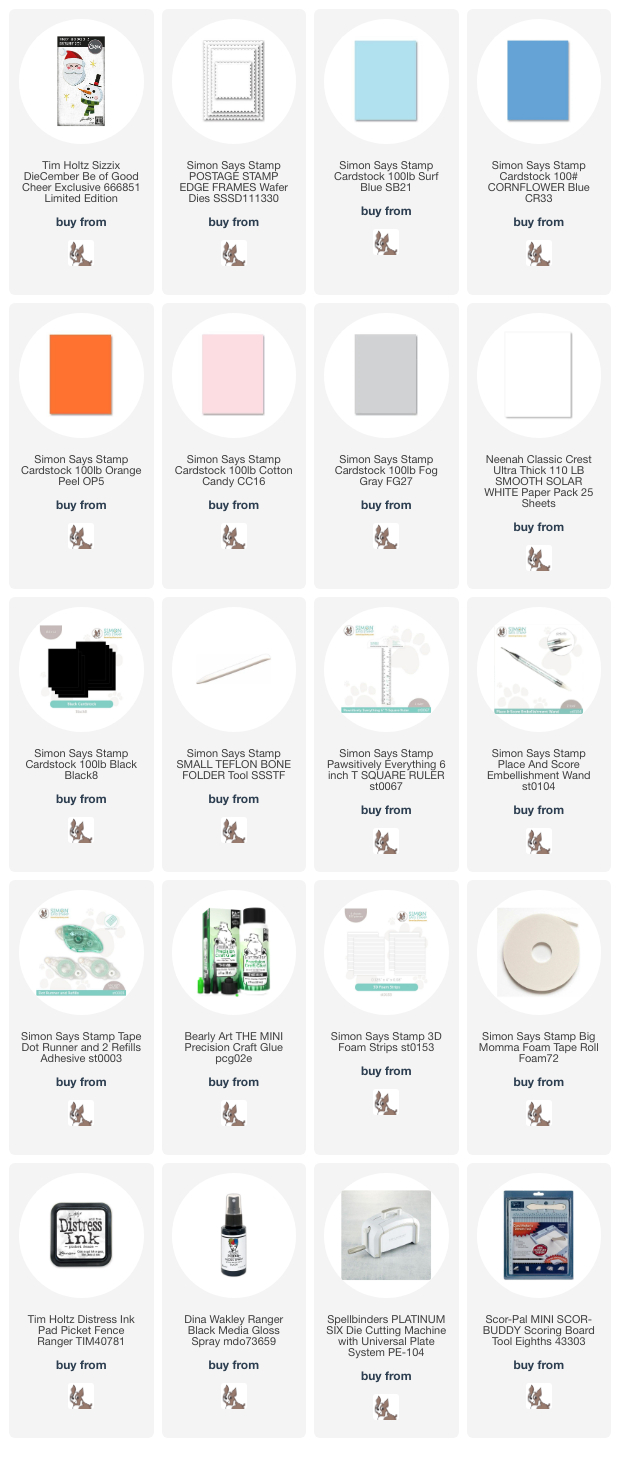
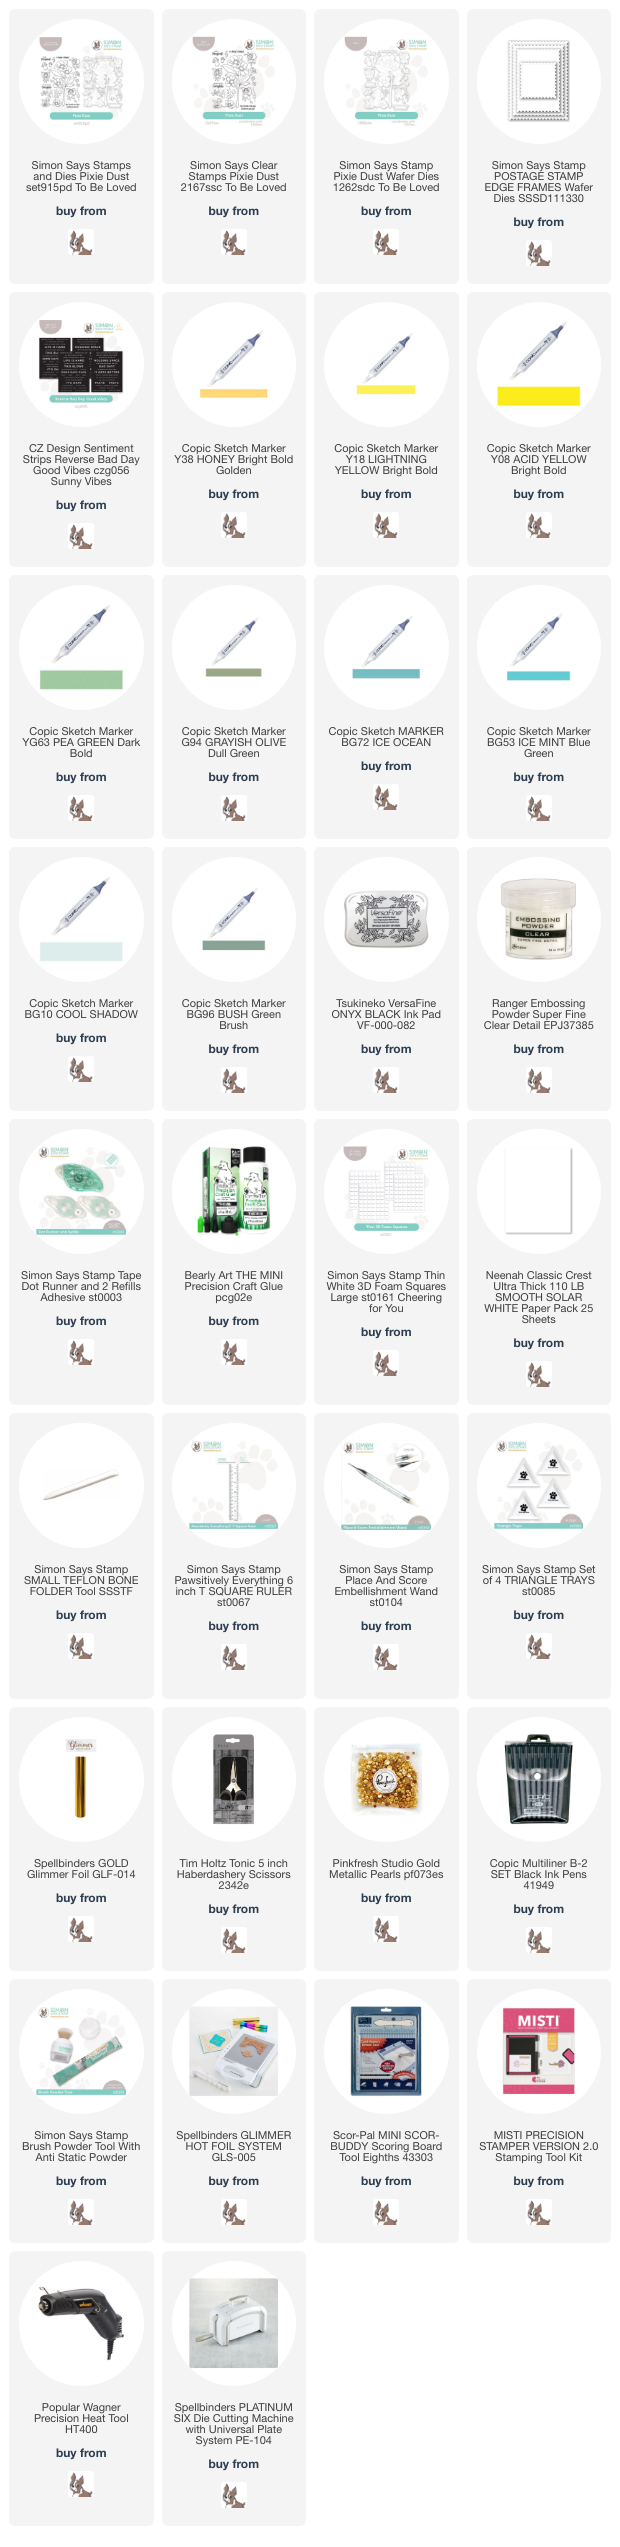
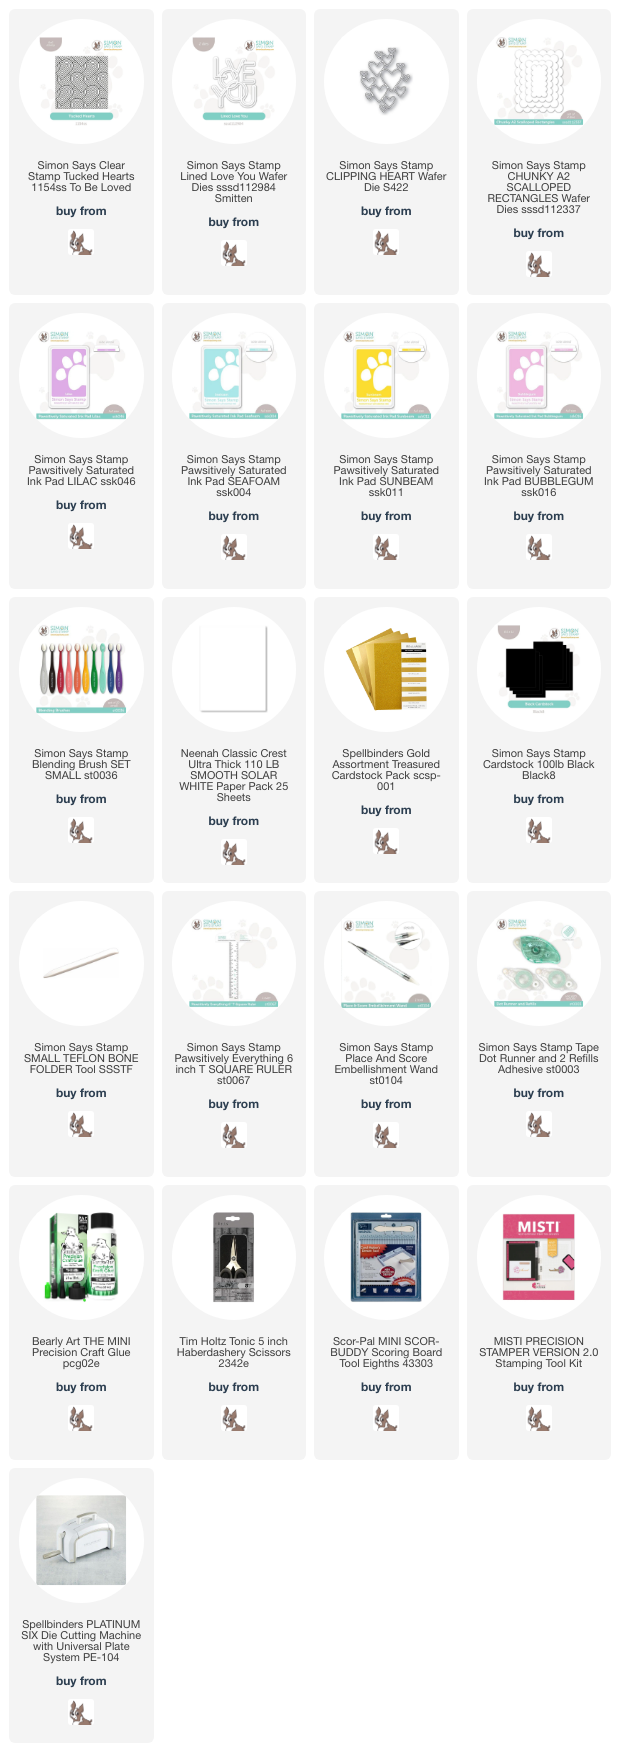
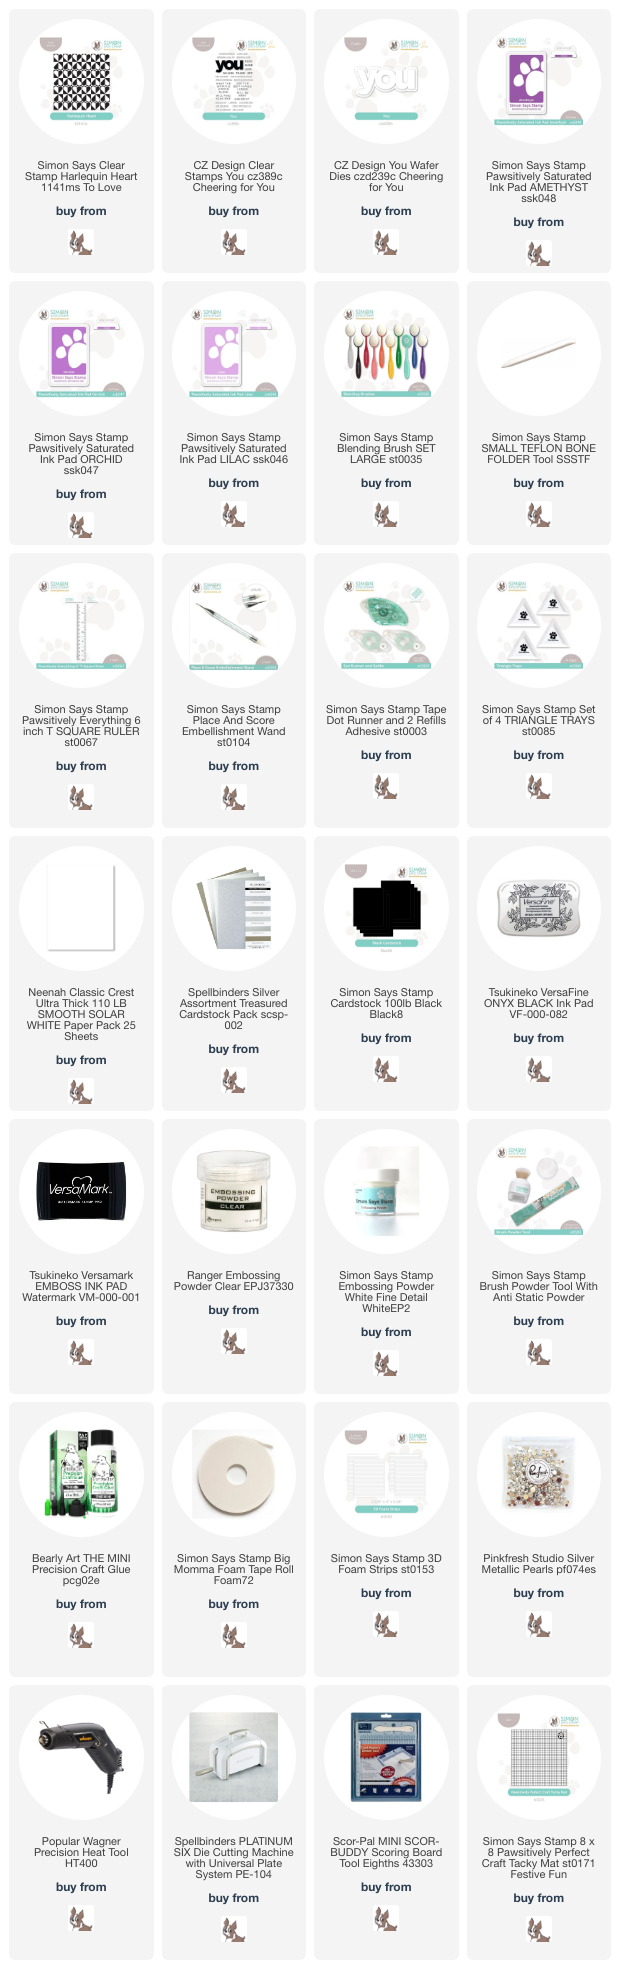
NOTE: all supplies are linked in the thumbnails at the end of this blog post.

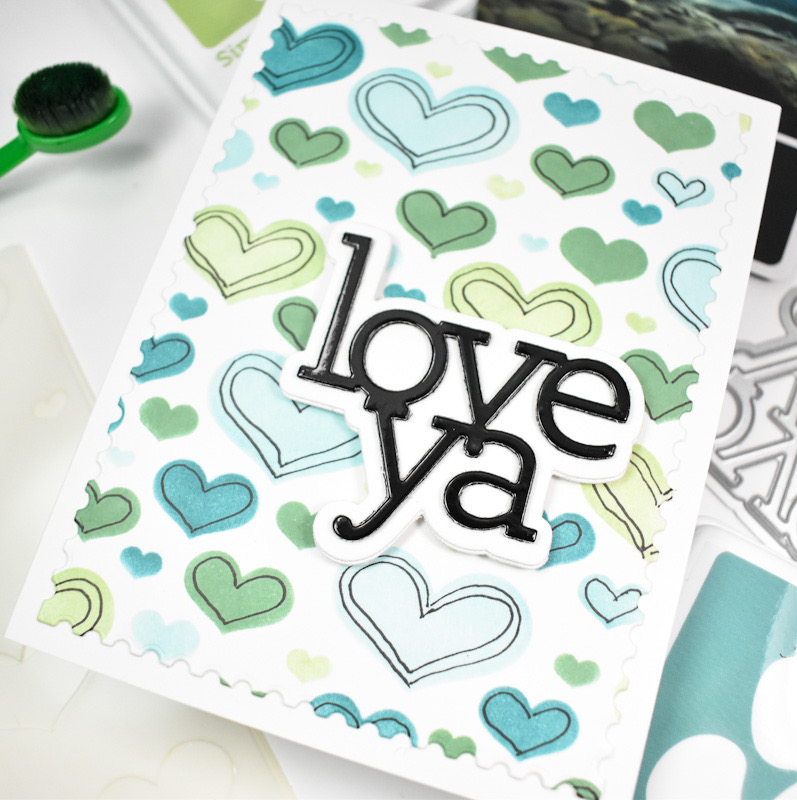
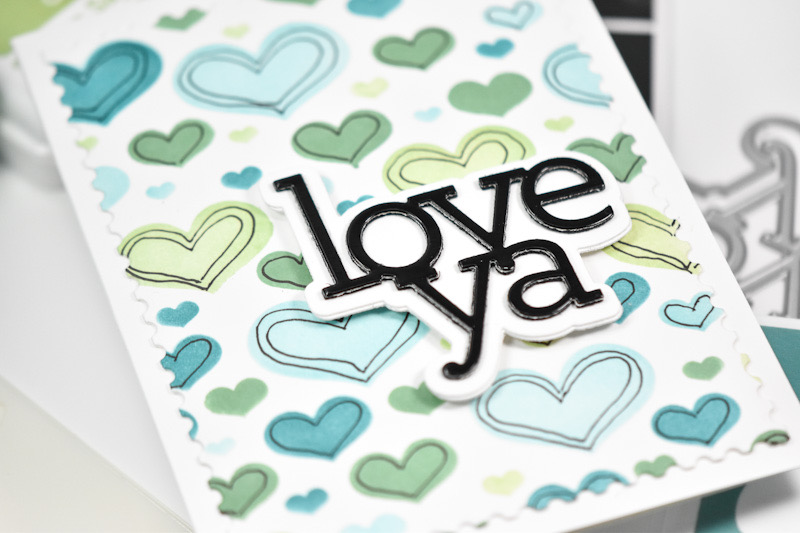
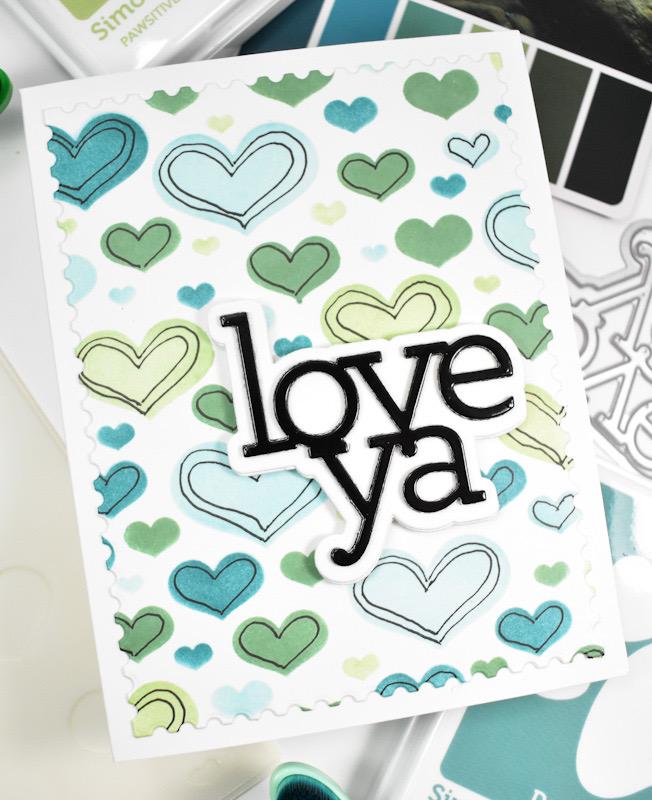
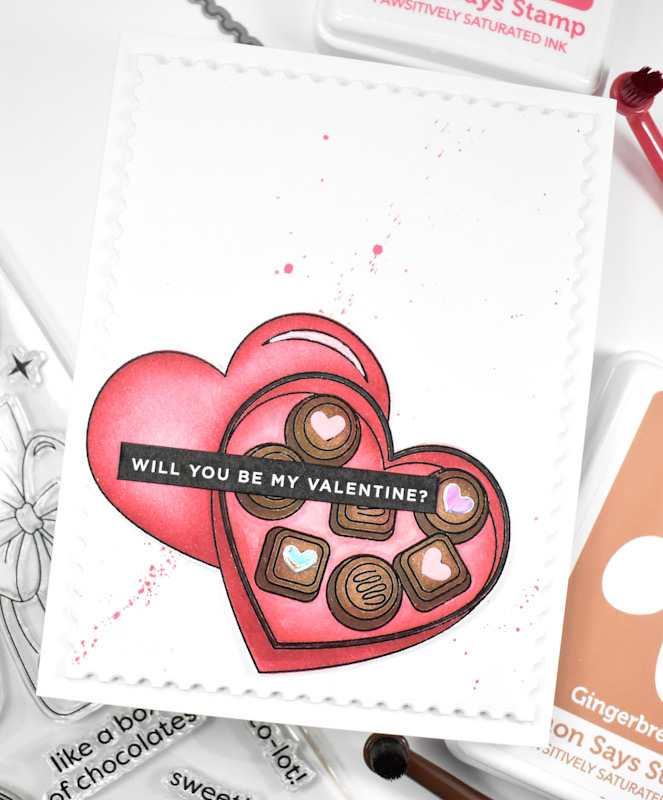
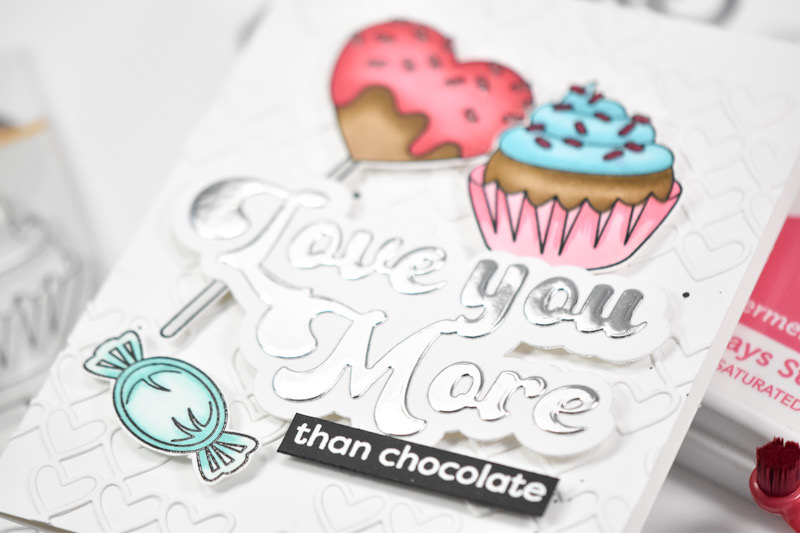
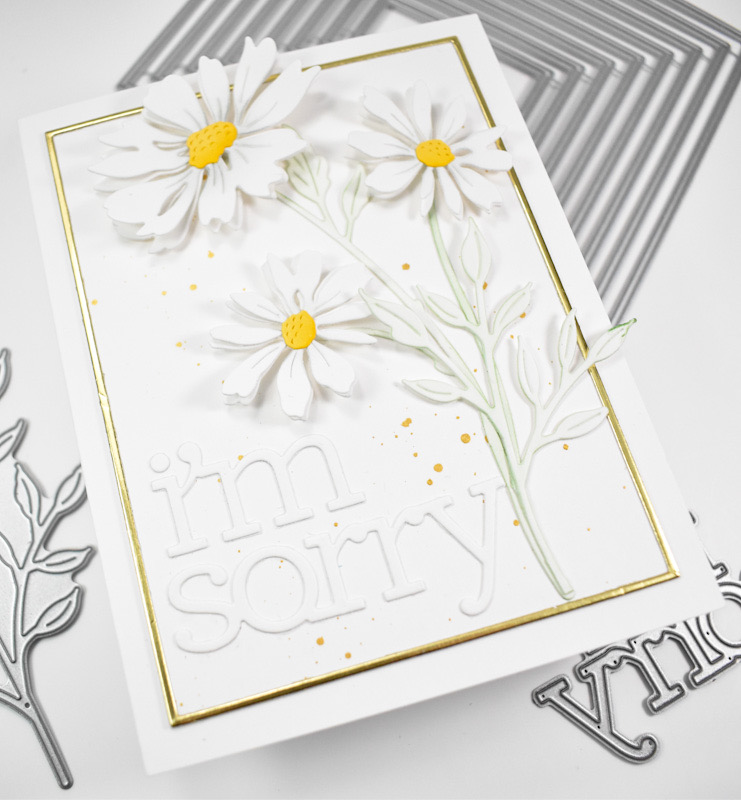
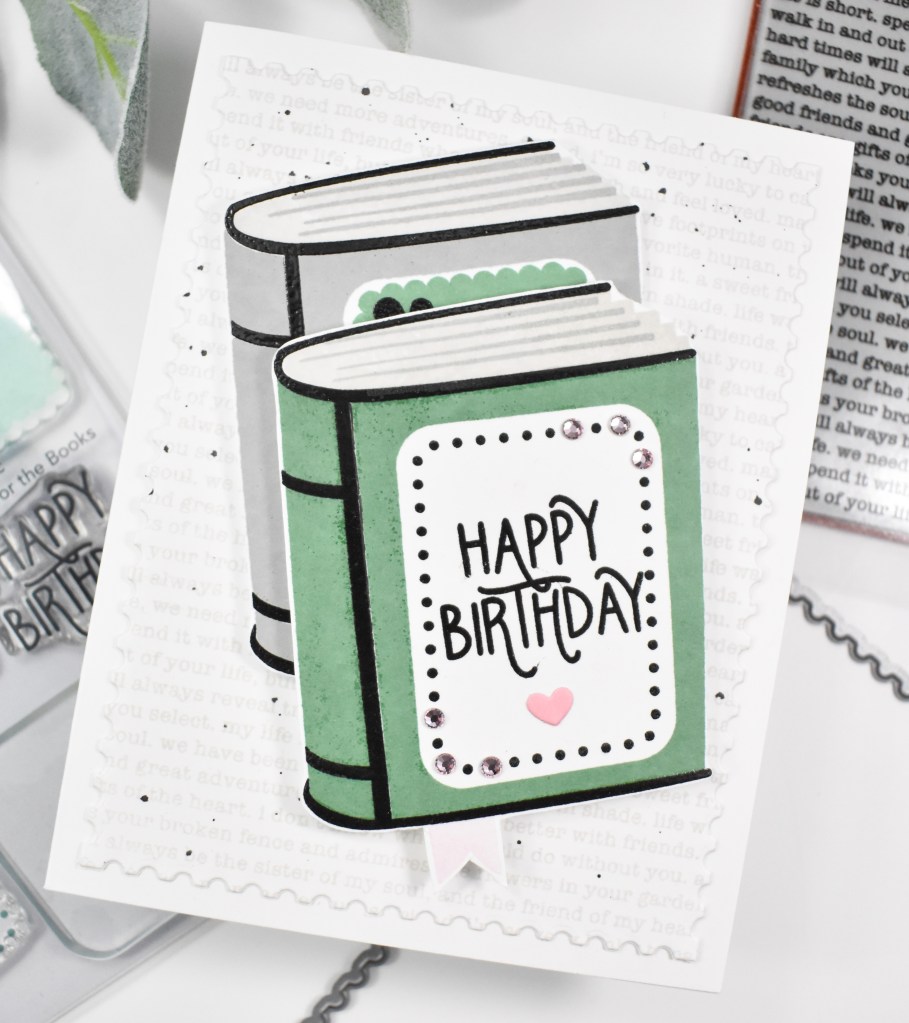
I began this project by stamping the book using Bubblegum, Gravel and Sage inks. This is a layering stamp set, so I moved onto the black areas and used VersaFine Onyx Black ink for that and heat set it using Ranger Clear Embossing Powder. For the “pages” of the books, I used Misty Coast ink from PinkFresh Studio.
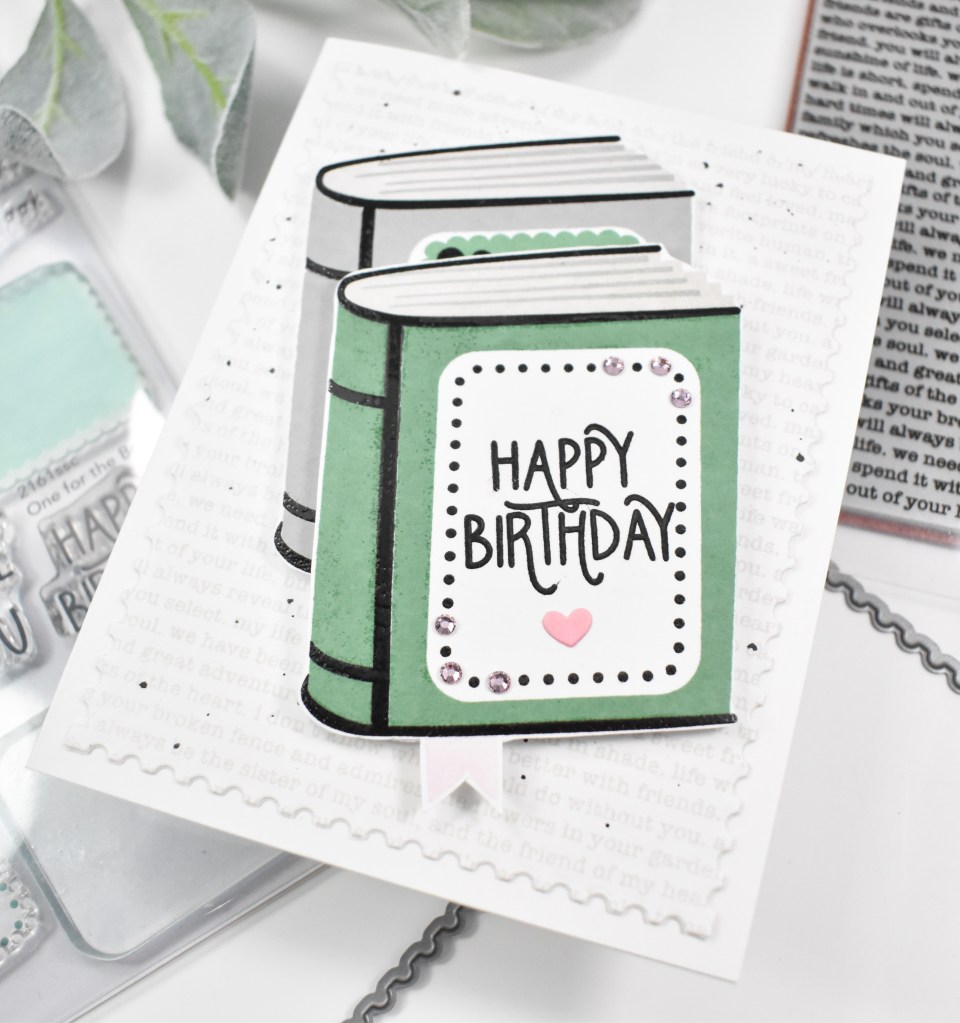
Once the stamping of the book was complete, I adhered them to fun foam and trimmed them down to size. I also added a small pink heart and Bubblegum Dazzling Gems to the top book. The background was created using the Friendship Text Background stamp with that same Misty Coast ink. That was then trimmed down using the Postage Stamp Edge Frames. Before adhering to the card base, I added some black splatter and then adhered the books atop that. Because the books had already been adhered to fun foam, there was no need for additional foam tape.


That finishes up this project! I hope you enjoyed it! Head on over to Simon’s website to check out the entire Favorite Things release and let me know your favorites. Thanks for joining me, and I hope you have a fabulous day!

Supply List
Affiliate links used at no cost to you. What does this mean? If you use the links within this post to make a purchase, I receive a small commission, which allows me to continue to post crafty content for your enjoyment. I truly appreciate your support!
Latest Posts
- Spellbinders Trailside Birthday Raccoon

- Simon Says Stamp Grateful Heart

- Simon Says Stamp Braided Greetings

- Together By Design Color Cube Floral

- Simon Says Stamp Cute Duckling

Latest Instagram Posts