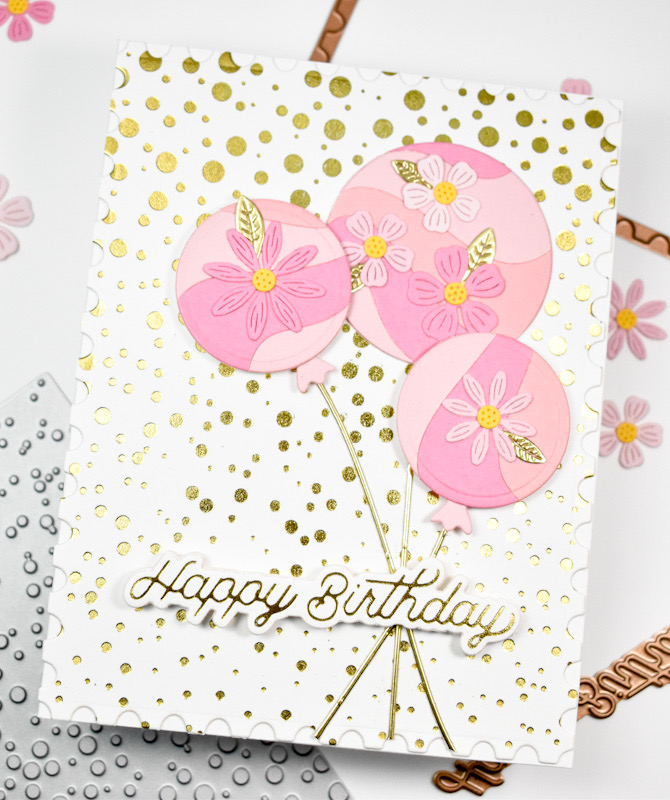
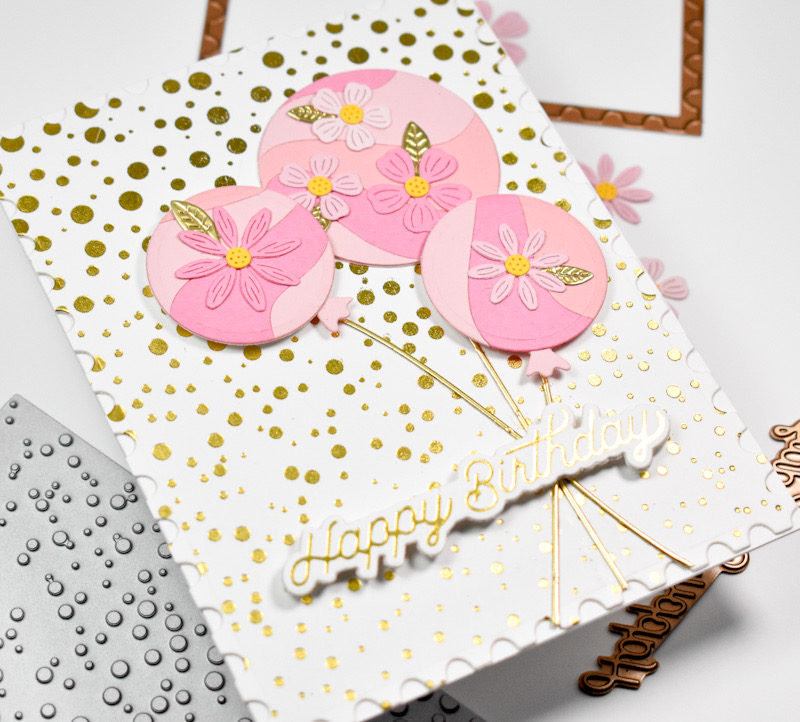
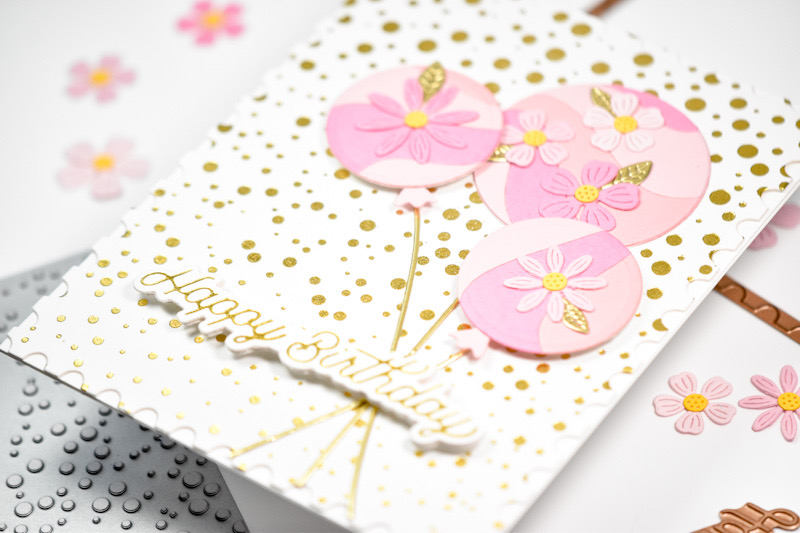
Spellbinders Happy Little Moments

Hello Crafters, and welcome back! Thanks for stopping by! Today’s project is featuring the new Spellbinders All Season Spring BetterPress plate. This is a cute little set that features several sentiments suited for spring time cards. And the best thing, it’s a single plate and die set that creates multiple sentiments at once! Such a game changer for me! Let’s run through the details for this one, shall we?

NOTE: all supplies are linked to multiple sources in the thumbnails at the end of this blog post.

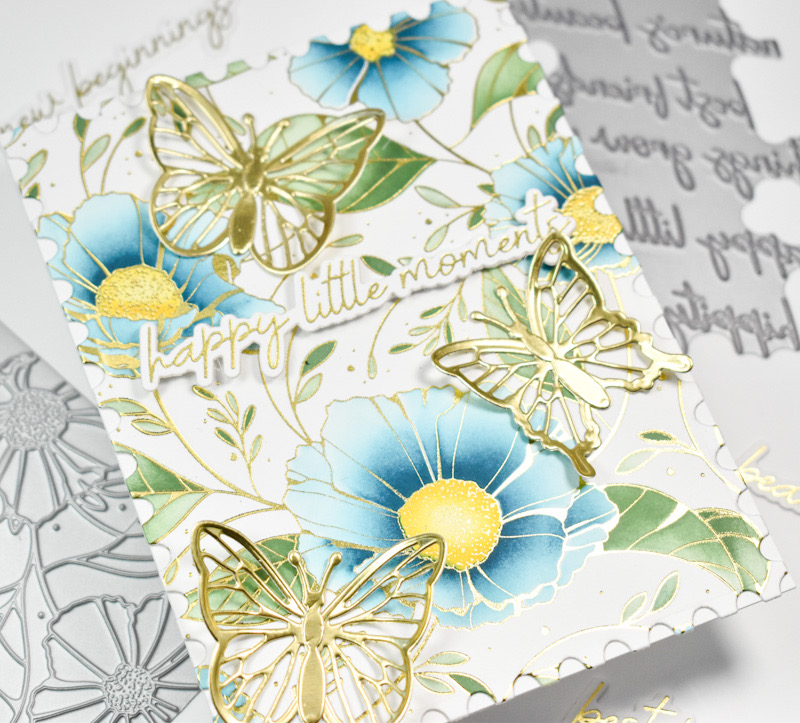
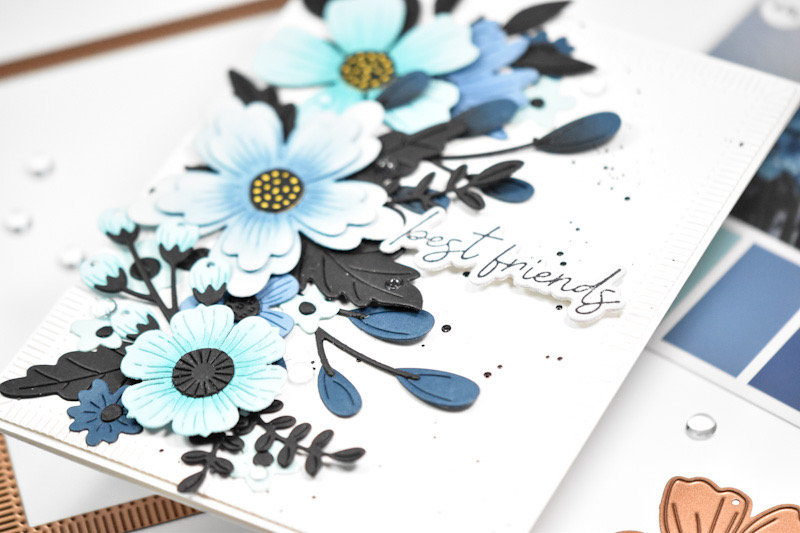
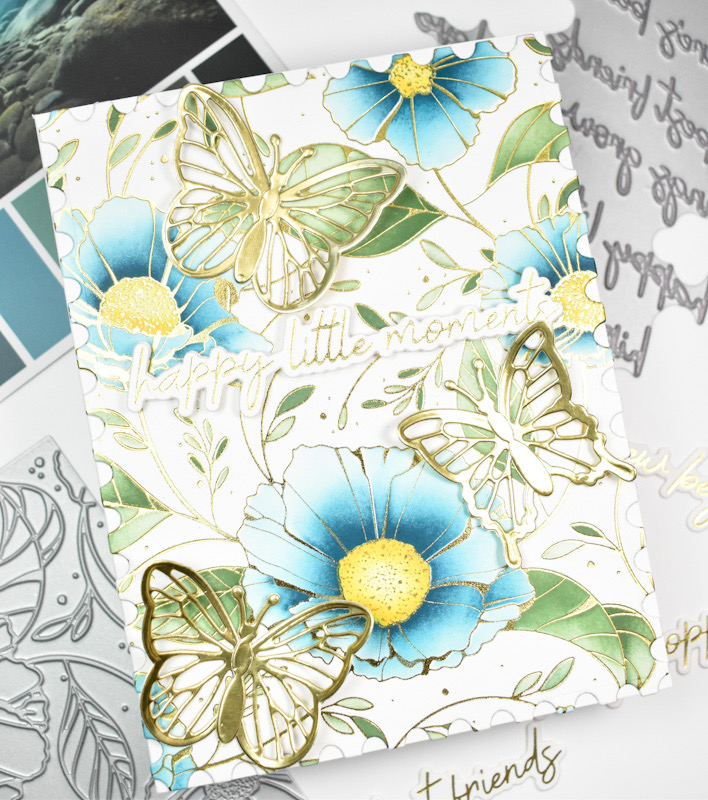
To be honest, I’ve been struggling with different color combinations lately. I find a combo that I like, and it’s hard for me to break away from that one. So, I pulled a few cards from the Color Cubes and settled on this combo which features aqua colors with sage green colors, and it’s beautiful. I began my project by gold foiling the Spellbinders Cosmos Backdrop BetterPress plate and using the coordinating stencil to add the color.

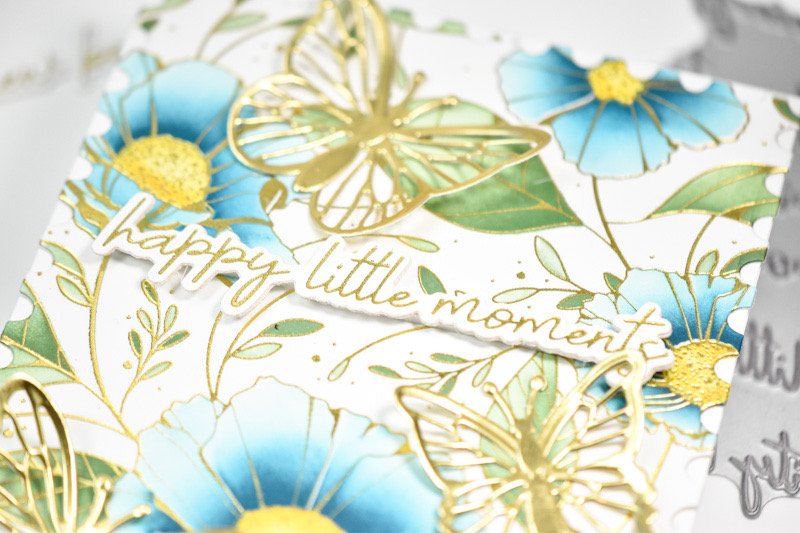
The inks that I used were PinkFresh Studio Eucalyptus, Paradise, Atlantis and Sweet Mustard. Once the ink blending was complete, I used the Spellbinders Nested Postage Labels & Tag set to trim it down. While I was foiling the panel, I went ahead and gold foiled the Spellbinders All Season Spring BetterPress plate as well, and trimmed that out using the included die. I did cut it several times for a stacked sentiment.

I felt that the panel needed some additional elements, so I used the Spellbinders Delicate Butterflies and cut three of those from gold cardstock. The butterflies were adhered with liquid glue, while the sentiment was adhered using foam strips for added dimension.

That does it for this one! I hope you enjoyed this project! Don’t forget to stop by the Spellbinders website to check out all of the fun things for August! Thanks again for joining me, and I hope you have an awesome day!
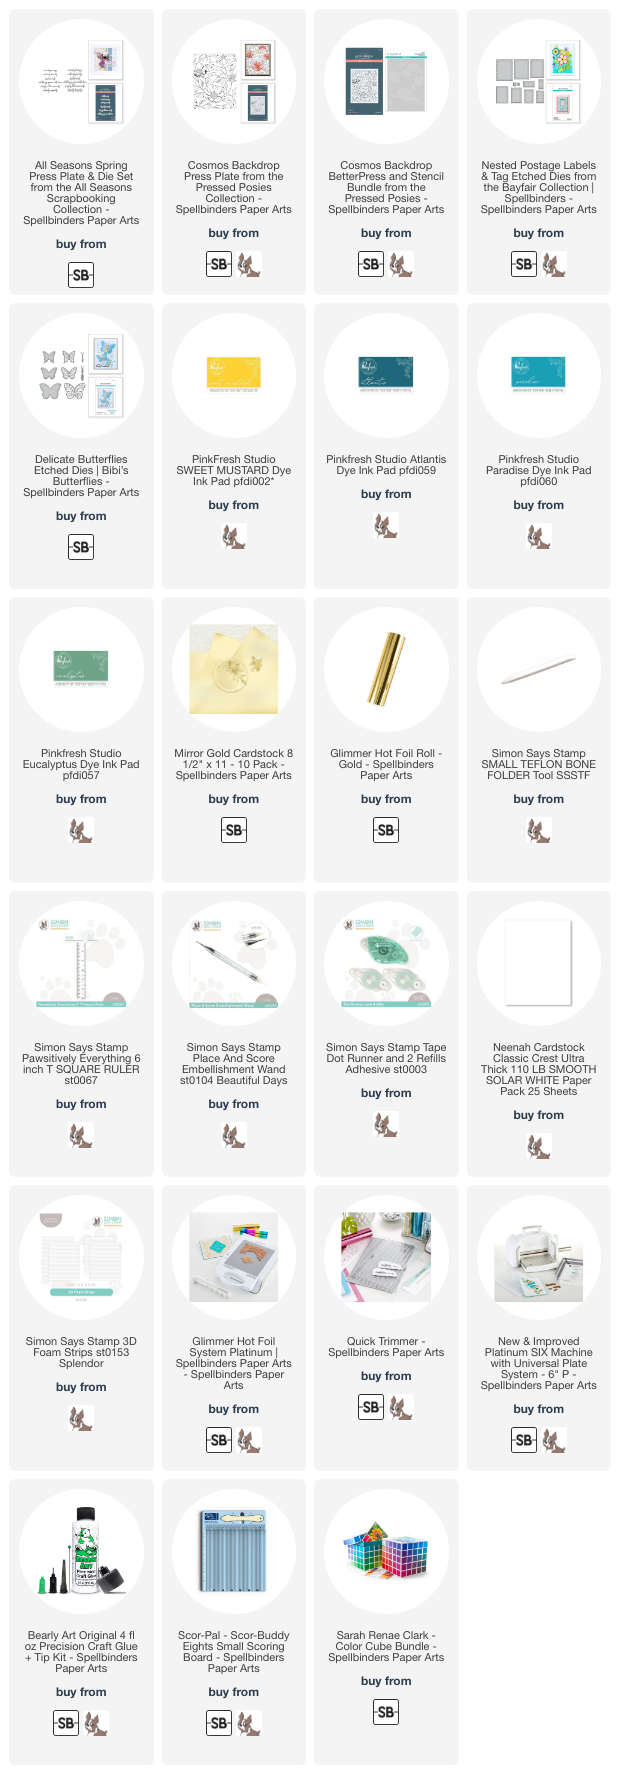
Supply List

Affiliate links used at no cost to you. What does this mean? If you use the links within this post to make a purchase, I receive a small commission, which allows me to continue to post crafty content for your enjoyment. I truly appreciate your support!

Latest Posts

Latest Instagram Posts

Spellbinders Best Friends

Hello Crafty Friends! I’m so glad that you stopped by! The Spellbinders August releases are live, and I’m back today with a card featuring the new All Seasons Spring BetterPress Press Plate. Let’s not waste time and go through the details!

NOTE: all supplies are linked to multiple sources in the thumbnails at the end of this blog post.

I look for any reason to create with Spellbinders flower sets, so having a new sentiment set was all I needed to pull them out. The Spellbinders All Season Spring set is great because it’s a single plate and a single die, so you’re able to create multiple sentiments in one pass! I love this so much, because it allows you to add so many sentiments to you stash for those times when you don’t have much time to create.

I began this card by pulling an inspiration card from the Color Cubes and die cutting a bunch of flowers and leaves from aqua, various shades of blue, yellow and black cardstock using several sets from Spellbinders. I’ll link to those sets below for your reference. Once those were cut, I did some ink blending on the flowers using SSS Pawsitively Saturated Inks in Seafoam, Morning and Dusk, before adhering the pieces together using liquid glue.

For my background panel, I used the Spellbinders Fluted Classic Rectangles and splattered that with black acrylic ink. While that was drying, I prepared my sentiment by using BetterPress Black Ink onto Grey BetterPress Paper. I did cut the sentiment several times for a stacked sentiment for added dimension.

I began adhering the leaves to my panel using glue, along with the lower level flowers. Once I reached the main flowers, those were adhered with foam strips, as well as the sentiment. To finish up, I did add some clear drops for a little shine.

That does it for this one! I hope you enjoyed it as much as I did! I really can’t get enough of creating beautiful flowers! Thanks again for stopping by, and don’t forget to head over to the Spellbinders site to check out all of the new August releases! Have yourself a wonderful day!

Supply List

Affiliate links used at no cost to you. What does this mean? If you use the links within this post to make a purchase, I receive a small commission, which allows me to continue to post crafty content for your enjoyment. I truly appreciate your support!

Latest Posts

Latest Instagram Posts

Spellbinders All Seasons Floral

Hello Crafty Friends, and welcome back! The Spellbinders August release is live, and there’s some awesome stuff to peruse! Today’s card is featuring the new All Seasons Spring BetterPress Plate, and if you know me, you know that I’m going to pair it with florals! So, let’s run through the details.

NOTE: all supplies are linked to multiple sources in the thumbnails at the end of this blog post.

When I was thinking about this card, I wanted to do a monochromatic color scheme, so I went with black, white and grey. I love the look of white flowers with grey shading, so that’s what I set out to do! I used the Spellbinders Be Bold Blooms set and cut a bunch of the flowers from Neenah 110lb cardstock, and I cut the centers and foliage from black cardstock.

I used SSS Pawsitively Saturated Ink in Earl to do the ink blending on the flowers, and when that was complete, I assembled the flowers using liquid glue. I created the background panel by using gravel cardstock and the Spellbinders Argyle Plaid 3D Embossing Folder, and splattered that with some black acrylic ink.

While the panel was drying, I inked up the All Seasons Spring Press Plate using the BetterPress Black ink onto a panel of Pebble BetterPress Cardstock. That was then cut using the included die. I did cut it a second time from Neenah 110 and adhered those pieces together for a stacked sentiment. This particular sentiment is a very long sentiment, and I didn’t like the way it looked on this particular card, so I ended up cutting it into two pieces so that it would fit better.

My embossed panel was then adhered to a black panel for contrast, and I began gluing in the bottom layers first, which included the smaller flowers and the foliage. I adhered the top flowers with foam strips, as well as the sentiment. I had a few leaves left over, so I secured those in place where needed. To finish up, I added a few clear drops.

That does it for this project! I hope you enjoyed it as much as I did! I really love this color combo from time to time, as a change from the pastel flowers. Don’t forget to head over to the Spellbinders website to check out all of the fun, new August products! Thanks again for stopping by, and I hope you have a wonderful day!

Supply List

Affiliate links used at no cost to you. What does this mean? If you use the links within this post to make a purchase, I receive a small commission, which allows me to continue to post crafty content for your enjoyment. I truly appreciate your support!

Latest Posts

Latest Instagram Posts

Spellbinders Merry Everything

Hello Crafty Friends, and welcome back! I’m glad that you stopped by to check out today’s project featuring the new Spellbinders Night & Day Pines Press Plates, along with the Mistletoe Greetings Press Plates. Let’s not waste time and get into the details!

NOTE: all supplies are linked to multiple sources in the thumbnails at the end of this blog post.

I’ve used the Night & Day Pines Press Plates on a previous project, but I used the “day” plate, and today’s project features the “night” plate. I began this project by inking up the plate with BetterPress Black ink and running it through the machine. I did this a couple of times to make sure that I was getting good coverage. Once that was done, I did some ink blending on the panel using SSS Pawsitively Saturated Inks in Artichoke and Latte.

I trimmed the panel down using the Spellbinders Nested Postage Labels & Tag set and then went on to foil the sentiment. This is a great holiday sentiment set, because it foils multiple sentiments at once. It foils multiples and cuts multiples at once, which is such a time saver! I wanted some gold leaves so I used the Spellbinders Poinsettia Bloom to achieve this. I thought the berries looked nice as well, and decided to use those too. I did go back and cut the berries from red cardstock and adhered those atop the gold berries.

The leaves and berries were glued in place, and I adhered the white sentiment banner atop a gold banner using SSS 3D Foam Strips, and then glued that in place. Everything was the adhered to the card base to finish up.

That does it for this project! I hope you enjoyed it, and I hope it inspires you to get crafty in your space. Don’t forget to head on over to Spellbinders to check out all of the new release items and clubs for July! Thanks again for stopping by, and I hope you have an awesome day!

Supply List:

Affiliate links used at no cost to you. What does this mean? If you use the links within this post to make a purchase, I receive a small commission, which allows me to continue to post crafty content for your enjoyment. I truly appreciate your support!

Latest Posts

Latest Instagram Posts

Spellbinders Birthday Balloons

Hello Friend, and welcome back to my blog! Today’s project is featuring the new Spellbinders Sprinkled Confetti BetterPress Press Plate in the form of a fun birthday card! Let’s get into the details!

NOTE: all supplies are linked to multiple sources in the thumbnails at the end of this blog post.

I began this project by foiling the Sprinkled Confetti plate using gold foil and trimmed it down using the Spellbinders Nested Postage Labels and Tag set. I then went to work on the balloons using various pink cardstock colors and the Spellbinders Color Block Balloons set.

Once the balloons were assembled, I added some flowers to the balloons for some added interest using the Spellbinders Mini Blooms and Sprigs set. These were flowers that I already had made from a previous project, and I thought they added a nice touch.

I foiled the Happy Birthday sentiment, which is from the Spellbinders Birthday Celebrations Collection, using the same gold foil, and trimmed it out with the coordinating die along with three additional cuts and stacked those. Unfortunately, this Glimmer Hot Foil set of sentiments has been discontinued.

I adhered the balloon strings using liquid glue, and the balloons along with the sentiment were adhered using foam strips. Everything was then adhered to the card base to finish up.

That does it for this project! Even though this plate is included in a holiday collection, I thought it would be great for a birthday card. I can totally see it as snow too! Don’t forget to head over to Spellbinders to check out all of the new July releases! Thanks again for stopping by, and have an awesome day!

Supply List

Affiliate links used at no cost to you. What does this mean? If you use the links within this post to make a purchase, I receive a small commission, which allows me to continue to post crafty content for your enjoyment. I truly appreciate your support!

Latest Posts

Latest Instagram Posts

Spellbinders Sending You Joy

Hello Crafty Friends! Thanks so much for stopping by to check out today’s projects featuring the new Spellbinders Night & Day Pines Press Plate. What a fun set this is! I love that you get two plates in this set that give two different looks! Let’s run through the details!

Main Products:

For this card, I used the “day” press plate, which gives a brighter, more airy image. I began by inking the press plate using PinkFresh Studio Evergreen ink, and running it through the machine. I then used the Spellbinders Nested Postage Labels & Tag set to trim that panel down. I decided that the panel was a little too bright, so I did some light ink blending using SSS Pawsitively Saturated Ink in Cabbage.

I used the Spellbinders Club Blooms and Floral Spray sets to create the cluster of flowers and leaves. These were die cut from red and various colors of green cardstock. I did do some ink blending on those using SSS Pawsitively Saturated Inks in Cabernet and Kale to add some shading and dimension. Once the ink blending was complete, I added some PFS Gold Metallic Pearls to the centers of the flowers for some added shine.

The leaves and smaller flowers were adhered to the panel using liquid glue, while the larger flower was adhered using SSS 3D Foam Strips. The sentiment is from the new Spellbinders Mistletoe Greetings Press Plate set, and that was foiled using gold foil and trimmed out using the included dies. This is one of those great sets that creates multiple sentiments at one time, which I absolutely love!

The sentiment was tucked into the flower slightly and adhered with foam strips as well. The panel was then adhered to the card base to finish up.

That does it for this project! I hope you enjoyed it! Don’t forget to head on over to the Spellbinders site to check out all of the new releases and club kits! Thanks again for stopping by, and I hope you have a wonderful day!

Other Products:

* Affiliate links used at no cost to you. What does this mean? If you use the links within this post to make a purchase, I receive a small commission, which allows me to keep bringing crafty content for your enjoyment. I truly appreciate your support!

Latest Posts

Latest Instagram Posts