Simon Says Stamp Grateful For You Cosmos

Hello Crafters and welcome back! I’m participating in an Instagram Hop today to celebrate Simon Says Stamp’s latest release, Cheering For You. Head on over there to check it out and comment along the hop for your chance to win a $25 gift card! Today’s project is a mixed media-ish type, which I never do, but always love them when I’m done! It’s featuring a few new products from the latest release, so let’s go ahead and get into the details!

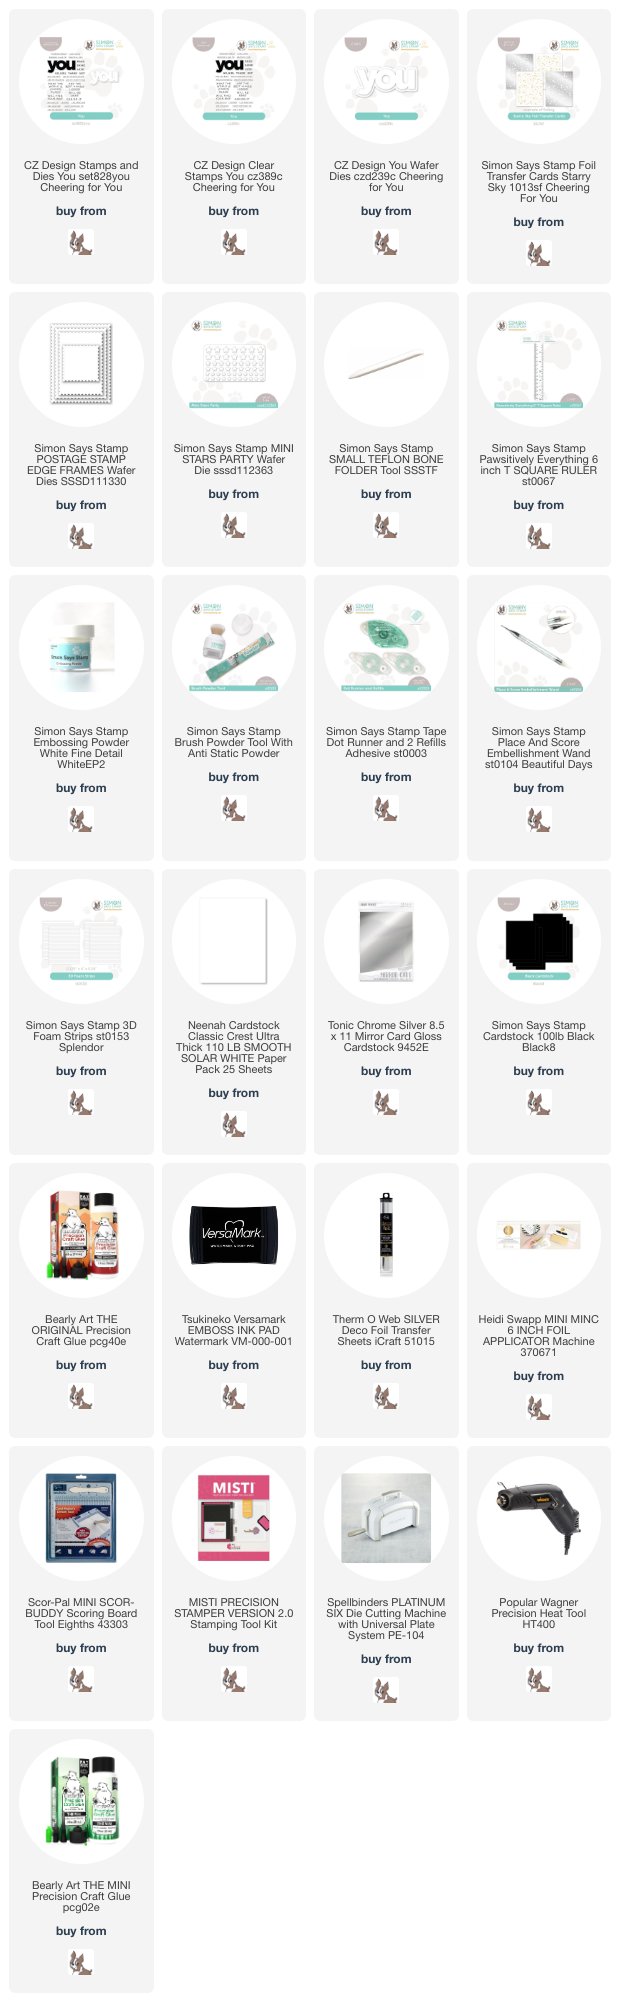
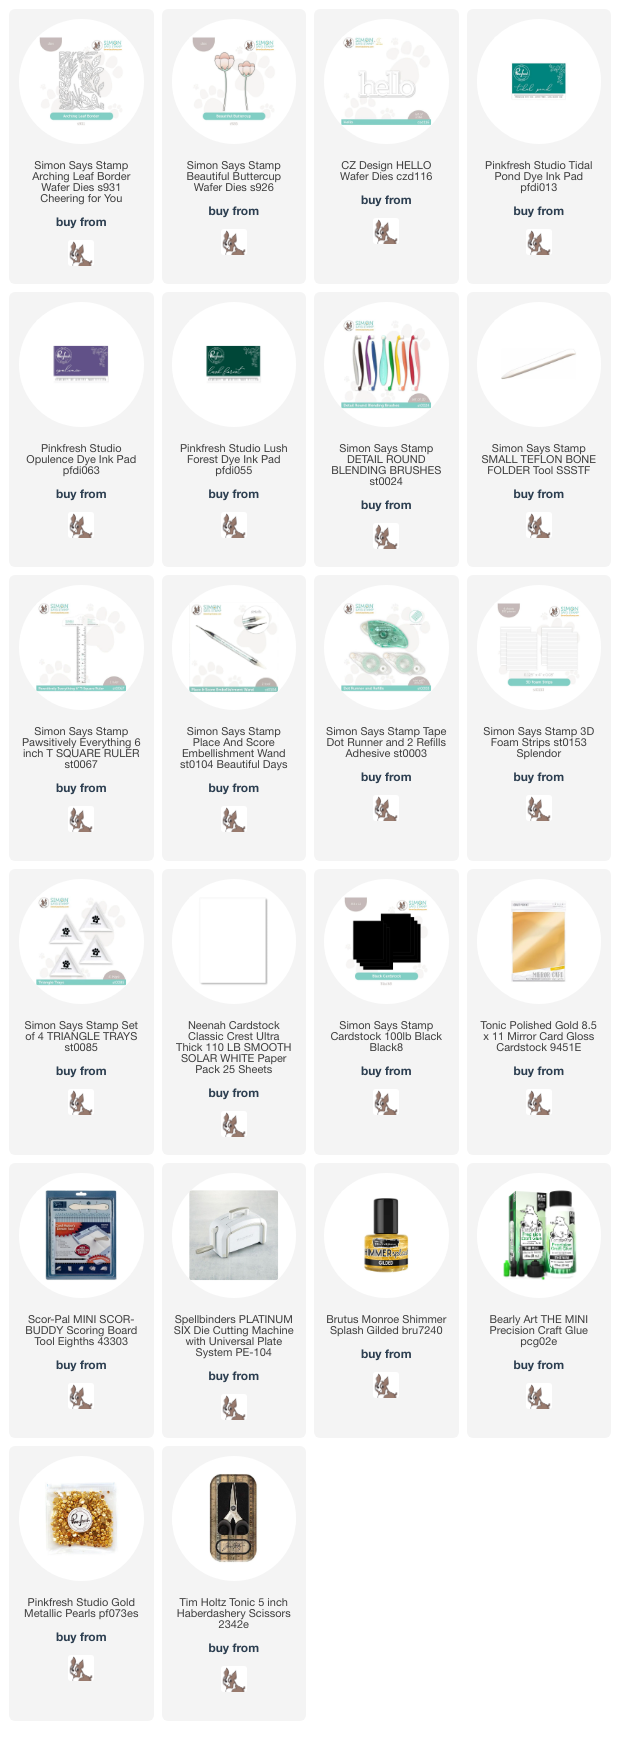
NOTE: all supplies are linked to multiple sources in the thumbnails at the end of this blog post.
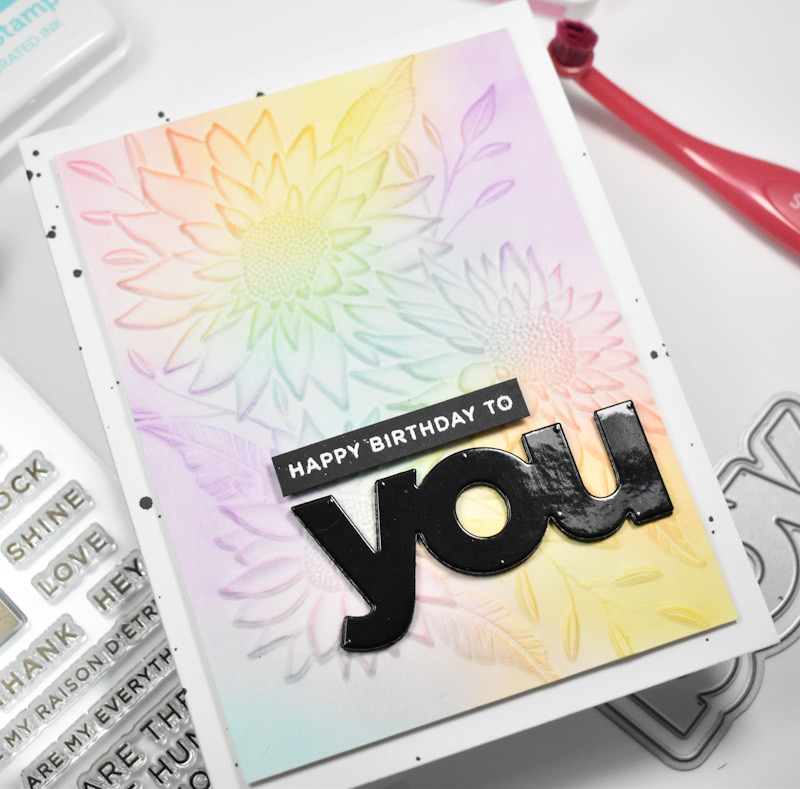
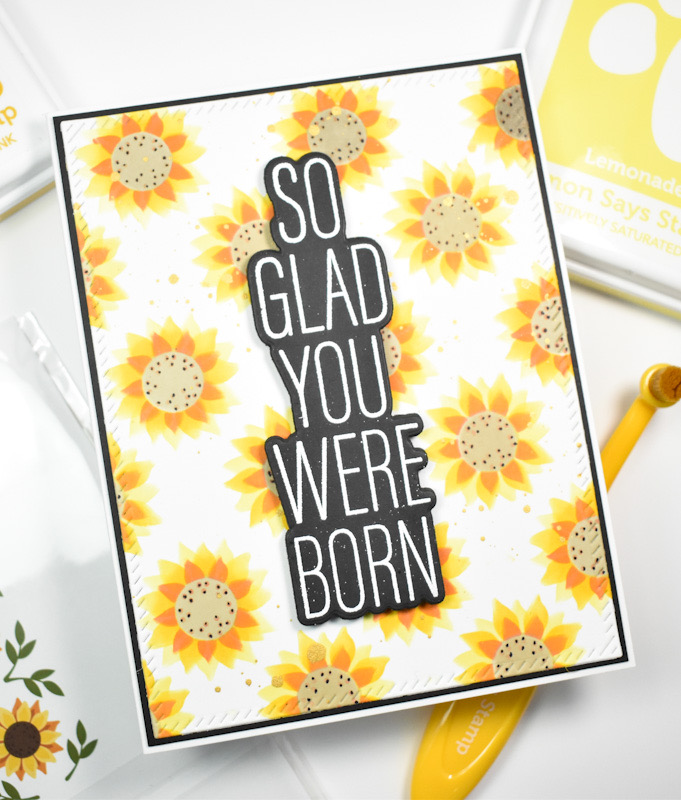
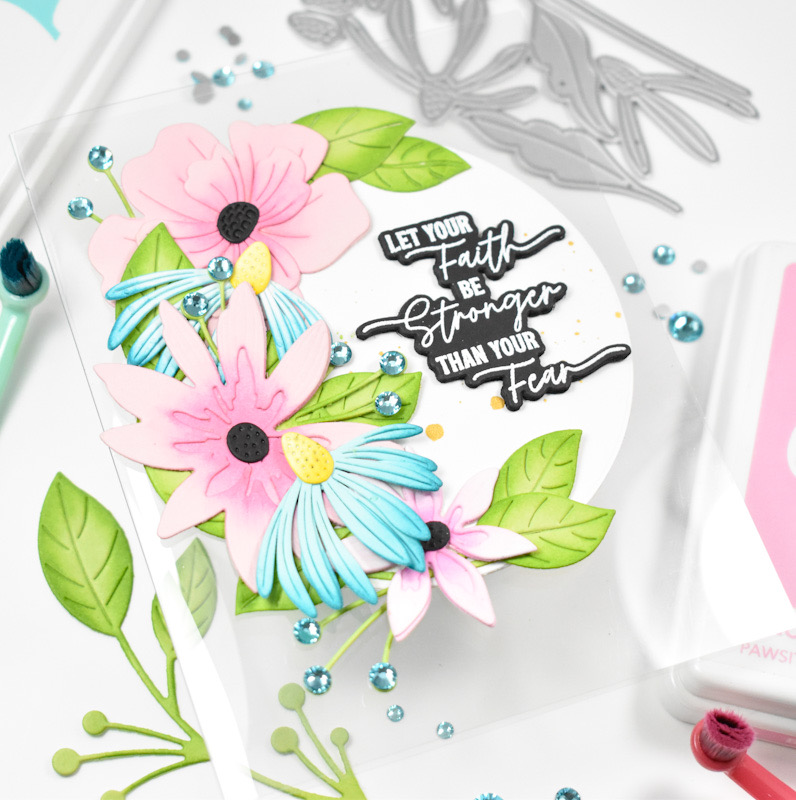
This background panel was left over from a previous ink smooshing session, so I pulled that out for this card. But, I’ll post how it was created just in case you feel inspired to create your own. I grabbed a piece of watercolor paper, and Distress Oxide ink pads in Saltwater Taffy, Crackling Campfire, Spiced Marmalade, Fossilized Amber and Evergreen Bough. I worked one color at a time by smooshing the ink pad onto my silicone mat, spritzing with water and swiping or dabbing my paper into the ink. I made my way through the colors, drying the paper in between each addition, so that the colors didn’t get muddled. Once I was satisfied with the additions of color, I took the panel to my splat box and splattered it with Distress Oxide Sprays in Saltwater Taffy, Crackling Campfire and Fossilized Amber.

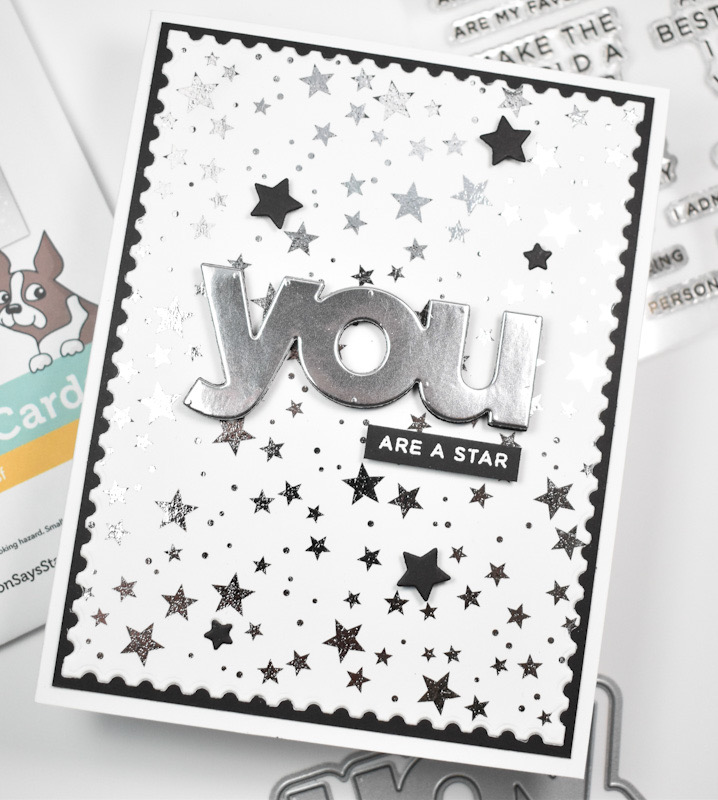
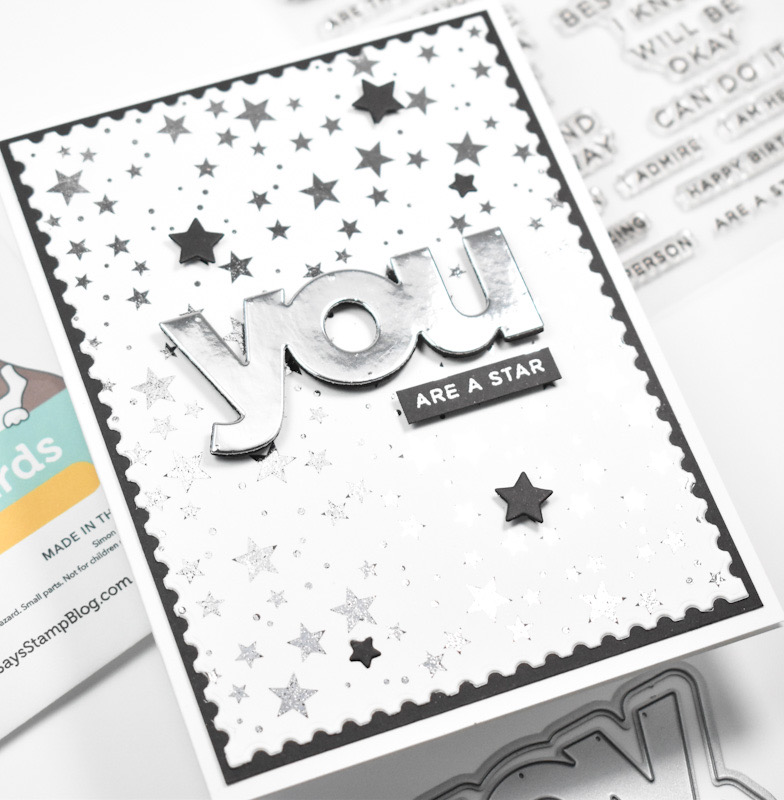
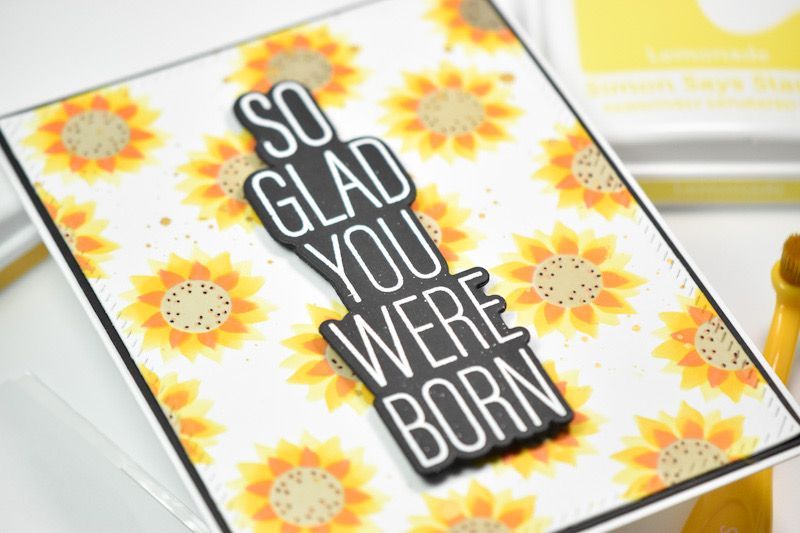
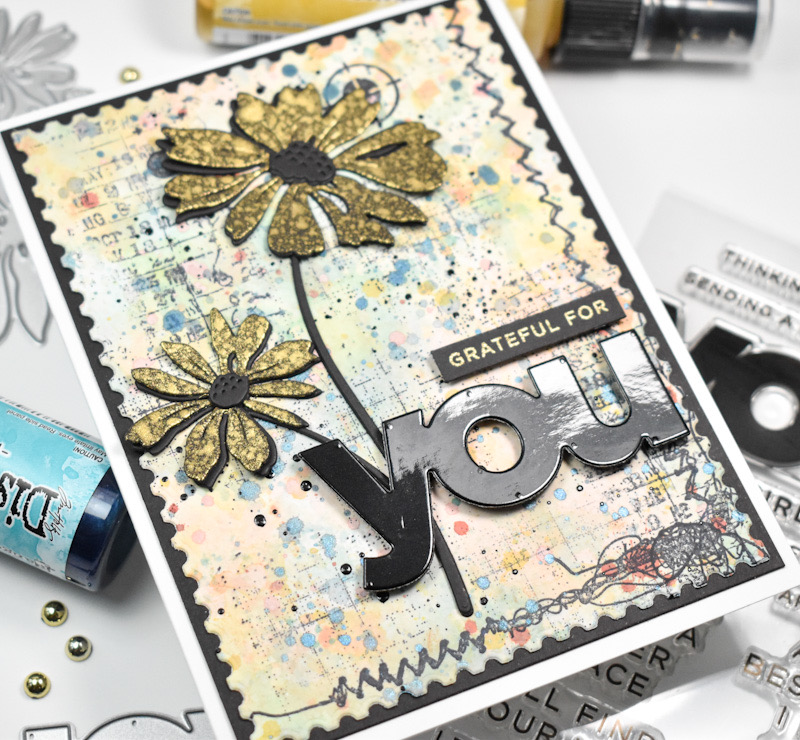
Like I said, this panel was made a little while back, but I recently bought the new TH Distress Spritzs so I decided to splatter the panel with some of the Peacock Feathers Spritz, along with some black acrylic ink. The panel was trimmed down using the SSS Postage Stamp Edge Frames, and I did some stamping using a few TH Stampers Anonymous sets with Archival Black ink. I’ll link to those stamp sets below.

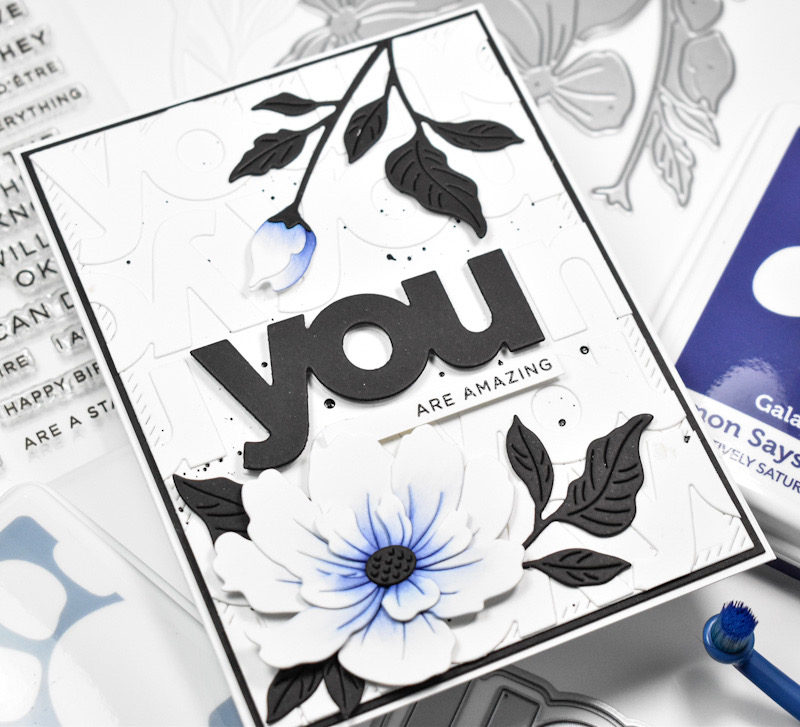
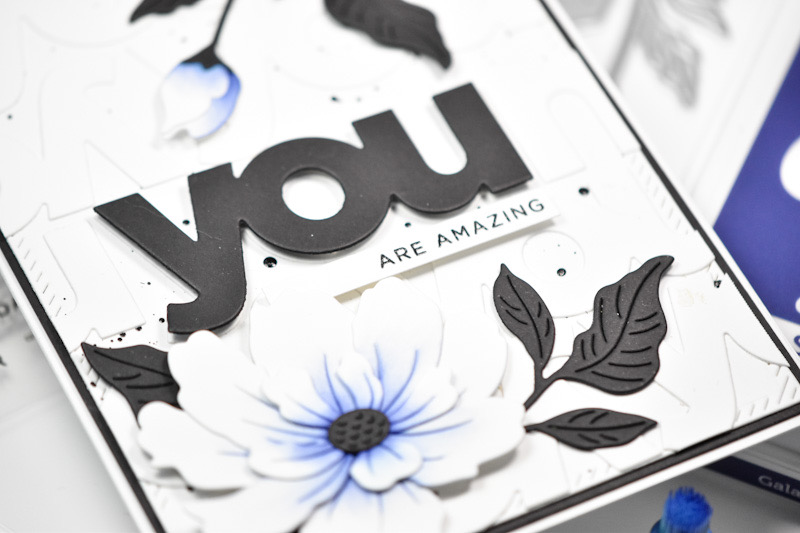
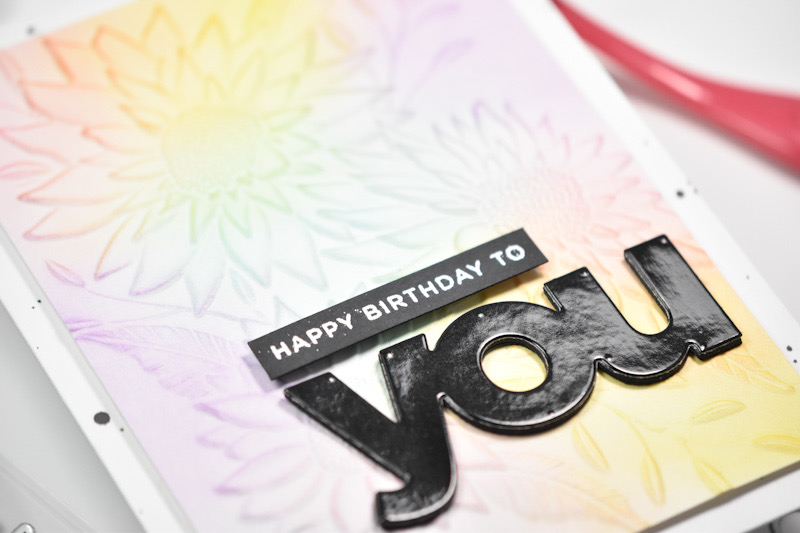
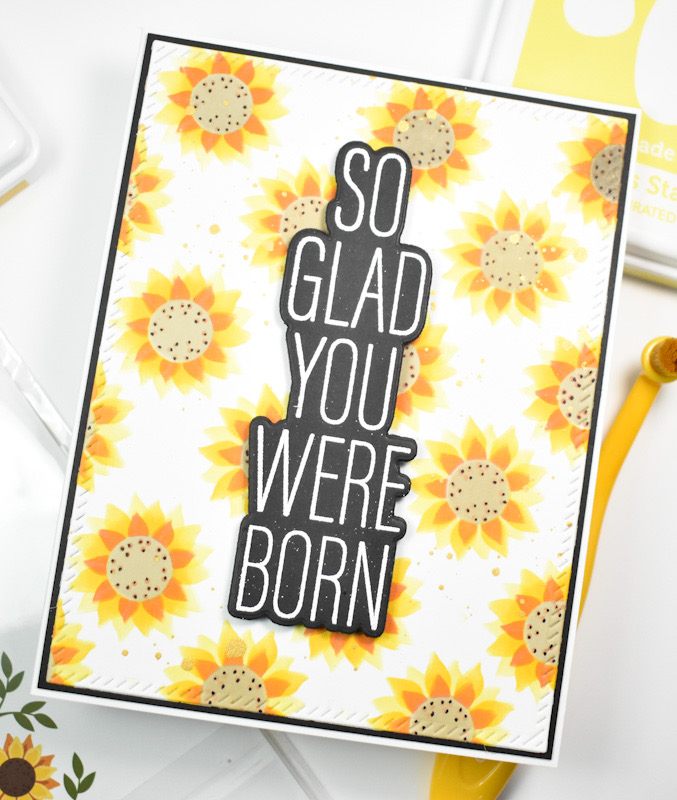
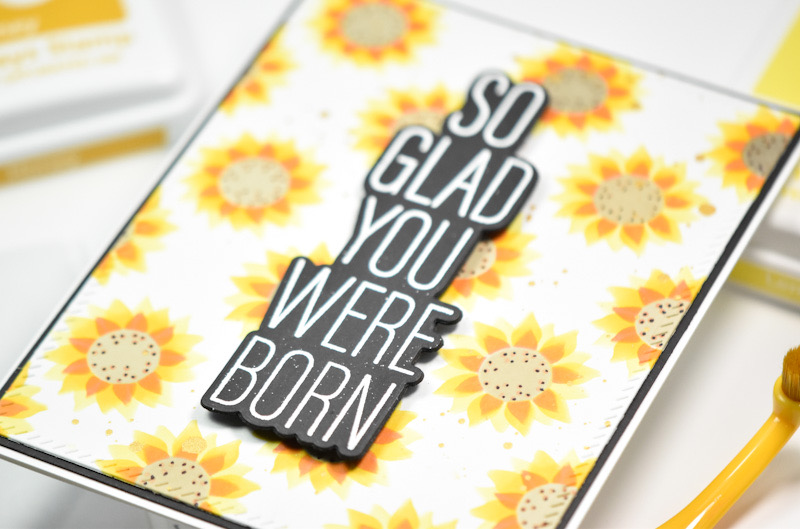
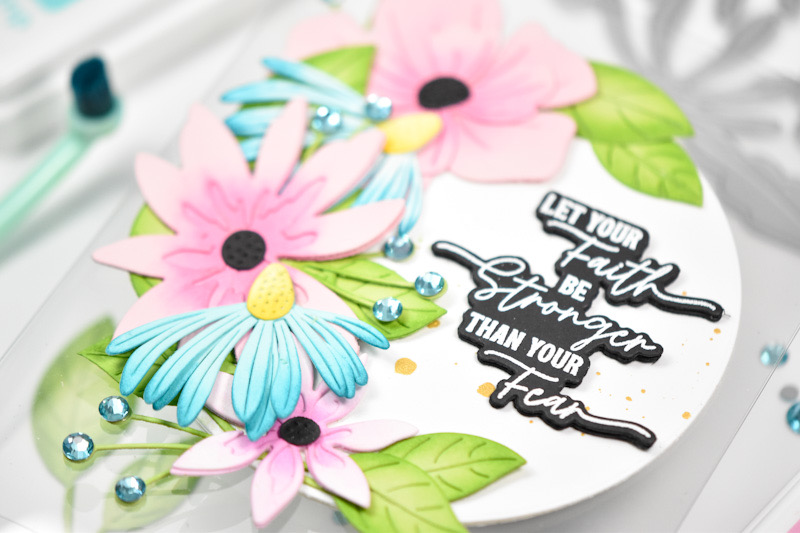
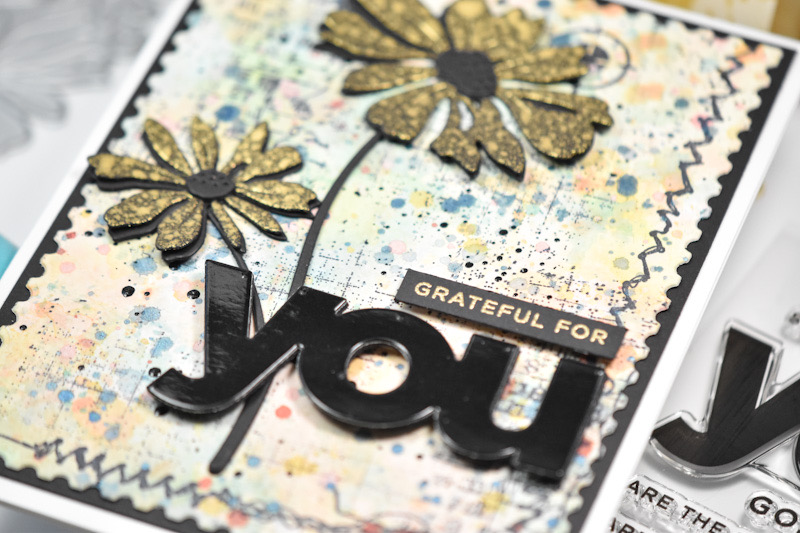
I die cut the SSS Cosmos Duo twice from black cardstock and used the Fossilized Amber Distress Spritz on one set. Once the pieces were dry, I adhered them together using liquid glue. I also die cut the You twice from black cardstock and once from black glossy cardstock and adhered those together as well. The small sentiment is from the You stamp set, and that was stamped onto black cardstock with VersaMark Ink and heat set using Ranger Princess Gold Embossing Powder.
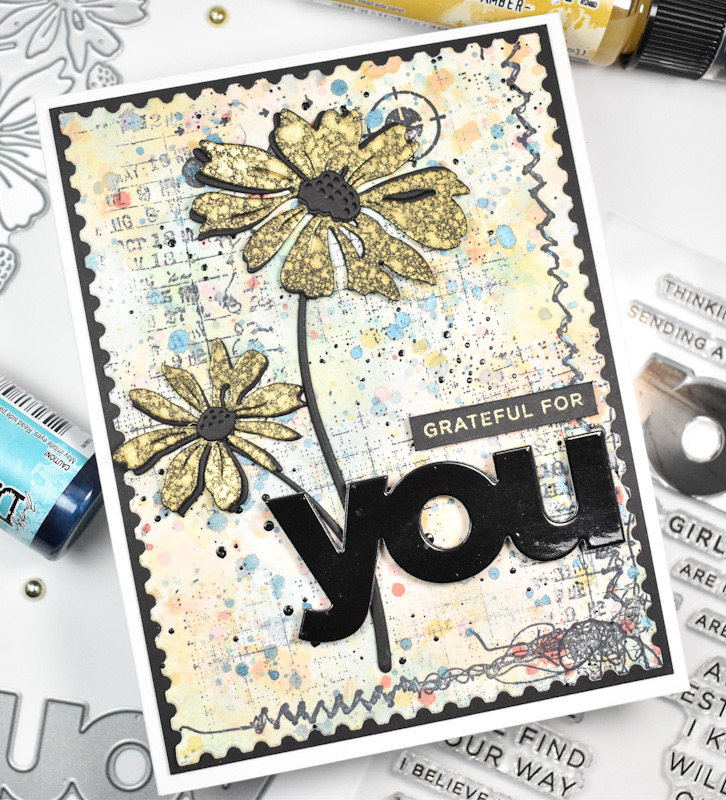
I adhered the flowers to my panel with liquid glue and adhered my sentiments using SSS 3D Foam Strips for added dimension. This panel was then adhered to a black panel for contrast before being adhered to the card base.
That does it for this project! I hope you enjoyed it as much as I did! Not sure why I don’t do this type of card more often, so maybe I need to work on that. Don’t forget to check out the Instagram Hop for your chance to win a $25 gift card at each stop along the hop! Thanks again for joining me for today’s project, and I hope you have a wonderful day!
Supply List
Affiliate links used at no cost to you. What does this mean? If you use the links within this post to make a purchase, I receive a small commission, which allows me to continue to post crafty content for your enjoyment. I truly appreciate your support!

Latest Posts
- Simon Says Stamp Groovy Birthday

- Simon Says Stamp Amazing Scattered Leaves

- Simon Says Stamp Beautiful Friend Floral

- Together by Design Featuring Pinkfresh Studio

- Simon Says Stamp Basket Bunny