Whirl Diamond Florals

Hello Crafty Friends, and welcome back! Thanks so much for stopping by to check out today’s project featuring a few newer and older products from Simon Says Stamp. Let’s run through the details, shall we?

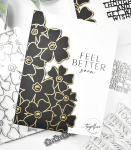
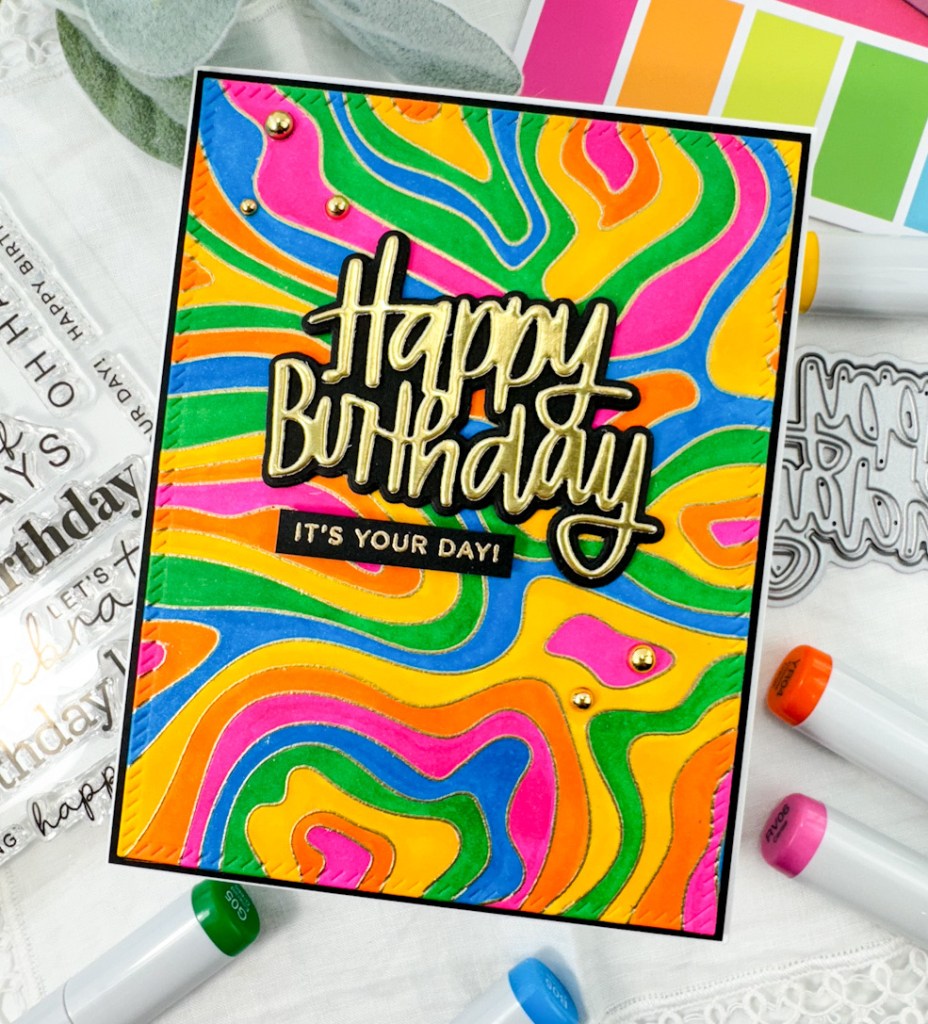
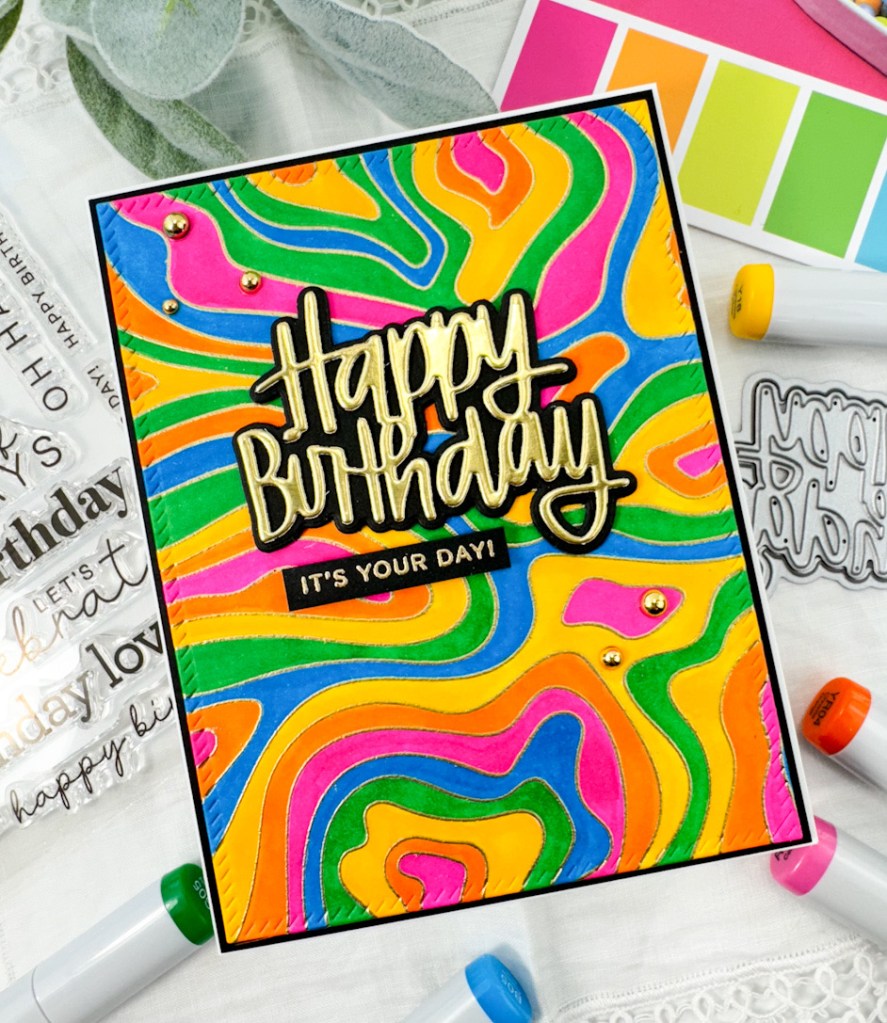
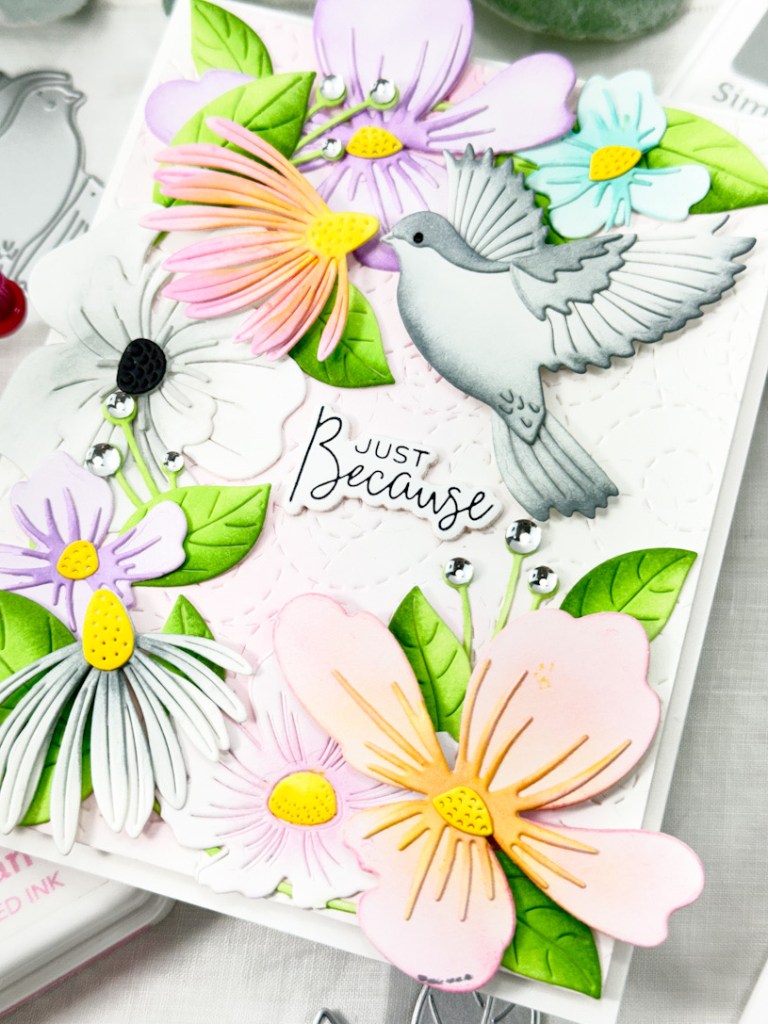
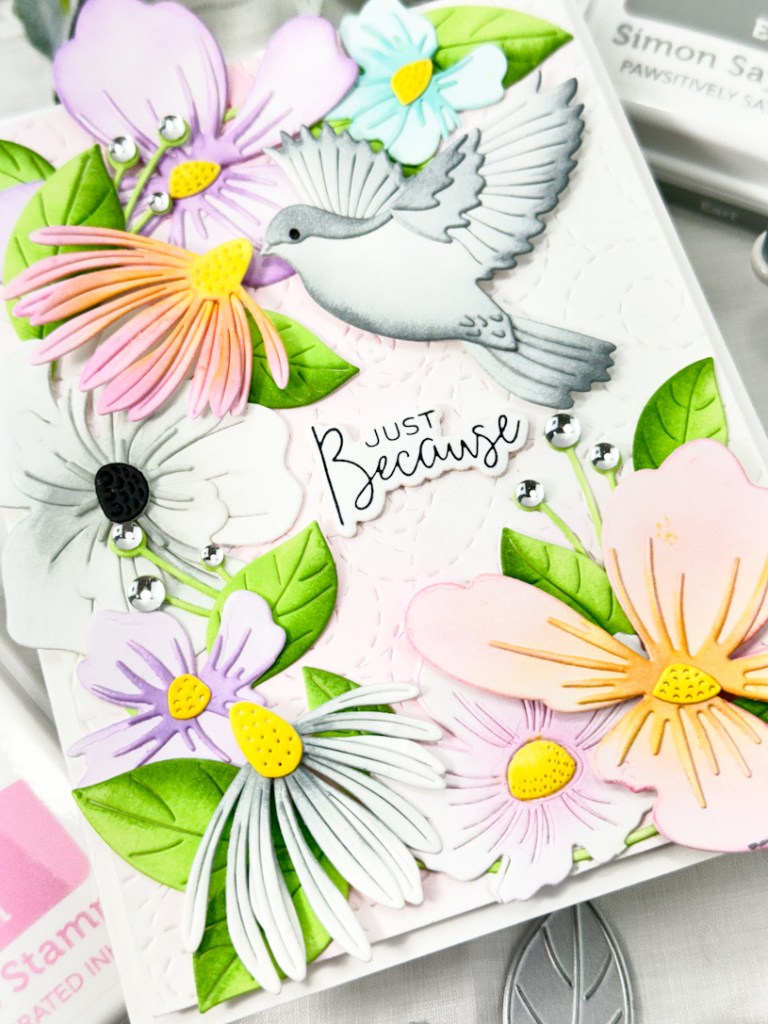
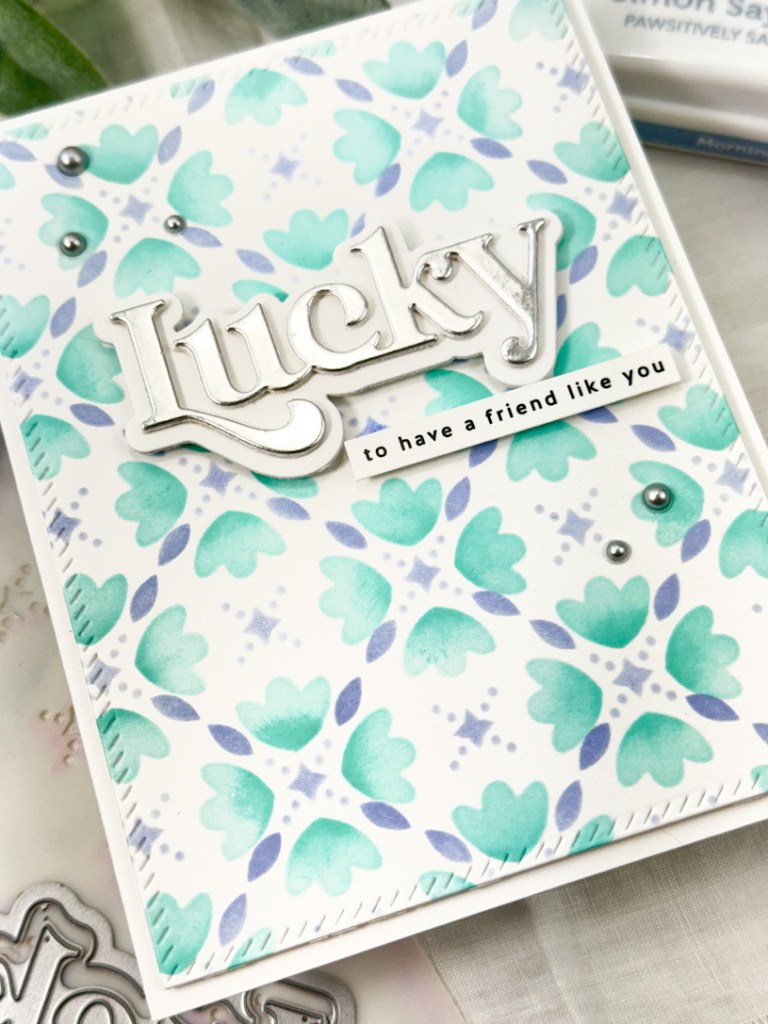
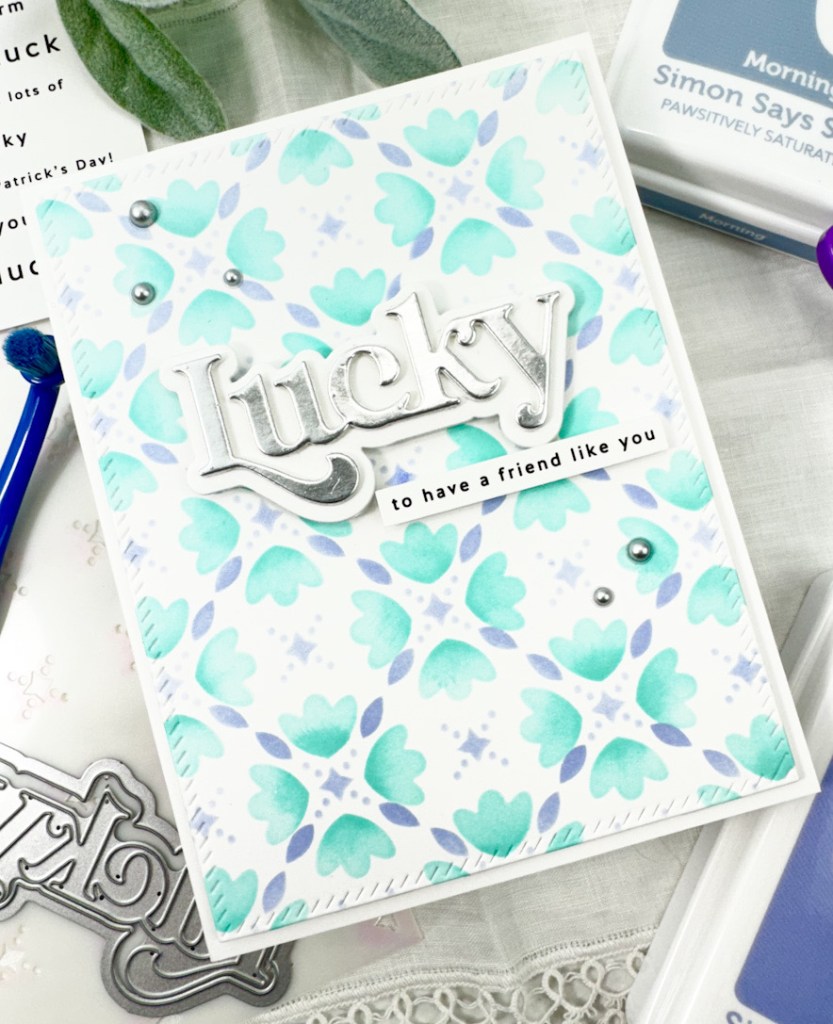
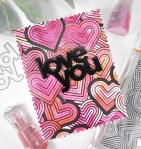
I had the idea to glue a black die cut of the SSS Whirl Diamond Plate onto a panel of Neenah 110lb cardstock and doodle in the white space, so I pursued this idea today. I used a black Copic Multiliner to do the doodling, and the next step was to figure out something to go with this panel. That was the hard part! Especially for someone who overthinks! Here’s the dialogue that goes on .. Let’s try this. Let’s try that. Let’s try this with that. No, let’s try something different. I started out trying to use the SSS Fine Floral Stem in white and then in grey, but it just wasn’t speaking to me. I then decided to cut the flowers from silver cardstock, trying to use them with the stem, and it still wasn’t working for me. I then tried placing the silver flowers in a grid, and ultimately decided on that design. Obviously, I had to cut the flowers a bunch of times to be able to fill the panel.

I adhered the flowers using liquid glue, and then decided that the flowers would be better with black centers. Guess what, I had to go back and cut a bunch of the centers from black cardstock. I make things hard on myself so much of the time! I added the black centers, trimmed off the excess where needed, and went to work on the sentiment.

The sentiment is from the SSS Clean Line Stack stamp set, and I stamped it using VersaMark Ink and heat set it using SSS Detail White Embossing Powder. I used the coordinating die to trim it out, along with two additional cuts for a stacked sentiment. I then adhered that to the panel using SSS 3D Foam Strips before adhering the panel to the card base.

That does it for this one! Are you an over thinker too? I am genuinely curious! Do you go back and forth on what to add or what to try? It’s exhausting, I must say. All of this is why I usually only get one card done per day. How crazy is that?! Anyhoo, I hope you have a fabulous day, and thanks again for stopping by!

Supply List:
- SSS Fine Floral Stem
- SSS Whirl Diamond Plate
- SSS Clean Line Stack Stamp, Die, Bundle
- SSS 3D Foam Strips
- SSS Bone Folder
- SSS Place and Score Embellishment Wand
- SSS Detail White Embossing Powder
- SSS Dot Tape Runner
- VersaMark Ink
- Wagner Heat Tool
- Anti-Static Powder
- Black Cardstock
- Silver Cardstock (Not an affiliate link)
- Neenah Classic Crest Solar White 110lb Cardstock
- Copic Multiliner 0.3, Set
- Bearly Art Glue
- Scor-Buddy
- Tim Holtz Scissors
- Misti
- Spellbinders Platinum 6
* Affiliate links used at no cost to you. Thanks so much for your support!
Latest Posts
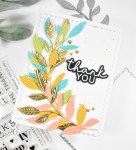
- Simon Says Stamp Leafy Thank You
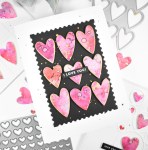
- Simon Says Stamp Love You Watercolor Hearts
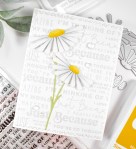
- Simon Says Stamp Just Because Daisies
- Simon Says Stamp Love You Jumbled Hearts
- Together By Design featuring Kristina Werner with Concord and 9th