Simon Says Stamp Floral Love & Hugs

Hello Friends and welcome back! I hope you’re enjoying STAMPtember so far! Today’s post is featuring the new Stitched Flowers Embossing Folder, so let’s go ahead and get into the details!
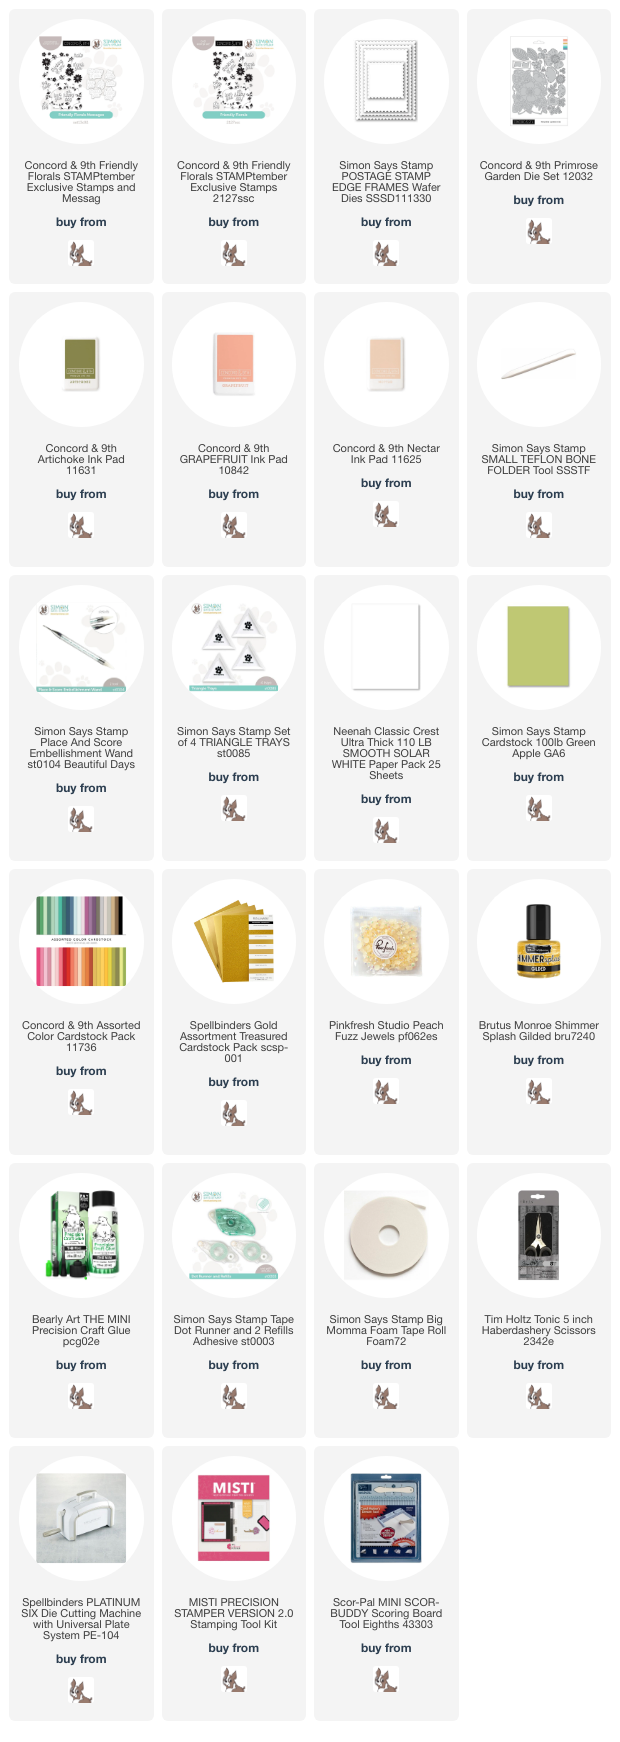
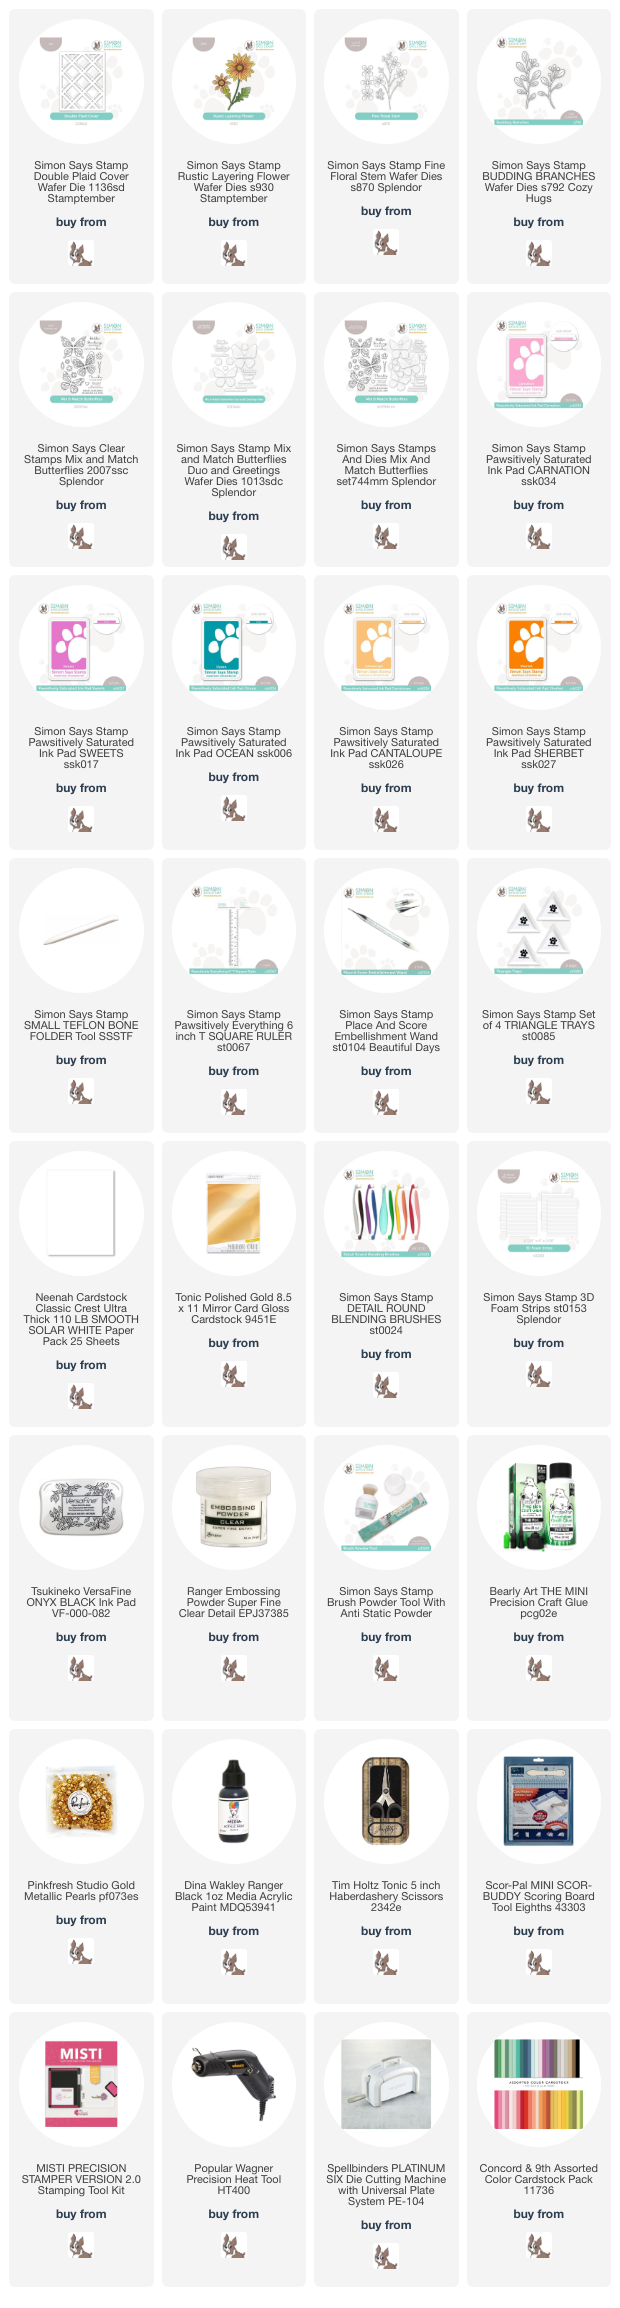
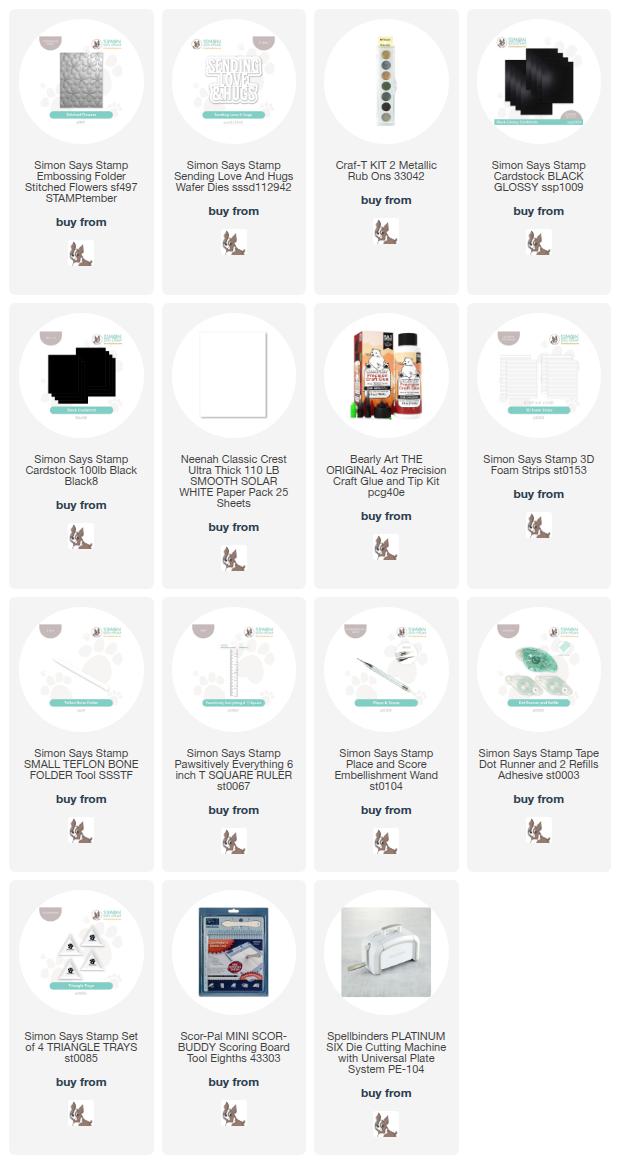
NOTE: all supplies are linked in the thumbnails at the end of this blog post.

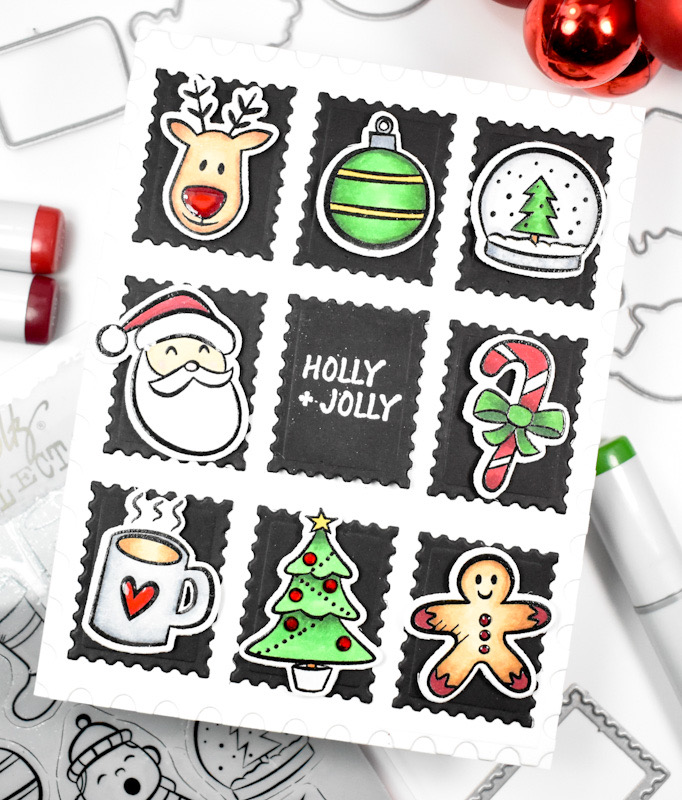
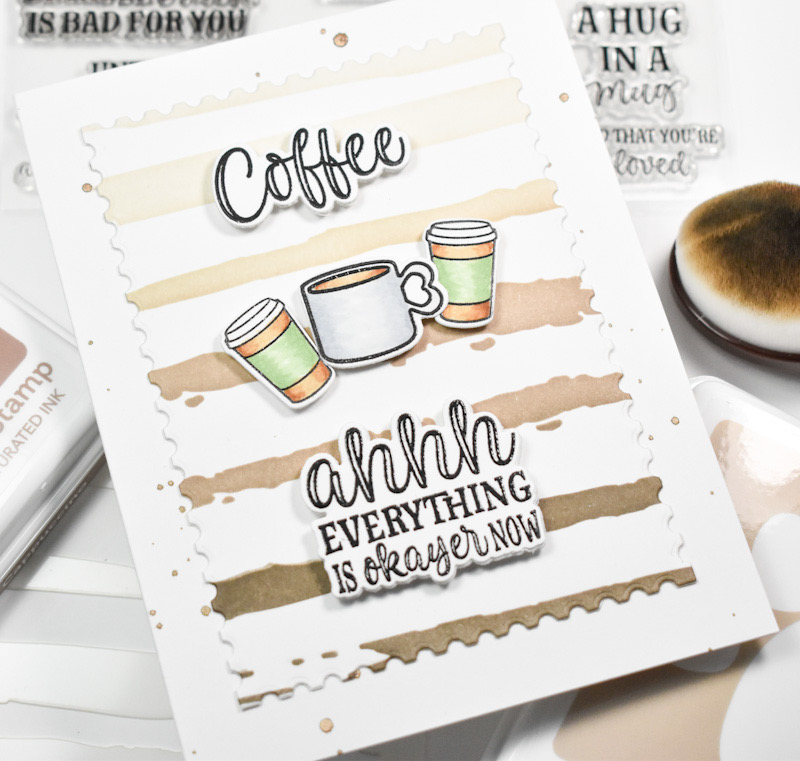
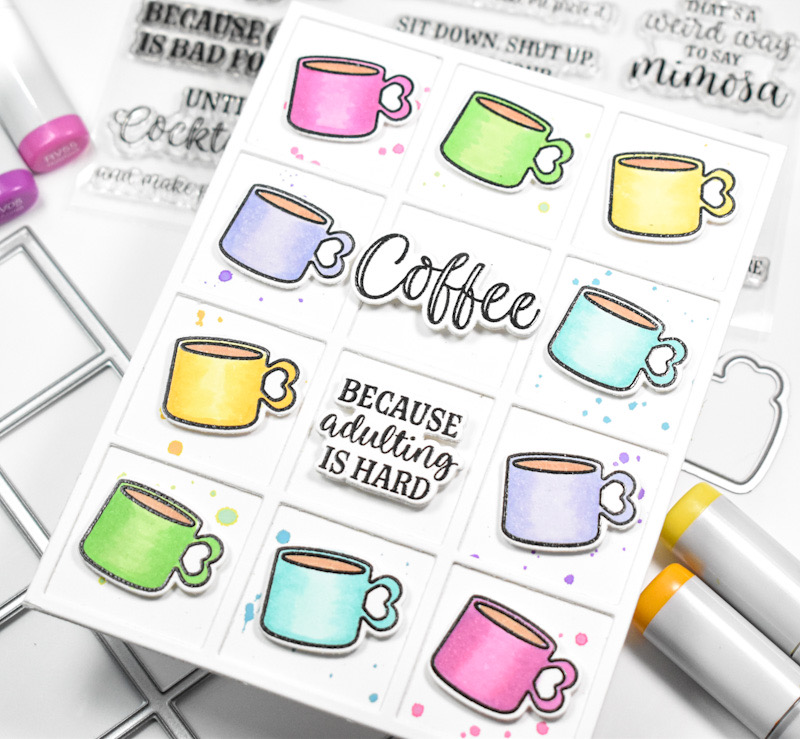
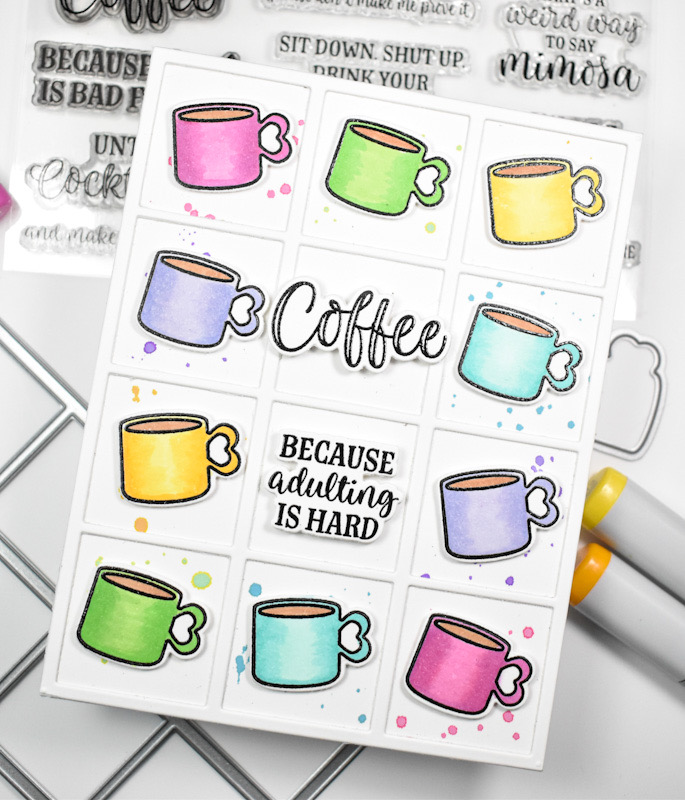
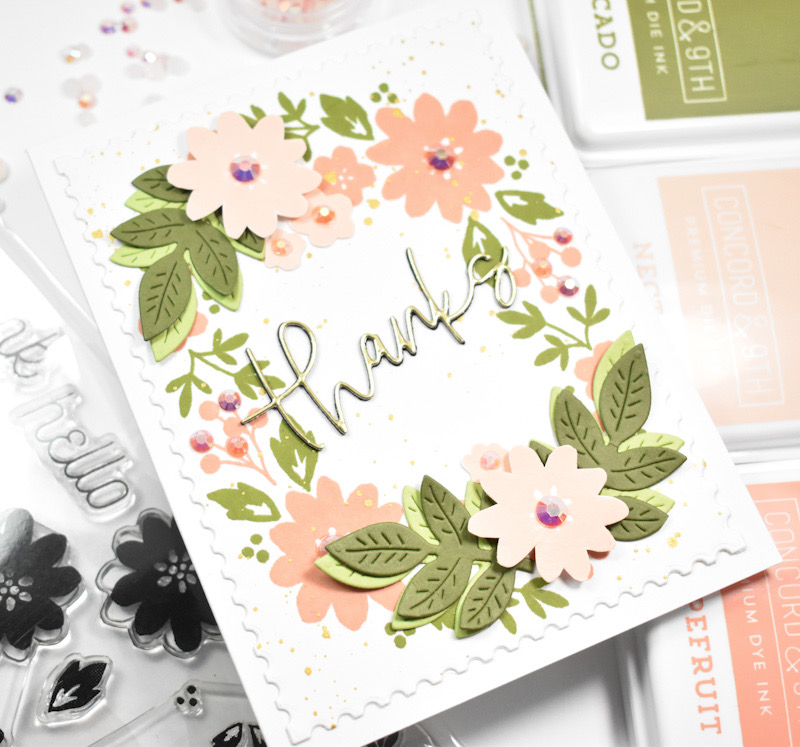
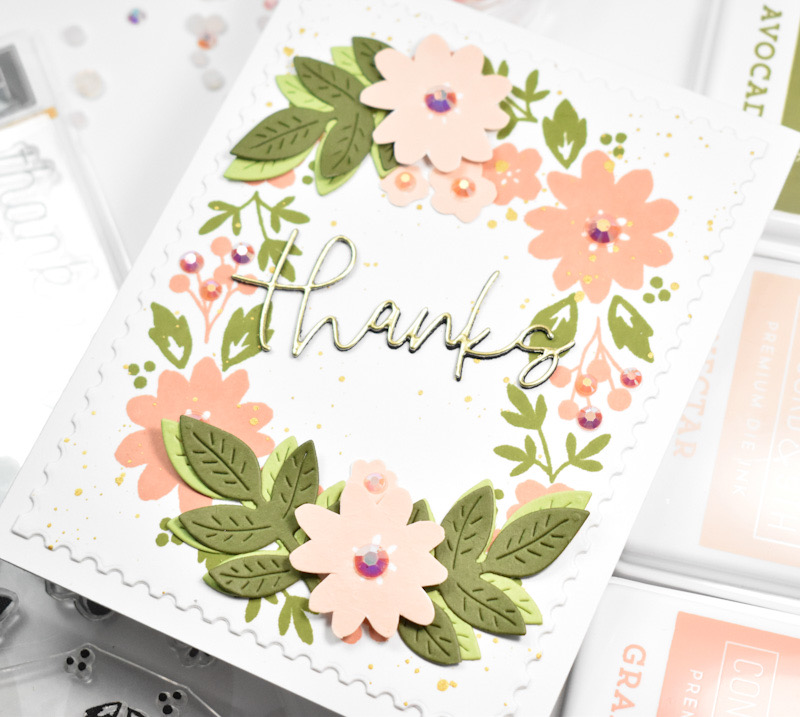
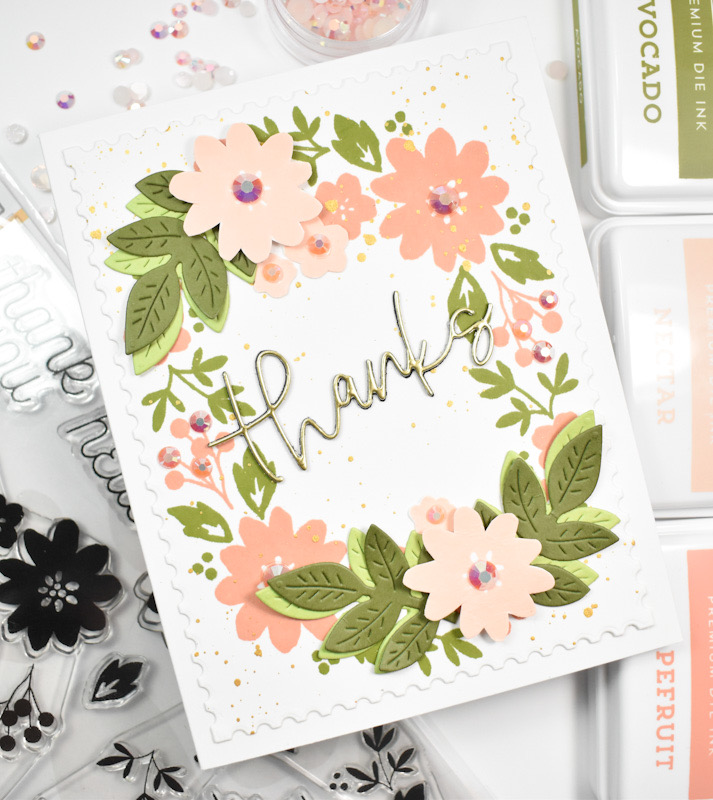
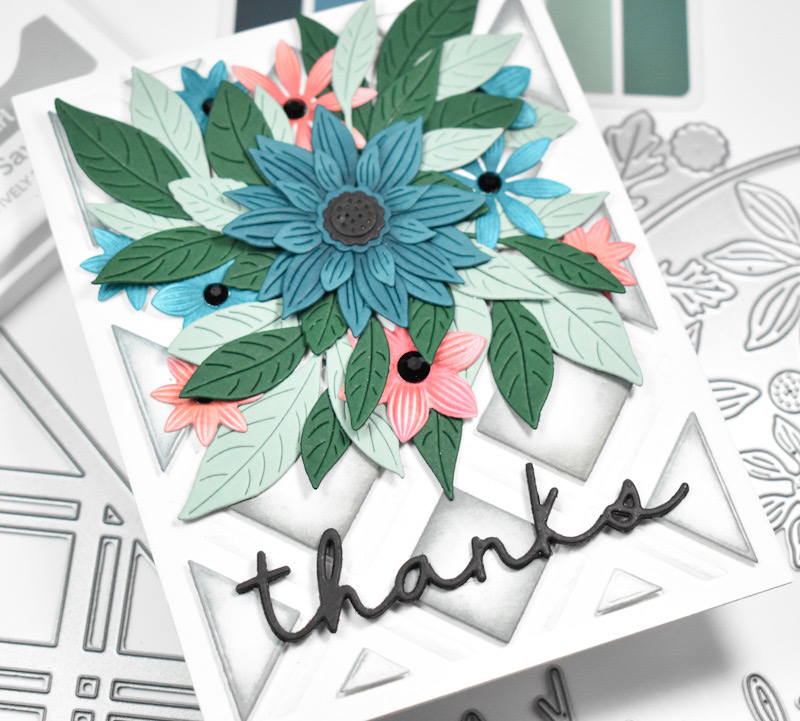
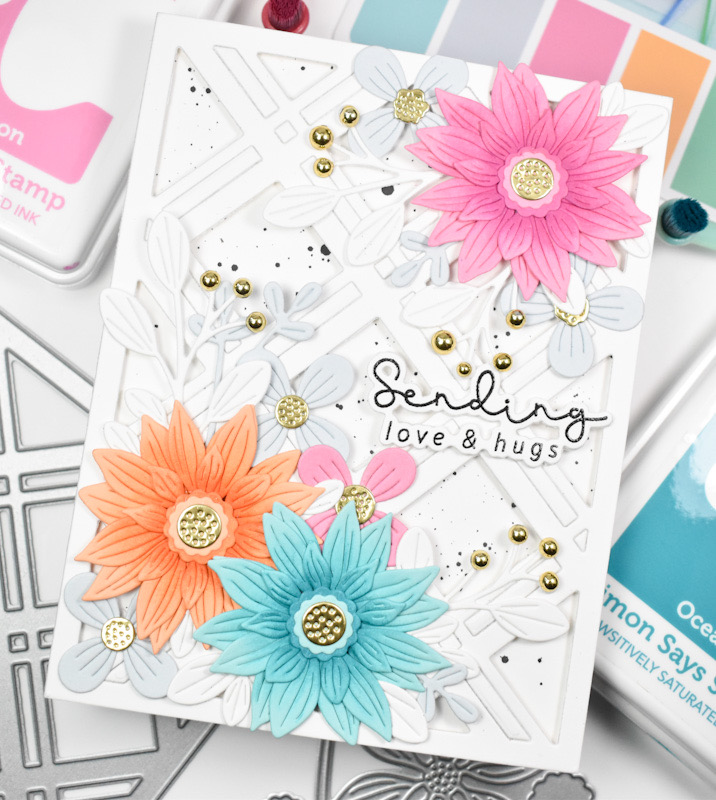
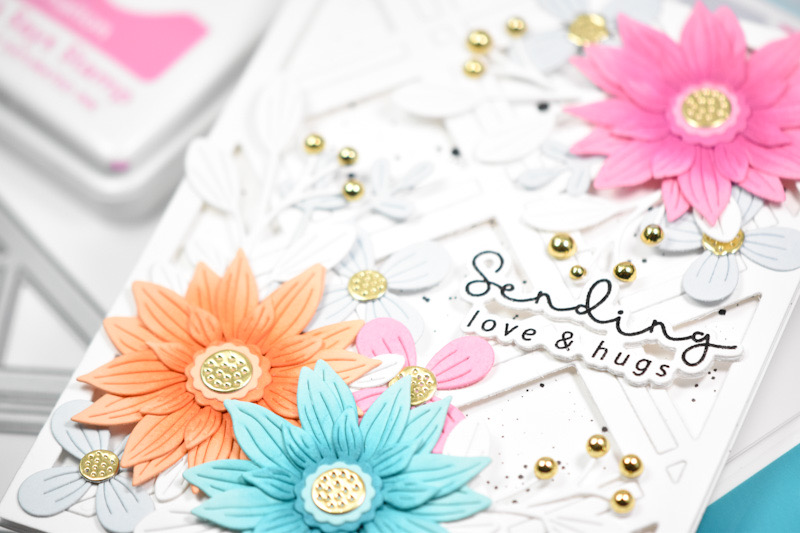
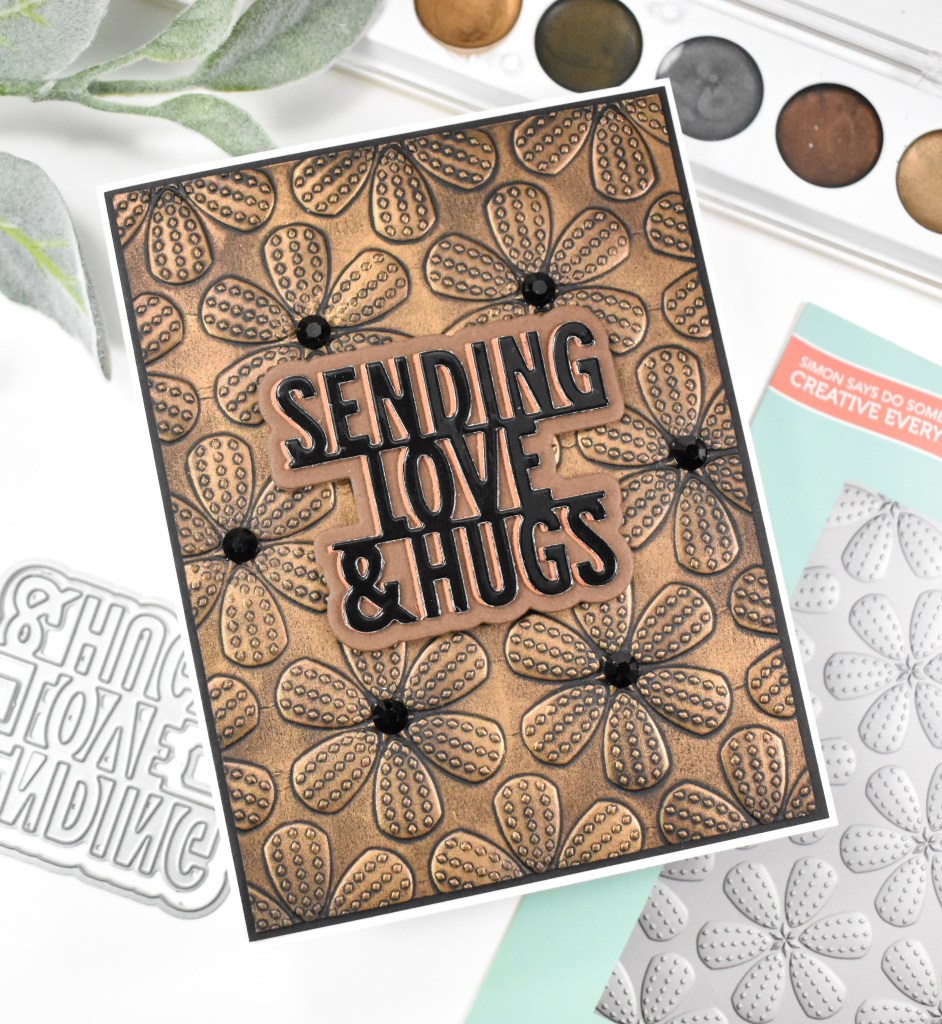
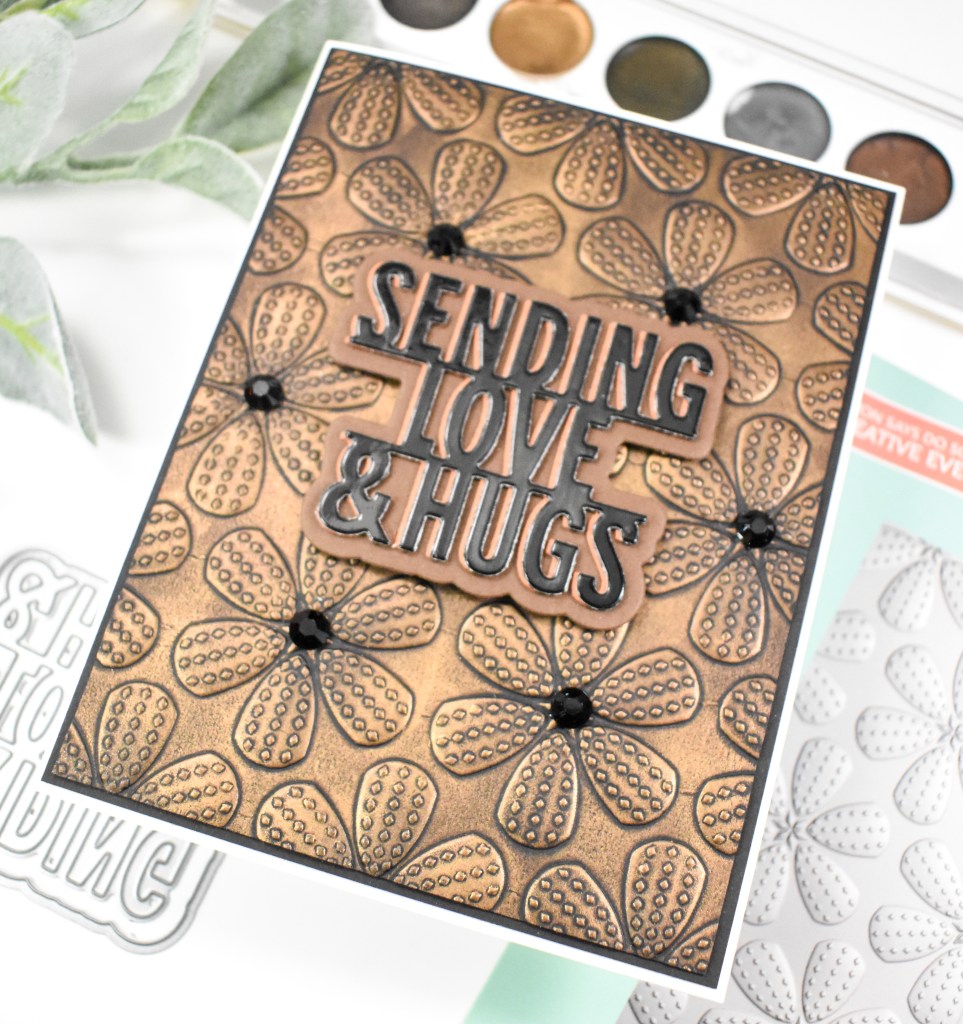
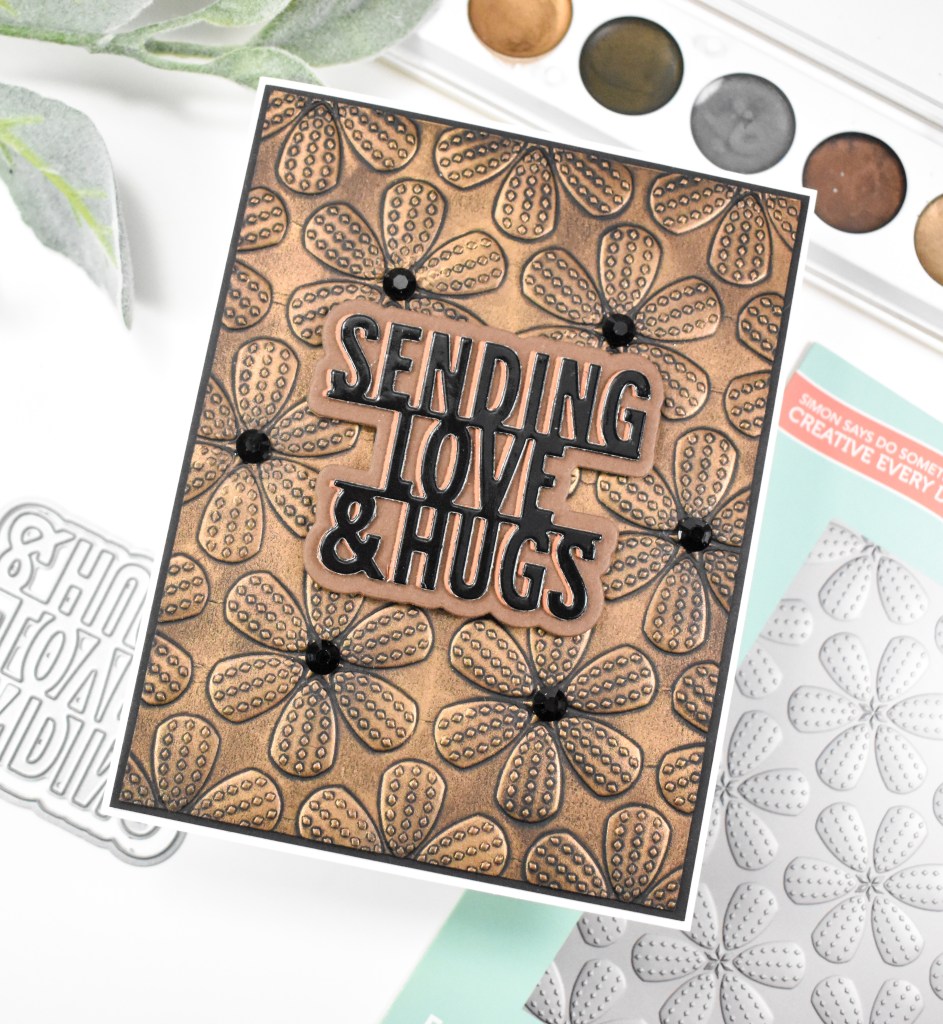
I began this project by embossing a panel of black cardstock in the folder and trimming it down slightly smaller than an A2 card. I then used these super awesome metallic rub-ons to add the gold color to the panel using my finger. There are lots of fun colors in this palette, and I really want to try another one in a different color.

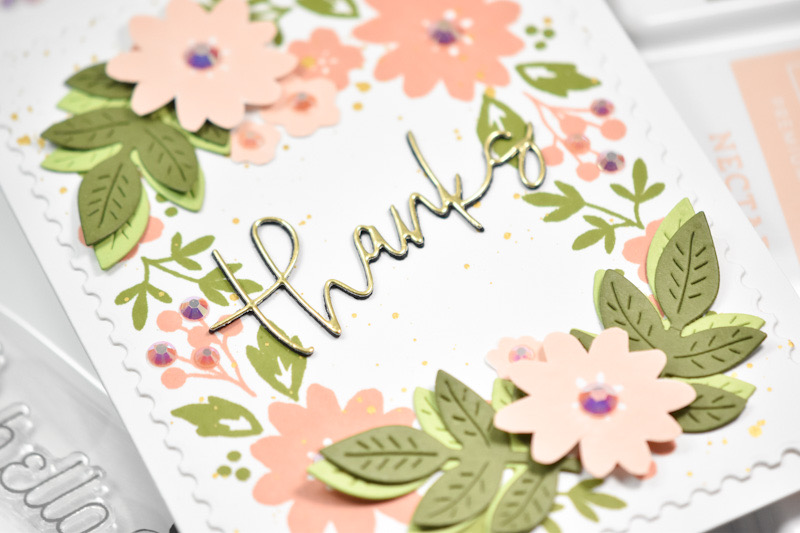
Once I was done with the rub-ons, I die cut the sentiment once from black glossy cardstock, once from black and once from a scrap of cardstock that would coordinate with the metallic. I also cut the shadow portion twice and stacked all of those together.
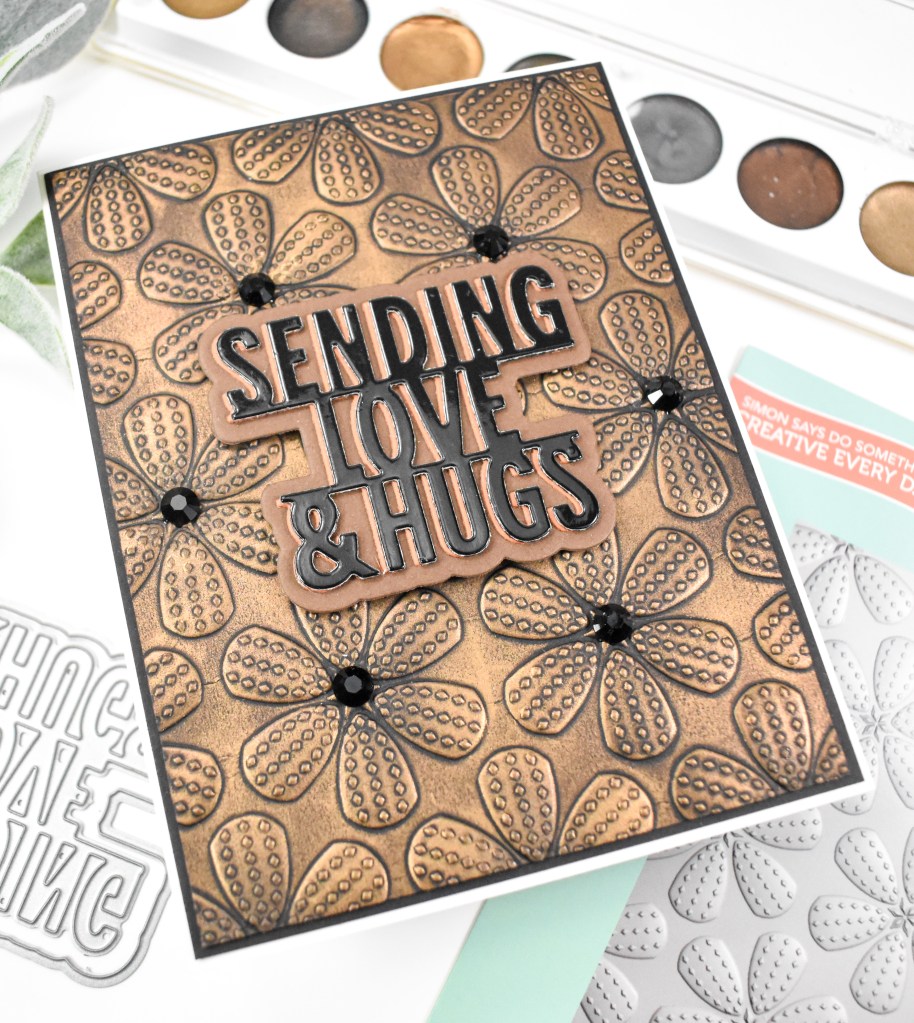
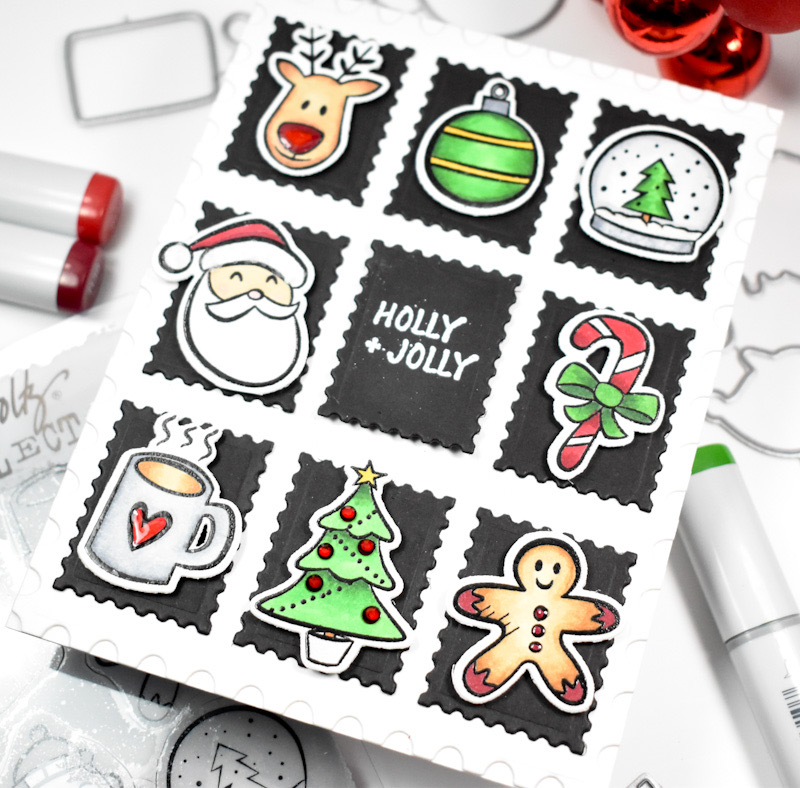
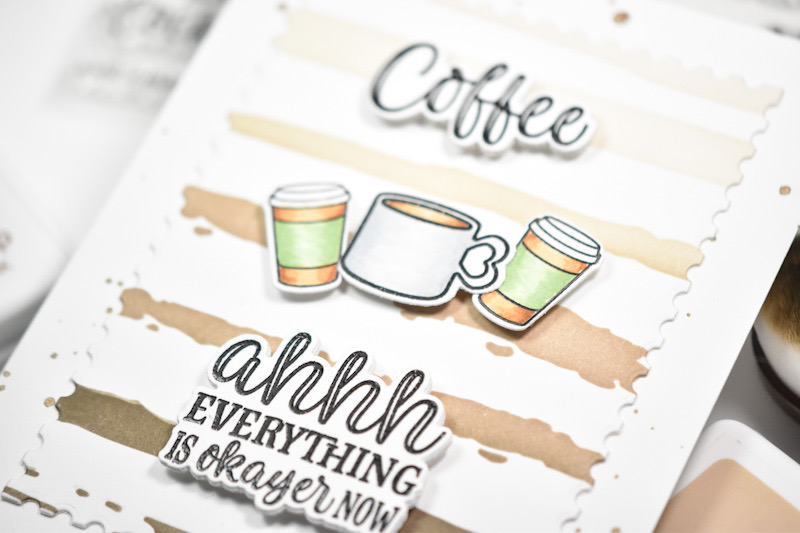
My panel was adhered to a black panel for contrast, the sentiment was adhered using foam strips and some black gems were added to the centers of the flowers to finish up.
That does it for this one! I hope you enjoyed it! Don’t forget to head over to Simon’s website to check out the entire STAMPtember release, and stay tuned for tomorrow as we are having a huge blog celebration! Thanks again for joining me, and I hope you have a wonderful day!
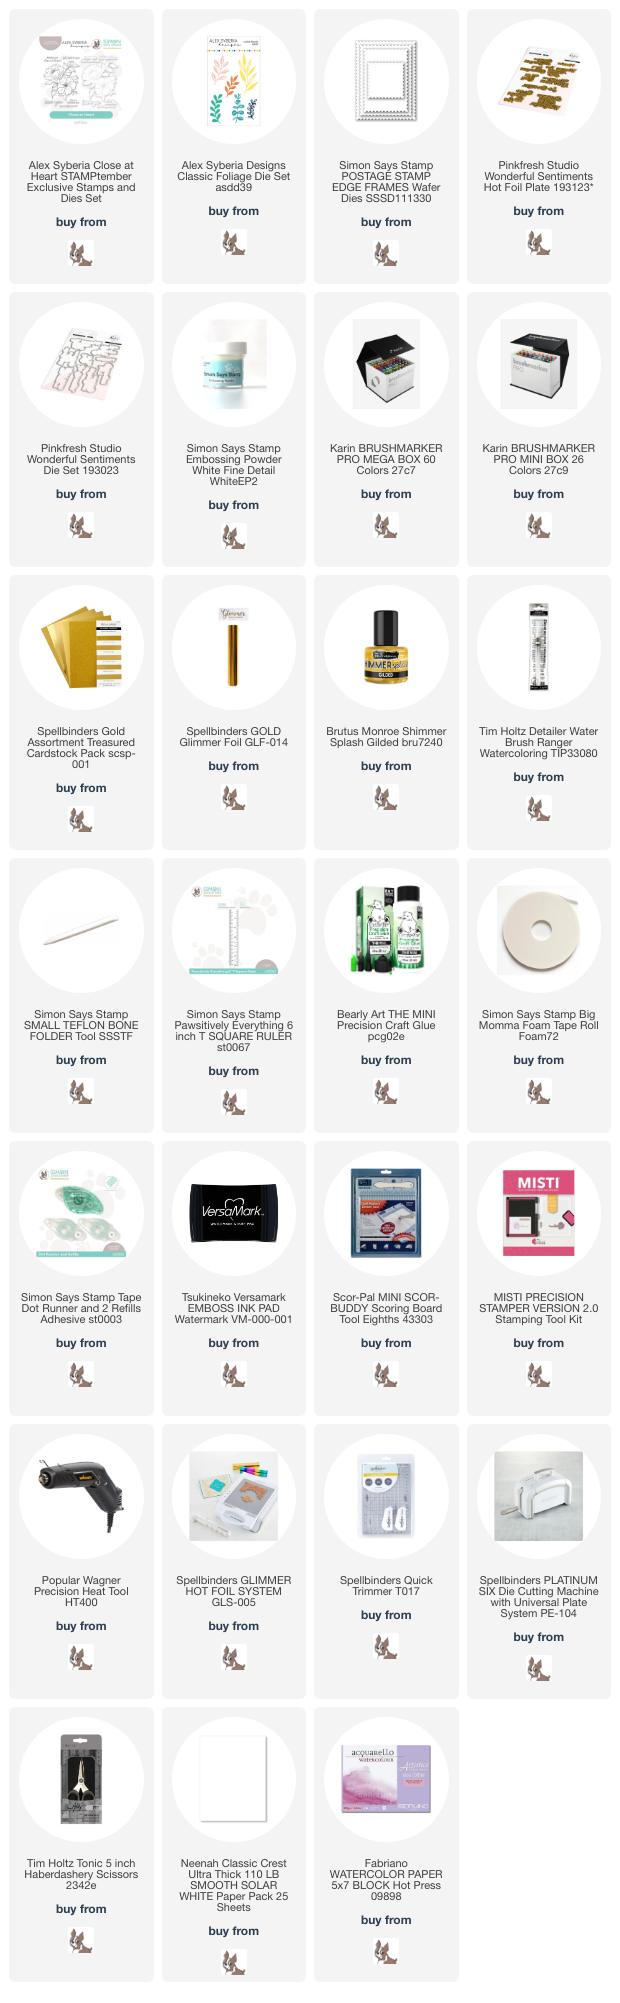
Supply List
Affiliate links used at no cost to you. What does this mean? If you use the links within this post to make a purchase, I receive a small commission, which allows me to continue to post crafty content for your enjoyment. I truly appreciate your support!
Latest Posts
- Simon Says Stamp Groovy Birthday

- Simon Says Stamp Amazing Scattered Leaves

- Simon Says Stamp Beautiful Friend Floral

- Together by Design Featuring Pinkfresh Studio

- Simon Says Stamp Basket Bunny
Latest Instagram Posts