Simon Says Stamp Artsy Hello

Hello Crafty Friends! Thanks for stopping by to check out today’s project featuring the Artsy Florals from Simon’s latest release, Sweet Wishes. Let’s go ahead and get into the details!
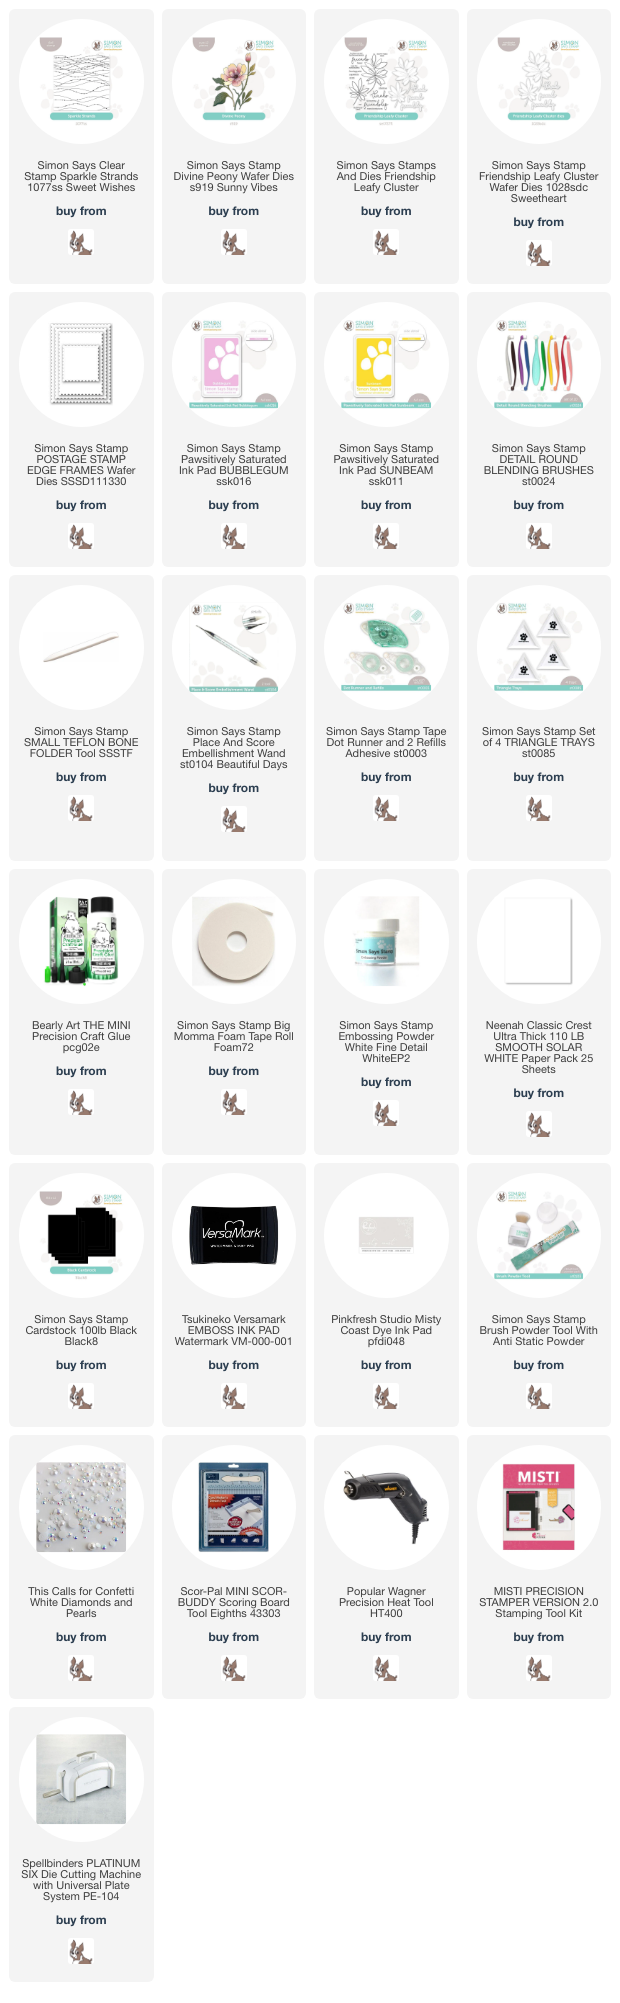
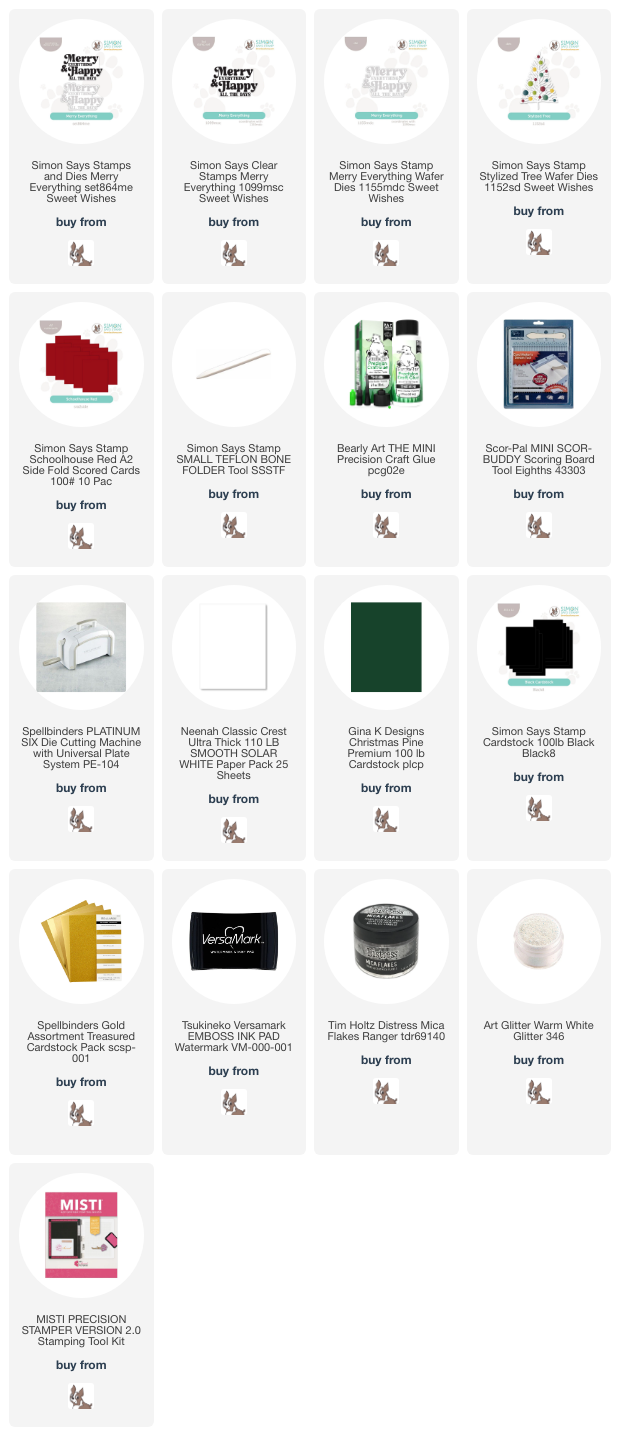
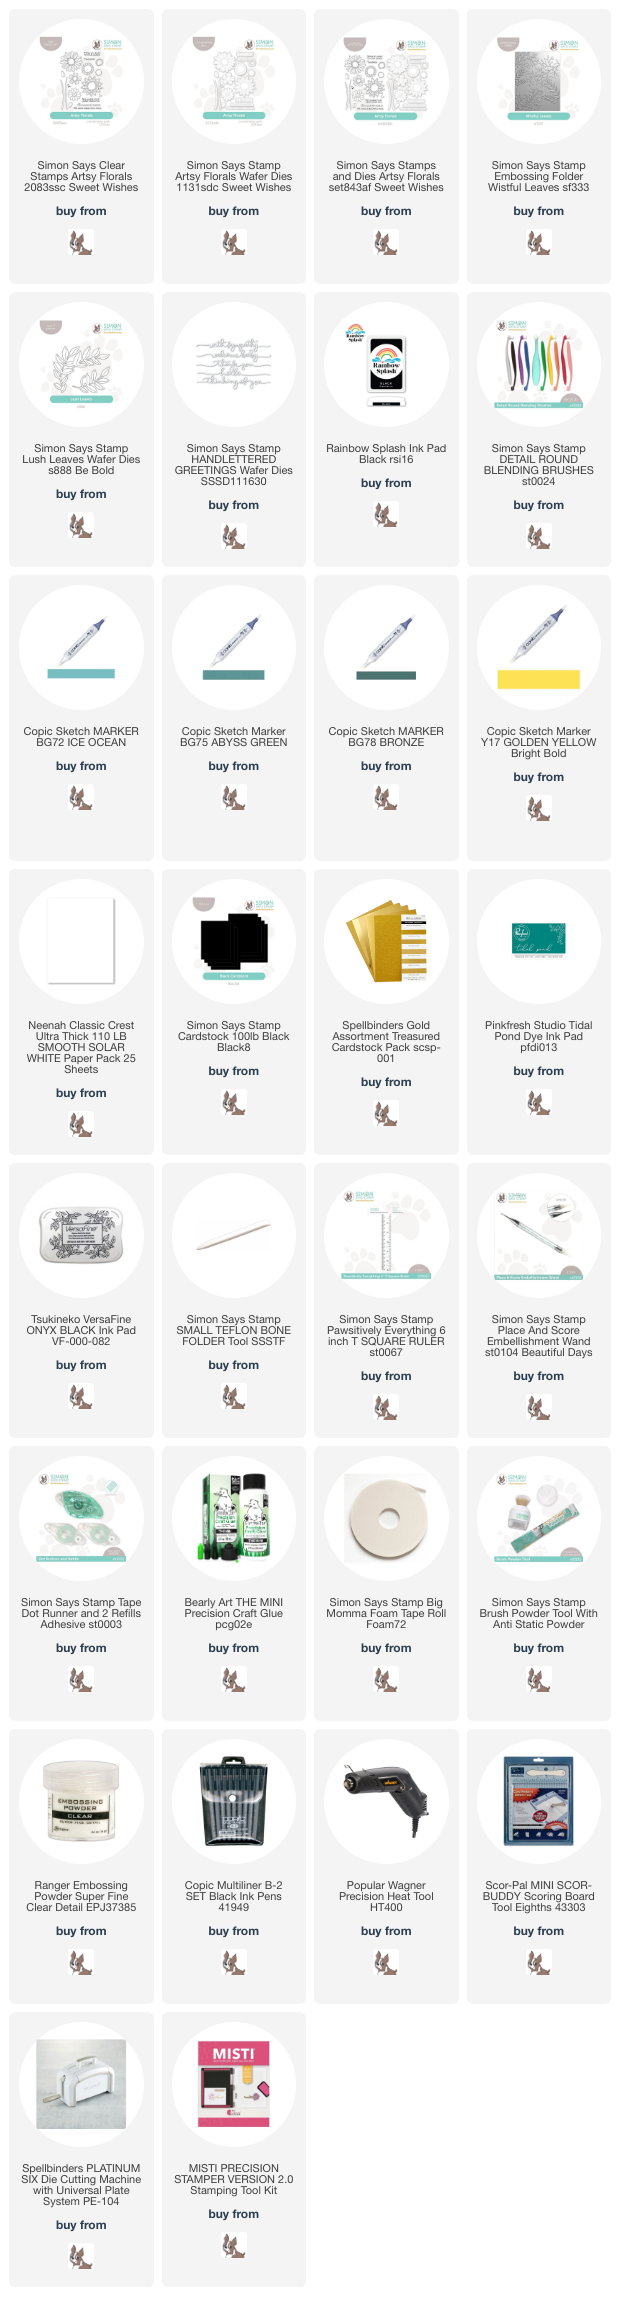
NOTE: all supplies are linked in the thumbnails at the end of this blog post.

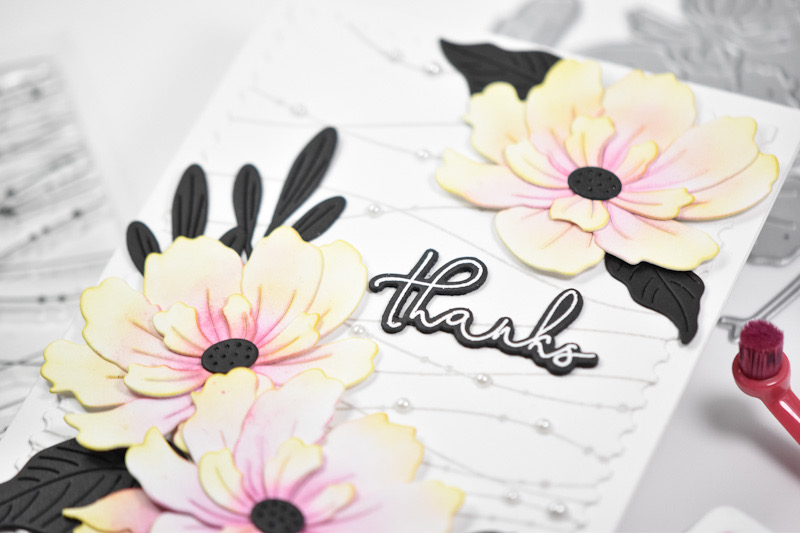
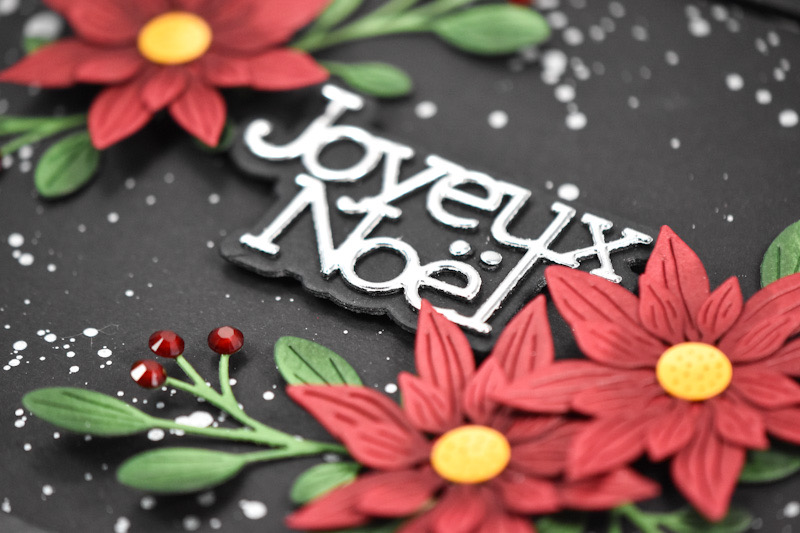
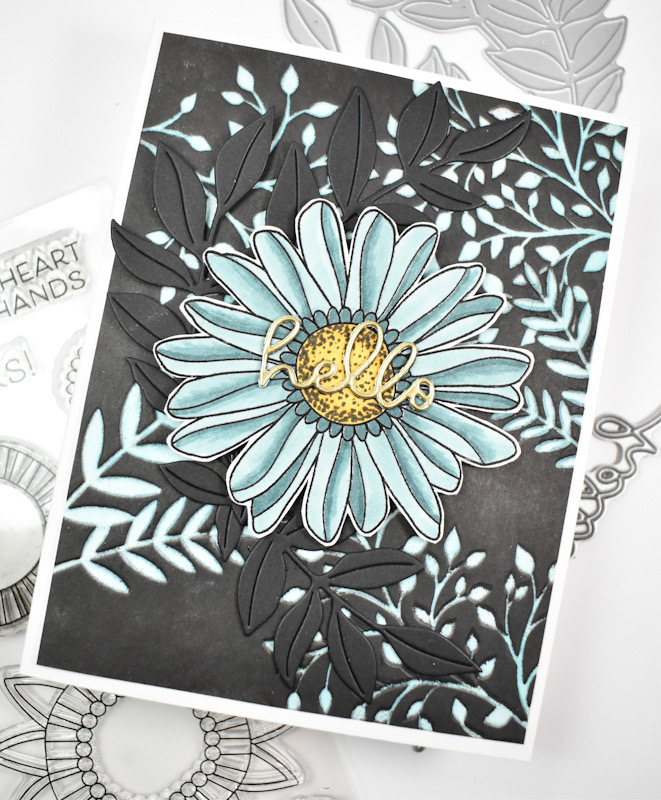
I began this project by stamping the main flower from the Artsy Florals set using VersaFine Onyx Black ink and heat setting that with Ranger Clear Embossing Powder. I used Copic Markers BG72, BG75, BG78 and Y17 to color the image before cutting it out. I also used a Copic Multiliner to add some black dot detail to the center of the flower as well.

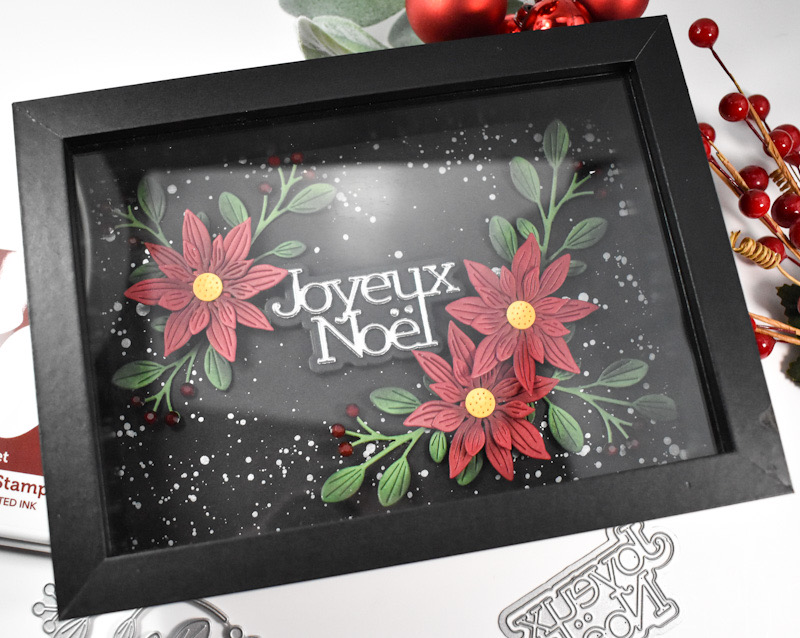
My next step was to create a background using the Wistful Leaves Embossing Folder. I did some light ink blending on the leaves using PFS Tidal Pond ink, and then used the Rainbow Splash Black ink pad to create the “black out” effect on the panel. I trimmed the panel down and adhered it to the card base.
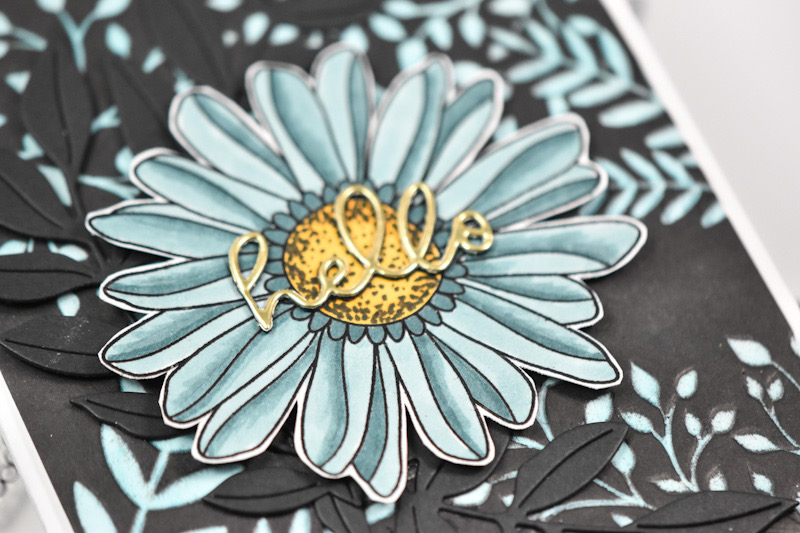
I used the Lush Leaves and cut some of those from black cardstock, and went ahead and cut the sentiment, as well. I cut the hello, which is from the Handlettered Greetings set, once from gold cardstock and twice from black cardstock and adhered all of the pieces together for that stacked sentiment look that I love.

The black leaves were glued in place, while the central flower was adhered using foam tape. To finish up, the gold sentiment was glued directly to the center of the flower.

That does it for this project. I hope you enjoyed it! I really love this color combination with the aqua and the black. Thanks so much for joining me for today’s project, and I hope you have a wonderful rest of your day!
Supply List
Affiliate links used at no cost to you. What does this mean? If you use the links within this post to make a purchase, I receive a small commission, which allows me to continue to post crafty content for your enjoyment. I truly appreciate your support!
Latest Posts
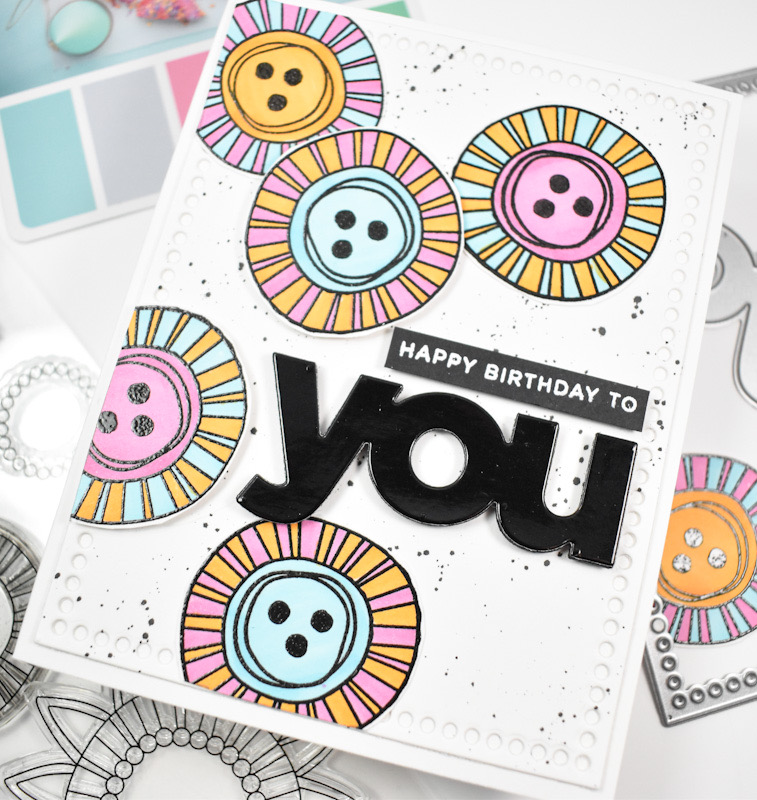
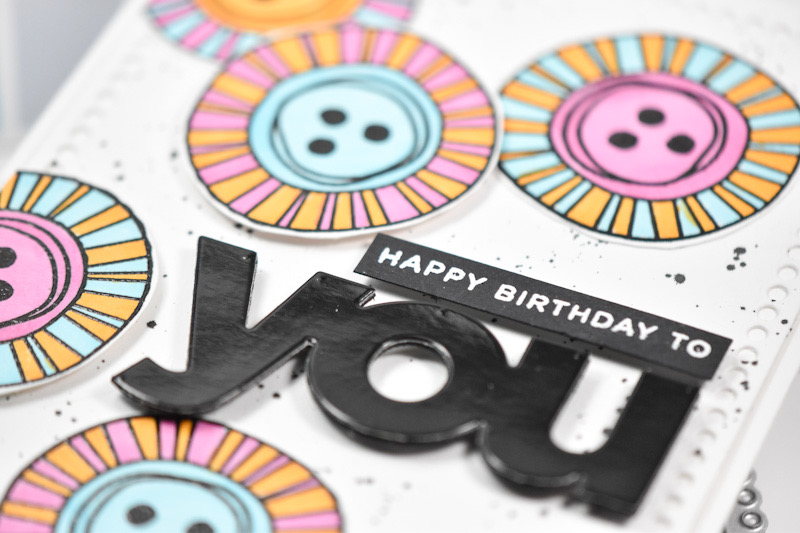
- Simon Says Stamp Groovy Birthday

- Simon Says Stamp Amazing Scattered Leaves

- Simon Says Stamp Beautiful Friend Floral

- Together by Design Featuring Pinkfresh Studio

- Simon Says Stamp Basket Bunny