Simon Says Stamp Friend Like You Blog Hop Day 2

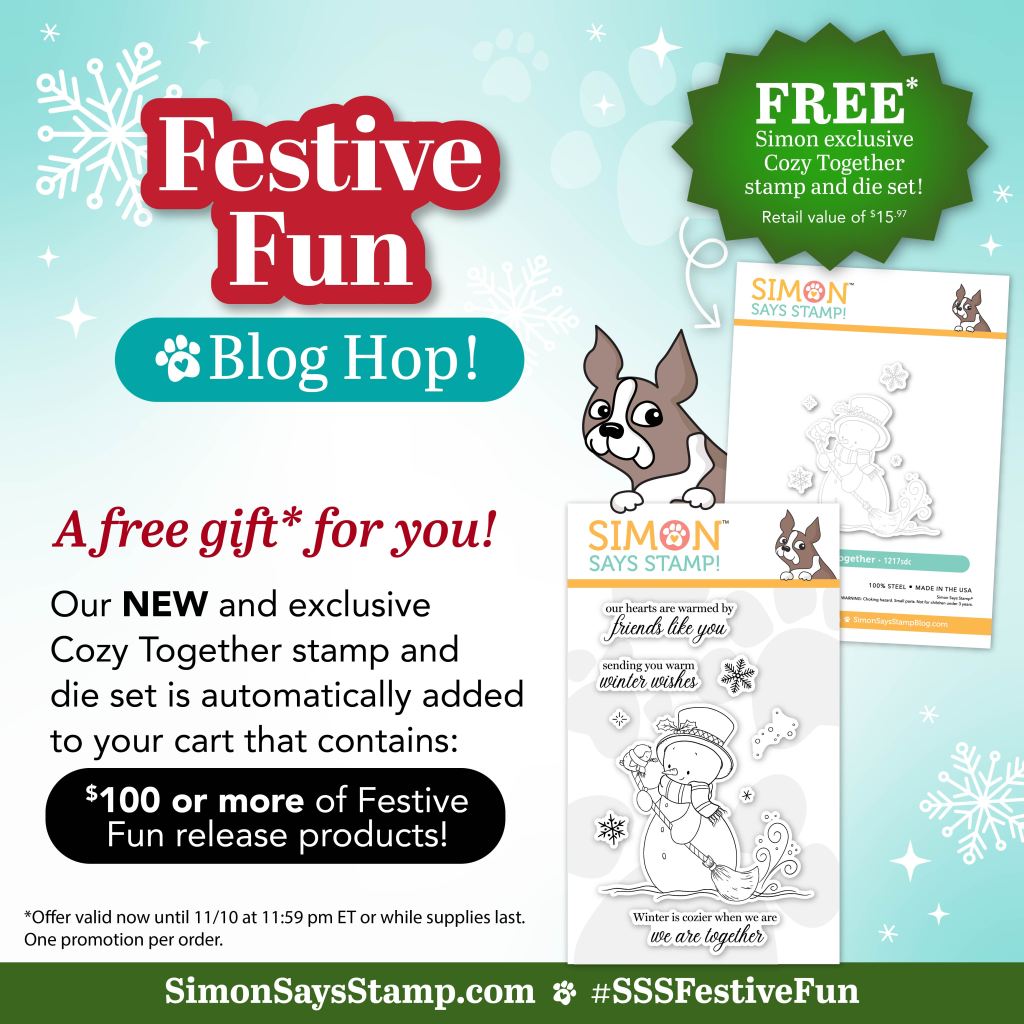
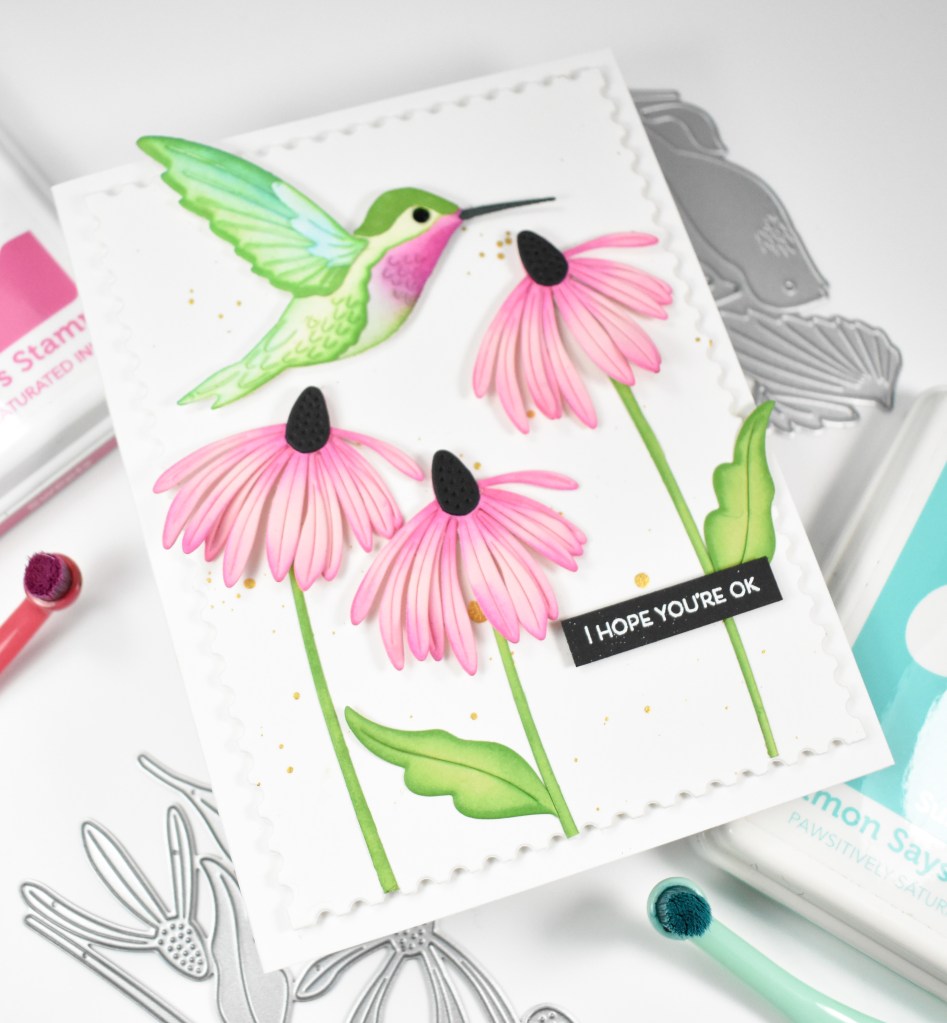
Hello Crafty Friends, and welcome back to my blog! It’s Day 2 of the Simon Says Stamp Blog Hop to celebrate the Friend Like You release! Simon is giving away a $25 coupon to one lucky commenter at every stop along the hop, so you’ll want join in for your chance to win. I’ll list the blog hop order at the bottom of this post for your convenience. Plus, there’s a free gift with any purchase from the Friend Like You release! See the graphic below. Also, don’t forget to check out Day 1 for more chances to win! My post for today is featuring the new Brilliant Hummingbird, and of course I had to pair it with some florals, so let’s go ahead and go through the details!


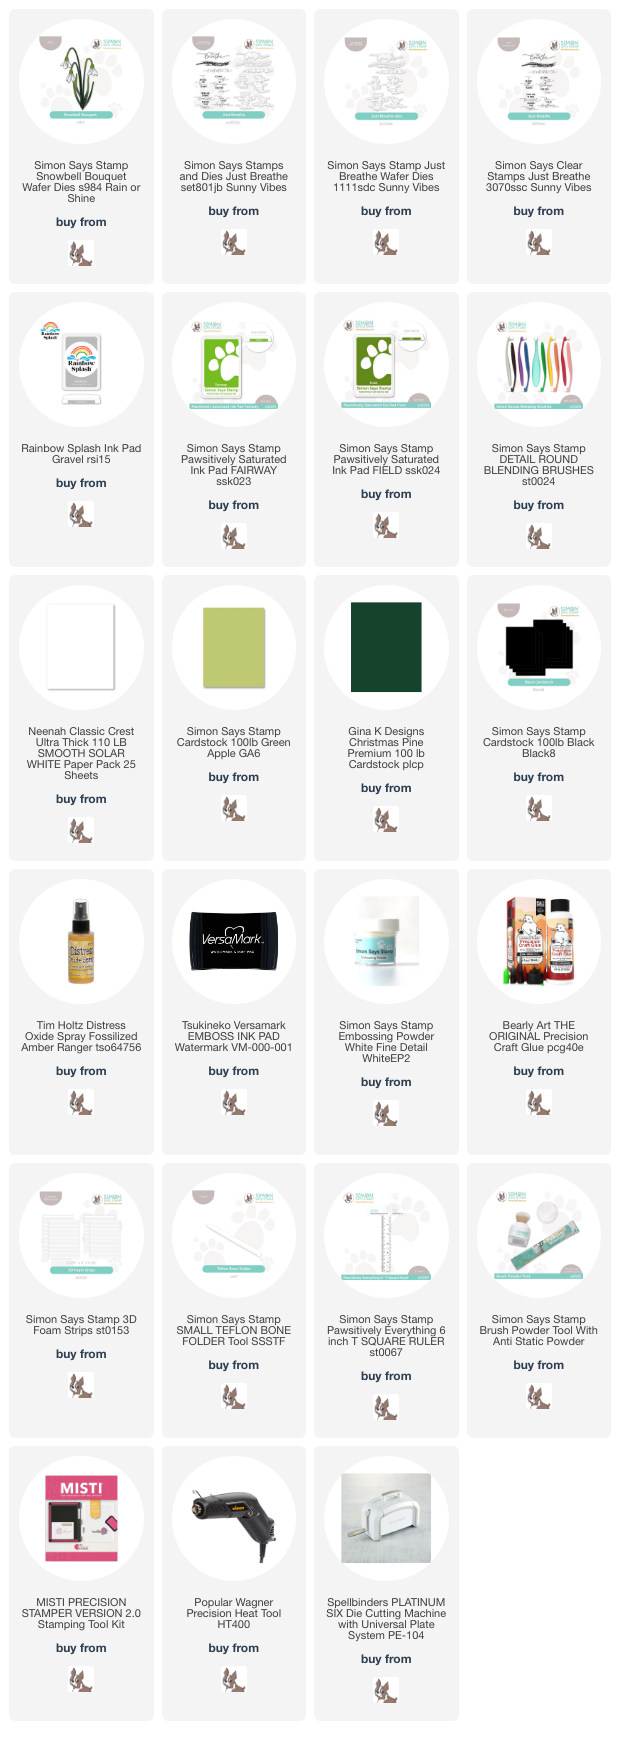
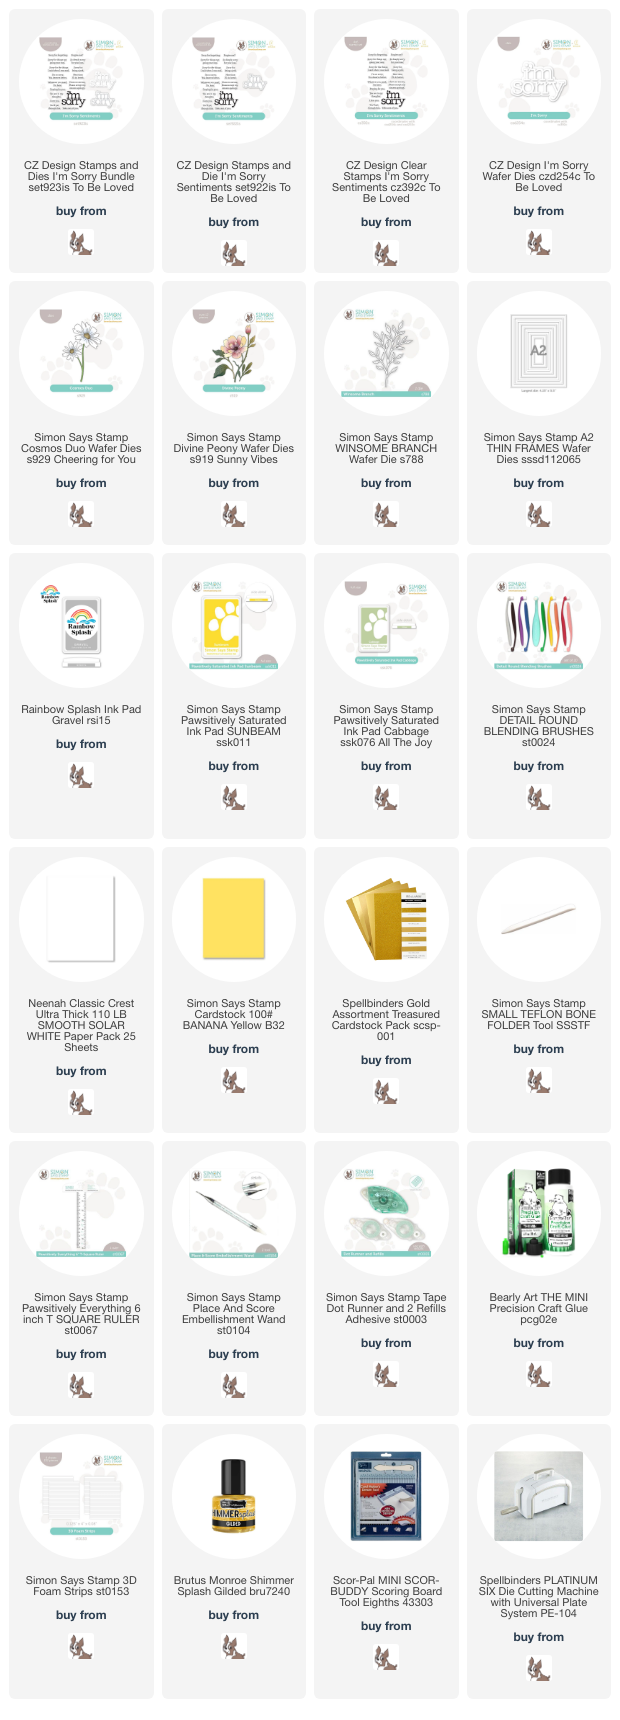
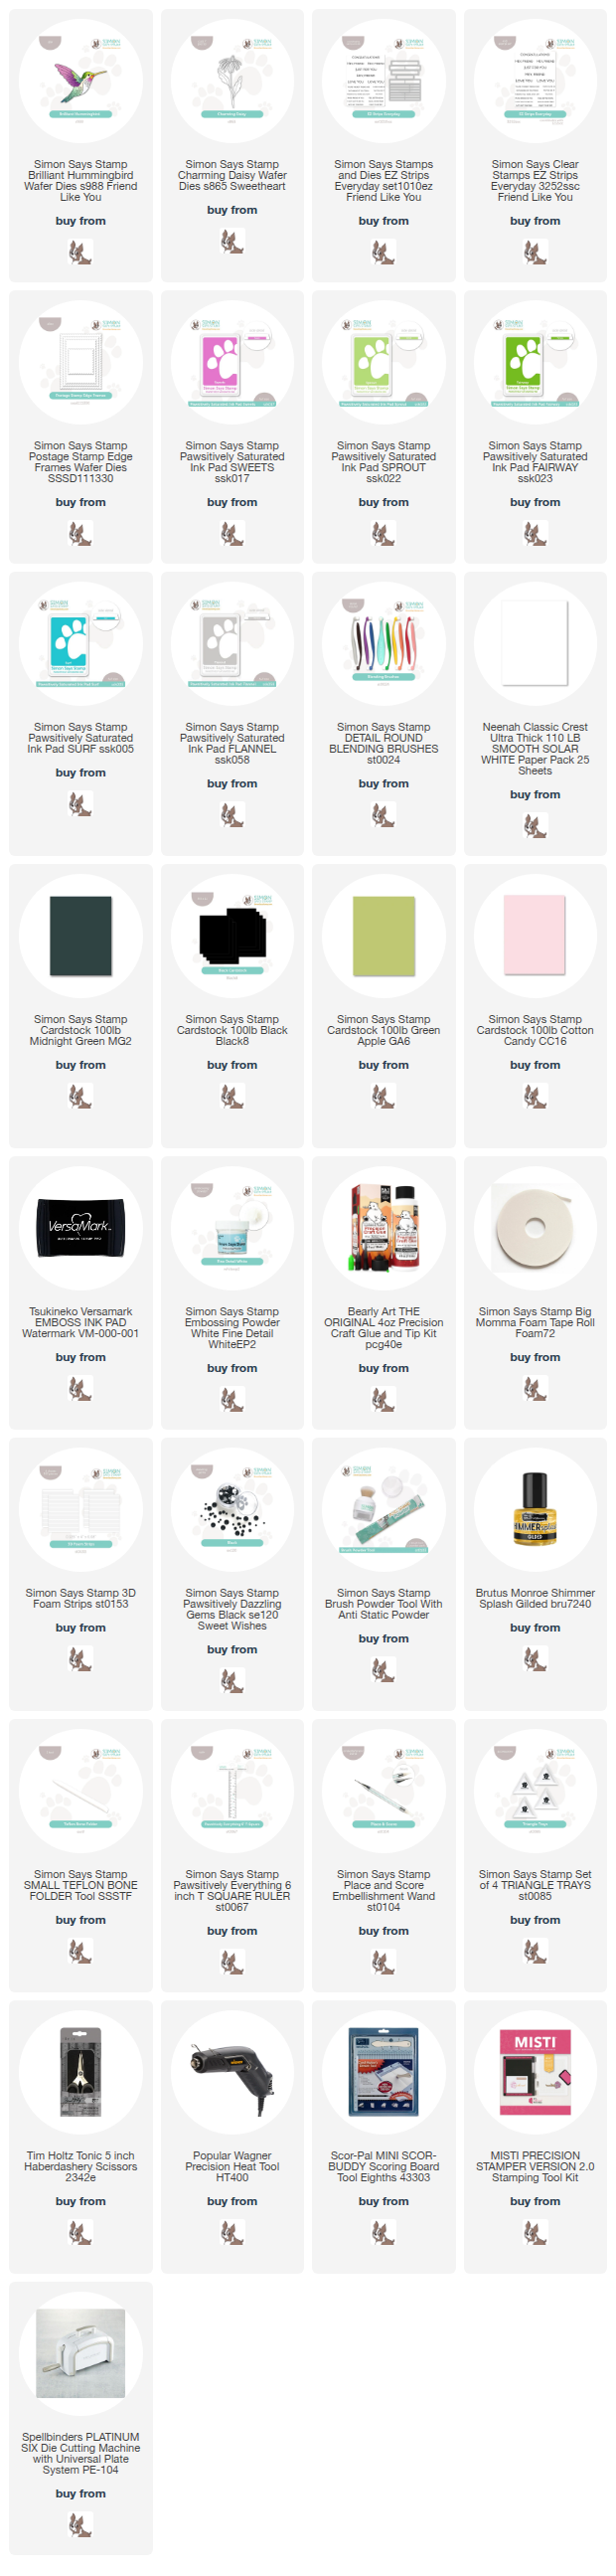
NOTE: all supplies are linked in the thumbnails at the end of this blog post.
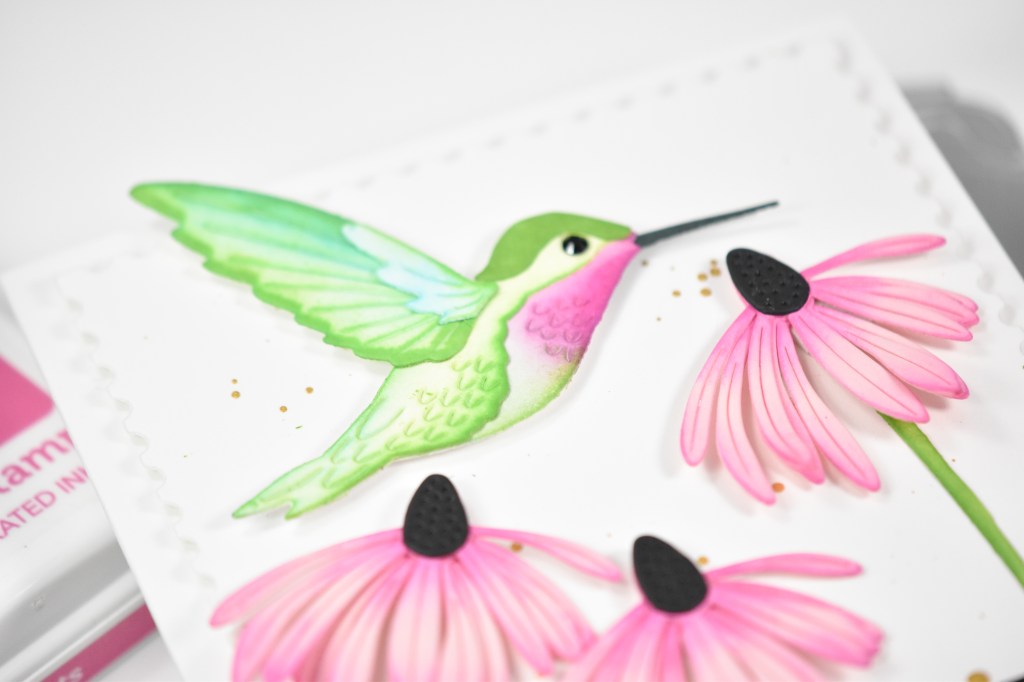
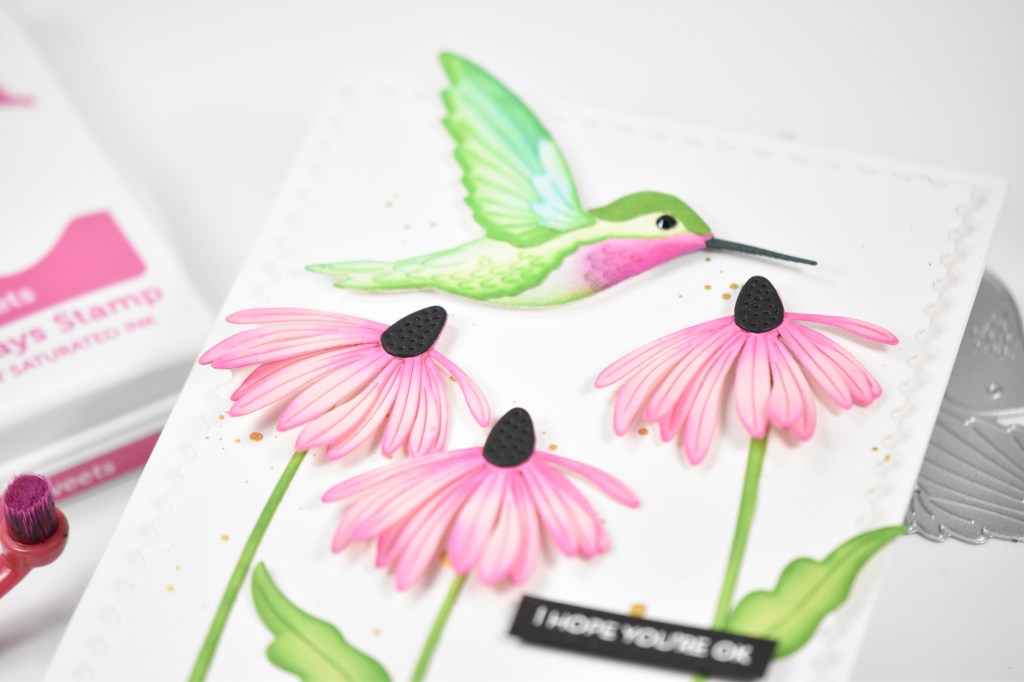
I began by die cutting the hummingbird pieces from Neenah 110lb cardstock and ink blending those using Sweets, Sprout, Fairway, Surf and a tiny bit of Flannel. I went ahead and assembled the hummingbird and decided that I wanted the beak dark, so I cut that from some Forest cardstock, and added a tiny black gem for the eye.
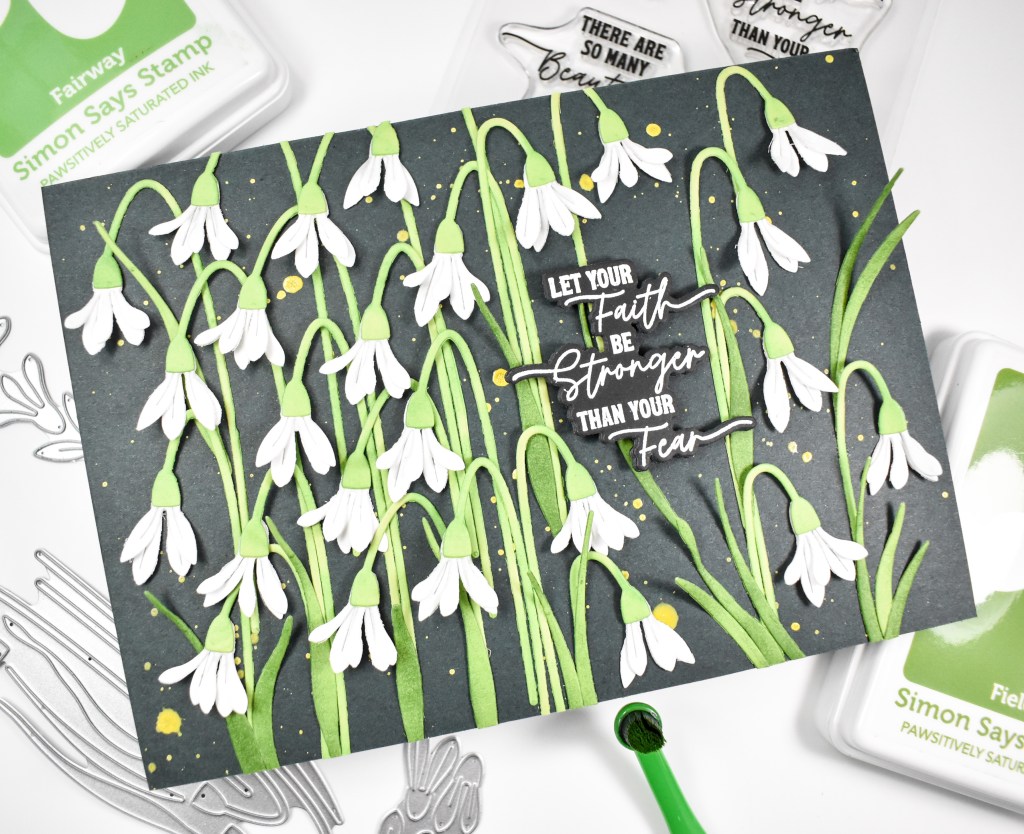
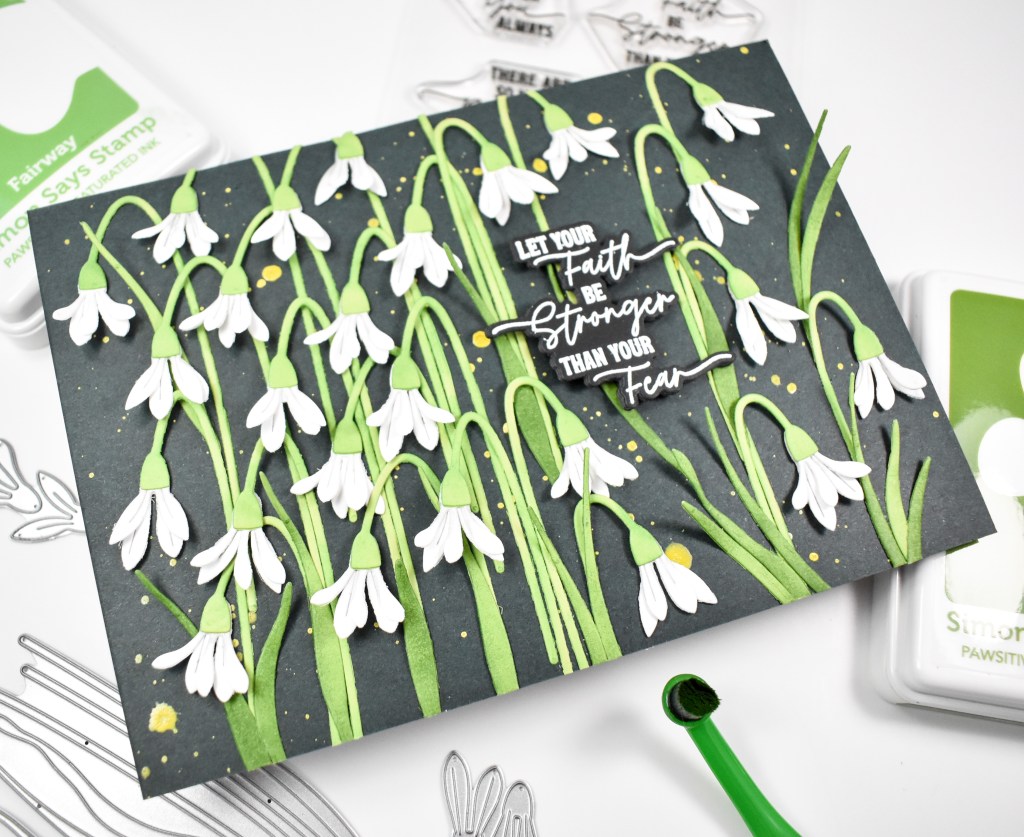
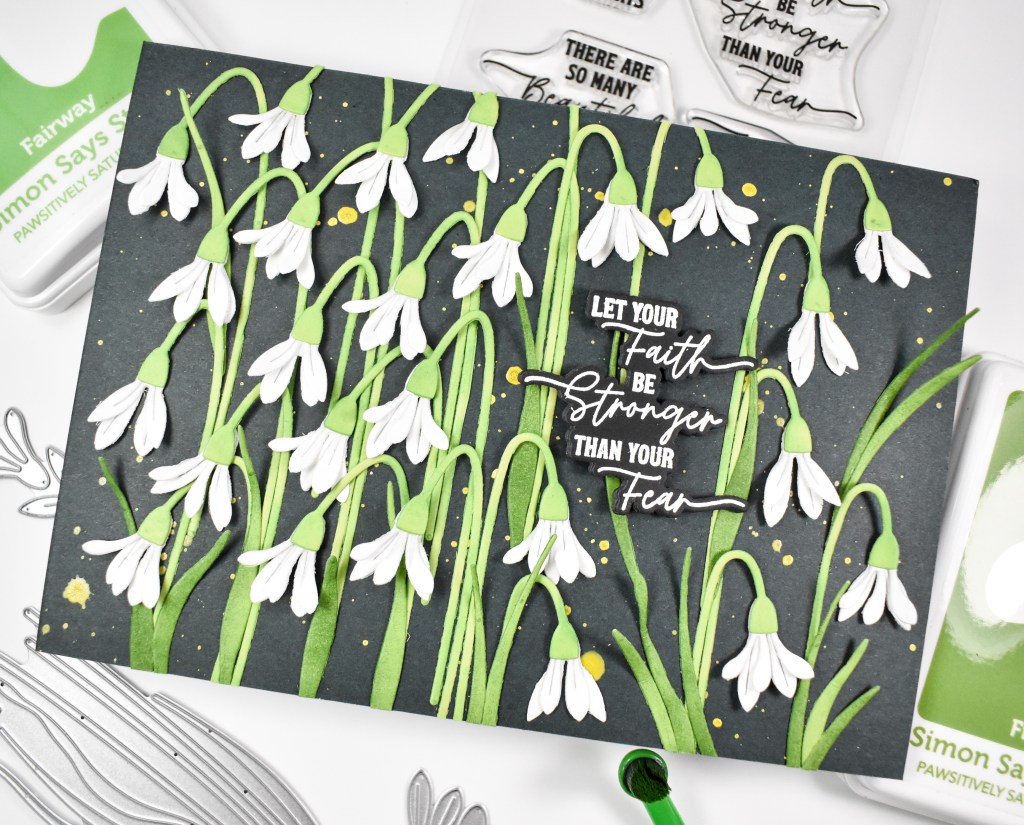
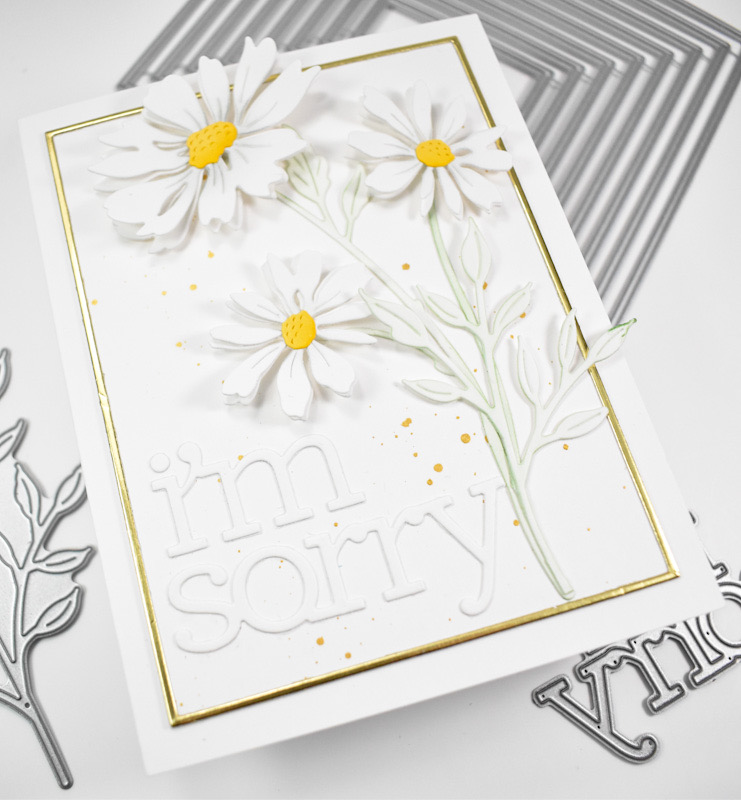
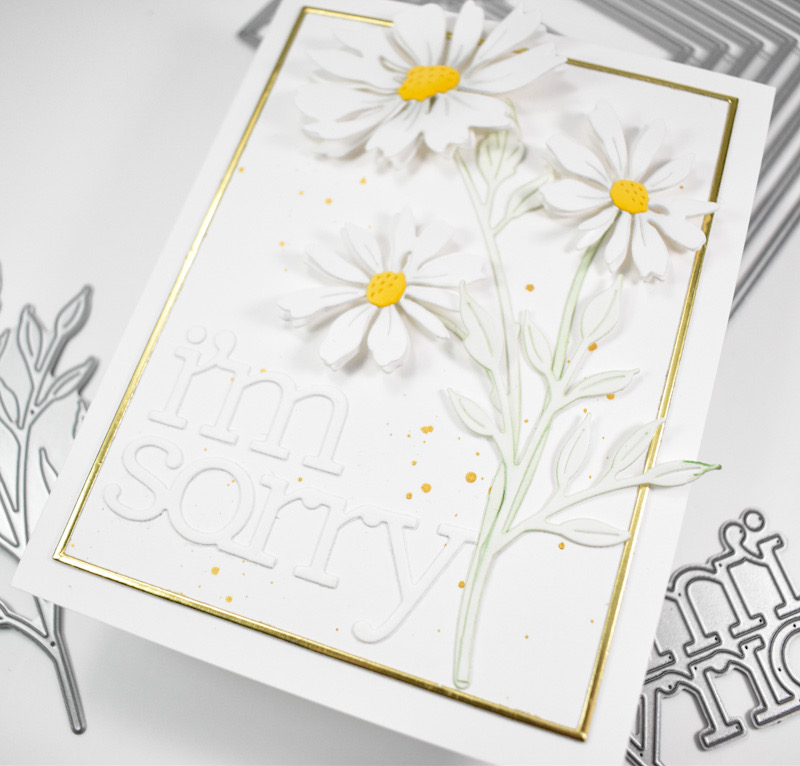
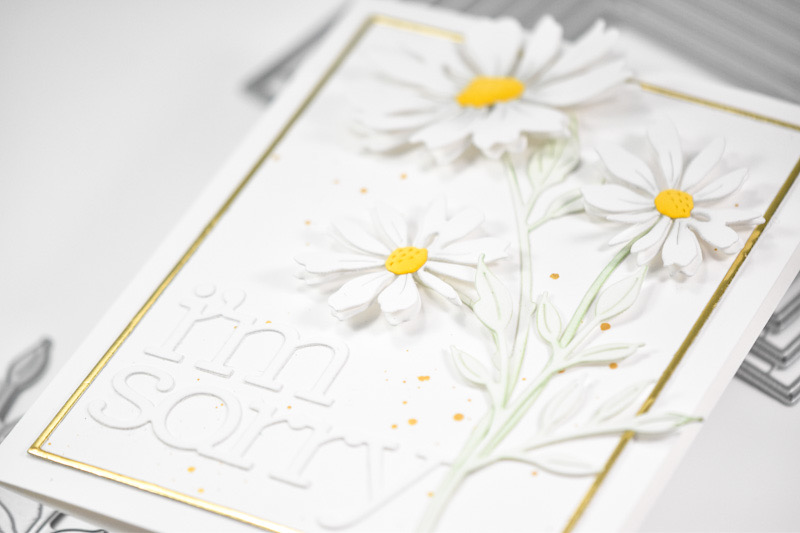
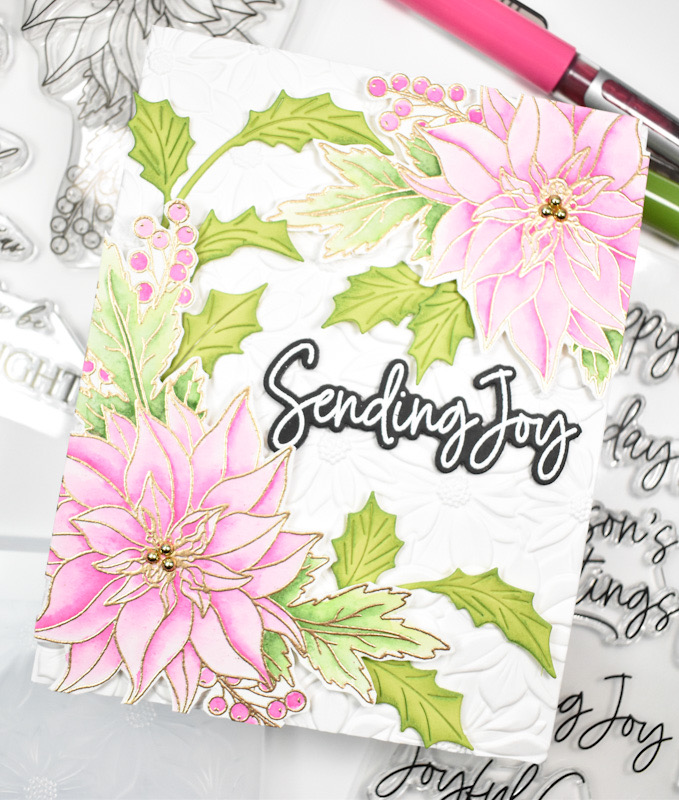
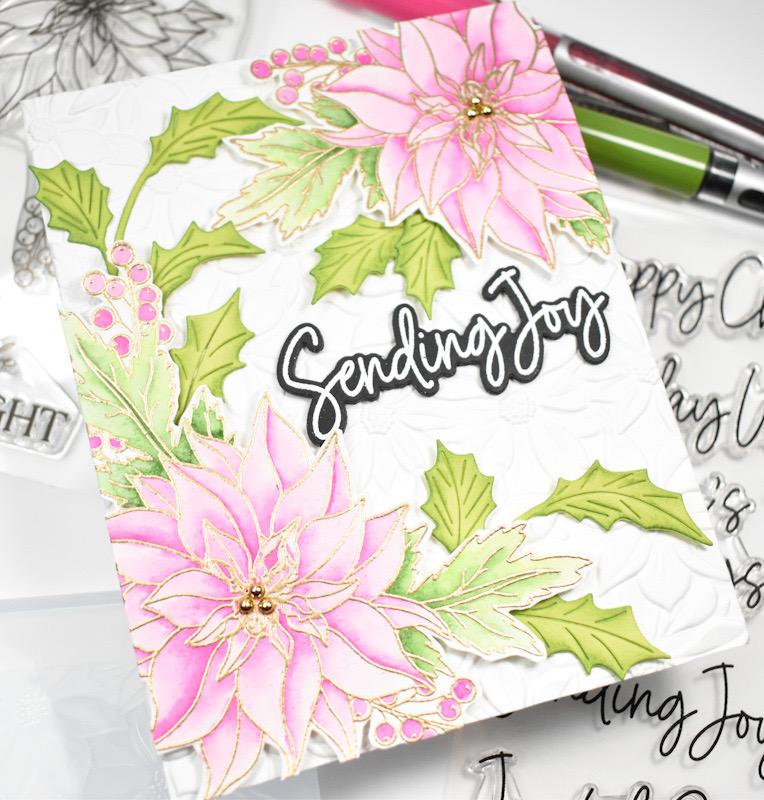
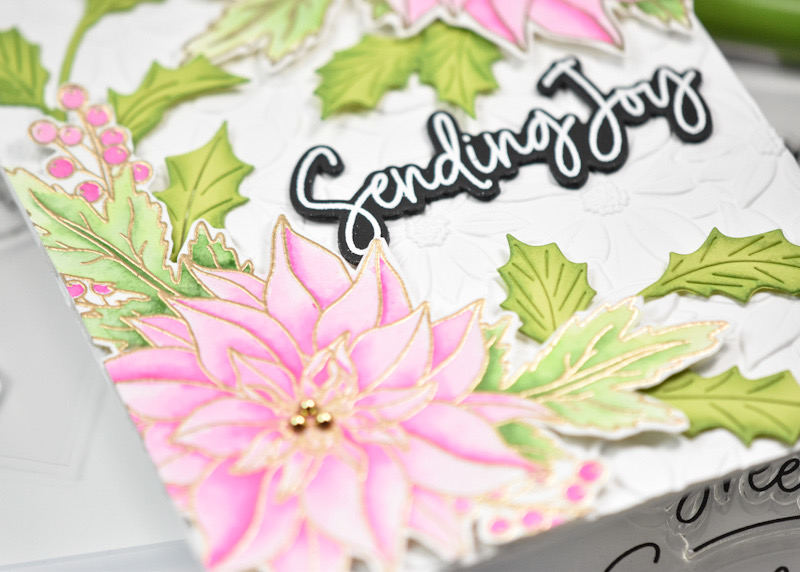
The flowers and stems were die cut from Cotton Candy, Green Apple and black cardstock. I used the same inks for the ink blending on these pieces as well. I assembled the flowers and placed foam strips on those before stamping the sentiment onto black cardstock and heat setting that using Detail White Embossing Powder.
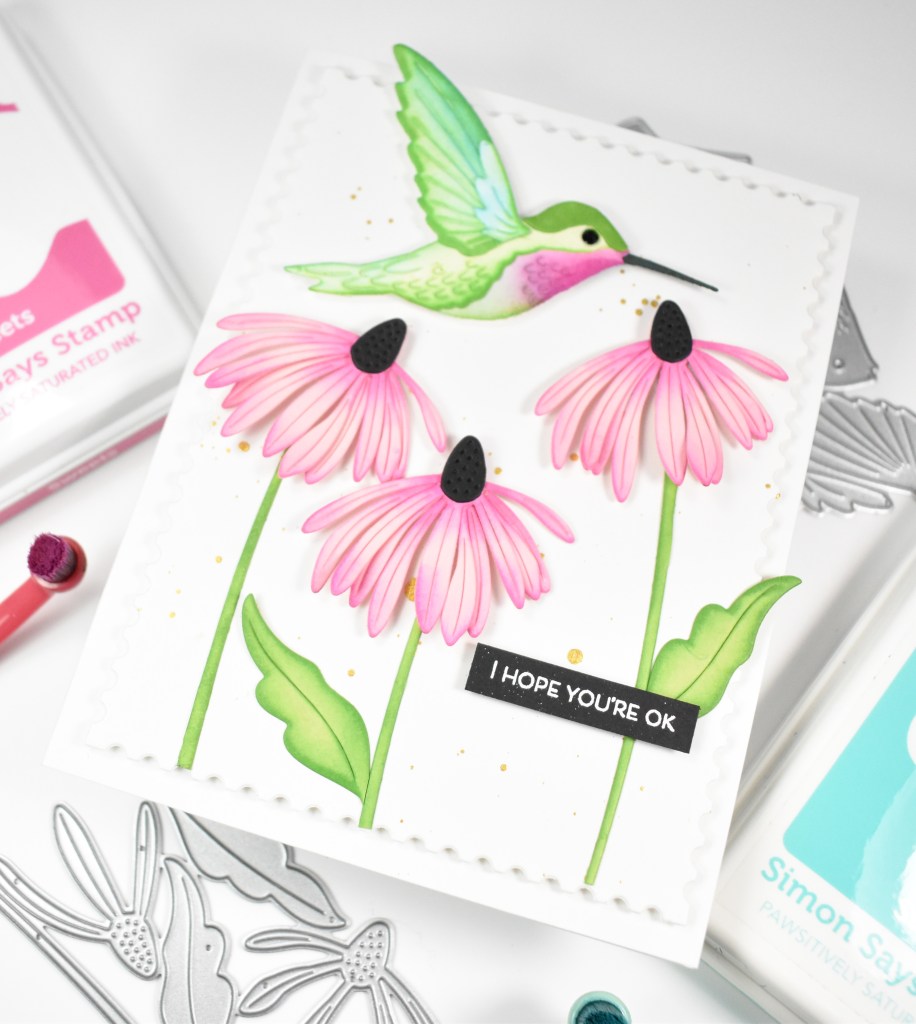
The background panel was cut using the Postage Stamp Edge Frames and gold splattered before adhering the stems with liquid glue and adding the flowers. The hummingbird was added with foam strips as was the sentiment. The panel was then adhered to the card base with foam tape to finish up.
That does it for this project! I hope you like it! Thanks again for joining me and I hope you have an awesome day!

Blog Hop Details
Simon Says Stamp Blog
Nina-Marie Trapani
Laura Bassen
Cathy Zielske
Barbara Tarayao
Heather Hoffman
Keisha Charles
Mindy Eggen
Heather Ruwe
Yana Smakula
Caryn Davies
Maura Hibbitts
Allison Frazier
Tracy Ware
Revati Panickar
Michelle Langley
Supply List
Affiliate links used at no cost to you. What does this mean? If you use the links within this post to make a purchase, I receive a small commission, which allows me to continue to post crafty content for your enjoyment. I truly appreciate your support!
Latest Posts
- Spellbinders Trailside Birthday Raccoon

- Simon Says Stamp Grateful Heart

- Simon Says Stamp Braided Greetings

- Together By Design Color Cube Floral

- Simon Says Stamp Cute Duckling

Latest Instagram Posts