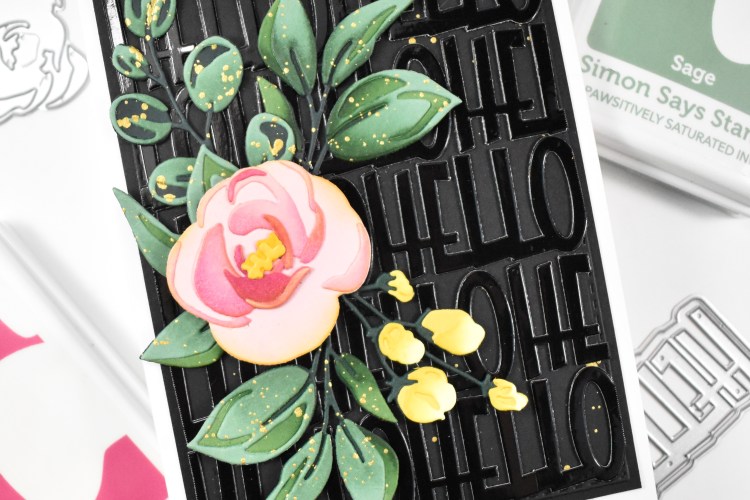
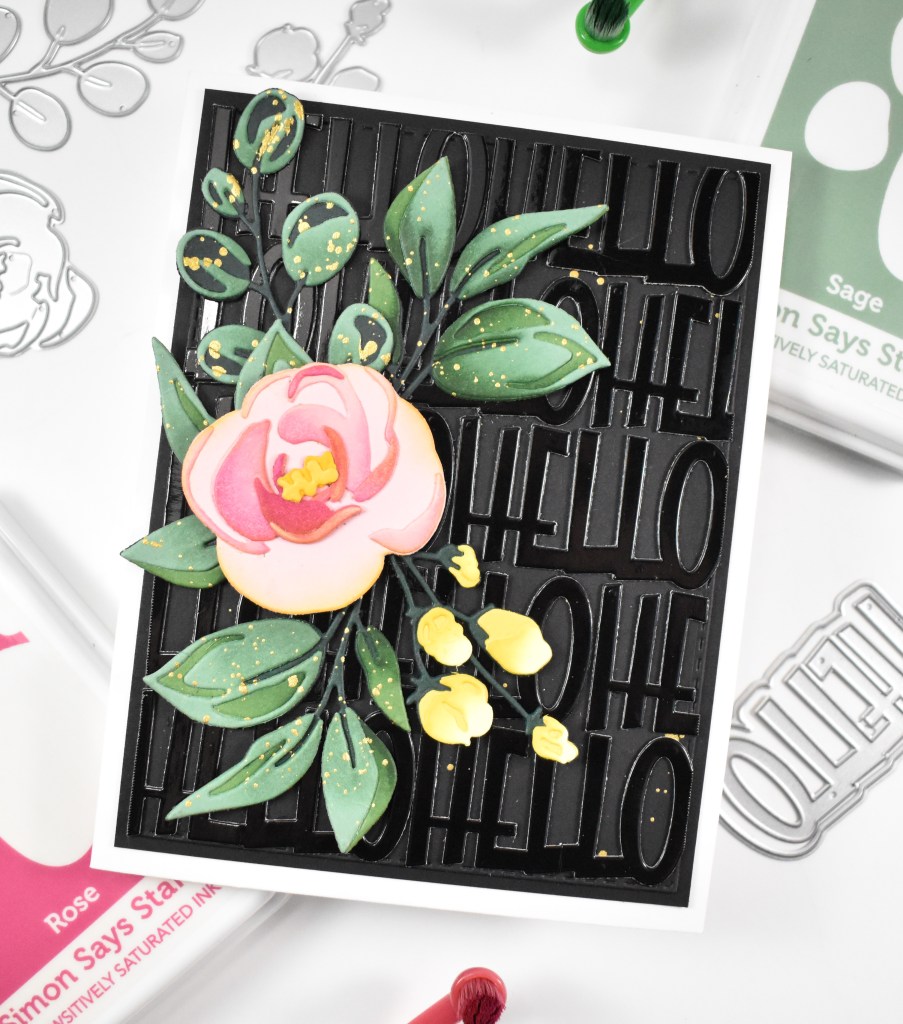
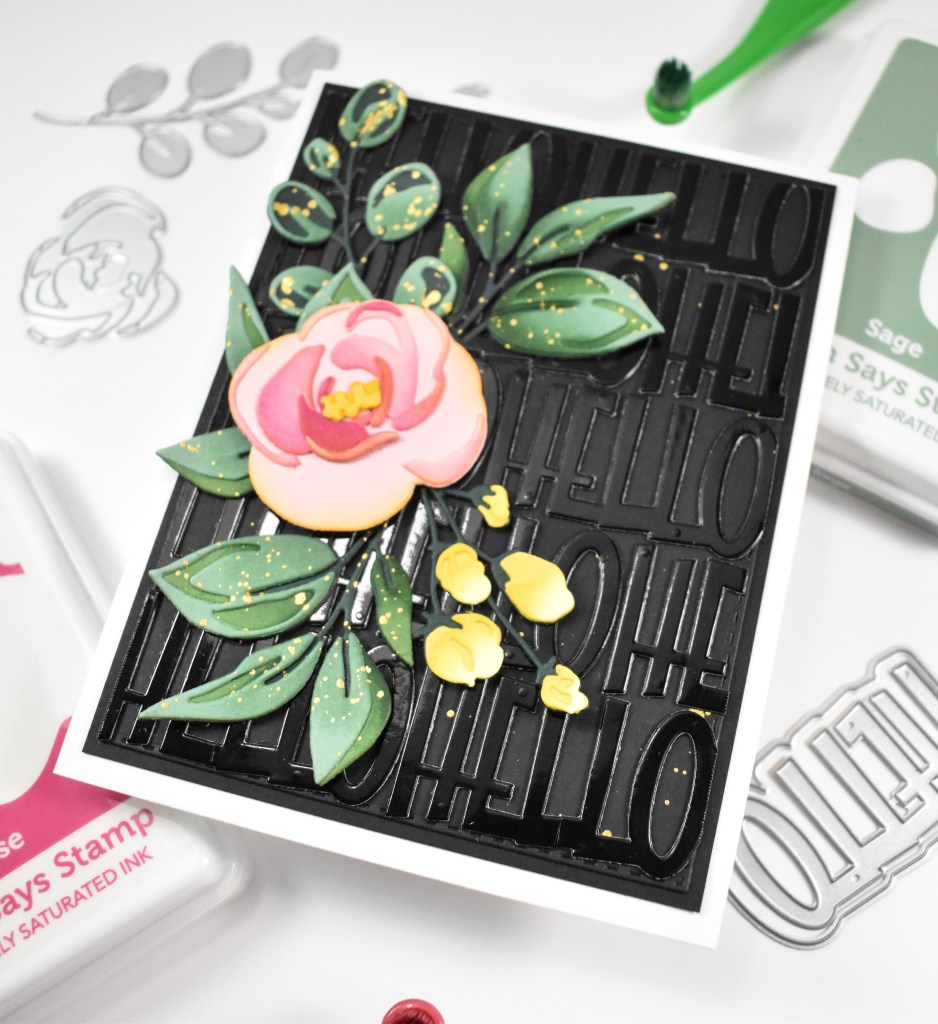
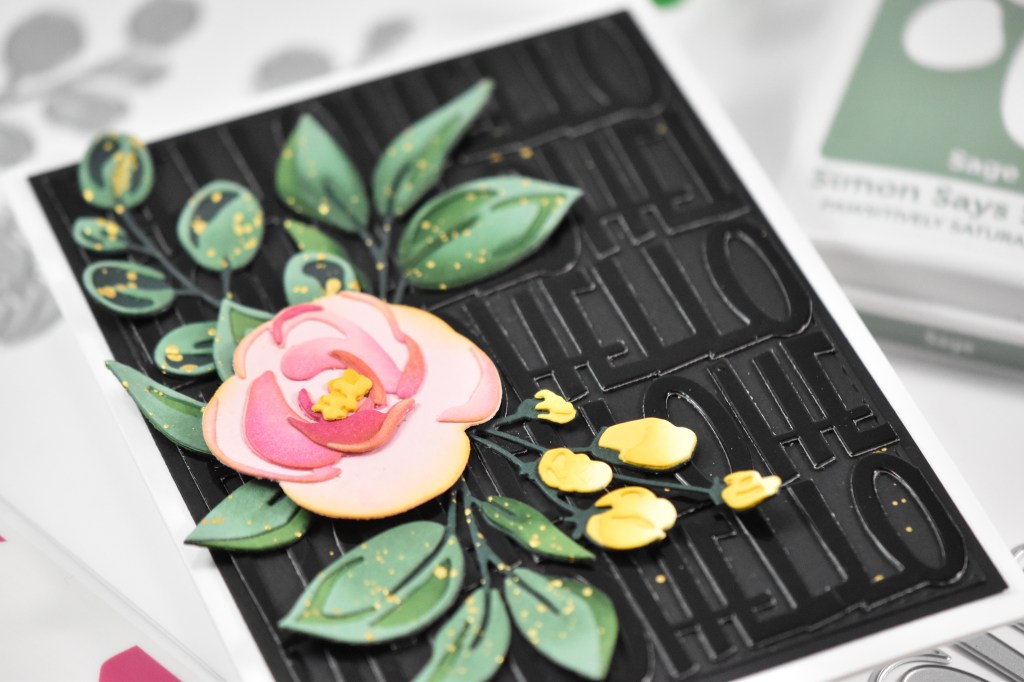
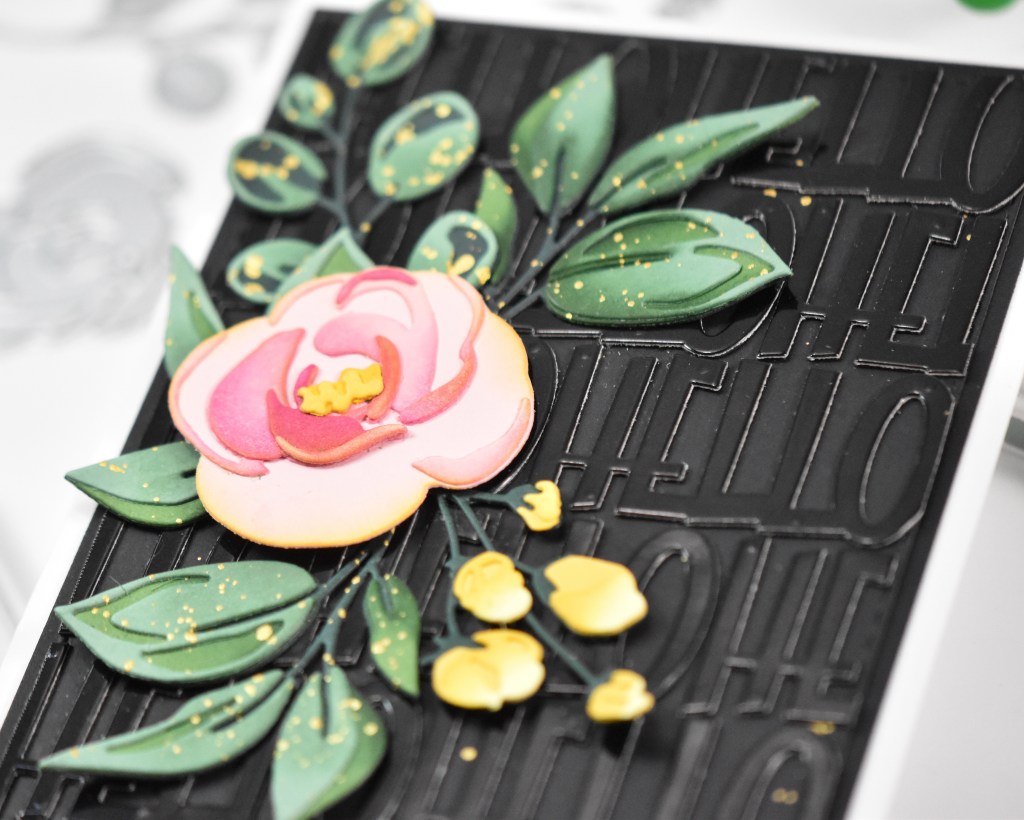
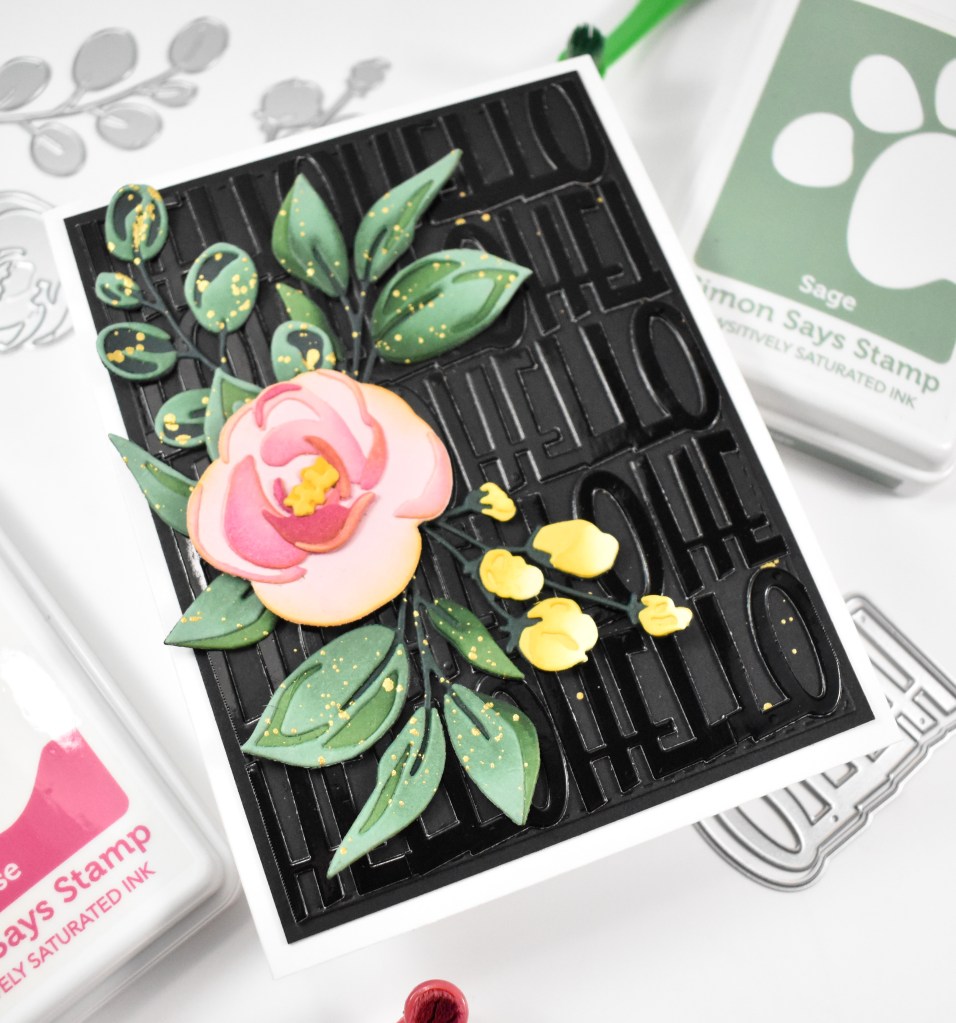
Simon Says Stamp Hi There Blooms

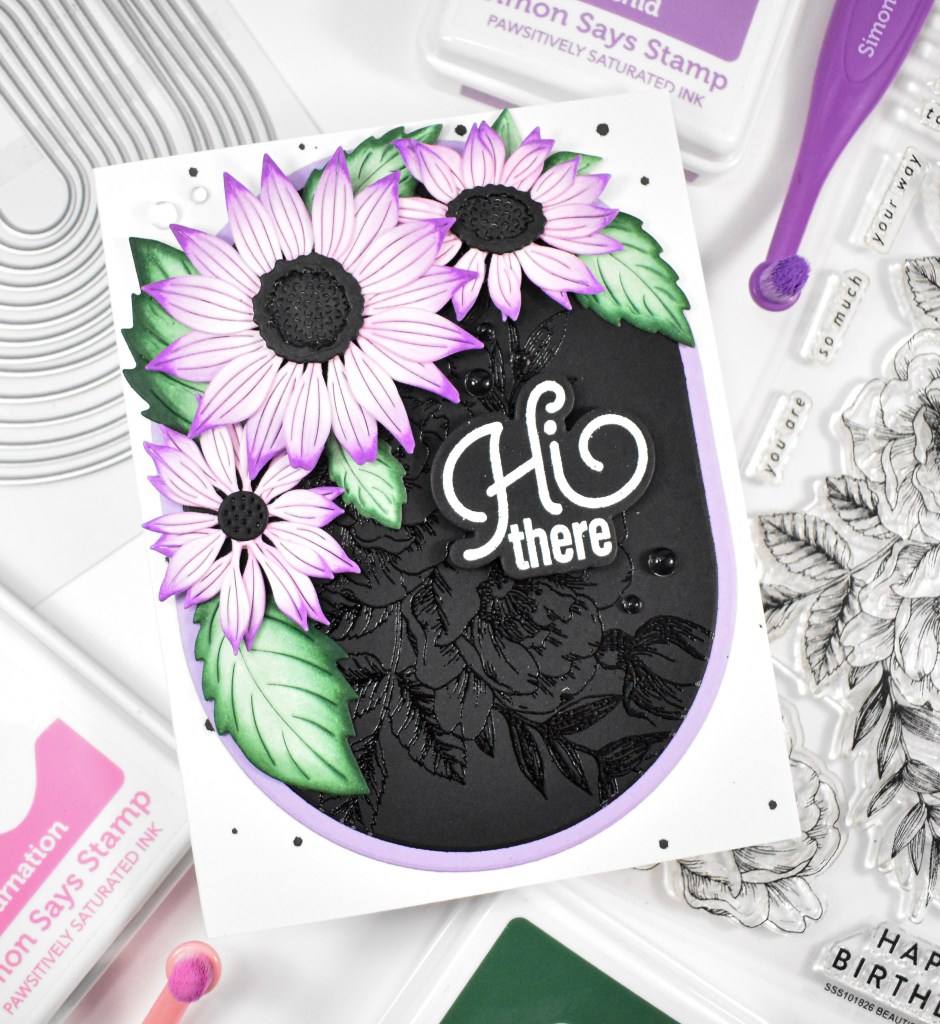
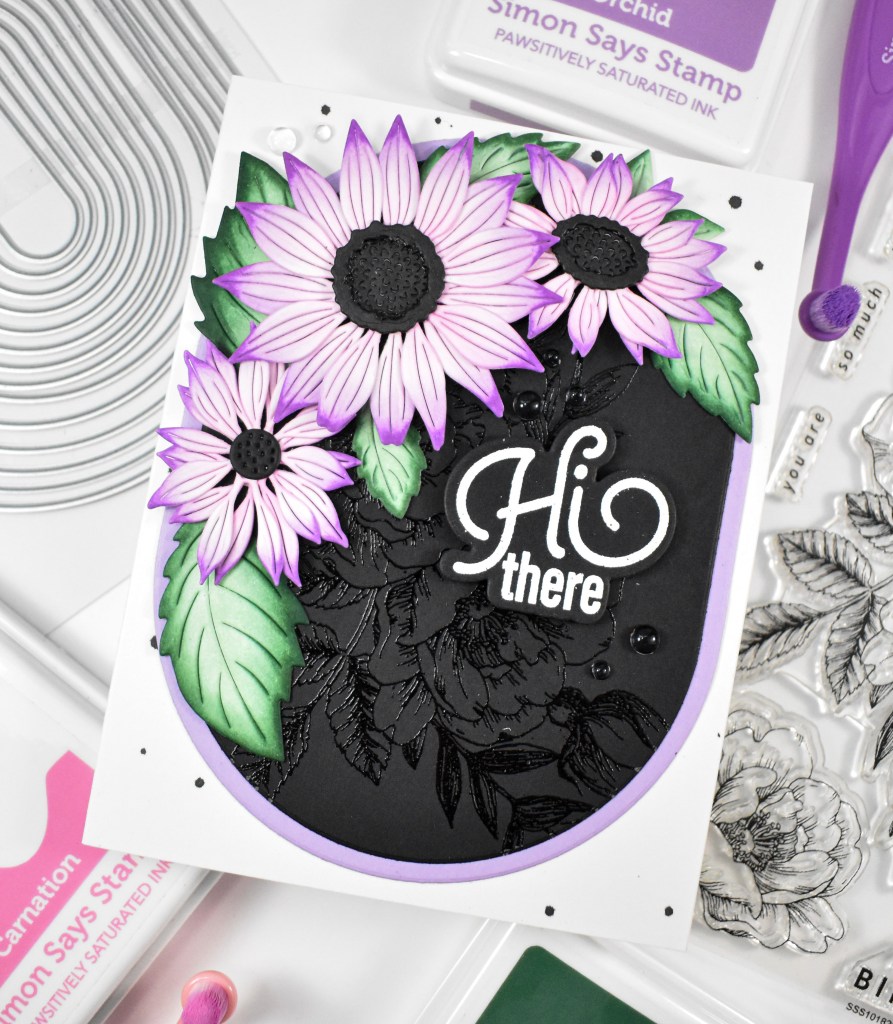
Hello Crafty Friends, and thanks for stopping by! I’m back today with a post featuring the Sunflower Blooms and Chunky Ovals from Simon’s latest release, Every Happiness. I chose to go in a pink/purplish direction with my sunflowers for this one, so let’s go ahead and go through the details!

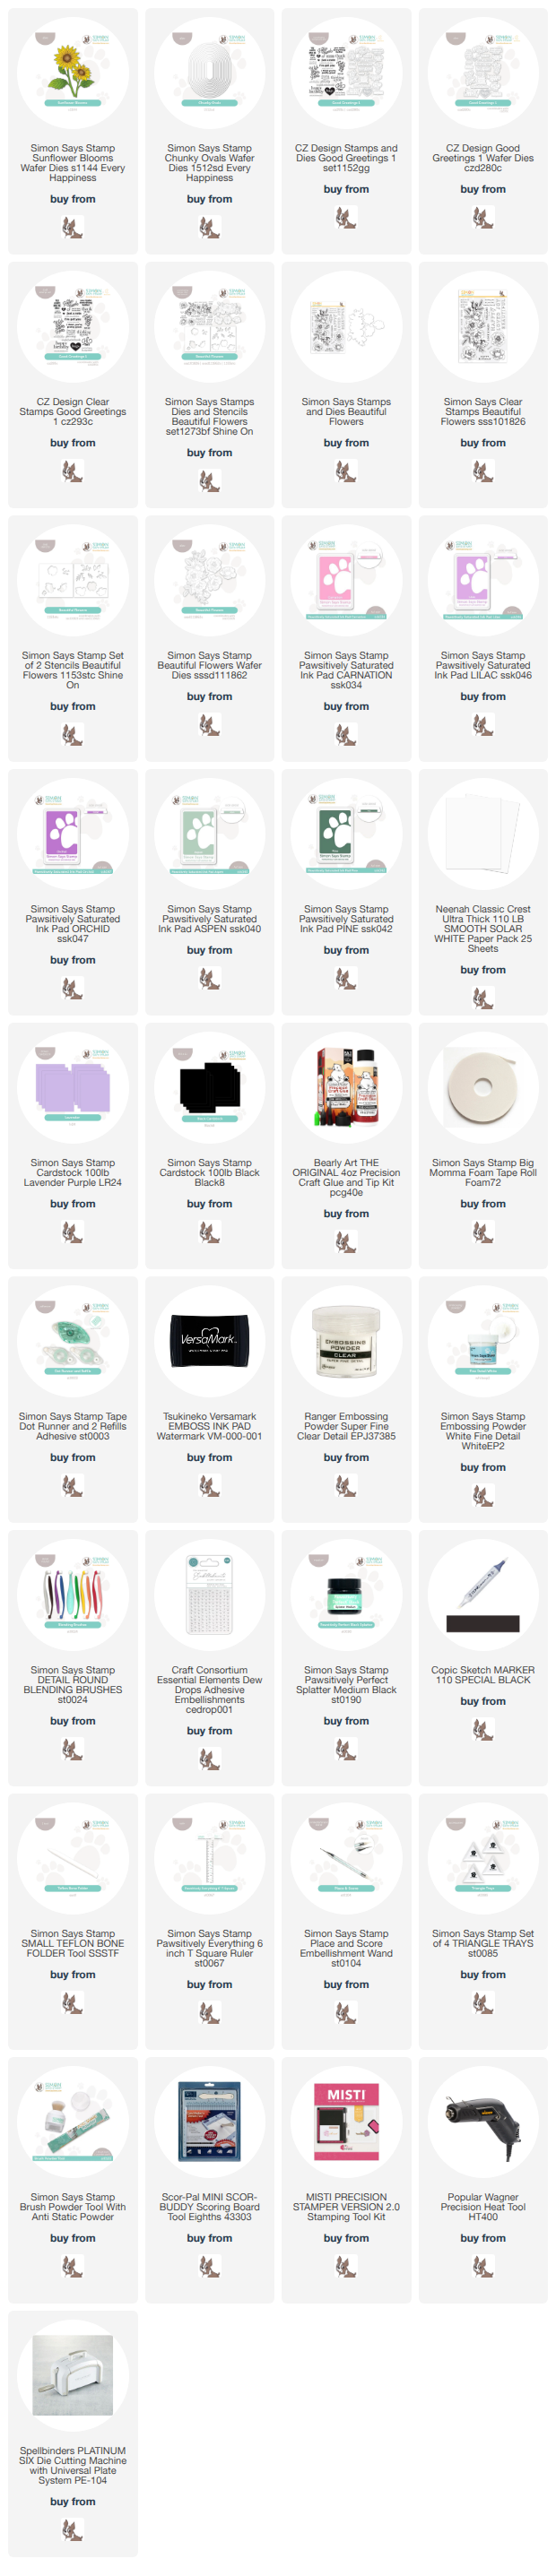
NOTE: all supplies are linked in the thumbnails at the end of this blog post.

I began by die cutting the florals and leaves from Neenah 110lb cardstock. Normally, I probably would have cut these from colored cardstock, but I was borrowing my friend’s die while she was visiting and I didn’t know what I was going to be making at the time. So, I just felt that I would have more options if they were cut from white cardstock. I did some ink blending on the flowers and leaves using Carnation, Lilac, Orchid, Aspen and Pine. For the centers of the flowers, I just used a black Copic marker to color those.

Once everything was ink blended, I went ahead and assembled the flowers and figured out the rest of my design. I stamped the floral from the Beautiful Flowers set onto a panel of black cardstock, using VersaMark ink and heat set that using clear embossing powder for a tone on tone effect. I then used the Chunky Ovals to trim it down, along with a panel of Lavender cardstock. My sentiment was stamped using VersaMark, heat set using white embossing powder, and trimmed out several times.

I went ahead and black splattered my card base, adhered the ovals and began securing the leaves with liquid glue, while the flowers were adhered using foam tape for added dimension. The sentiment was also added with foam tape, and some clear gems were added to finish up.

That does it for this project! I really love using dark colors sometimes, and I thought this dark background would pair well with the dark centers of the flowers. Thanks so much for joining me, and I hope you have yourself a wonderful day!

Supply List

Affiliate links used at no cost to you. What does this mean? If you use the links within this post to make a purchase, I receive a small commission, which allows me to continue to post crafty content for your enjoyment. I truly appreciate your support!

Latest Posts

Latest Instagram Posts

Simon Says Stamp Bellflower Hugs

Hey There, Friends and welcome back! Today’s post is featuring the new Bellflower Blossoms Stencil from Simon’s latest release, Every Happiness. Let’s get into the deets!

NOTE: all supplies are linked in the thumbnails at the end of this blog post.

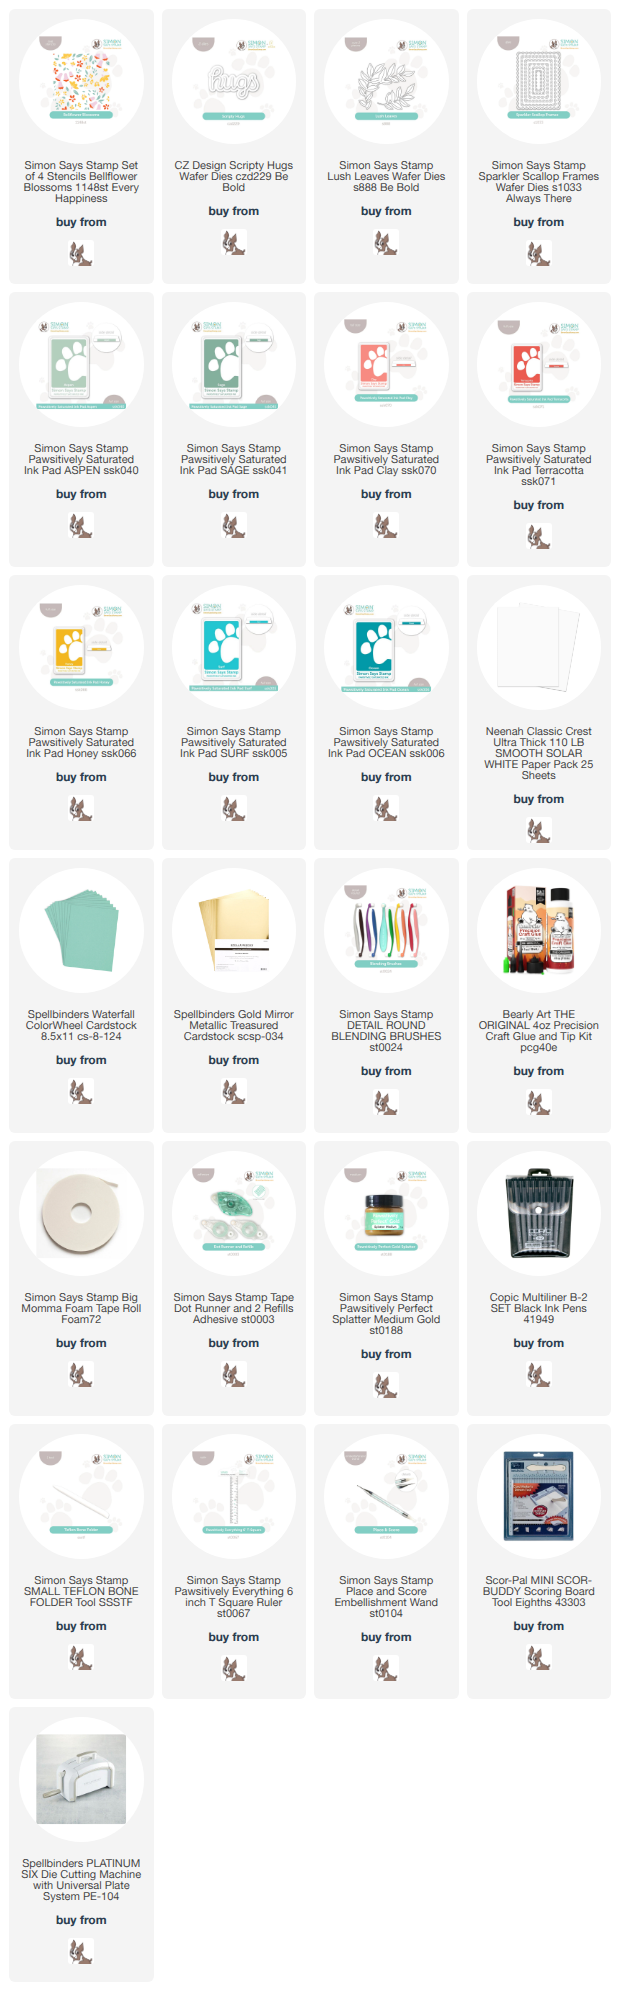
I began this project by ink blending the stencils using Aspen, Sage, Clay, Terracotta, Honey, Surf and Ocean. Once I was done with that, I felt like the flowers needed a bit of grounding, so I opted to scribble around the images using a Copic Multiliner pen. I wasn’t too careful with this, and didn’t really try to be too perfect with it. Before moving on, I gave the panel some gold splatter, because I love splatter!

The panel was then trimmed down using the Sparkler Scallop Frames. I die cut the Lush Leaves once from Waterfall and gold cardstock, and did some ink blending on the colored cardstock using the same Ocean ink. The leaves were then adhered to the panel in a side swag fashion, if you will. The sentiment was cut from gold and white cardstock, adhered together and glued directly to the panel to finish up.

That does it for this one! I hope you enjoyed it. Thanks again for joining me, and I hope you have a wonderful day!

Supply List

Affiliate links used at no cost to you. What does this mean? If you use the links within this post to make a purchase, I receive a small commission, which allows me to continue to post crafty content for your enjoyment. I truly appreciate your support!

Latest Posts

Latest Instagram Posts

Simon Says Stamp Bedazzled Hello

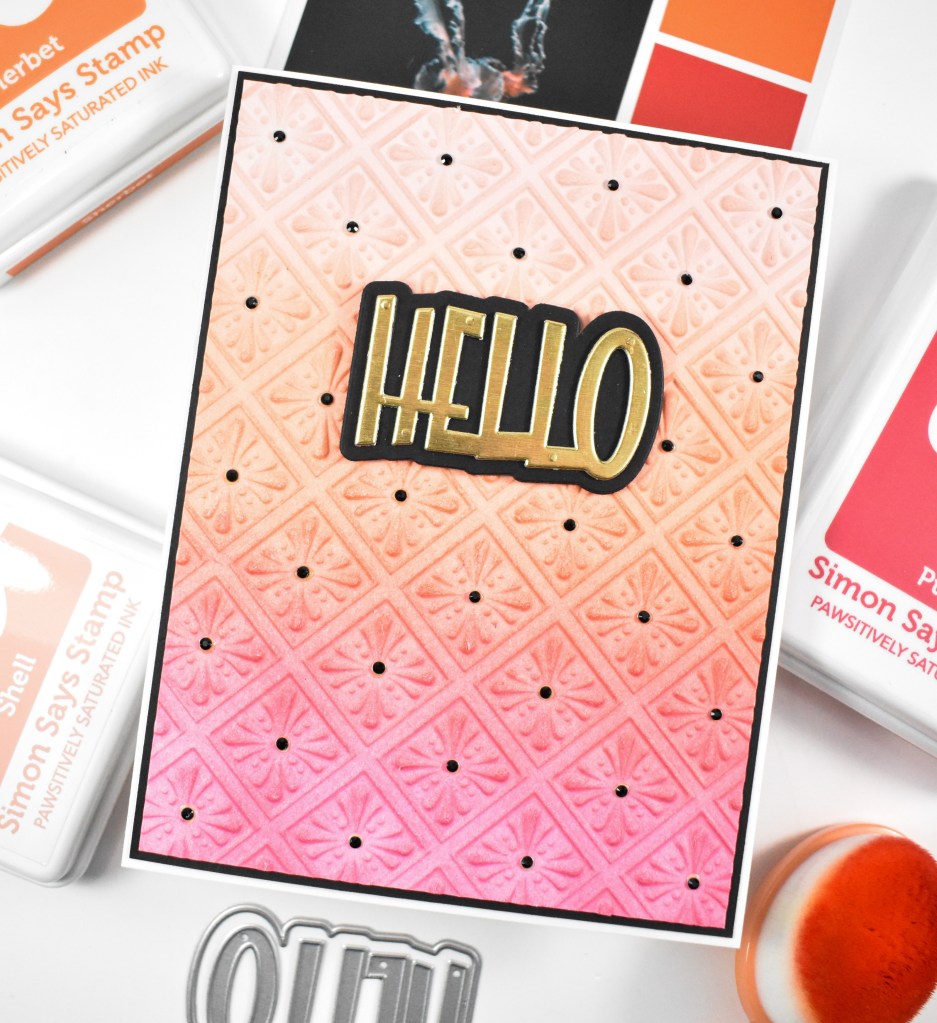
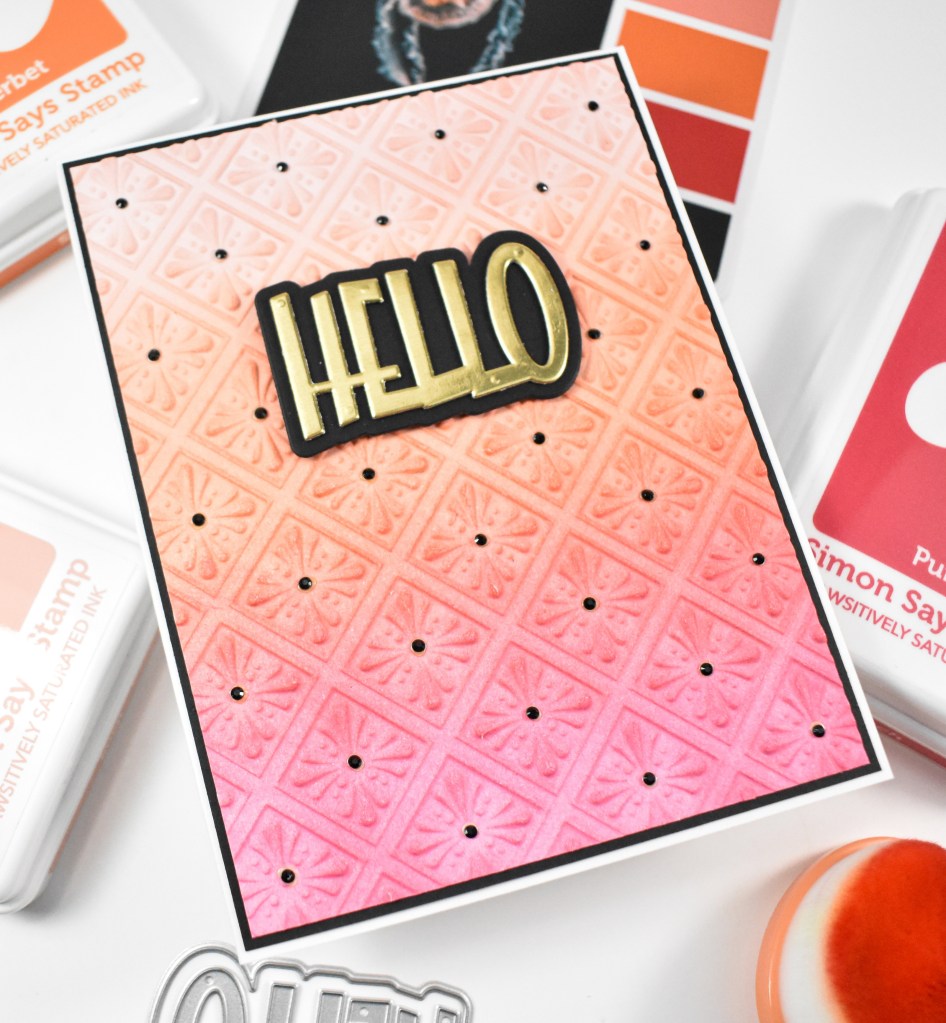
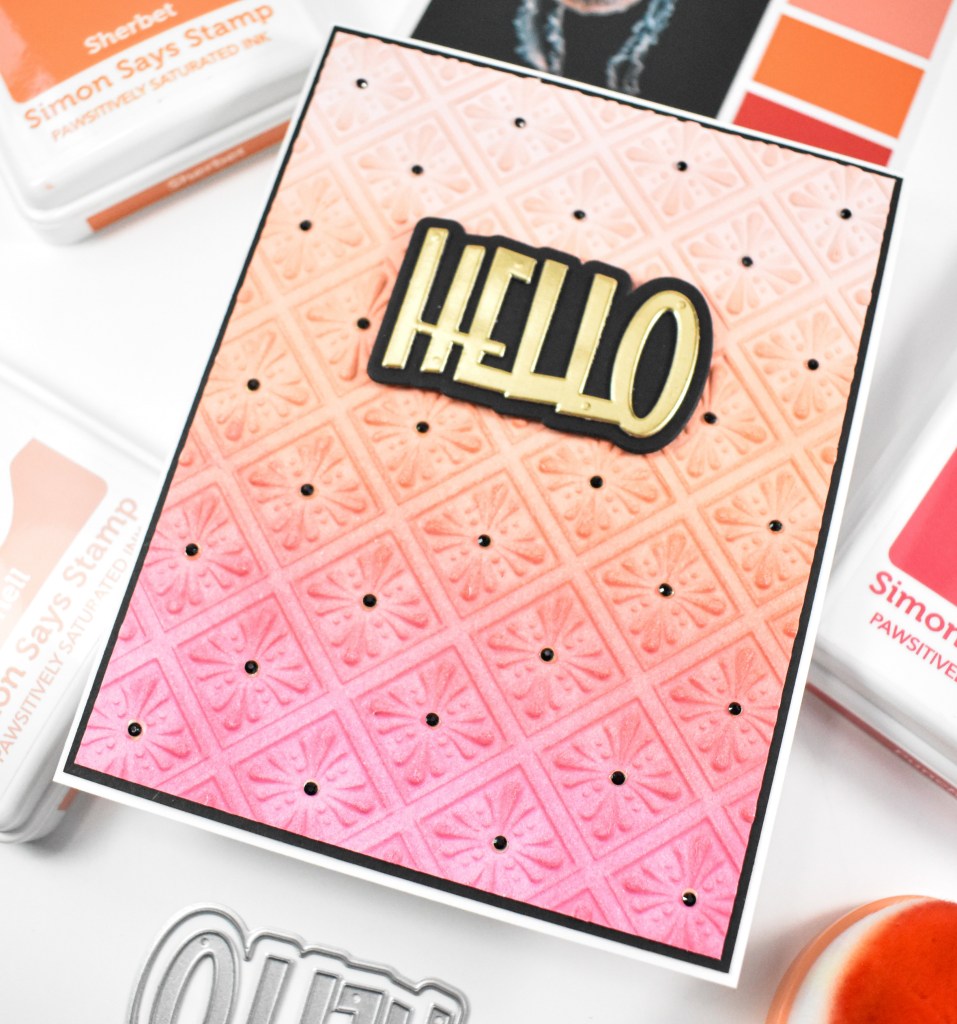
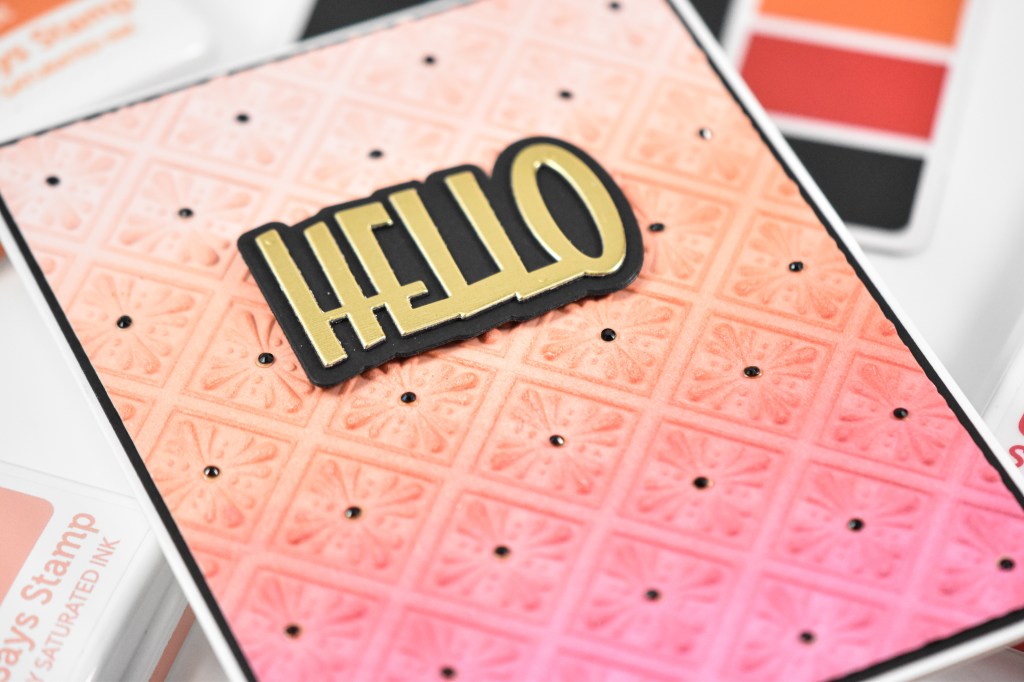
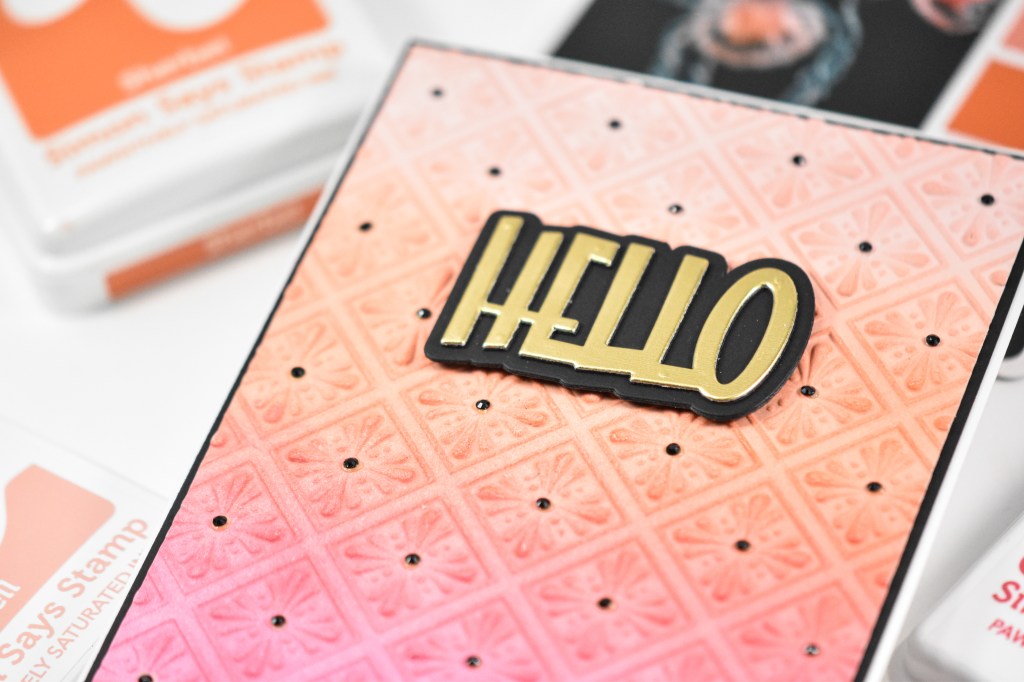
Hello, Hello! Thanks so much for stopping by to check out today’s quick project using the new Bedazzled Embossing Folder along with the Paper Cut Word Mix from Simon’s latest release, Every Happiness. Here’s the deets for this project!

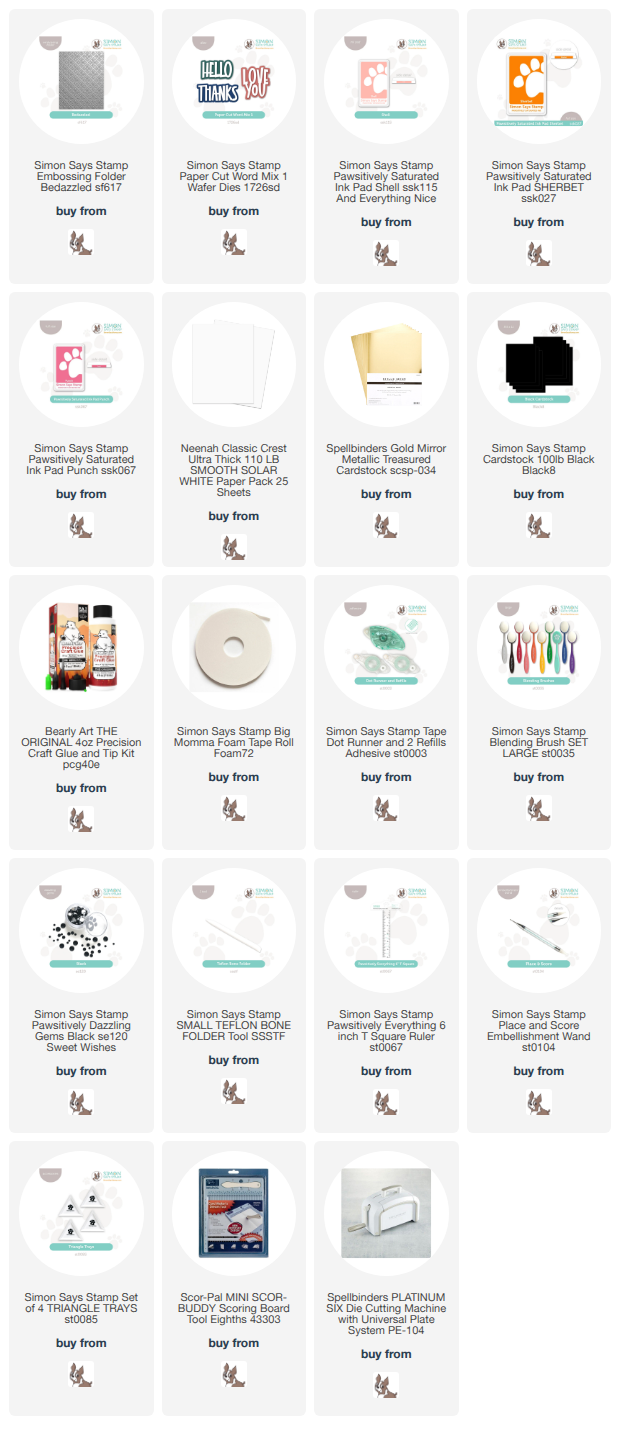
NOTE: all supplies are linked in the thumbnails at the end of this blog post.

I began this project by embossing a panel of Neenah 110 cardstock using the folder and doing some ink blending using Shell, Sherbet and Punch inks. I did pull my color inspiration from The Color Cubes, because I wanted to try something a little different. Once I was done with that, I added a black panel for some contrast and added a tiny black gem to the centers of the medallion if you will.

I then die cut the hello from gold and black cardstock, adhered all of those together and added it to the panel using foam tape.

See, super simple project for today! The longest part was adding all of the gems! Thanks so much for joining me, and I hope you have a fabulous day! Don’t forget to stay awesome!

Supply List

Affiliate links used at no cost to you. What does this mean? If you use the links within this post to make a purchase, I receive a small commission, which allows me to continue to post crafty content for your enjoyment. I truly appreciate your support!

Latest Posts

Latest Instagram Posts

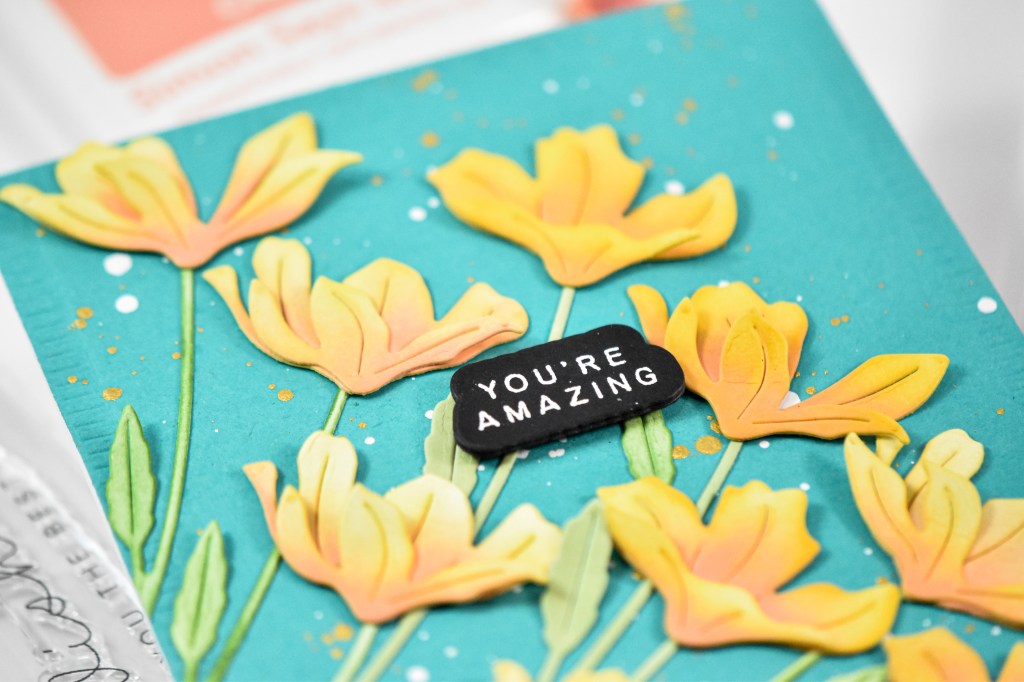
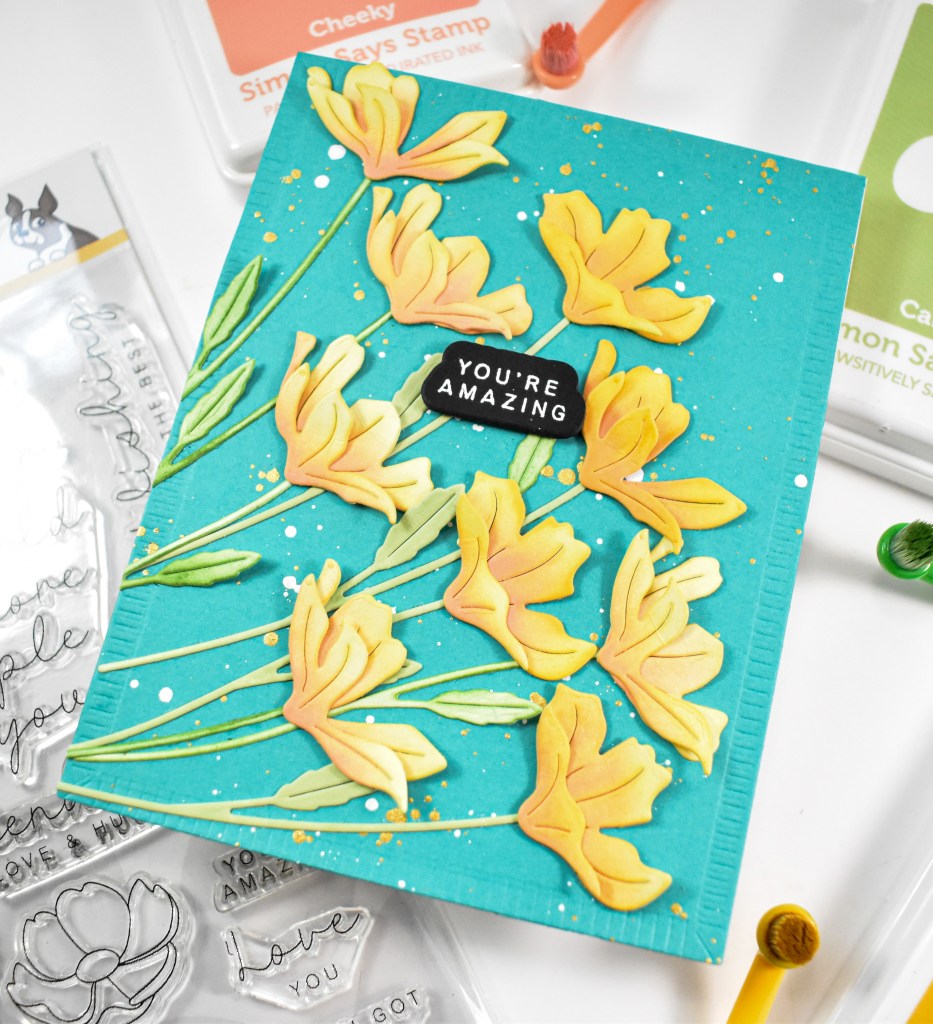
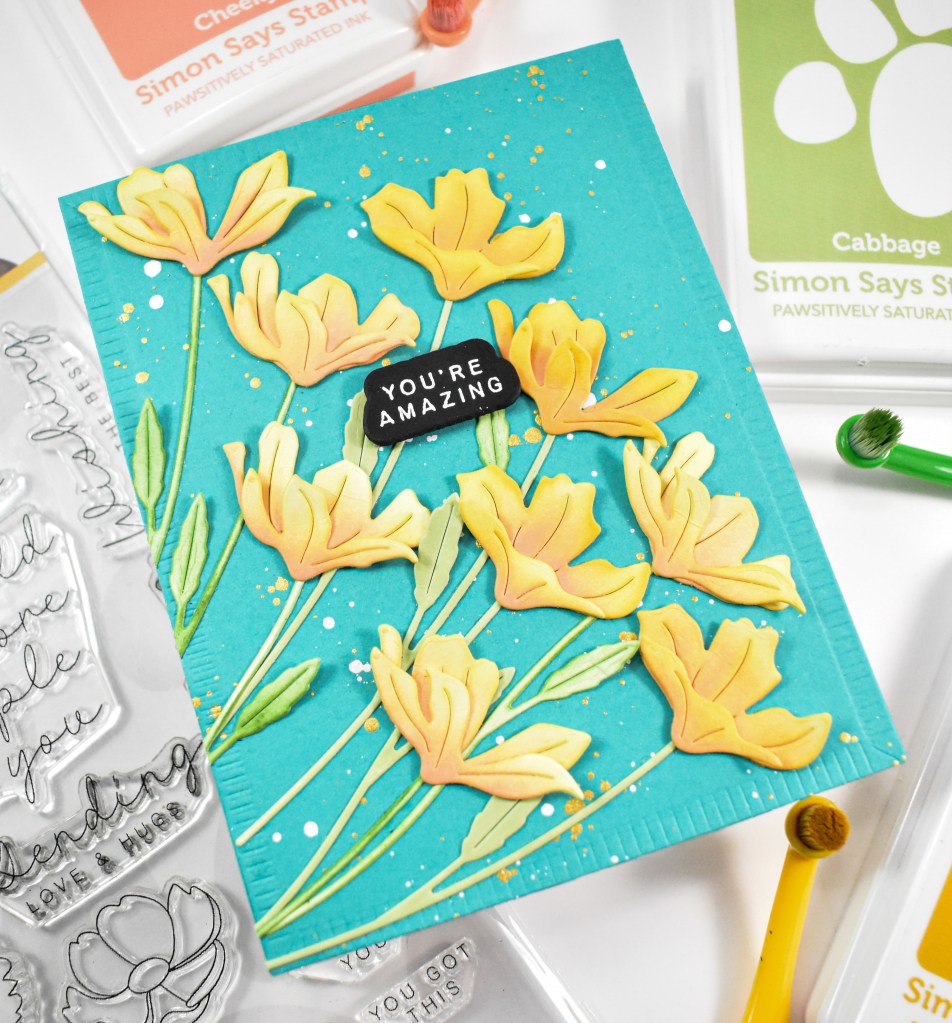
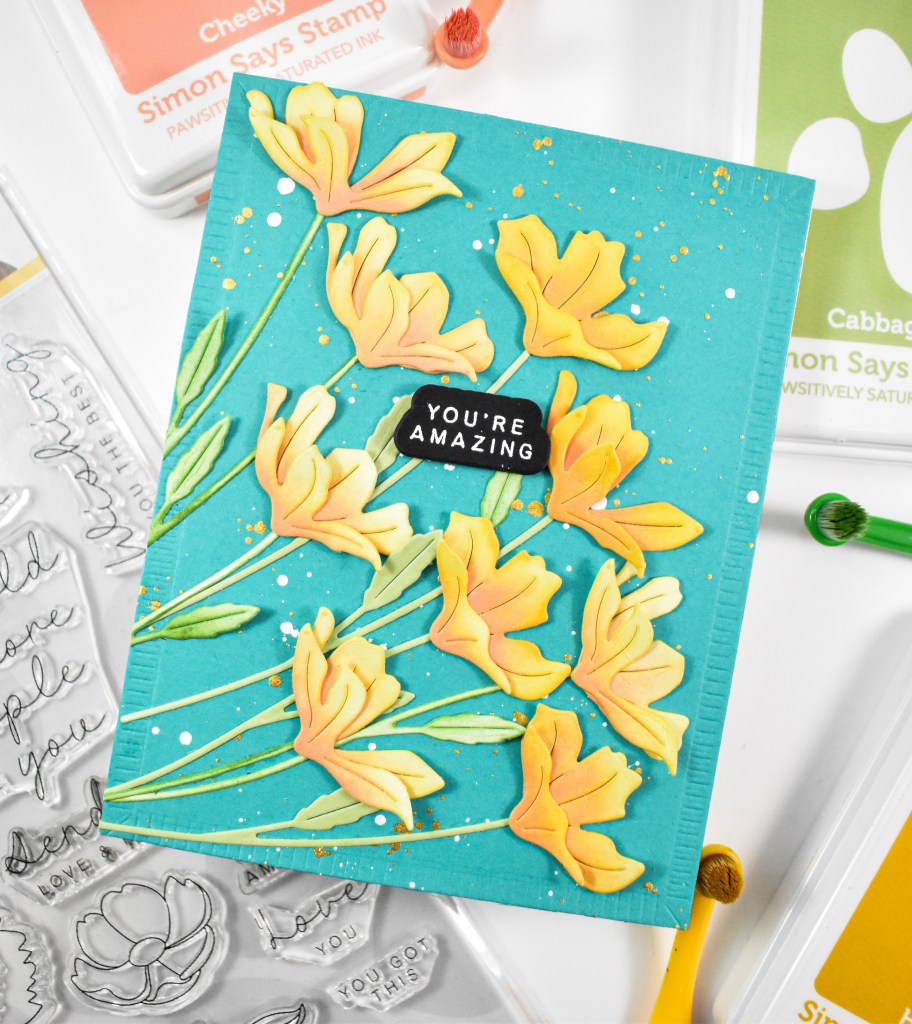
Simon Says Stamp Amazing Petals

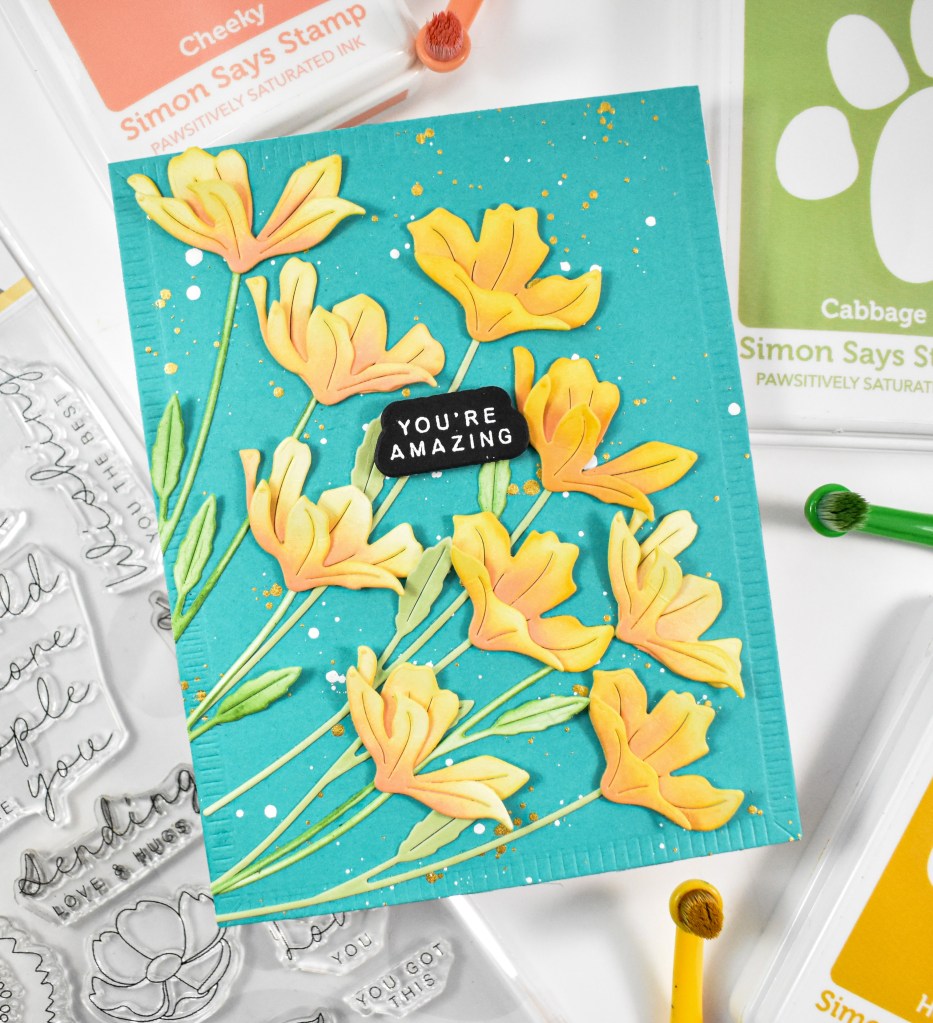
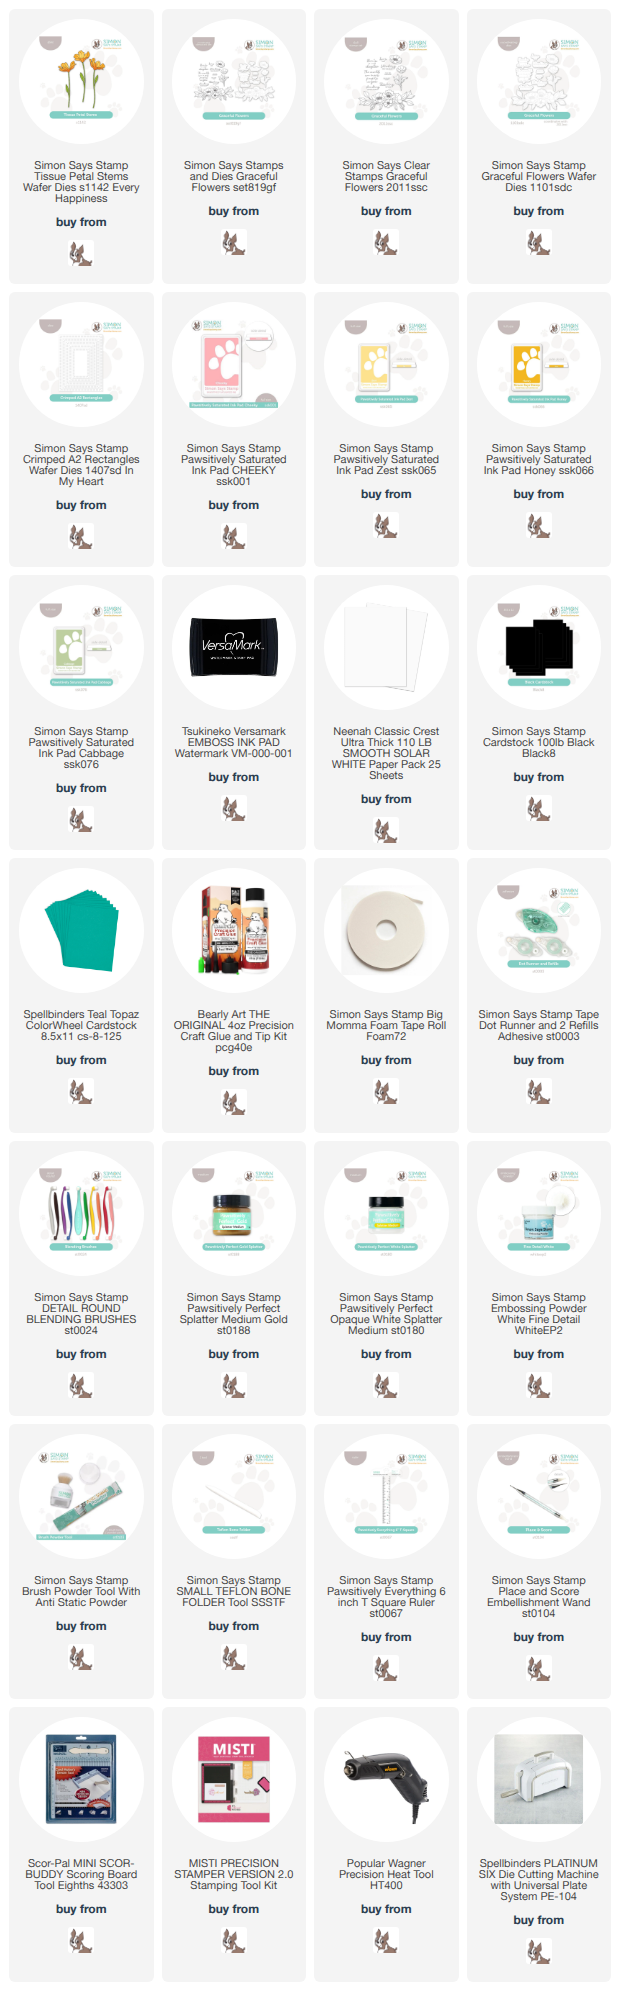
Hey There, Crafty Friends! Thanks so much for stopping by to check out today’s post featuring the new Tissue Petal Stems from Simon’s Every Happiness release. I borrowed this set from a friend, but I might just have to add it to my cart, because I love how they turned out! Let’s run through the details for this one!

NOTE: all supplies are linked in the thumbnails at the end of this blog post.

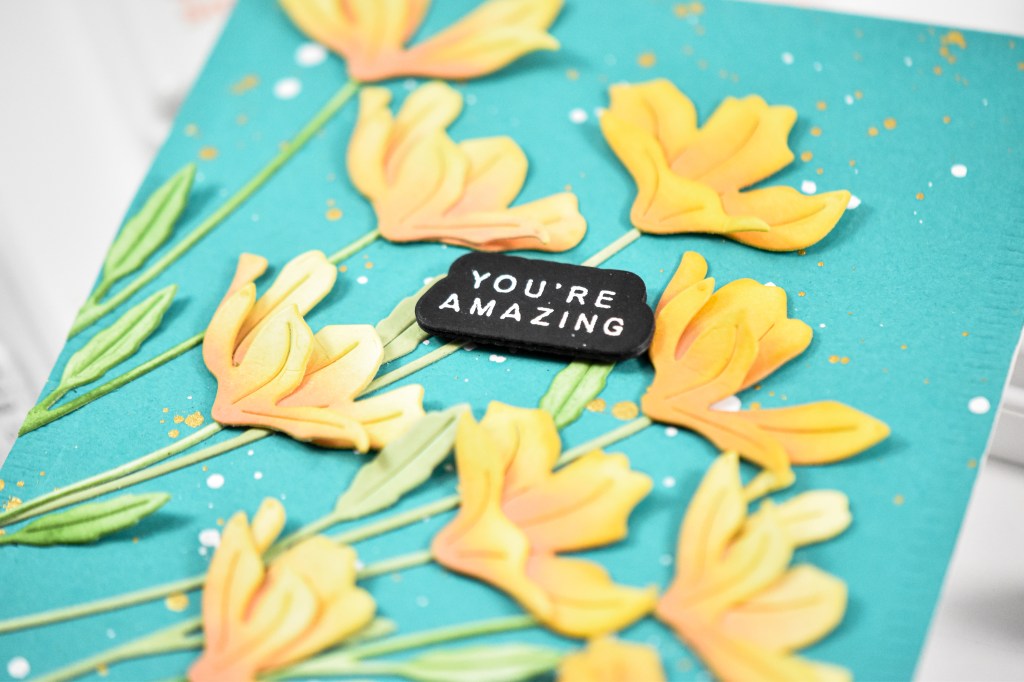
I began this project by die cutting the floral pieces lots of times from Neenah 110lb cardstock. Like I said, I borrowed this from a friend and had no idea at the time how I would be using it, so I thought it best to just cut from white cardstock. I did some ink blending on the pieces using Cheeky, Zest, Honey and Cabbage. Once I was done with the ink blending, I went ahead and assembled the flowers.

The background panel was created using Teal Topaz cardstock along with the Crimped A2 Rectangles and some gold and white splatter. The sentiment was stamped with VersaMark ink, heat set with white embossing powder and layered up. I glued my flowers in place, after much playing around with placement, and added the sentiment with foam tape to finish up.

That does it for this project! I really love yellowish orange flowers against the teal background! Have you checked out the Every Happiness release yet? I’d love to know your favorites! Until next time, have a fabulous day, and don’t forget to stay awesome!

Supply List

Affiliate links used at no cost to you. What does this mean? If you use the links within this post to make a purchase, I receive a small commission, which allows me to continue to post crafty content for your enjoyment. I truly appreciate your support!

Latest Posts

Latest Instagram Posts

Simon Says Stamp Take Care Florals

Hello Friends, and thanks so much for stopping by! There’s a fun Instagram Hop going on today to celebrate the Simon Every Happiness release! You don’t want to miss your opportunity to discover some new inspiration and to win a $25 gift card! Head over there and comment along the hop for your chance to win! Today’s project was a fun one for me, because we all know that I love florals! My card today is featuring the new Leafdance Flowers and Frame so let’s go ahead and run through the details!

NOTE: all supplies are linked in the thumbnails at the end of this blog post.

I began my project by die cutting the pieces from Windy, Lavender and Beeswax cardstock. I did some ink blending on the leaf portions using Summer Shower and Seaside inks, while the ink blending on the flowers used Amethyst ink. I assembled the flowers and set those aside while I worked on the rest of the card. I knew that I wanted a darker background to showcase the florals, so I opted for Rain Forest cardstock.

For some added interest on the background, I added some silver splatter. The sentiment was cut using Matte Silver cardstock and also from black cardstock. All of those layers were adhered together for a stacked sentiment. This sentiment has been discontinued, which makes me sad because it’s always been a favorite, so any sentiment from your stash would work just as well! I adhered the leaf frame portion to my background, added the flowers using small bits of foam tape and secured the sentiment with liquid glue to finish up.

Another beautiful floral project in the books! I hope you enjoyed it as much as I did! Don’t forget to check out the entire Every Happiness release, and head over to Instagram to join the hop! Thanks again for joining me, and I hope you have yourself a fabulous day!

Supply List:

Affiliate links used at no cost to you. What does this mean? If you use the links within this post to make a purchase, I receive a small commission, which allows me to continue to post crafty content for your enjoyment. I truly appreciate your support!

Latest Posts

Latest Instagram Posts

Simon Says Stamp Happy Daisy Frame

Hey There Friend! Welcome back to my blog! So glad you stopped by to check out today’s project featuring the Daisy Frame stamp and stencil combo from Simon’s latest release, Every Happiness. Let’s go ahead and run through the details!

NOTE: all supplies are linked in the thumbnails at the end of this blog post.

I began this project by stamping the Daisy Frame using VersaFine Onyx Black ink and heat setting it with clear embossing powder. I was in a little bit of a color funk that day, so a friend suggested that I use Terra Cotta, Brick, Artichoke and Aegean, so that’s what I did, and I’m quite happy with the end result! Thanks Jean! After I was done with the ink blending, I used the new Chunky Ovals to trim out the stamped image. I should also add that I colored the tiny yellow flowers with a Copic marker.

I used a larger oval to cut a black mat for a bit of contrast. I’m sure there are die cuts for this stamp set, but I did not receive those and had to improvise with what I had. The sentiment was stamped onto black cardstock using VersaMark ink and heat set using white embossing powder. It was then trimmed out several times with the coordinating die.

My background was created using the new Bedazzled Embossing Folder on a panel of Desert Storm cardstock. My stamped image got a dose of gold splatter before adhering all of the layers together. The sentiment was added, as well as some gold metallic pearls to finish up.

That does it for this project! Lots of new products used on this one! I hope you enjoyed it, and I hope you’ll swing by and check out the entire Every Happiness release! Thanks for joining me, and I hope you have a wonderful day!

Supply List:

Affiliate links used at no cost to you. What does this mean? If you use the links within this post to make a purchase, I receive a small commission, which allows me to continue to post crafty content for your enjoyment. I truly appreciate your support!

Latest Posts

Latest Instagram Posts

Simon Says Stamp Flower Puff Thanks

Hello Friends, and thanks for joining me! Today’s project is featuring the new Flower Puff Embossing Folder, as well as the Paper Cut Word Mix 1. Once I figured out the elements that I wanted to use, this card came together pretty quickly. Let’s run through the details!

NOTE: all supplies are linked in the thumbnails at the end of this blog post.

Like I said, once I figured out the elements, this one came together quickly. Now with that being said, I’m one of those people that can mull over elements for a REALLY long time! This is my downfall in card making! Do you do the same thing, or are you a quick crafter? Anyhoo, I began this project by embossing the folder onto a panel of Neenah 110lb cardstock. I then used Aspen, Sage, Sky, Dusk and Sunbeam to do the ink blending. That seems like a lot of colors, and I won’t disagree with you there! I was having an issue because I wasn’t loving my blend. To correct this, I ended up blending some green over the blue area and blending some of the blue over the green area. That seemed to smooth it out enough for me to move on.

I die cut the Lush Leaves from black cardstock, and cut some flowers from the Hanging Leaf Ring set from Matte Silver cardstock. The sentiment was also cut from the same silver and black cardstock, as was the shadow portion. Before proceeding, I used a brayer and added some white ink to the raised portions of the panel, splattered it with some blue ink, as well as some silver ink.

The leaves and flowers were glued in place and the sentiment was added using foam tape. To finish up, I did add some black gems to the centers of the flowers.

That finishes up this project! Don’t forget to check out the entire Every Happiness release! I appreciate you stopping by, and I hope you have an awesome day!

Supply List:

Affiliate links used at no cost to you. What does this mean? If you use the links within this post to make a purchase, I receive a small commission, which allows me to continue to post crafty content for your enjoyment. I truly appreciate your support!

Latest Posts

Latest Instagram Posts

Simon Says Stamp You Are The Best Floral

Hello Crafty Friends, and welcome back! The latest Simon release, Every Happiness, is live and I’m back with a project featuring the Chunky Ovals. This is a great essential set to add to your stash, as it provides another layer of color, dimension or texture to whatever project you might be working on! Let’s go ahead and run through the details for this one!

NOTE: all supplies are linked in the thumbnails at the end of this blog post.

I began this project by working on the flowers and leaves first. I die cut the Rustic Layering Flower a few times from Neenah 110lb cardstock and did some ink blending on the pieces using Lilac, Periwinkle, Seafoam and Ocean. I did cut the centers from black cardstock before assembling the pieces together.

The Chunky Oval was cut, and I used the Bouquets set to stamp a subtle background using grey ink. The sentiment was stamped using VersaFine Onyx Black ink, heat set using clear embossing powder and trimmed out several times with the coordinating die cut.

The card base was black splattered before adhering the oval in place. The flowers and leaves were secured in place using liquid glue, as were some Surf Dazzling Gems, and the sentiment was added with foam tape to finish up.

That does it for this project! I hope you enjoyed it, and I hope you’ll stop by the Simon website to check out the entire Every Happiness release! Thanks so much for stopping by, and I hope you have a fabulous day!

Supply List:

Affiliate links used at no cost to you. What does this mean? If you use the links within this post to make a purchase, I receive a small commission, which allows me to continue to post crafty content for your enjoyment. I truly appreciate your support!

Latest Posts

Latest Instagram Posts

Simon Says Stamp Rainbow Oak Leaf

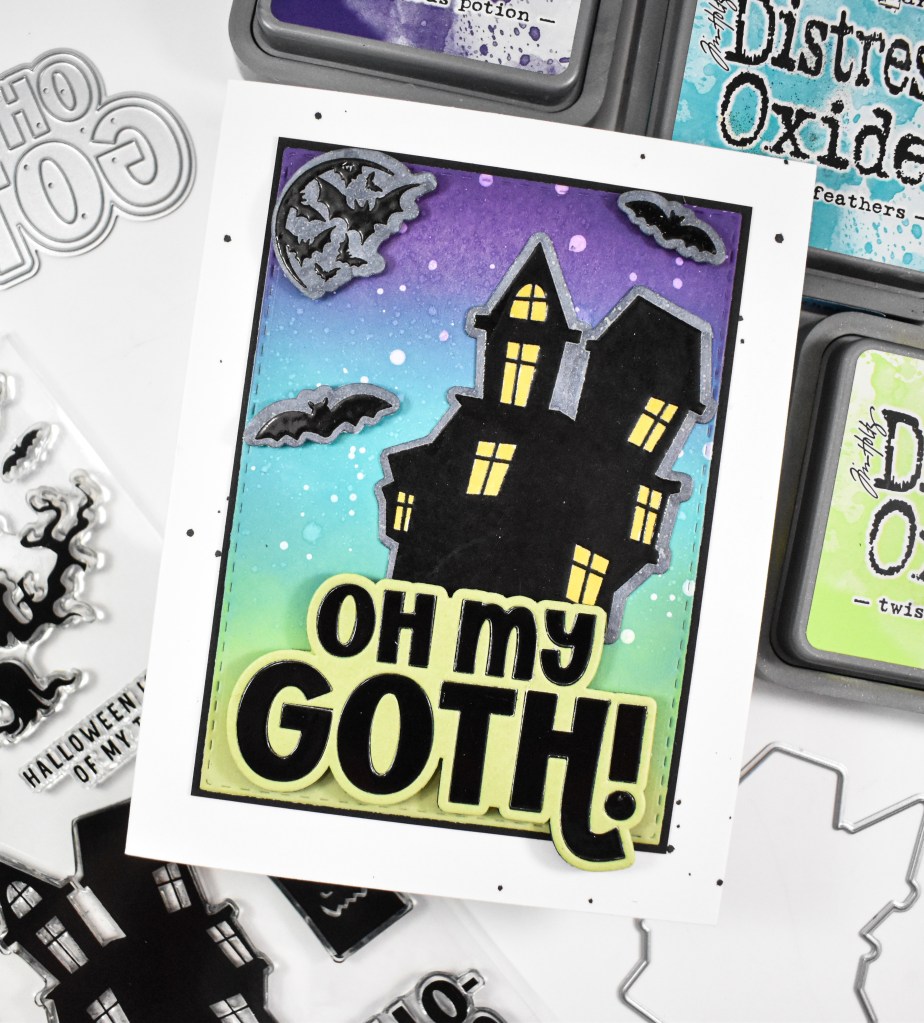
Hello Crafty Friends, and welcome back! I’m back today with a project featuring the new Oak Leaf stencils and die cut from Simon’s latest release, Every Happiness. I decided to give my oak leaf a rainbow spin, so let’s go ahead and get into the details!
NOTE: all supplies are linked in the thumbnails at the end of this blog post.

For this project, I decided that I didn’t want a boring, green leaf, so I pulled the rainbow colors for the ink blend on this one! The colors used were Bubblegum, Sweets, Sunbeam, Seafoam, Surf, Lilac and Orchid. Once done with the ink blending, I used the coordinating die cut to trim it out along with a black one. Those were adhered together using foam tape to create a shadow for the leaf.

My sentiment was stamped using VersaMark ink and heat set using white embossing powder. It was trimmed out several times for a stacked sentiment. The background panel was cut using the Nested Stitched Rectangles and some black splatter was added before adhering the strip of PET Tape along the side. The panel was adhered to a black layer for contrast, the leaf was added and the sentiment was glued in place to finish up this project.

Another project complete! This has been a fun release to play with! I hope you’ll swing by and check out the entire Every Happiness release! Until next time, have a great day and stay awesome!

Supply List:

Affiliate links used at no cost to you. What does this mean? If you use the links within this post to make a purchase, I receive a small commission, which allows me to continue to post crafty content for your enjoyment. I truly appreciate your support!
Latest Posts

Latest Instagram Posts
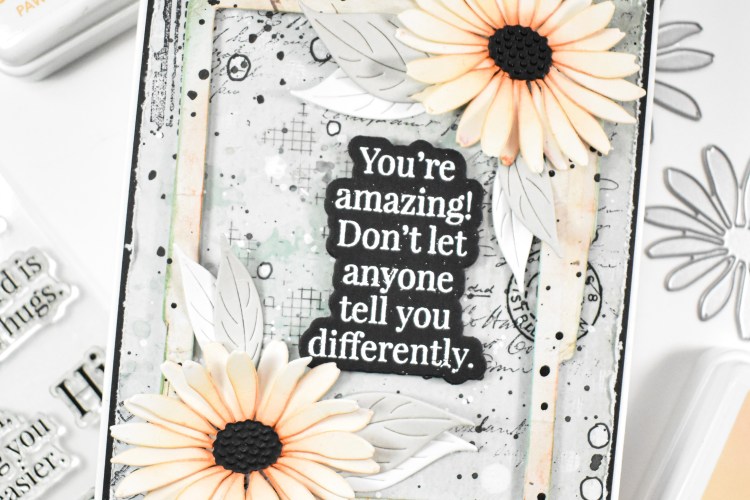
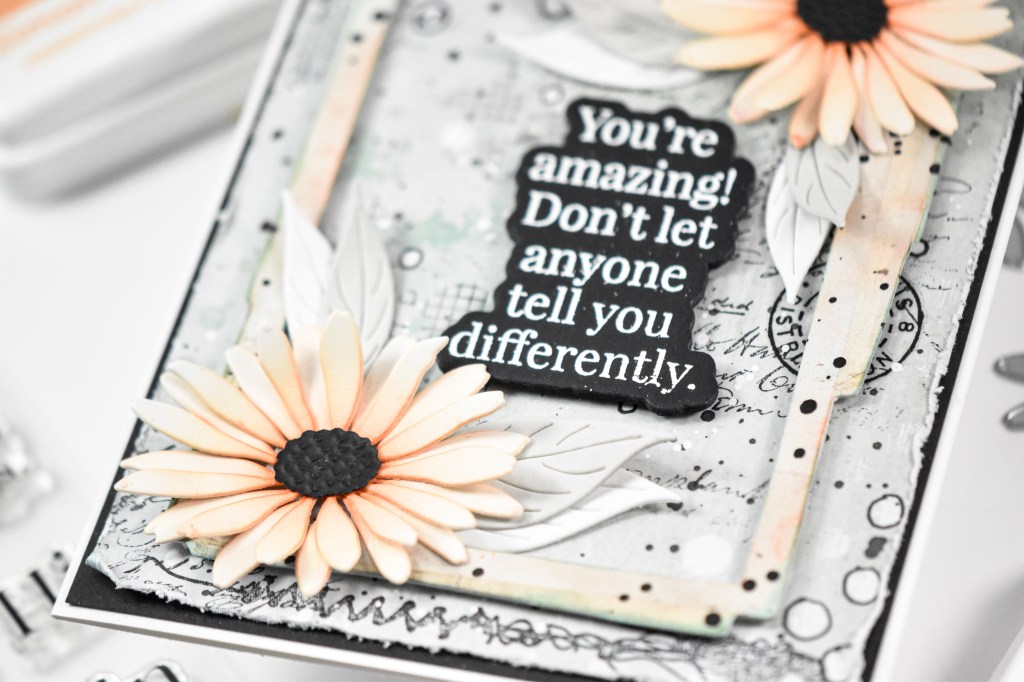
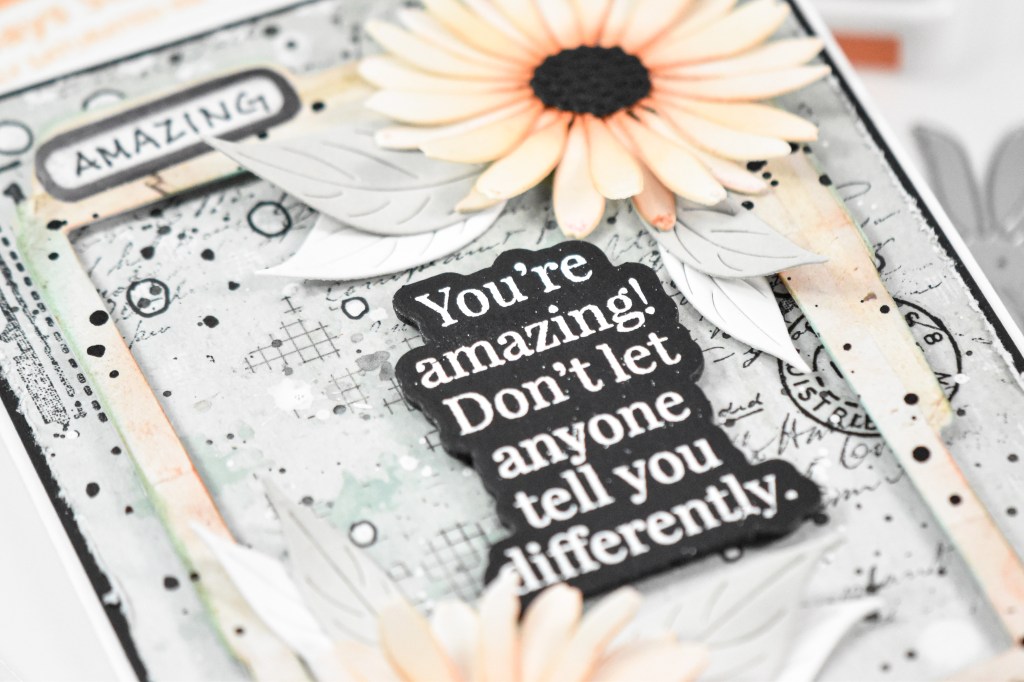
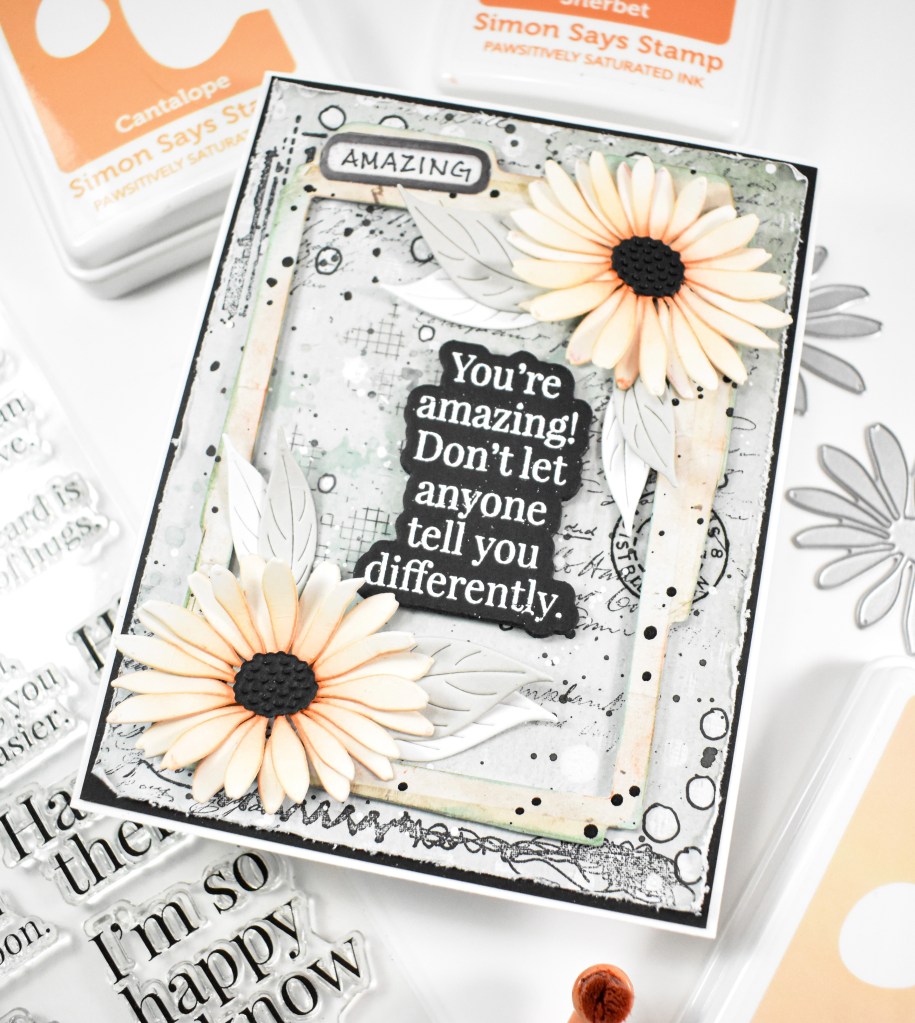
Simon Says Stamp Grungy Dewdrop Daisy

Hi Friends! Thanks for joining me! Today’s project is featuring the new Dewdrop Daisy from Simon’s latest release, Shine On. I had this background lying around from a previous project, and I thought that I could give the daisy a grungy feel for all of these components to work together! Let’s go through the deets!

NOTE: all supplies are linked in the thumbnails at the end of this blog post.

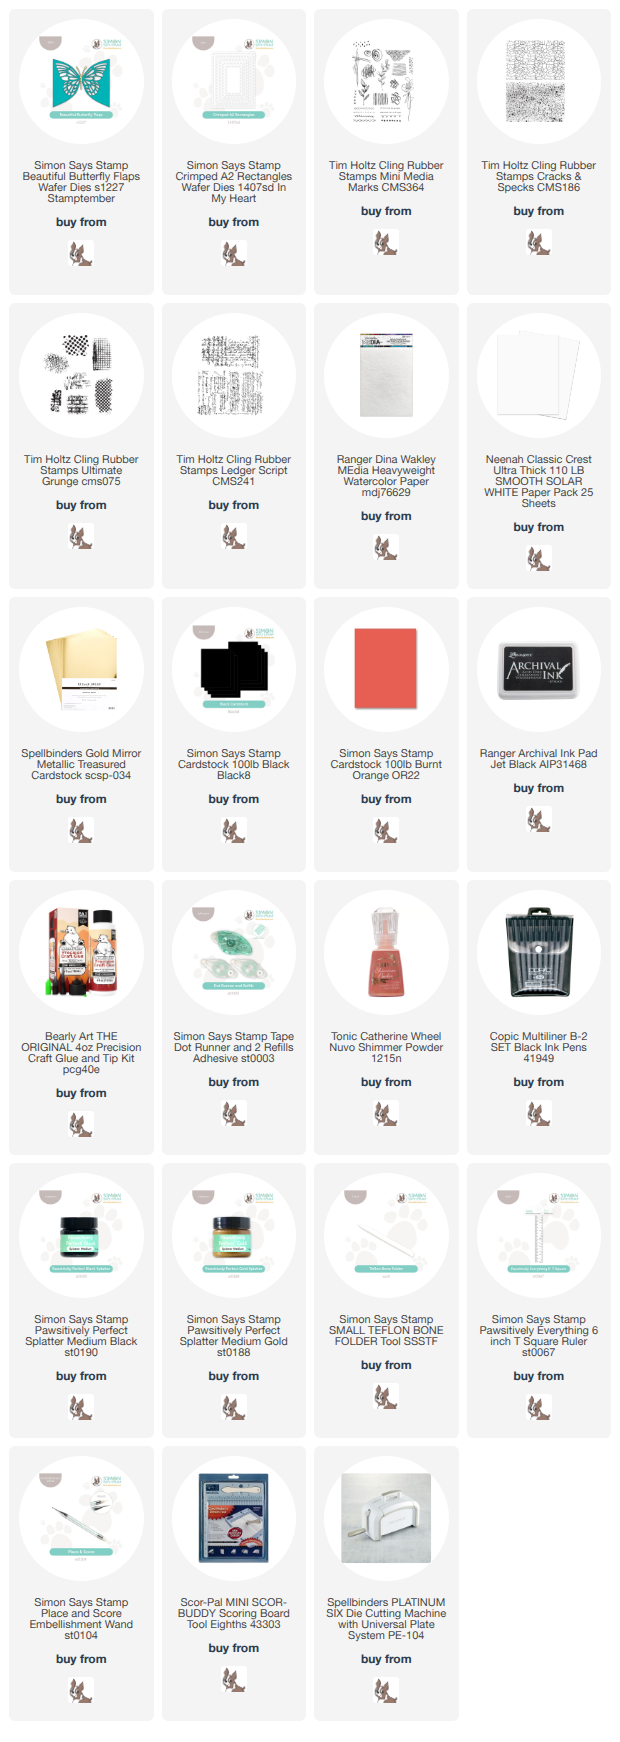
As I said, I already had this background panel, which was created using Distress Oxide Sprays, inks and paint. I die cut the panel using the Sparkler Scallop Frames and did some stamping, stenciling and splattering on it. The daisy was die cut from cream cardstock and ink blended using Distress Oxide Salvaged Patina, Walnut Stain and Peeled Paint.

My background panel was adhered to a black panel for contrast, the stem was glued in place, while the flower and sentiment were adhered with foam tape to finish up.

That’s it for this one! I hope you enjoyed it as much as I did! Make sure to check out the entire Shine On release for a look at all of the new goodies! Thanks for stopping by, and I hope you have an amazing day!

Supply List

Affiliate links used at no cost to you. What does this mean? If you use the links within this post to make a purchase, I receive a small commission, which allows me to continue to post crafty content for your enjoyment. I truly appreciate your support!

Latest Posts
Latest Instagram Posts