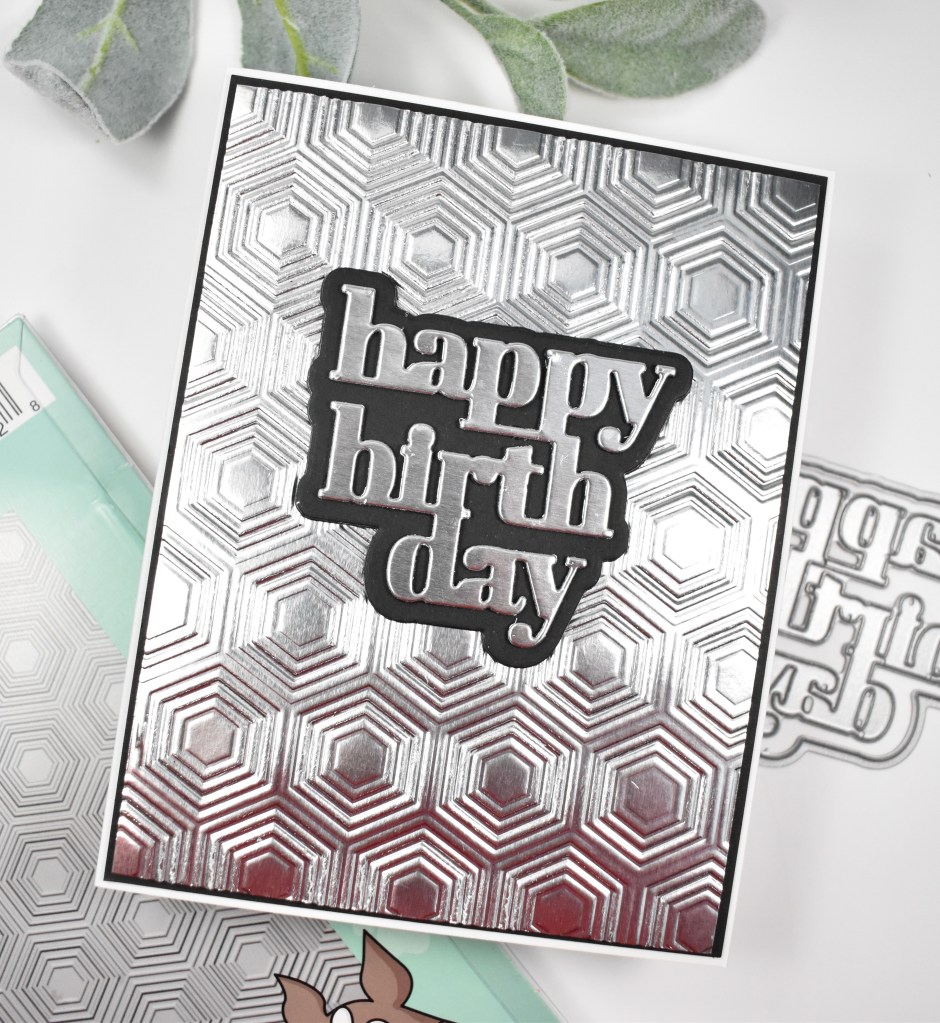
Simon Says Stamp Mosaic Just Because

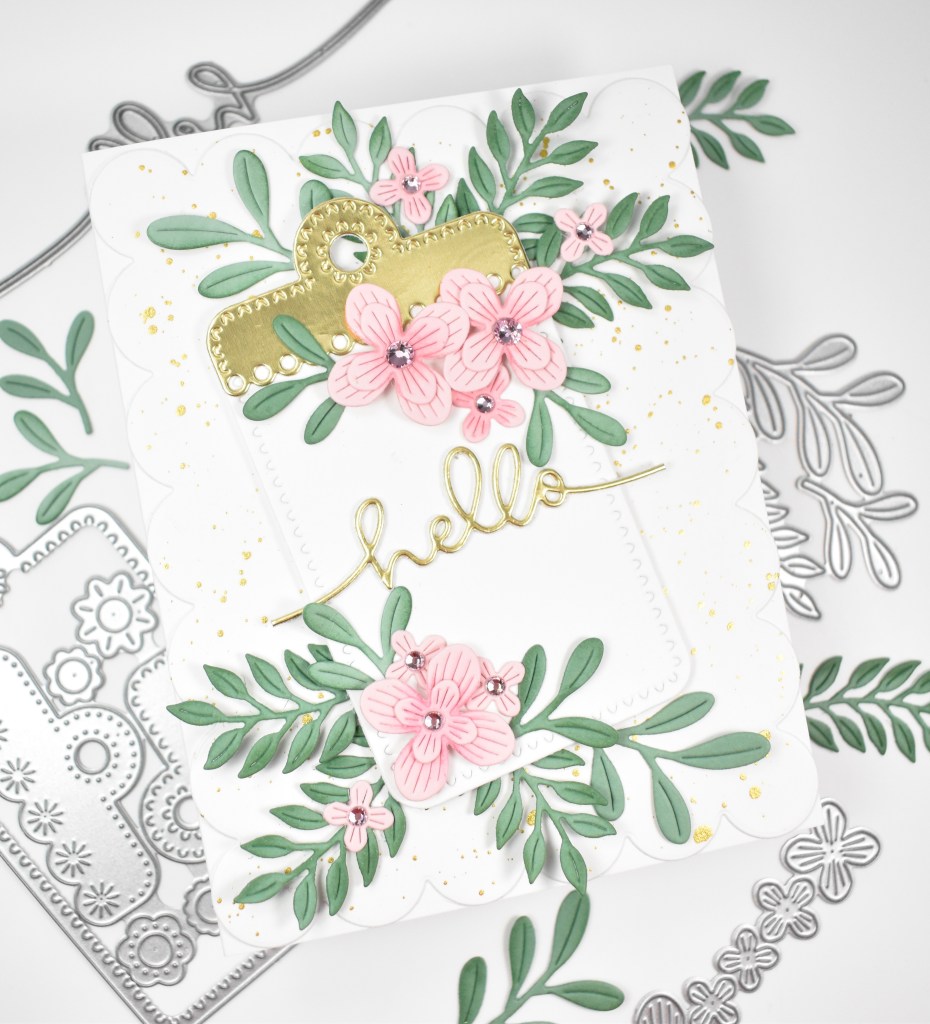
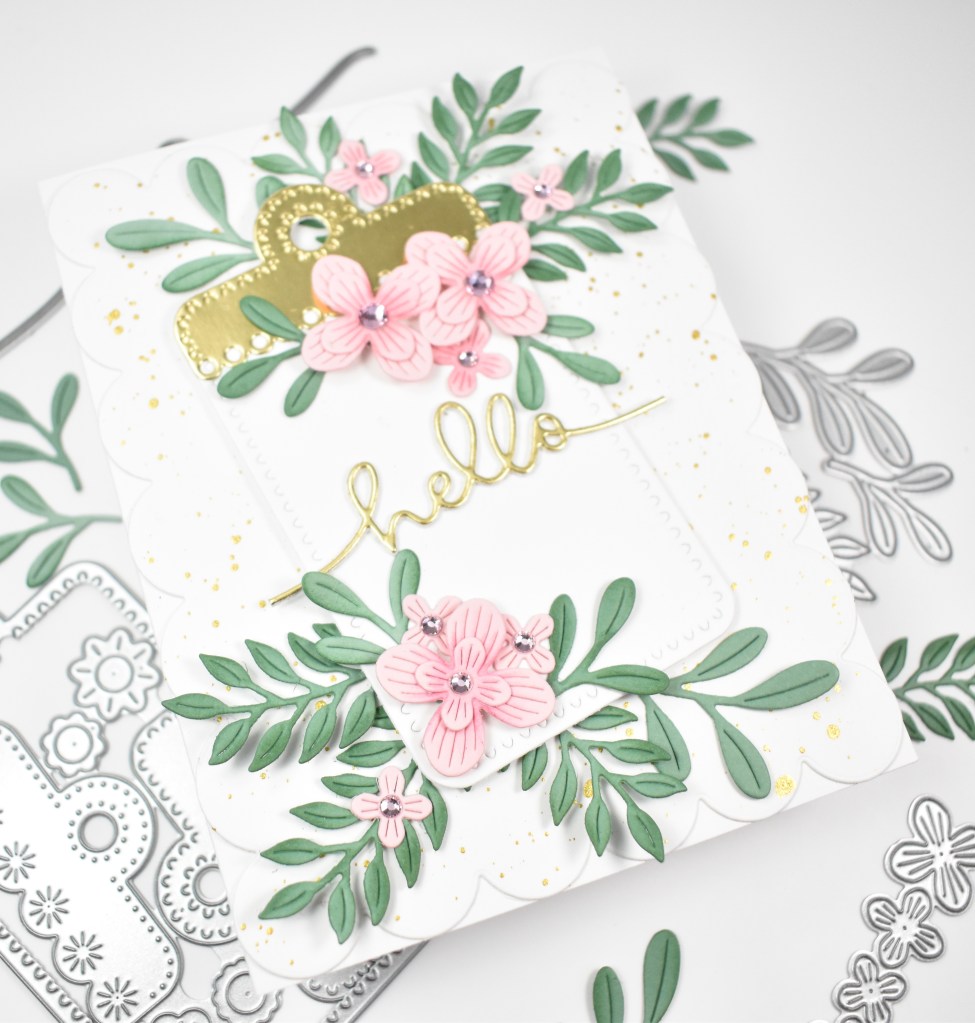
Hello Friends, and welcome back! I hope you’re doing well and having a great day! Today’s project is featuring the new Mosaic Petals Stencil from Simon’s latest release, You Are My Favorite. Let’s run through the details, shall we?
NOTE: all supplies are linked in the thumbnails at the end of this blog post.
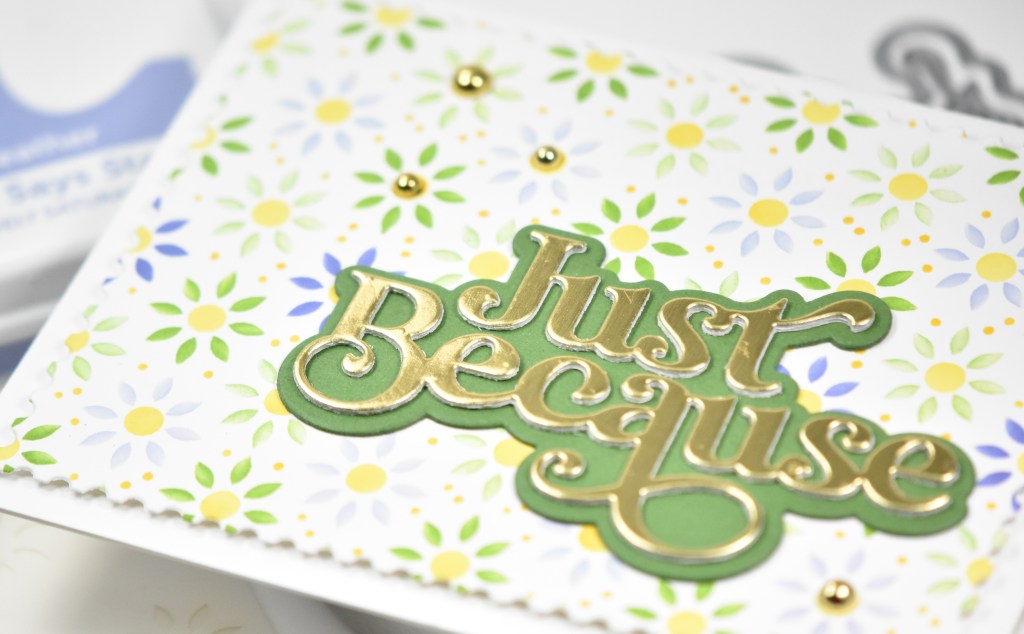
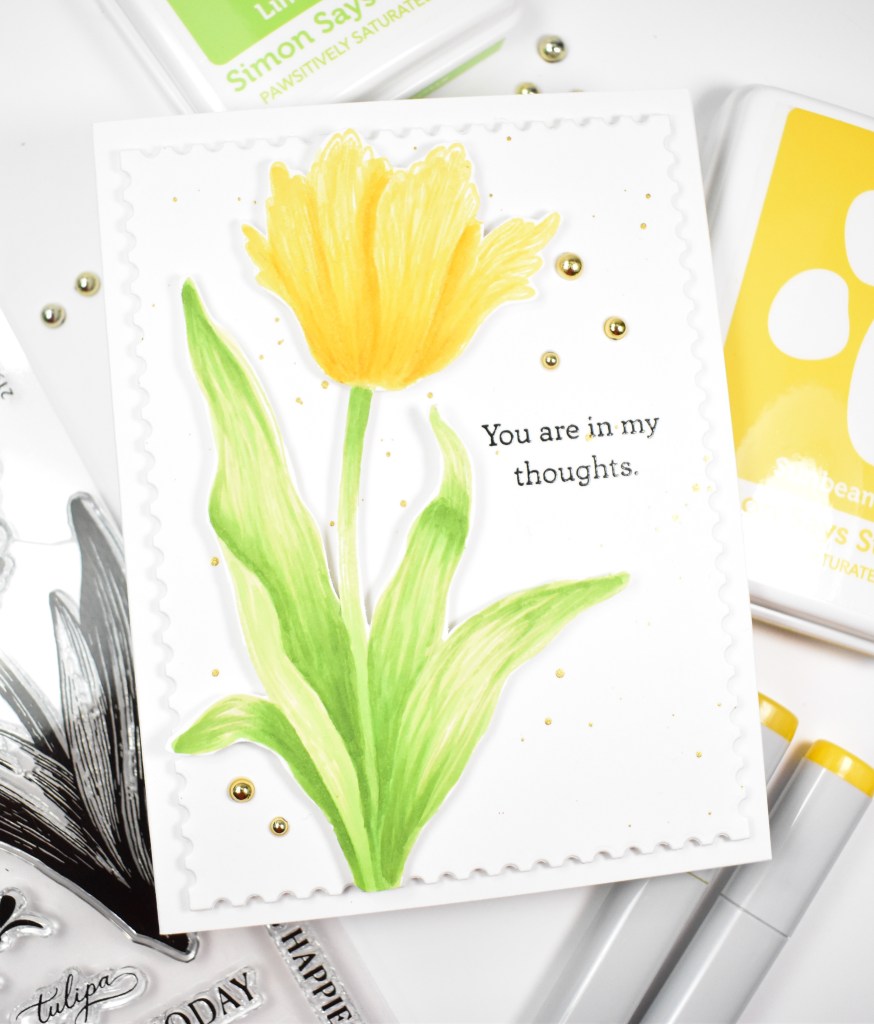
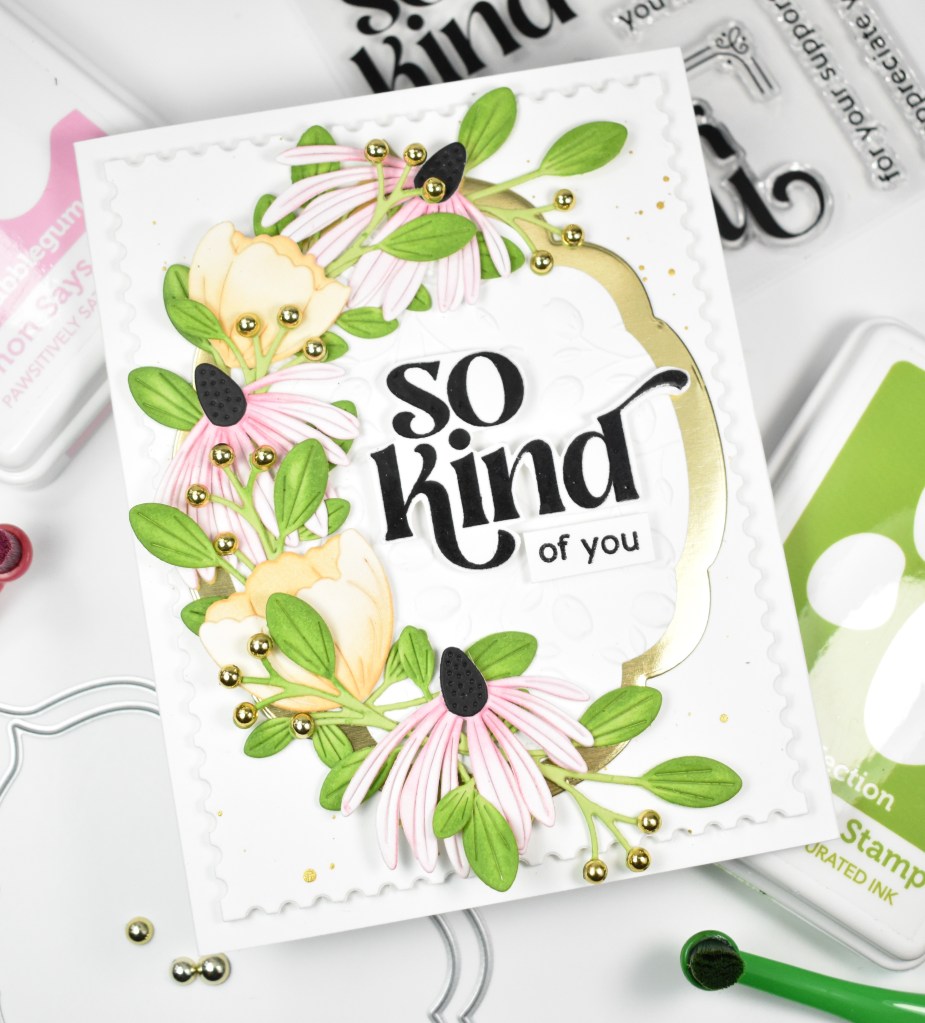
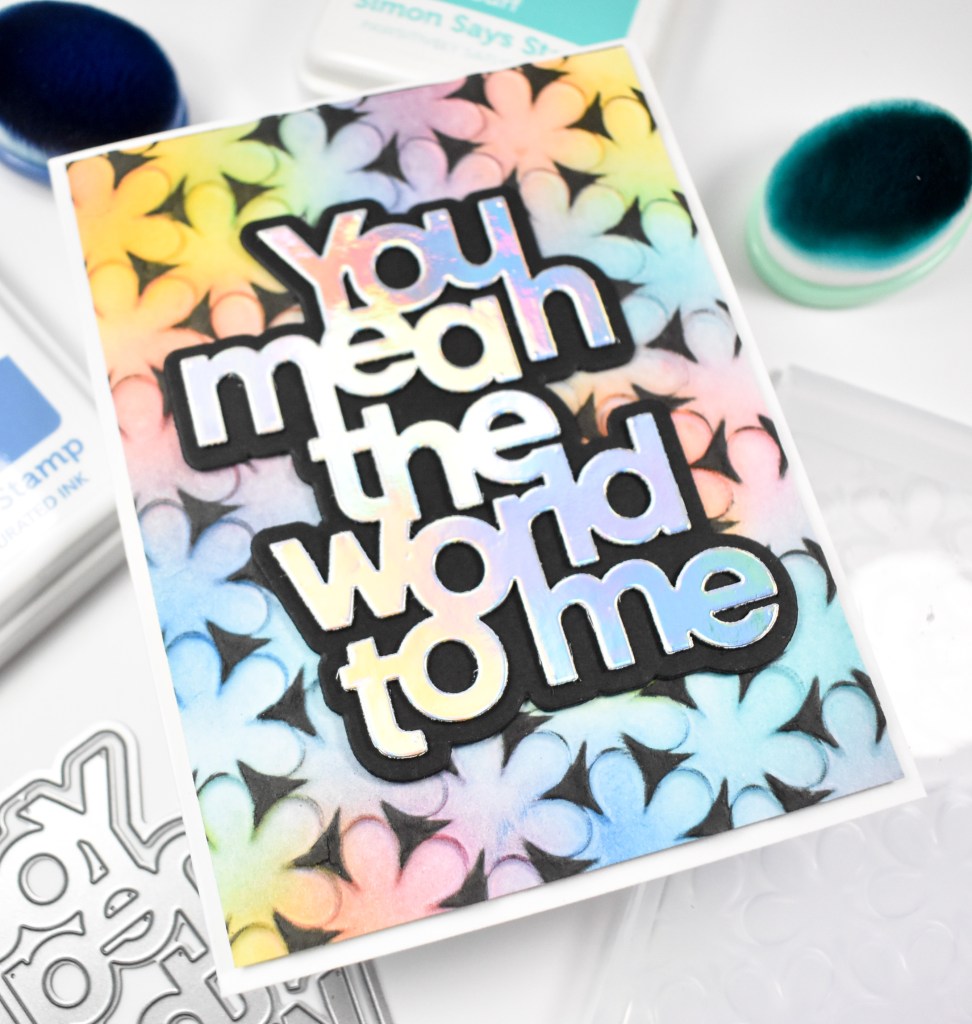
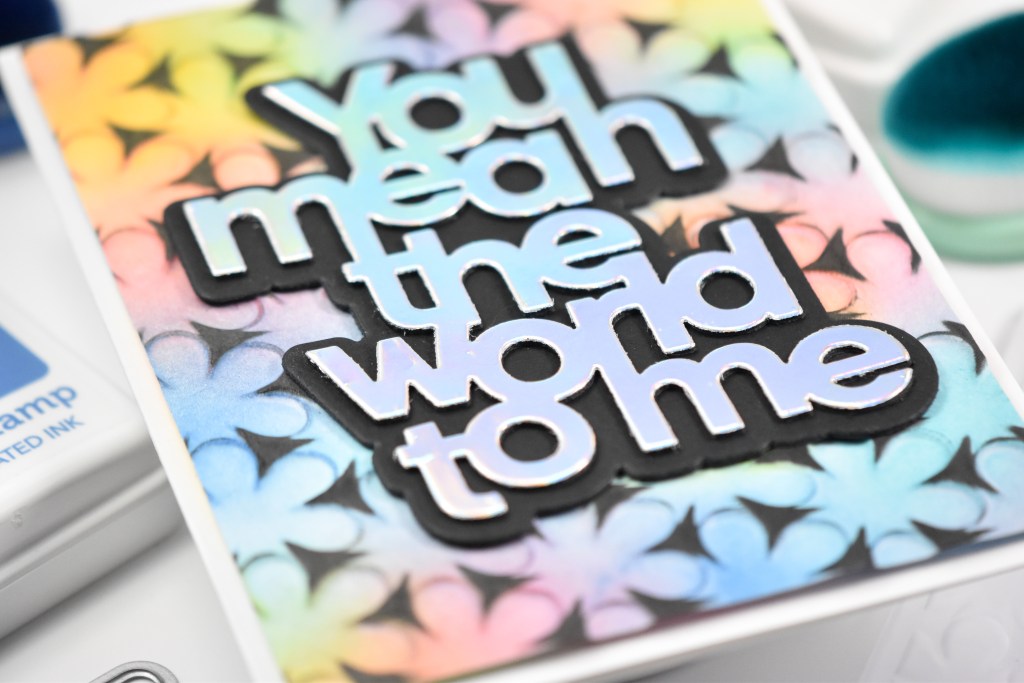
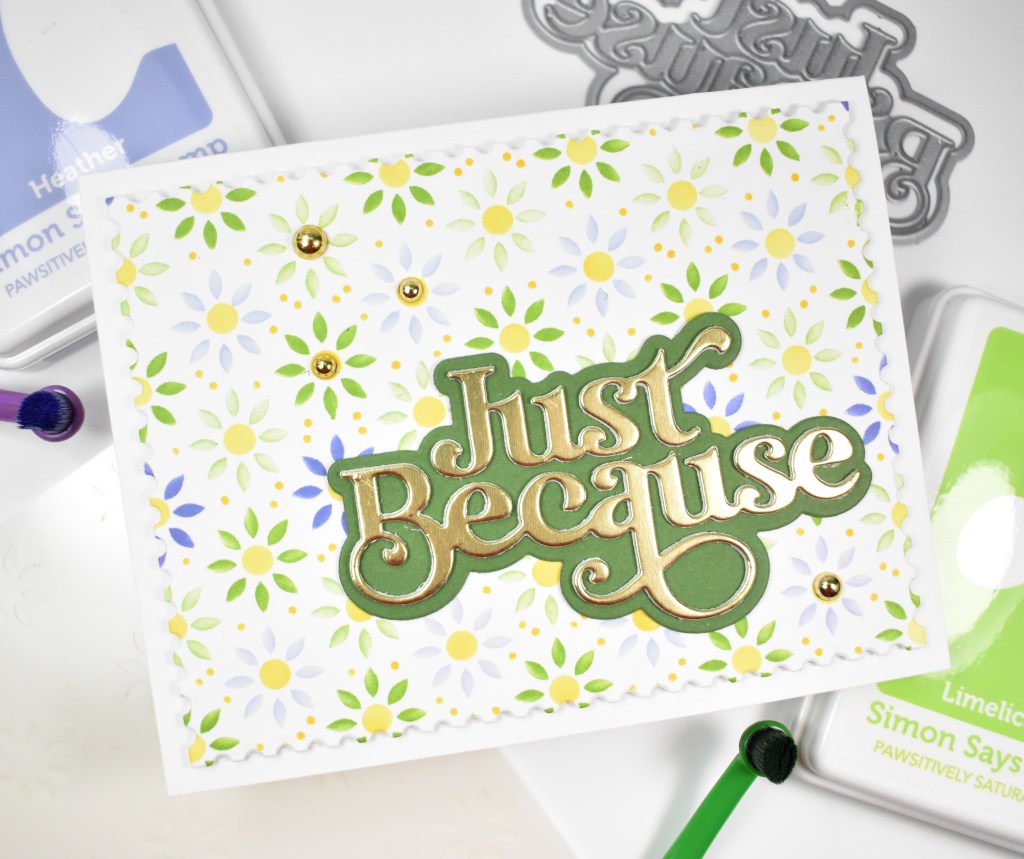
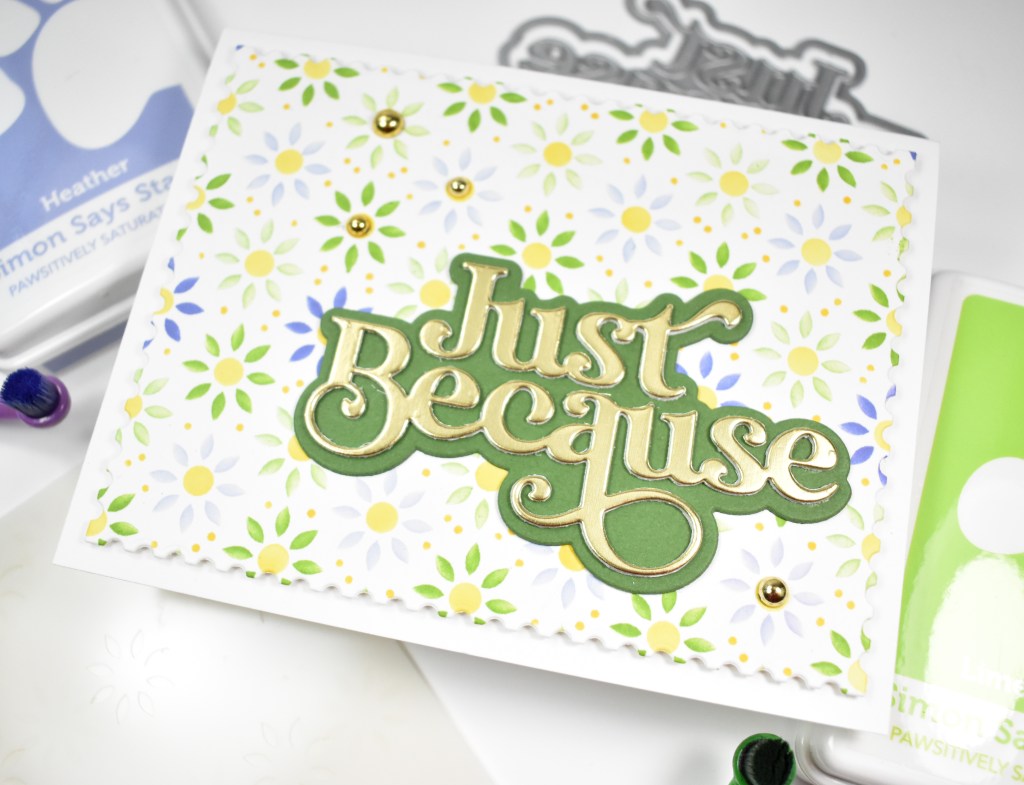
I began this project by cutting a panel of Neenah 110lb cardstock and putting my panel and stencil onto my Crafty Tacky Mat to begin the inking process. This is a five stencil set, and the inks that I used were Heather, Violet, Limelicious, Pearfection, Lemonade and Honey.

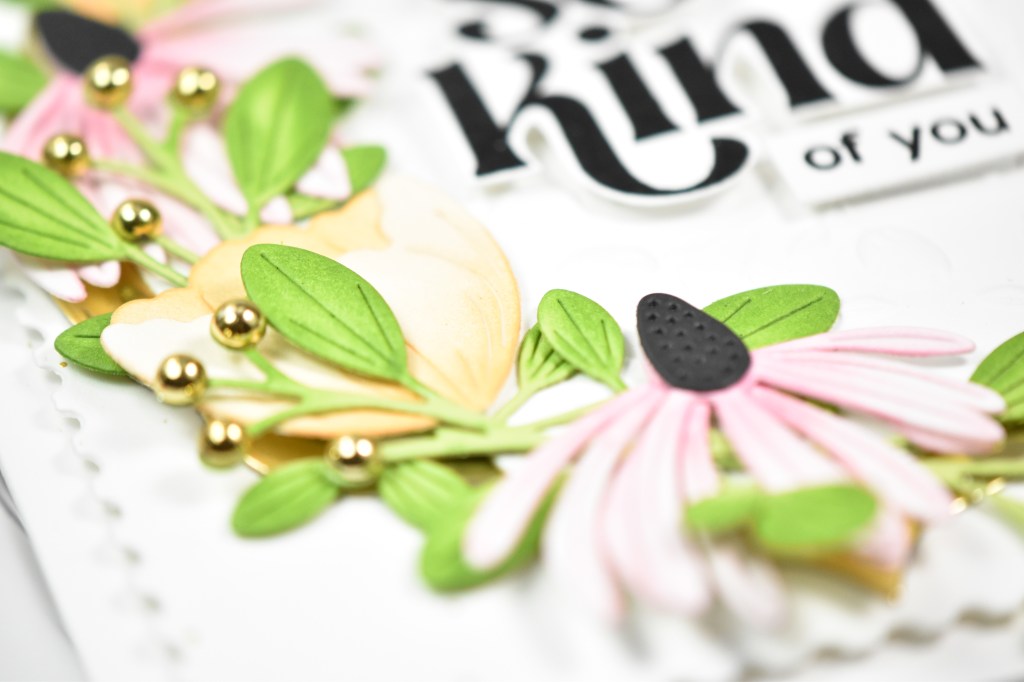
Once done with the inking, I trimmed the panel down using the Postage Stamp Edge Frames and prepared the sentiment. I die cut the Fancy Just Because once from gold cardstock and twice from Neenah, while cutting the shadow portion from green cardstock. I adhered the panel to the card base using foam tape and secured the sentiment with liquid glue. Some gold pearls were added to finish up.
That does it for this project! Like I said, a simple one! Don’t forget to head on over to check out the entire You Are My Favorite release! Thanks again for stopping by, and I hope you enjoy the rest of your day!


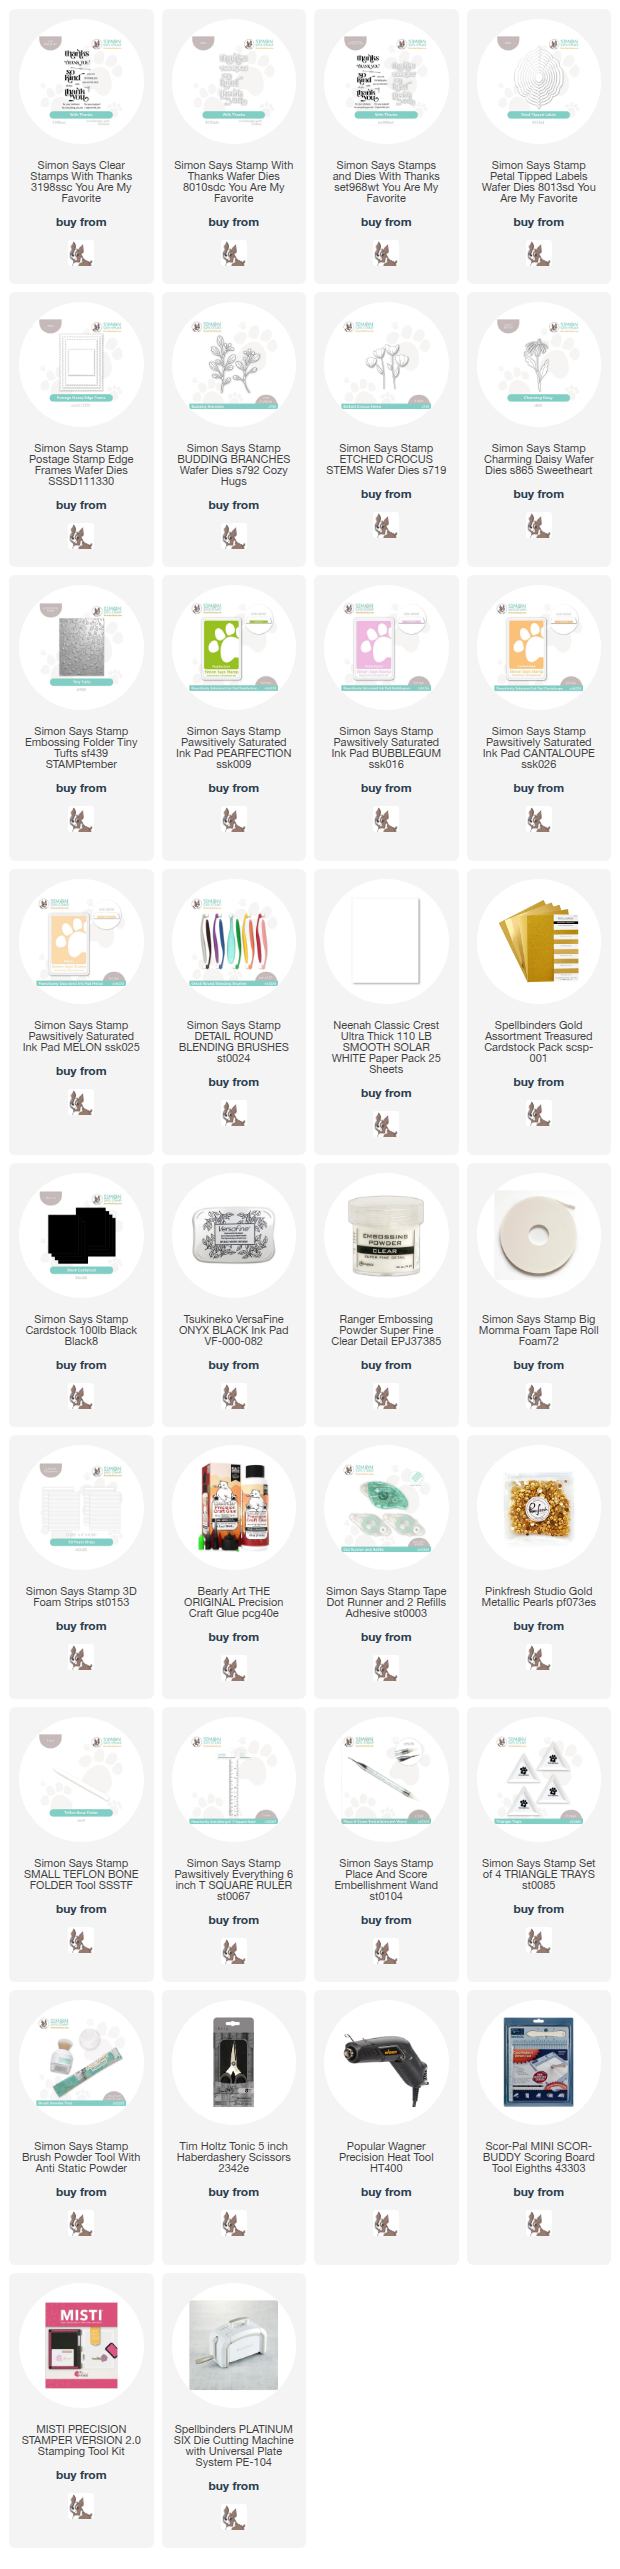
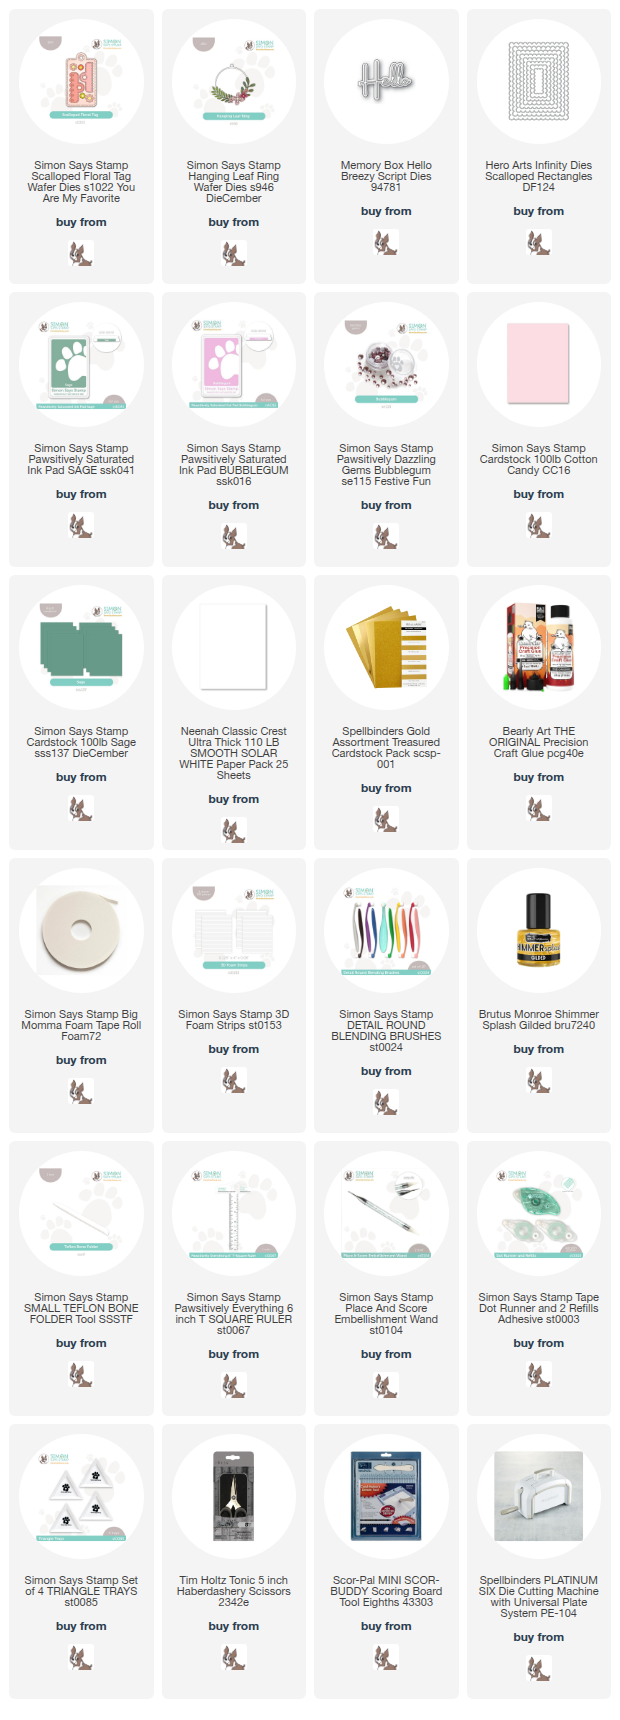
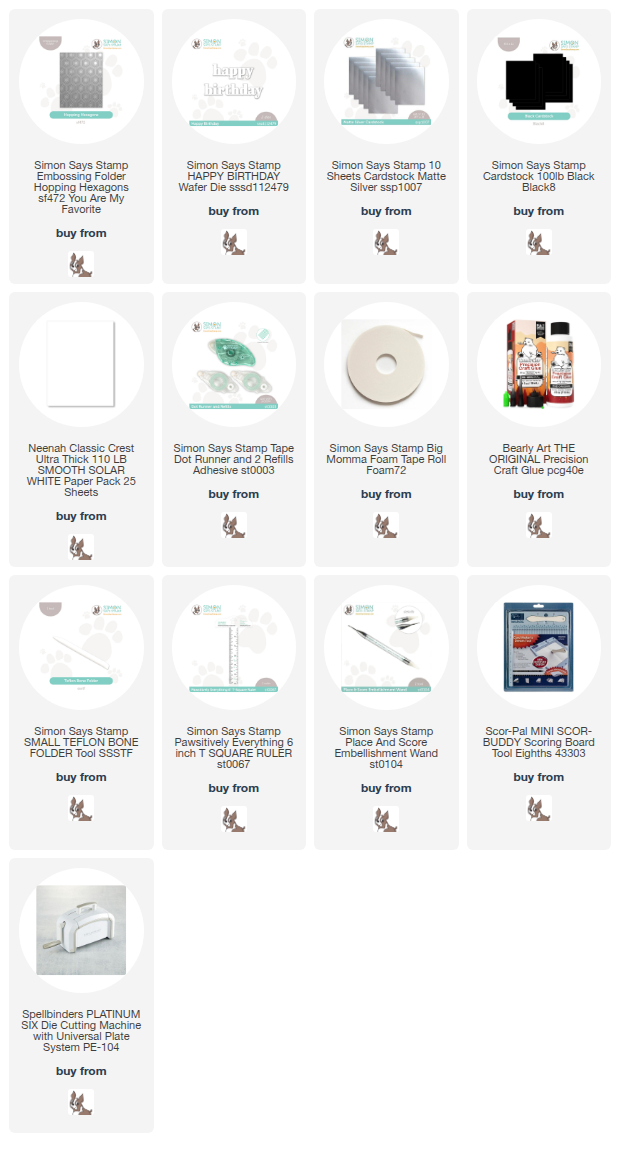
Supply List
Affiliate links used at no cost to you. What does this mean? If you use the links within this post to make a purchase, I receive a small commission, which allows me to continue to post crafty content for your enjoyment. I truly appreciate your support!

Latest Posts
- Simon Says Stamp Groovy Birthday

- Simon Says Stamp Amazing Scattered Leaves

- Simon Says Stamp Beautiful Friend Floral

- Together by Design Featuring Pinkfresh Studio

- Simon Says Stamp Basket Bunny

Latest Instagram Posts