Simon Says Stamp Welcome to the Neighborhood

Hello Beautiful Release
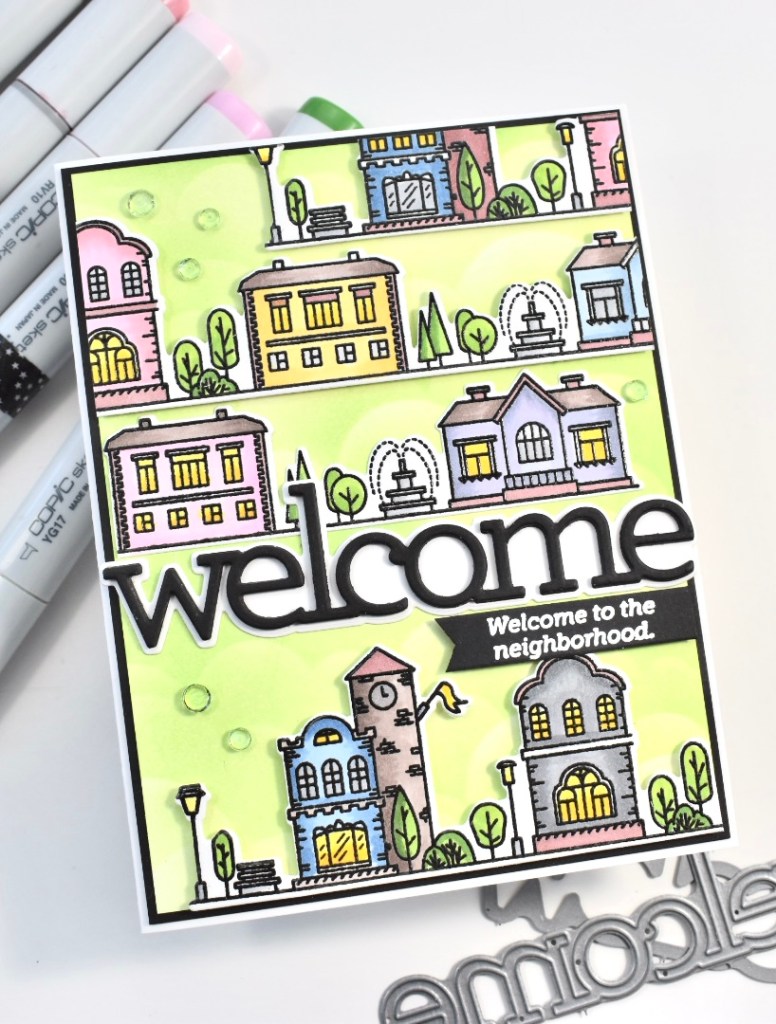
Hello Friends! Isn’t the new Hello Beautiful release gorgeous? There’s literally something for everyone! I’m super excited to be sharing the Welcome die cut with you! I had a ton of fun creating this card and thought that it turned out kinda cute!

To begin, I cut an A2 card panel from Neenah Classic Crest 80lb, and ink blended Distress Oxide Mowed Lawn using the SSS Clouds for Days stencil. Unfortunately, the cloud detail doesn’t really show in the pics. Anyhoo, moving on .. Next I stamped the houses from the Home Sweet Home set in VersaFine Onyx Black ink and embossed it with Ranger Clear Embossing Powder. I actually stamped and embossed the houses twice because I was pretty sure that I was going to need two strips of houses to cover my card panel. I also stamped my little sub-sentiment with VersaMark Ink on black cardstock and embossed with SSS Detail White Embossing Powder.
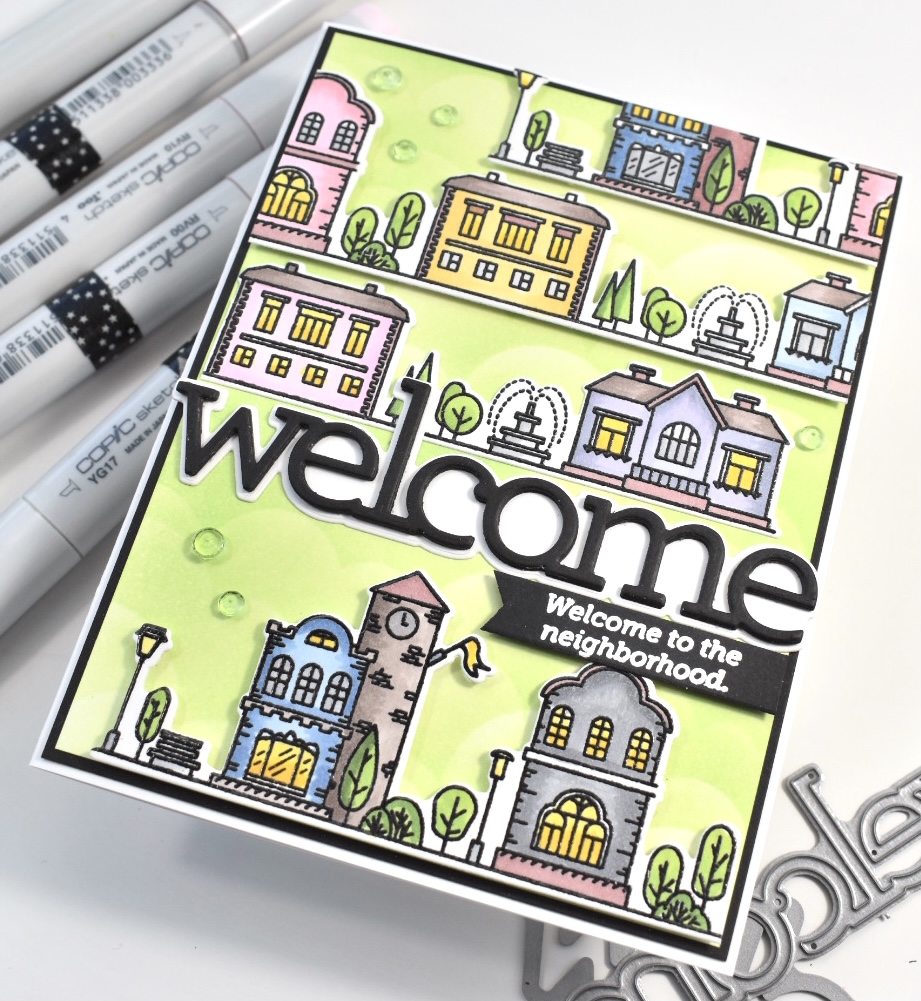
Now that everything is stamped, it’s time to get coloring all of my cute little houses. The Copic Markers used were: YG03, YG13, YG17, YG67, N0, N2, N3, N4, RV00, RV02, RV10, RV11, E04, E70, E71, E74, Y08, Y15, B34, B41, B45, B91, B93 and BV23. I know that’s a lot of markers, but I wanted all the houses to be unique!

Now for some die cutting! I used the Home Sweet Home coordinating die to cut out the houses, and I used the SSS Sentiment Labels Die to cut my sub-sentiment. On a side note, I use that Sentiment Labels Die ALL THE TIME! I wasn’t sure that I would, but it’s been a great investment! Back to it .. I die cut the Welcome sentiment three times from black cardstock and adhered those together using Craft Tacky Glue, and I cut the shadow once from Neenah Classic Crest 110lb cardstock and adhered those together.

Now for the hard part! Figuring out the placement of everything! I say hard part only because I knew that I was going to be cutting my little strips of houses, and I REALLY didn’t want to mess those up .. that coloring took me quite a bit of time! Even after I had figured everything out, I was STILL nervous about cutting my houses!

As you can see from the pics, I ended up with four rows of houses around my sentiments. The bottom and two top rows of houses were adhered to my card panel using 3M Foam Tape. The row above my sentiment was adhered directly to the panel with glue, as well as the Welcome sentiment. I did however, pop my sub-sentiment up with foam tape because dimension is life!
To finish up my card, I adhered my card panel to a black panel for some contrast, and I adhered those to my card base, which is Neenah Classic Crest 110lb cardstock. No card is complete without some bling, am I right?! I added some green jewels from the PinkFresh Studio Jewels Mix.
I hope you’ve enjoyed this project, and I hope you’ll check out this new release! You can catch the whole release HERE. Also, don’t forget to check out #ssshellobeautiful over on Instagram for lots of inspiration from the team! Thanks so much for stopping by!
Stay awesome!
Supply List:
- SSS Welcome Die
- SSS Home Sweet Home stamp set
- SSS Home Sweet Home die set
- SSS Clouds for Days stencil
- SSS Sentiment Labels Die
- SSS Detail White Embossing Powder
- Neenah Classic Crest 80lb
- Neenah Classic Crest 110lb
- Distress Oxide Mowed Lawn
- Craft Tacky Glue
- PinkFresh Studio Jewels Mix
- Copic Markers: YG03, YG13, YG17, YG67, N0, N2, N3, N4, RV00, RV02, RV10, RV11, E04, E70, E71, E74, Y08, Y15, B34, B41, B45, B91, B93, BV23
- Tim Holtz Tonic Scissors
- 3M Foam Tape
- Blender Brush
- Gemini Jr.
- VersaFine Onyx Black Ink
- Ranger Clear Embossing Powder
- VersaMark Ink
- Simon Says Stamp Happy Mail

- Simon Says Stamp Tattered Florals

- Simon Says Stamp Amazing Floral

- Simon Says Stamp Friendly Butterflies

- Simon Says Stamp Graceful Hugs

