Simon Says Stamp Grateful Heart

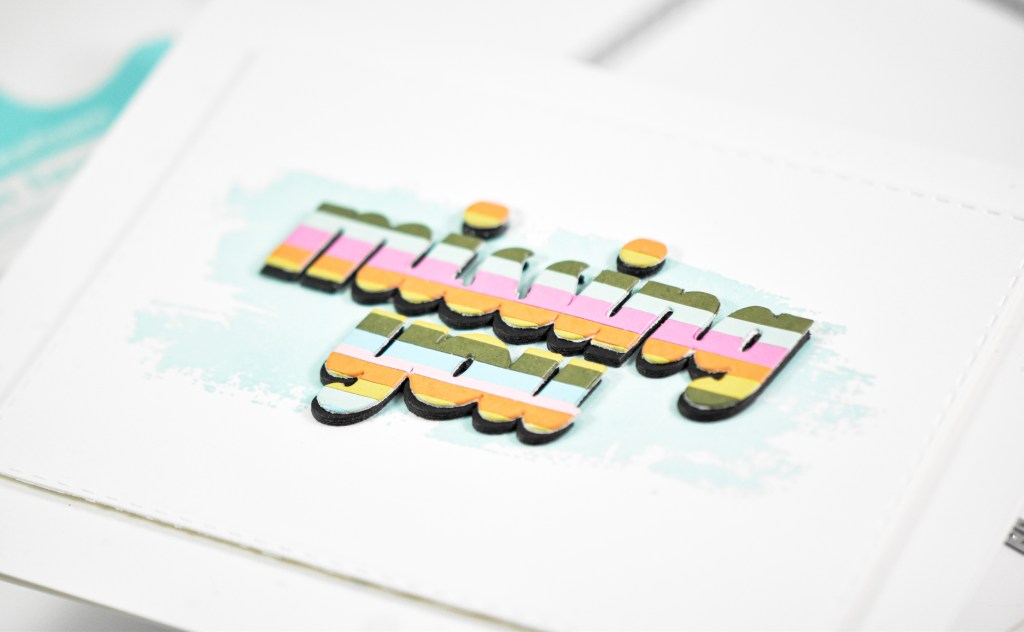
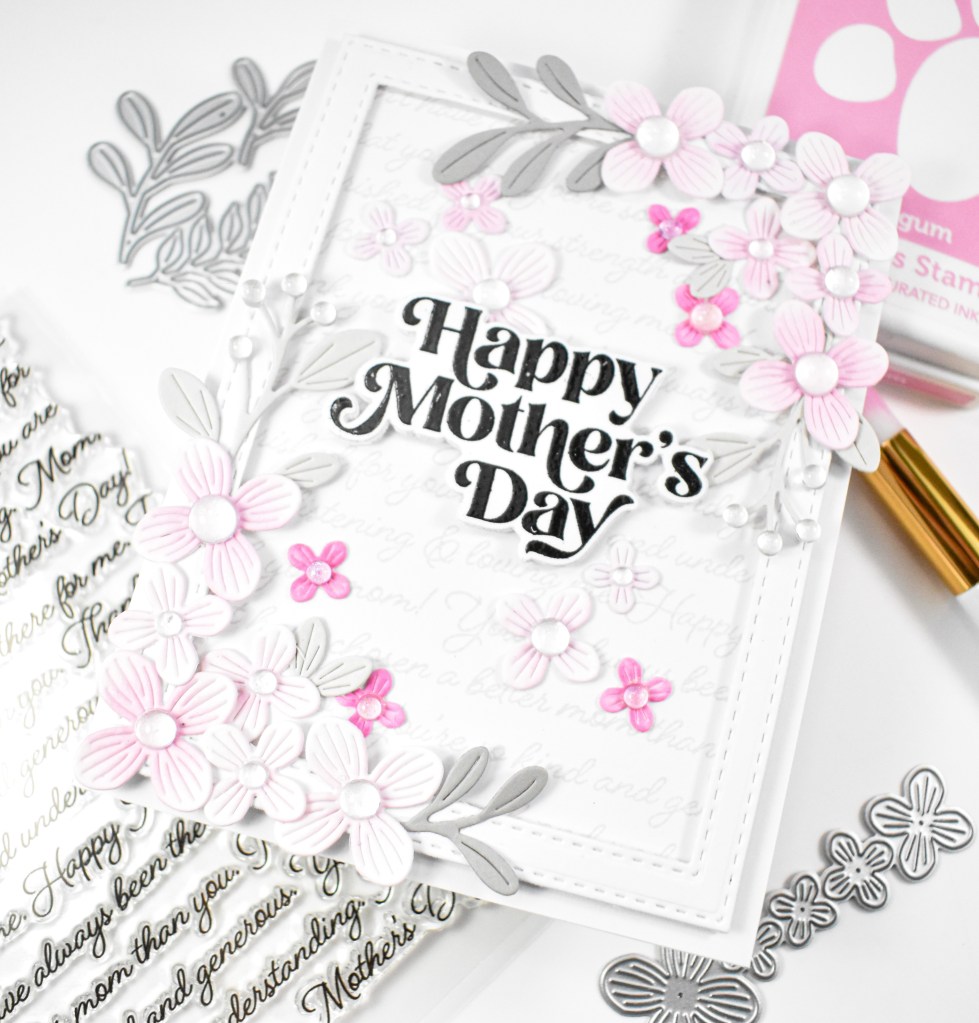
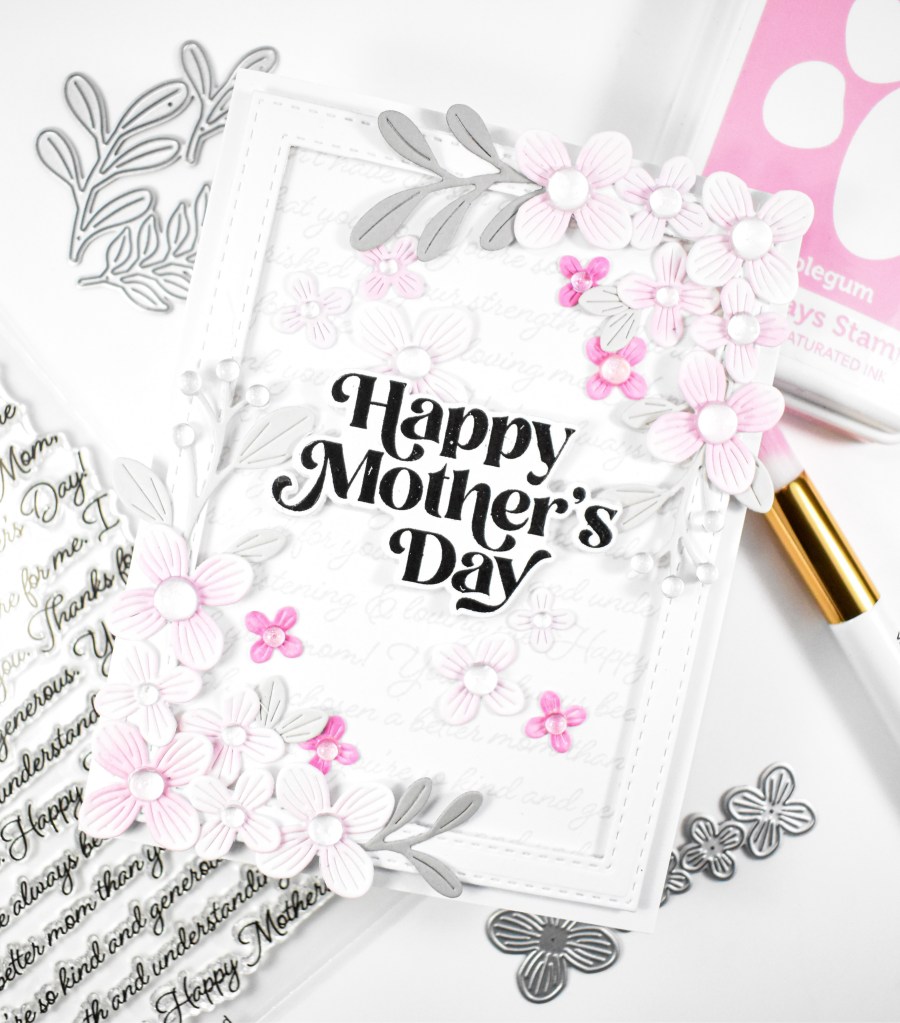
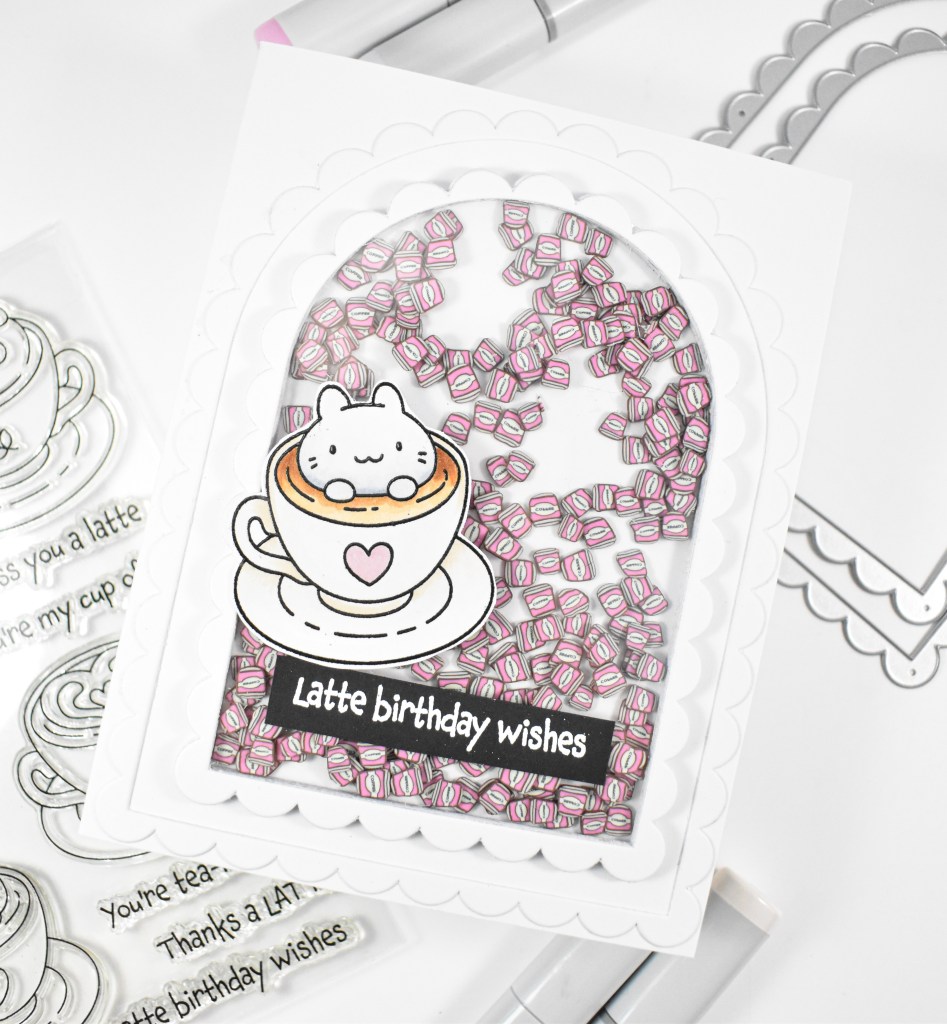
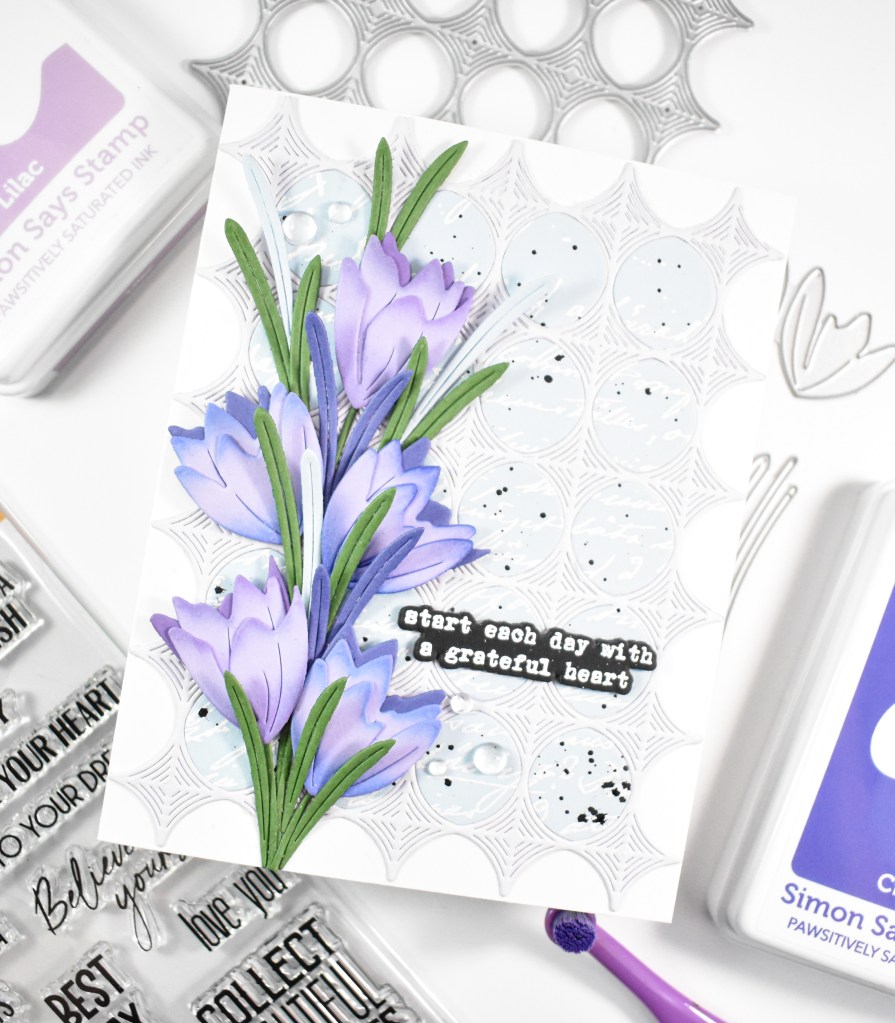
Hello Friends, and welcome back! Today’s post is featuring the new Crocus Duo from Simon’s latest release. This ended up being a twofer project, but I’m only writing about one of them today, so let’s go ahead and go through the details.
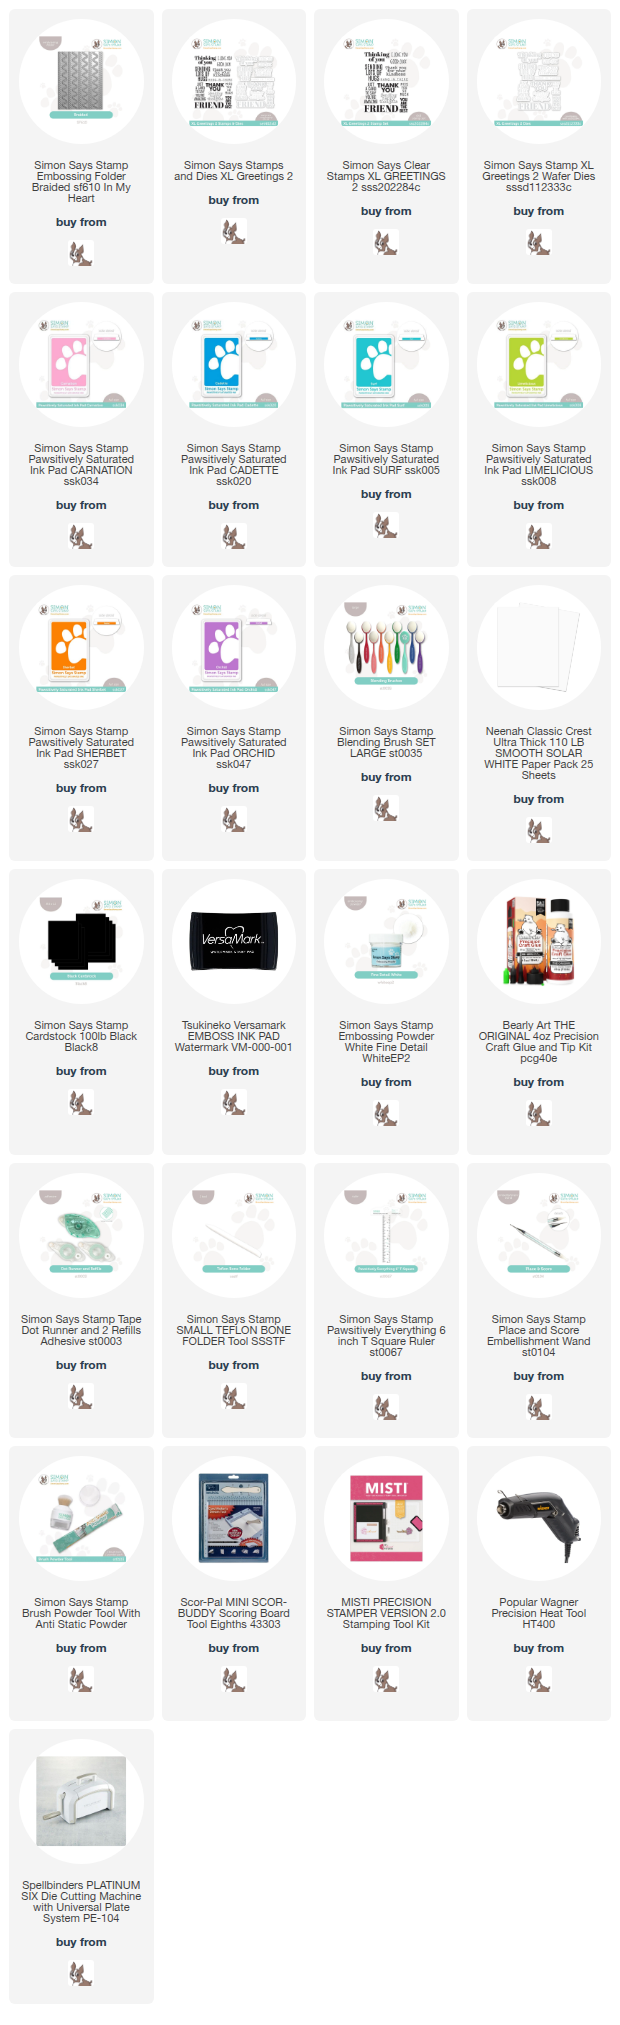
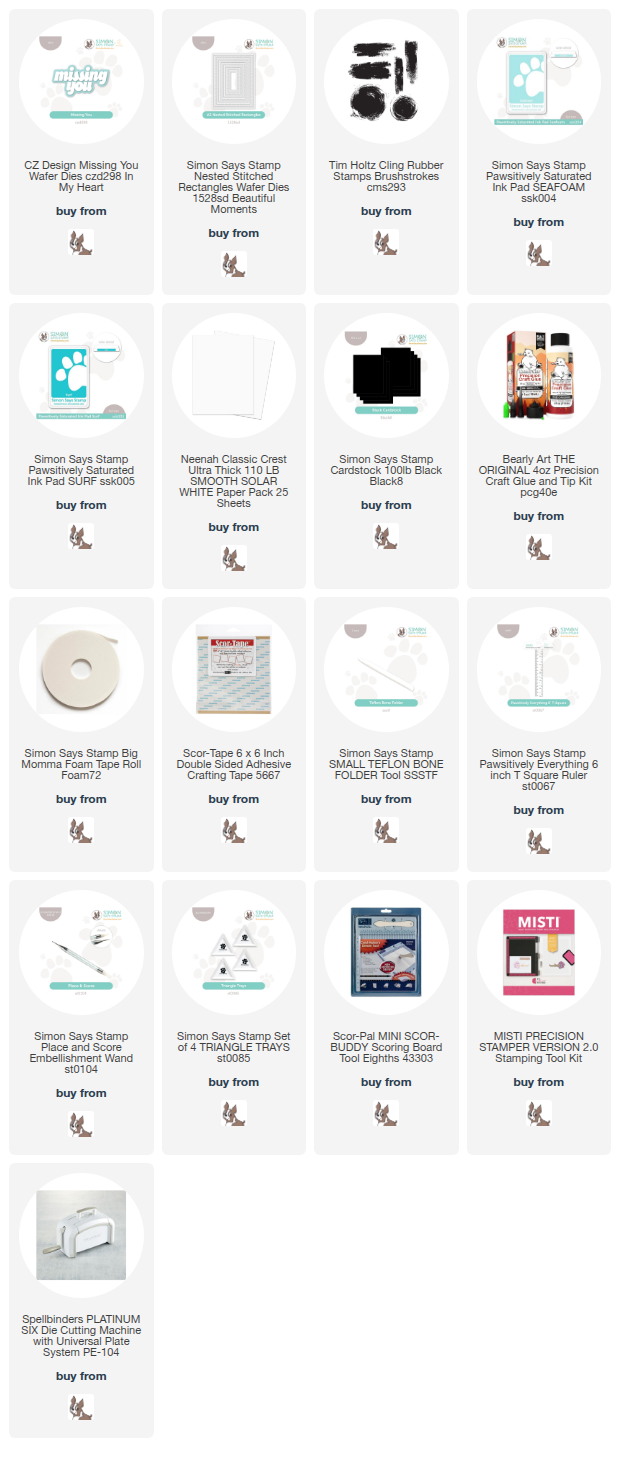
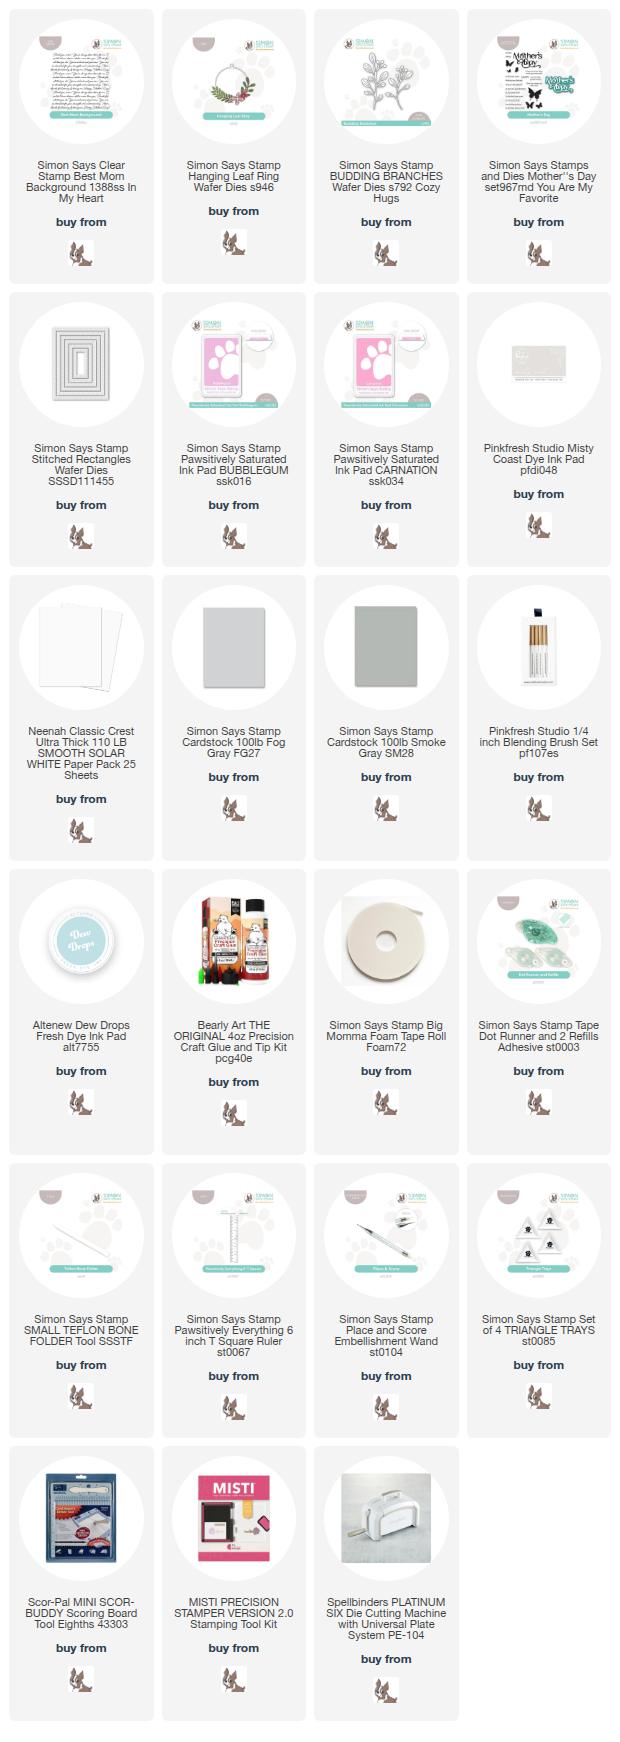
NOTE: all supplies are linked in the thumbnails at the end of this blog post.
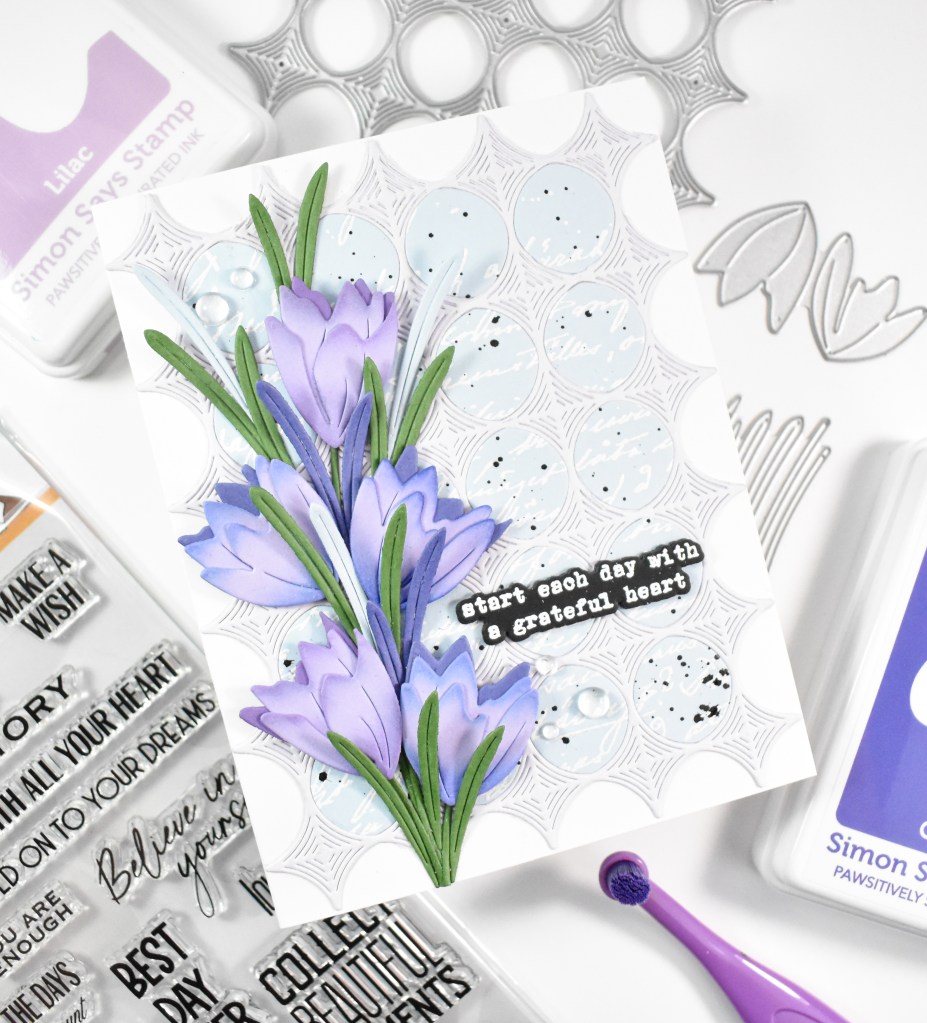
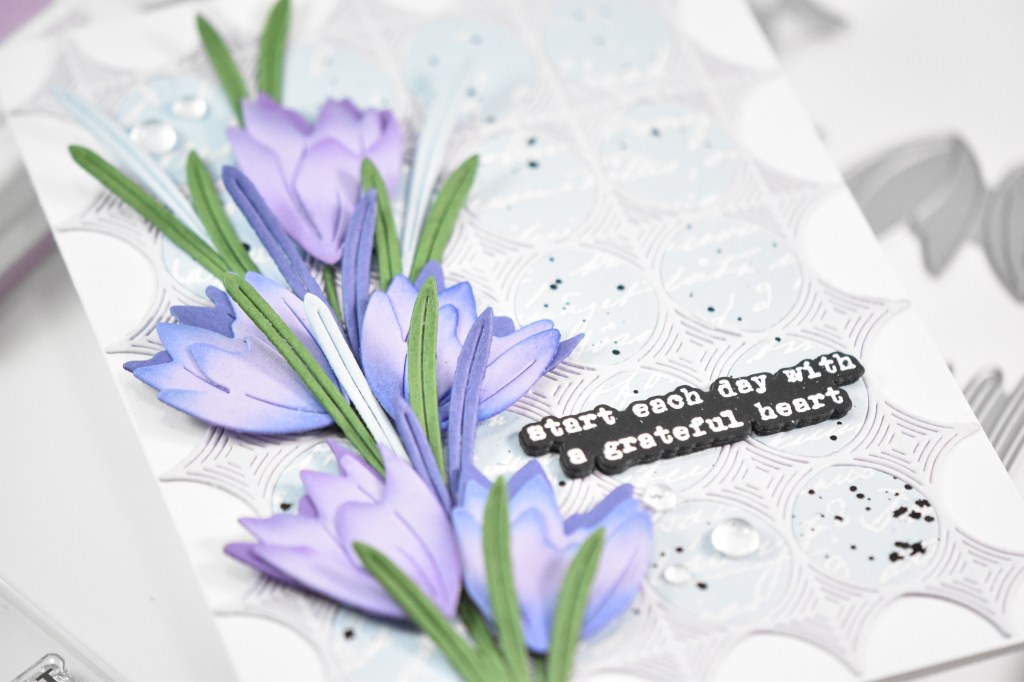
I knew that I wanted my Crocus flowers to be purple, so I die cut the flowers several times from three different colors of purple cardstock. Once I had cut all of the flowers, I did some ink blending on them using Crocus and Lilac inks, and assembled them. The flowers are only two layers, but I cut an additional layer to be adhered to the back. While I was cutting, I did cut the stems and grass from green cardstock.
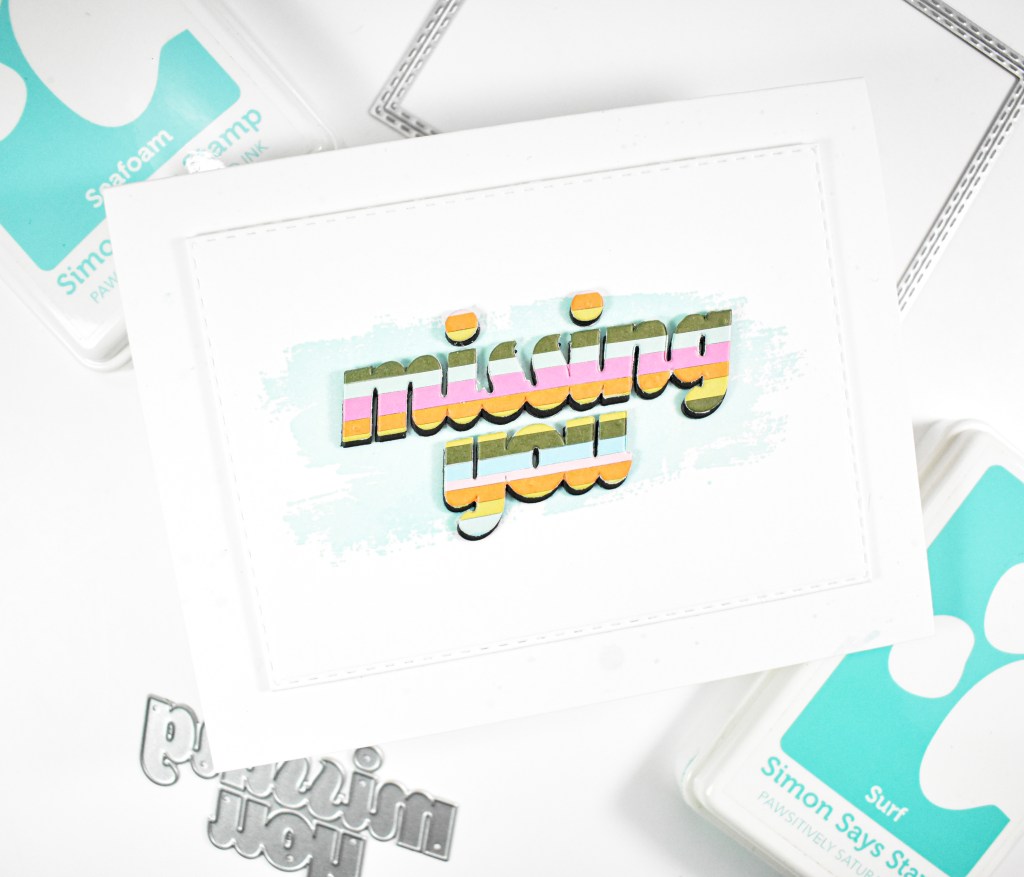
My background was created using a very old Simon background stamped onto a very pale blue cardstock using VersaMark Ink and heat embossing it with white powder. This is where the twofer part comes in to play. I die cut that blue panel using the Whirl Diamond Plate, but only used the inner circles for this project. I also die cut a panel of Moonflower cardstock using that same plate. Before assembling this part, I decided that I wanted those inner circles black splattered.
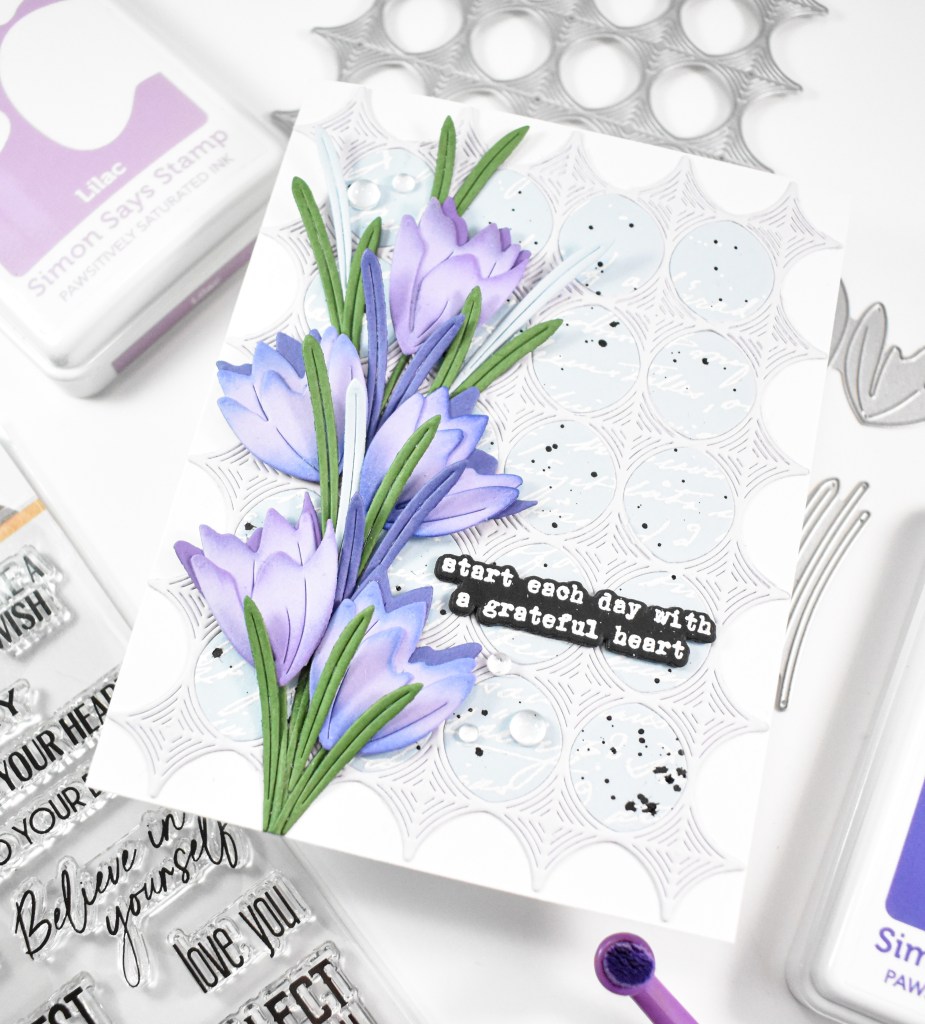
This background ended up being a little bit of work, but I think it was worth it in the end. I went ahead and glued the Moonflower panel to the card base, and inlaid the splattered blue circles. After playing with the flower arrangement, I decided that it might be pretty to add some grass pieces that were similar to the other cardstock colors that I was using.
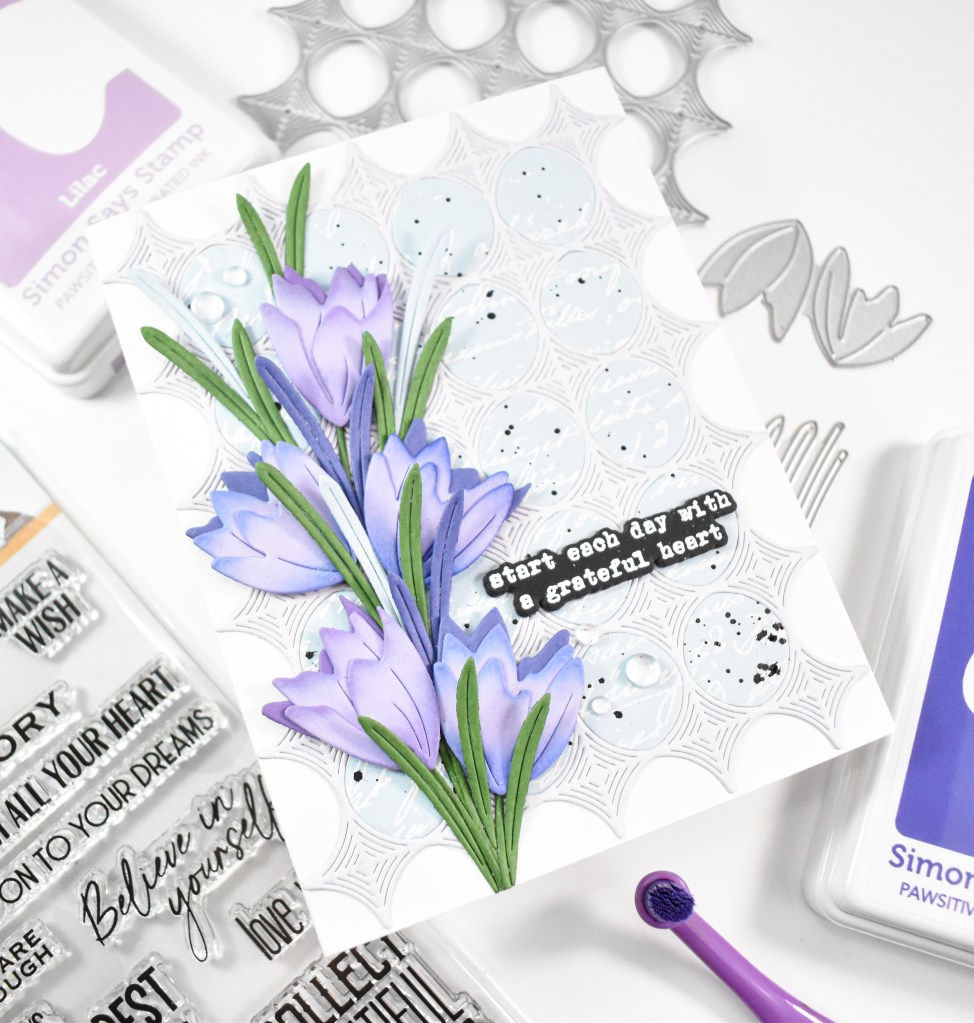
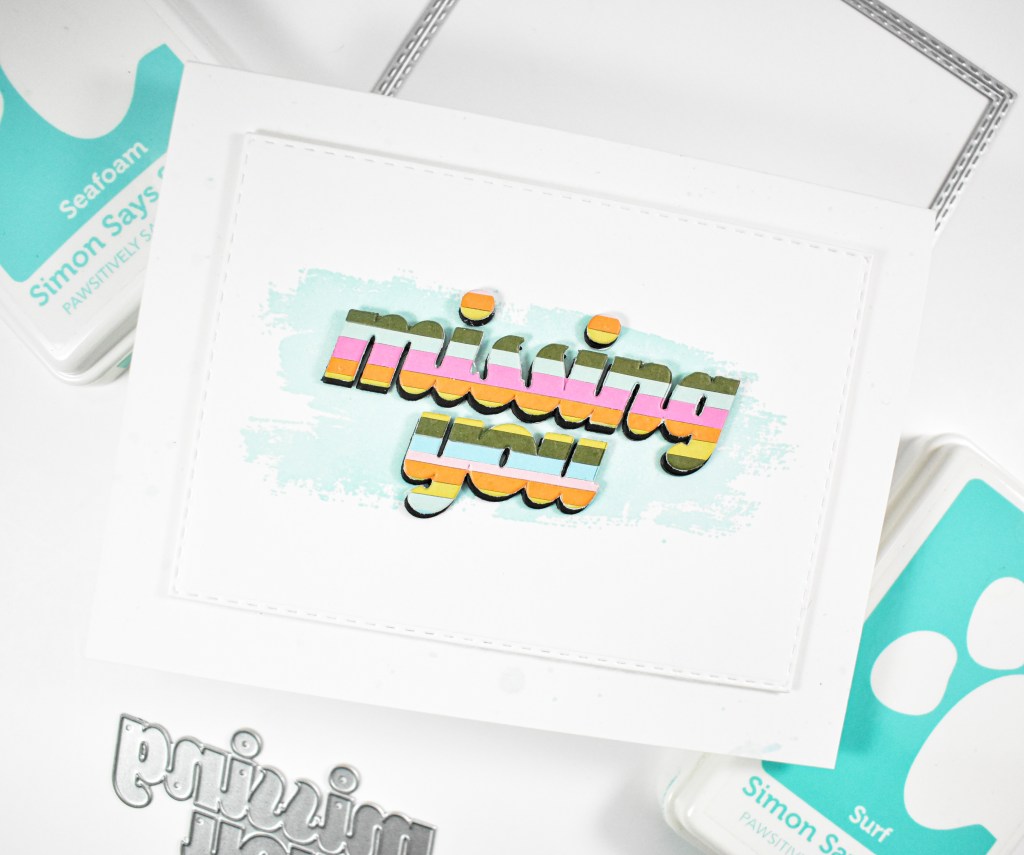
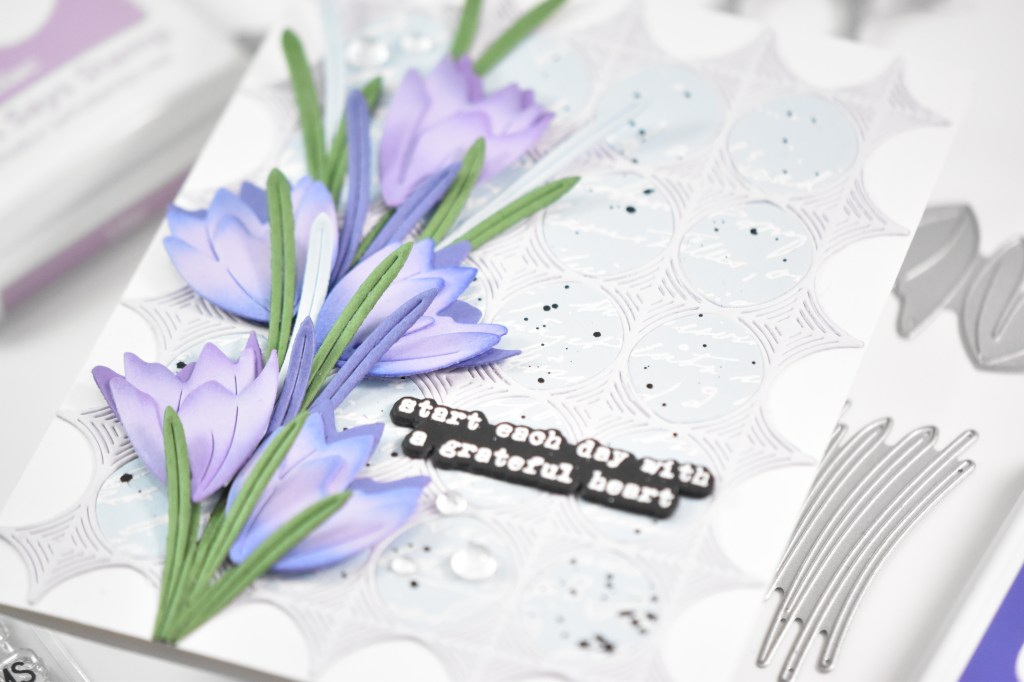
The flowers were adhered using foam tape, while the stems and various leaves were secured with liquid glue. The sentiment was stamped, white heat embossed, trimmed out and adhered to the panel with glue as well. To finish up, I added some dew drops for added interest.
That does it for this project. I hope you like it! I’ll post the other project using the rest of the background at some later date. Thanks again for stopping by, and I hope you have an awesome day!
Supply List
Affiliate links used at no cost to you. What does this mean? If you use the links within this post to make a purchase, I receive a small commission, which allows me to continue to post crafty content for your enjoyment. I truly appreciate your support!
Latest Posts
- Simon Says Stamp Grateful Heart

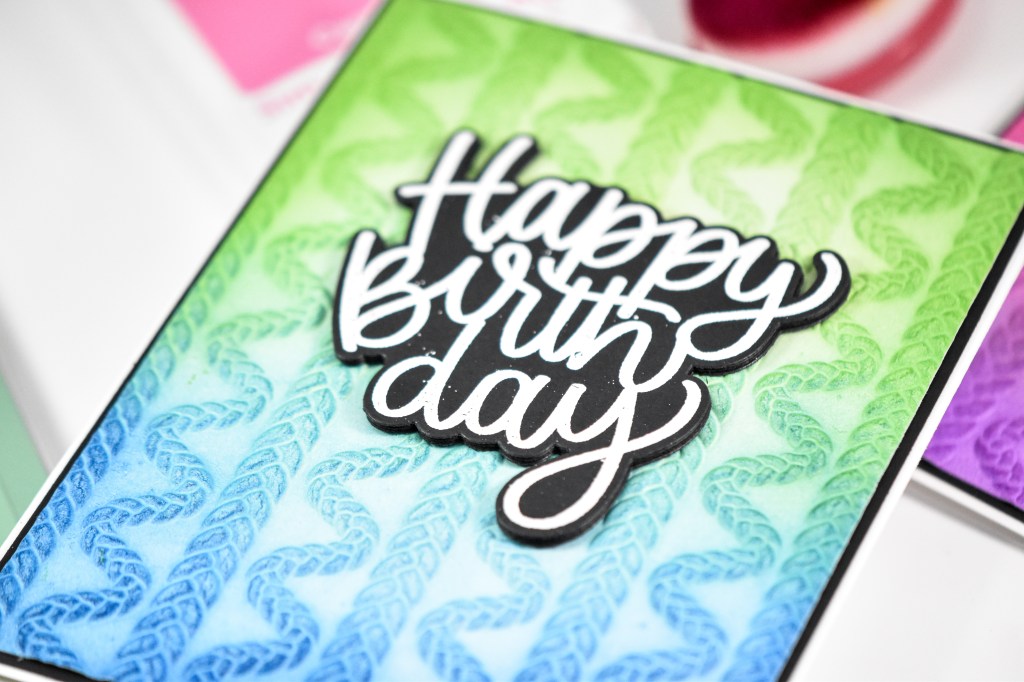
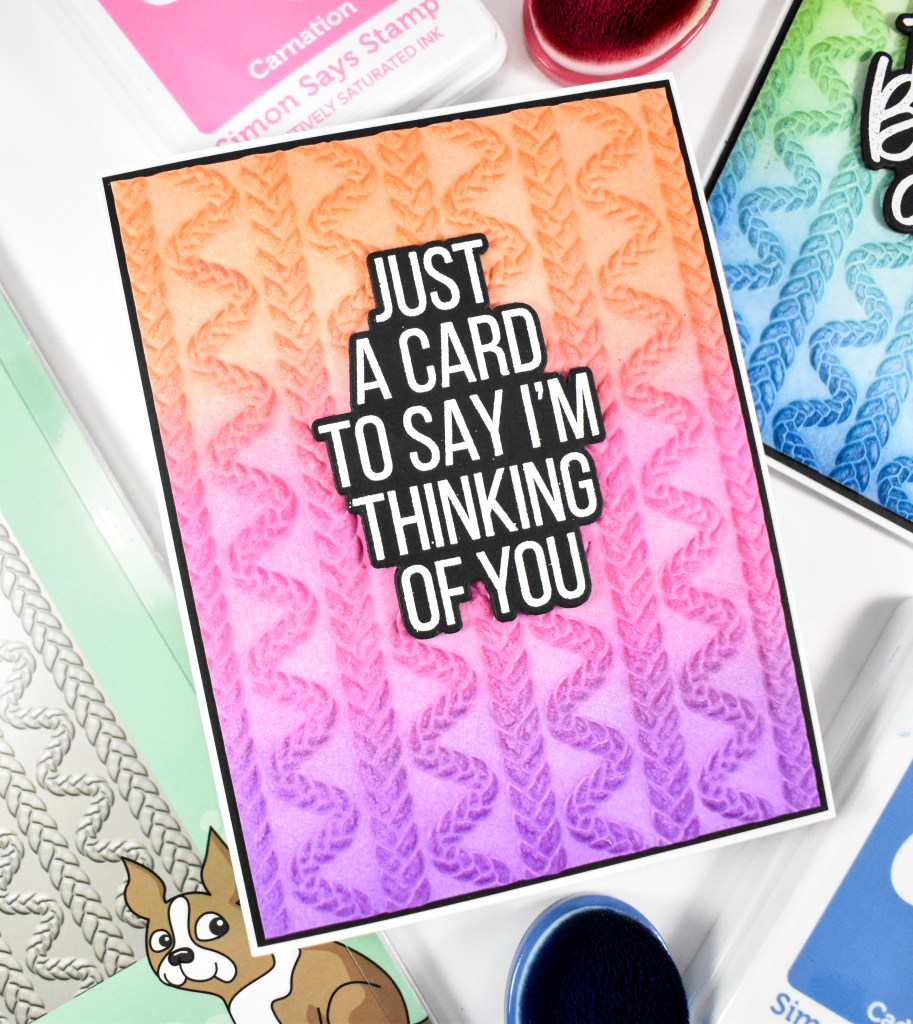
- Simon Says Stamp Braided Greetings

- Together By Design Color Cube Floral

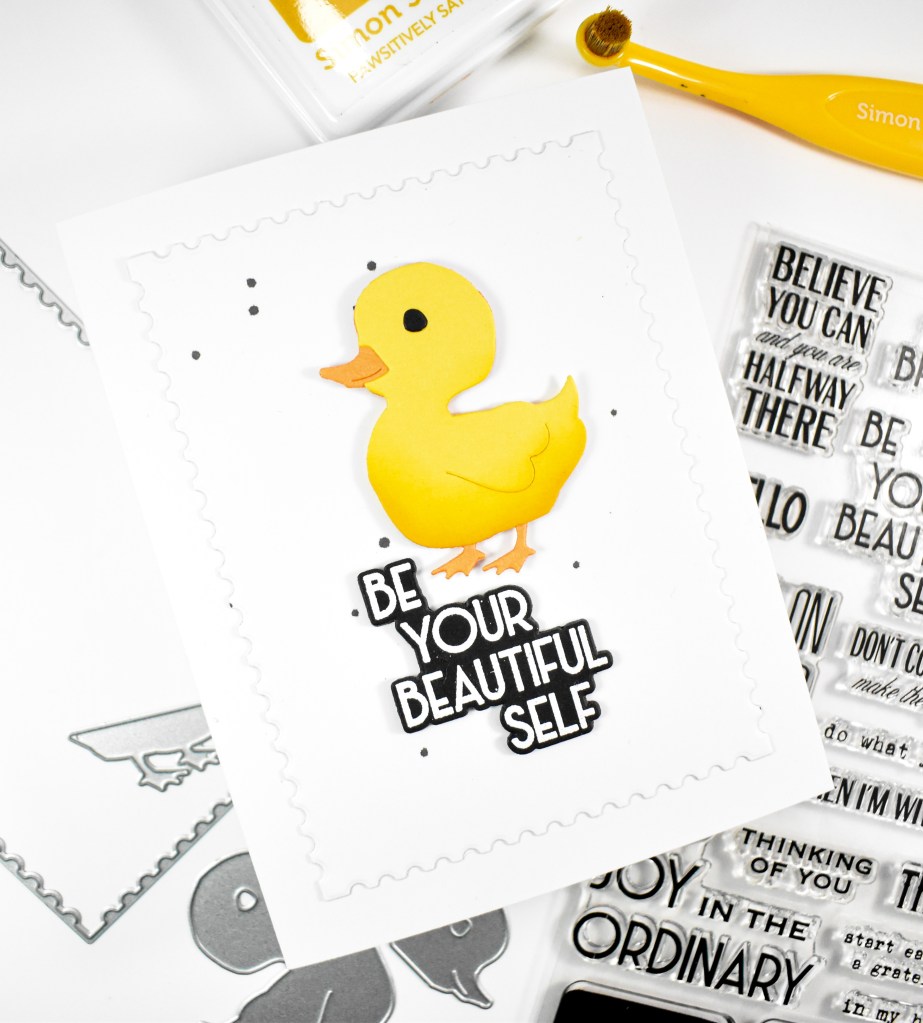
- Simon Says Stamp Cute Duckling

- Simon Says Stamp Watercolor Wild Rose

Latest Instagram Posts