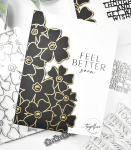
Simon Says Stamp Black on Black Love

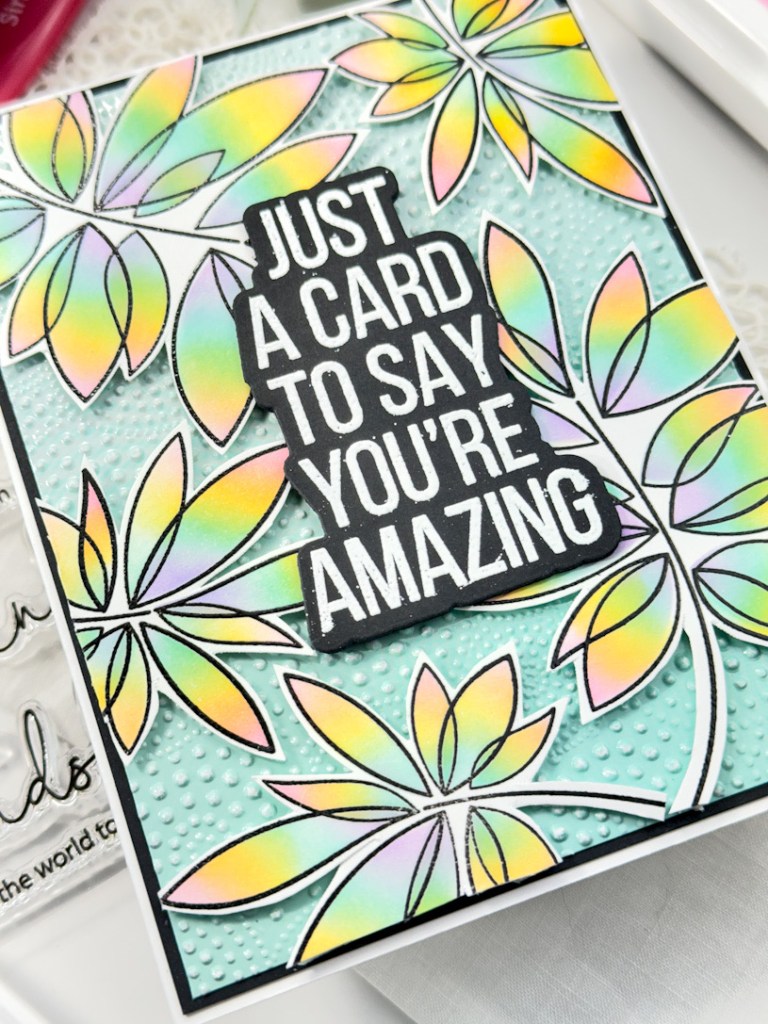
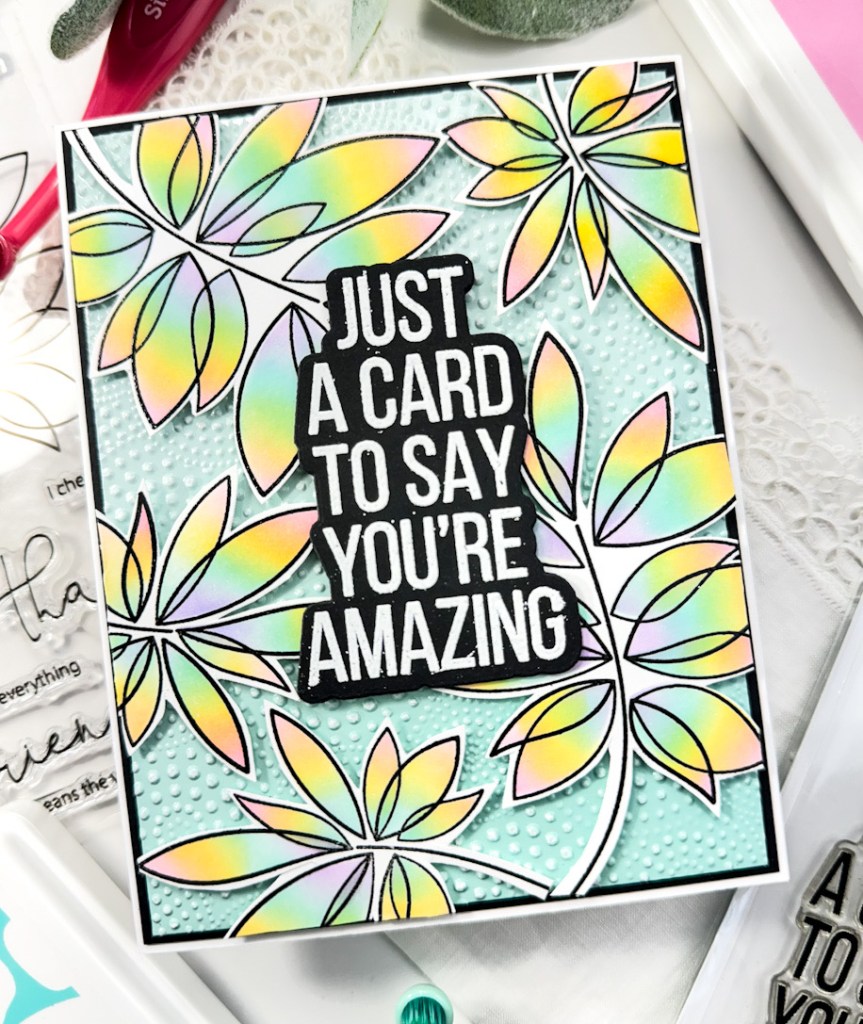
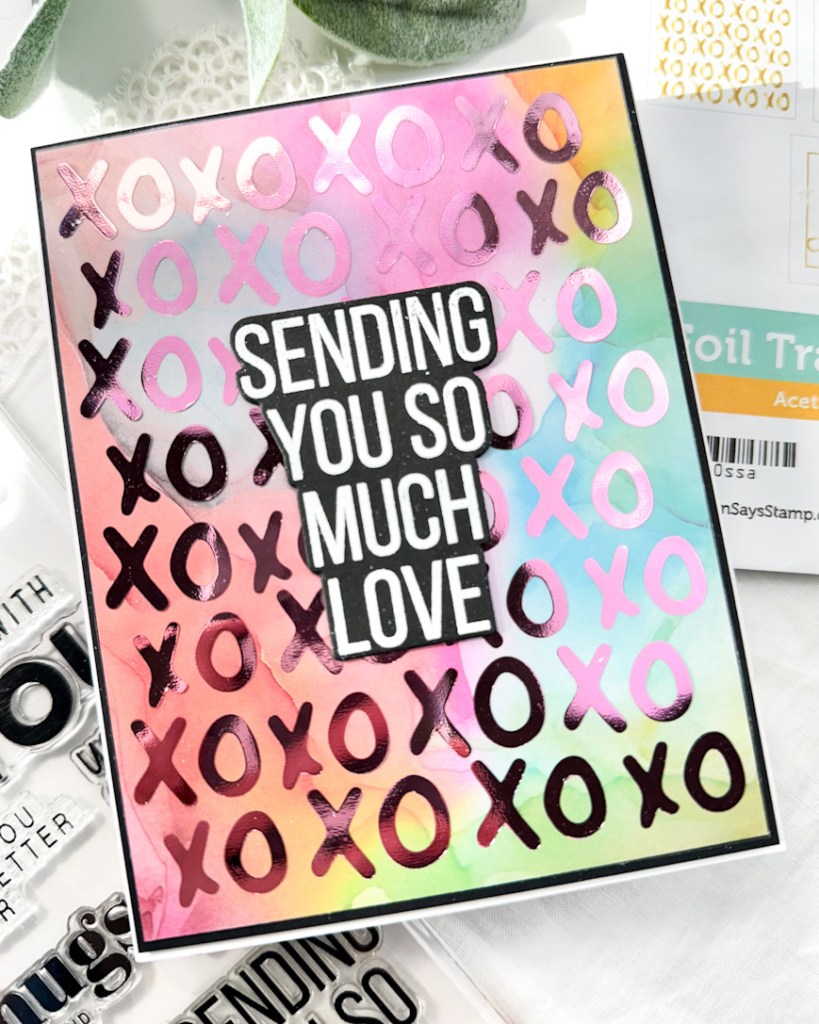
Hello Friends! Thanks so much for stopping by! I’m back today with a card featuring the new Hugs & Kisses die from Simon Says Stamp’s latest release, Sweetheart. If you’ve been here a few times, you probably know that I like creating backgrounds from sentiment dies. Yes, it’s a little bit of work, but I always love the result that it yields! Today’s card is a black on black design, so let’s get started!

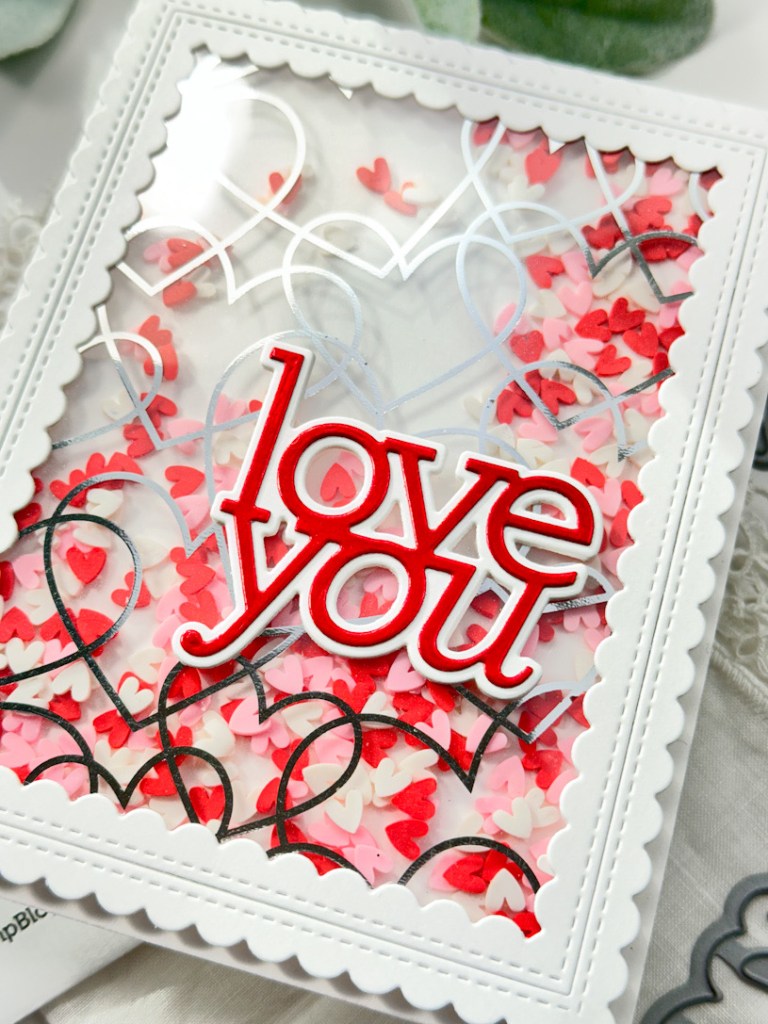
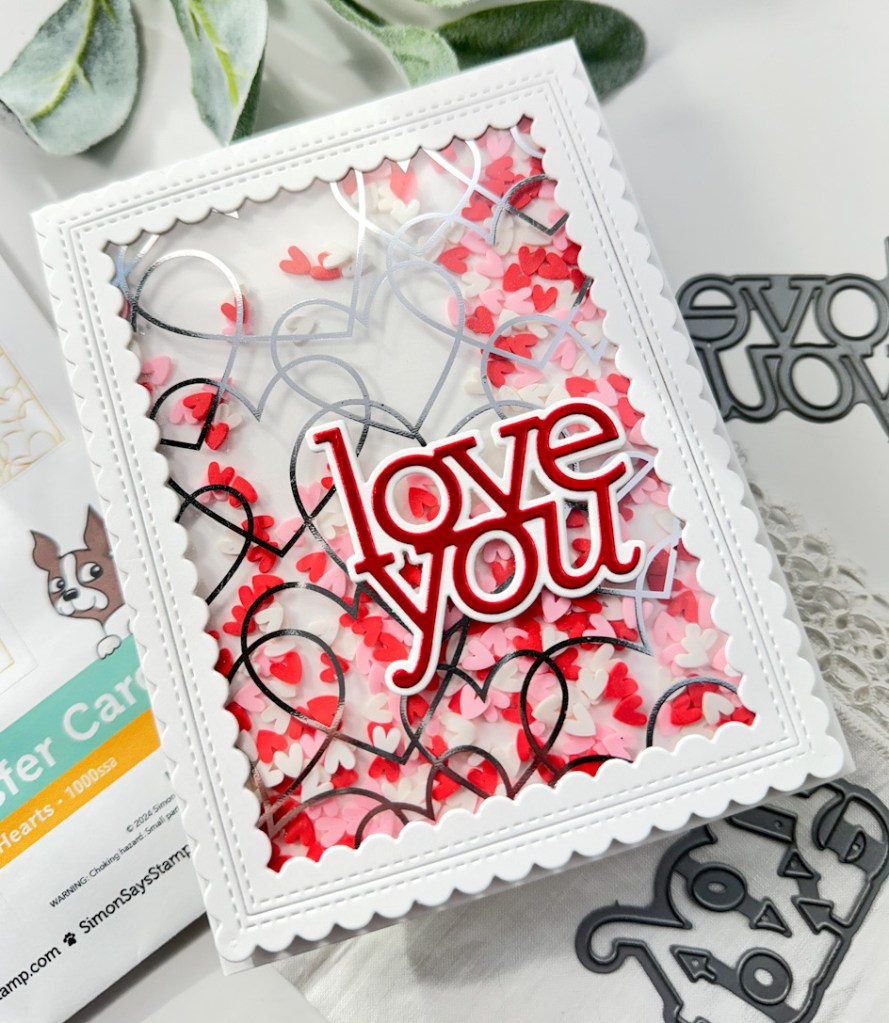
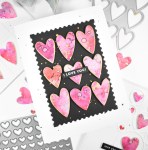
I began by cutting the SSS Hugs & Kisses die a bunch of times from SSS Black Glossy cardstock. It looks like I used six for this panel. Once all of those were done, I cut a panel of black cardstock just smaller than an A2 card front, arranged the die cuts so that the entire panel was covered, adhered them using liquid glue, and trimmed off the excess.

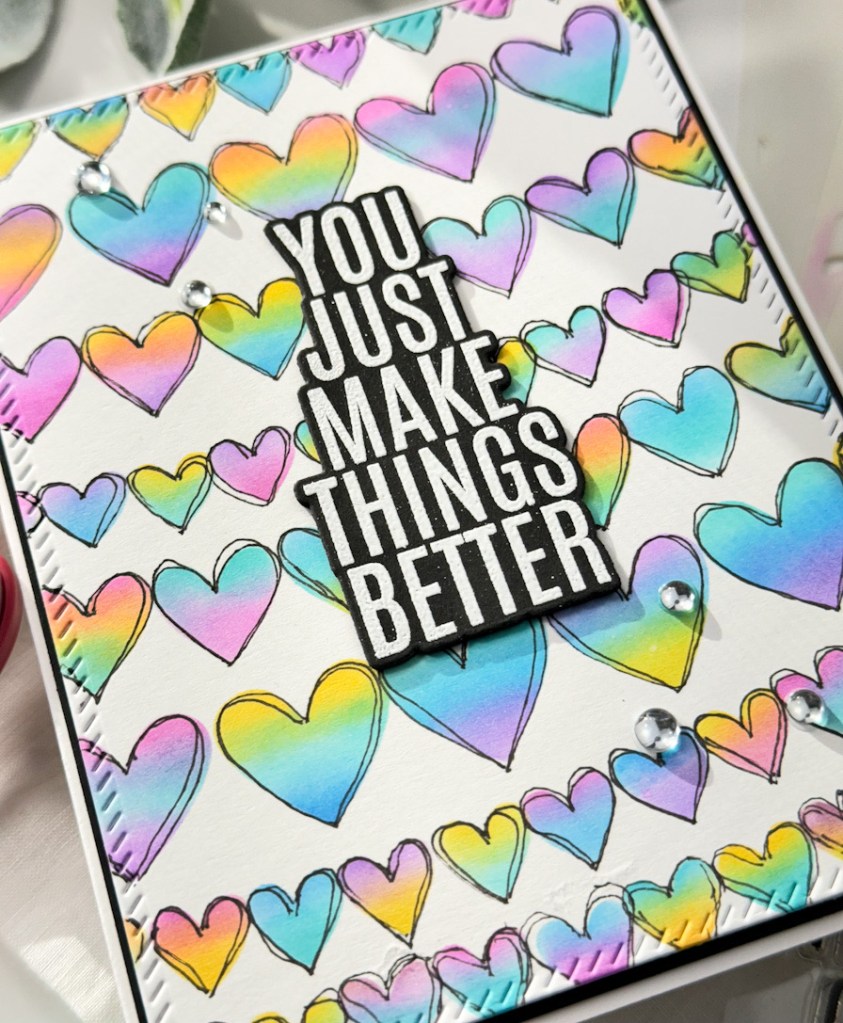
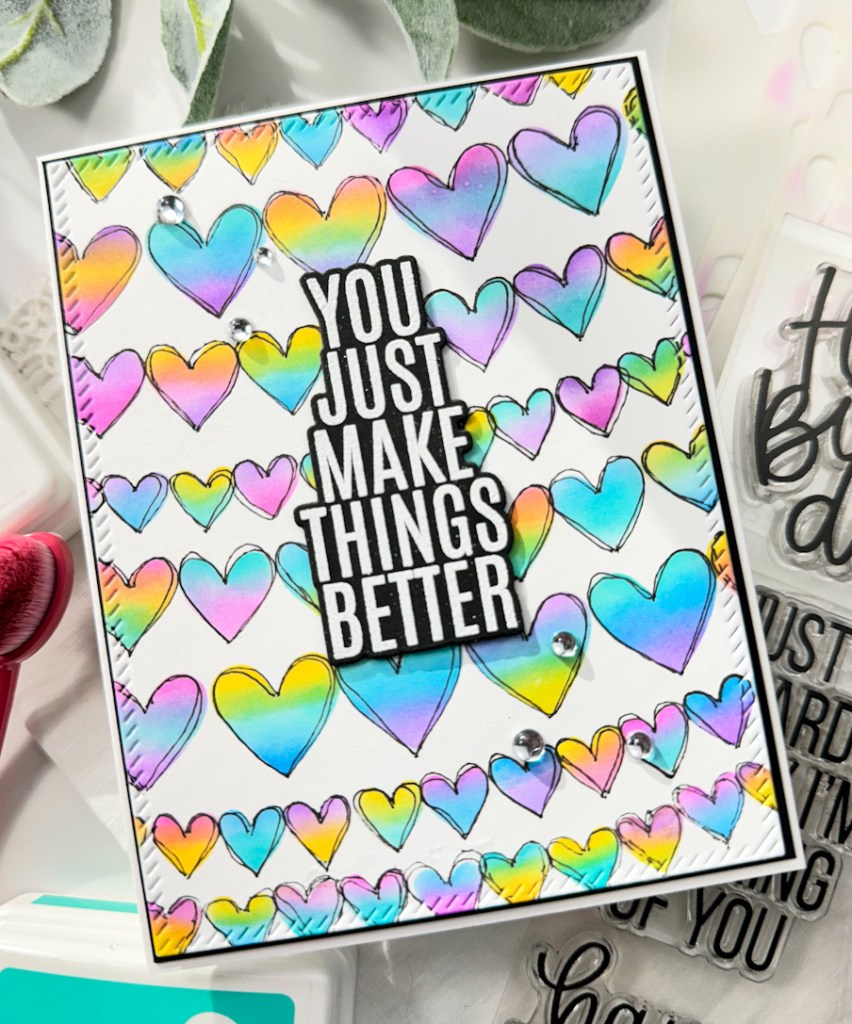
For the focal point of the card, I used elements from the SSS Noted Heart stamp and die set. I stamped the heart onto a panel of Neenah 110lb cardstock and used the coordinating die to trim it out. I then did some light ink blending on the heart using SSS Pawsitively Saturated Ink in Bubblegum. I stamped the main sentiment on black cardstock using VersaMark Ink, heat embossed it using SSS Detail White Embossing Powder, and trimmed it using the coordinating die.

I took the pink heart back to the Misti and stamped “everything” using VersaFine Onyx Black ink. I also decided to use the heart dies in the set to cut a few from the black glossy cardstock as well. To assemble the card, I adhered the heart atop the sentiment panel using foam tape. The black sentiment was also adhered using foam tape, while the black hearts were glued directly to the cardstock. Everything was then adhered to a black card base.
That does it for this card. I hope you enjoyed it, and I hope that you’ll try creating your own background as well! It’s such a great way to stretch your supplies! Don’t forget to check out Simon’s newest release, Sweetheart. Thanks again for joining me, and have a wonderful day!
Supply List:
- SSS Hugs & Kisses
- SSS Noted Heart Stamp Set, Die Set, Bundle
- SSS Black Glossy Cardstock
- SSS Pawsitively Saturated Ink, Bubblegum
- SSS Blender Brushes
- SSS Bone Folder
- SSS Place and Score Embellishment Wand
- SSS Detail White Embossing Powder
- SSS Black Cardstock
- VersaMark Ink
- VersaFine Onyx Black Ink
- Wagner Heat Tool
- Bearly Art Glue
- Tim Holtz Scissors
- 3M Foam Tape
- Anti-Static Powder Tool
- Scor-Buddy
- Misti
- Spellbinders Platinum 6
* Affiliate links used at no cost to you. Thanks so much for your support!
Latest Posts
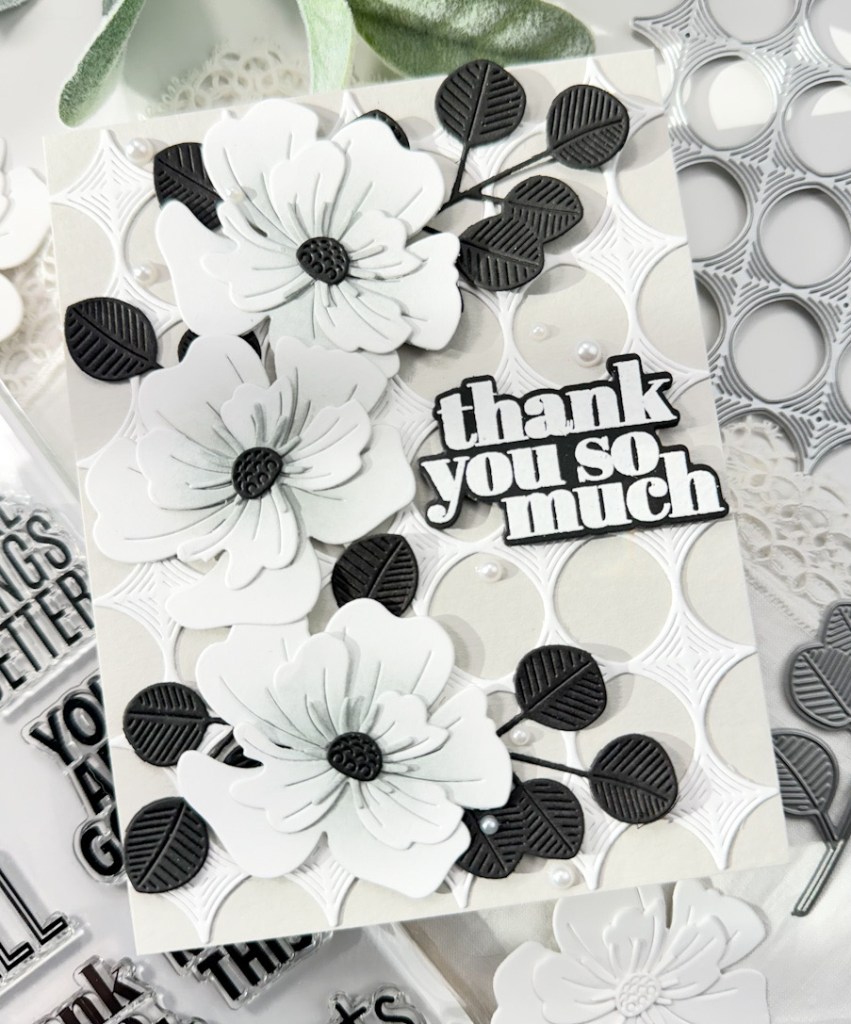
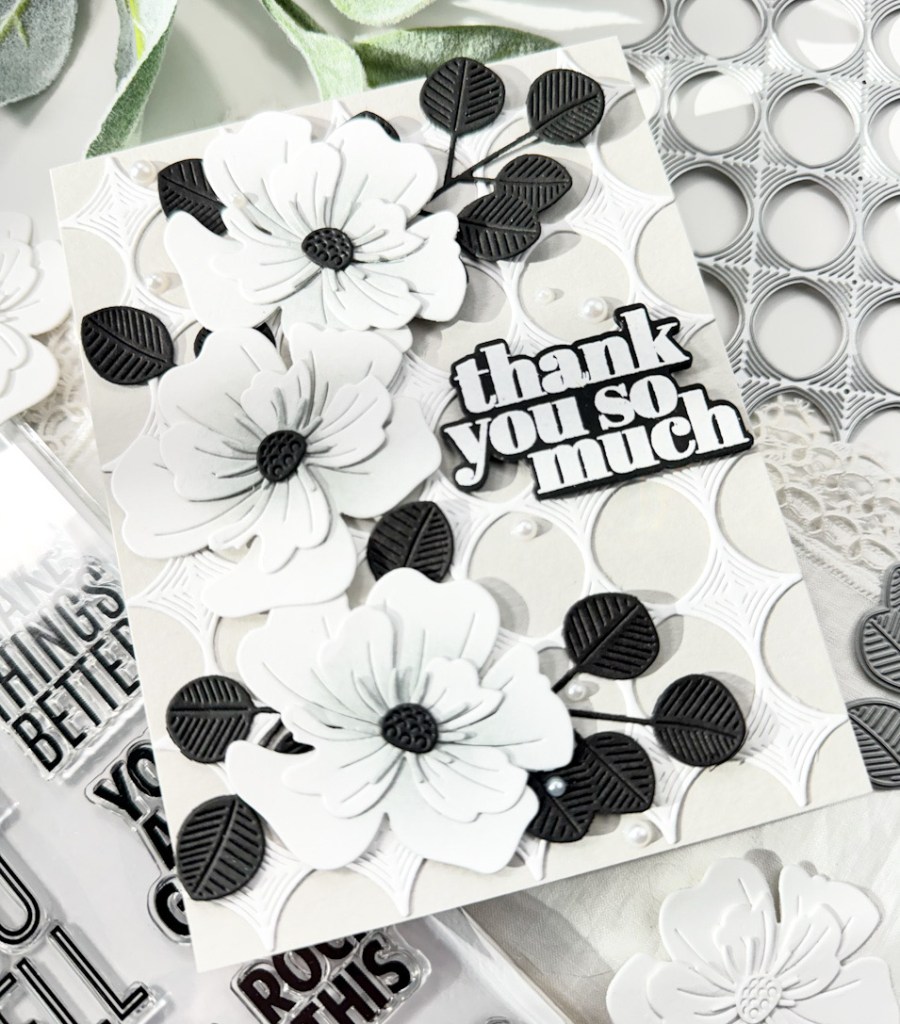
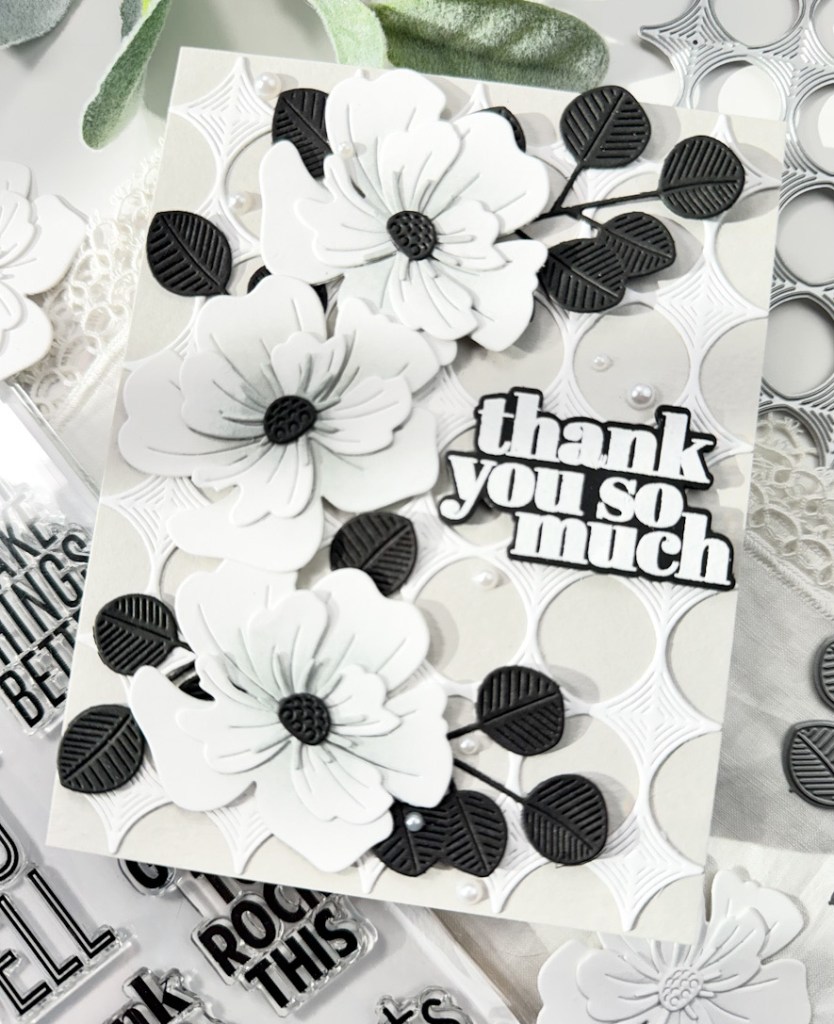
- Simon Says Stamp Leafy Thank You
- Simon Says Stamp Love You Watercolor Hearts
- Simon Says Stamp Just Because Daisies
- Simon Says Stamp Love You Jumbled Hearts
- Together By Design featuring Kristina Werner with Concord and 9th