Simon Says Stamp Hi There Blooms

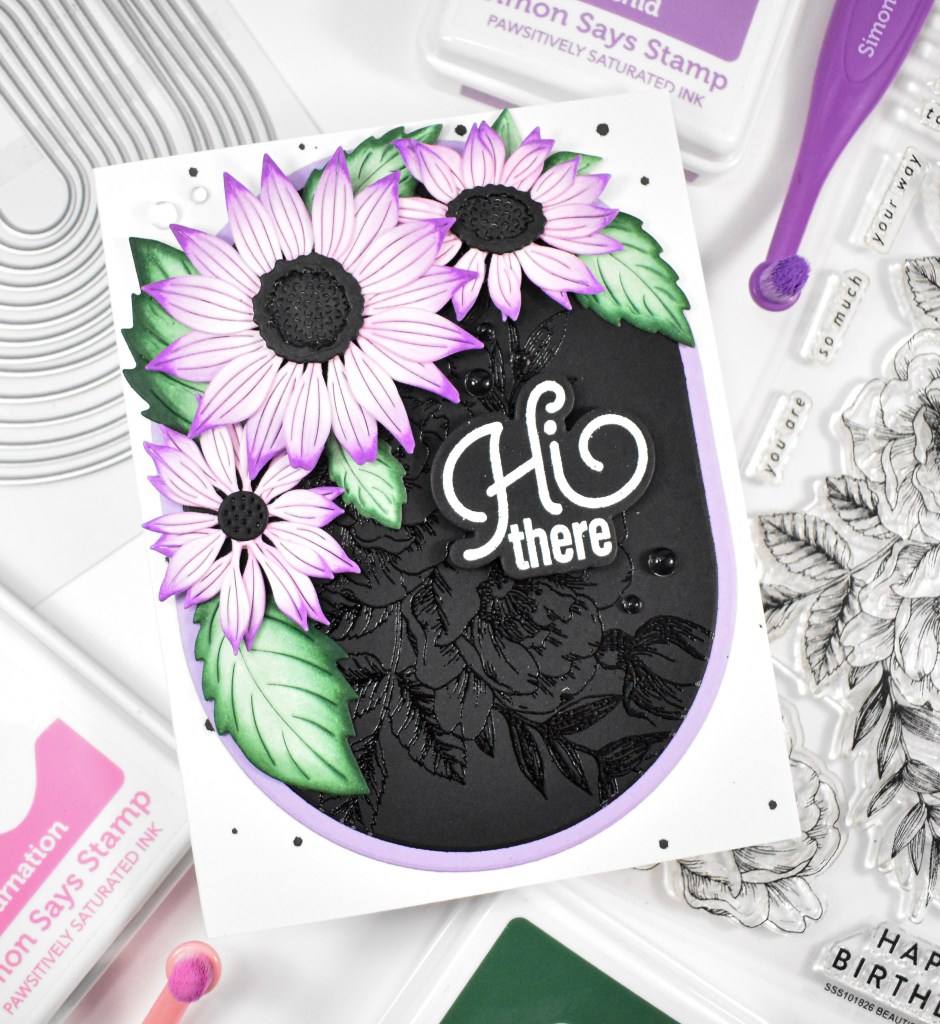
Hello Crafty Friends, and thanks for stopping by! I’m back today with a post featuring the Sunflower Blooms and Chunky Ovals from Simon’s latest release, Every Happiness. I chose to go in a pink/purplish direction with my sunflowers for this one, so let’s go ahead and go through the details!
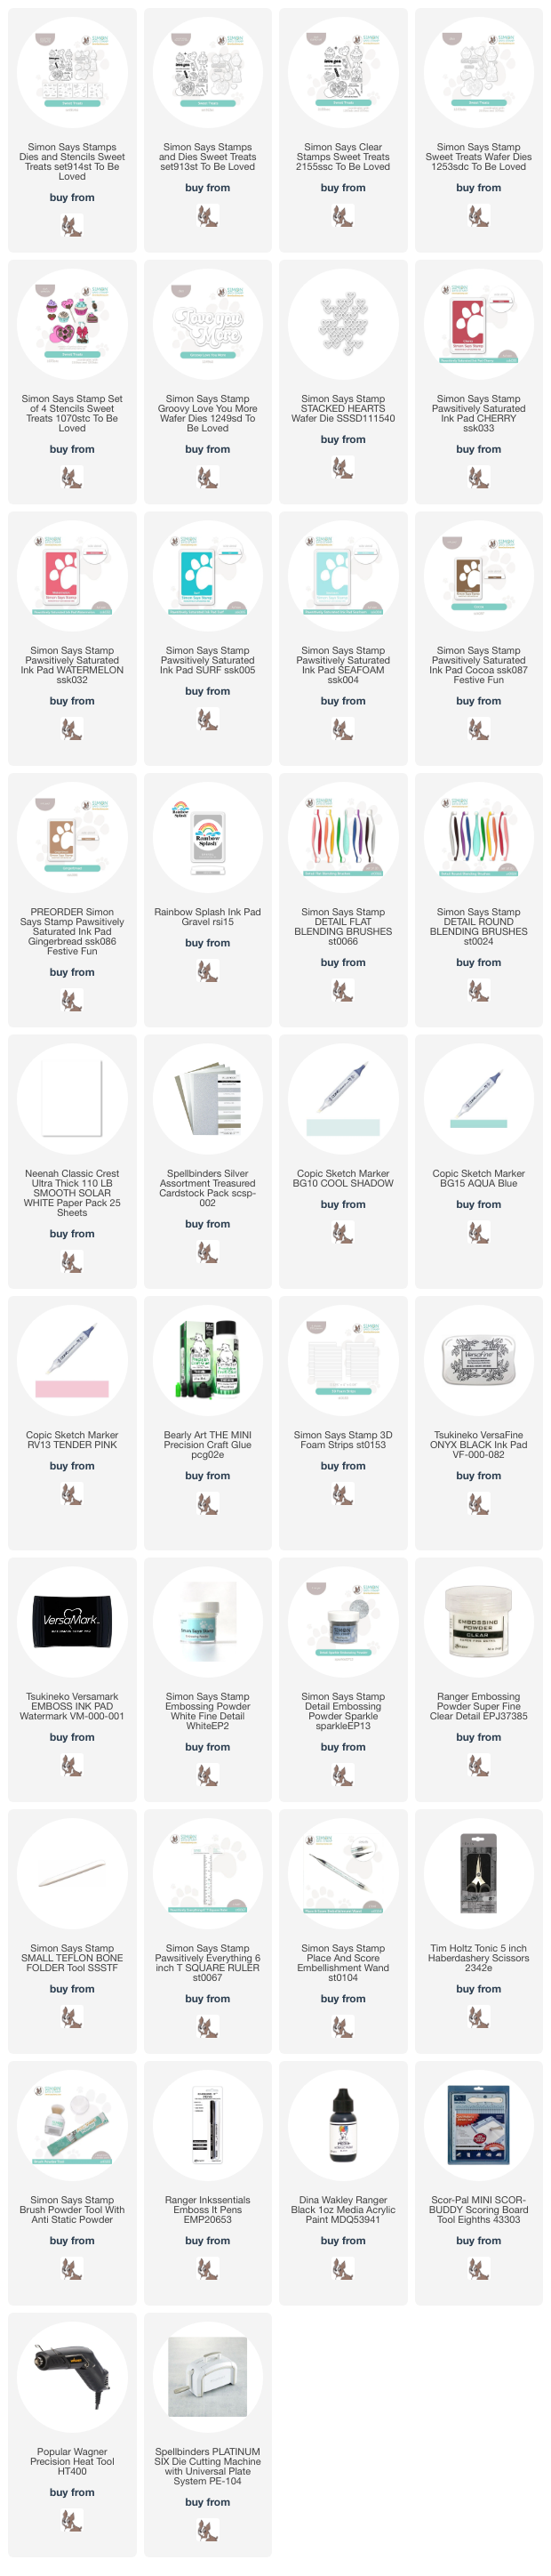
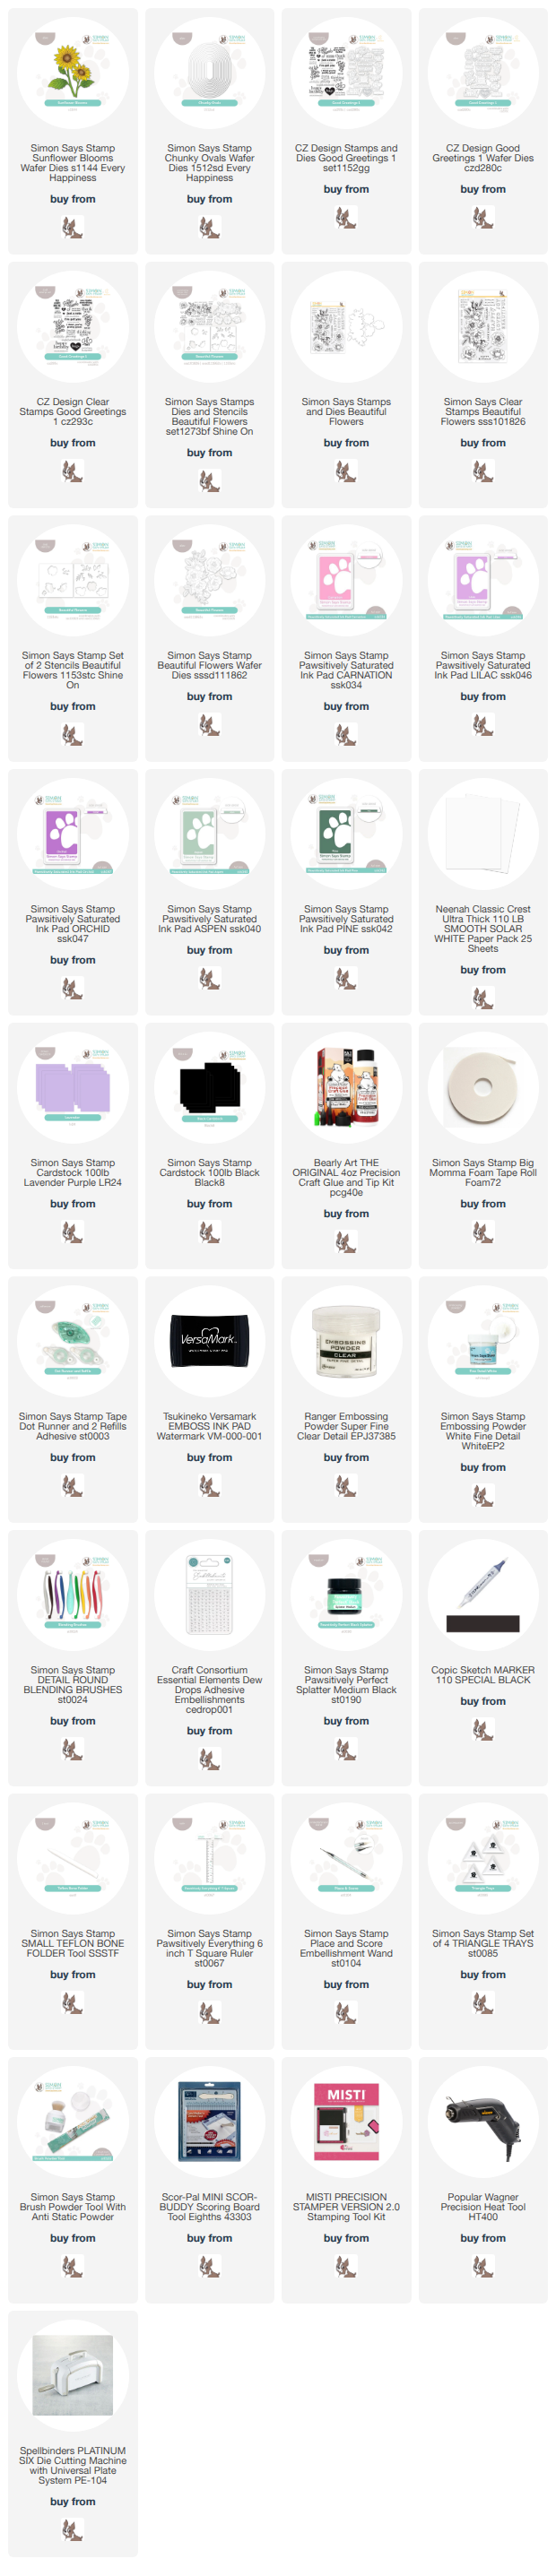
NOTE: all supplies are linked in the thumbnails at the end of this blog post.

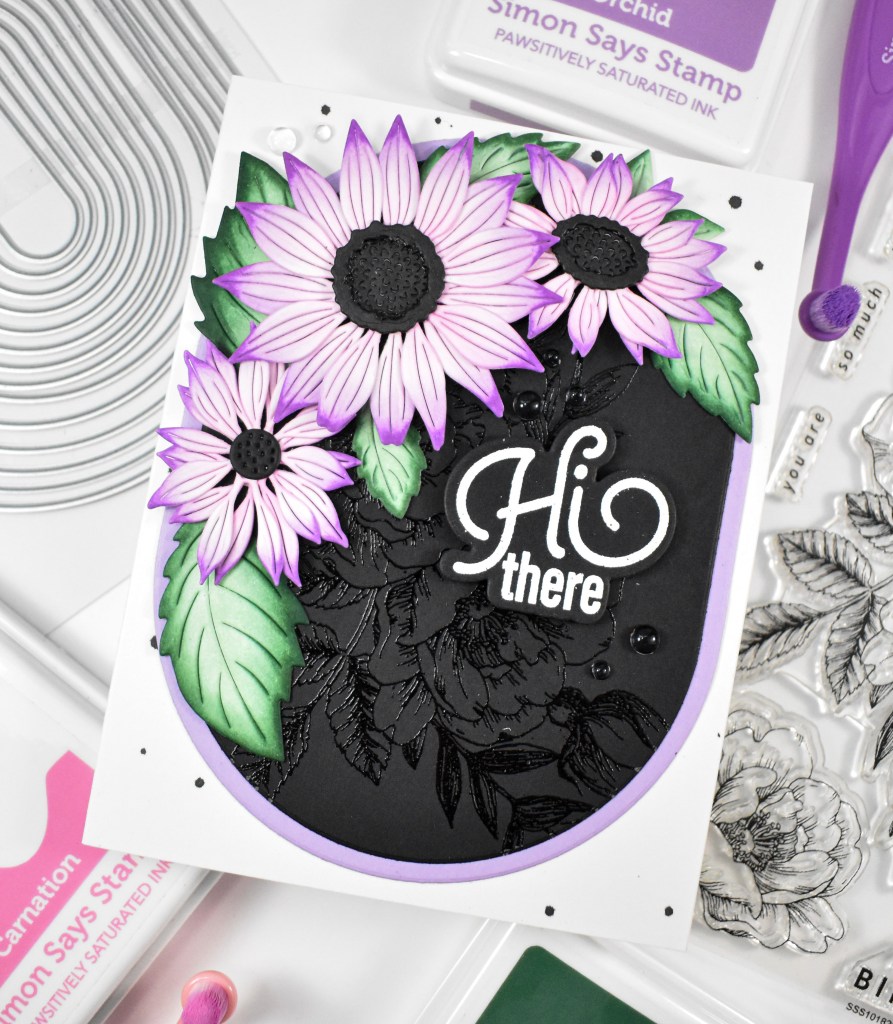
I began by die cutting the florals and leaves from Neenah 110lb cardstock. Normally, I probably would have cut these from colored cardstock, but I was borrowing my friend’s die while she was visiting and I didn’t know what I was going to be making at the time. So, I just felt that I would have more options if they were cut from white cardstock. I did some ink blending on the flowers and leaves using Carnation, Lilac, Orchid, Aspen and Pine. For the centers of the flowers, I just used a black Copic marker to color those.

Once everything was ink blended, I went ahead and assembled the flowers and figured out the rest of my design. I stamped the floral from the Beautiful Flowers set onto a panel of black cardstock, using VersaMark ink and heat set that using clear embossing powder for a tone on tone effect. I then used the Chunky Ovals to trim it down, along with a panel of Lavender cardstock. My sentiment was stamped using VersaMark, heat set using white embossing powder, and trimmed out several times.

I went ahead and black splattered my card base, adhered the ovals and began securing the leaves with liquid glue, while the flowers were adhered using foam tape for added dimension. The sentiment was also added with foam tape, and some clear gems were added to finish up.

That does it for this project! I really love using dark colors sometimes, and I thought this dark background would pair well with the dark centers of the flowers. Thanks so much for joining me, and I hope you have yourself a wonderful day!
Supply List

Affiliate links used at no cost to you. What does this mean? If you use the links within this post to make a purchase, I receive a small commission, which allows me to continue to post crafty content for your enjoyment. I truly appreciate your support!
Latest Posts

Latest Instagram Posts

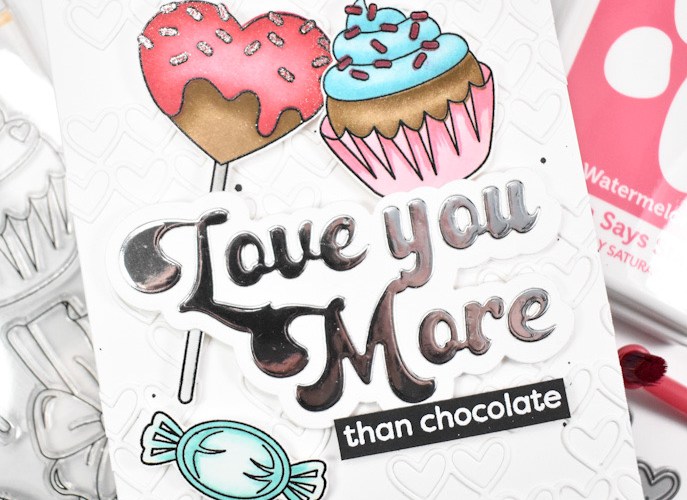
Simon Says Stamp More Than Chocolate

Hello Crafty Friends and welcome back to my blog! Thanks so much for stopping by to check out today’s project featuring the new Sweet Treats Stamp and Stencil, along with the Groovy Love You More die cut. Let’s jump right into the details, shall we?

NOTE: all supplies are linked in the thumbnails at the end of this blog post.

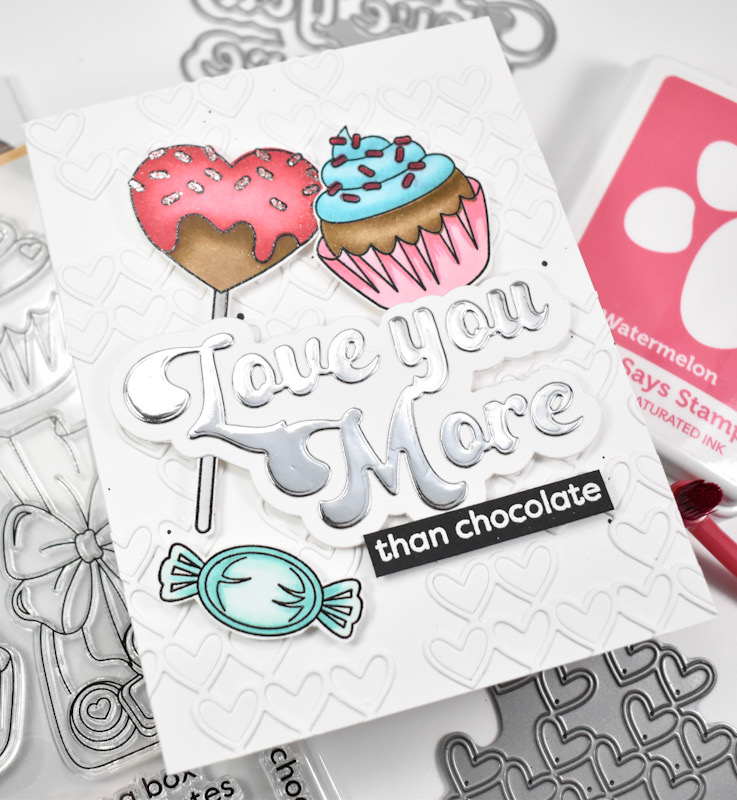
I began this project by stamping several of the elements from the Sweet Treats stamp set onto Neenah 110lb cardstock using VersaFine Onyx Black ink and heat setting it with Ranger Clear Embossing Powder. I then went to work adding color using the coordinating stencil set. The inks used were Gingerbread, Cocoa, Gravel, Seafoam, Surf, Watermelon and Cherry. The piece of candy was colored using Copic Markers BG10 and BG15. I also added a touch of shading on the cupcake using RV13.

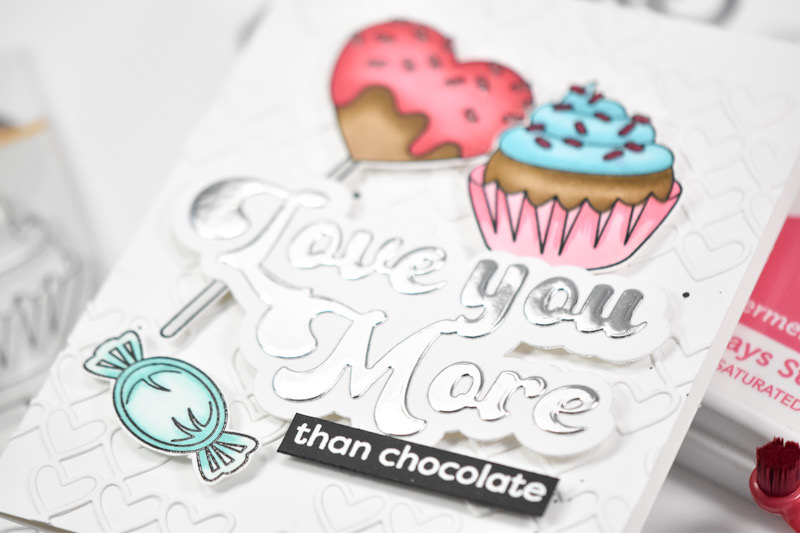
Once all of the color was added, I trimmed them out. I did decide to add a touch of sparkle to the lollipop sprinkles using a Ranger Emboss It Pen and Simon Detail Sparkle Embossing Powder. I die cut the Groovy Love You More sentiment once from silver cardstock and cut the shadow portion once from Neenah and adhered those pieces together. I knew that I wanted to add the sub-sentiment, so I stamped that onto black cardstock using VersaMark ink and heat set it using Detail White Embossing Powder. The sentiment actually says ‘more than chocolate,’ but I trimmed off the ‘more’ part.

Now that I have all of the elements for the card, I needed to figure out a background. I went ahead and splattered my card base using black acrylic ink and decided on a heart background. I used the Stacked Hearts die and cut that three times and adhered them to the card base, cutting off any extras. I adhered all of the treats using foam strips and then added the sentiments with more foam strips.

That finishes up this project! I hope you enjoyed it! This project is well outside of my comfort zone, but it was a fun project nonetheless. Don’t forget to check out the entire To Be Loved release over on Simon’s website! Thanks again for hanging out with me, and I hope you have a fabulous day!

Supply List

Affiliate links used at no cost to you. What does this mean? If you use the links within this post to make a purchase, I receive a small commission, which allows me to continue to post crafty content for your enjoyment. I truly appreciate your support!

Latest Posts

Latest Instagram Posts

Simon Says Stamp Merry Whirl Leaf

Hello Friends and welcome back! Simon’s latest DieCember release is live, and it’s a fun one! My project today is featuring the new Whirl Fancy Leaf, and I can’t even tell you how much I love this project! I love it so much that I’ve decided that it will be the design for my personal Christmas cards this year! Let’s go ahead and get into the details!

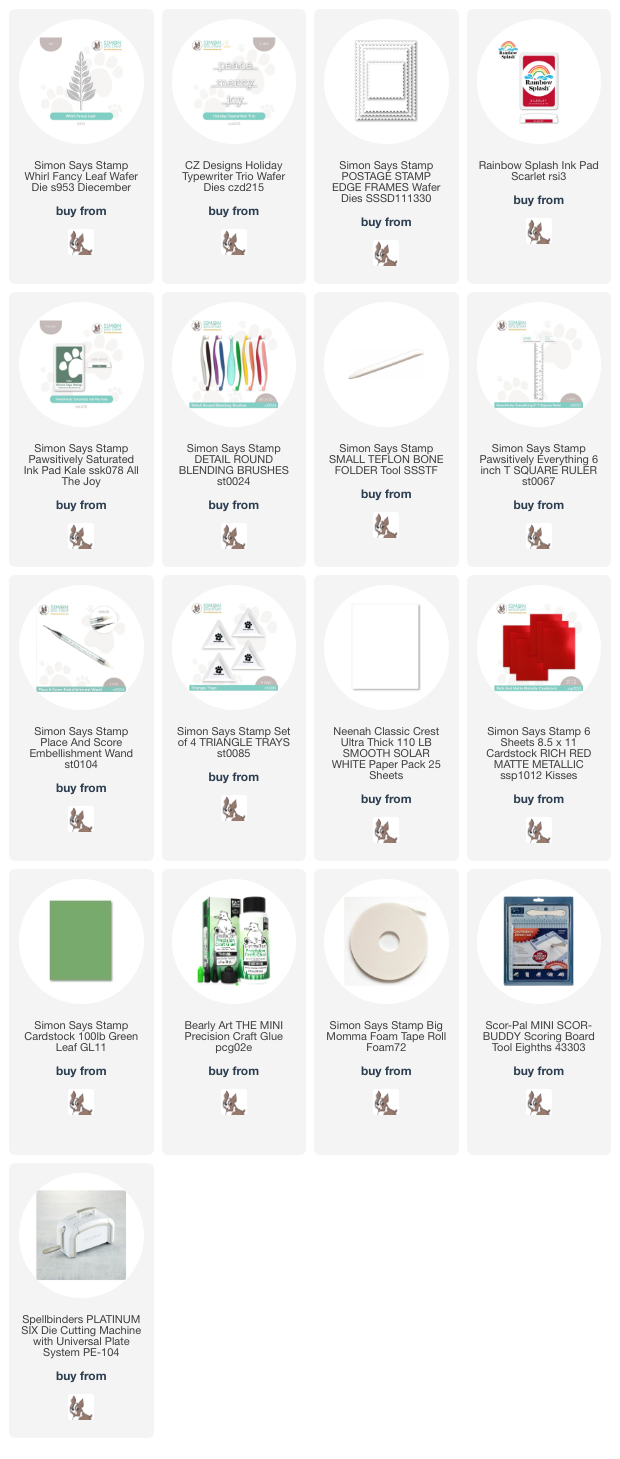
NOTE: all supplies are linked in the thumbnails at the end of this blog post.

I began this project by die cutting the Whirl Fancy Leaf from a green cardstock and did some ink blending along the edges using Kale ink. I then adhered red crystals at the intersections of the stem and leaves. I ordered these gems from Amazon, but use whatever you have! I also die cut the Merry, which is from the Holiday Typewriter Trio, once from Simon Red Matte Metallic Cardstock and twice from Neenah 110lb cardstock. Those pieces were then adhered together using liquid glue.

I then used the Postage Stamp Edge Frames to trim a panel from Neenah 110 and then splattered it using Rainbow Splash Scarlet ink. I just smooshed some ink on my glass mat and added some water next to it and mixed a tiny bit of water with the ink.

The leaf was adhered to the panel using liquid glue, which was just placed along the stem, and the merry was adhered atop that. That panel was then adhered to the card base using foam tape for added dimension to finish up.

That does it for this one! I hope you enjoyed it! This is a very clean and simple design, but I love the way it turned out! And, clean and simple is good when you decide to mass produce for your own holiday cards! Don’t forget to swing over and check out the entire DieCember release! Thanks again for stopping by, and I hope you have a wonderful day!

Supply List

Affiliate links used at no cost to you. What does this mean? If you use the links within this post to make a purchase, I receive a small commission, which allows me to continue to post crafty content for your enjoyment. I truly appreciate your support!

Latest Posts

Latest Instagram Posts