STAMPtember CZ Design Exclusive
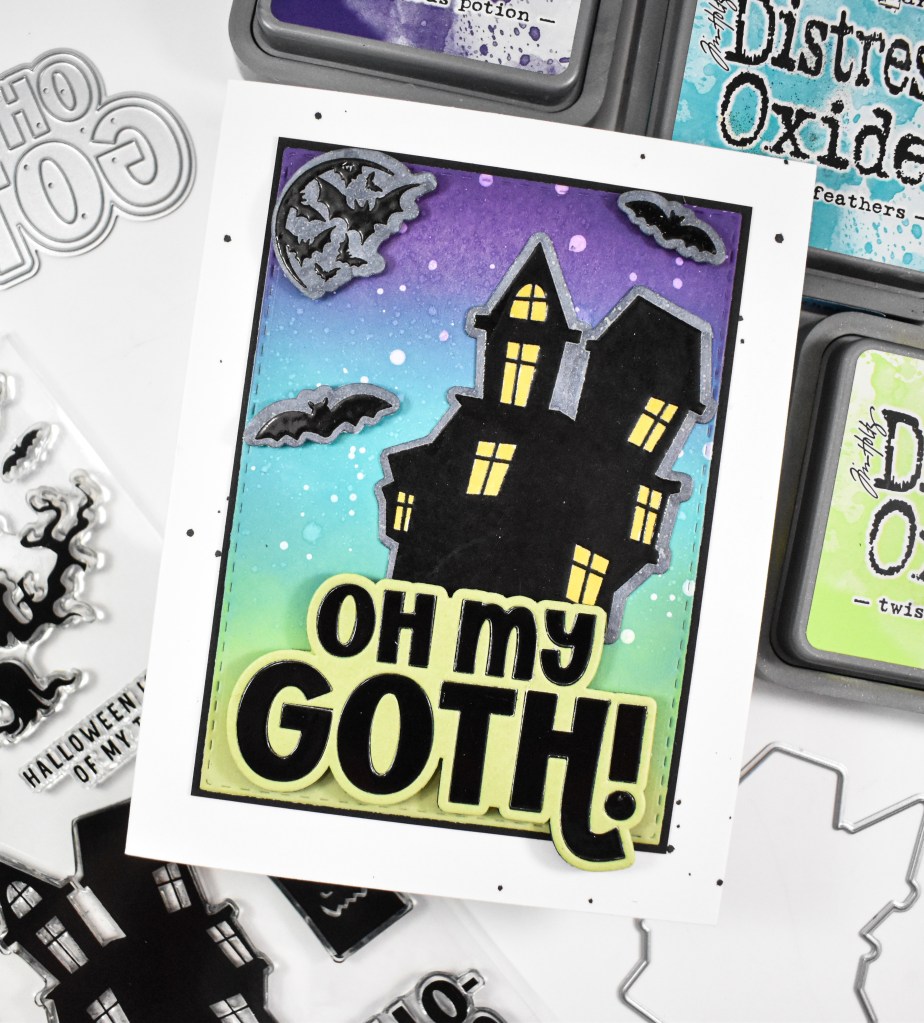
Hello Crafters, and welcome back! Are you having a wonderful STAMPtember with all of the releases, collabs and the new Tim Holtz class coming up? Oh my word, there’s so much going on! For Simon’s 17th year of STAMPtember, they are celebrating CZ Design! Several new products are being released, and I’ll be sharing more, but for today’s post, I’m focusing on the Oh My Goth products. Let’s go ahead and get into the details!
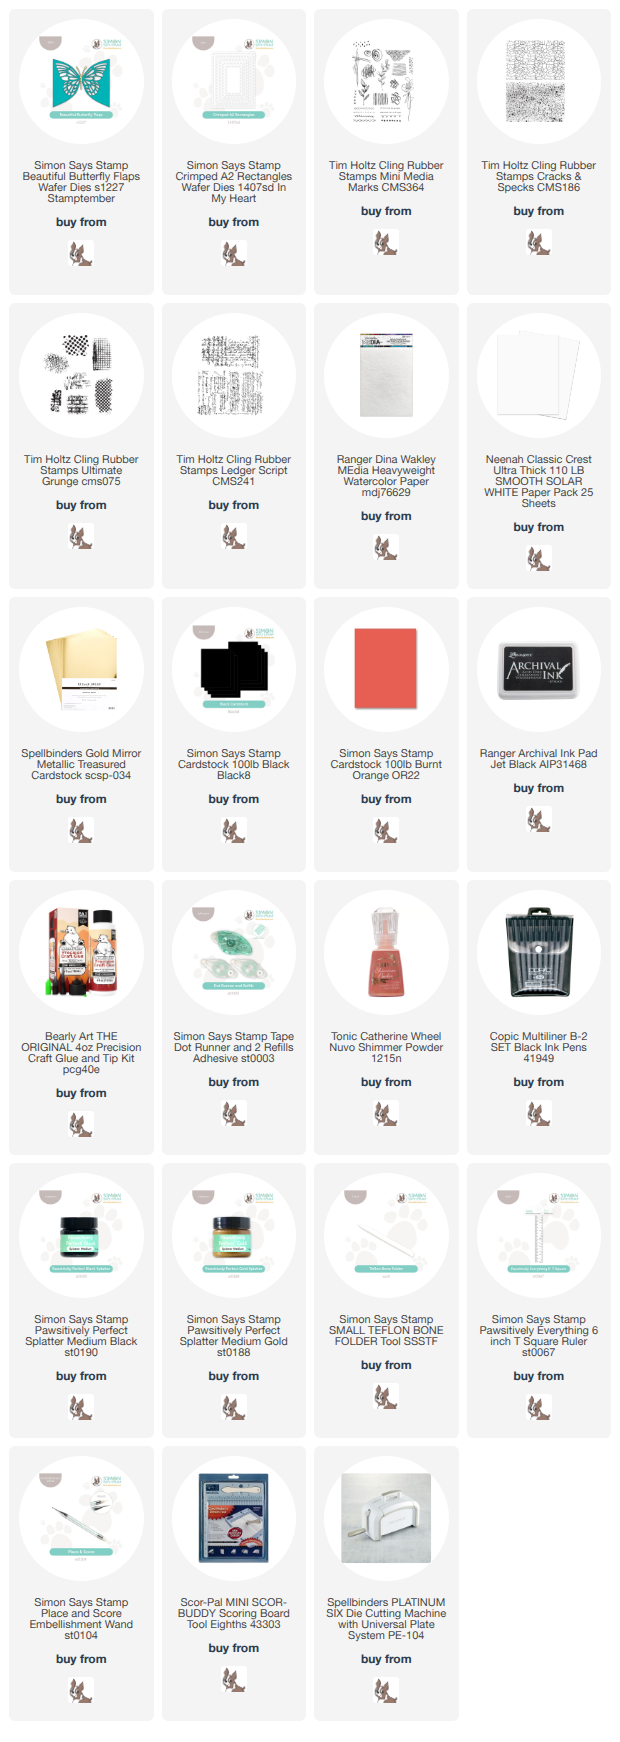
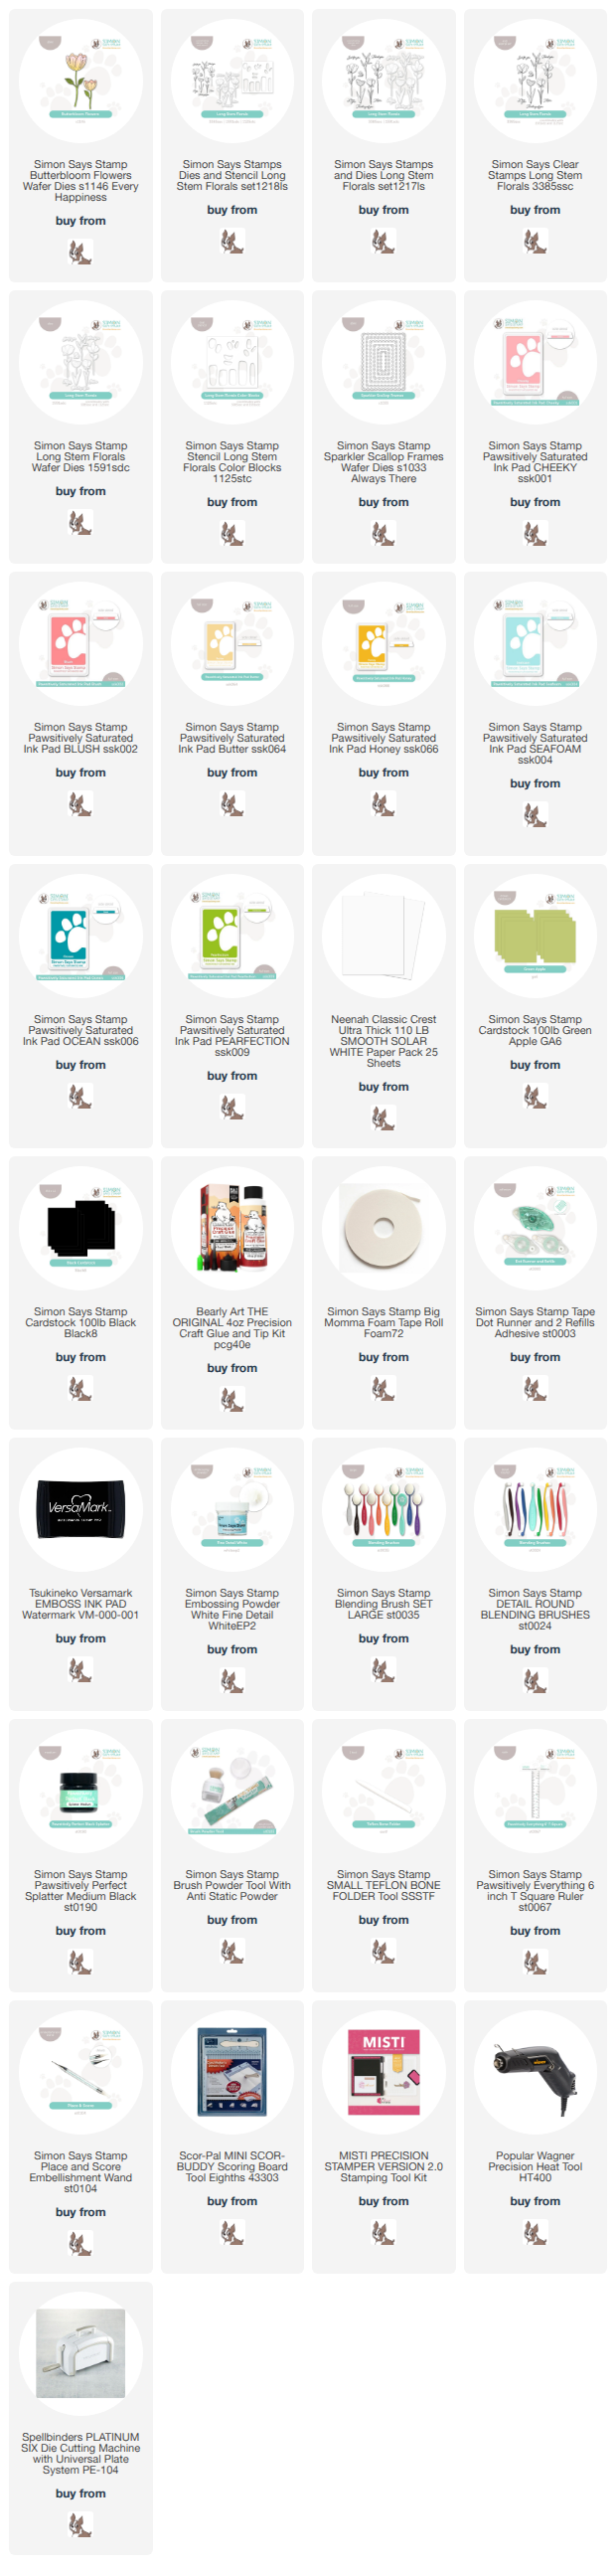
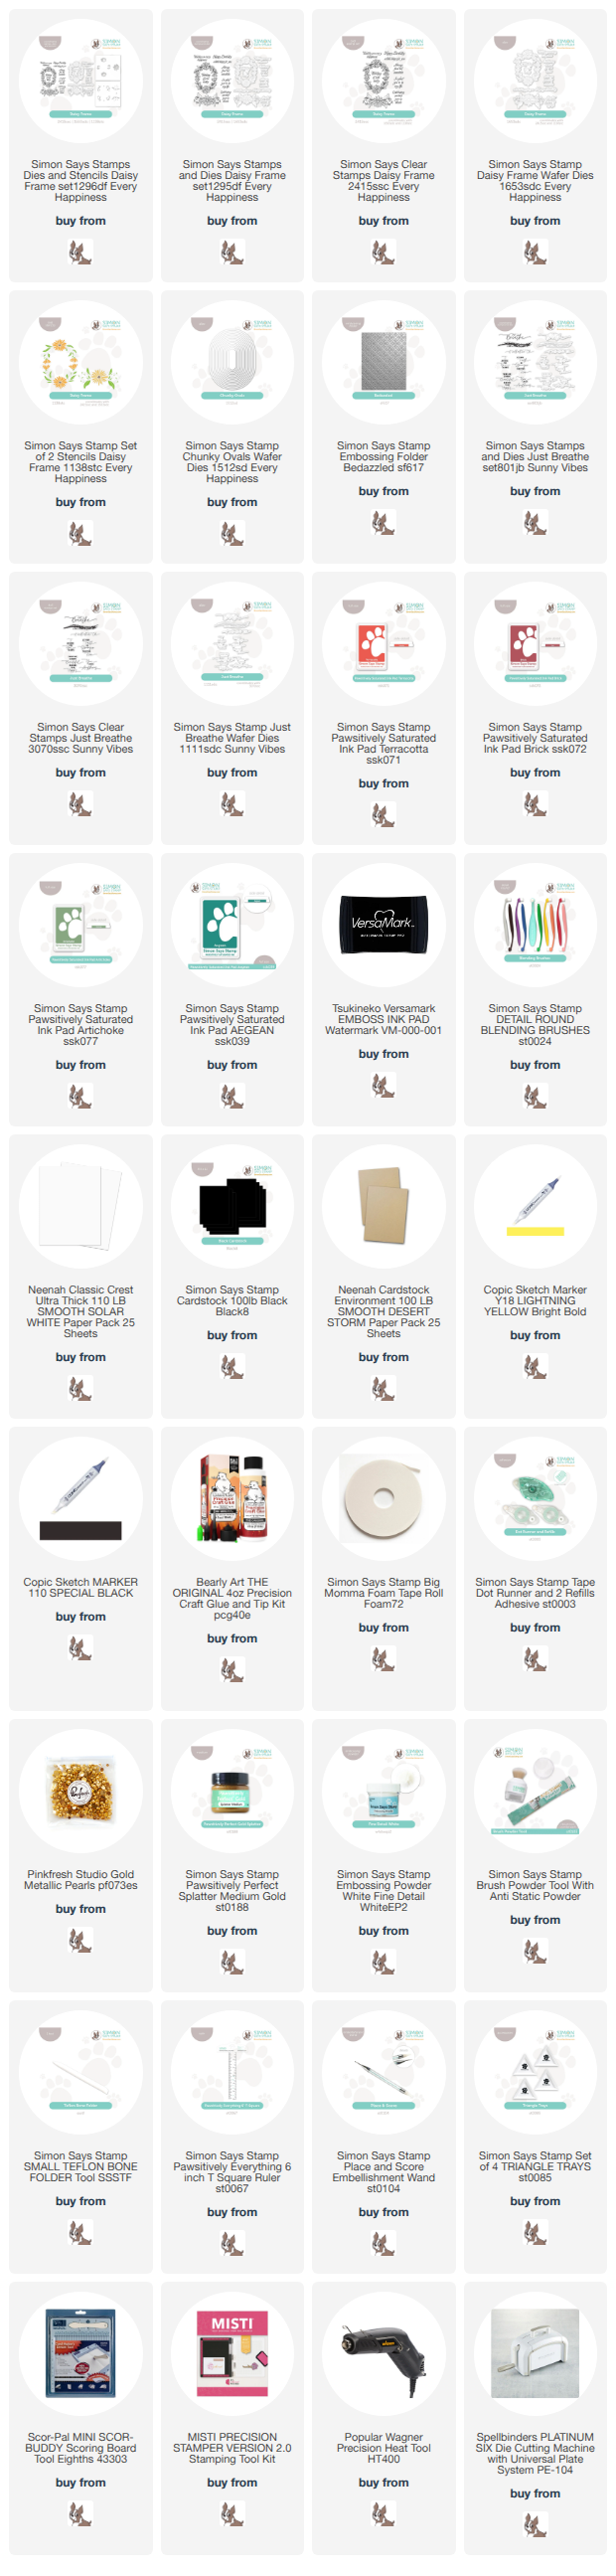
NOTE: all supplies are linked in the thumbnails at the end of this blog post.

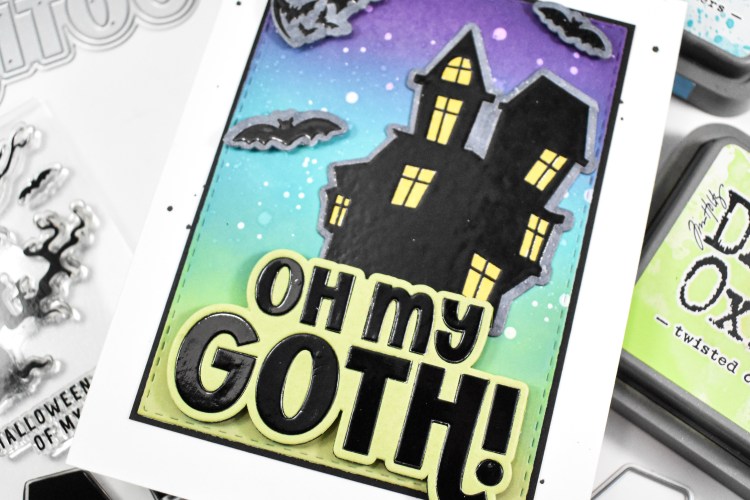
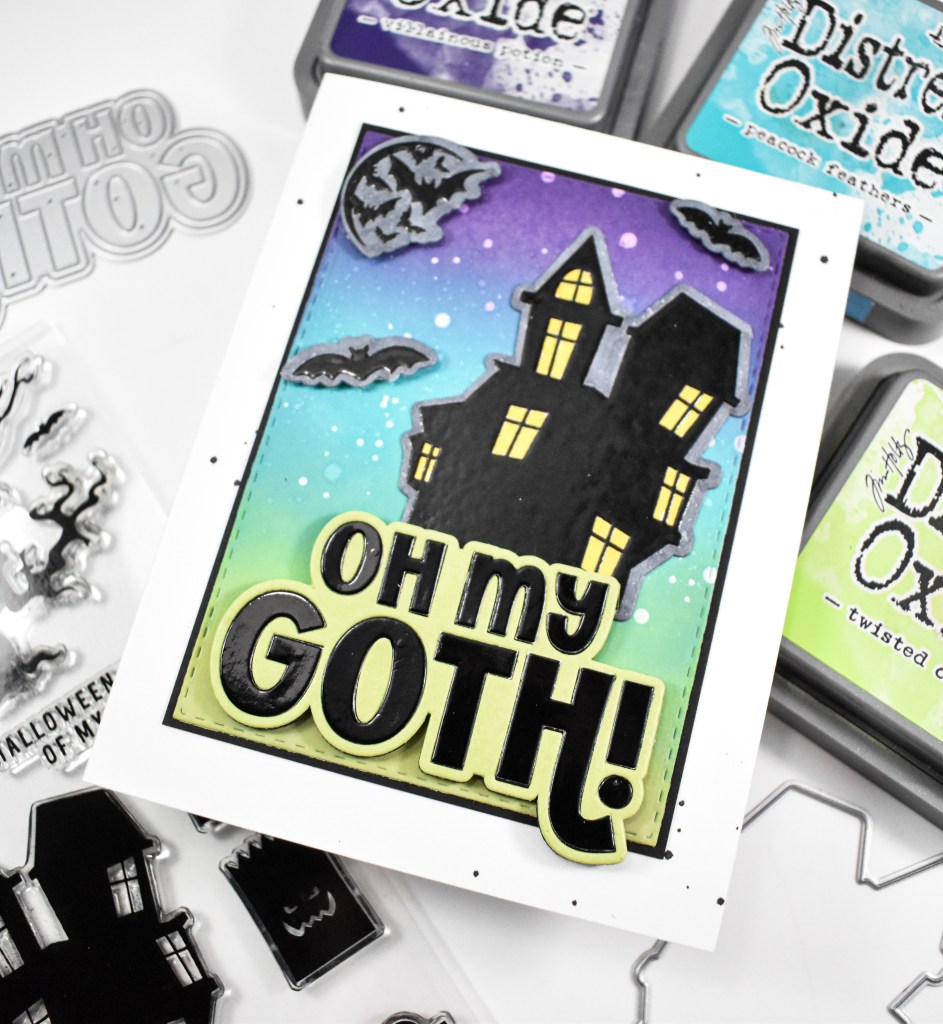
I began this project by ink blending a panel using Distress Oxides in Cracked Pistachio, Peacock Feathers and Villainous Potion. Once satisfied with the blend, I trimmed out the panel using the A2 Nested Stitched Rectangles and added some splatter. I then stamped the house, bats and moon from the Oh My Goth set using VersaFine Onyx Black ink and heat embossed them using clear embossing powder. I kept heating and adding more powder to get that thicker, shinier finish.
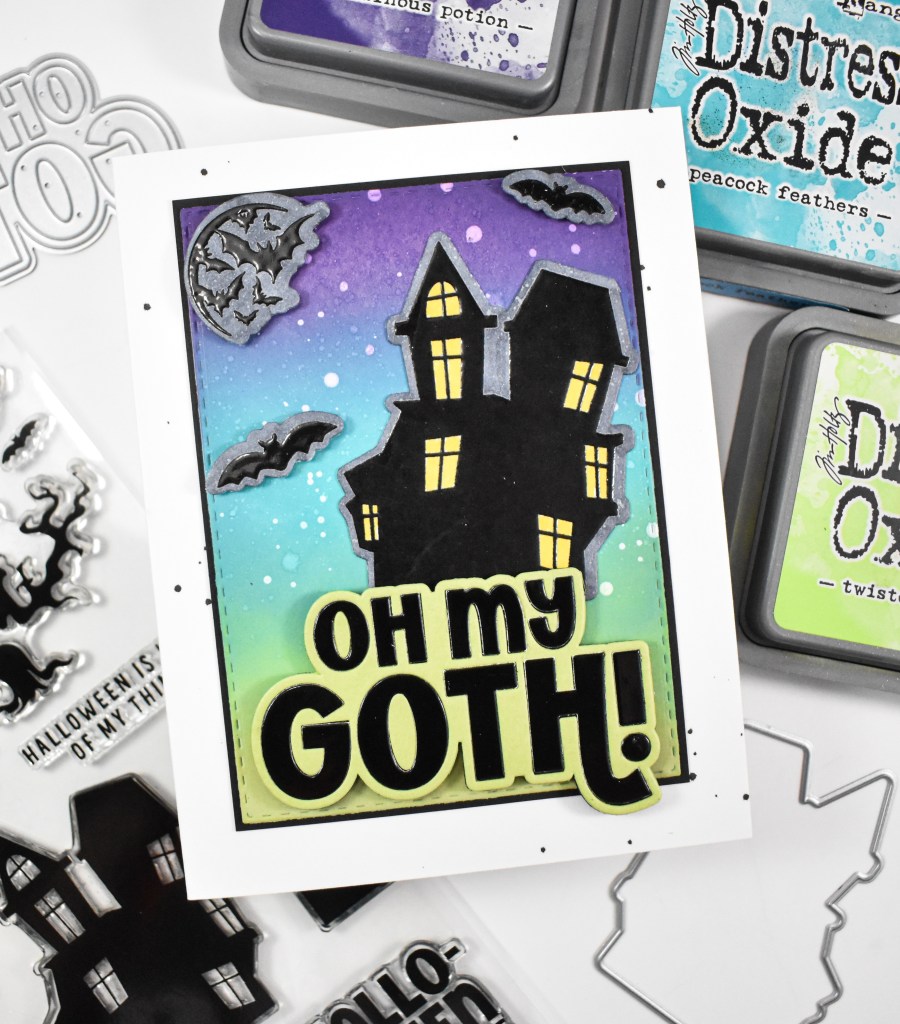
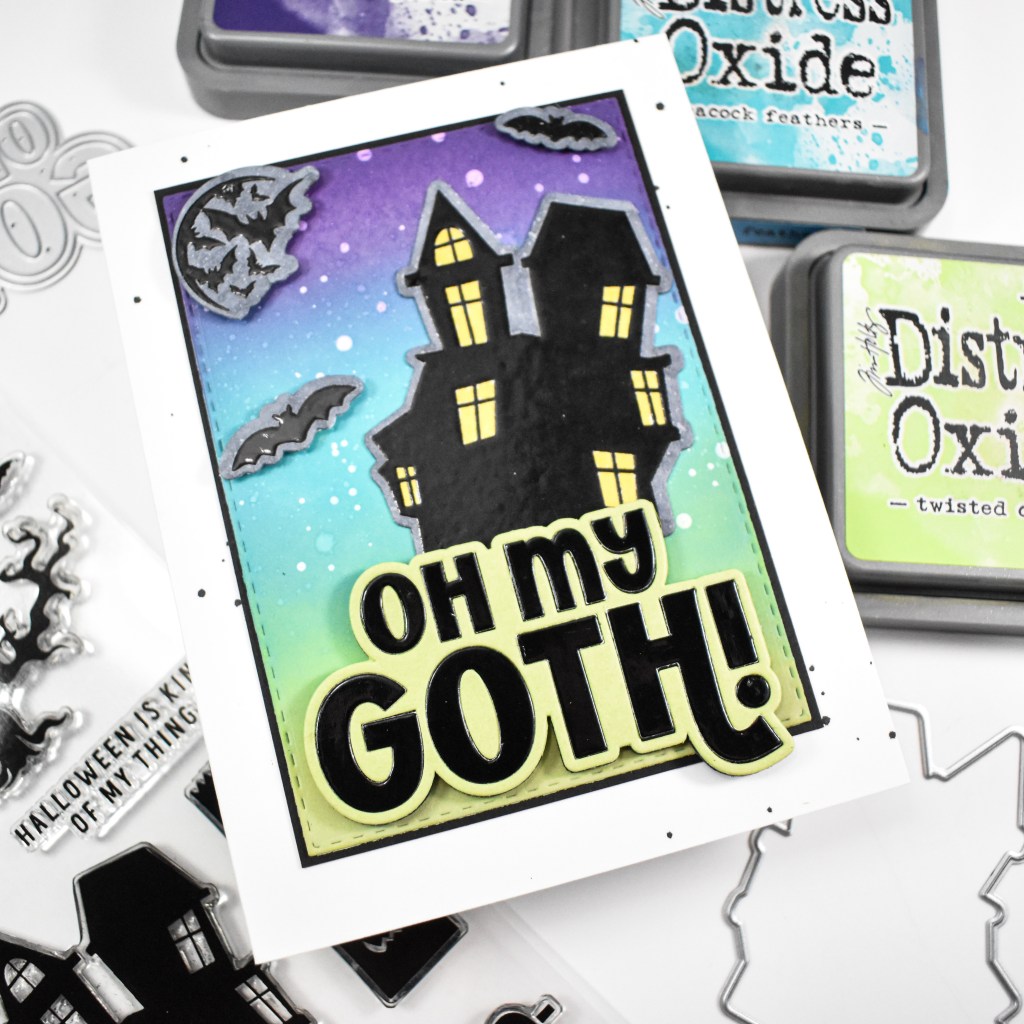
I then die cut all of those elements and used a grey copic marker to color the edges since I had stamped everything onto white cardstock. The Oh My Goth sentiment was cut from black mirror cardstock, as well as black and Green Apple cardstock. I think this would have also been cool to cut from purple mirror cardstock, but I didn’t have that! My panel was adhered to a black panel for contrast, the house was glued in place, while the bats and sentiment were adhered using foam tape. The card base got a black splatter and the windows were colored yellow to finish up.
That does it for this project! I hope you enjoyed it, and I hope I’ve inspired your spooky creations for the season! Stay tuned over on Instagram for my other CZ Design projects using other fun, new products! Have a wonderful day, and Happy STAMPtember!
Supply List

Affiliate links used at no cost to you. What does this mean? If you use the links within this post to make a purchase, I receive a small commission, which allows me to continue to post crafty content for your enjoyment. I truly appreciate your support!
Latest Posts

Latest Instagram Posts
Altenew Seasonal Blooms Card Duo

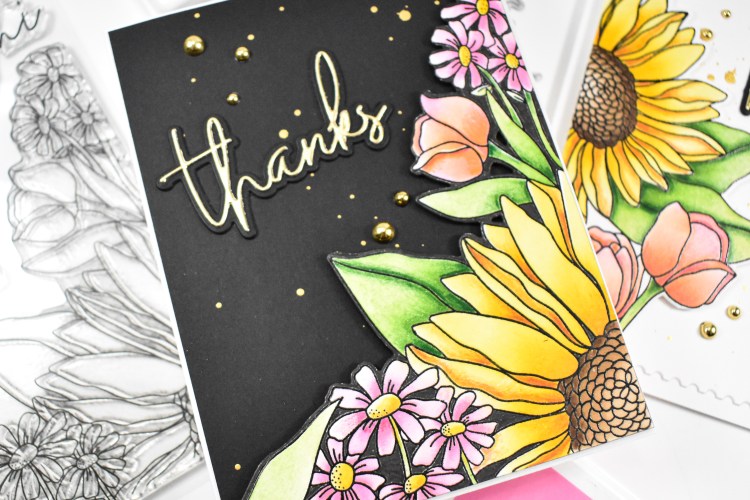
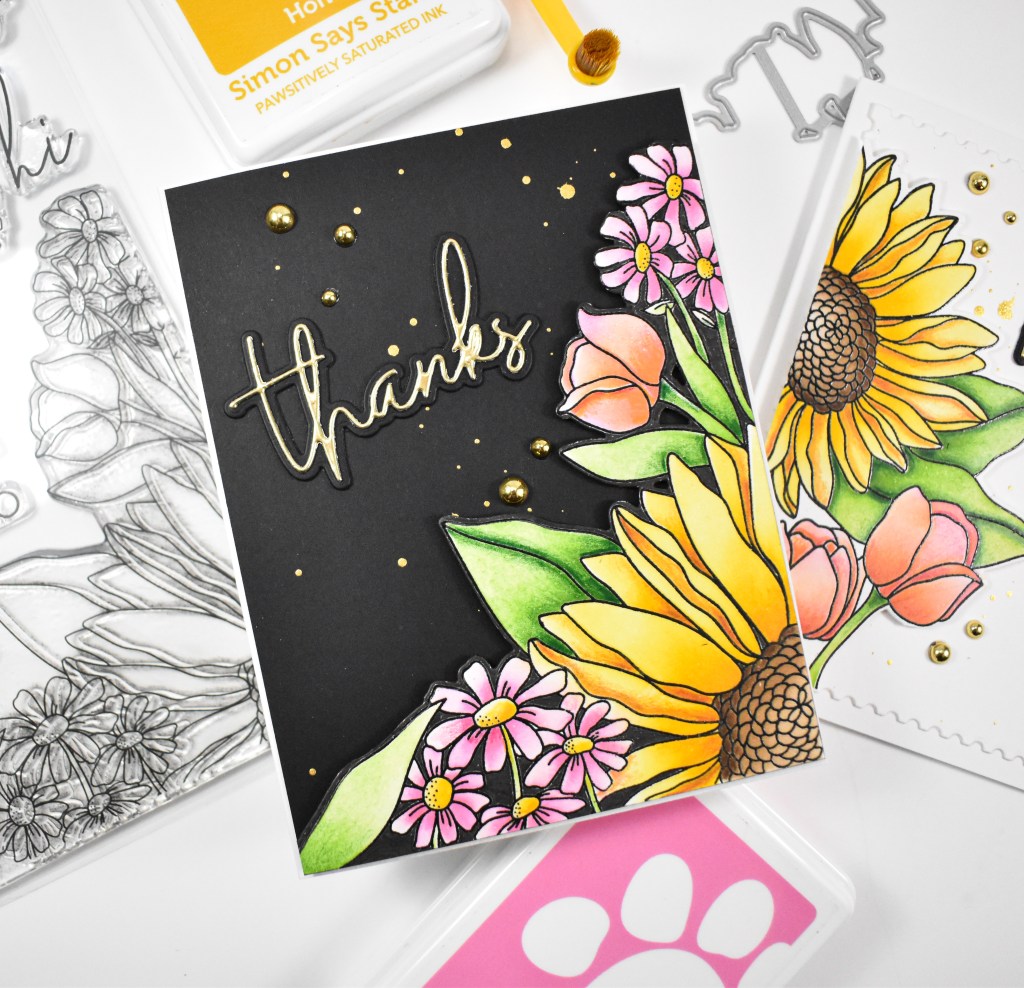
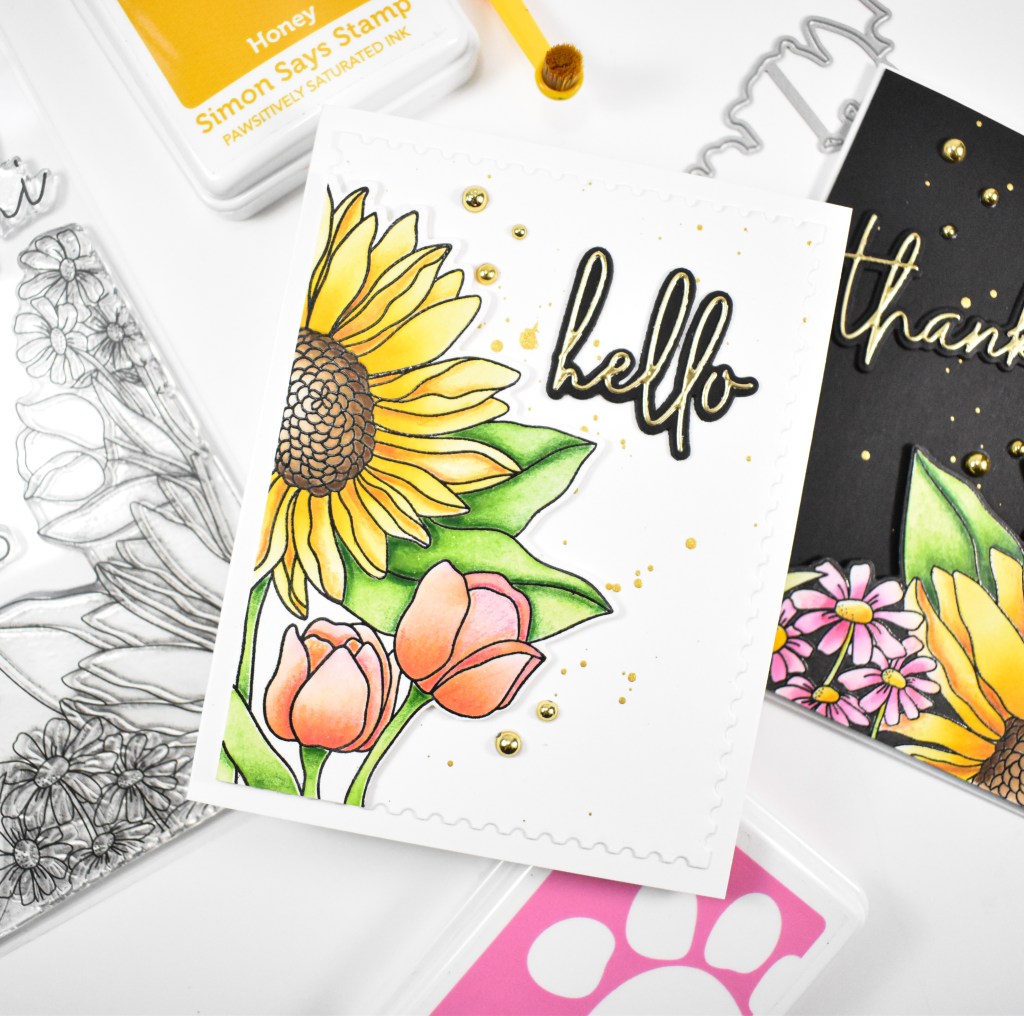
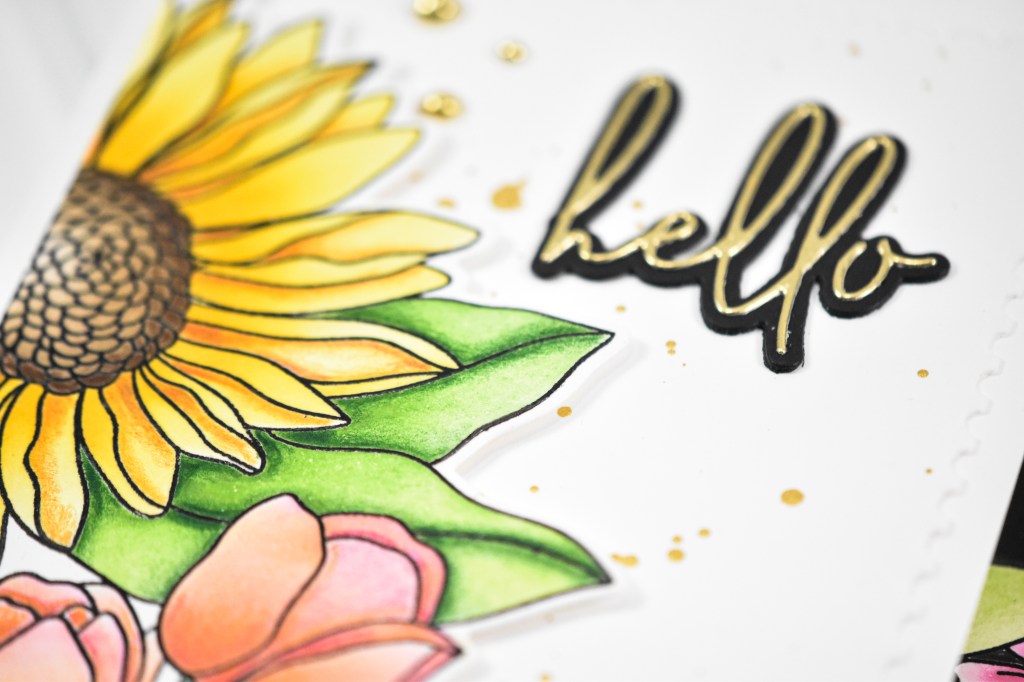
Hello Crafty Friends, and welcome back! For today’s project, I pulled an older kit from my stash to create with! It was about time, as I had never used this Craft Your Life Seasonal Blooms kit before! Why? Who knows! But, I had fun creating these two cards and really want to spend some time creating more! It’s a really great kit as it includes the stamp set, coordinating dies, stencils and an embossing folder! So many opportunities for beautiful projects! Let’s go ahead and run through the details, shall we?

NOTE: all supplies are linked to multiple sources in the thumbnails at the end of this blog post.

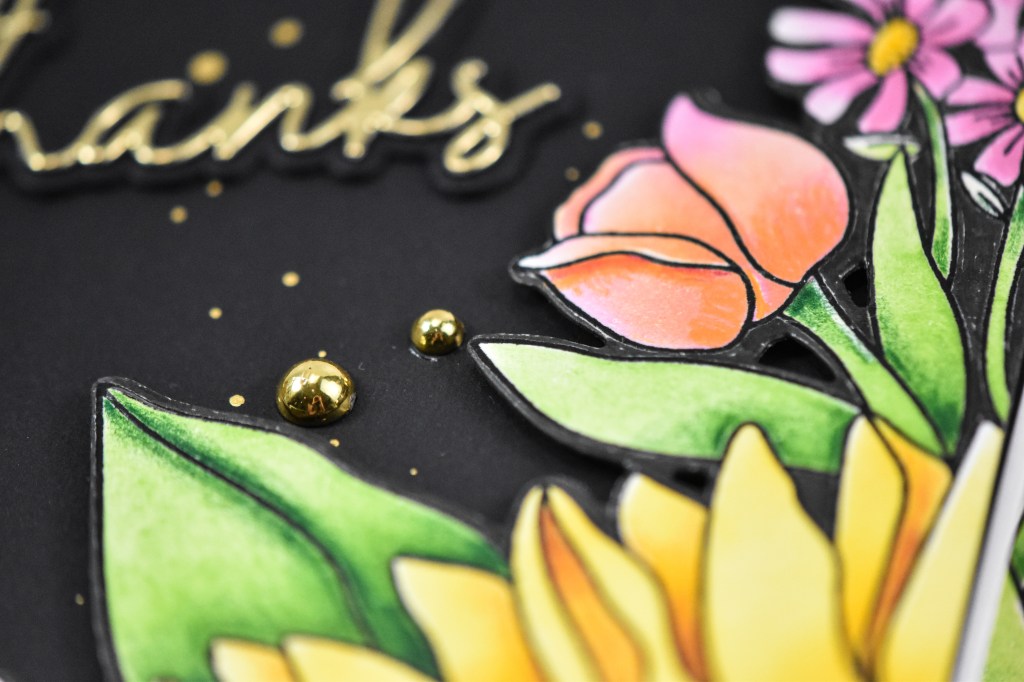
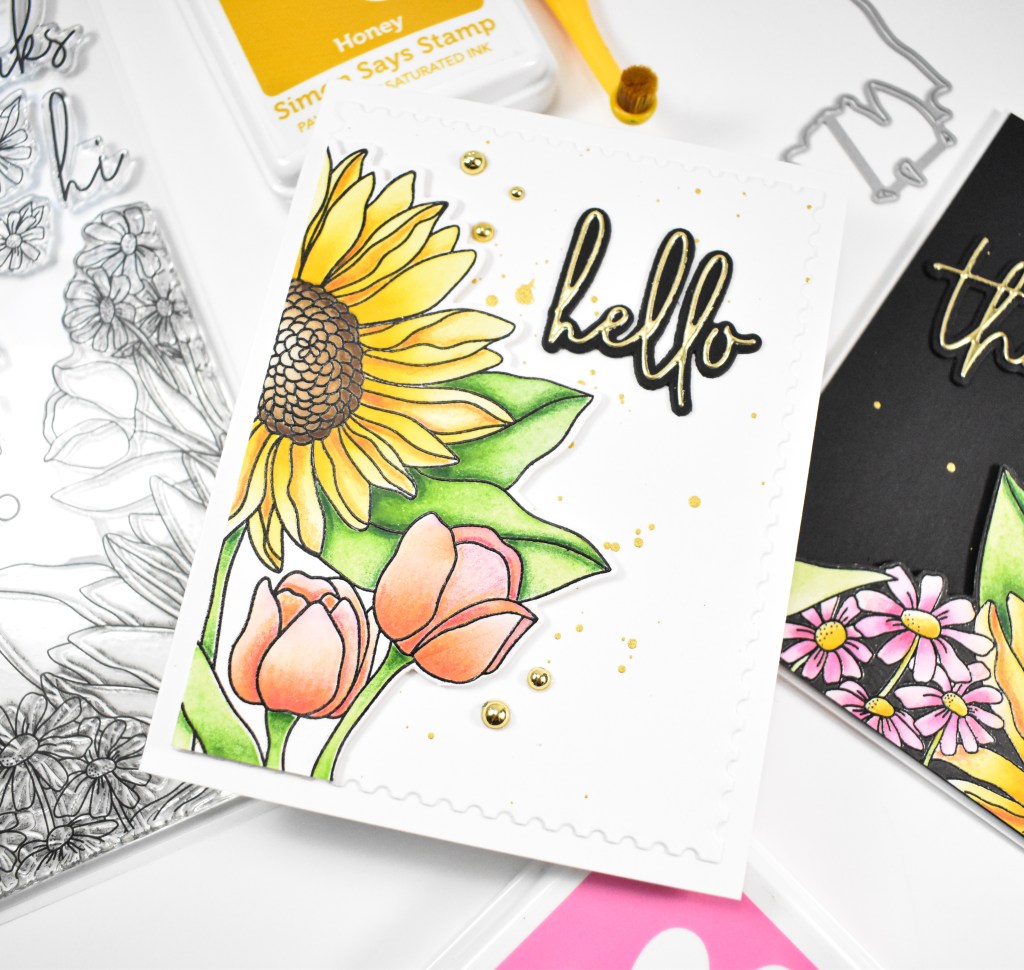
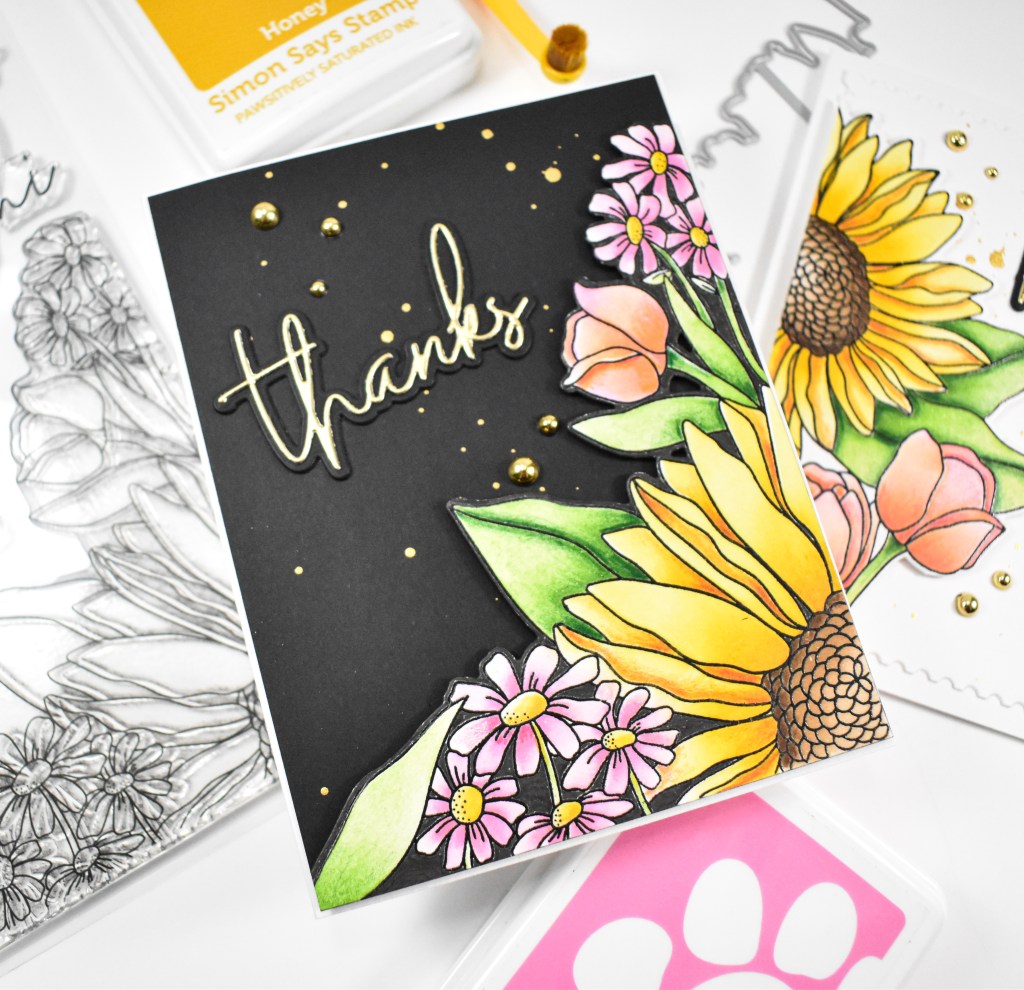
I began these project by stamping the large floral image onto a panel of Neenah 110lb cardstock using VersaFine Onyx Black ink and heat setting it using clear embossing powder. I then used the coordinating stencils to add color with Sunbeam, Honey, Carnation, Perfection and Gingerbread inks. For even more depth on the image, I went back in with some colored pencils to enhance the shadows.

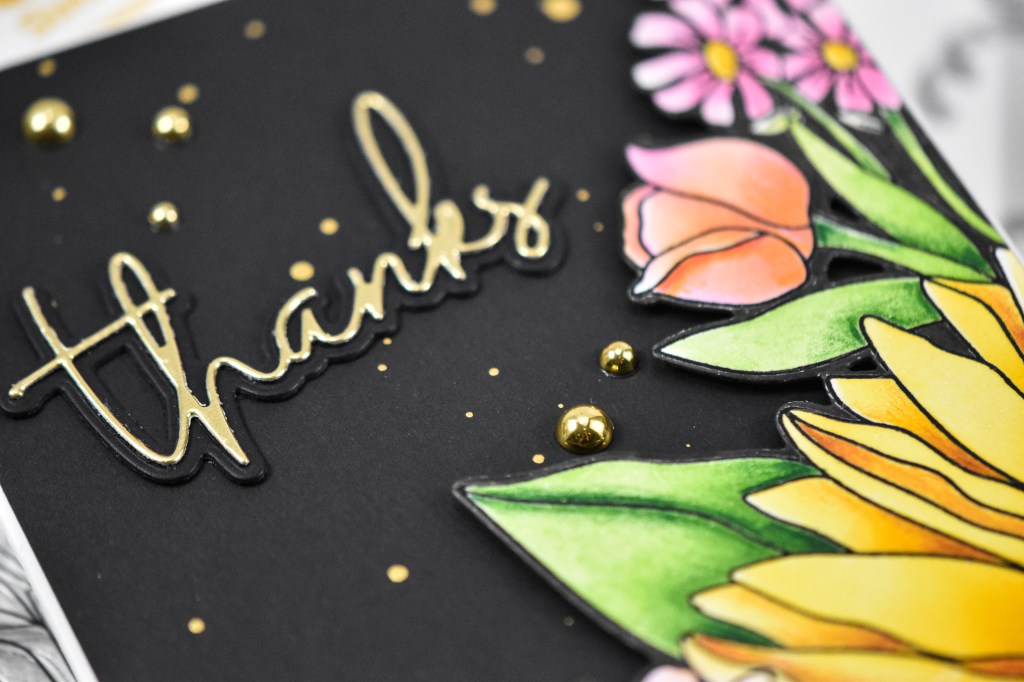
This was a large image, so I really wanted to get two cards out of it, so I decided on the place to cut it apart. I did not want some weird cut off portion of a flower, so I ended up cutting around a leaf and you can’t even tell! For one half of the image, I used some Copic Multiliner pens to color the white edges and portions black, as I would be adhering it to a black panel. The half of the image, I left as is because I was going to mount it onto a white panel.

The sentiments were cut several times using black and gold cardstock and adhered together for that stacked sentiment that we all love. My white panel was cut using a postage set, and both panels got a dose of gold splatter. The florals were adhered using foam tape, while the sentiments were glued directly to the panels. I added some gold metallic pearls to finish up both of these projects.

That does it for this post! I hope you enjoyed them as much as I did. Not even sure why I hadn’t used this kit .. maybe it was the out of sight, out of mind situation! Anyhoo, I’m glad that I did, and found myself on the Altenew website looking at other Craft Your Life kits! Shhhh! Thanks again for stopping by, and I hope you have a wonderful day!

Supply List:

Affiliate links used at no cost to you. What does this mean? If you use the links within this post to make a purchase, I receive a small commission, which allows me to continue to post crafty content for your enjoyment. I truly appreciate your support!

Latest Posts

Latest Instagram Posts
STAMPtember 2026 Party!

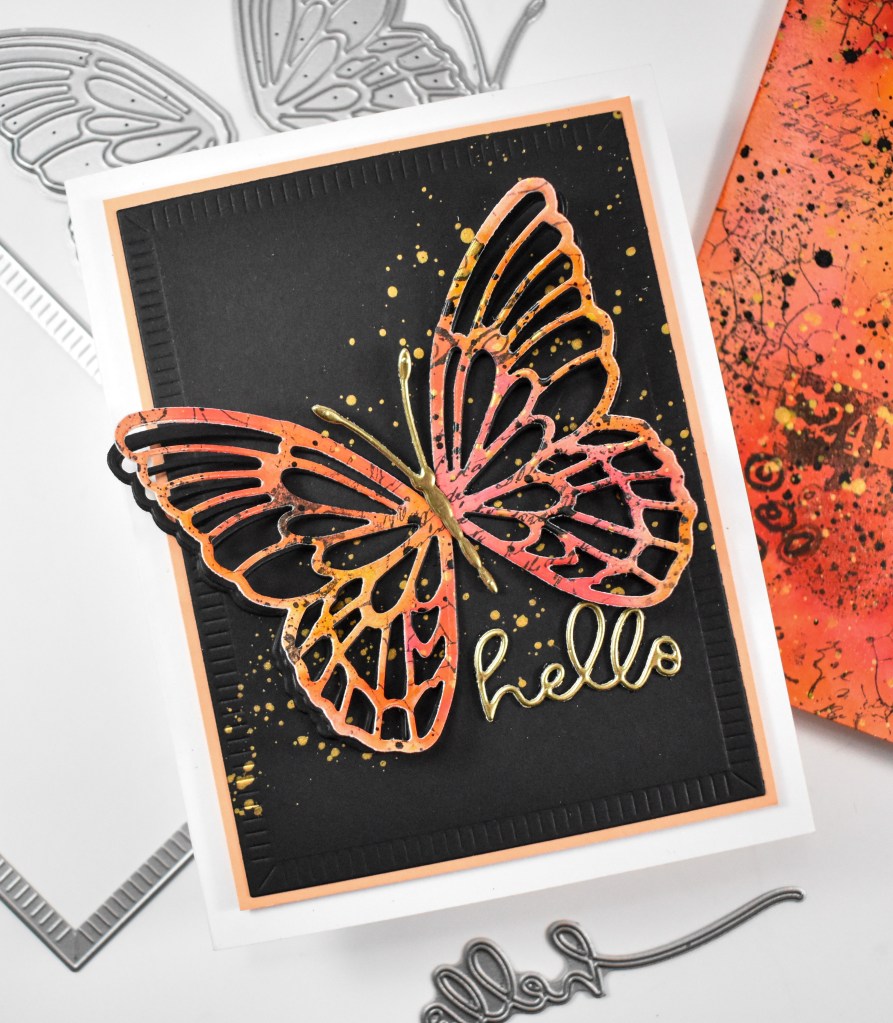
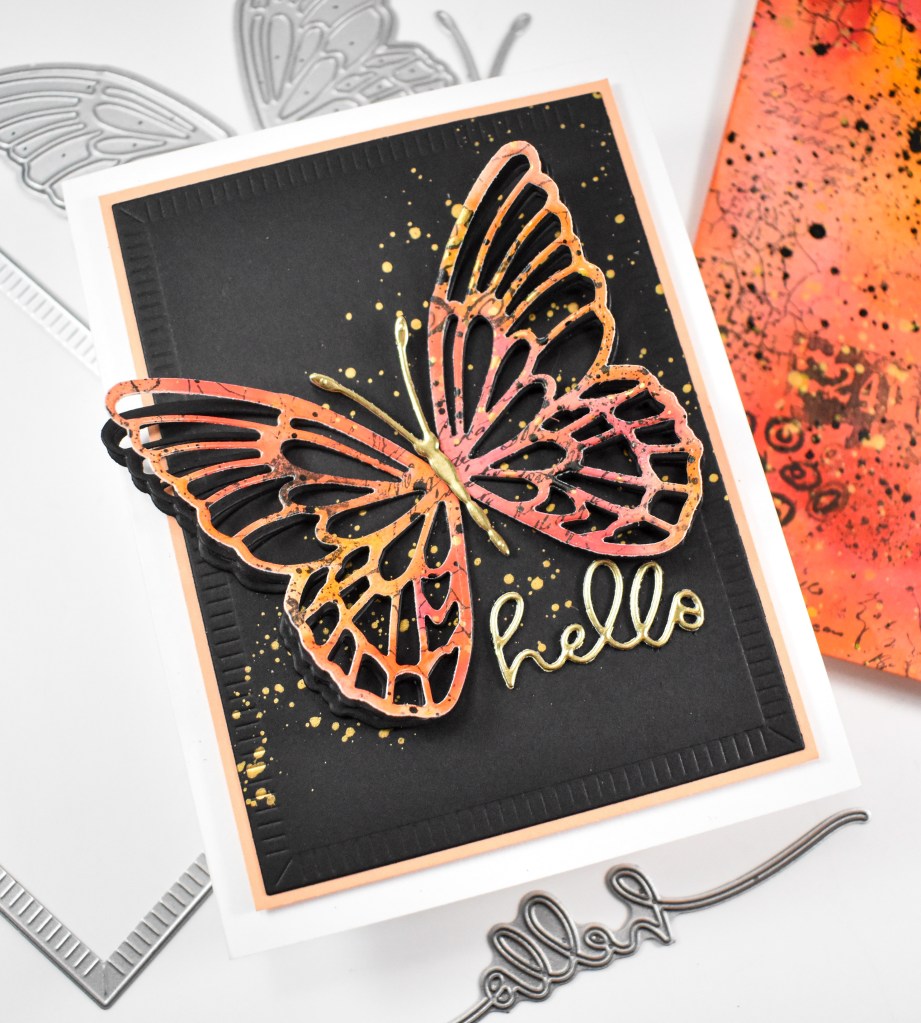
Hello Friends, and welcome back to my blog! Happy STAMPtember as well! Today we are celebrating Simon’s 17th year of bringing us the greatest month of the year! It’s a huge party featuring tons of designers with tons of inspiration for you to feast your eyes upon! There’s lots of promotions scattered about all of the blogs and Instagram accounts for you to discover, so be sure to visit each one! You ca head to Simon’s blog for a list of all of the designers! My project today is featuring the new Beautiful Butterfly Flaps die cut, so let’s go ahead and get into the details!

NOTE: all supplies are linked in the thumbnails at the end of this blog post.

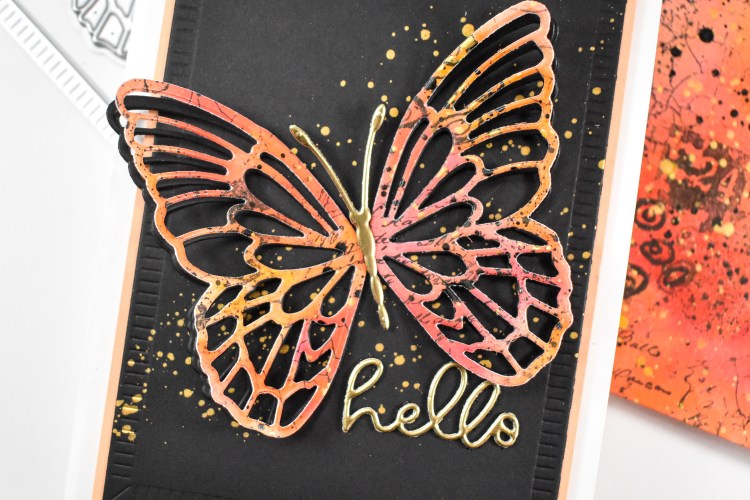
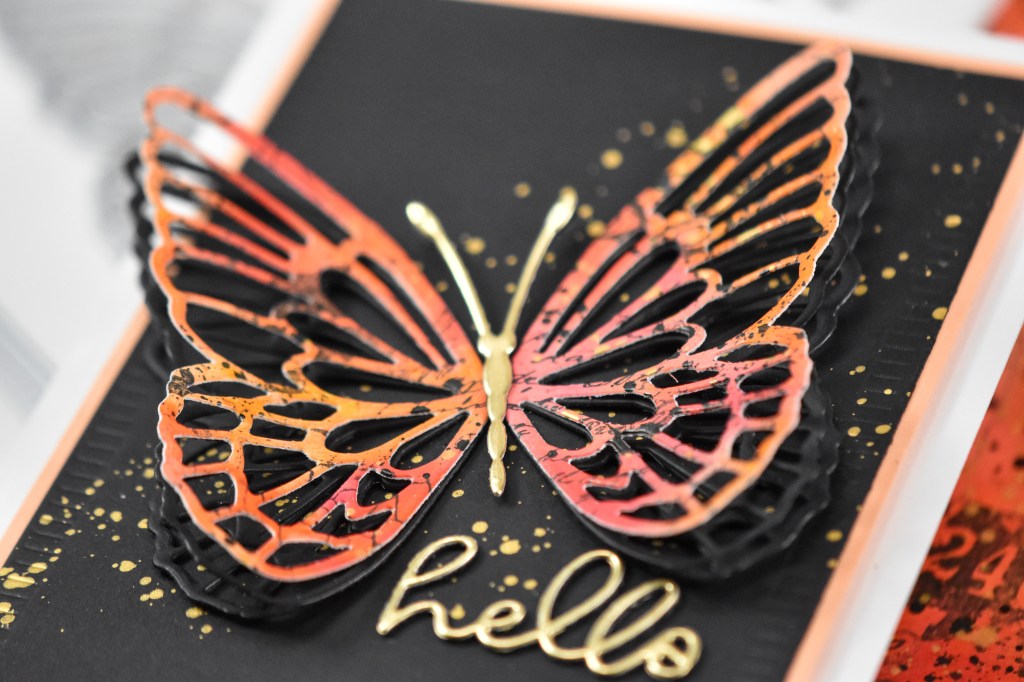
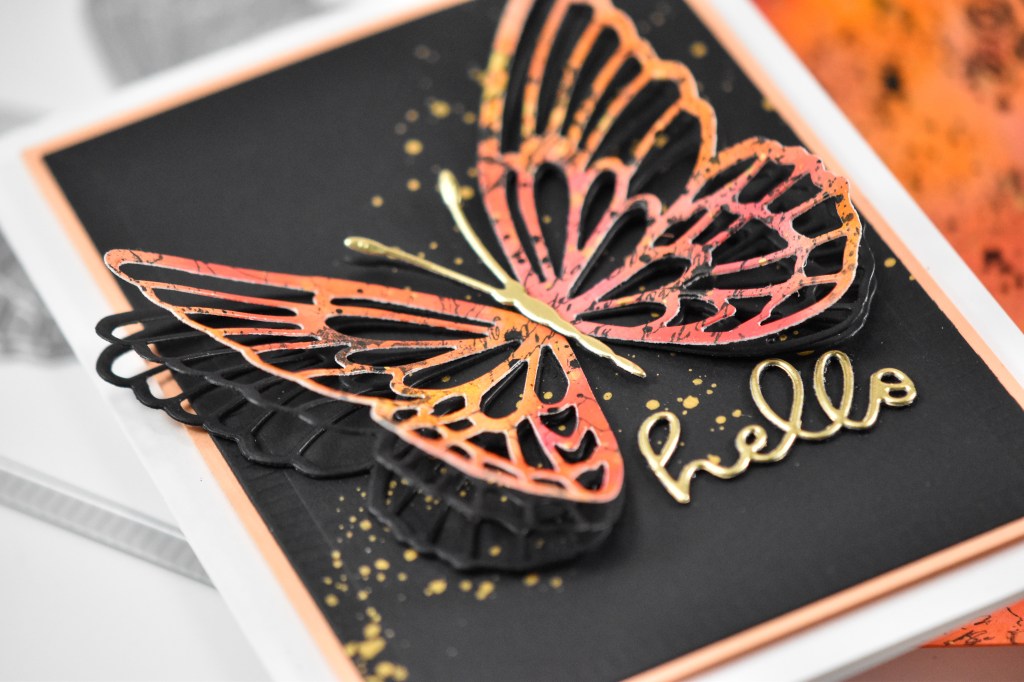
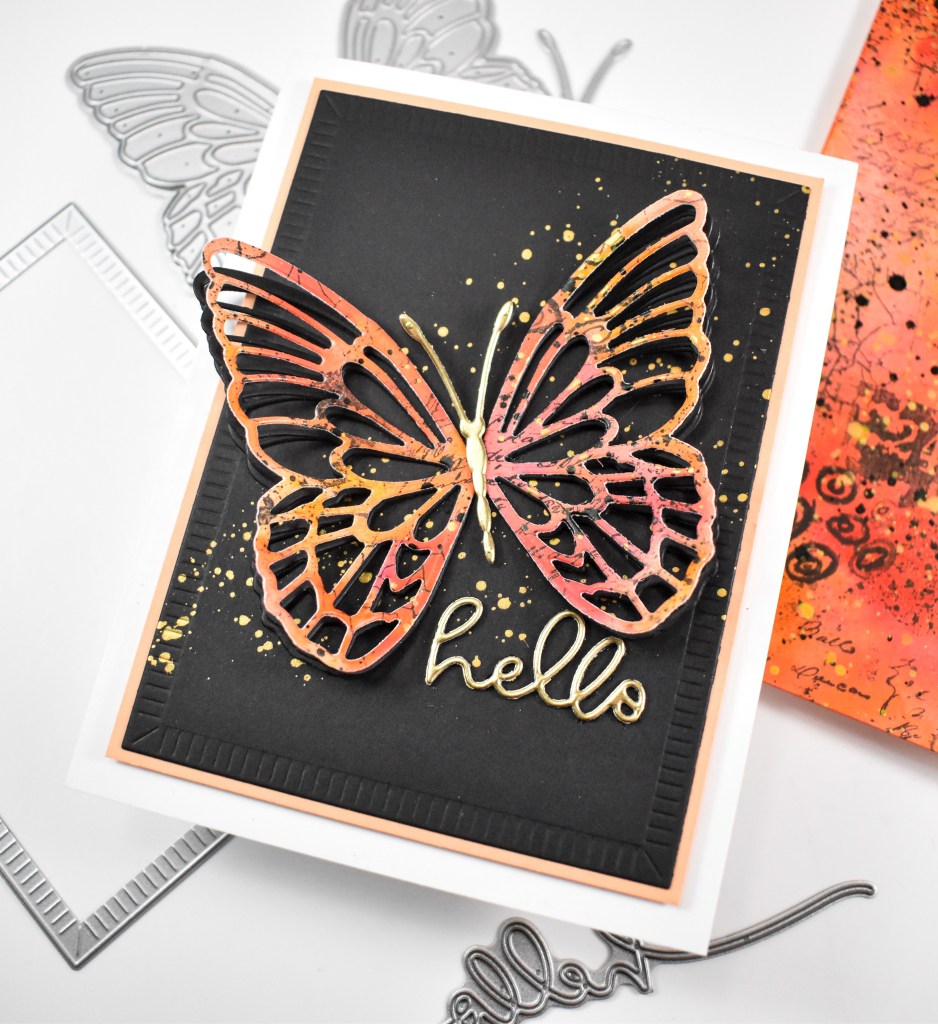
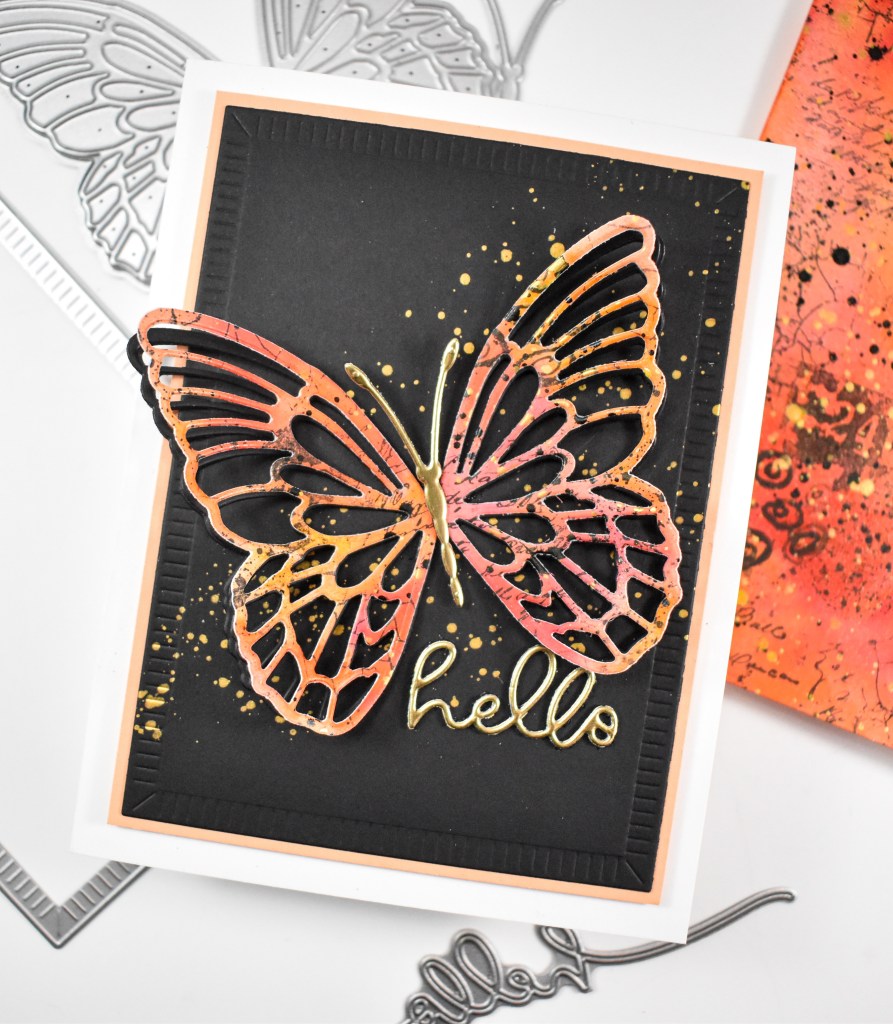
I love the size of this butterfly, and therefore opted not to use the flap portion of the set. A while back I started creating fun watercolor backgrounds to cut various things from, and this butterfly was cut from a new background that I made. I wanted to use oranges and black to give a Monarch vibe to this butterfly. I created a video of a previous watercolor panel process if you’d like to see the details of that. To add interest to the panel, there was lots of stamping, doodling and splattering, as well as adding some shimmer powder. I’ll list some of the products used at the end of this post.

Once my watercolor panel was complete and dry, I die cut the butterfly pieces from the panel, as well as cutting it twice from black cardstock, and cut the body portion from gold cardstock. All of those pieces were adhered together for a dimensional look. The background panel was cut using the Crimped A2 Rectangles from black cardstock and gold splattered. Once dry, it was layered atop a panel of orange cardstock that would match the colors of the butterfly. The sentiment is a retired set unfortunately, but I always still love the size and font, and that’s why I keep using it! It was cut once from gold cardstock and three times from black cardstock. The butterfly and sentiment were secured tot he panel to finish up this project.

That does it for this project! I hope you liked it, and I hope you’ll check out the video of how the backgrounds are created and give it a little thumbs up! This STAMPtember is just getting started, and I’m so excited for a whole month of surprises! Don’t forget to check out all of the inspiration for the party today! Thanks so much for stopping by, and I hope you have a fabulous day!

Supply List

Affiliate links used at no cost to you. What does this mean? If you use the links within this post to make a purchase, I receive a small commission, which allows me to continue to post crafty content for your enjoyment. I truly appreciate your support!

Latest Posts

Latest Instagram Posts
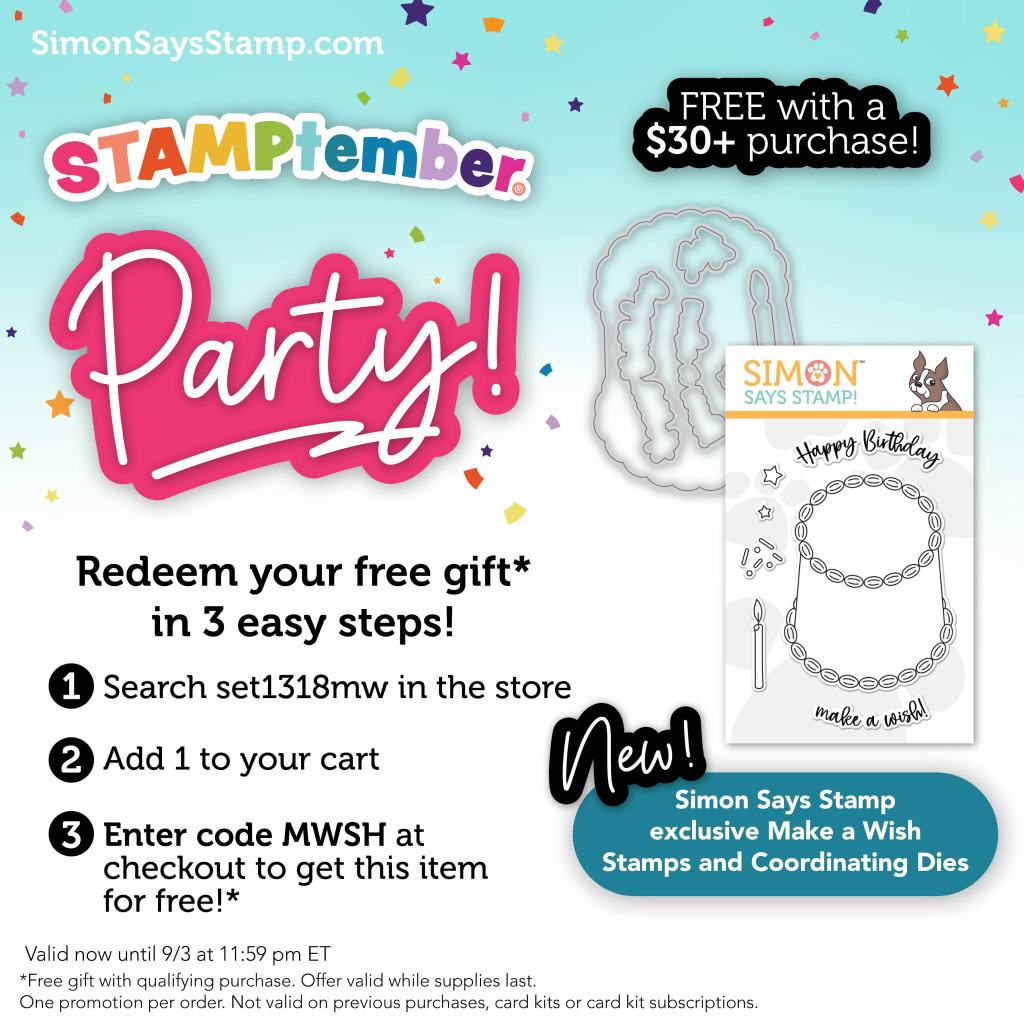
Simon Says Stamp Birthday Gifts

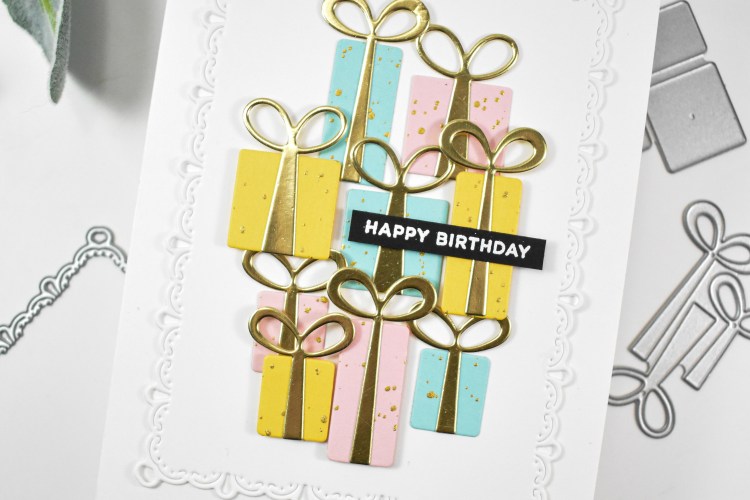
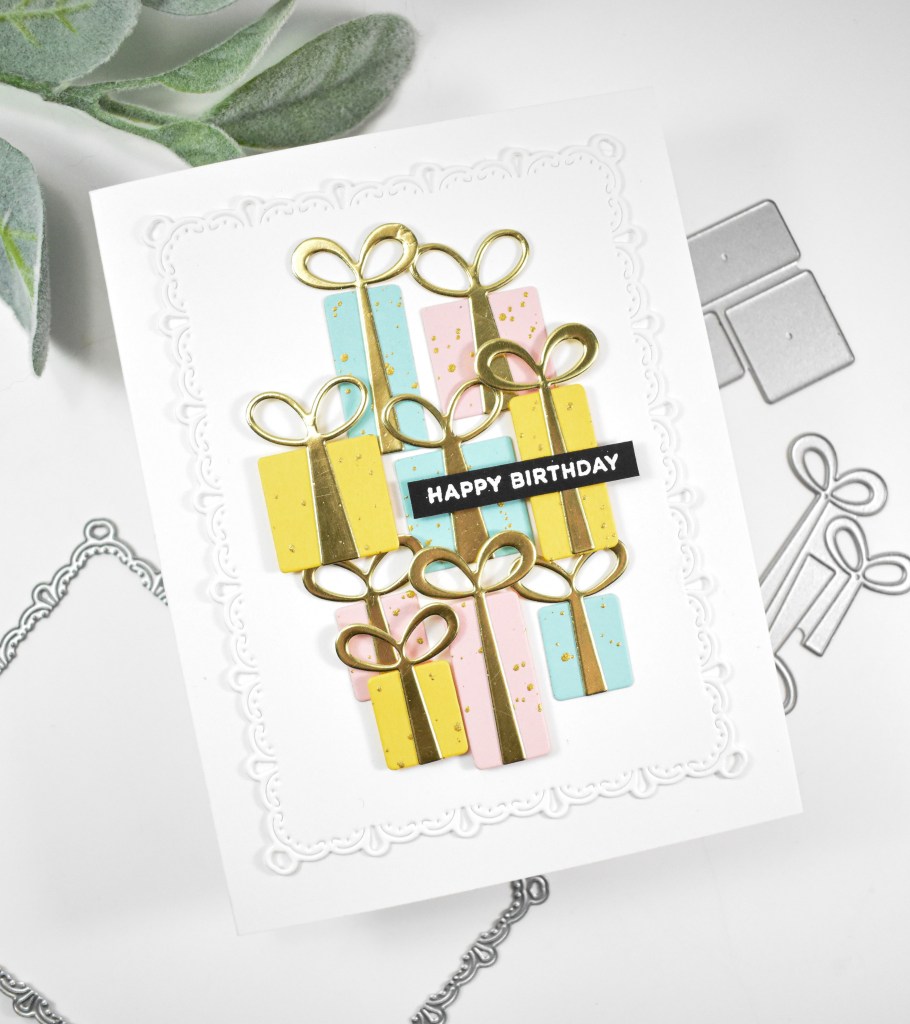
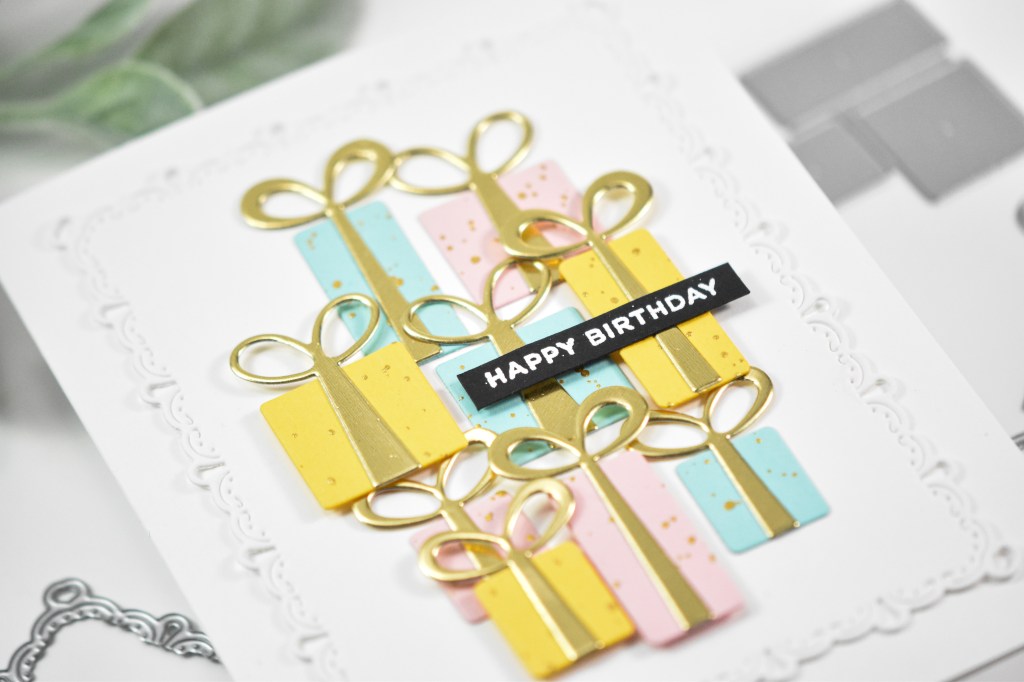
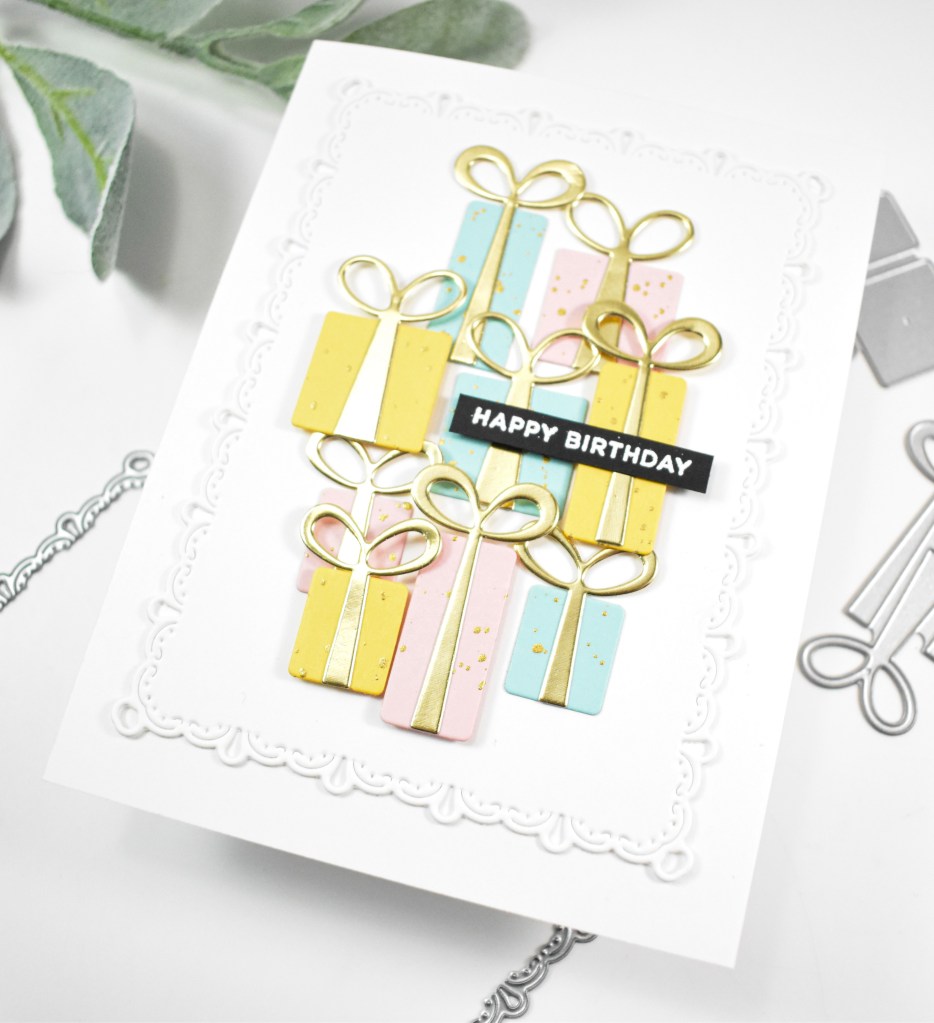
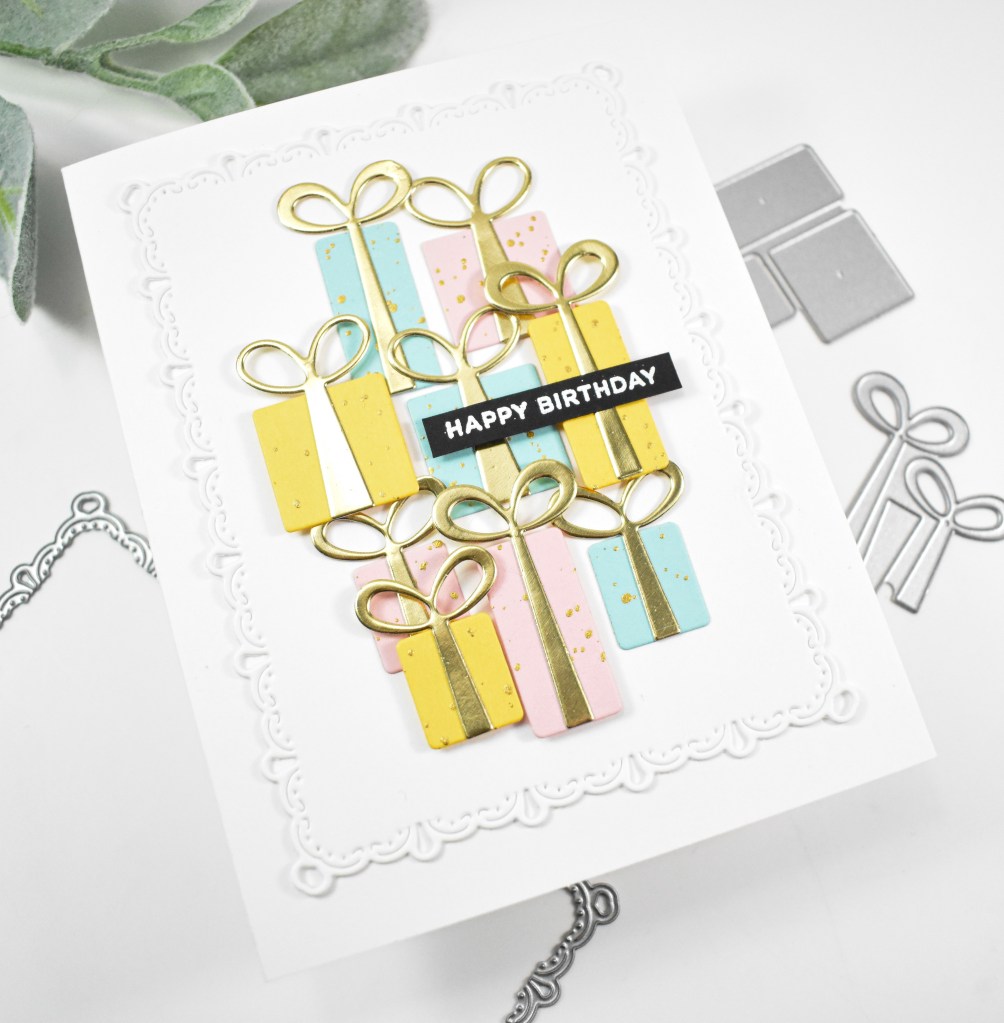
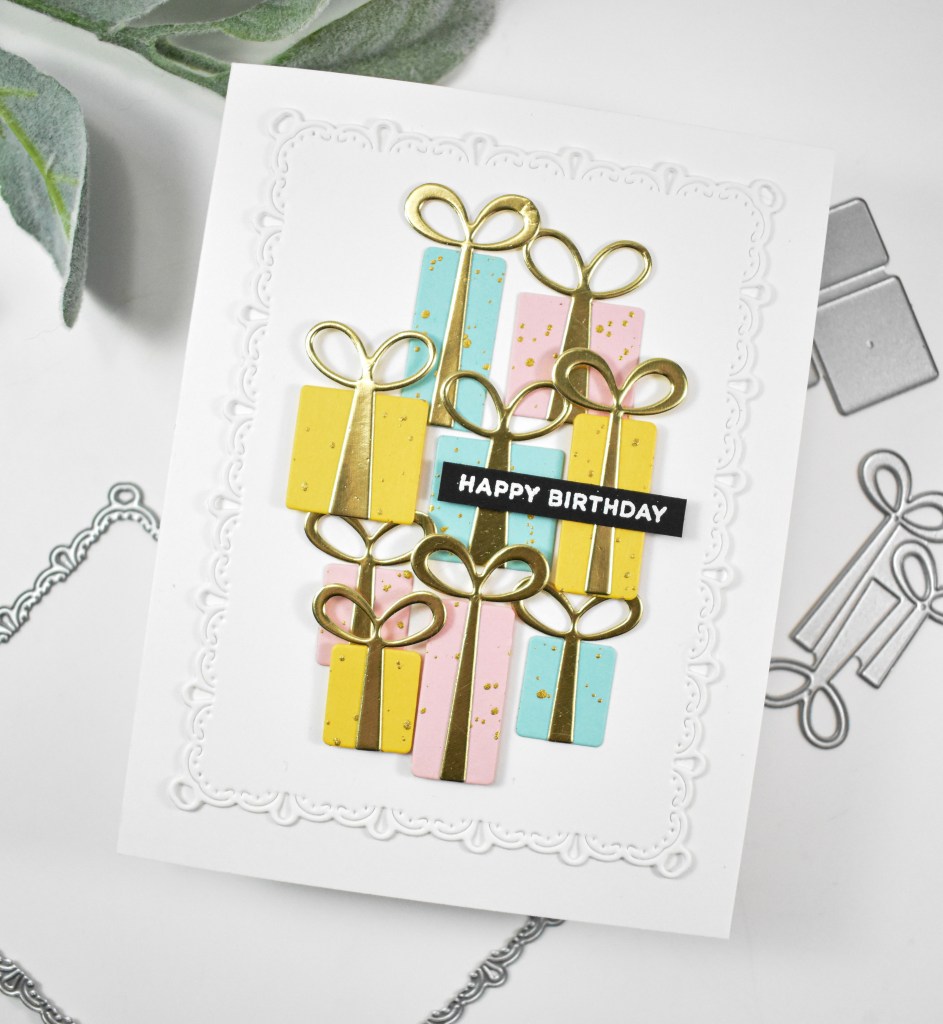
Hello Crafty Friends, and Happy STAMPtember! I hope you’re excited for a month long celebration featuring new goodies from Simon, as well as fun collaborations from other companies and a few other surprises along the way! My project for today is featuring the new Party Gifts and Bows die set, so let’s go ahead and get into the details!

NOTE: all supplies are linked in the thumbnails at the end of this blog post.

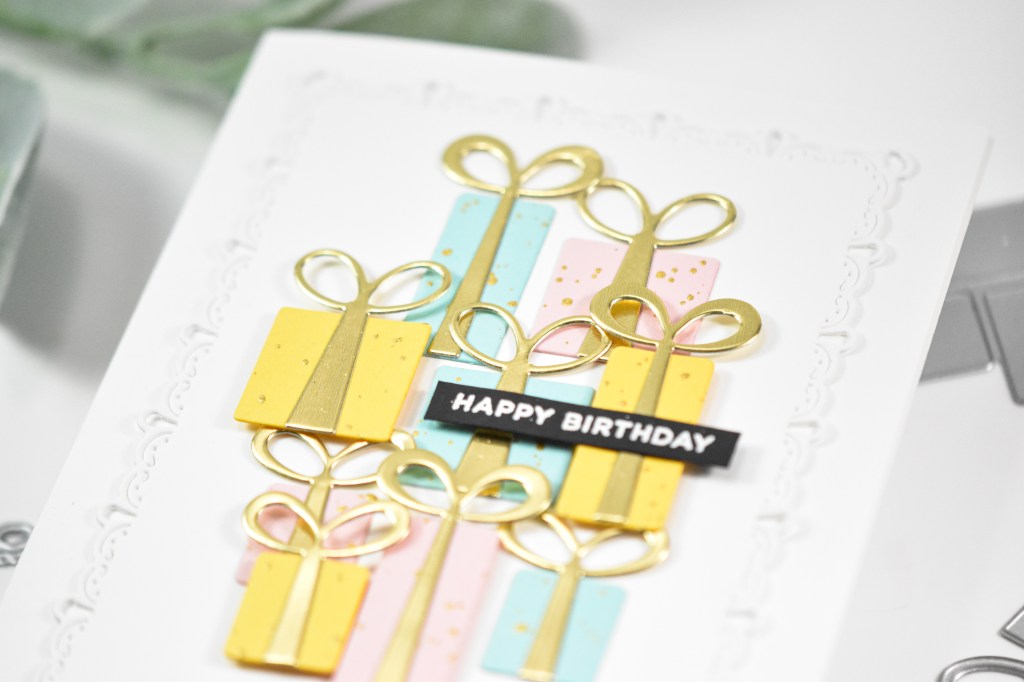
I began this project by die cutting the gifts from pastel aqua, pink and yellow cardstock scraps, while cutting the bows from gold cardstock. For some added interest, I did splatter the gifts with some gold acrylic ink before assembling the pieces. The sentiment was stamped using VersaMark ink and heat set using white embossing powder onto black cardstock.

The background was cut using the Teardrop Pinpoint Frames, and the gifts were adhered atop that using a combination of liquid glue and foam tape. The sentiment was glued in place to finish up.

A super simple project for today! This set is a good addition to your stash, as it could be used for birthday or Christmas, if you used different colors. You could even use it for Valentines or baby cards if you opted to used some patterned paper. Just a few ideas to get your creative juices flowing! Stay tuned all month long for lots of STAMPtember surprises! Thanks for stopping by, and I hope you have an awesome day!

Supply List

Affiliate links used at no cost to you. What does this mean? If you use the links within this post to make a purchase, I receive a small commission, which allows me to continue to post crafty content for your enjoyment. I truly appreciate your support!

Latest Posts

Latest Instagram Posts
Simon Says Stamp Amazing Daisies

Hello Crafty Friends and welcome back! Today’s project is featuring the Dewdrop Daisy from a recent Simon release, paired with some other elements. Let’s go ahead and go through the deets!

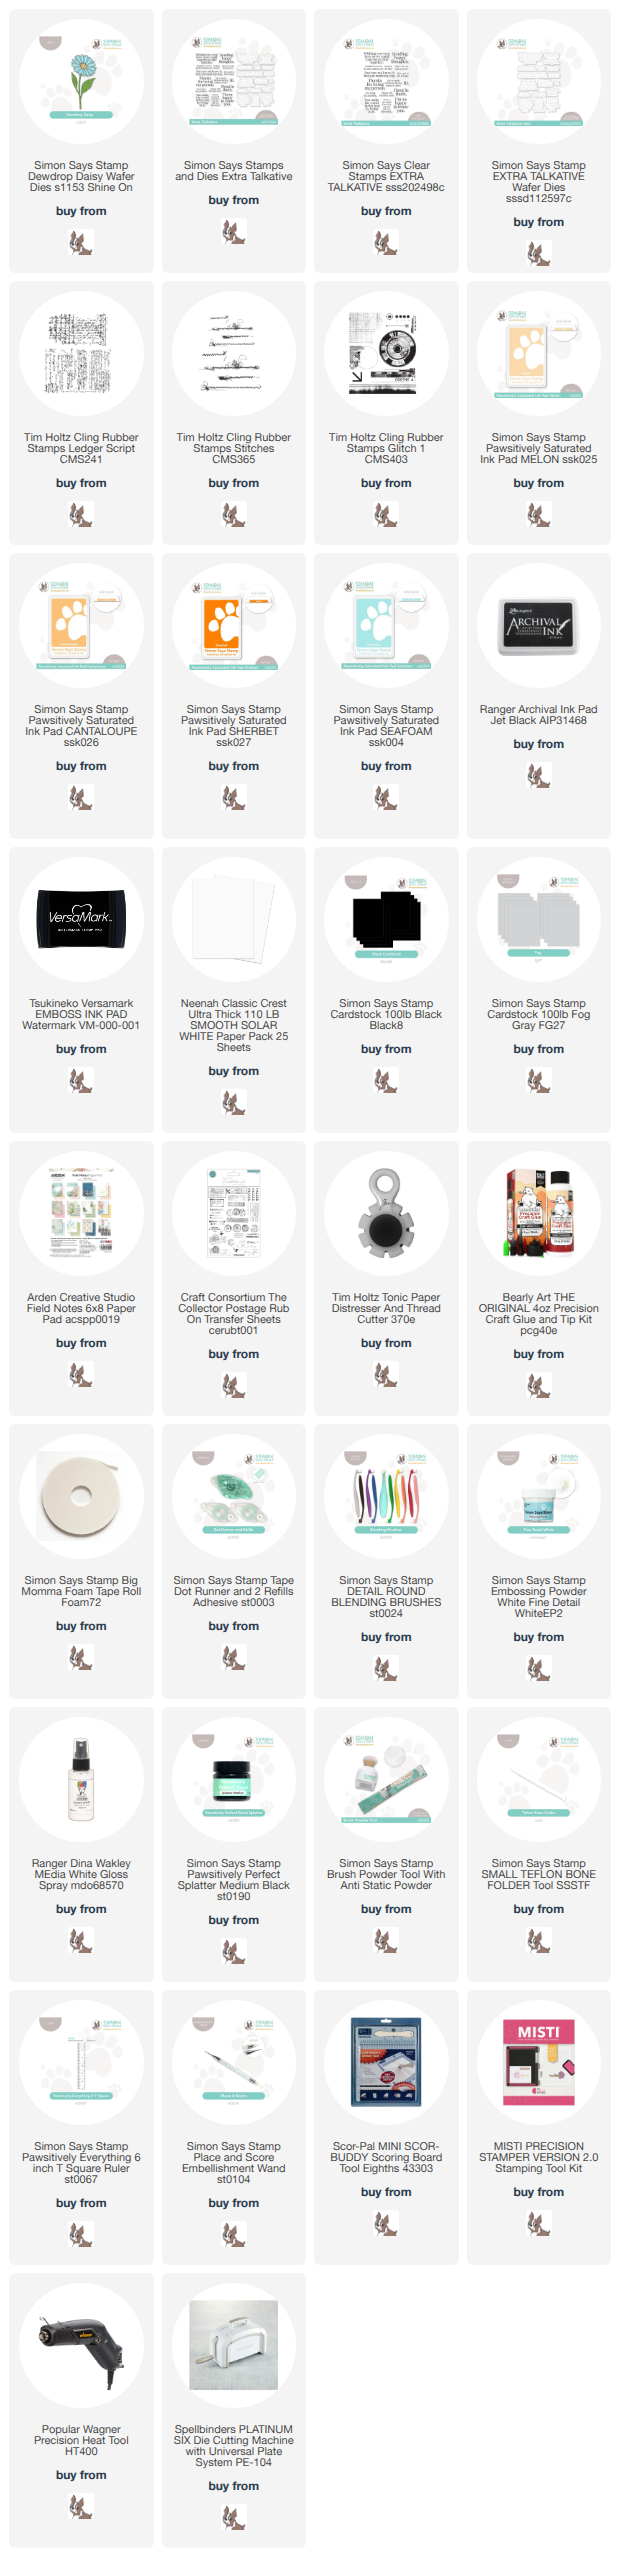
NOTE: all supplies are linked in the thumbnails at the end of this blog post.

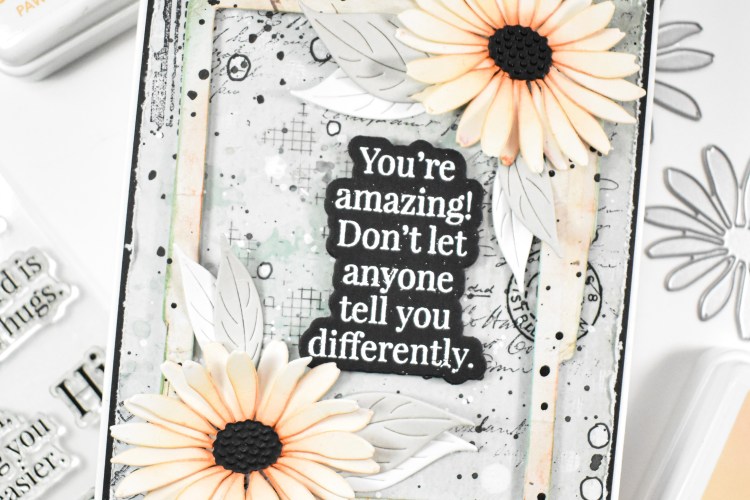
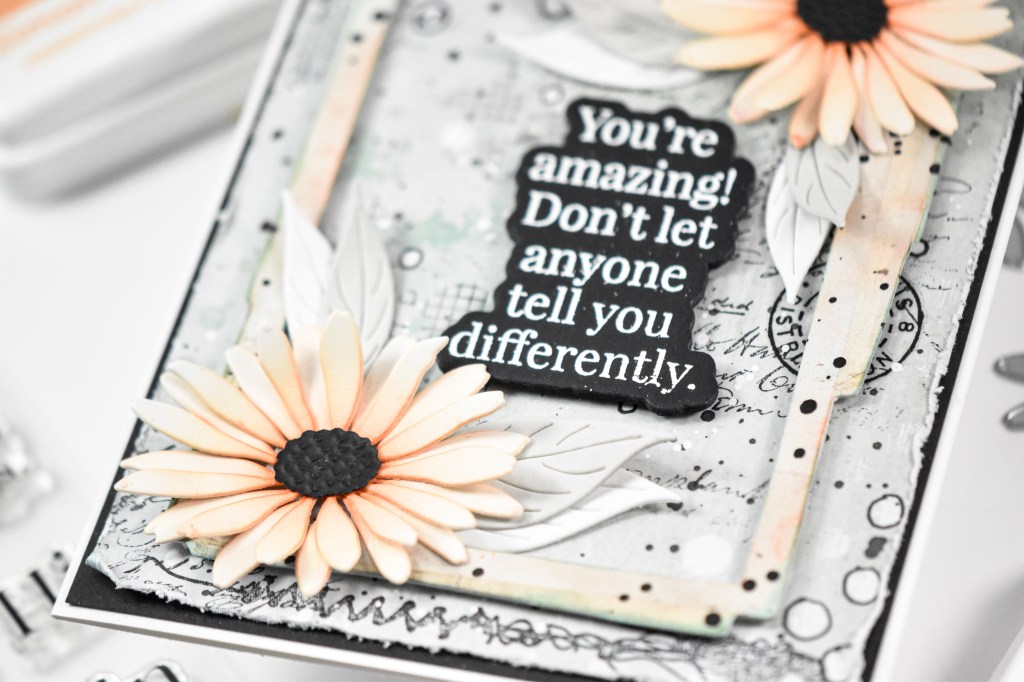
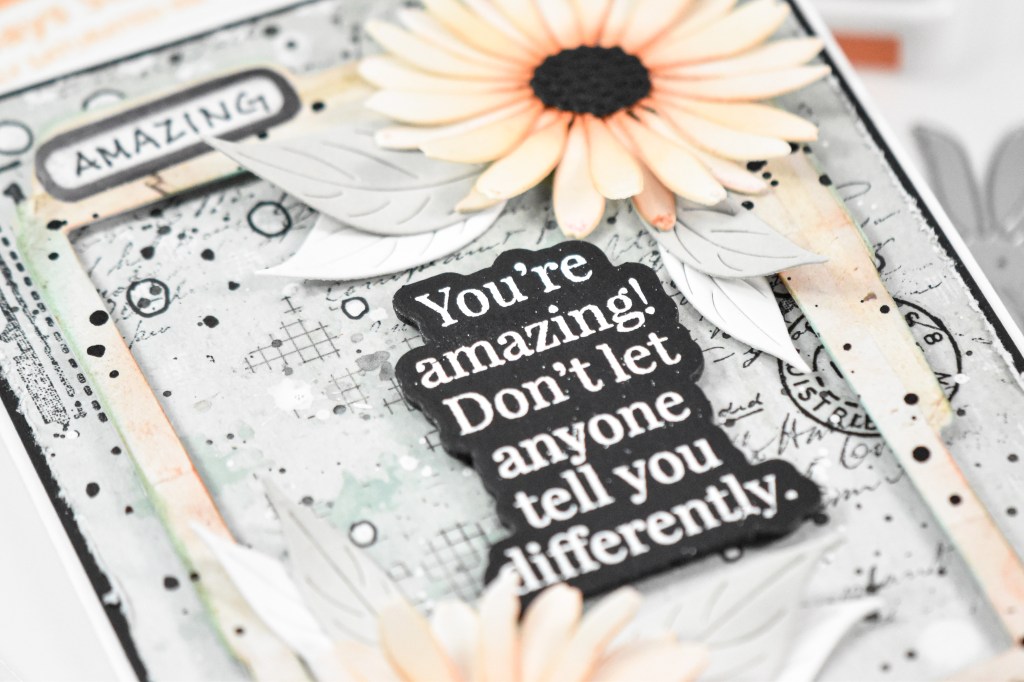
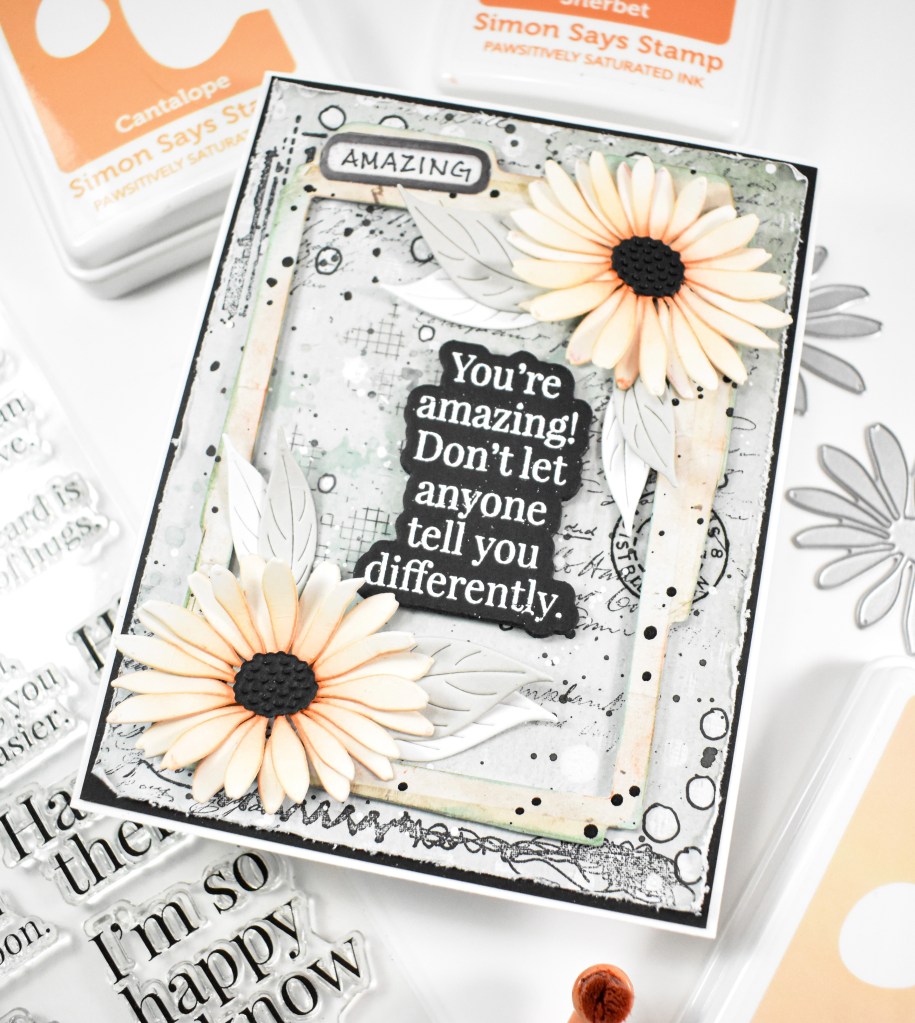
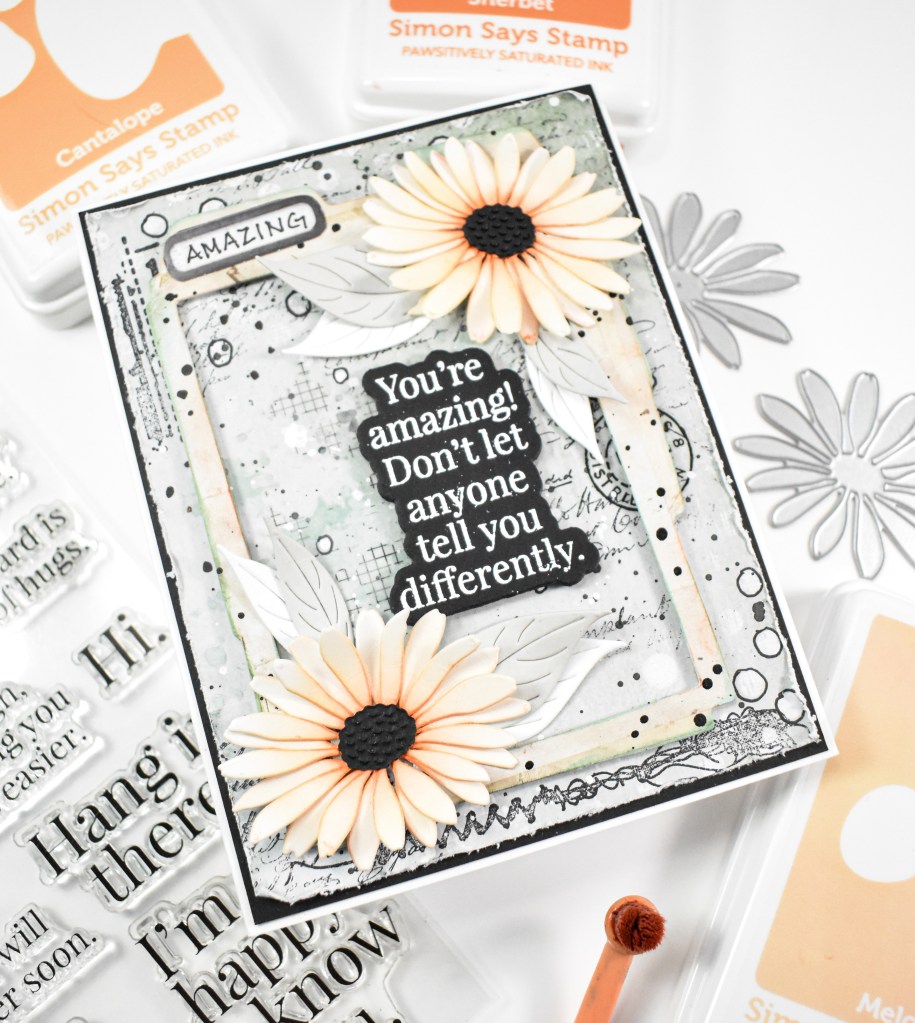
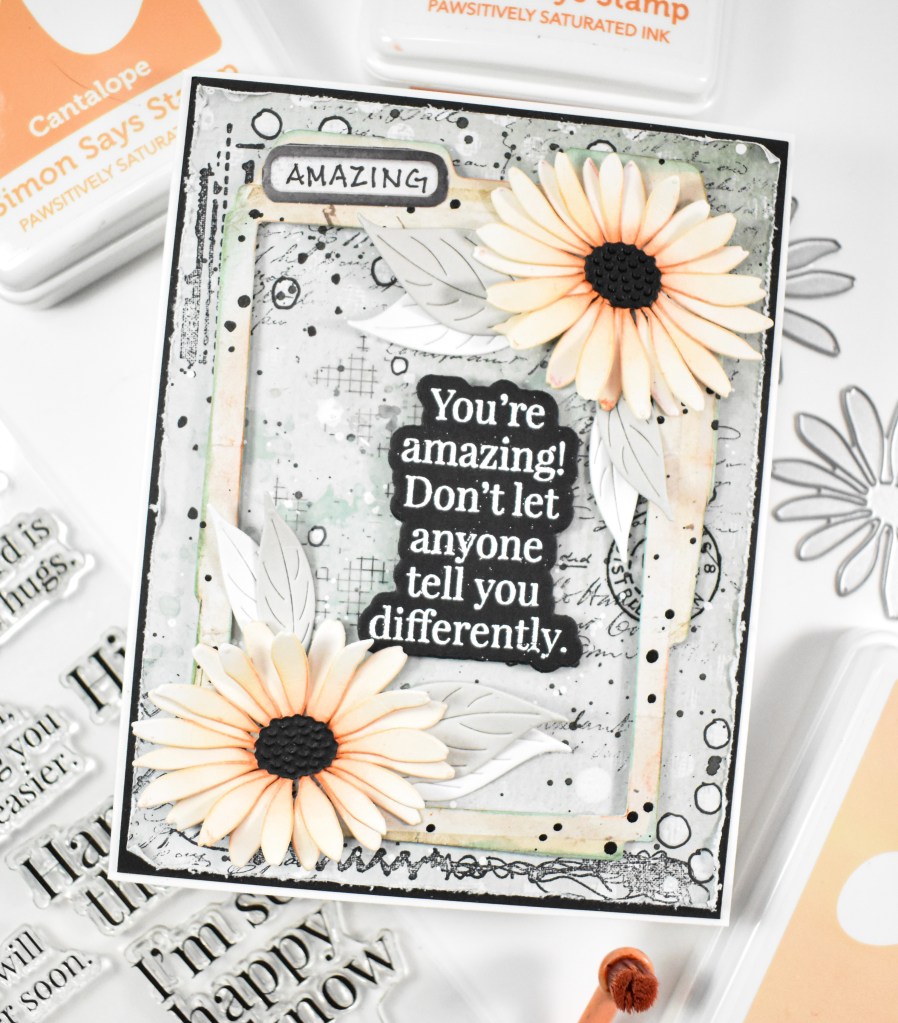
I began this project by die cutting two of the daisies from white cardstock and the centers from black cardstock. I did some ink blending using Melon, Cantalope and Sherbet and adhered the pieces of my flower together. The background panel was made using a piece of patterned paper from Arden Creative, along with some stamping, some rub-on transfers and some splatter.

Once satisfied with the background, I distressed and curled the edges a little bit before adhering the inked up frame using foam tape. I did use some Seafoam ink as well as some of the ink from my orange brush to ink it up. The leaves from the daisy set were cut once from white cardstock and once from Fog cardstock. The sentiment was stamped using VersaMark ink, heat set using white embossing powder and trimmed out several times.

The background panel was added to a black panel for contrast, the leaves were glued in place while the sentiment and flowers were adhered with foam tape.

And that finishes up this project! I hope you enjoyed it as much as I did! I like when patterned paper can do most of the work for the background! Thanks so much for joining me, and I hope you have an amazing day!

Supply List:

Affiliate links used at no cost to you. What does this mean? If you use the links within this post to make a purchase, I receive a small commission, which allows me to continue to post crafty content for your enjoyment. I truly appreciate your support!

Latest Posts

Latest Instagram Posts
Simon Says Stamp Hello Bloom

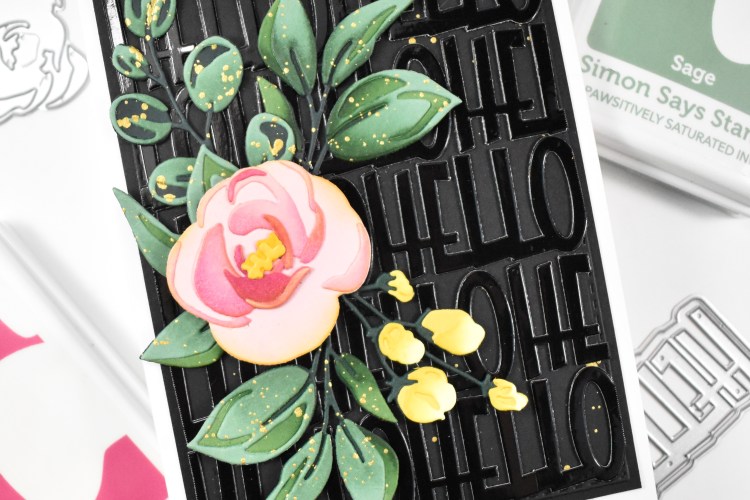
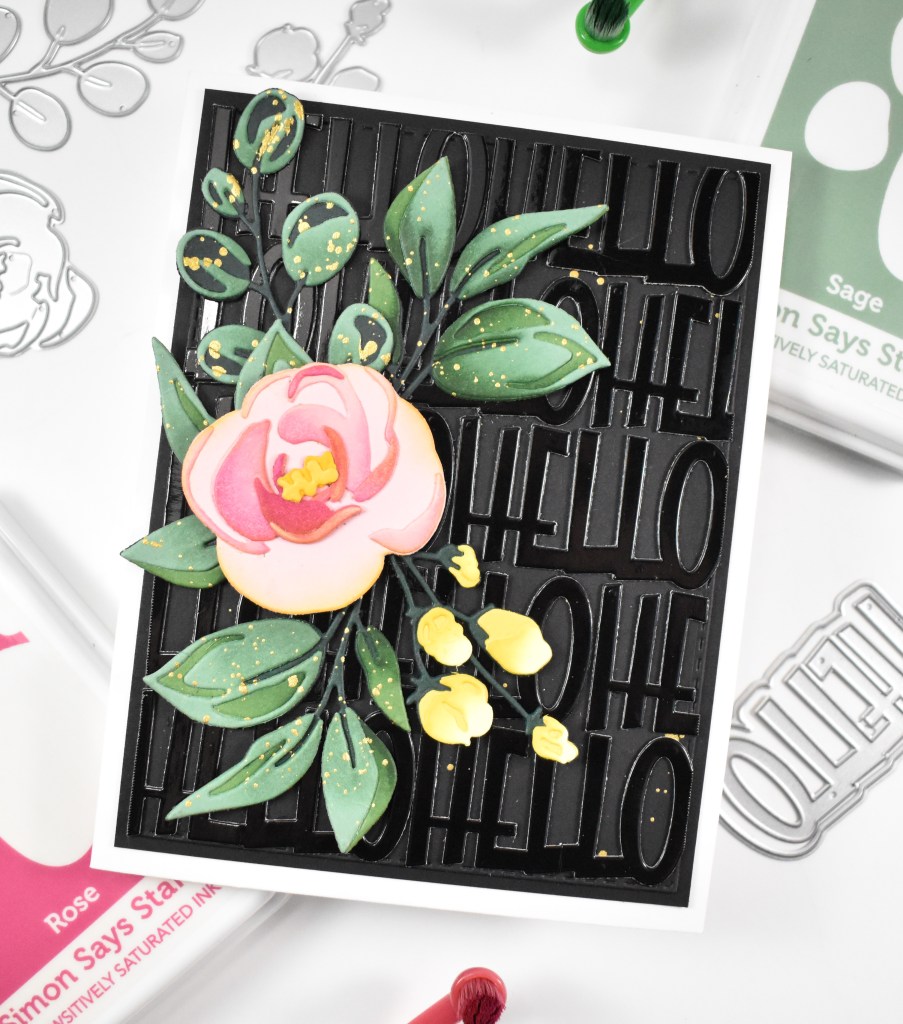
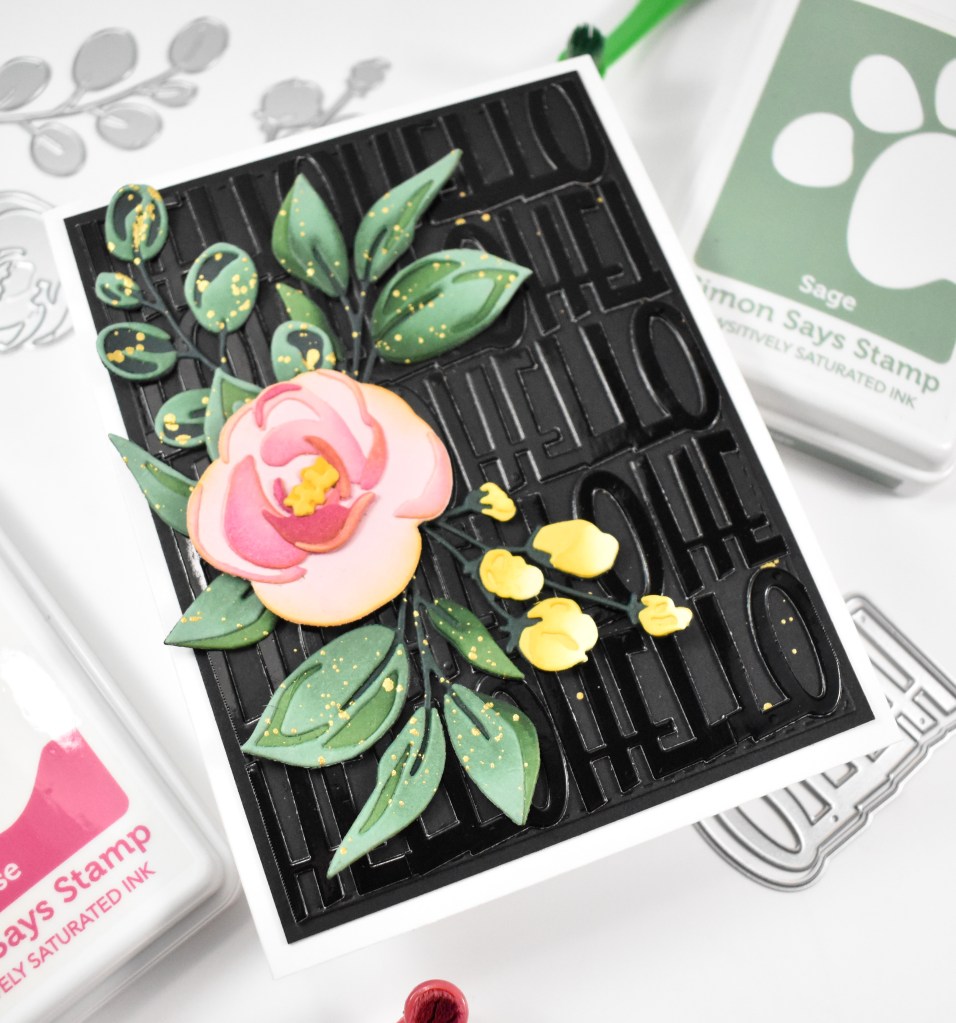
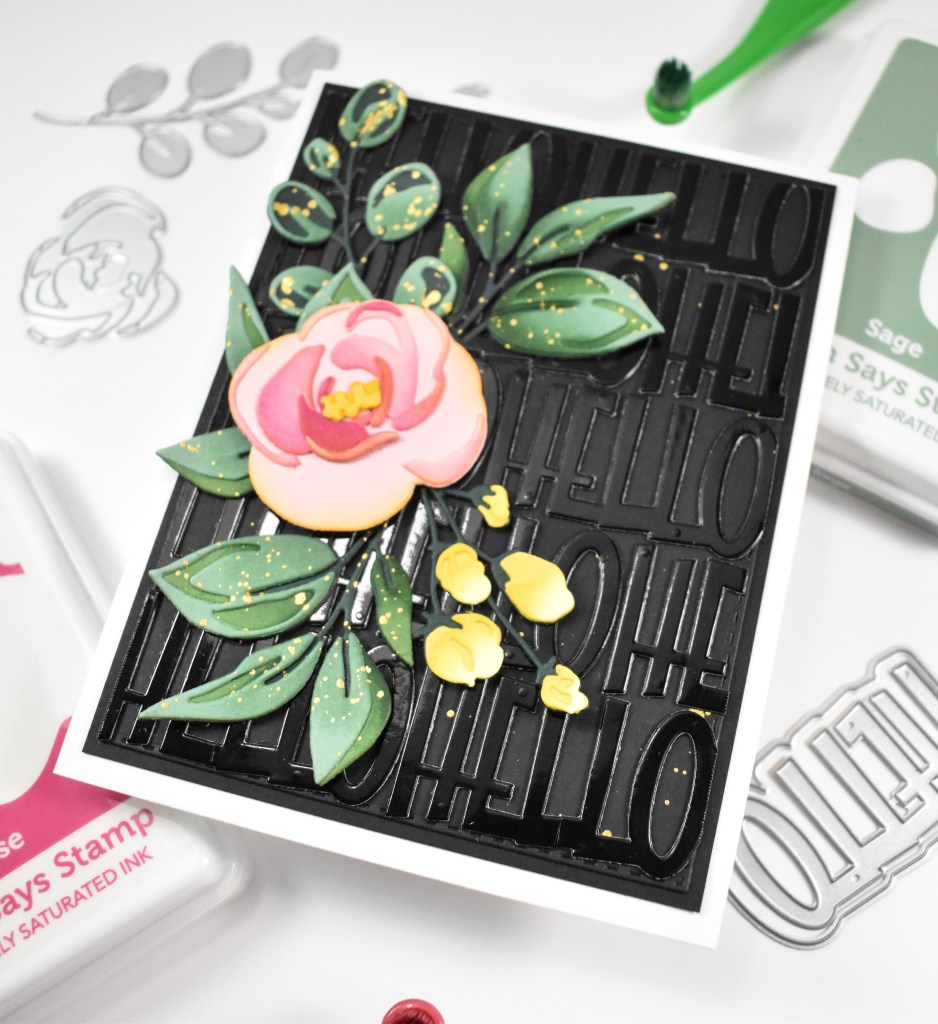
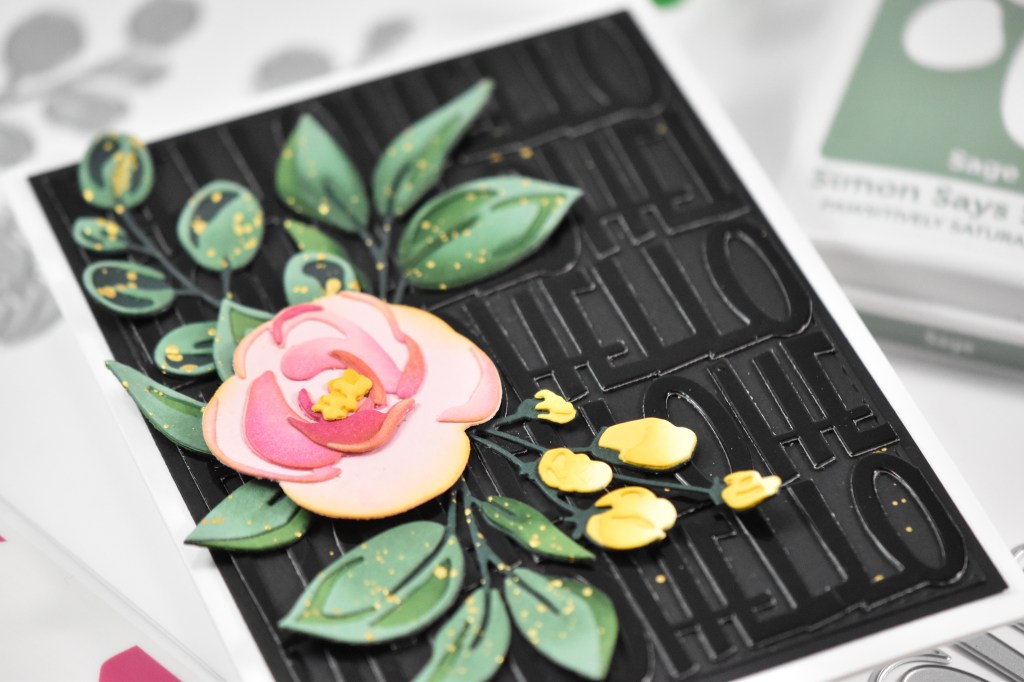
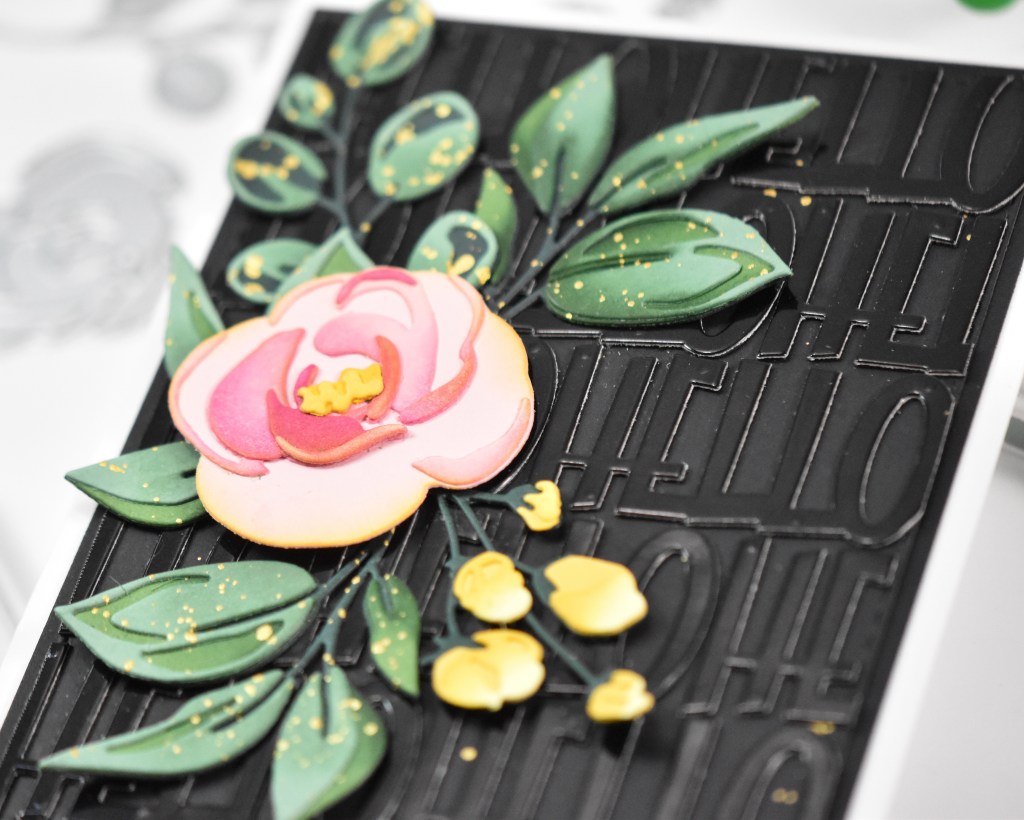
Hello Friends, and welcome back! Sometimes I like creating backgrounds with small dies, and today’s post features just that! I paired the hello from Simon’s newer set, Paper Cut Word Mix 1 along with the Tim Holtz Bloom Colorize. Let’s run through the deets!

NOTE: all supplies are linked in the thumbnails at the end of this blog post.

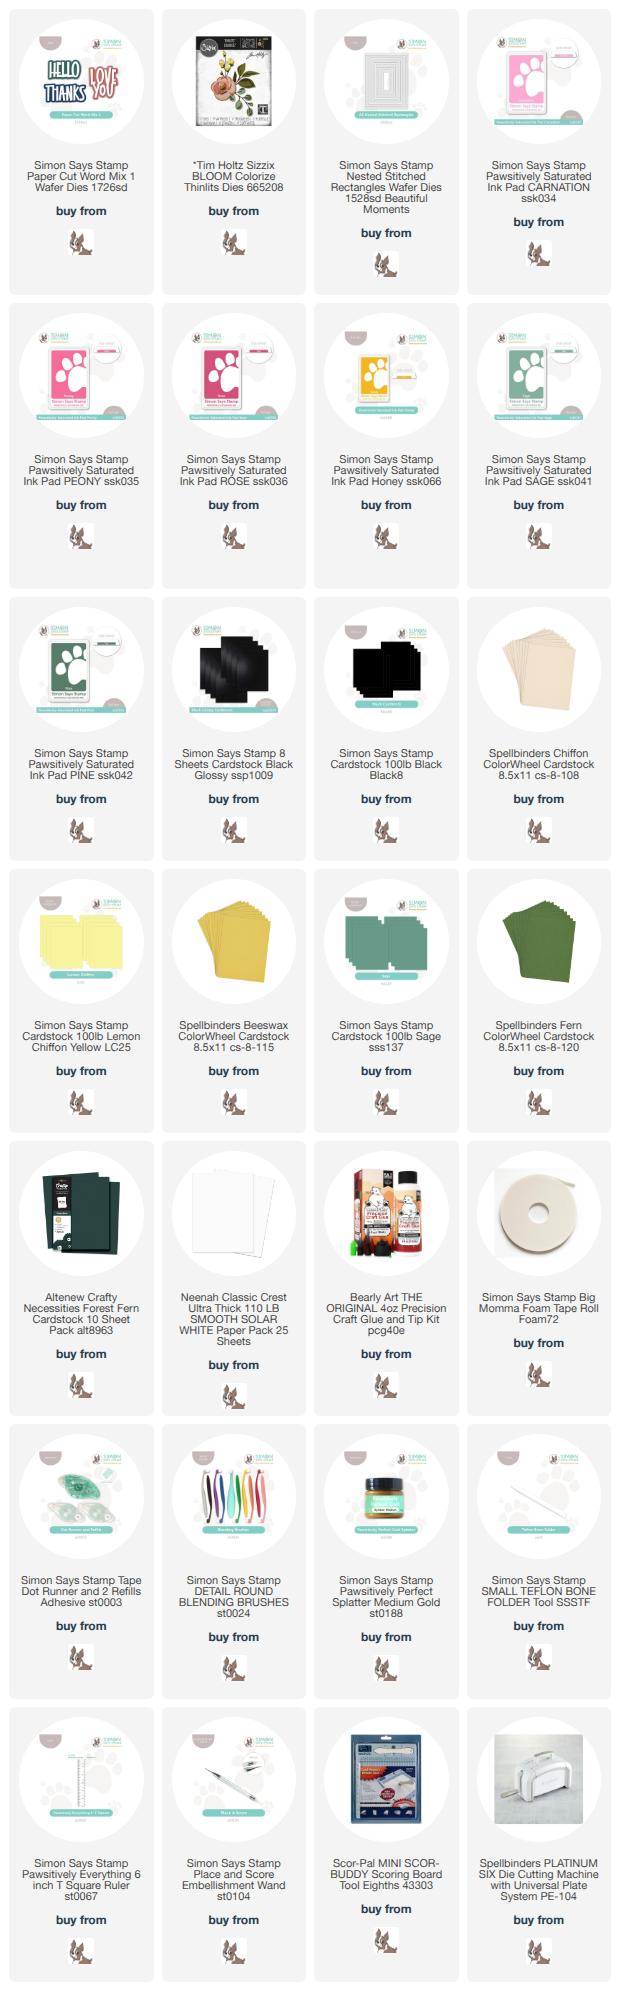
I began this project by die cutting all of the hello pieces first from black mirror cardstock and regular black cardstock. All of those were adhered together and set aside. I then die cut the pieces of the flower and leaves from pink, yellow, Fern, Forest, Sage and Beeswax cardstock. Of course I have to add ink blending, so I used Carnation, Peony, Rose, Honey, Sage and Pine for that.

Once everything was ink blended, I assembled my pieces and gave the leaves and black background panel some gold splatter. The background panel got trimmed down using the A2 Nested Stitched Rectangles before securing the hello sentiments with liquid glue. The excess was trimmed off and the panel was adhered to another black panel before being adhered to the card base.

The leaves and yellow flowers were glued in place, and the pink flower was secured with a bit of foam tape to finish up.

This project was a bit time consuming, but I absolutely love how it turned out, and I hope you do too! Thanks again for stopping by to check out today’s project, and I hope you have a great rest of your day!

Supply List:

Affiliate links used at no cost to you. What does this mean? If you use the links within this post to make a purchase, I receive a small commission, which allows me to continue to post crafty content for your enjoyment. I truly appreciate your support!

Latest Posts

Latest Instagram Posts
Simon Says Stamp Butterbloom Color Blocks

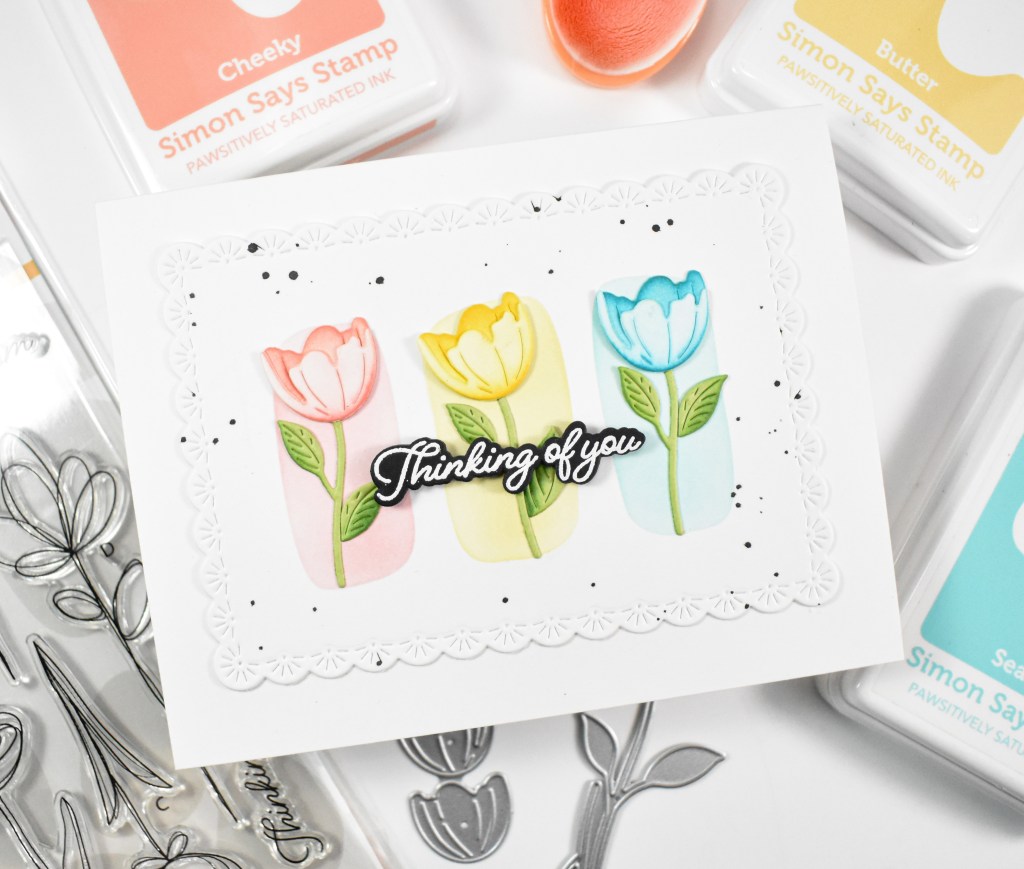
Hey There! Thanks so much for swinging by to check out today’s project! This one is featuring a newer product and an older one from a card kit. So, let’s just go ahead and get into the details!

NOTE: all supplies are linked in the thumbnails at the end of this blog post.

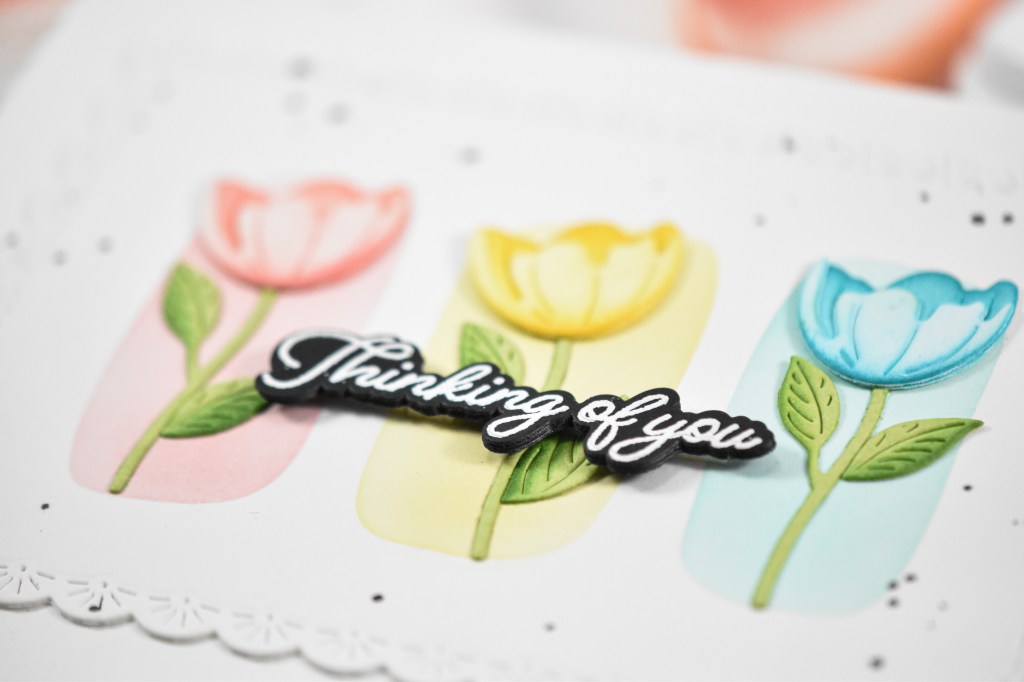
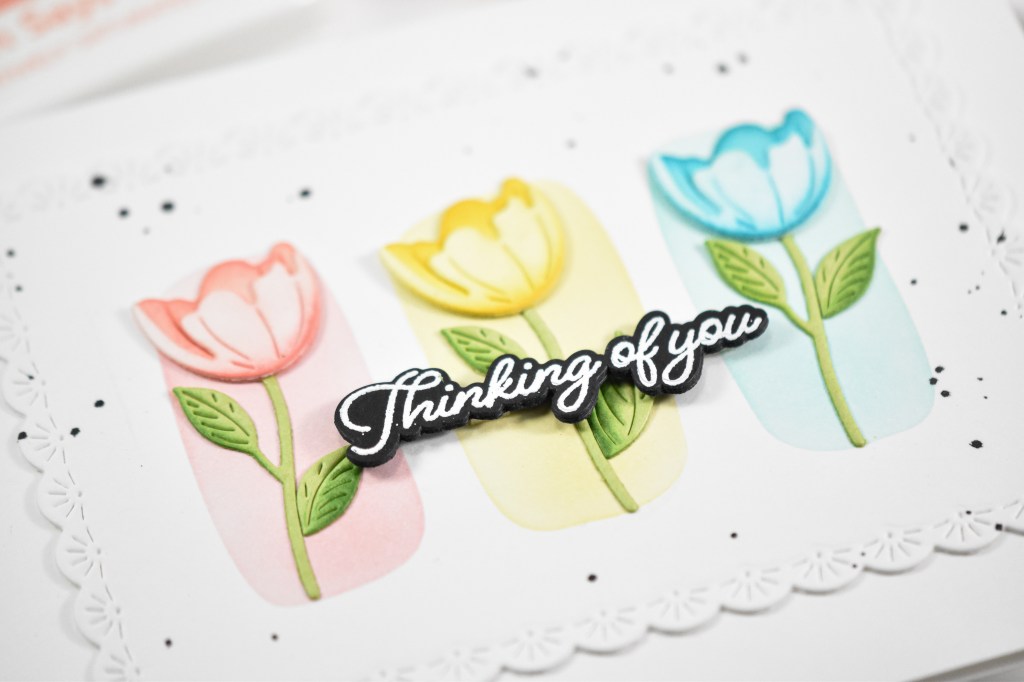
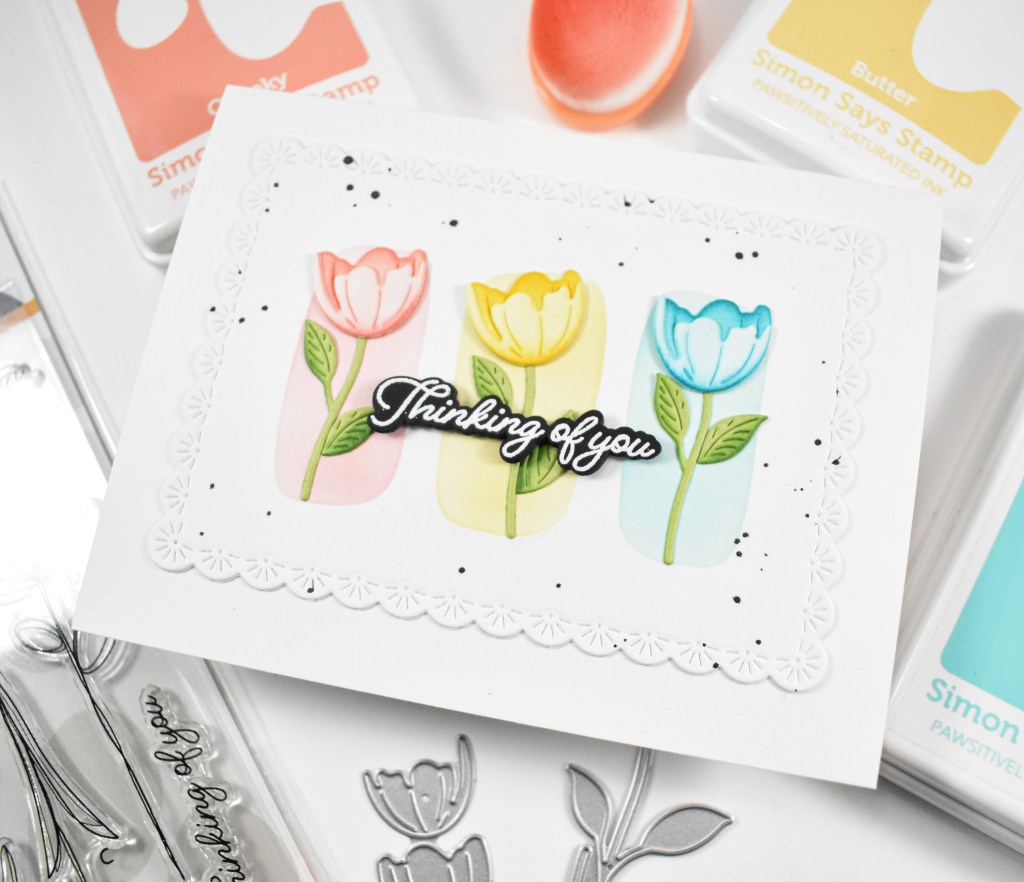
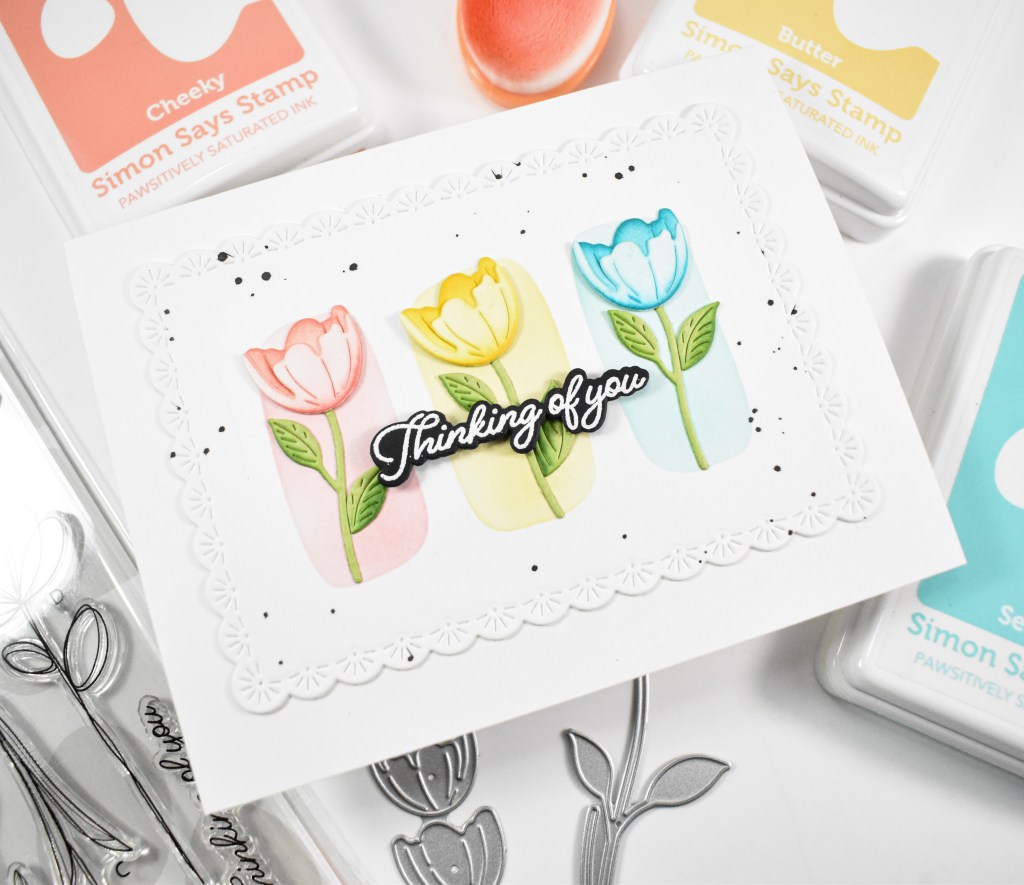
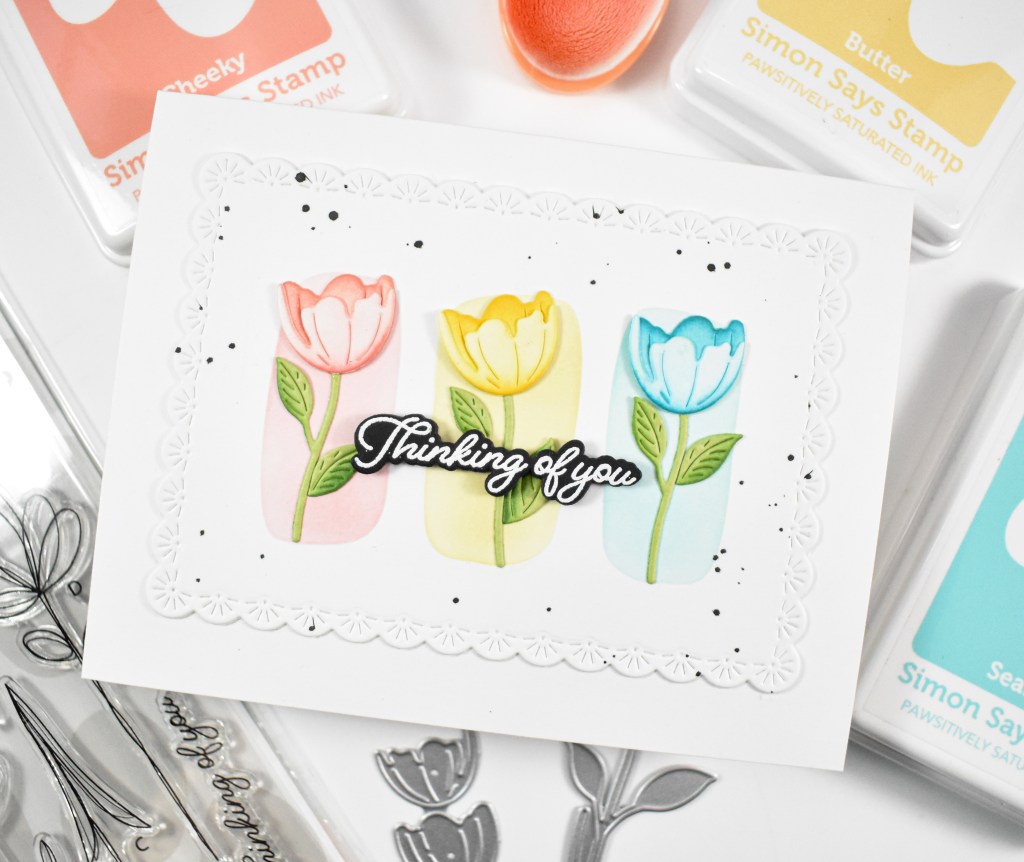
I began this project by die cutting the Butterbloom Flowers from Neenah 110lb cardstock and cutting the stems from Green Apple cardstock. I ink blended those using Cheeky, Blush, Butter, Honey, Seafoam, Ocean and Pearfection. Once done, I assembled the flowers and attached the stems.

I die cut a panel using the Sparkler Scallop Frames and used the Long Stem Florals Color Block Stencil to add the blocks of color and then added the florals. I decided afterwards that some black splatter would have been good, so I placed some torn paper towels over the middle section and gave it a light splatter.

The sentiment was stamped using VersaMark ink, heat set using white embossing powder, trimmed out several times and then adhered to the card using foam tape to finish up.

It’s a relatively simple design, but I will admit that I had to do the color blocks twice, because I did not get the spacing correct the first time. Oops! Mistakes happen! Thanks so much for swinging by, and I hope you have a fabulous day!

Supply List

Affiliate links used at no cost to you. What does this mean? If you use the links within this post to make a purchase, I receive a small commission, which allows me to continue to post crafty content for your enjoyment. I truly appreciate your support!

Latest Posts

Latest Instagram Posts
Simon Says Stamp Hi There Blooms

Hello Crafty Friends, and thanks for stopping by! I’m back today with a post featuring the Sunflower Blooms and Chunky Ovals from Simon’s latest release, Every Happiness. I chose to go in a pink/purplish direction with my sunflowers for this one, so let’s go ahead and go through the details!

NOTE: all supplies are linked in the thumbnails at the end of this blog post.

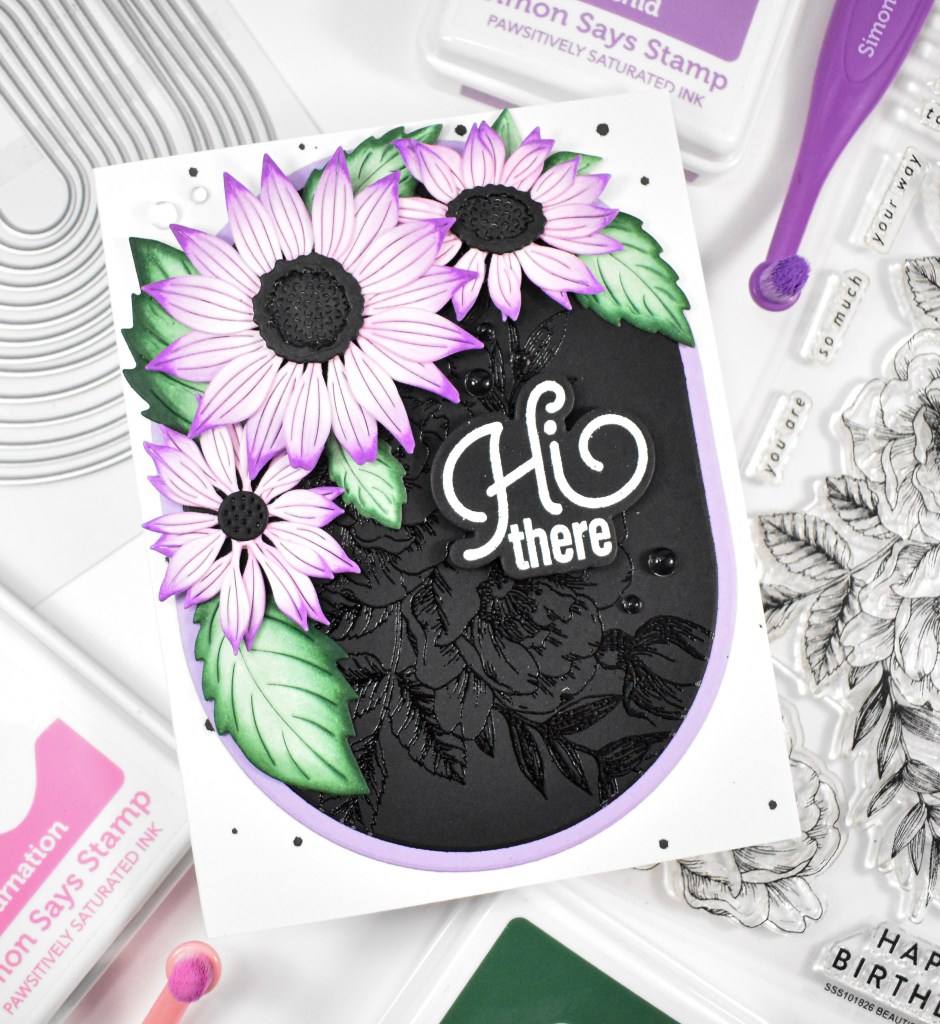
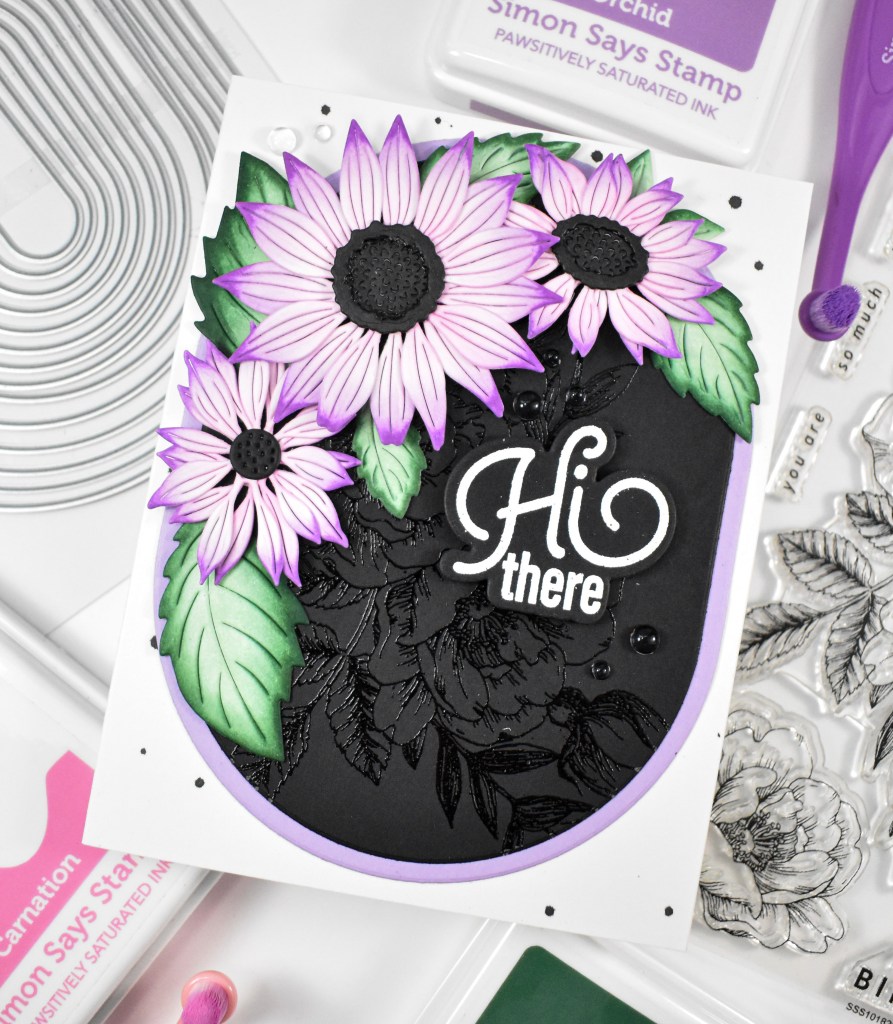
I began by die cutting the florals and leaves from Neenah 110lb cardstock. Normally, I probably would have cut these from colored cardstock, but I was borrowing my friend’s die while she was visiting and I didn’t know what I was going to be making at the time. So, I just felt that I would have more options if they were cut from white cardstock. I did some ink blending on the flowers and leaves using Carnation, Lilac, Orchid, Aspen and Pine. For the centers of the flowers, I just used a black Copic marker to color those.

Once everything was ink blended, I went ahead and assembled the flowers and figured out the rest of my design. I stamped the floral from the Beautiful Flowers set onto a panel of black cardstock, using VersaMark ink and heat set that using clear embossing powder for a tone on tone effect. I then used the Chunky Ovals to trim it down, along with a panel of Lavender cardstock. My sentiment was stamped using VersaMark, heat set using white embossing powder, and trimmed out several times.

I went ahead and black splattered my card base, adhered the ovals and began securing the leaves with liquid glue, while the flowers were adhered using foam tape for added dimension. The sentiment was also added with foam tape, and some clear gems were added to finish up.

That does it for this project! I really love using dark colors sometimes, and I thought this dark background would pair well with the dark centers of the flowers. Thanks so much for joining me, and I hope you have yourself a wonderful day!

Supply List

Affiliate links used at no cost to you. What does this mean? If you use the links within this post to make a purchase, I receive a small commission, which allows me to continue to post crafty content for your enjoyment. I truly appreciate your support!

Latest Posts

Latest Instagram Posts
Simon Says Stamp Amazing Petals

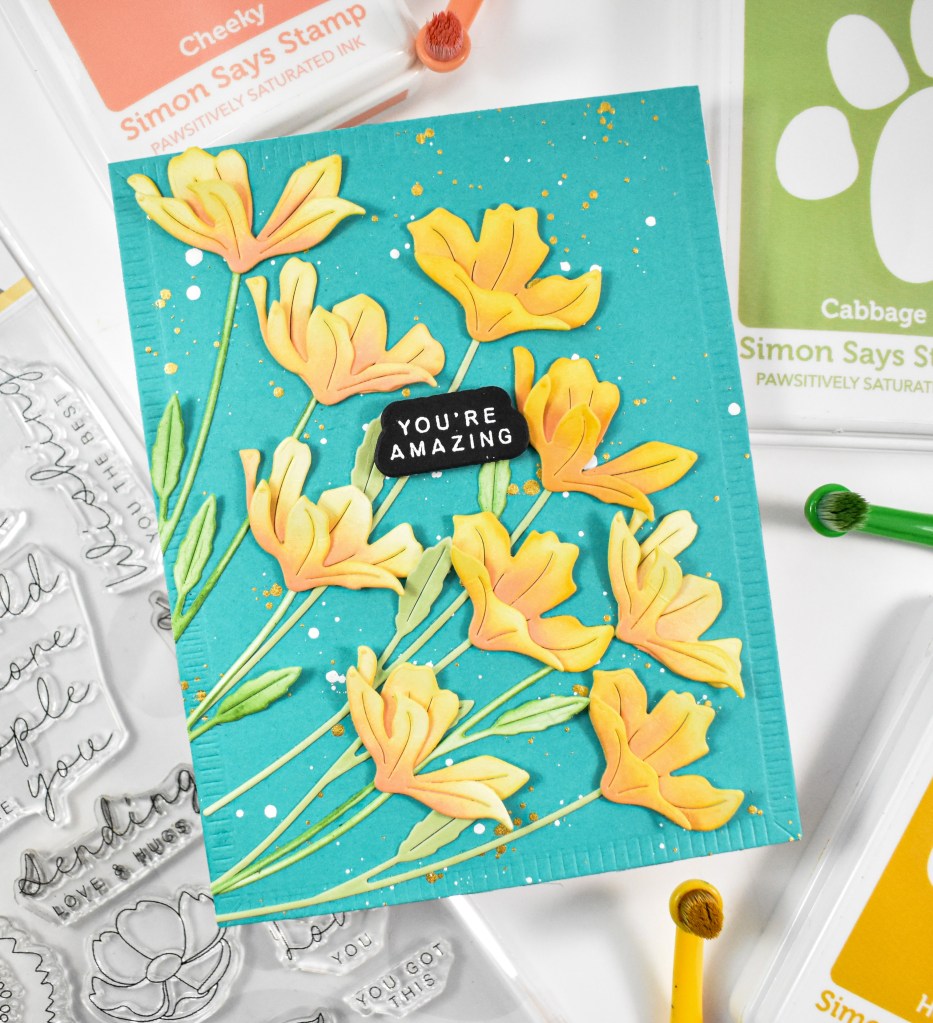
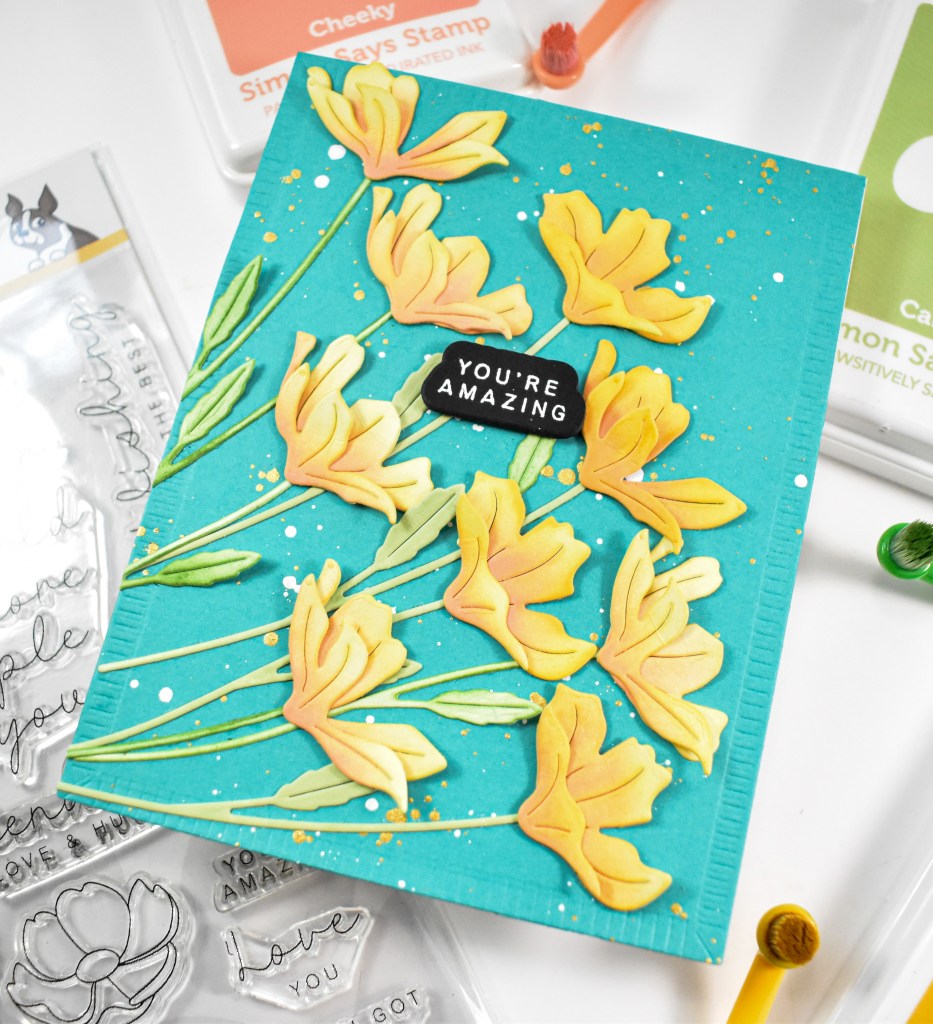
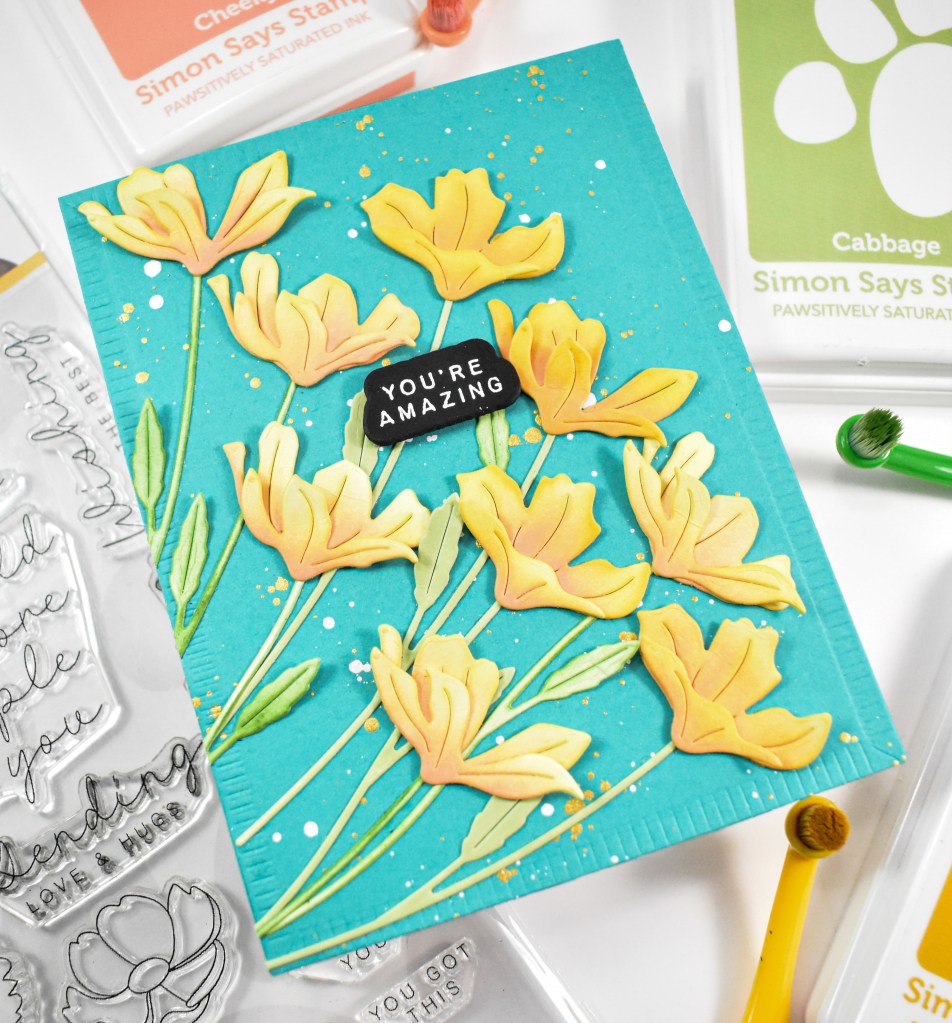
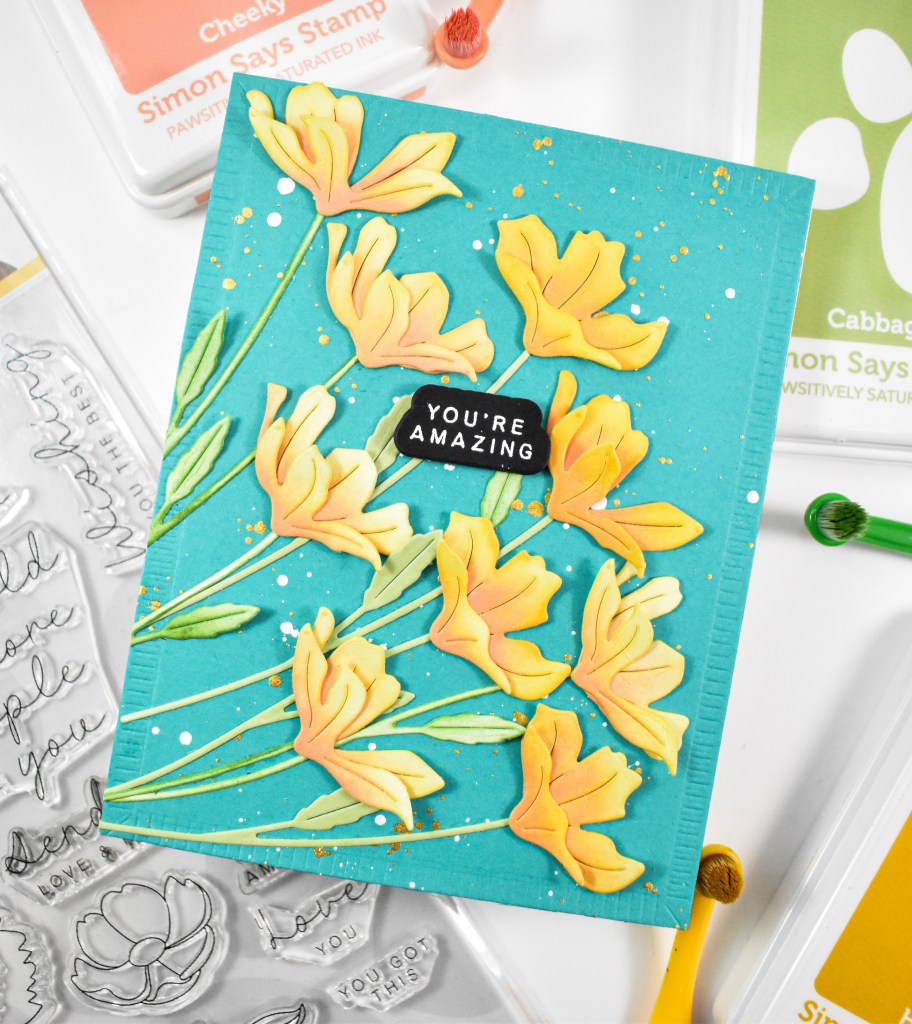
Hey There, Crafty Friends! Thanks so much for stopping by to check out today’s post featuring the new Tissue Petal Stems from Simon’s Every Happiness release. I borrowed this set from a friend, but I might just have to add it to my cart, because I love how they turned out! Let’s run through the details for this one!

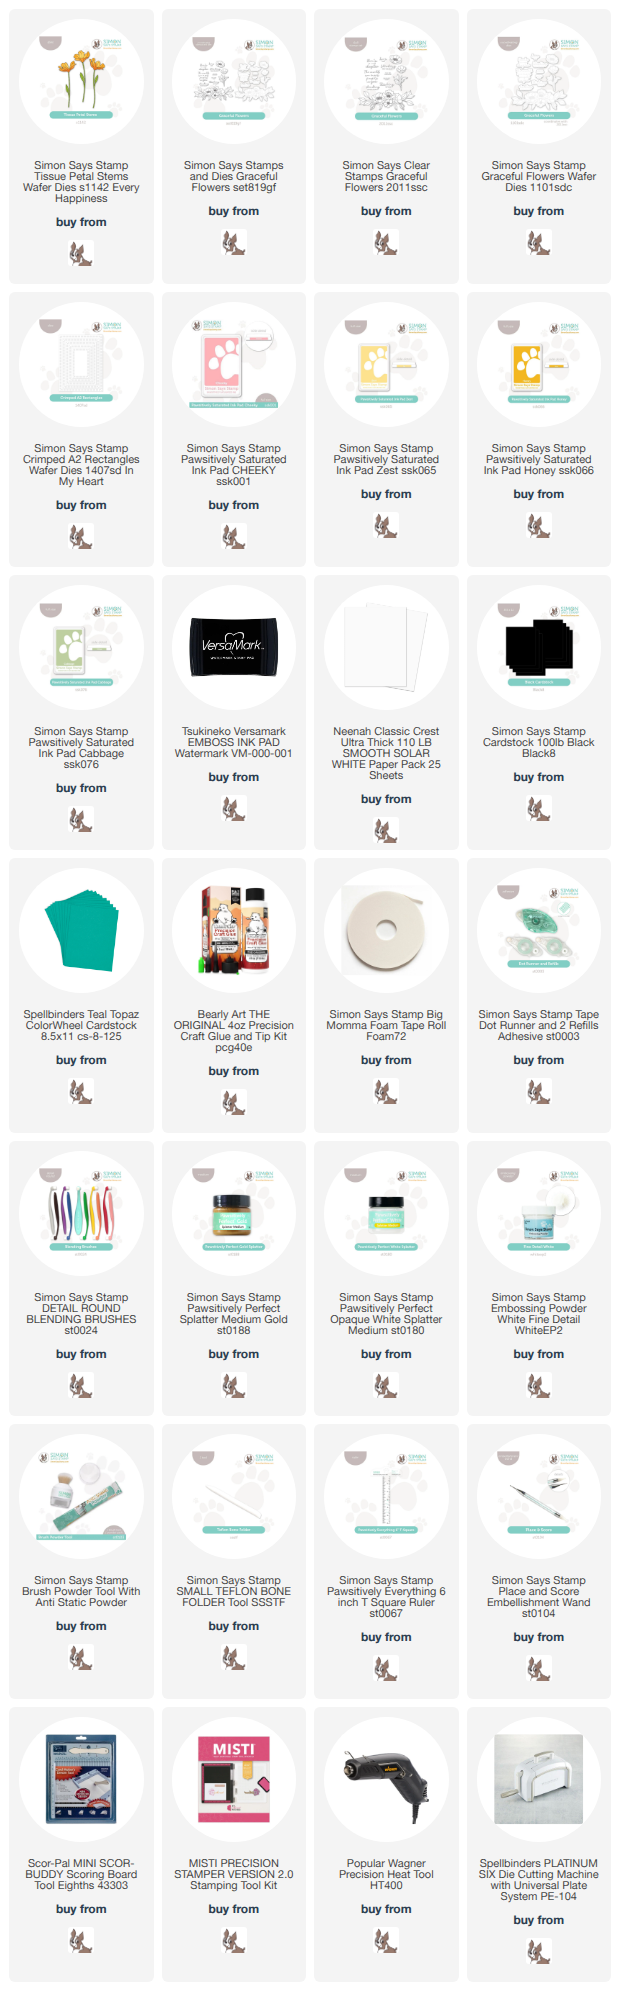
NOTE: all supplies are linked in the thumbnails at the end of this blog post.

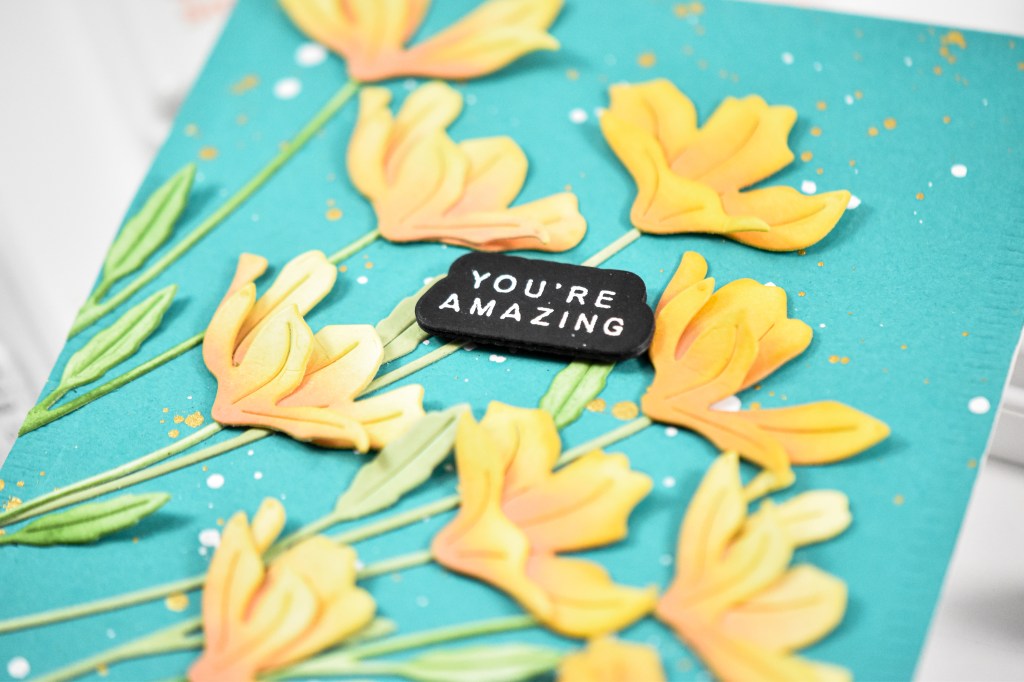
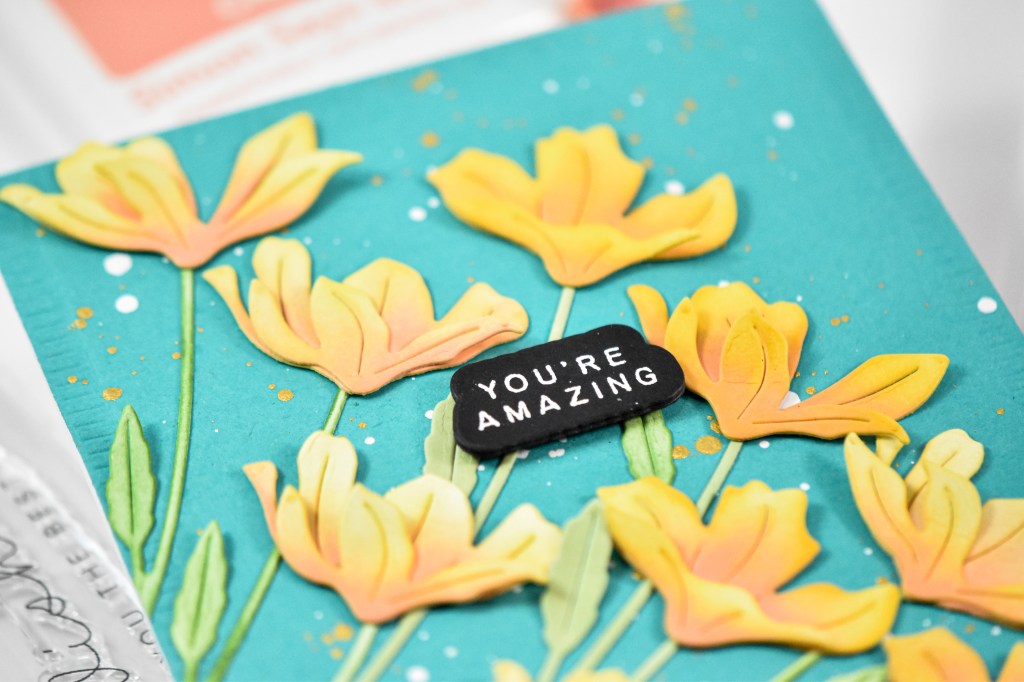
I began this project by die cutting the floral pieces lots of times from Neenah 110lb cardstock. Like I said, I borrowed this from a friend and had no idea at the time how I would be using it, so I thought it best to just cut from white cardstock. I did some ink blending on the pieces using Cheeky, Zest, Honey and Cabbage. Once I was done with the ink blending, I went ahead and assembled the flowers.

The background panel was created using Teal Topaz cardstock along with the Crimped A2 Rectangles and some gold and white splatter. The sentiment was stamped with VersaMark ink, heat set with white embossing powder and layered up. I glued my flowers in place, after much playing around with placement, and added the sentiment with foam tape to finish up.

That does it for this project! I really love yellowish orange flowers against the teal background! Have you checked out the Every Happiness release yet? I’d love to know your favorites! Until next time, have a fabulous day, and don’t forget to stay awesome!

Supply List

Affiliate links used at no cost to you. What does this mean? If you use the links within this post to make a purchase, I receive a small commission, which allows me to continue to post crafty content for your enjoyment. I truly appreciate your support!

Latest Posts

Latest Instagram Posts
Simon Says Stamp Happy Daisy Frame

Hey There Friend! Welcome back to my blog! So glad you stopped by to check out today’s project featuring the Daisy Frame stamp and stencil combo from Simon’s latest release, Every Happiness. Let’s go ahead and run through the details!

NOTE: all supplies are linked in the thumbnails at the end of this blog post.

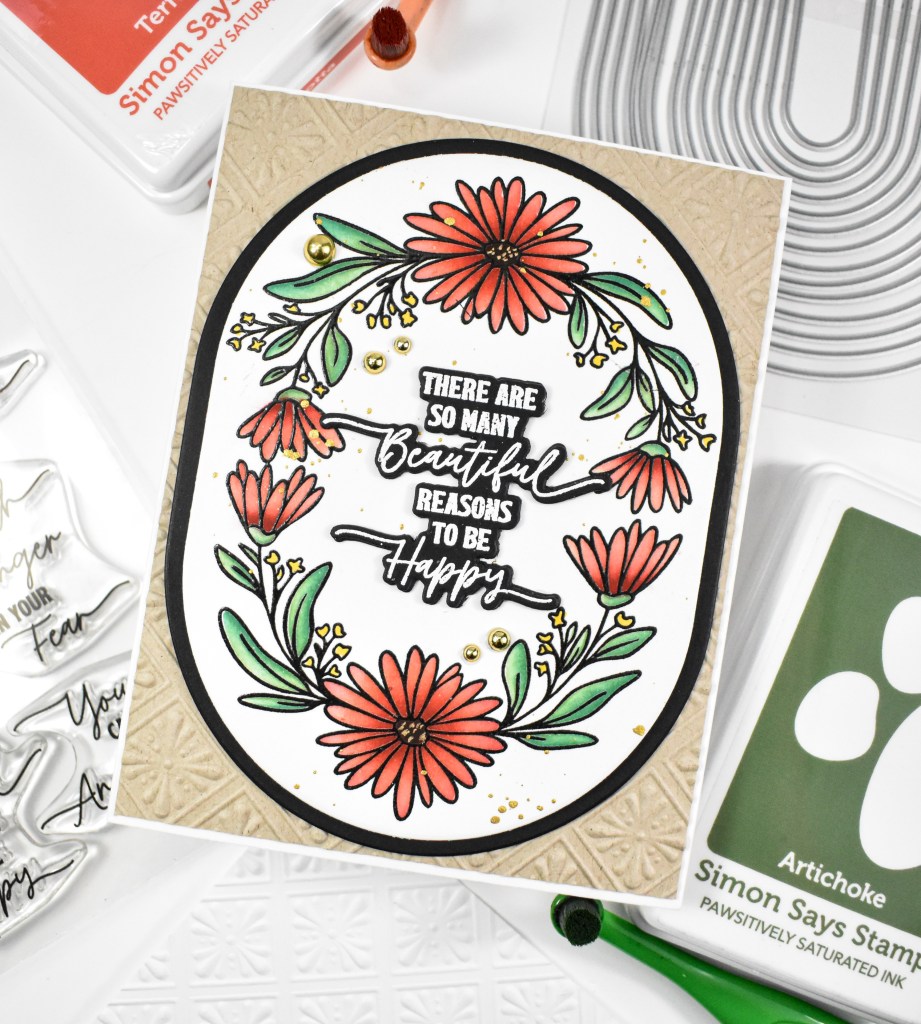
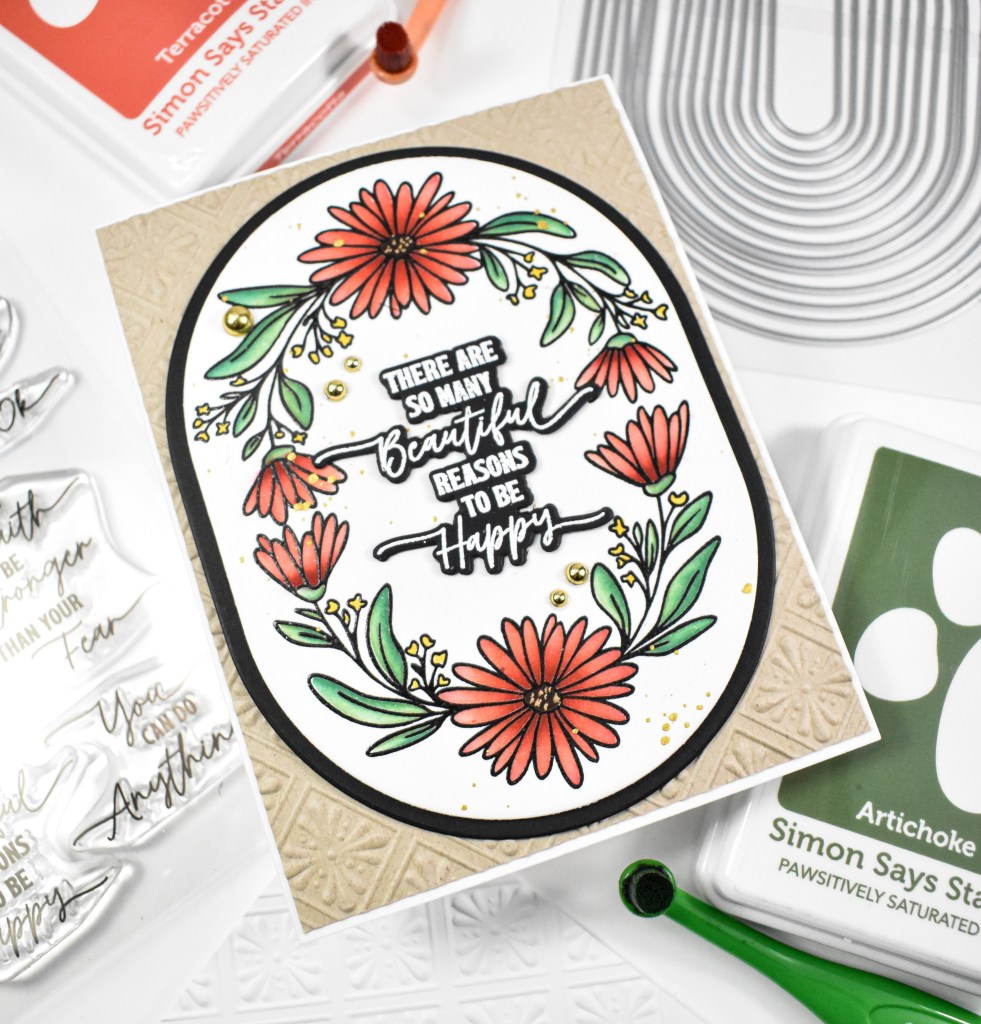
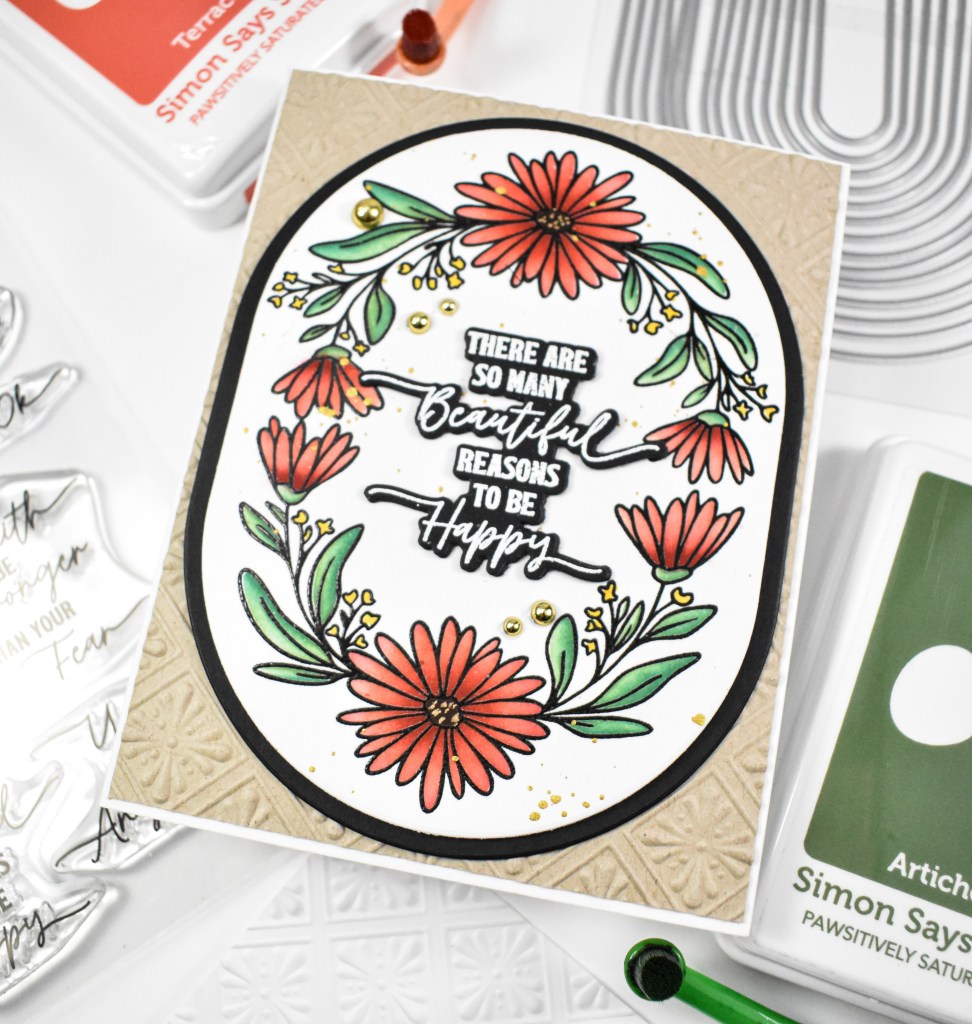
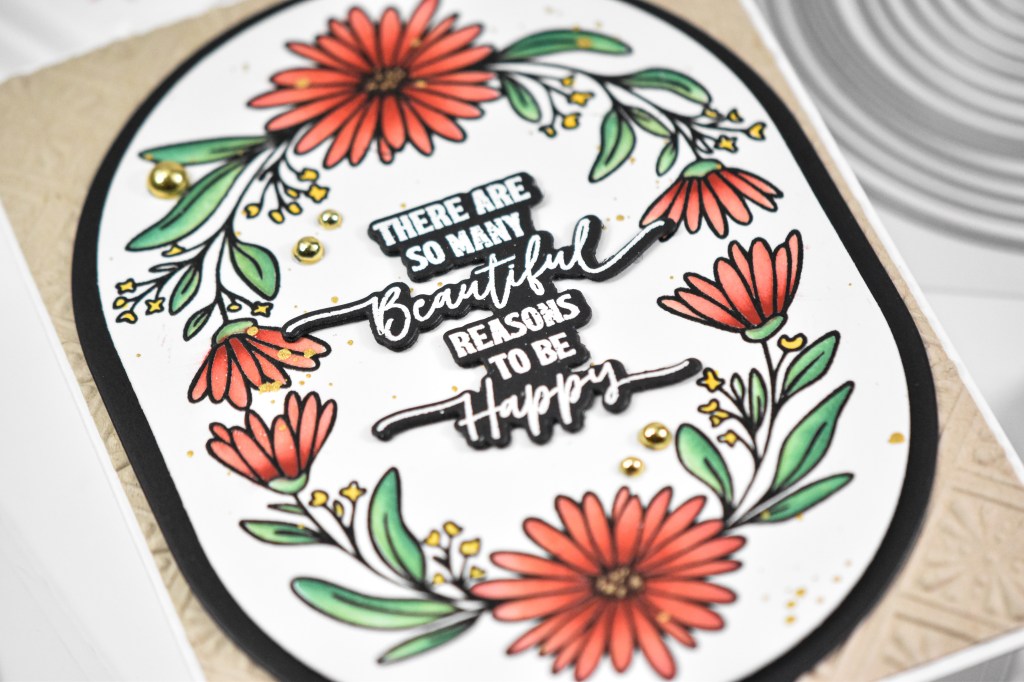
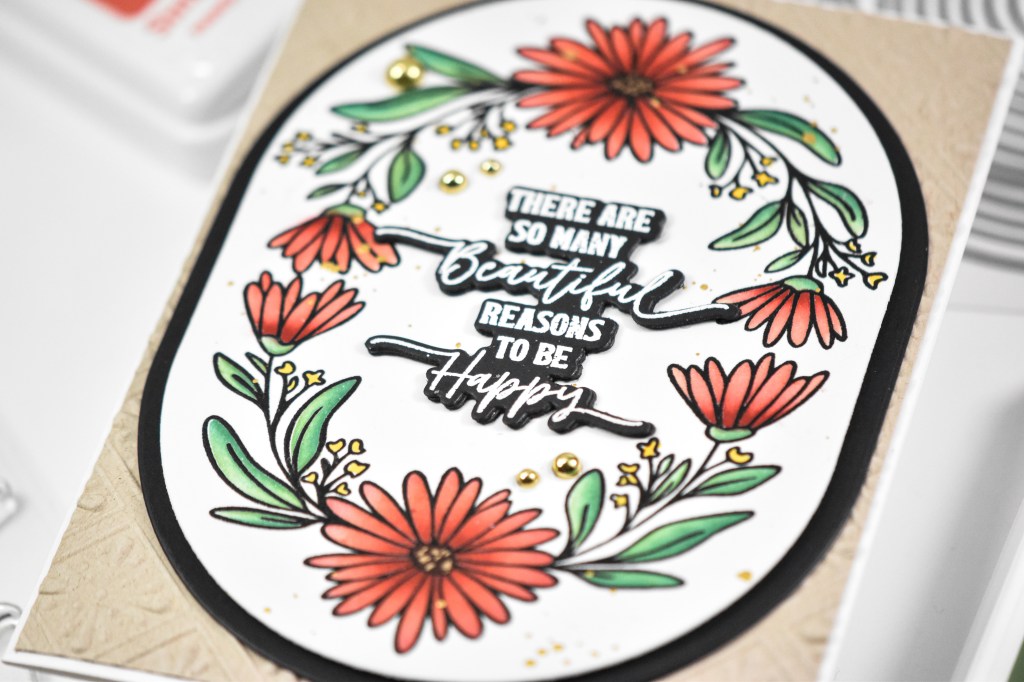
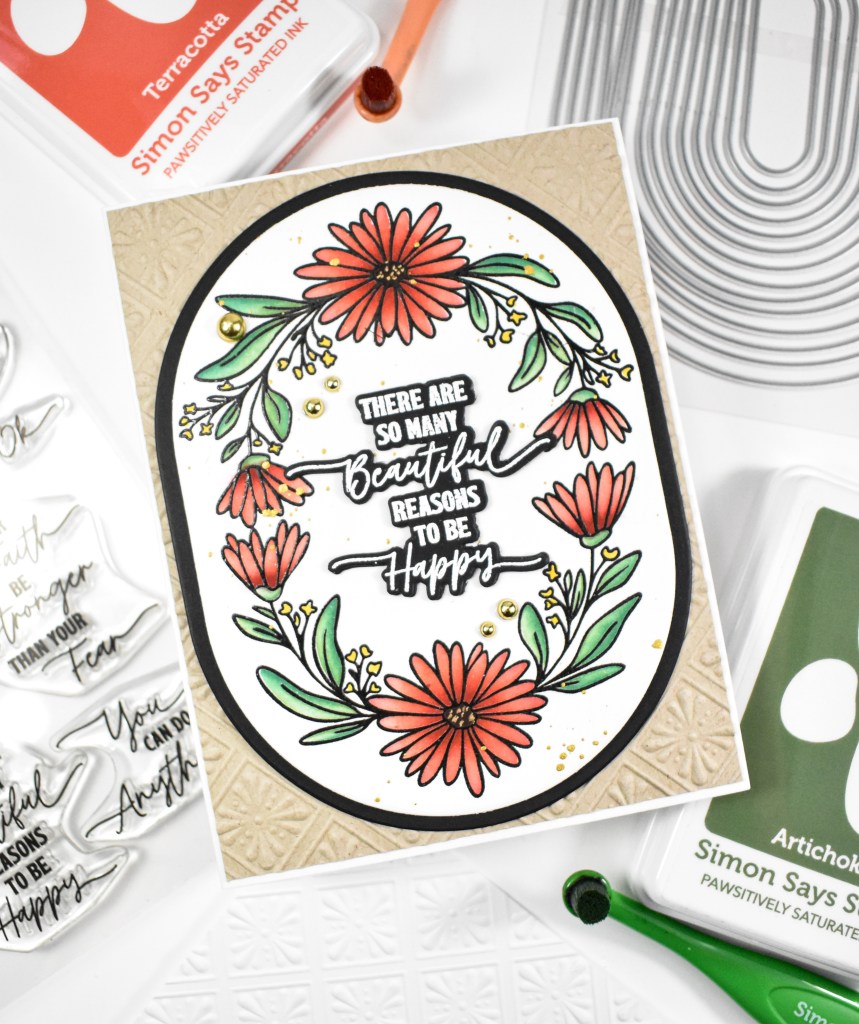
I began this project by stamping the Daisy Frame using VersaFine Onyx Black ink and heat setting it with clear embossing powder. I was in a little bit of a color funk that day, so a friend suggested that I use Terra Cotta, Brick, Artichoke and Aegean, so that’s what I did, and I’m quite happy with the end result! Thanks Jean! After I was done with the ink blending, I used the new Chunky Ovals to trim out the stamped image. I should also add that I colored the tiny yellow flowers with a Copic marker.

I used a larger oval to cut a black mat for a bit of contrast. I’m sure there are die cuts for this stamp set, but I did not receive those and had to improvise with what I had. The sentiment was stamped onto black cardstock using VersaMark ink and heat set using white embossing powder. It was then trimmed out several times with the coordinating die.

My background was created using the new Bedazzled Embossing Folder on a panel of Desert Storm cardstock. My stamped image got a dose of gold splatter before adhering all of the layers together. The sentiment was added, as well as some gold metallic pearls to finish up.

That does it for this project! Lots of new products used on this one! I hope you enjoyed it, and I hope you’ll swing by and check out the entire Every Happiness release! Thanks for joining me, and I hope you have a wonderful day!

Supply List:

Affiliate links used at no cost to you. What does this mean? If you use the links within this post to make a purchase, I receive a small commission, which allows me to continue to post crafty content for your enjoyment. I truly appreciate your support!

Latest Posts

Latest Instagram Posts