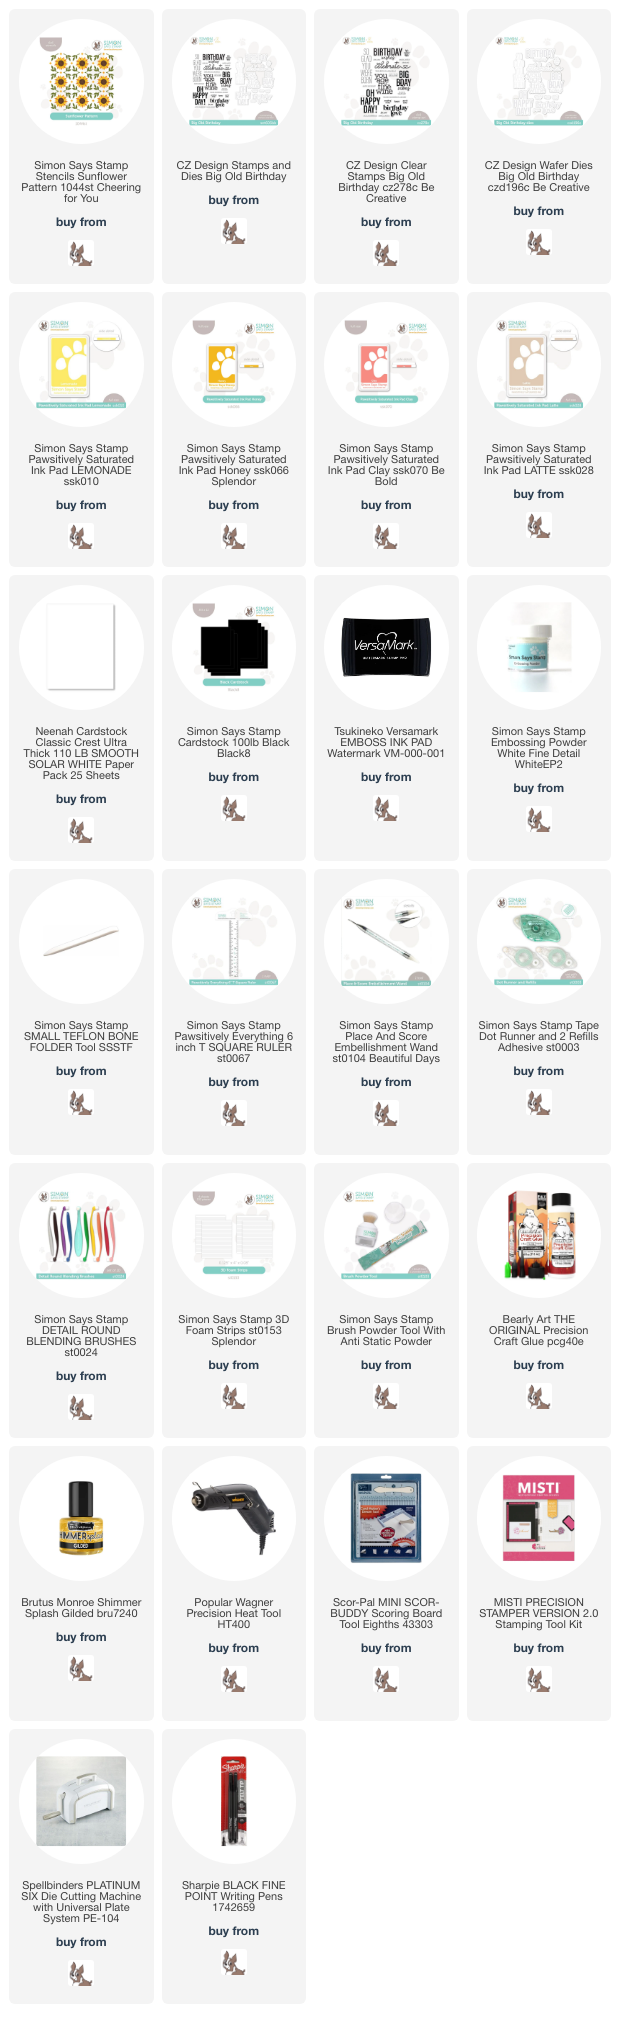
Simon Says Stamp Fresh Roasted Coffee

Hello Crafty Friends and welcome back! I’m once again playing with the Coffee Time set from Simon’s latest STAMPtember release. This is a CZ Design card if I ever did see one! Cathy is just so freaking talented! Let’s not waste time and go through the details.

NOTE: all supplies are linked to multiple sources in the thumbnails at the end of this blog post.
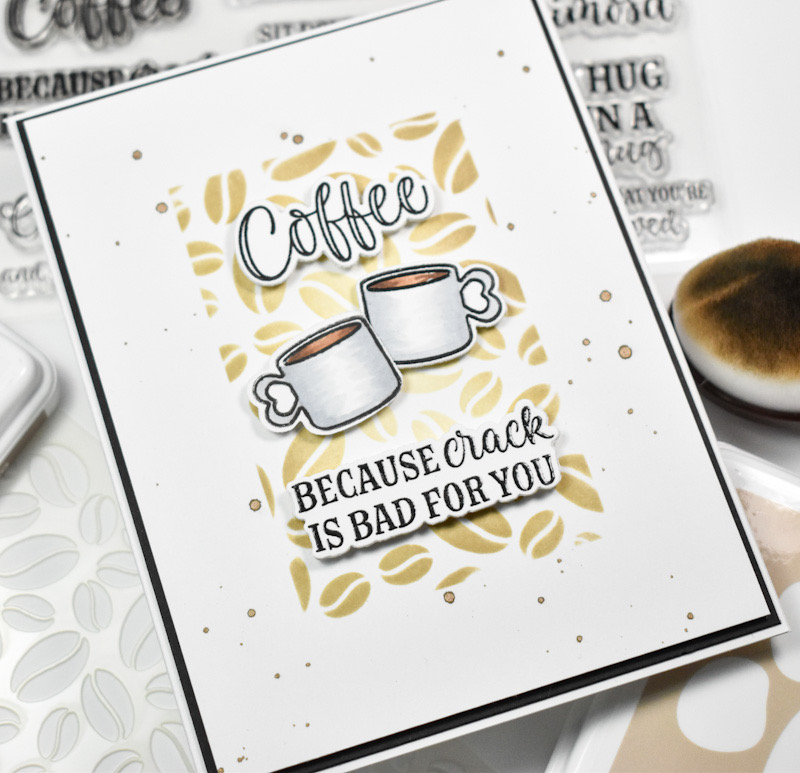
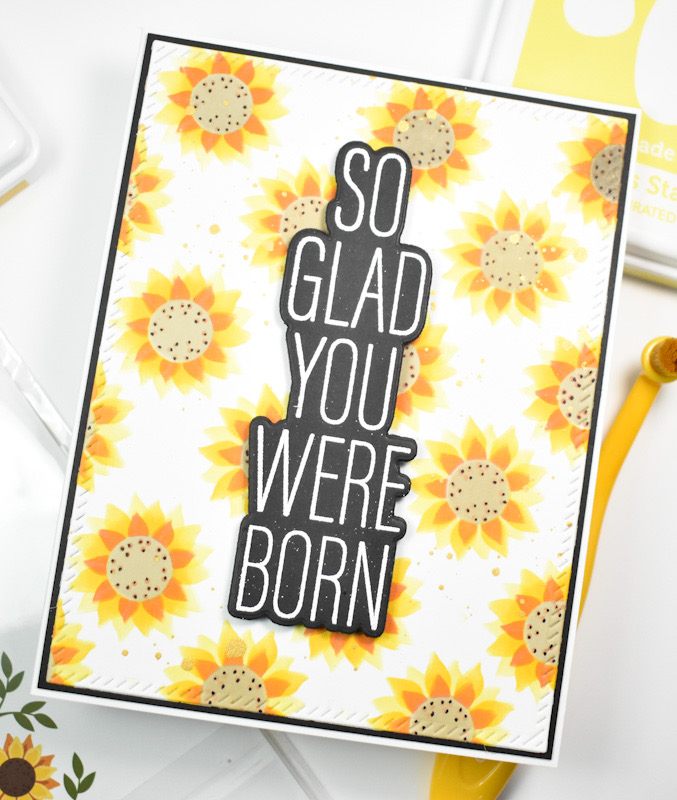
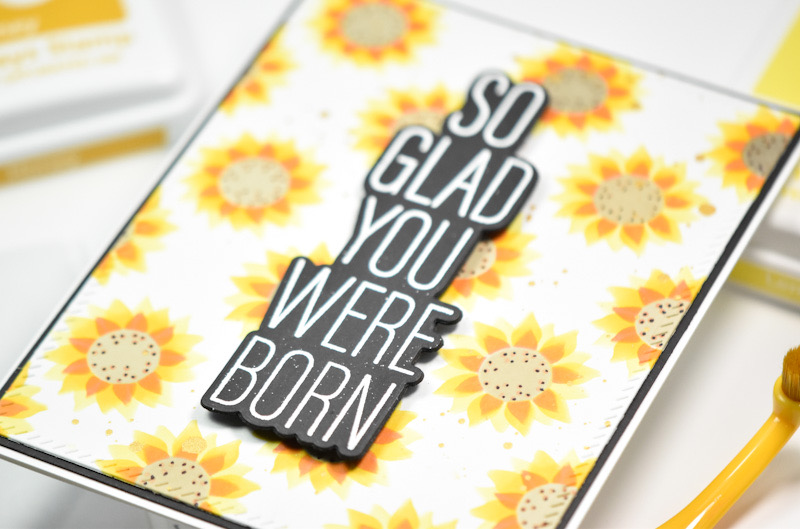
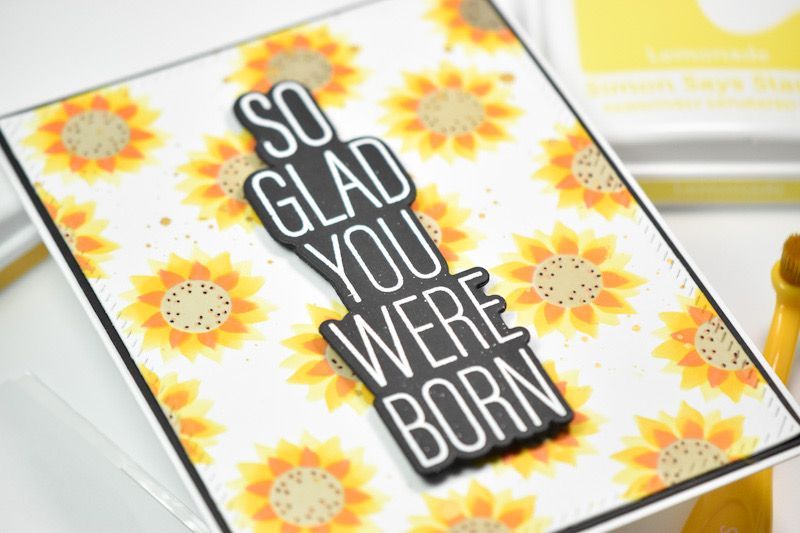
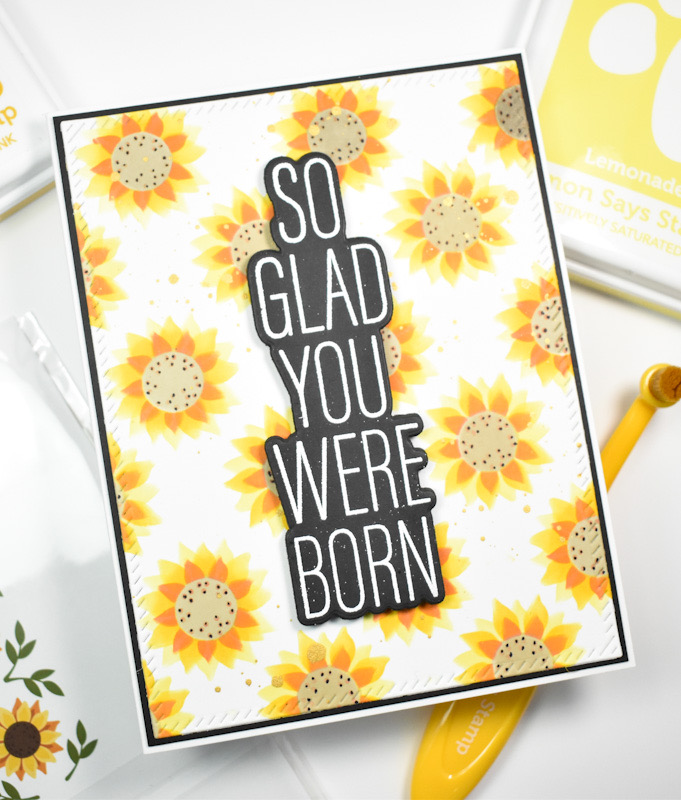
This card is a double stencil technique. I used the SSS A2 Mask Stencils on a panel of Neenah 110lb cardstock and then secured the new SSS Fresh Roast Stencil atop that. I did some light ink blending using SSS Pawsitively Saturated Inks in Latte and Cappuccino. Once the ink blending was complete, I used the rectangle portion of the mask stencil to cover my ink blending and then splattered it with TH Distress Mica Spray in Crooked Broomstick.

I stamped the coffee mug and the sentiments using VersaFine Onyx Black in and heat set those using Ranger Clear Embossing Powder. I wanted two mugs, so I did a mirror stamping for the second one. In all honesty, I did have to watch a Jennifer McGuire video to learn how to do it! I then used the coordinating dies to trim those out. I did cut the sentiments two additional times for that stacked sentiment look.
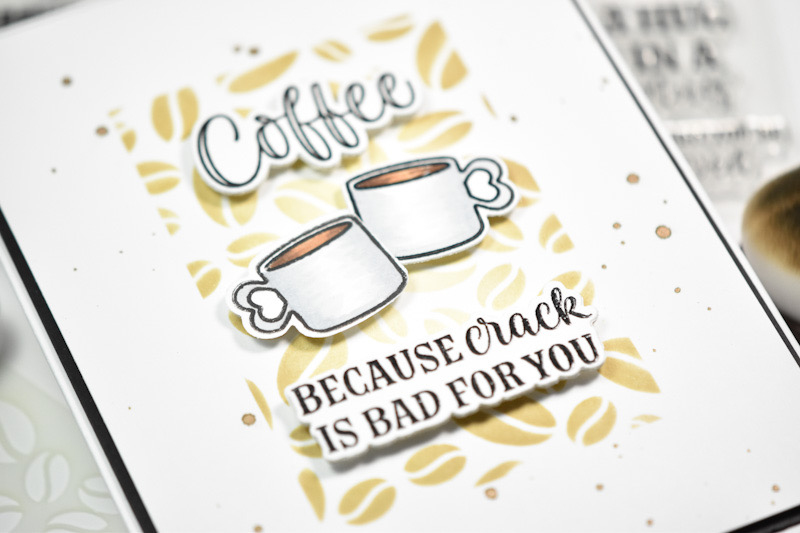
I colored the mugs using Copic Markers in C1, C2, C3, E23 and E47, and those, along with the sentiments were adhered to the panel using foam strips. That panel was then adhered to a black panel with foam tape for added dimension, because what do we say? Dimension is life!

And, that does it for this one! I hope you enjoyed it, and I hope it inspires you to get crafty in your space. Don’t forget to check out the entire STAMPtember release over on Simon’s website, and stay tuned all month long for the collaboration sets! Have a wonderful day!
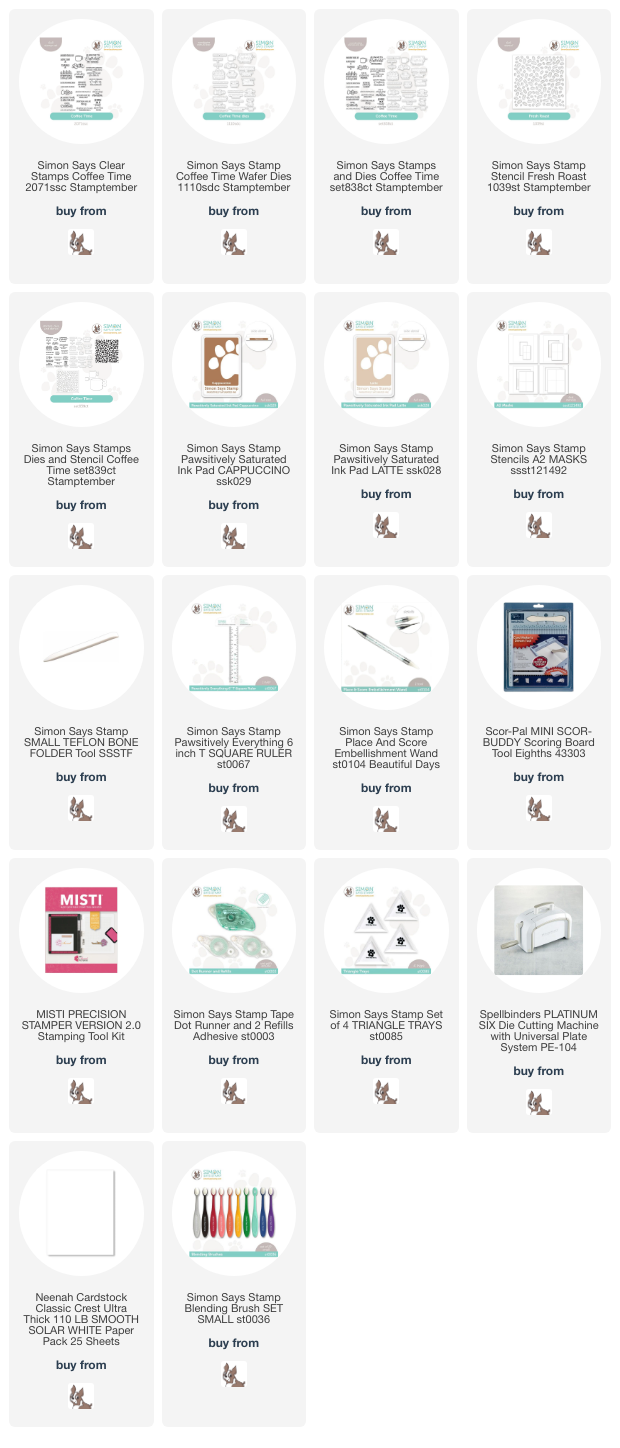
Supply List
Affiliate links used at no cost to you. What does this mean? If you use the links within this post to make a purchase, I receive a small commission, which allows me to continue to post crafty content for your enjoyment. I truly appreciate your support!
Latest Posts
- Simon Says Stamp Grateful Heart

- Simon Says Stamp Braided Greetings

- Together By Design Color Cube Floral

- Simon Says Stamp Cute Duckling

- Simon Says Stamp Watercolor Wild Rose