Simon Says Stamp Birthday Splash

Hello Crafty Friends! Thanks for stopping by to check out today’s post featuring the new Undersea Friends set from Simon’s latest release, Friend Like You. This was an easy one, so let’s get into it.
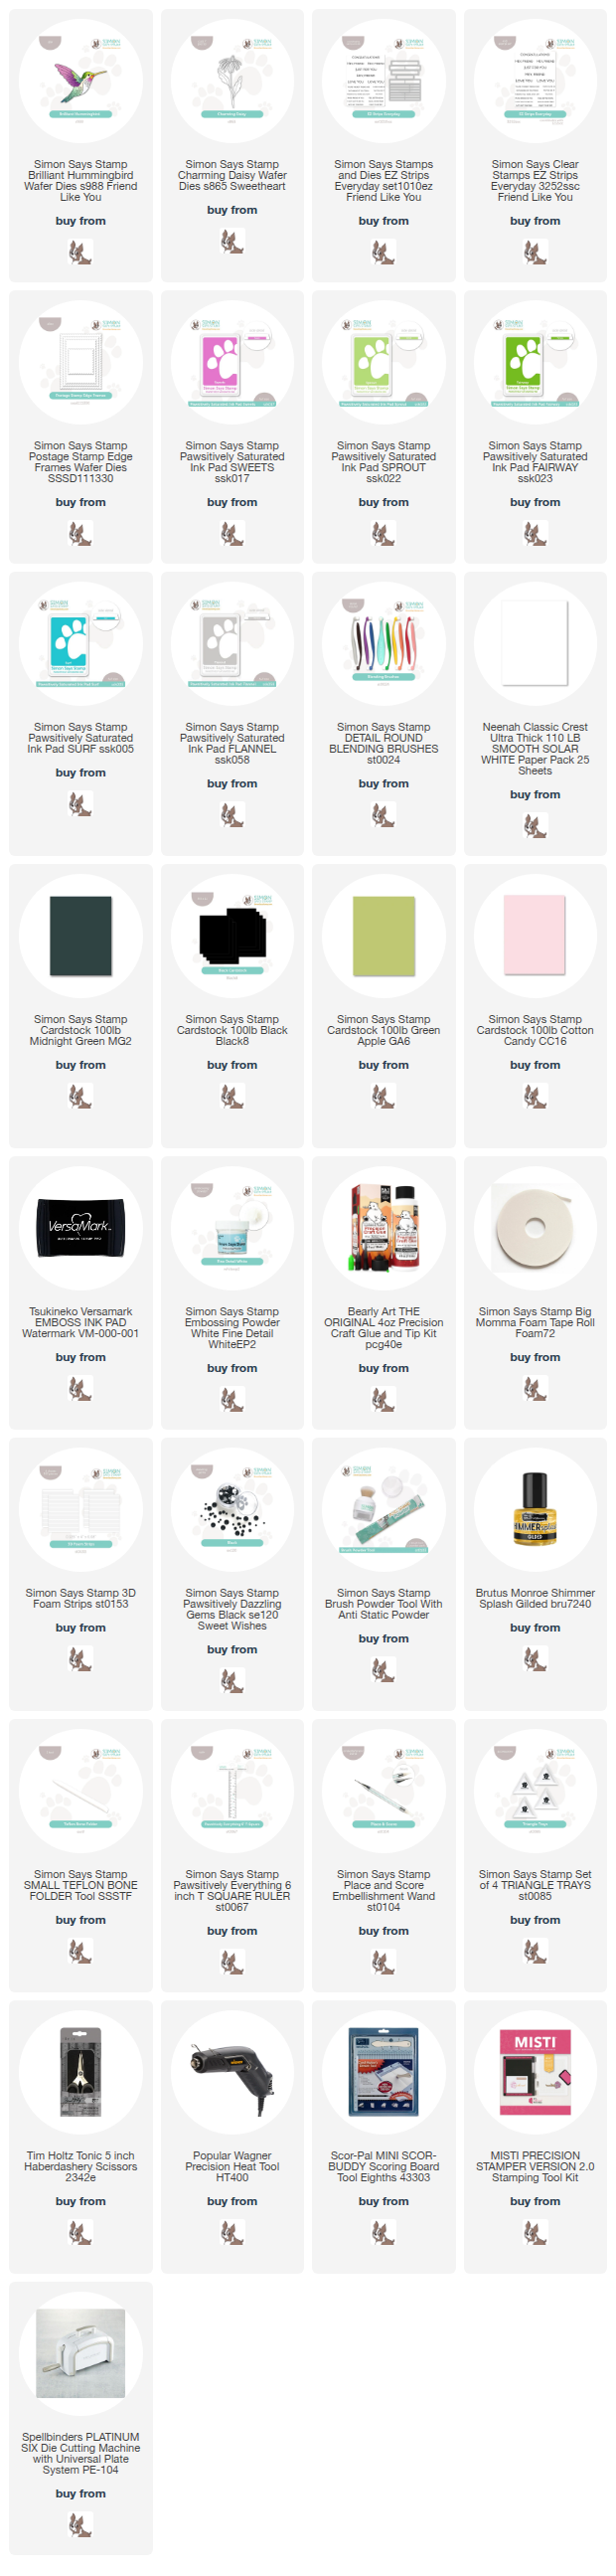
NOTE: all supplies are linked in the thumbnails at the end of this blog post.
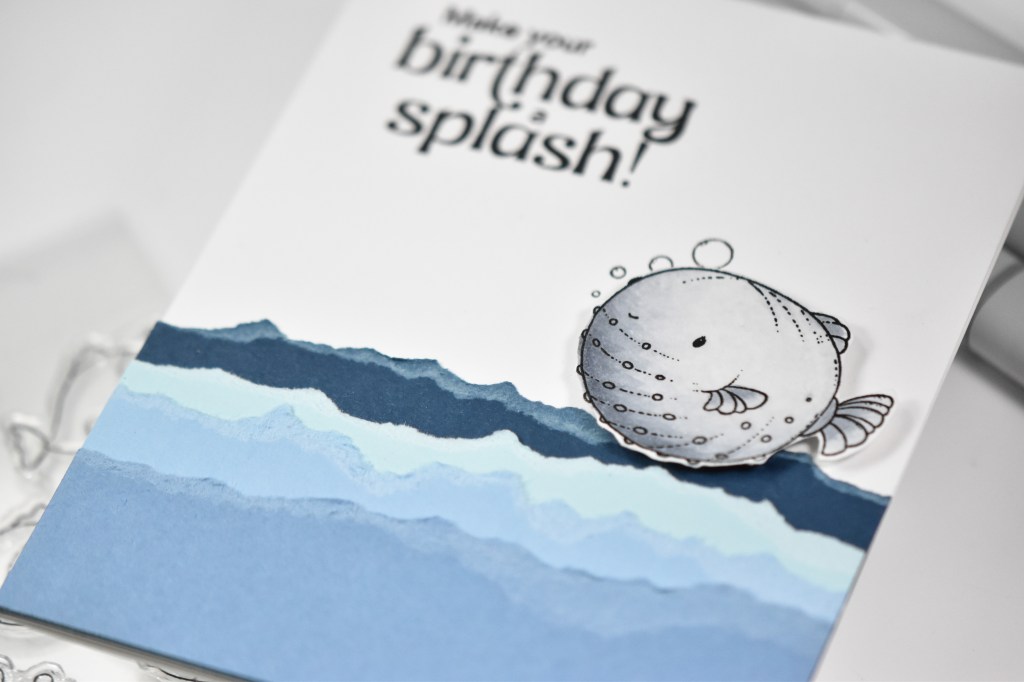
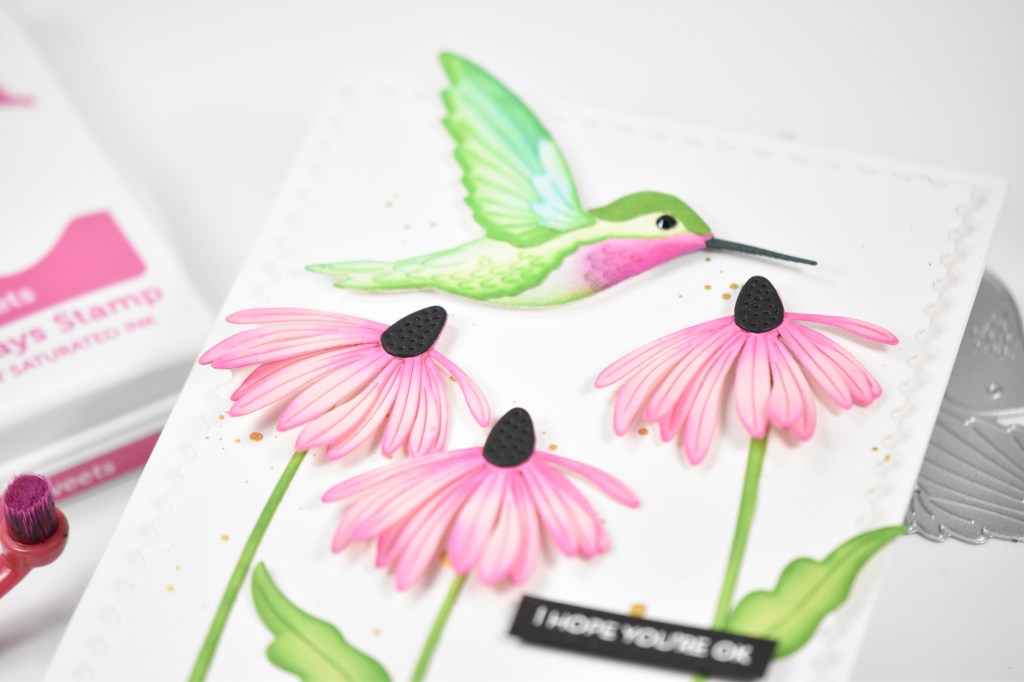
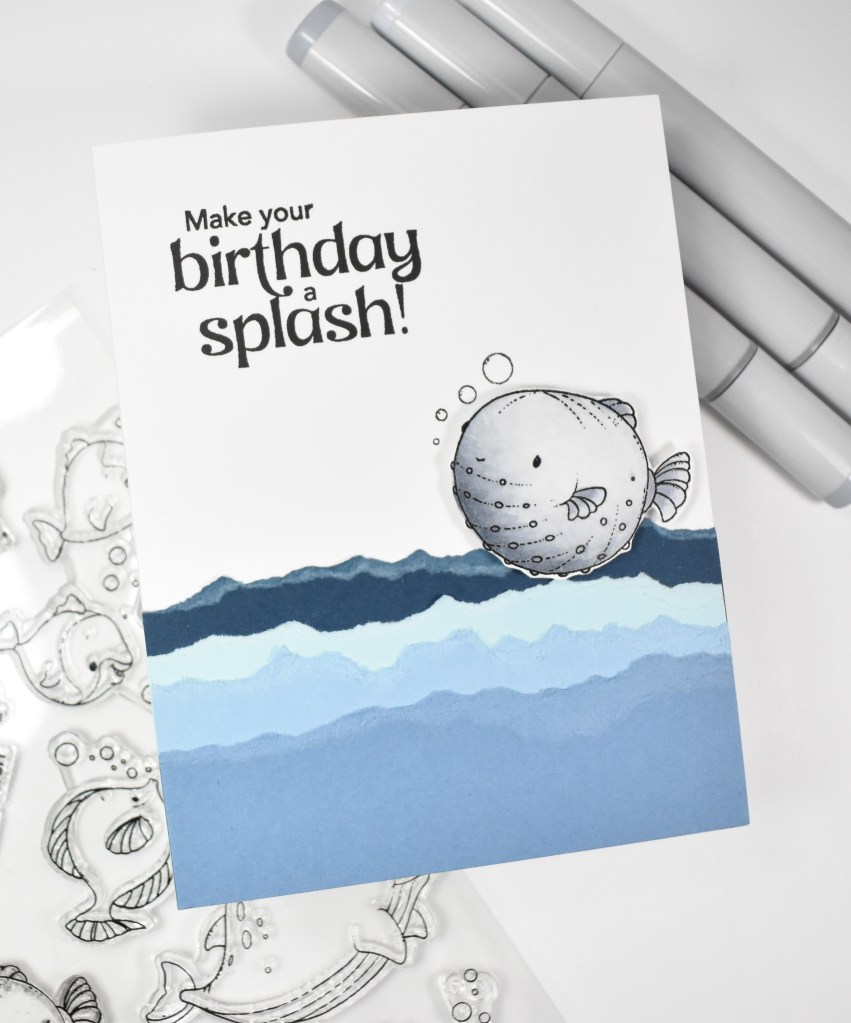
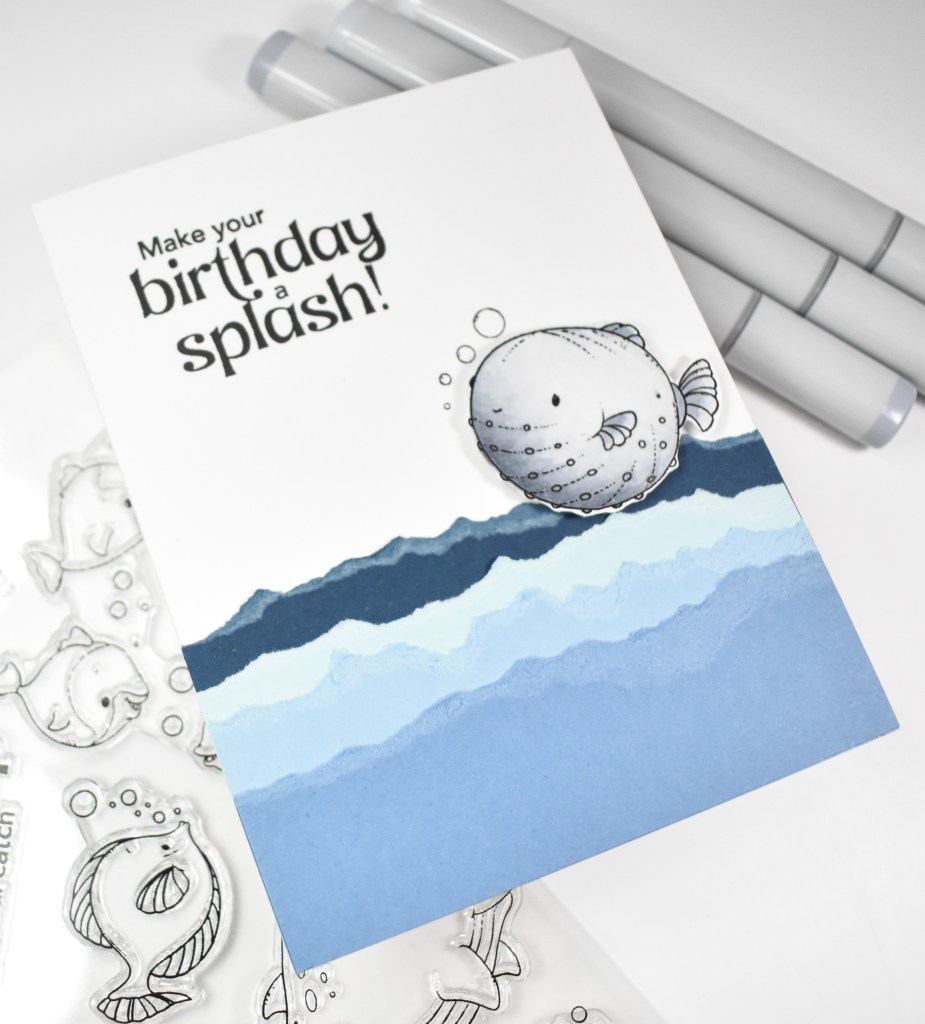
I began this project by stamping one of the Undersea Friends onto some Neenah 110lb cardstock using VersaFine Onyx Black ink and heat setting it using clear embossing powder. I then colored the image with Copic Markers C00, C1, C2, C3, C4 and C5.

There is a die set that does with these stamps, but I did not have that, so I fussy cut my image. I then pulled some blue cardstock from my stash and cut those to fit my card base and tore the top edges to resemble waves. I stamped the sentiment and the bubbles directly onto the card and glued my blue layers in place, while the fish was adhered using foam strips.

That does it for this one. A pretty simple, yet cute card. I don’t normally prefer cutesy sets, but I think this card came out good. I hope you like it as well. Thanks so much for joining me, and I hope you have a fabulous day! Stay awesome, friend!

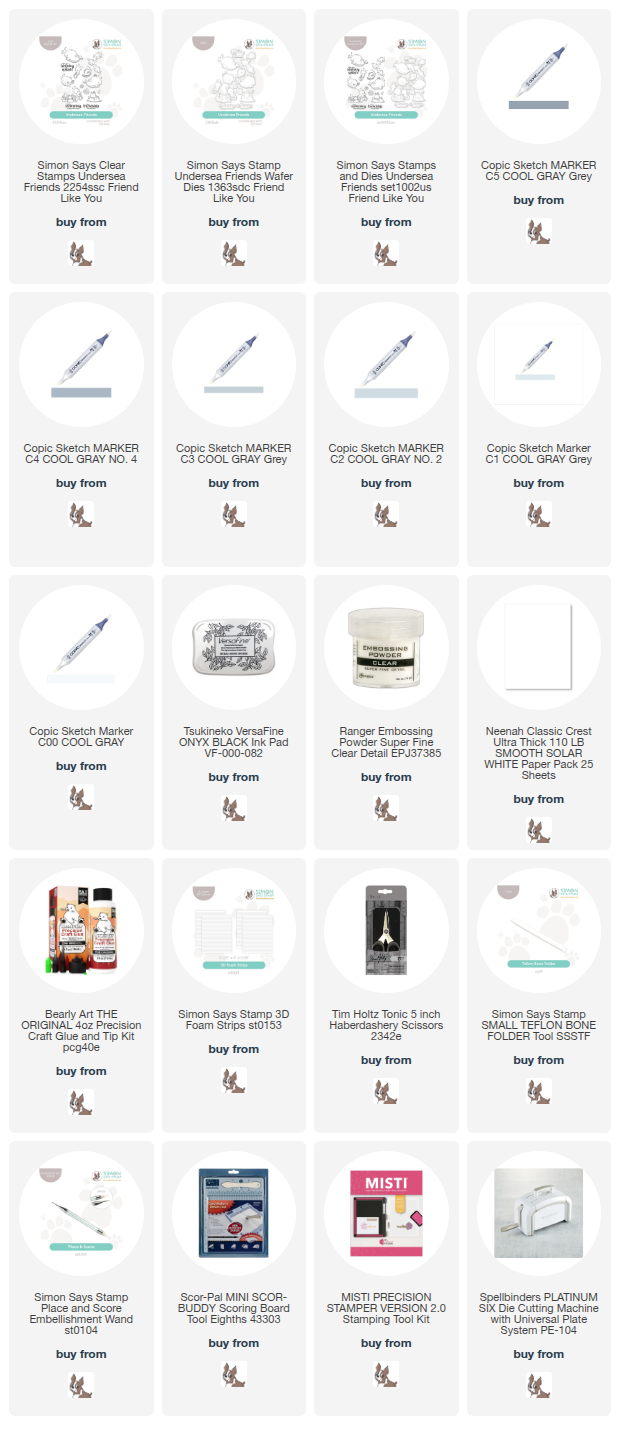
Supply List
Affiliate links used at no cost to you. What does this mean? If you use the links within this post to make a purchase, I receive a small commission, which allows me to continue to post crafty content for your enjoyment. I truly appreciate your support!
Latest Posts
- Simon Says Stamp Braided Greetings

- Together By Design Color Cube Floral

- Simon Says Stamp Cute Duckling

- Simon Says Stamp Watercolor Wild Rose

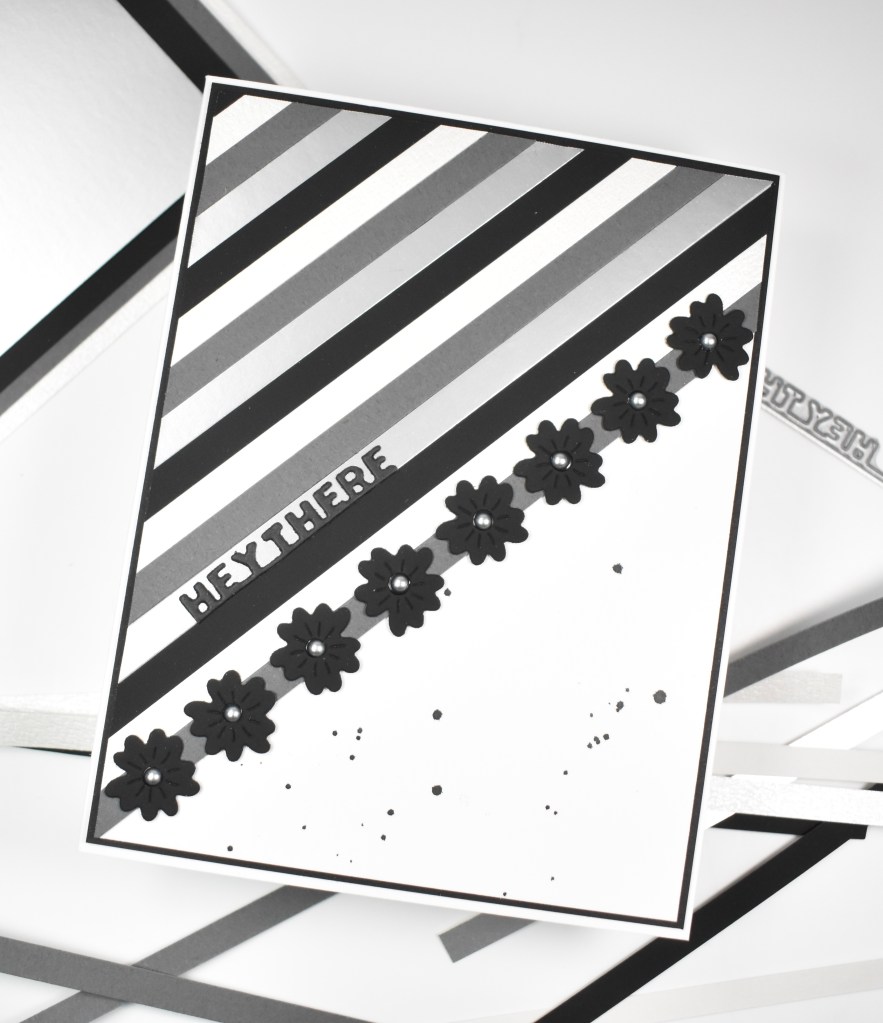
- Simon Says Stamp Striped Missing You

Latest Instagram Posts