Simon Says Stamp Latte Birthday Wishes

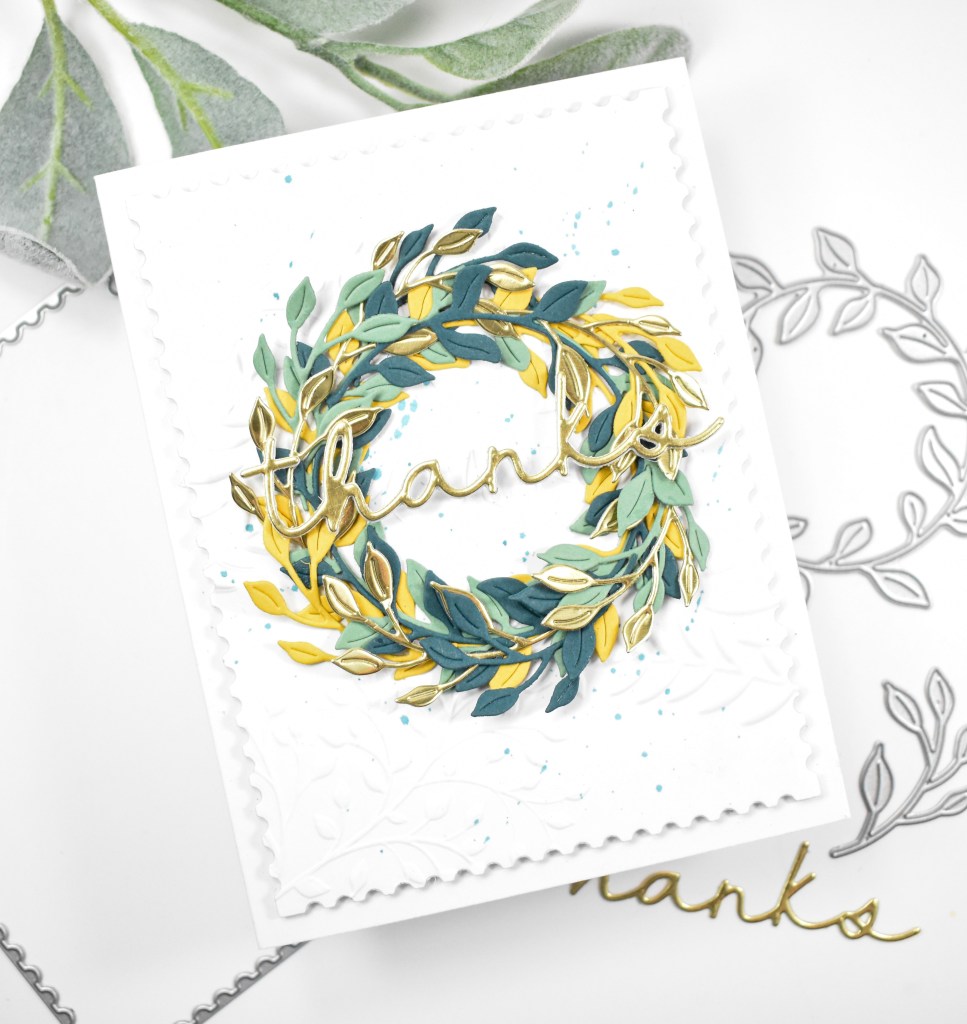
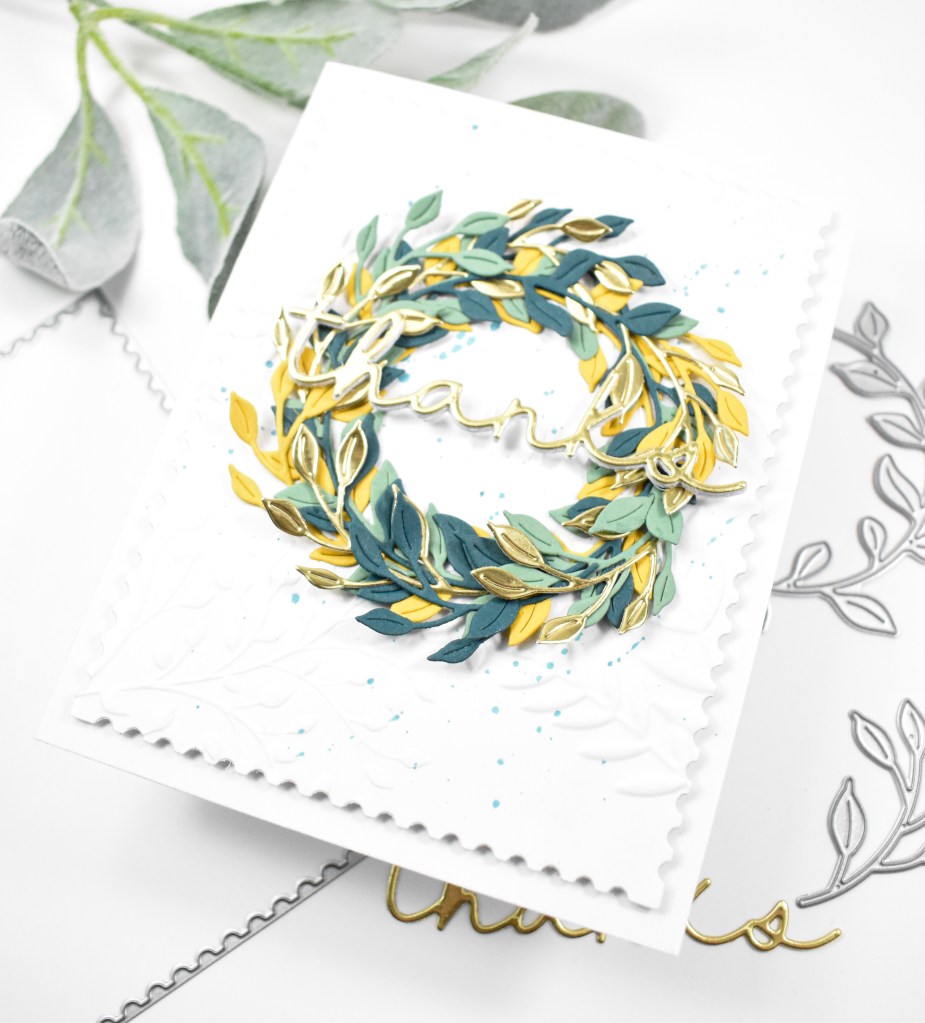
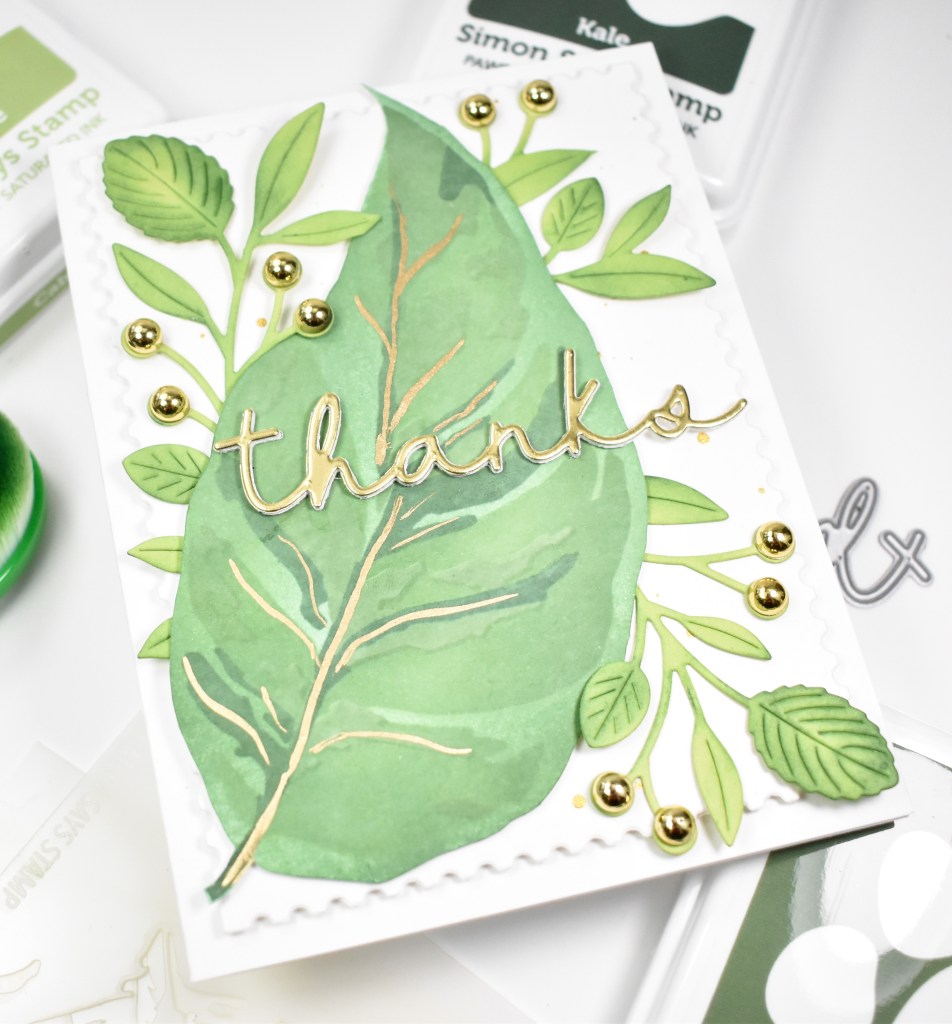
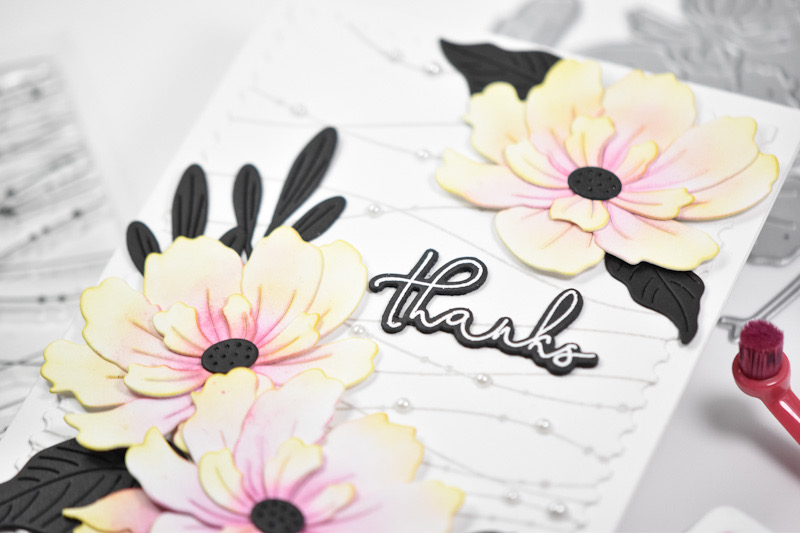
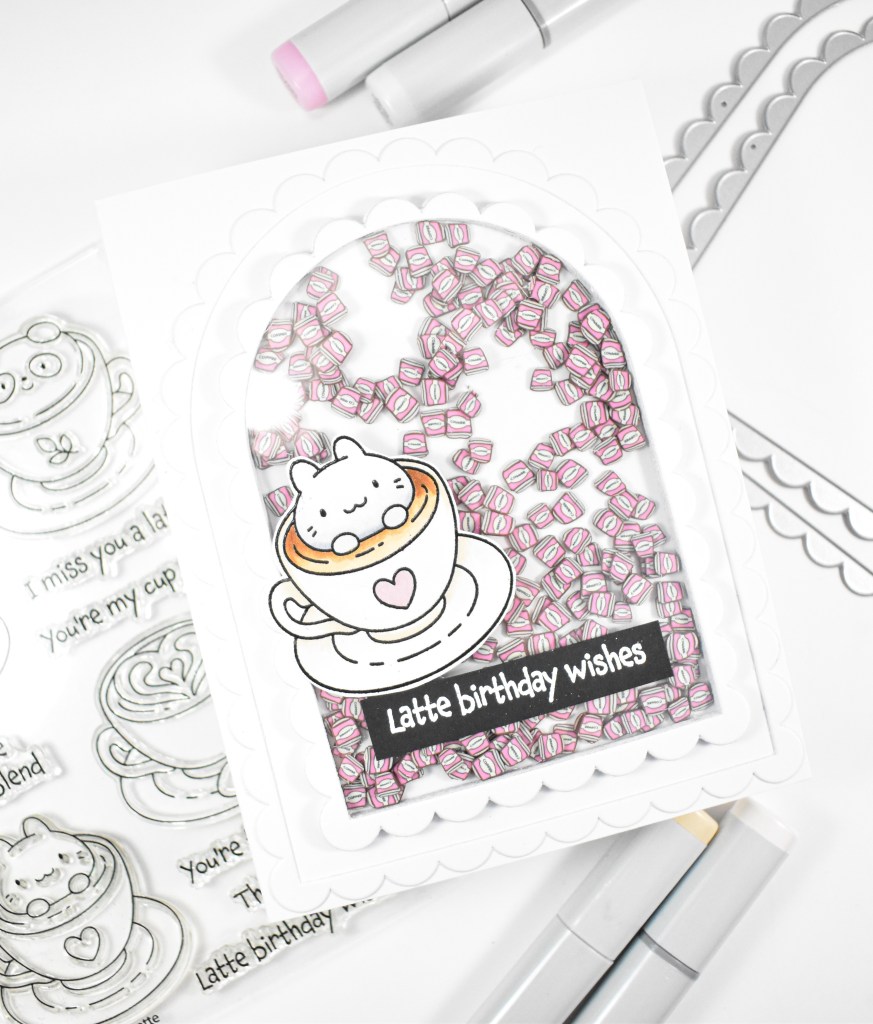
Hello Friends and thanks for stopping by! The In My Heart release from Simon is live, and I’m back today with a project featuring the new Thanks a Latte stamp and Scalloped Arches Frames. Let’s run through the details!
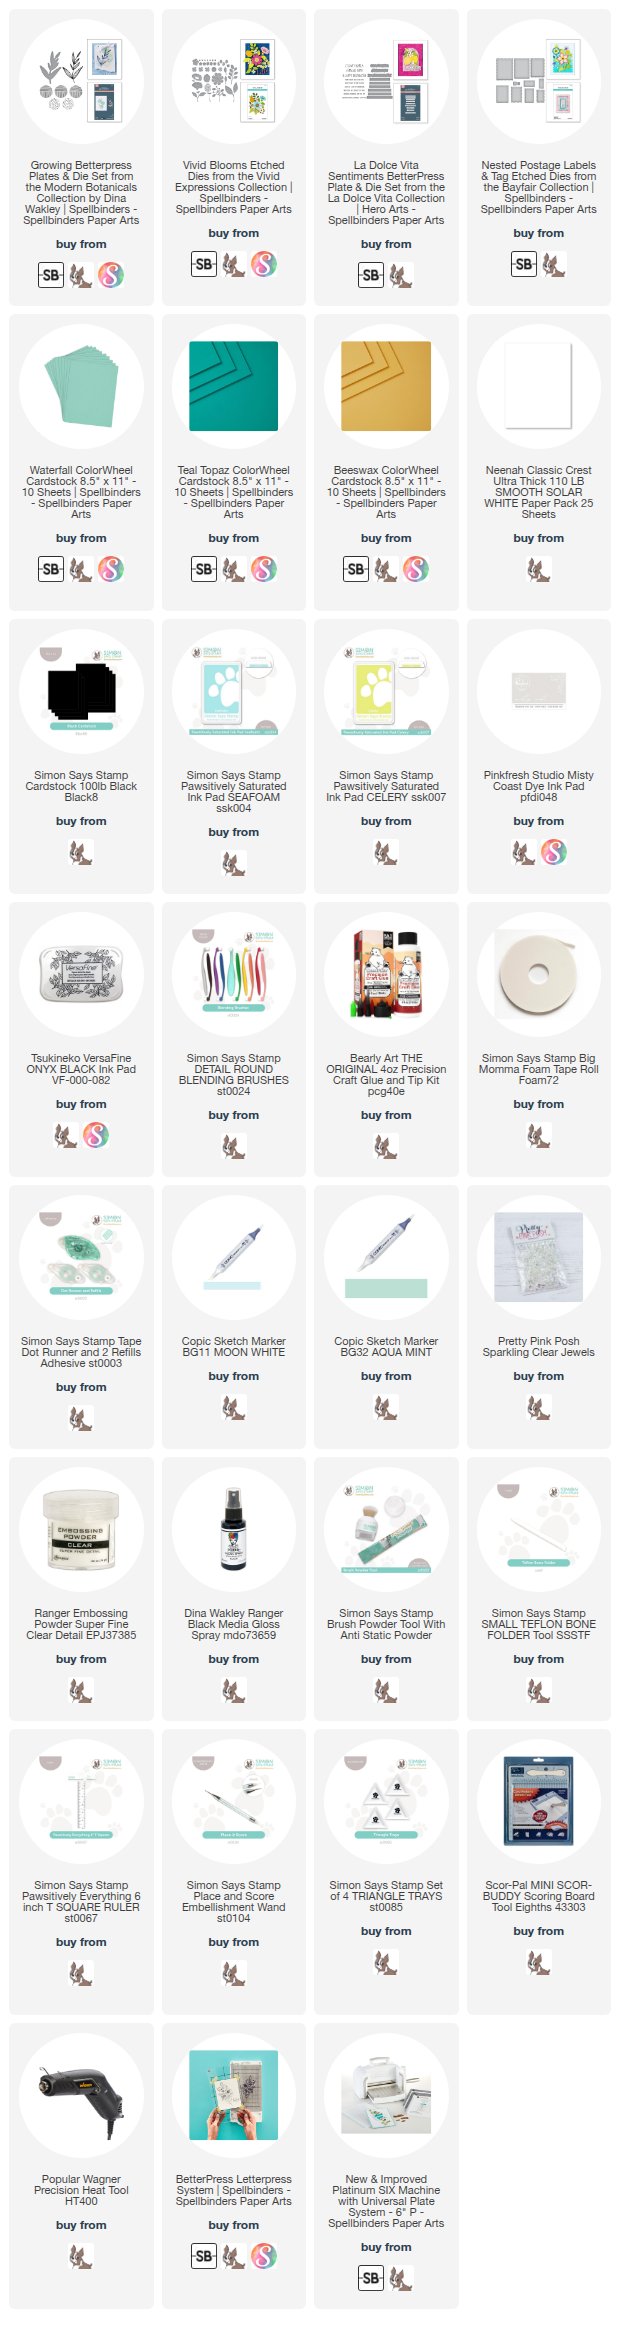
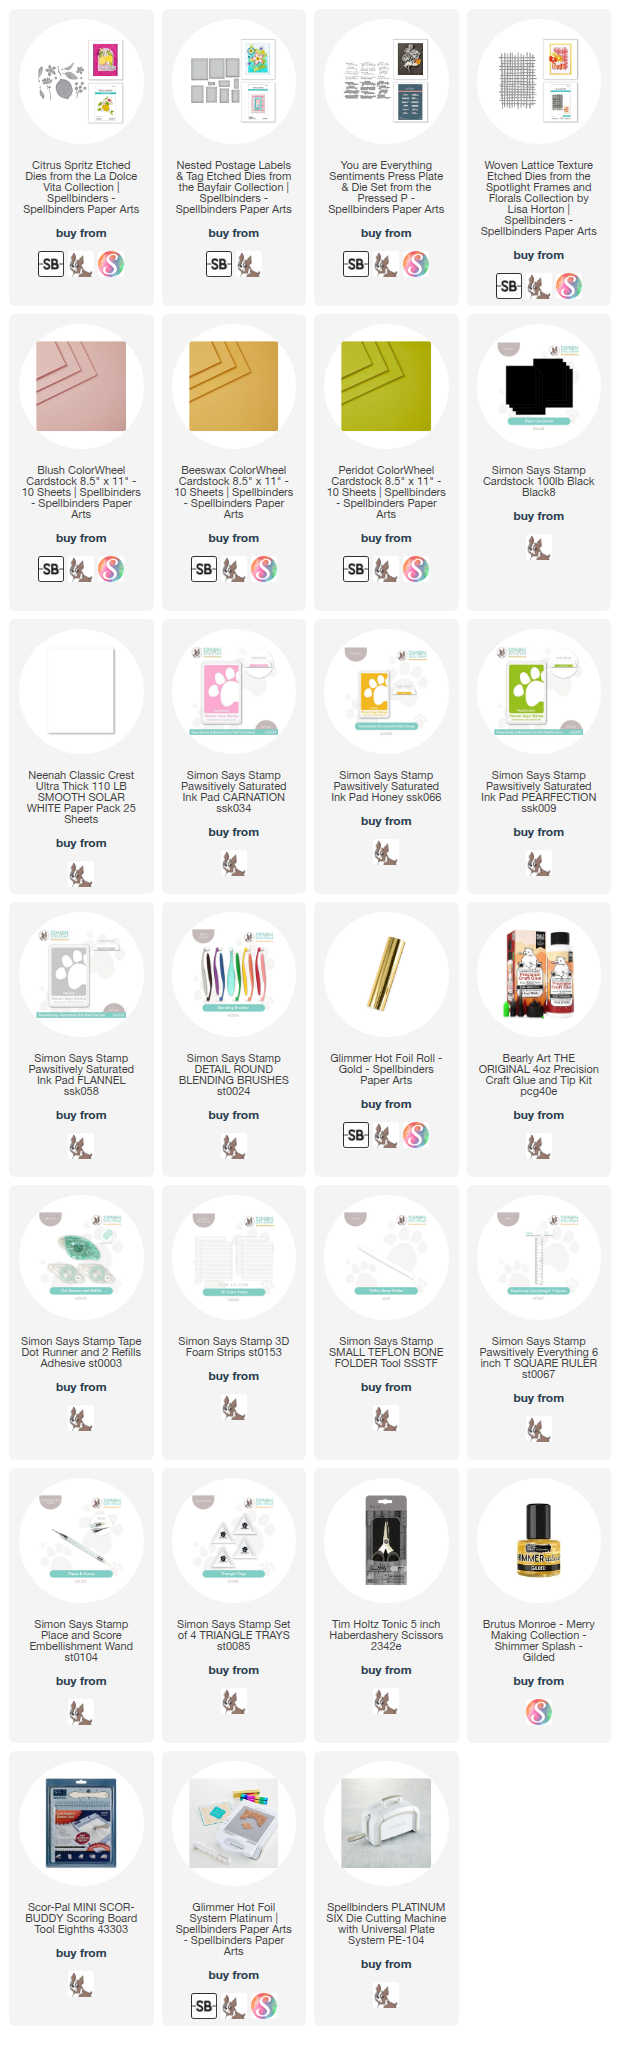
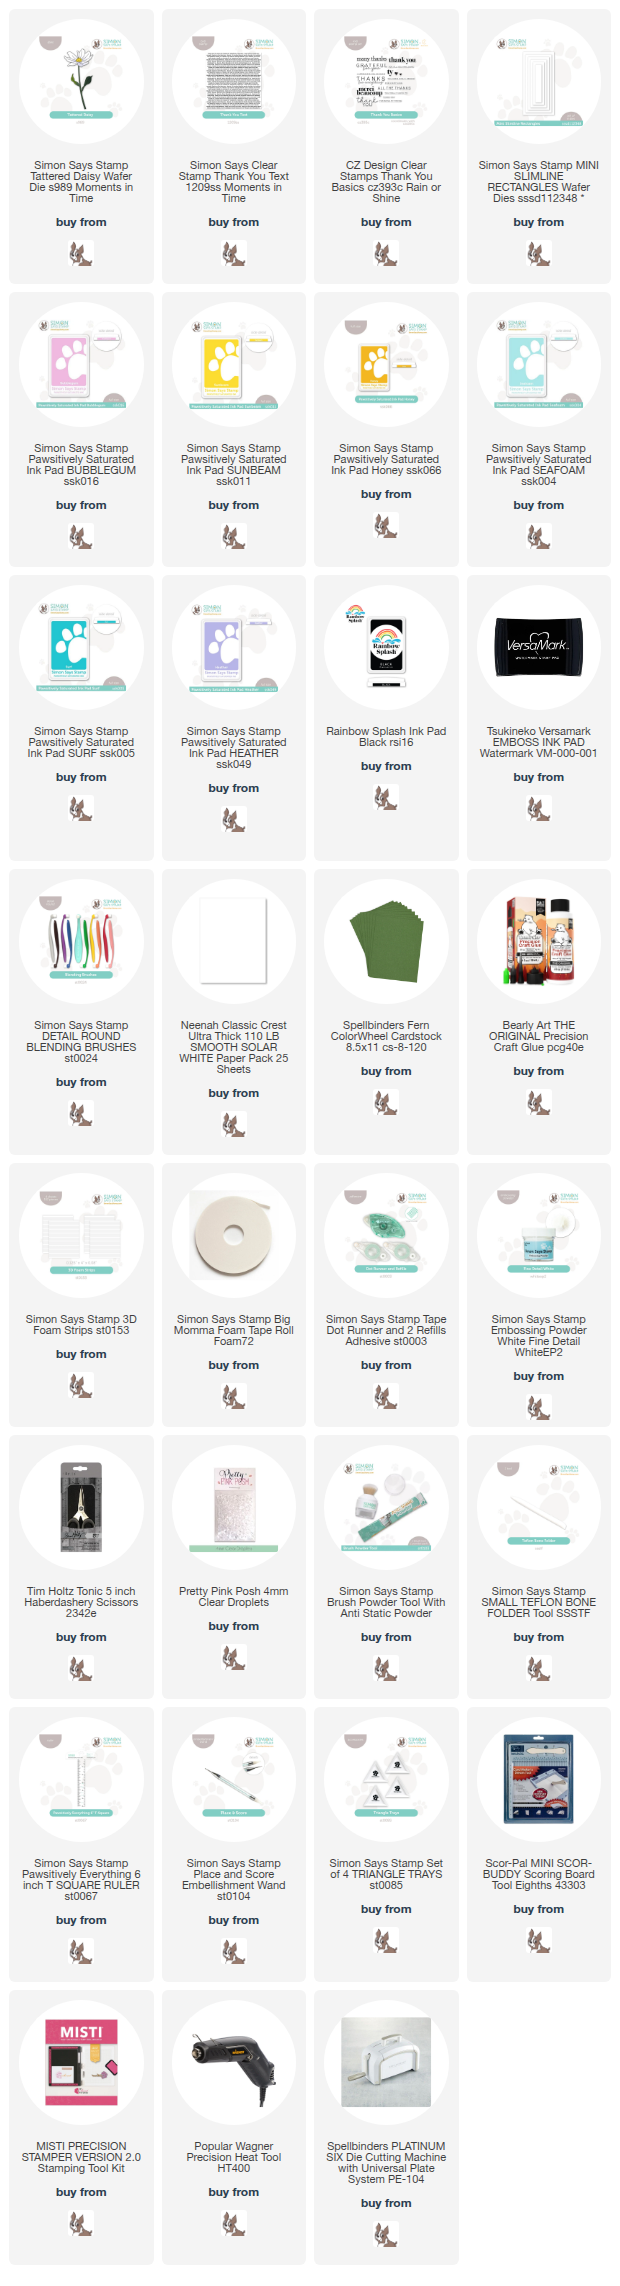
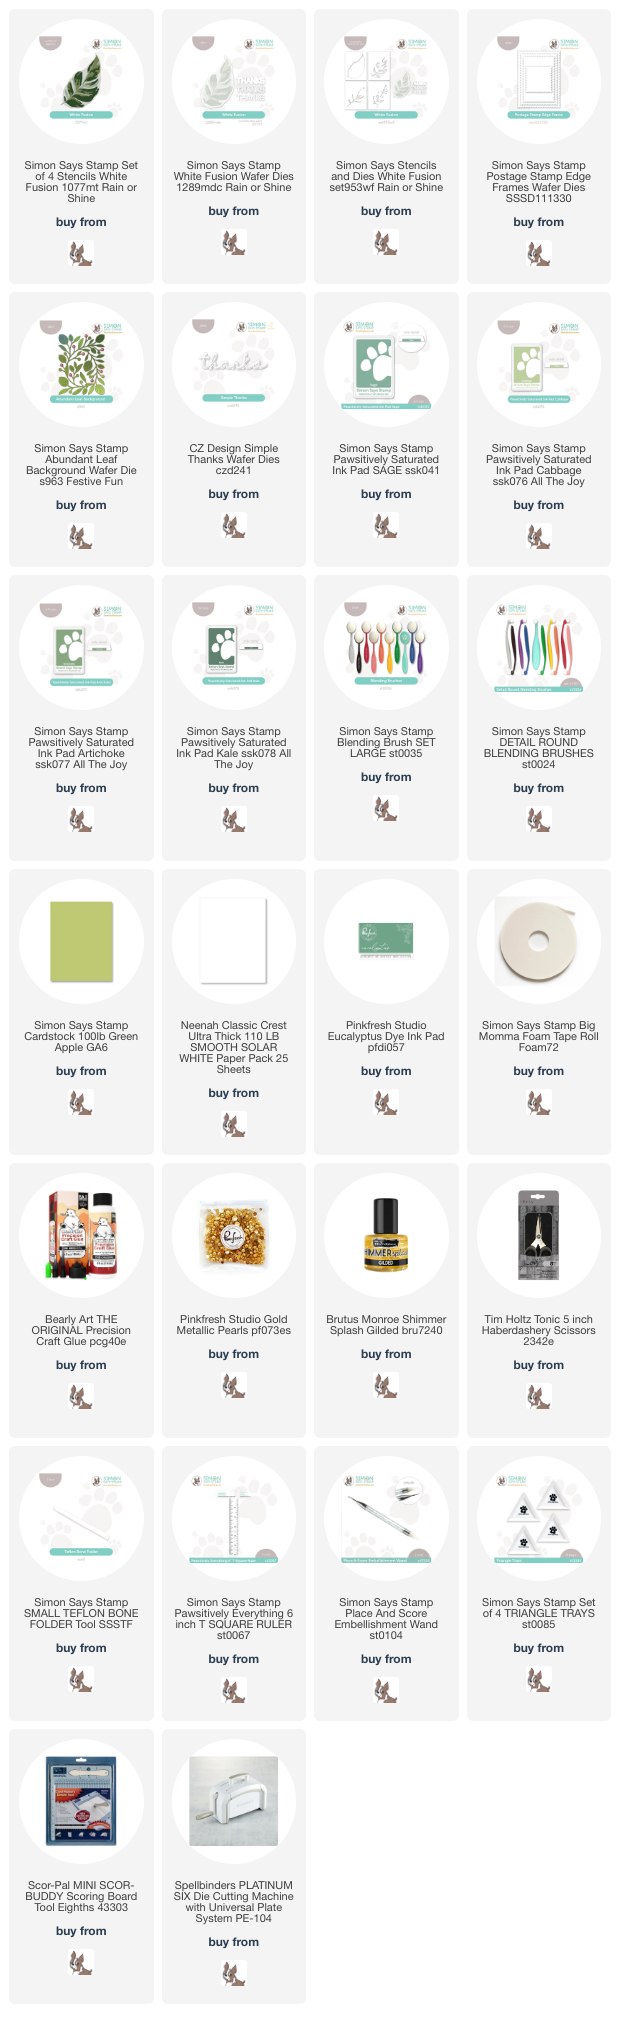
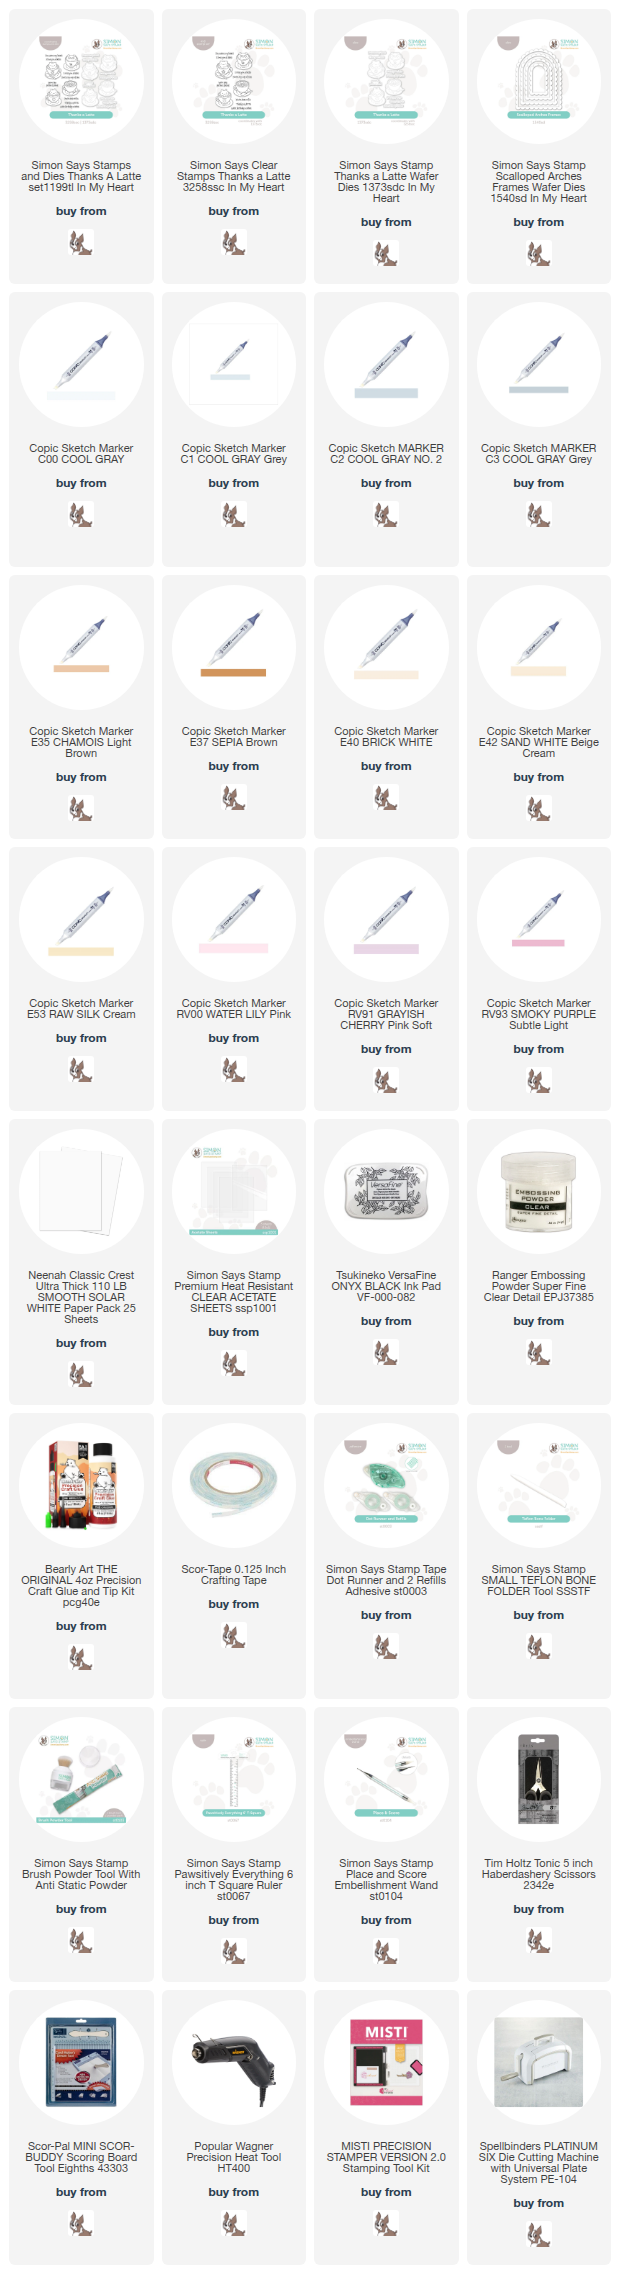
NOTE: all supplies are linked in the thumbnails at the end of this blog post.
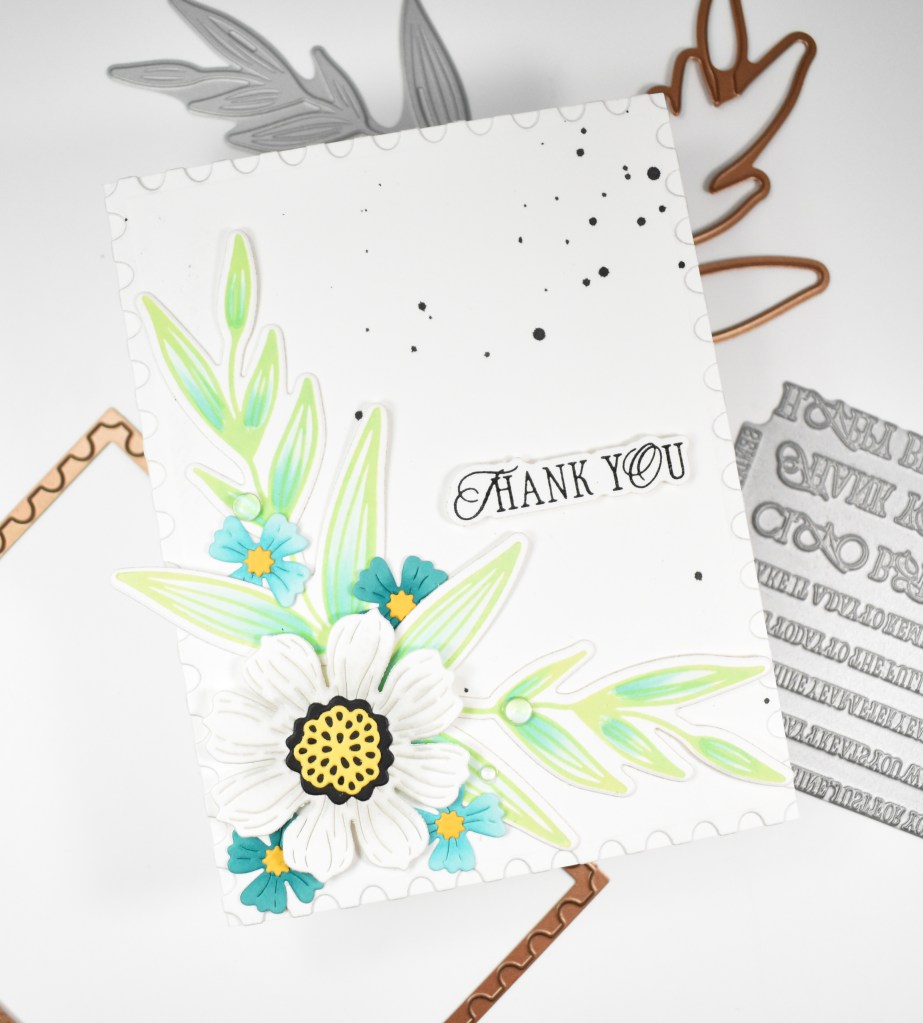
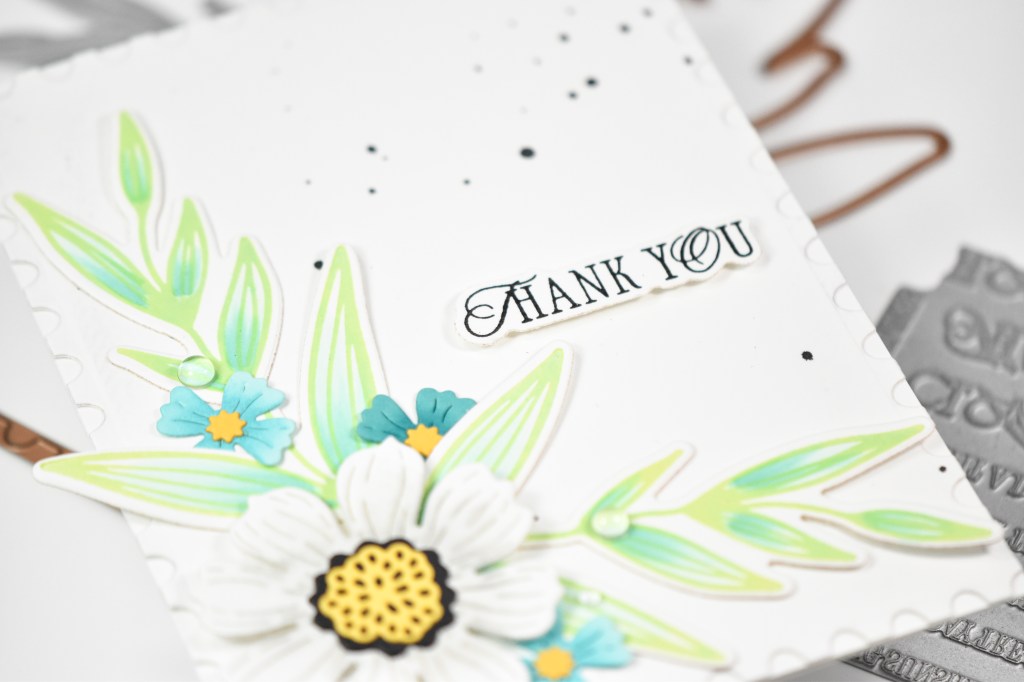
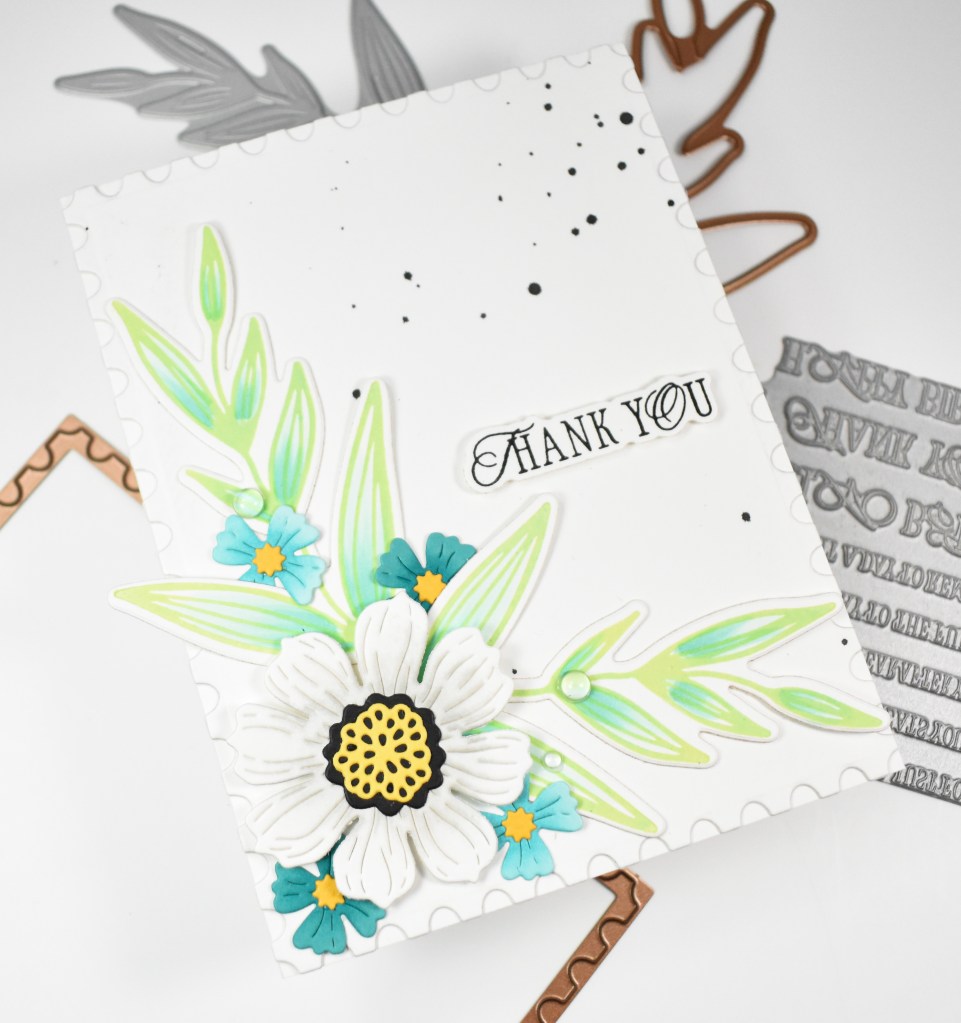
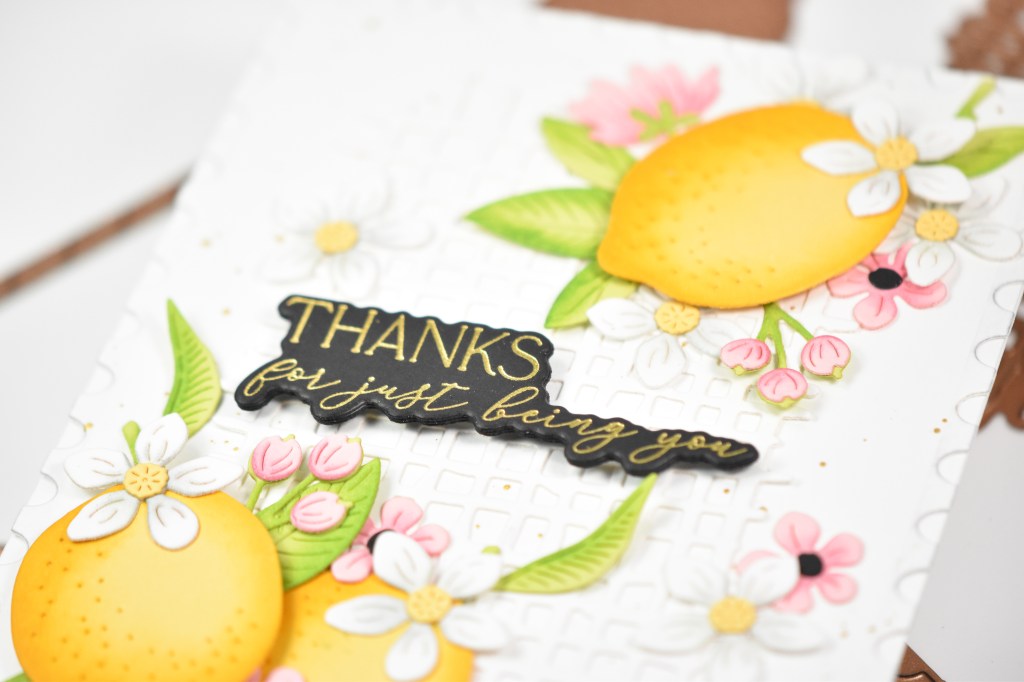
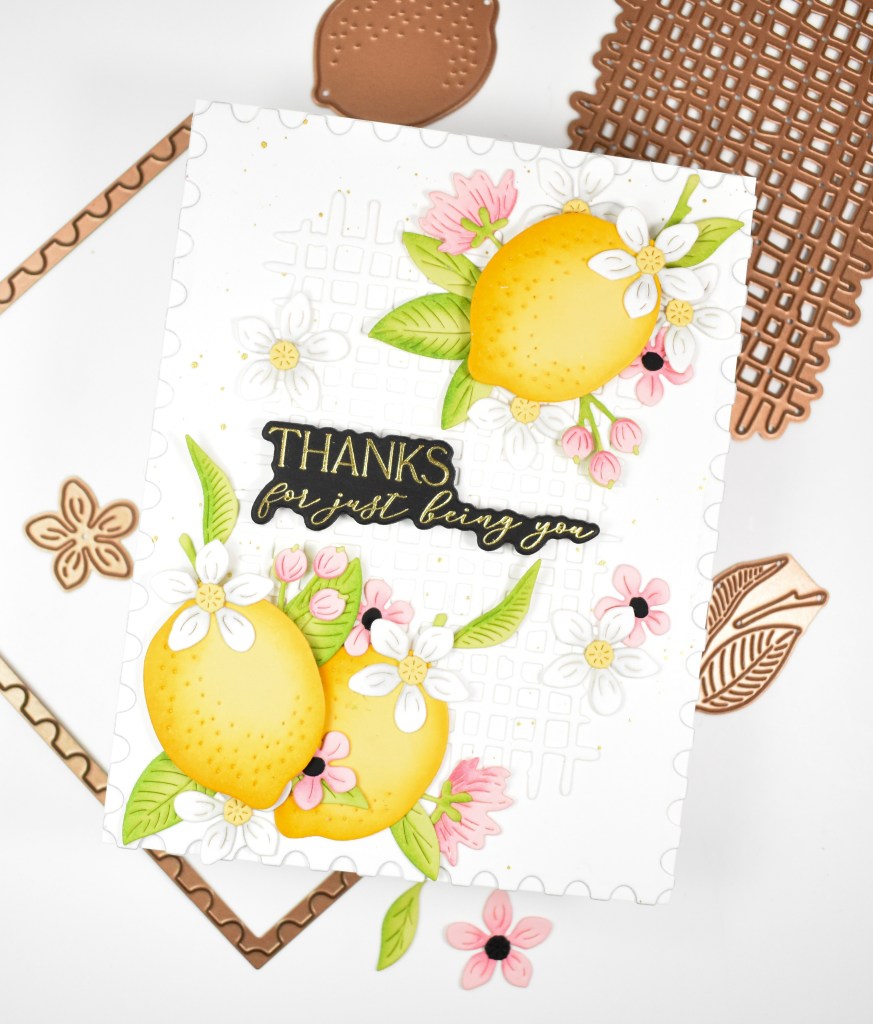
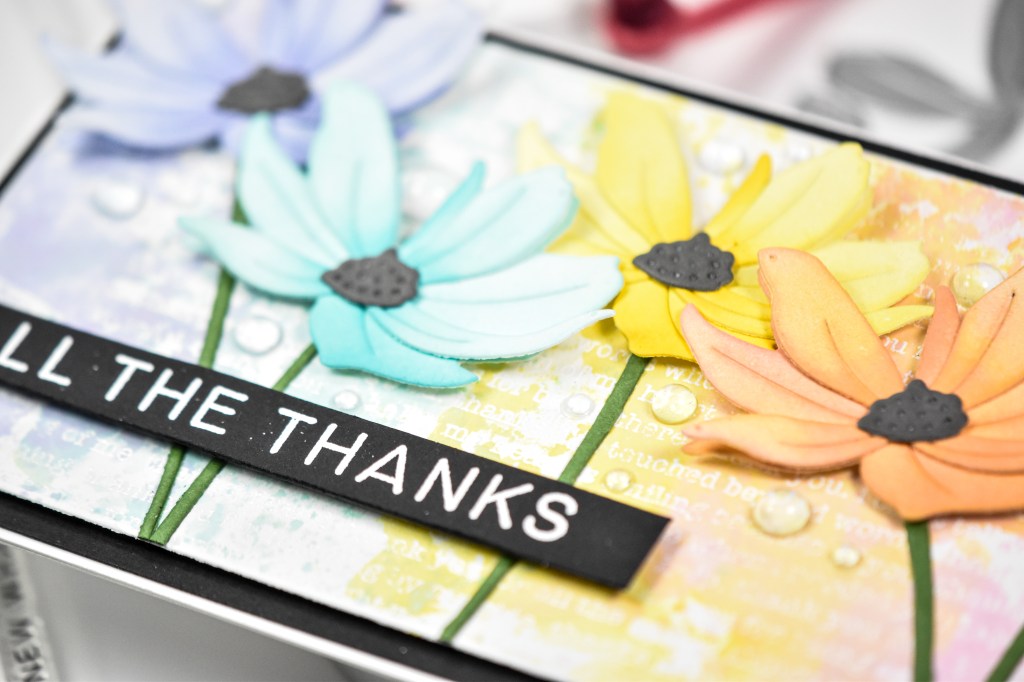
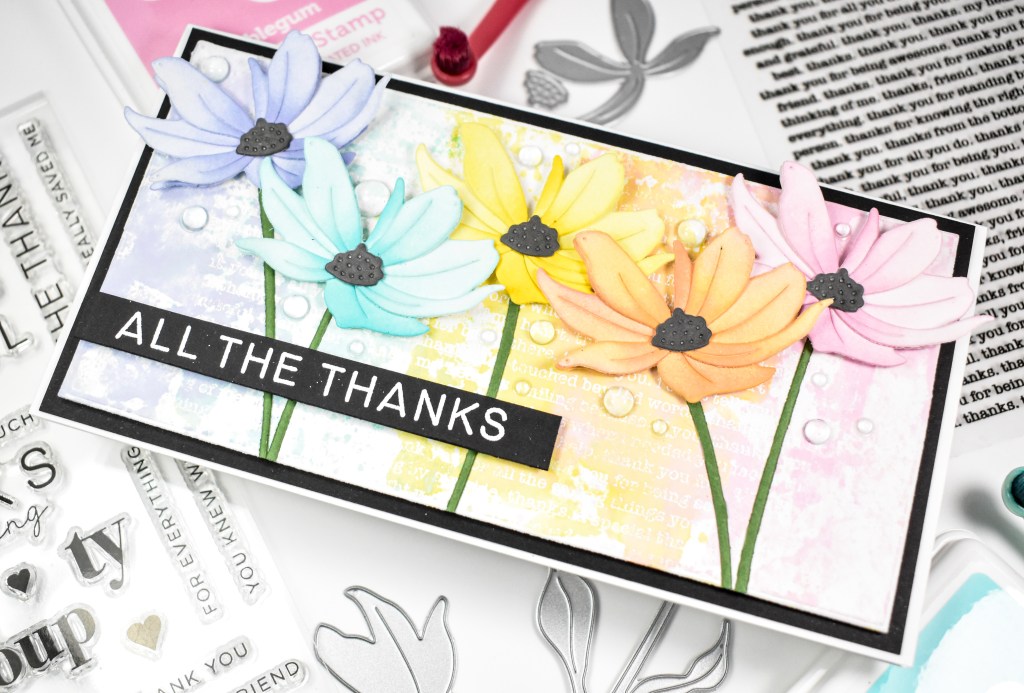
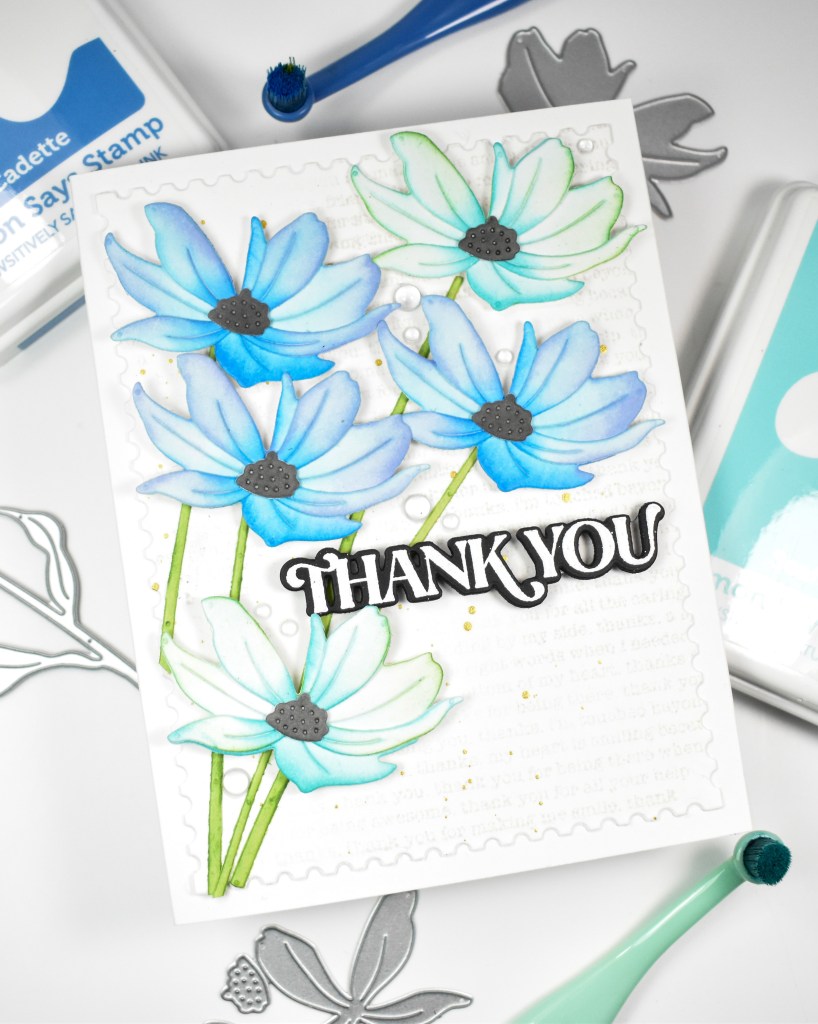
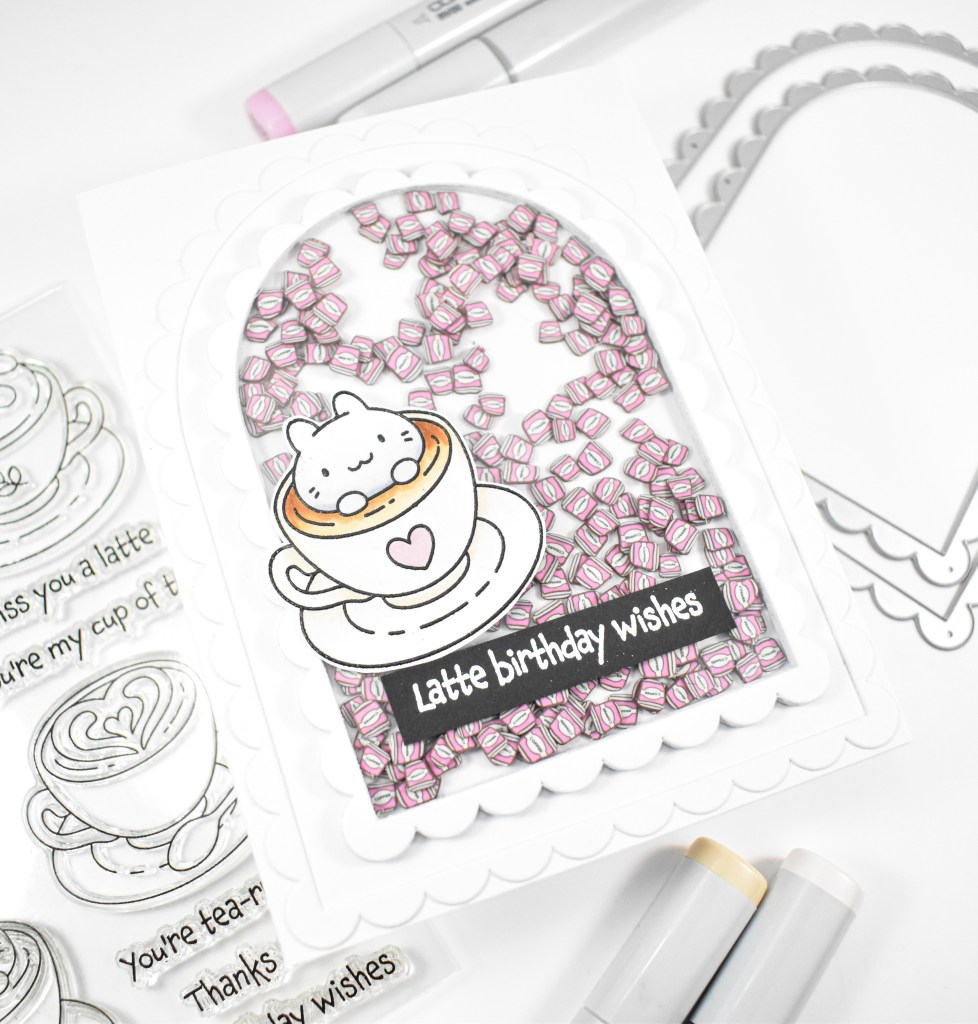
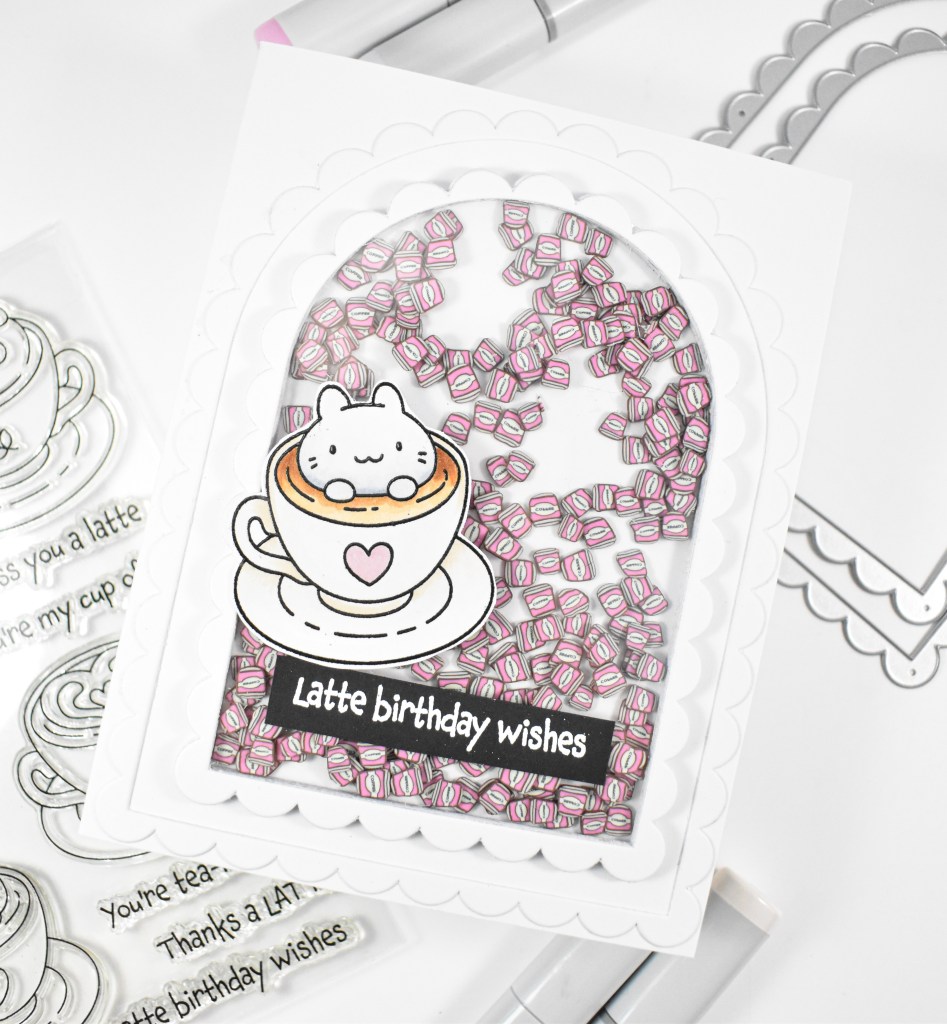
When I saw the arches, I immediately thought of a shaker card, so that’s what I set out to create! I thought some cute coffee shaker bits would be fun, but I didn’t have any of those! So, Etsy to the rescue! I stamped the critter from the Thanks a Latte set with VersaFine Onyx Black ink, heat embossed it with clear powder, colored it with Copic markers and fussy cut the image. As a note, there are coordinating dies for this set. I also went ahead and stamped the sentiment onto black cardstock using VersaMark ink, heat set that with white powder and trimmed it down into a strip.
The arches were cut 6-7 times I believe. I cut a piece of acetate and secured it in place and glued another arch on top of it so that it would stay in place. I cut a larger arch and glued that to the card base, sprinkled the coffee shaker bits into the center and glued the stacked acetate arch atop that. There might have been an easier way to do this, but I couldn’t think of it, because the die also cuts out the center portion of the arch. If you can tell me a better way, please let me know!! Once everything was secured, I added the critter and the sentiment atop the acetate with strong double sided tape to finish up.
That does it for this project! I hope you like it, and I hope if you have a better way for assembly, that you’ll send me a message! Don’t forget to check out the entire In My Heart release! Thanks again for joining me, and I hope you have a wonderful day!
Supply List
Affiliate links used at no cost to you. What does this mean? If you use the links within this post to make a purchase, I receive a small commission, which allows me to continue to post crafty content for your enjoyment. I truly appreciate your support!
Latest Posts
- Simon Says Stamp Braided Greetings

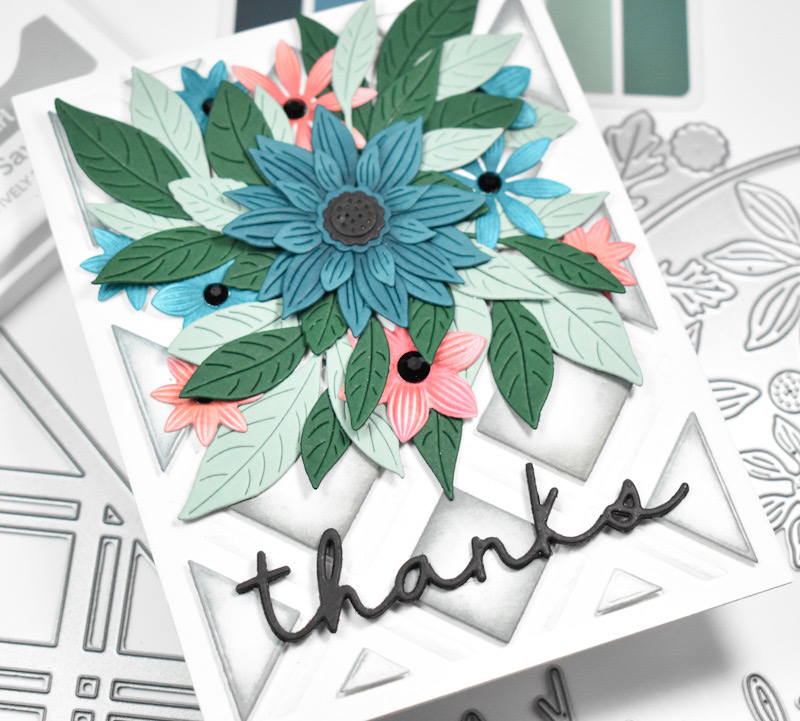
- Together By Design Color Cube Floral

- Simon Says Stamp Cute Duckling

- Simon Says Stamp Watercolor Wild Rose

- Simon Says Stamp Striped Missing You

Latest Instagram Posts