Simon Says Stamp Lots of Welcome

Hello Beautiful Release
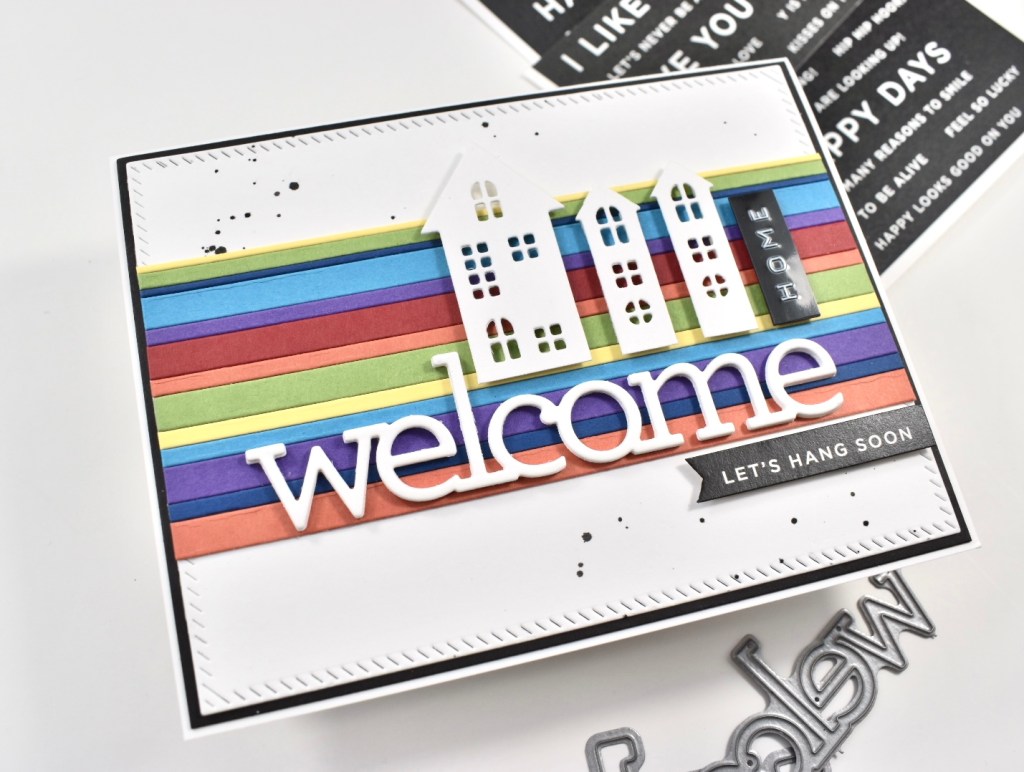
Hey! Hey! Hey! How’s it going? Today I’m sharing a Welcome Home card featuring the new Welcome die from Simon Says Stamp’s new release Hello Beautifu!

Let’s jump right into it! I began by cutting a panel of Neenah Classic Crest 110lb cardstock using the PinkFresh Studio Diagonal Stitched Rectangles die, and then I die cut my SSS Welcome sentiment eight times. While I was cutting, I went ahead and cut the house from the SSS Village die from black cardstock in my stash.
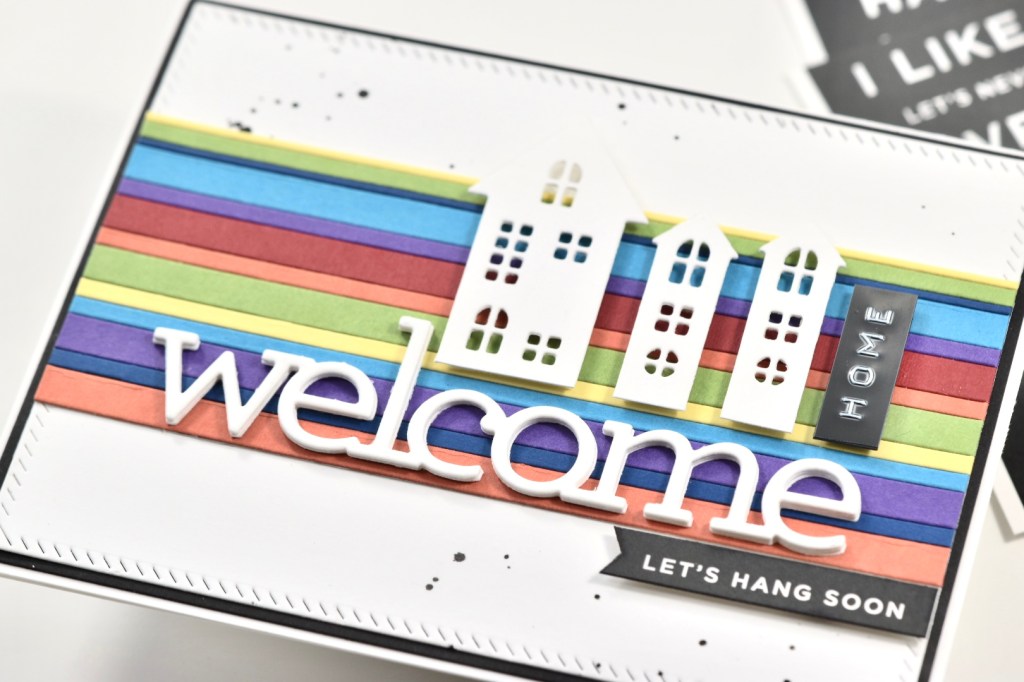
I centered up my first Welcome die cut at the bottom of my panel and adhered it using Craft Tacky Glue. Working around the tall part of the “L”, I started adhering the other Welcome sentiments. Once the Welcome sentiment was adhered, I would trim off the rest of the sentiment and add it to the other side of the “L.” Hopefully that makes more sense as you look at the pics.

Taking a look at the row just above the bottom Welcome .. I positioned the next Welcome just to the right of the tall part of the “L.” Then, I trimmed off the excess on the right side of the panel and added it to the same row on the left side of the “L.” Maybe that makes more sense! Anyhoo, I continued that pattern until I reached the top of the panel.

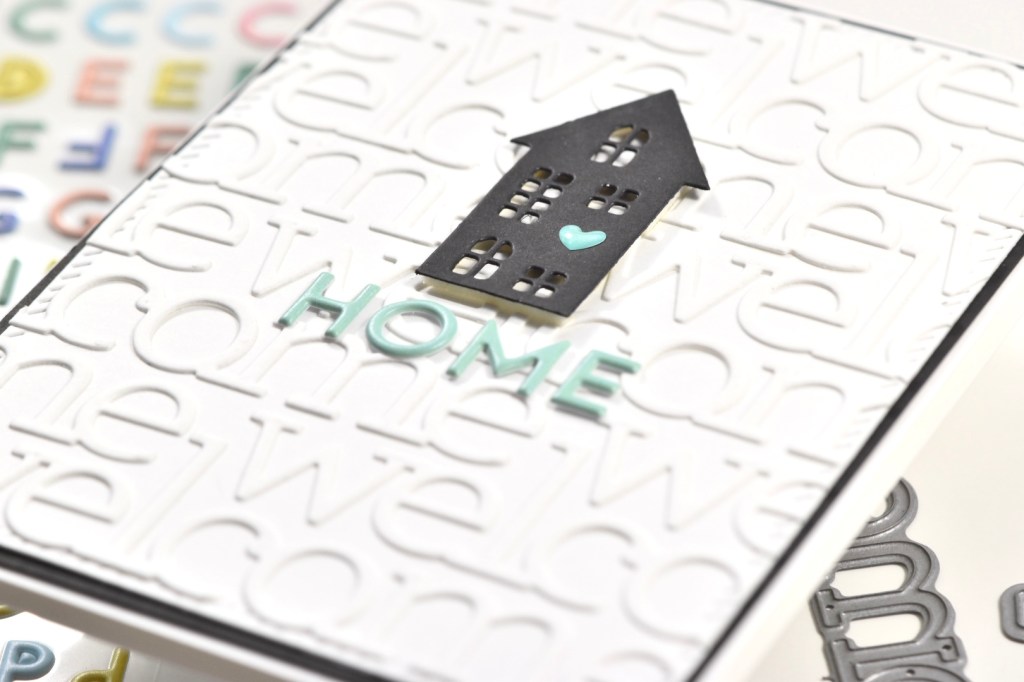
I adhered the black house somewhat in the center using 3M Foam Tape, and positioned the letters for HOME just below that. These letters are from PinkFresh Studio and they are the Mini Puffy Alpha Stickers from their Let’s Stay Home Collection. Super cute!
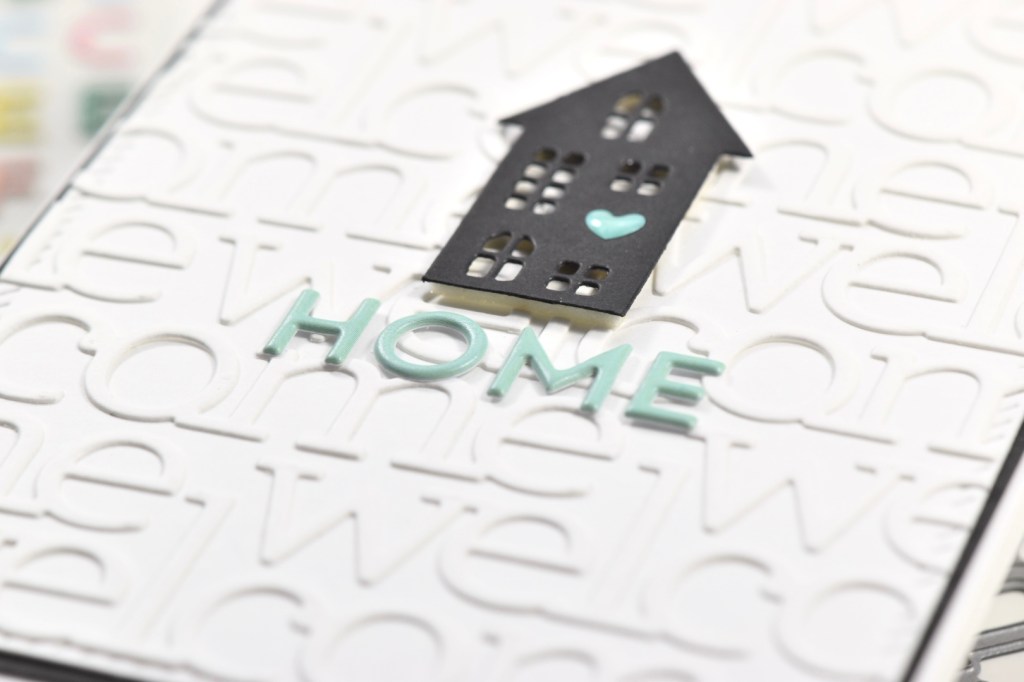
For the final steps, I added a Heart-Fetti Shape from Doodlebug Designs to the house, I adhered my card panel to a black panel just slightly larger for some contrast, because I like my contrast, and I adhered those to my card base, which is Neenah Classic Crest 100lb cardstock.
I enjoyed the power of repetition on this card! A simple sentiment made a big visual impact just by repeating the pattern!
Thanks so much for stopping by today! I hope you enjoyed this project and it gives you some inspiration to try some repetitive elements on your projects. Don’t forget to check out the new SSS Hello Beautiful release!
Stay awesome!
Supply List:
- SSS Welcome Die
- SSS Village Die
- Neenah Classic Crest 110lb
- PinkFresh Studio Diagonal Stitched Rectangles
- PinkFresh Studio Mini Puffy Alpha Stickers (Let’s Stay Home)
- Doodlebug Design Heart-Fetti Shape Sprinkles
- Craft Tacky Glue
- Tonic Tim Holtz Scissors
- Tonic Tim Holtz Craft Pick
- 3M Foam Tape
- Gemini Jr.
- Simon Says Stamp Grungy Dewdrop Daisy

- Simon Says Stamp Pastel Birthday Wishes

- Simon Says Stamp Best Fish

- Simon Says Stamp Circle Thanks

- Simon Says Stamp Glowing Daisies