Together By Design Featuring Altenew

Together by Design is a monthly collaboration where a small group of designers all create with products from the same featured brand. Each of us chooses a favorite product and puts our own creative spin on it, showing just how many different ways one brand can inspire. Follow along, explore every project, and discover new designers and new favorites along the way.
This month’s featured brand: Altenew
Here is a list of designers participating this month:
Jessica: www.lovenotesbyjess.com/blog; @jessica.vasher
Jean: www.studio-jd.com; @jean.studiojd
Maggie: www.schoolhousestamps.blogspot.com; @teacher11494
Tracy: https://redsas.co; @redsas
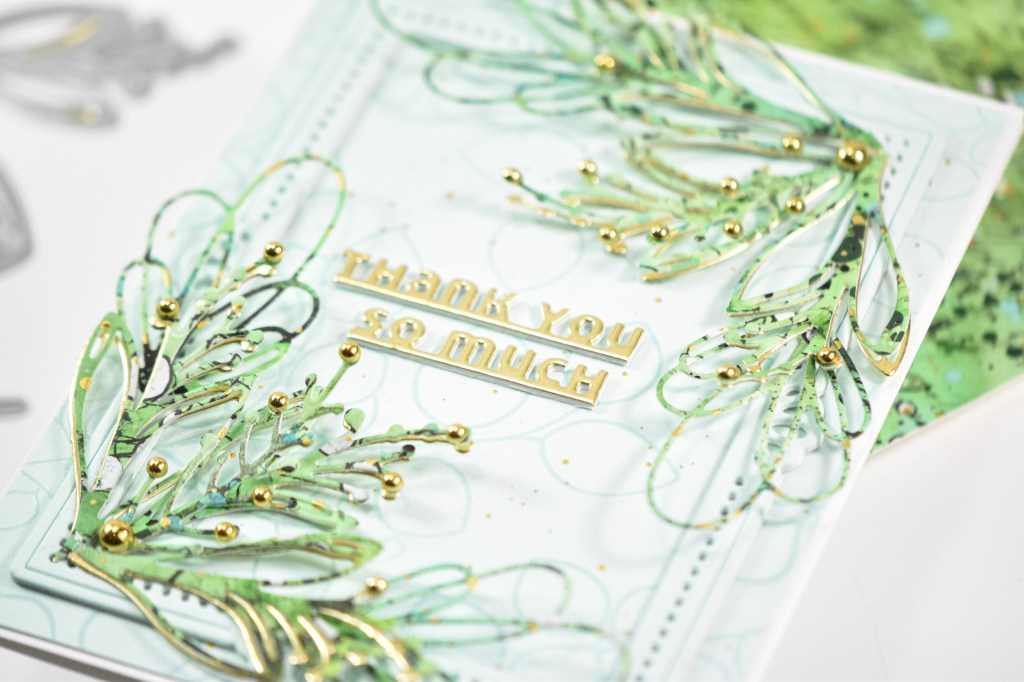
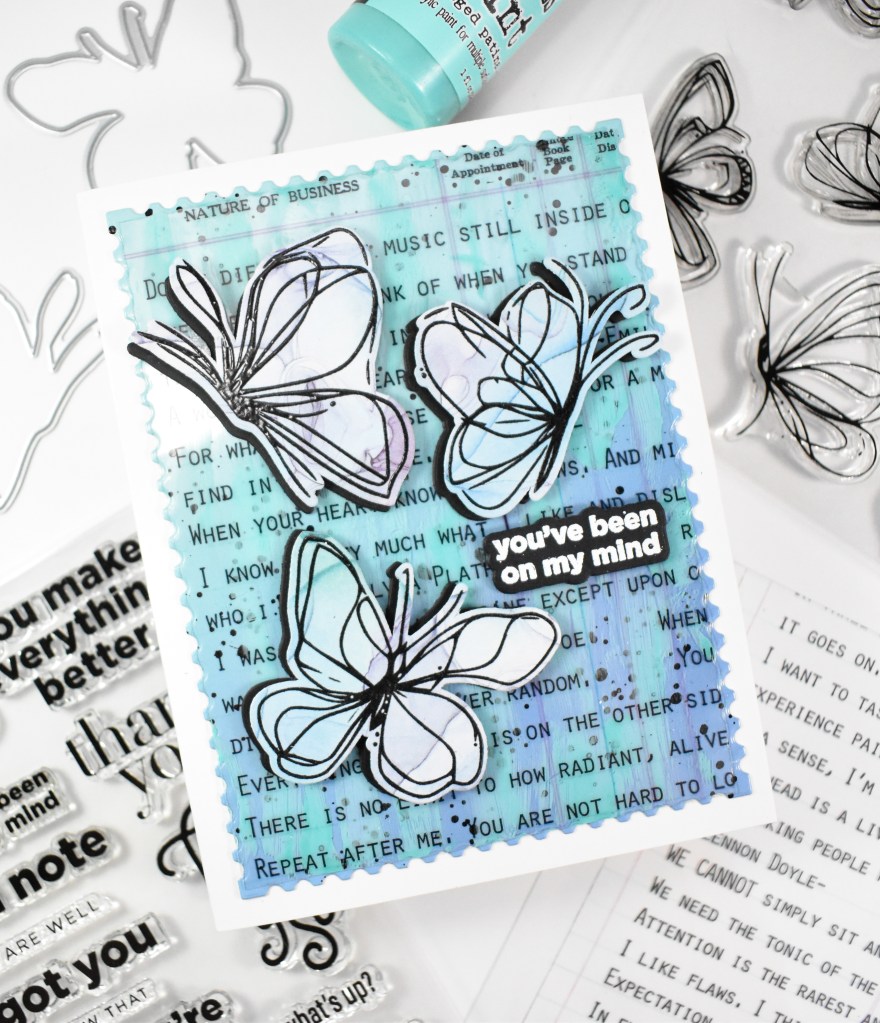
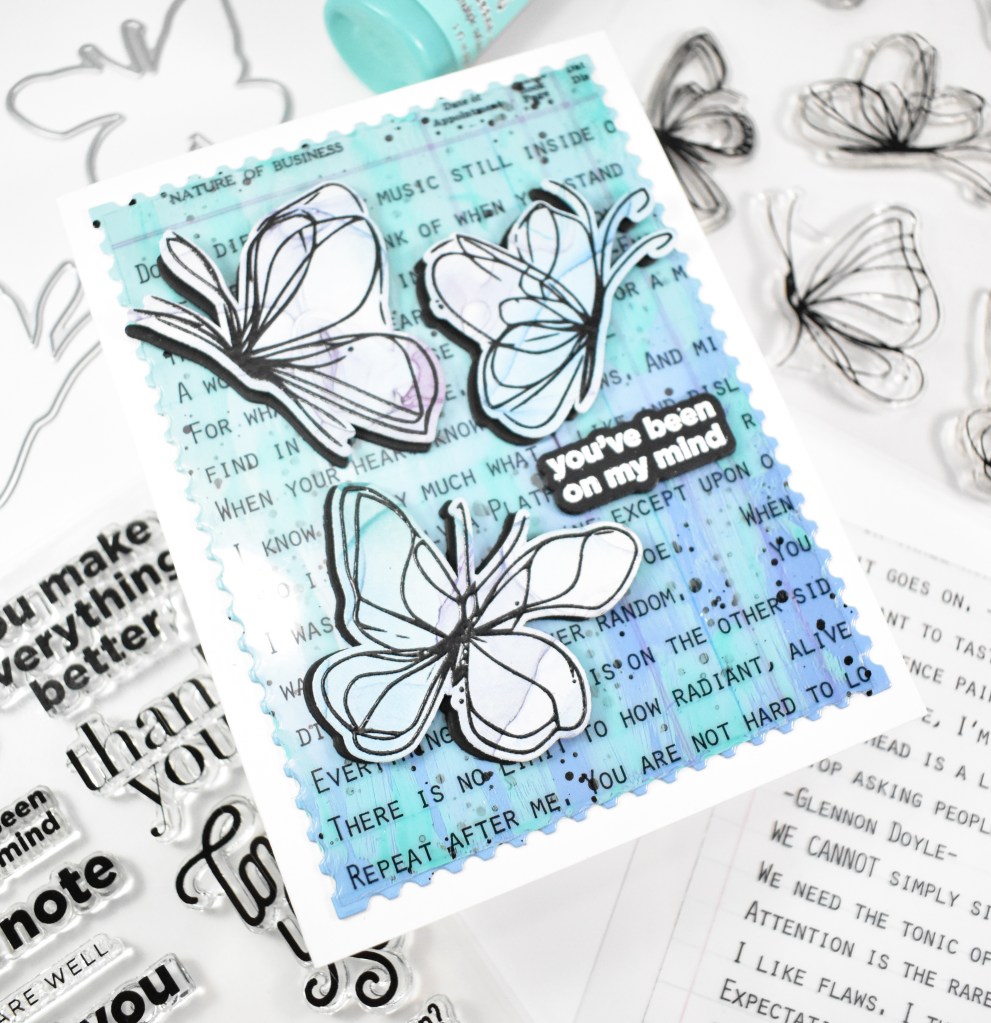
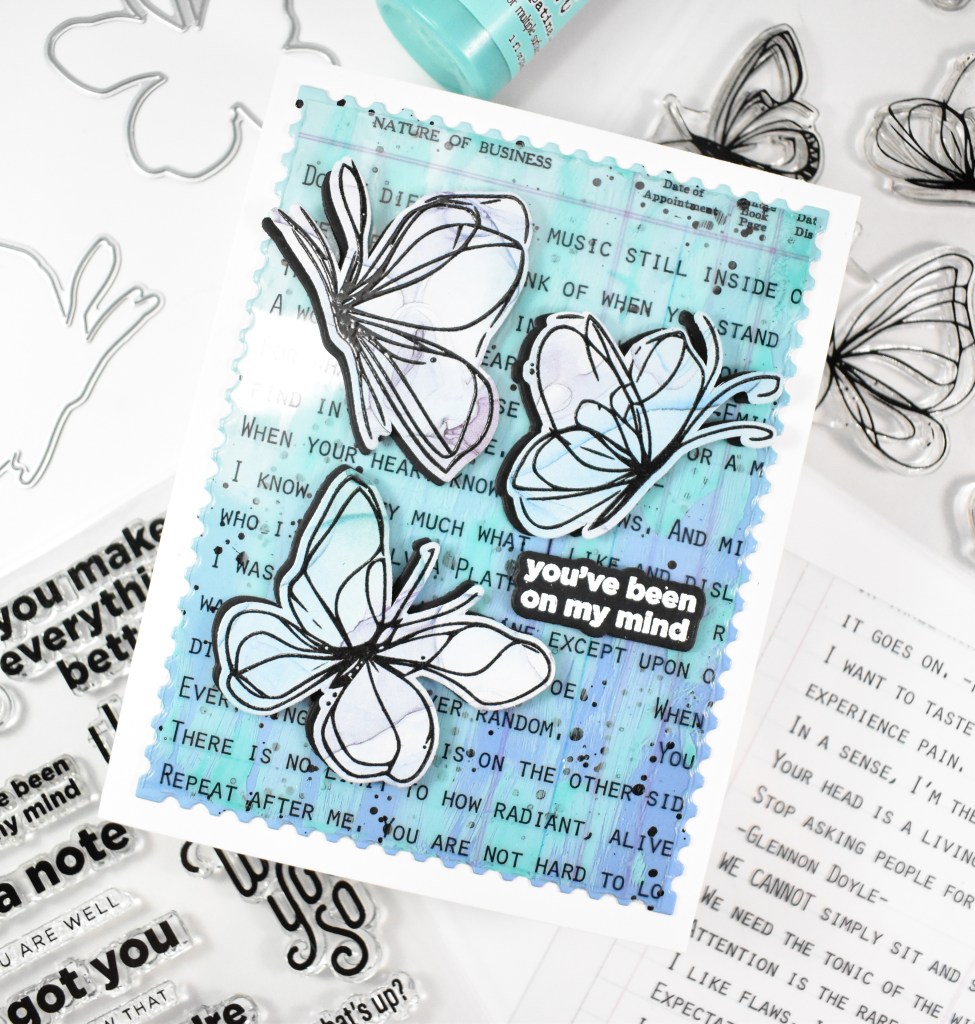
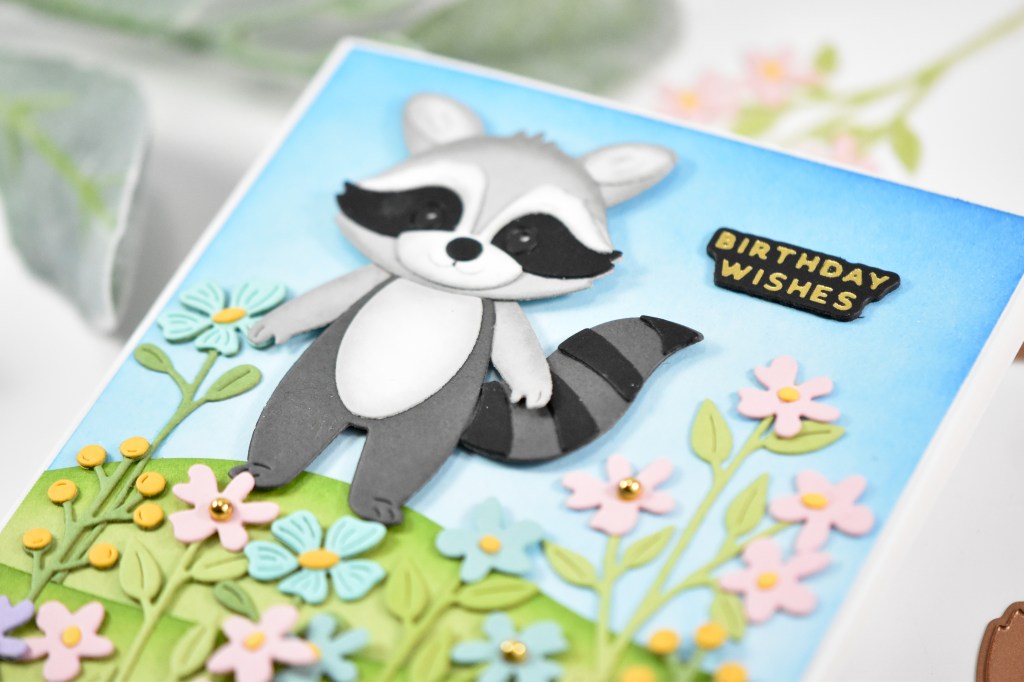
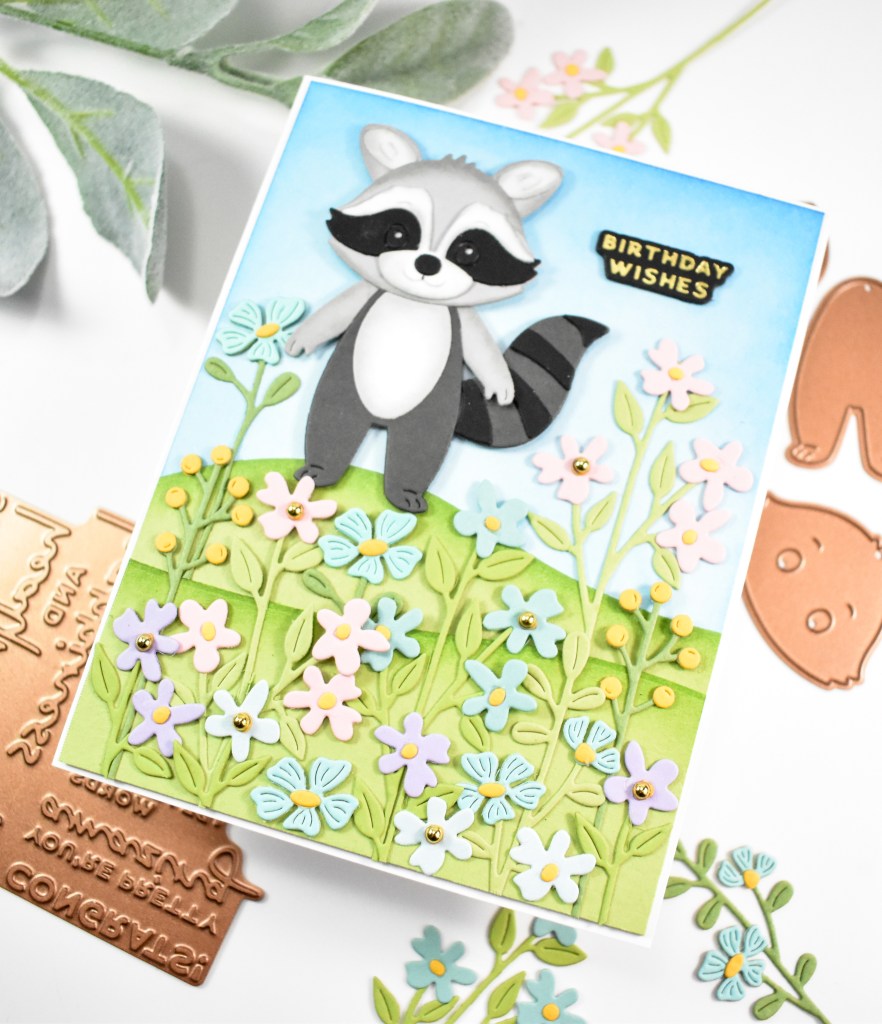
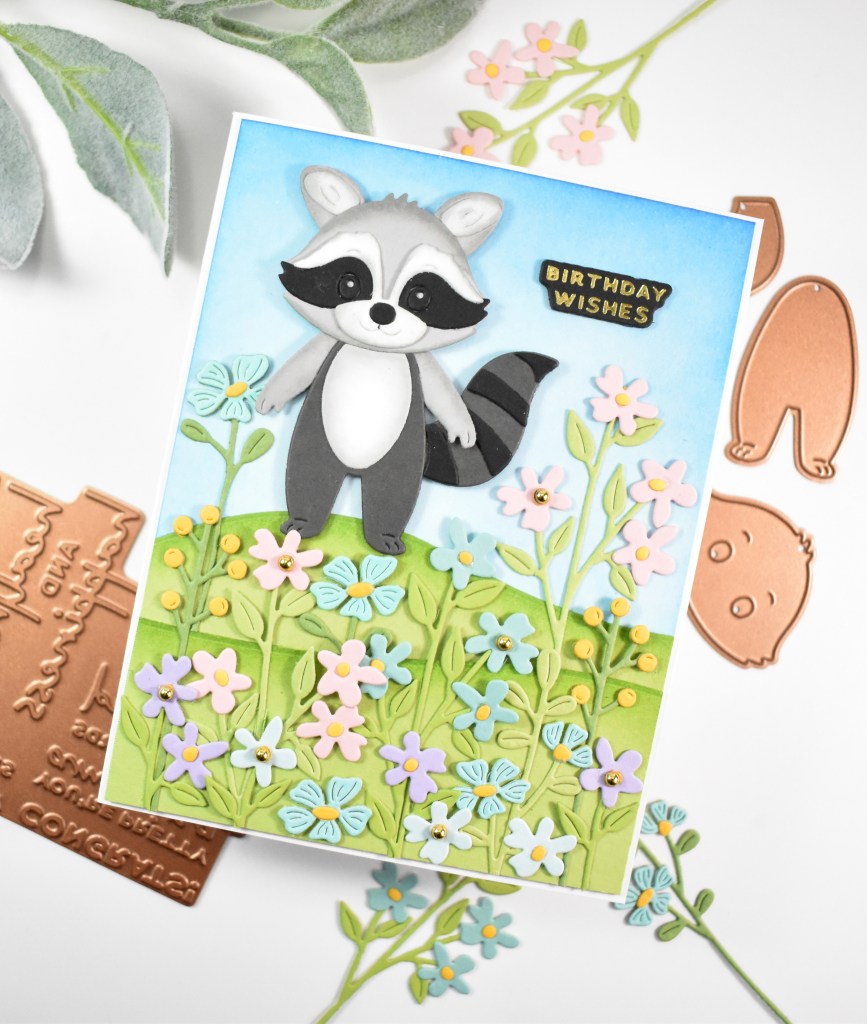
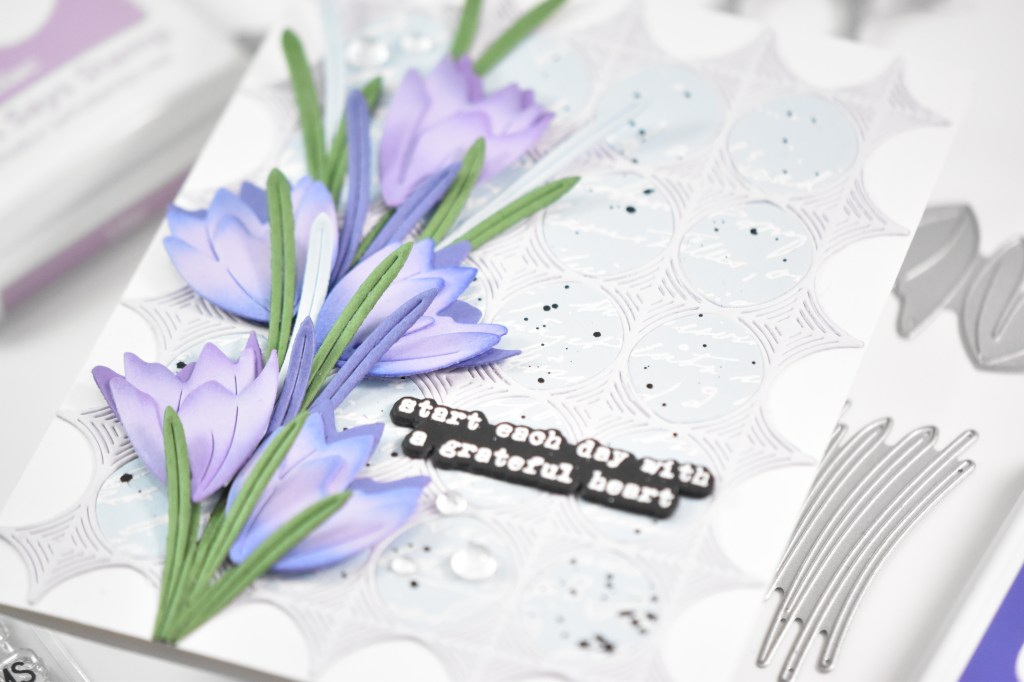
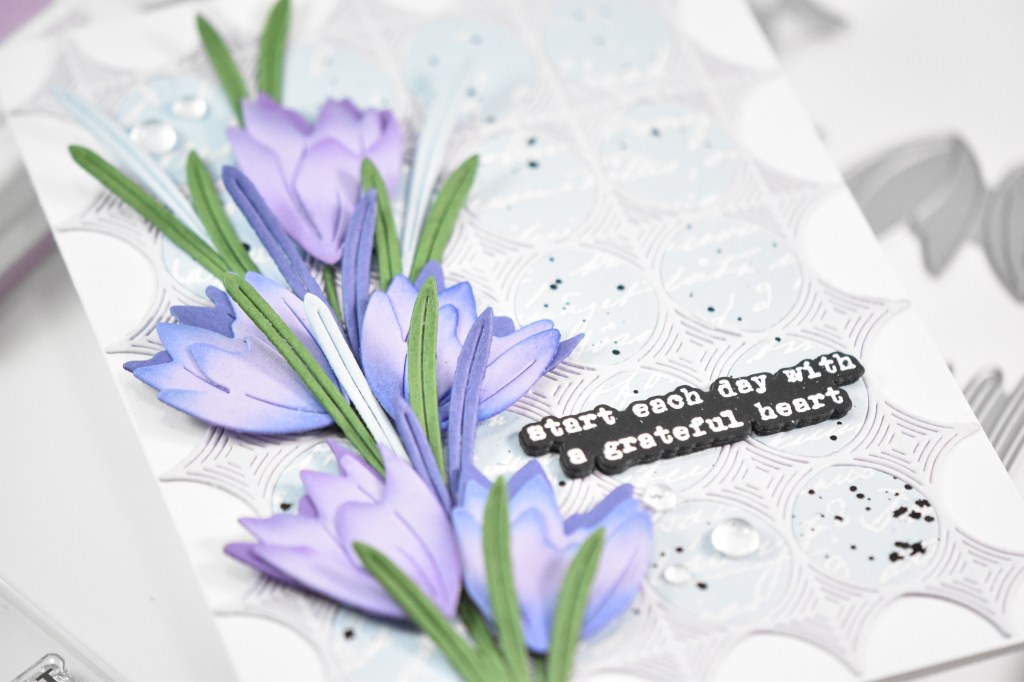
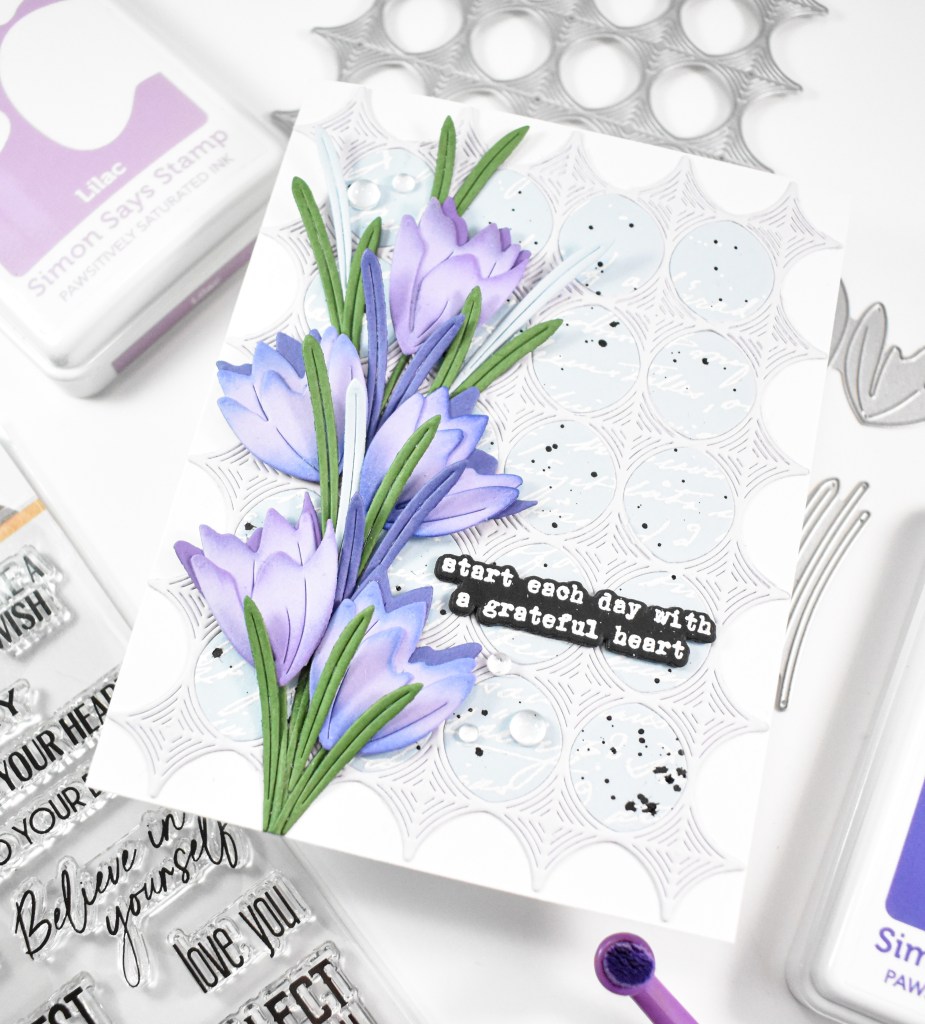
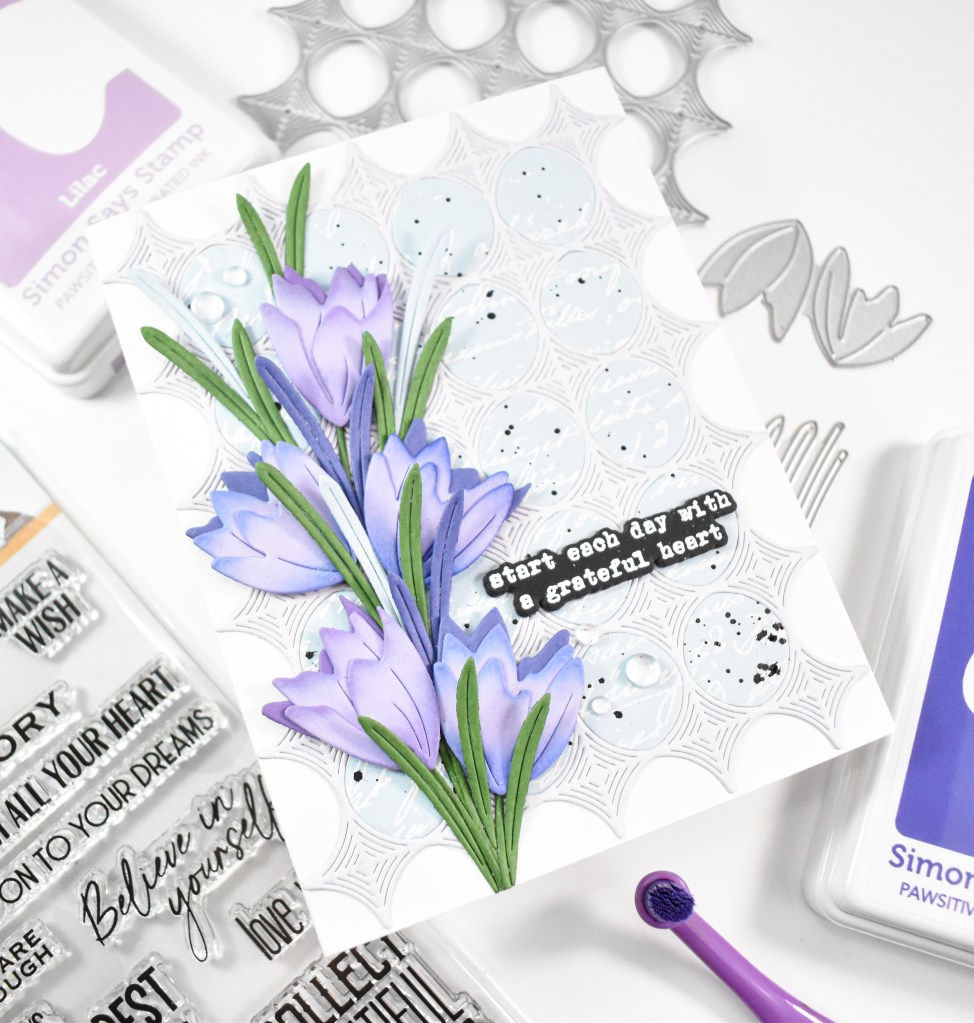
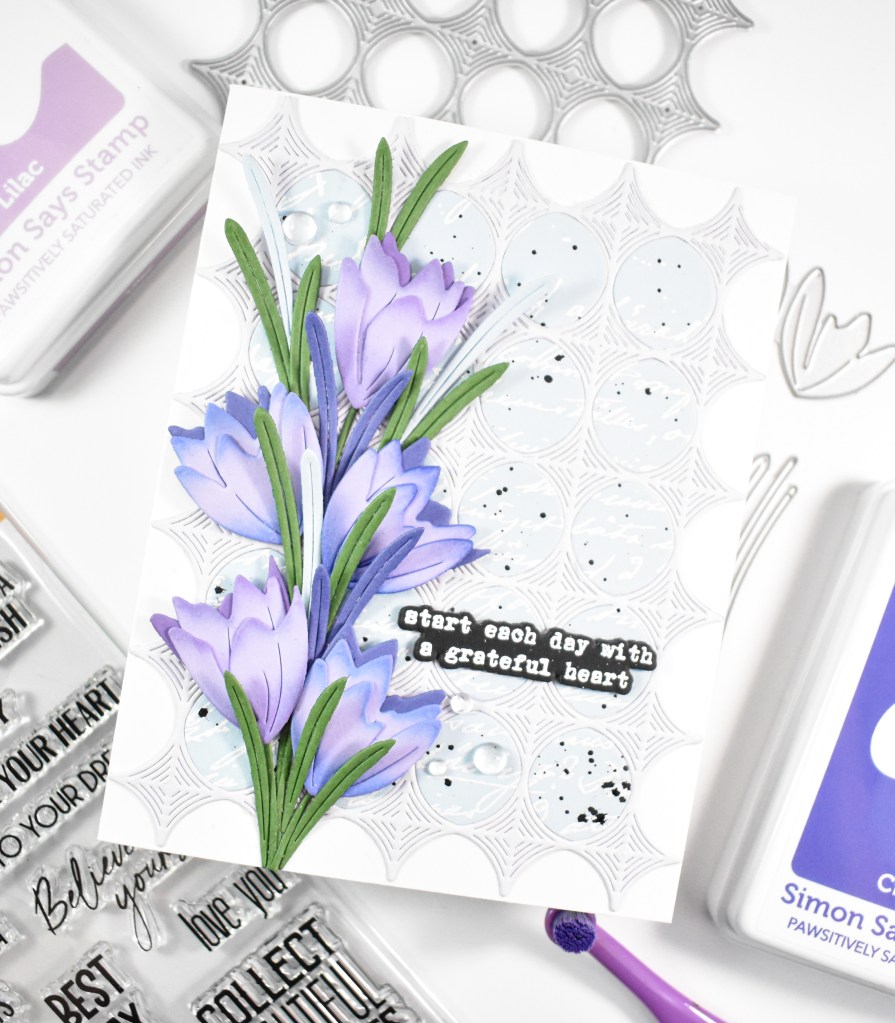
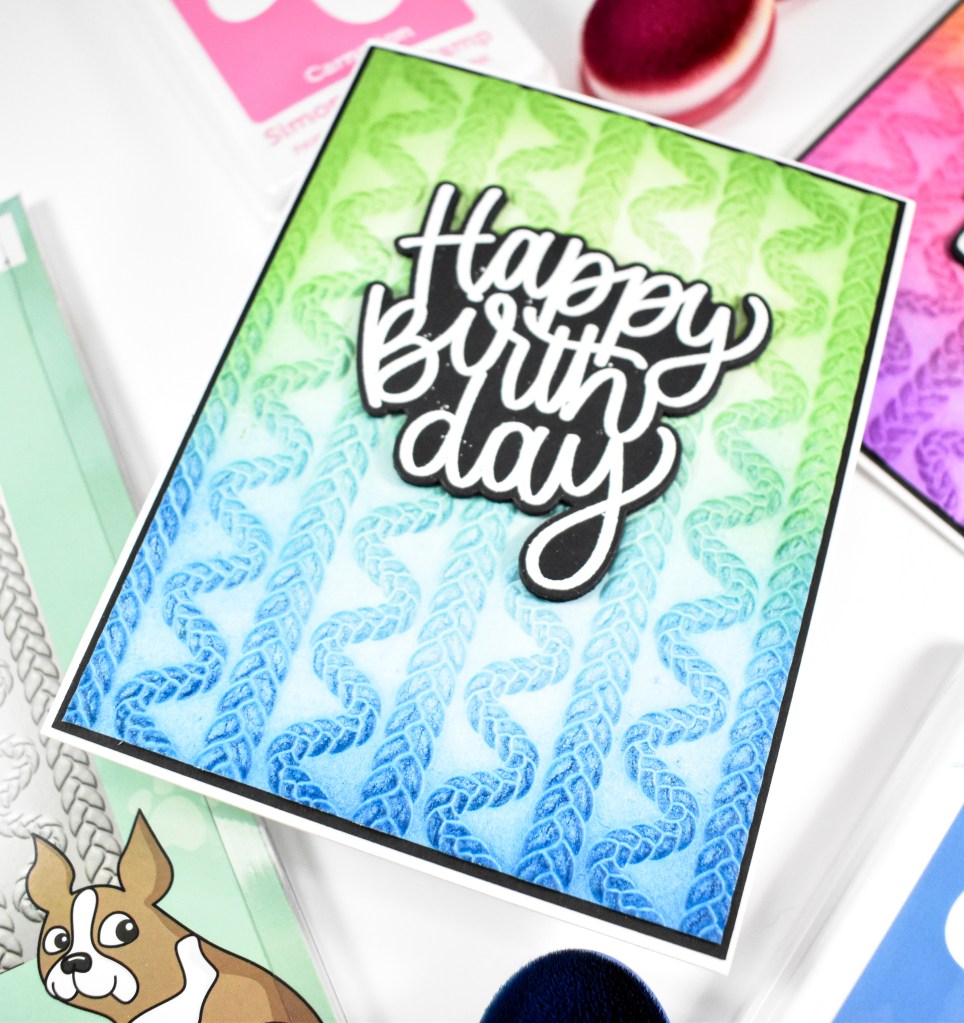
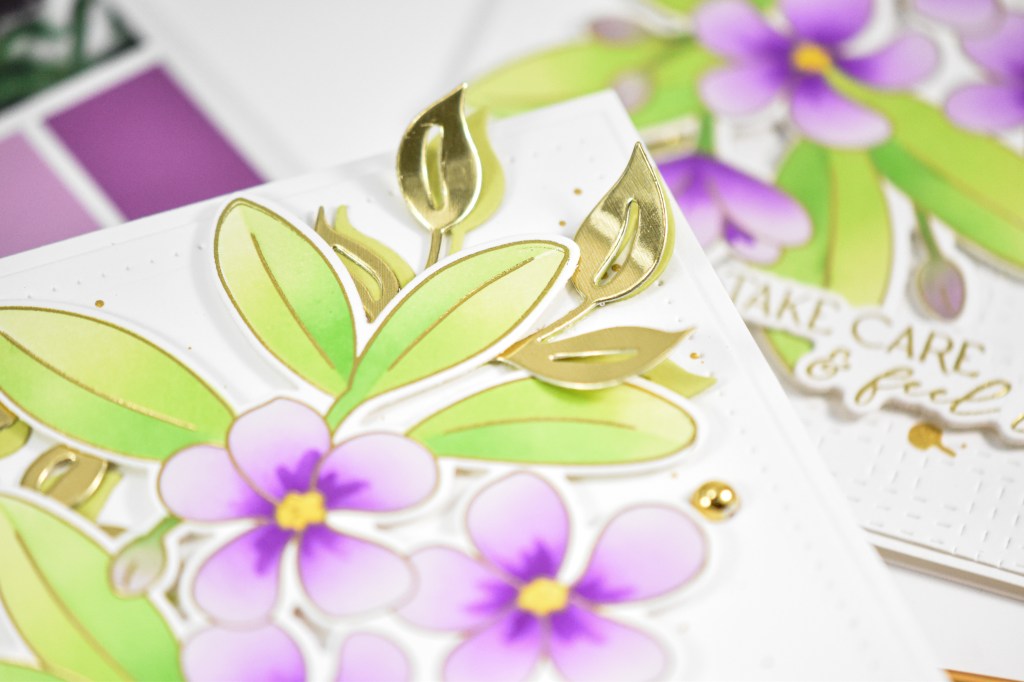
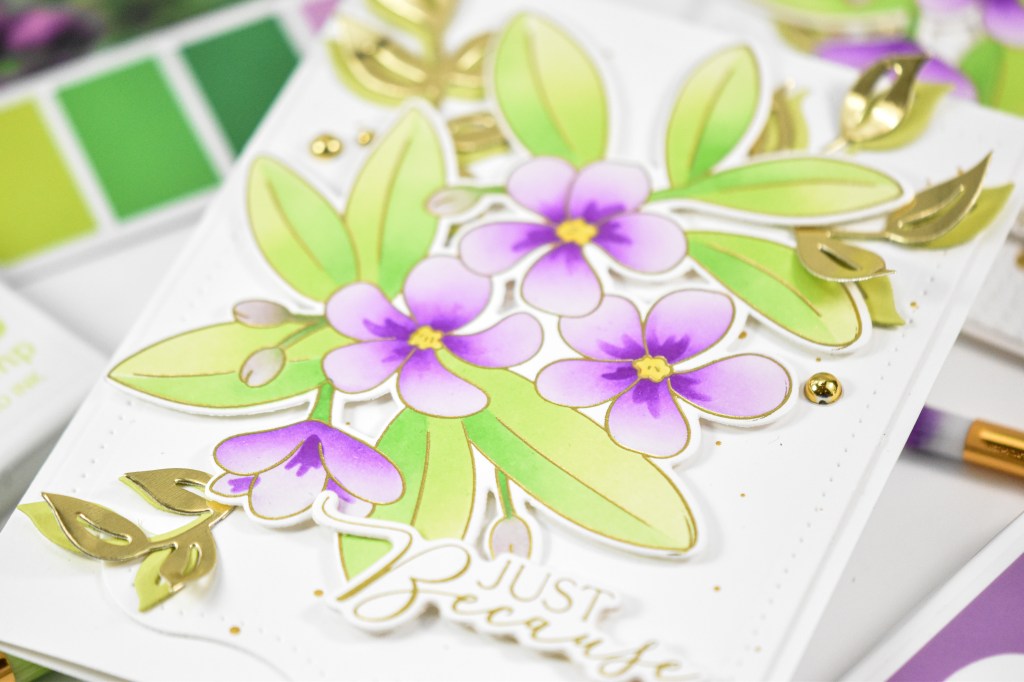
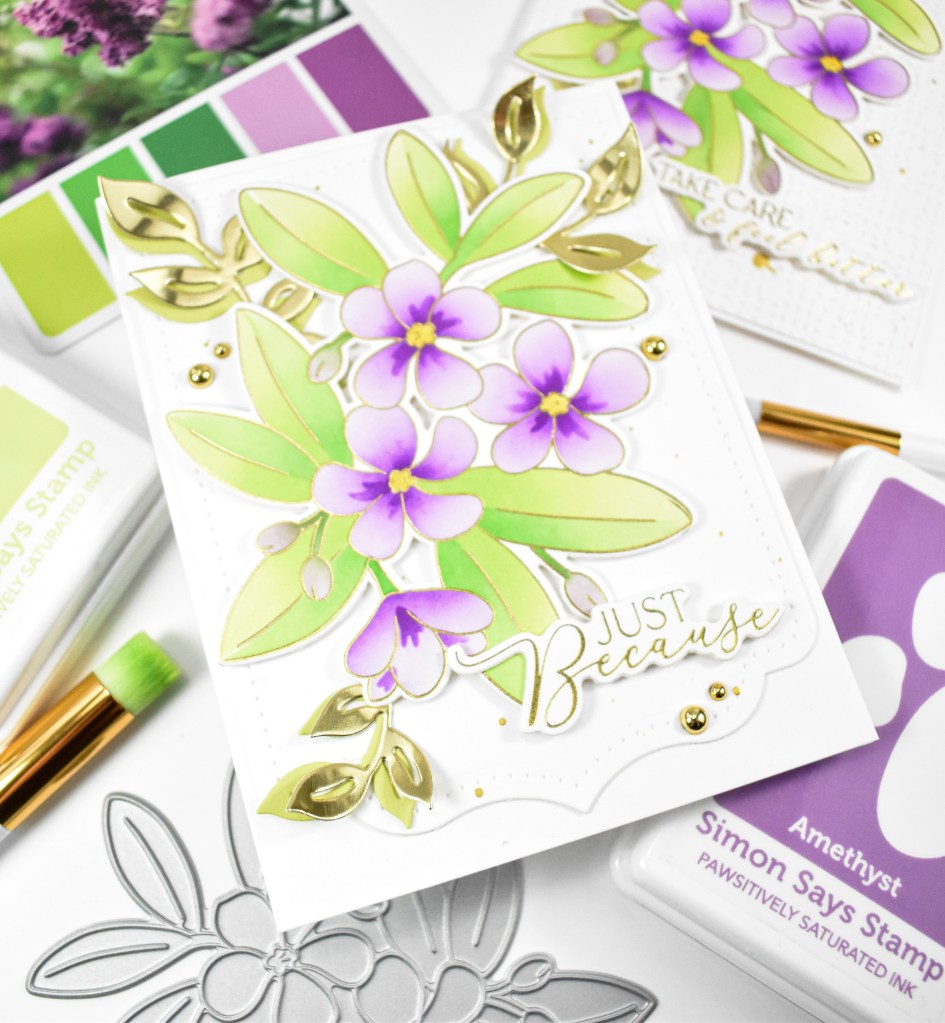
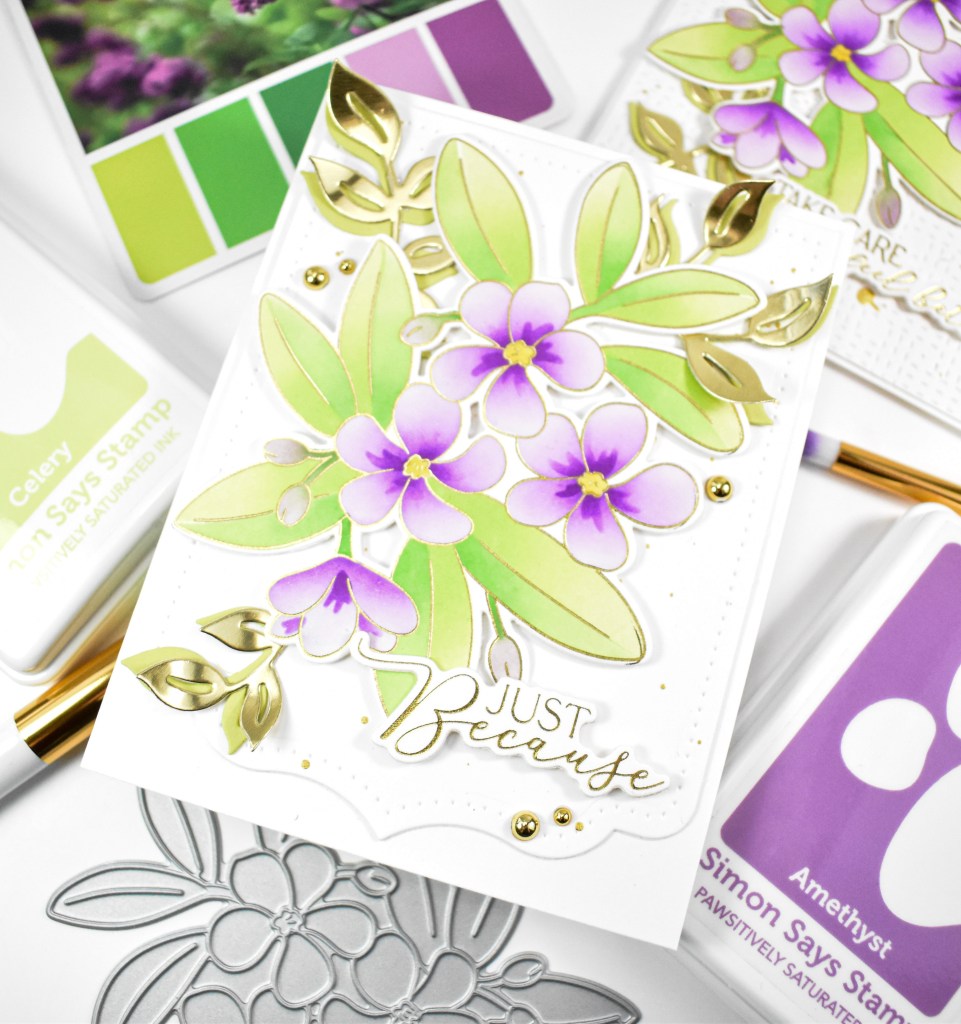
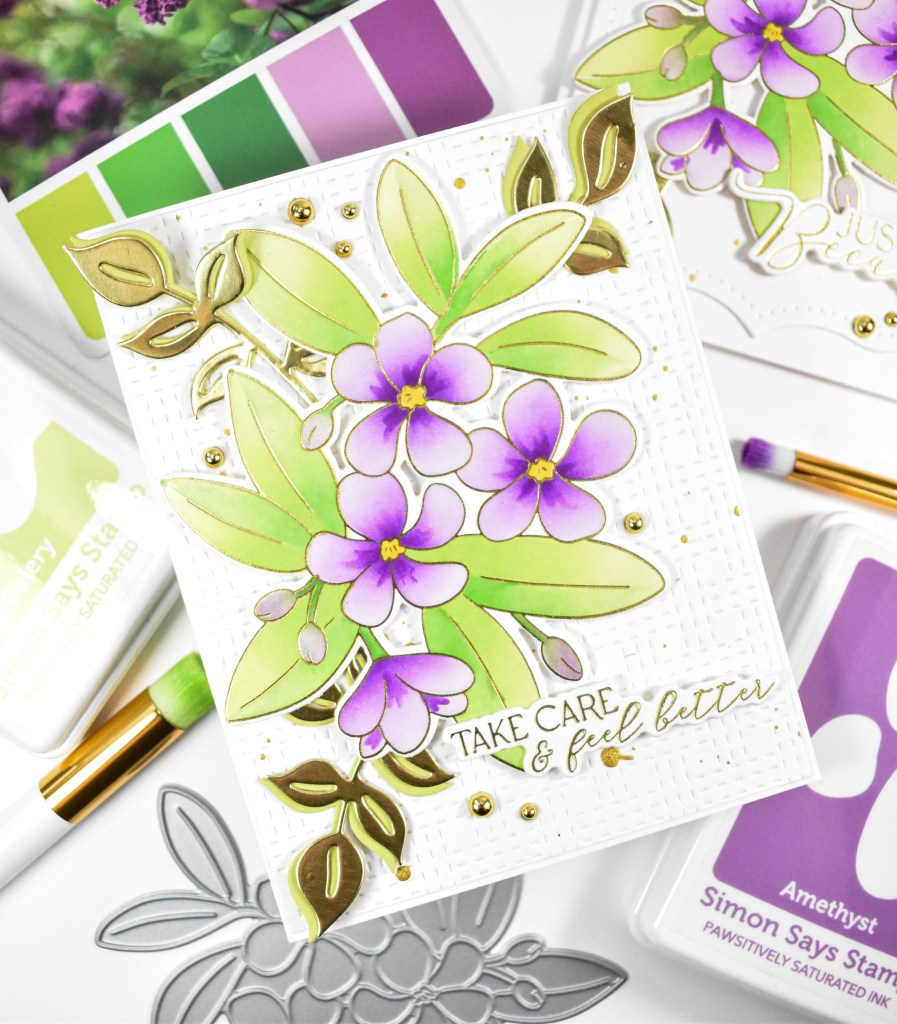
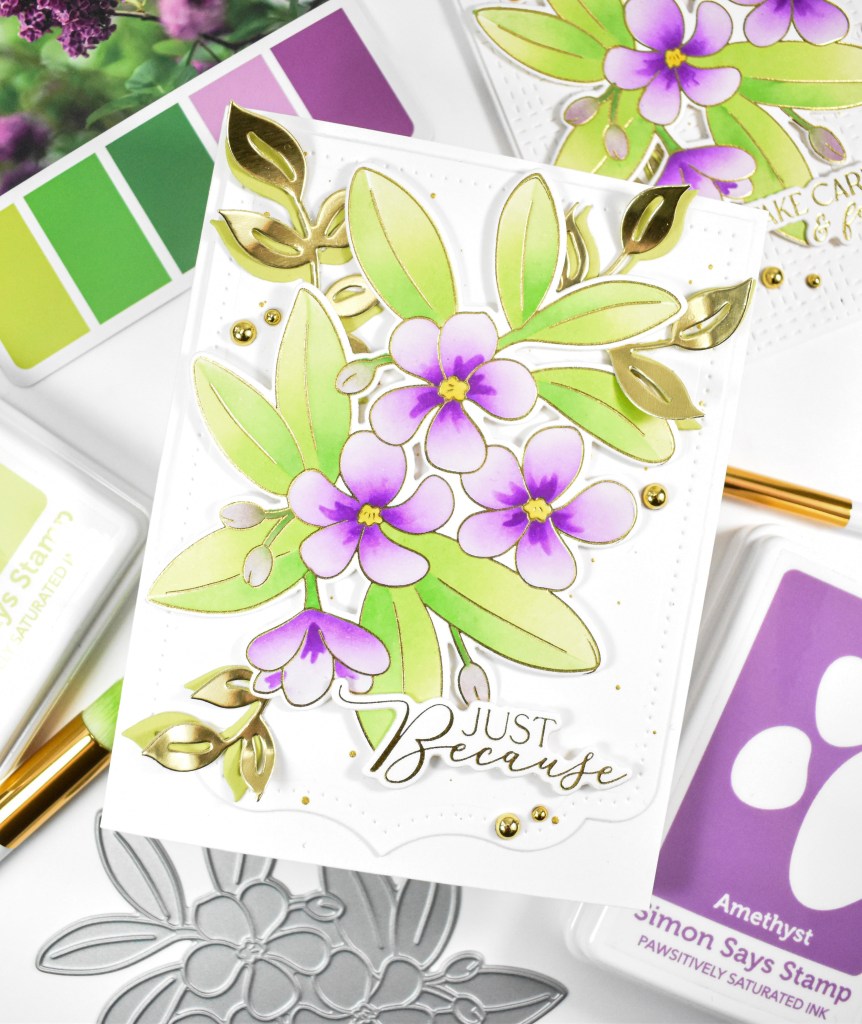
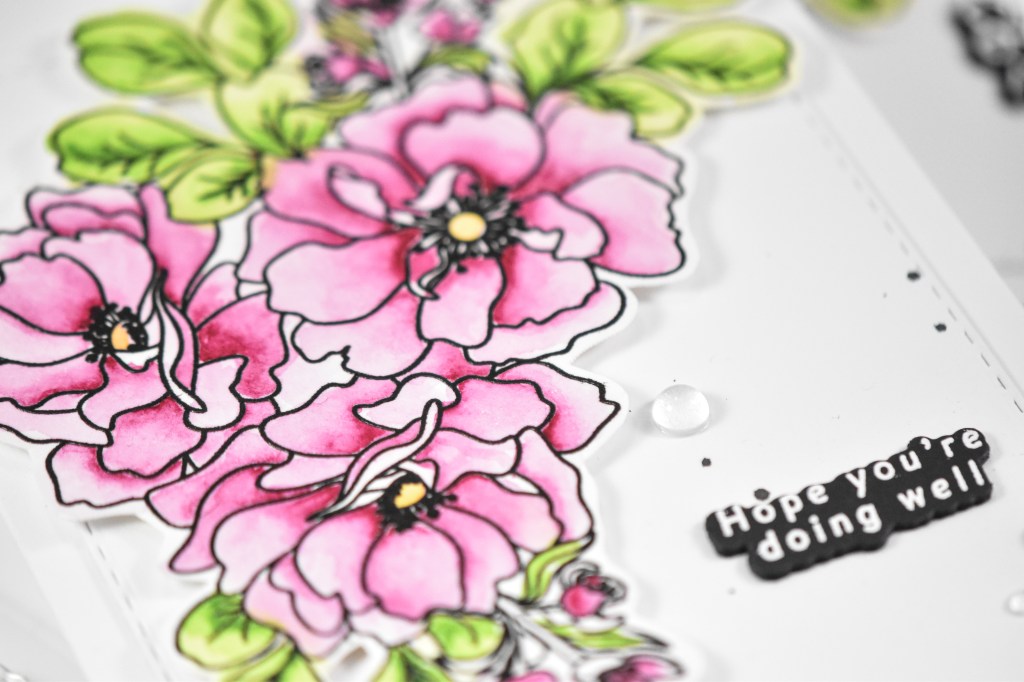
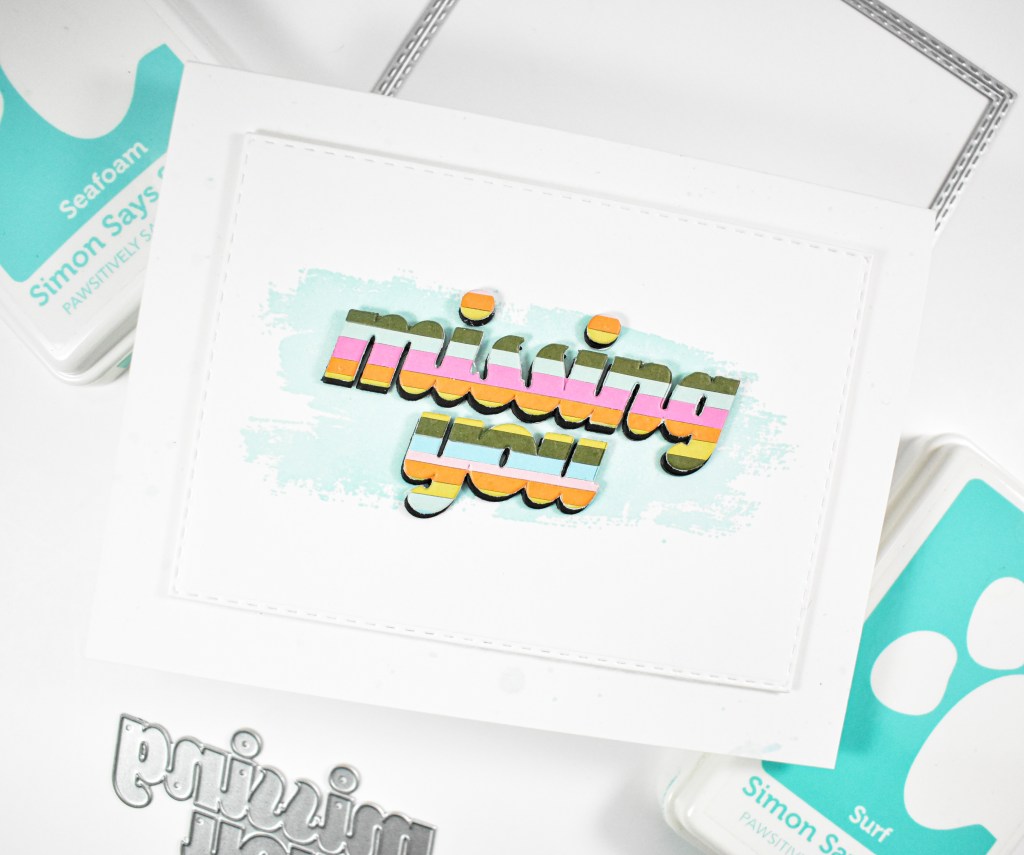
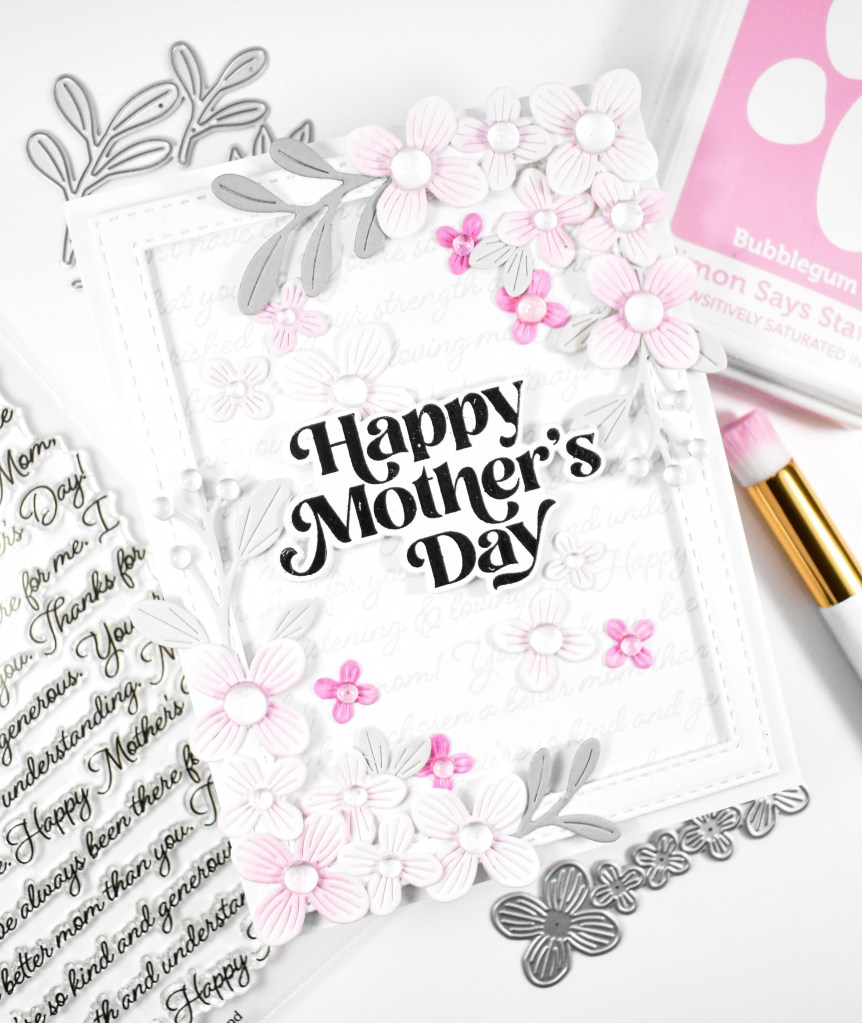
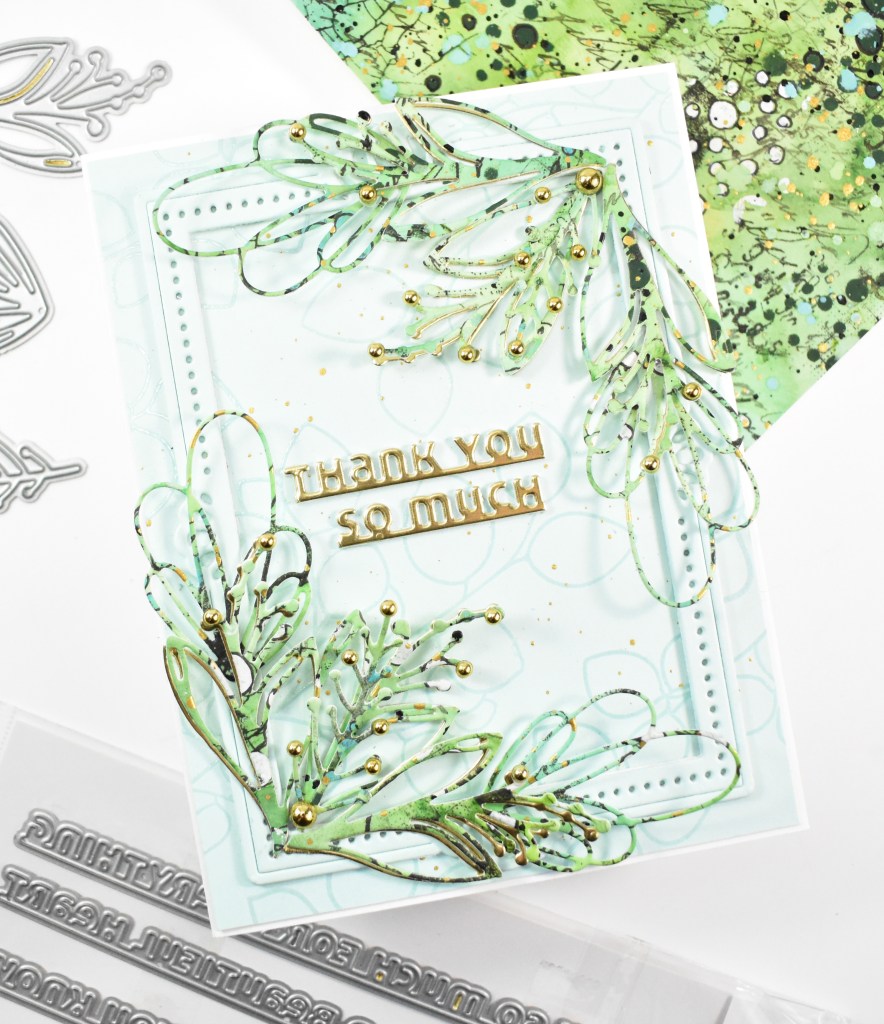
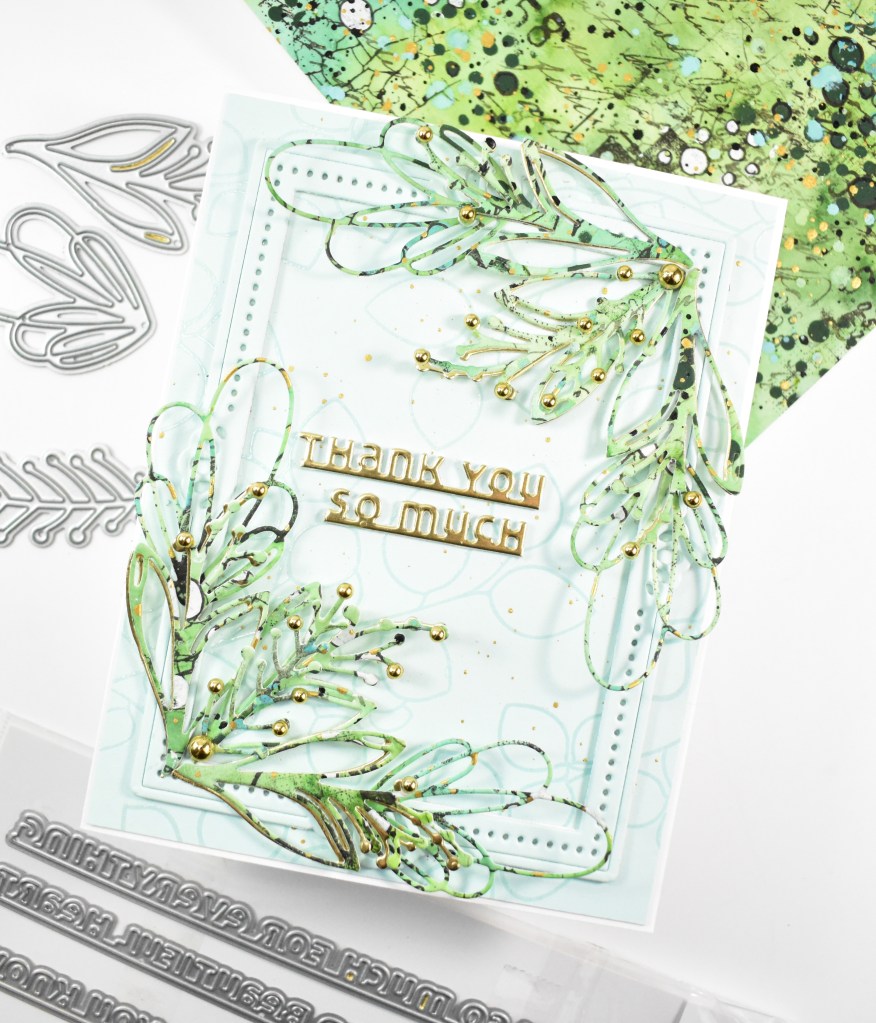
I began my project by creating a large watercolor panel with various greens. The panel also features some stamping, splattering, stenciling and doodling. I made a video of one of my previous panels, if you care to check it out. Once I was done creating that, I die cut several leaves from the panel using the Leaf Mix Die Set from Altenew. My background features a Seafoam panel that was stamped with the Leaf Canopy using VersaMark ink and heat set using clear embossing powder.
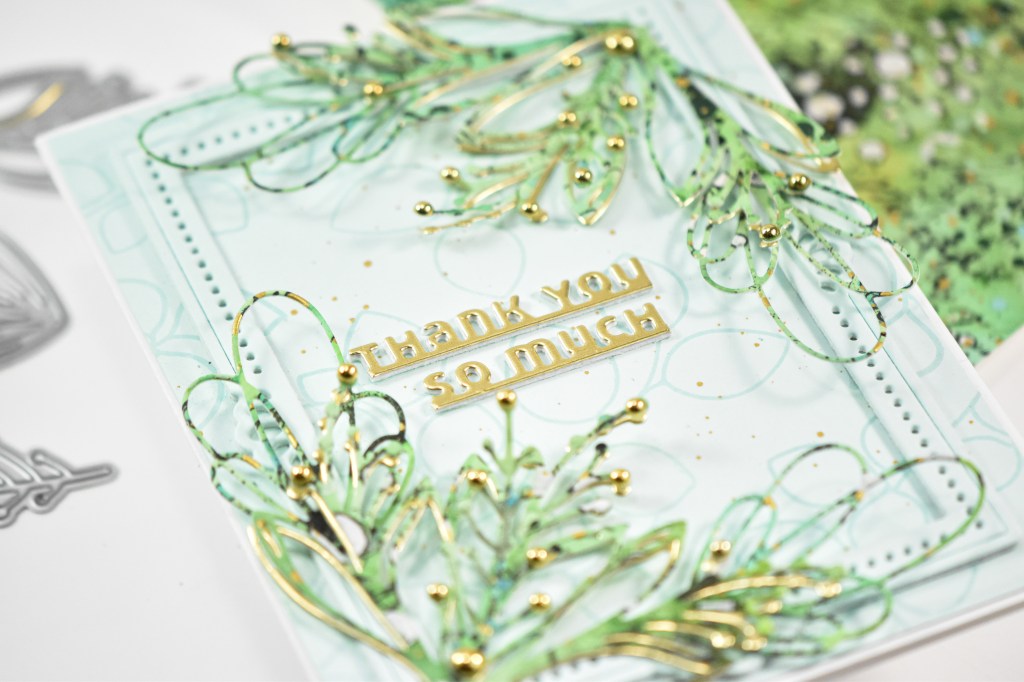
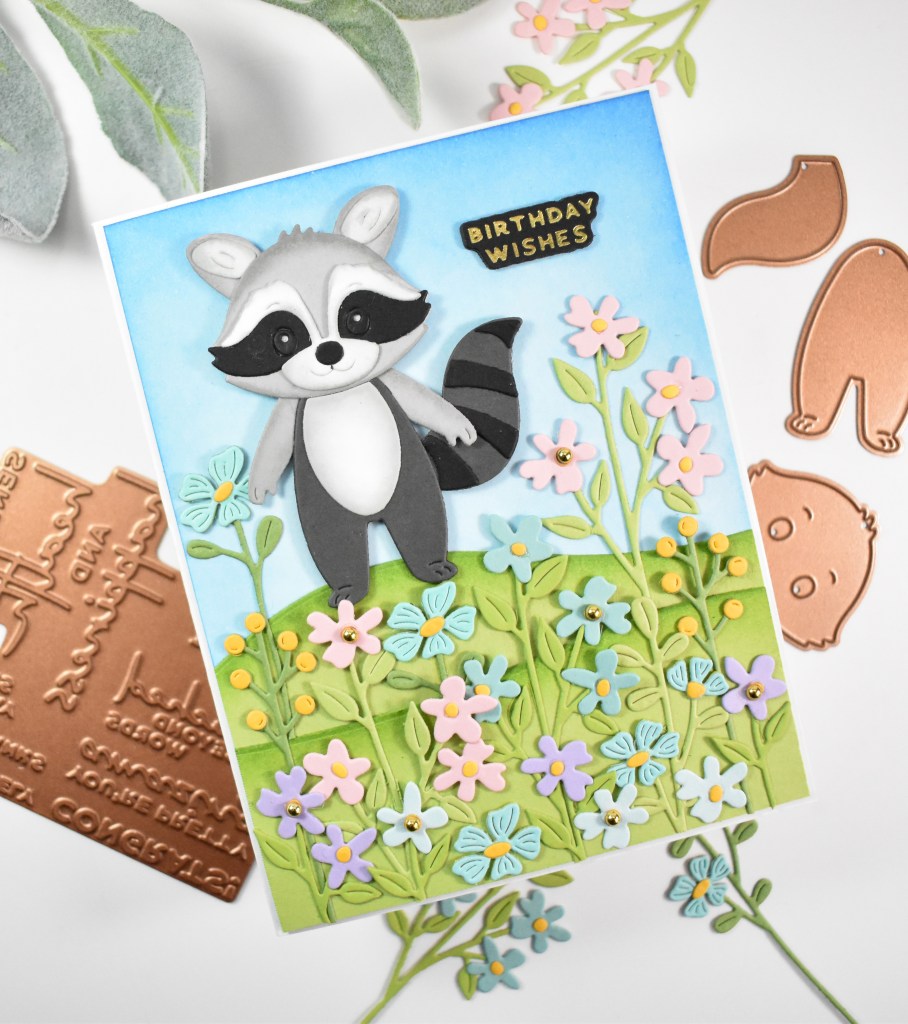
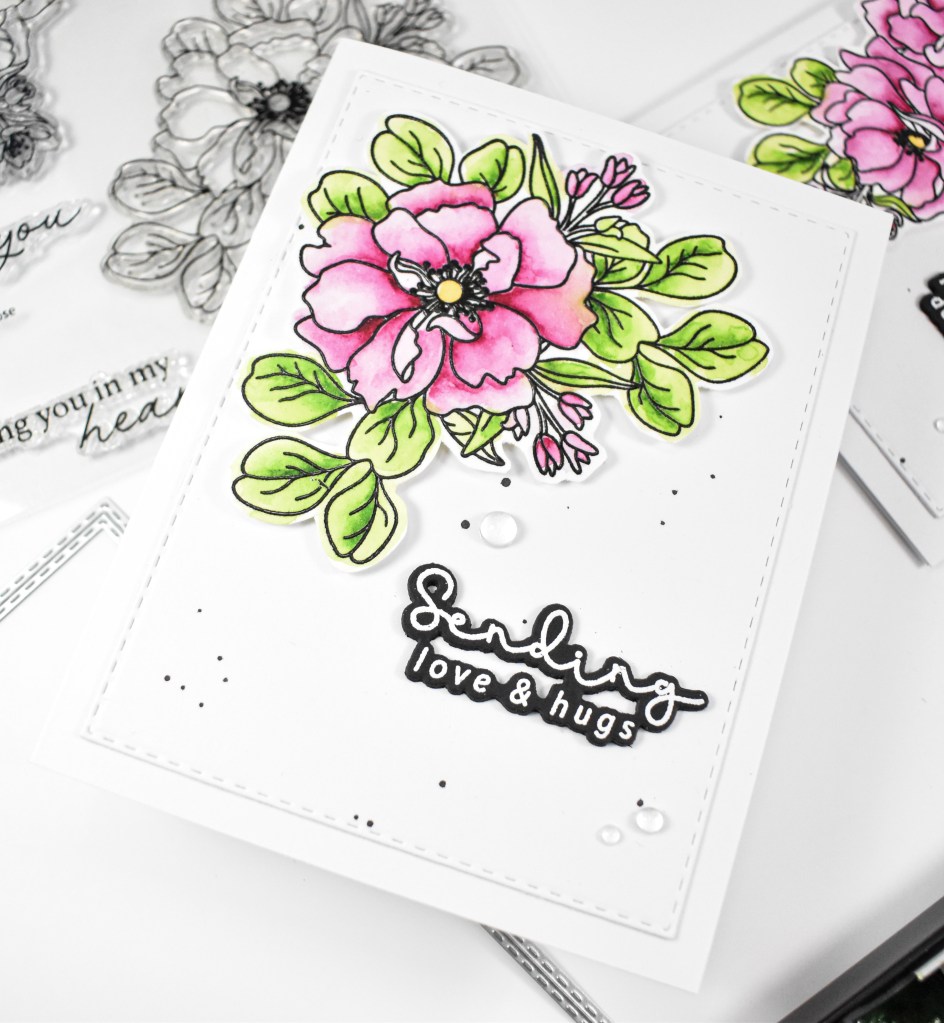
I needed a frame, so I had to use one from Pinkfresh, and that was cut once from the same Seafoam cardstock and twice from white cardstock. Those were adhered together and then adhered to the stamped panel. I also die cut some of the leaves from gold for an additional layer.
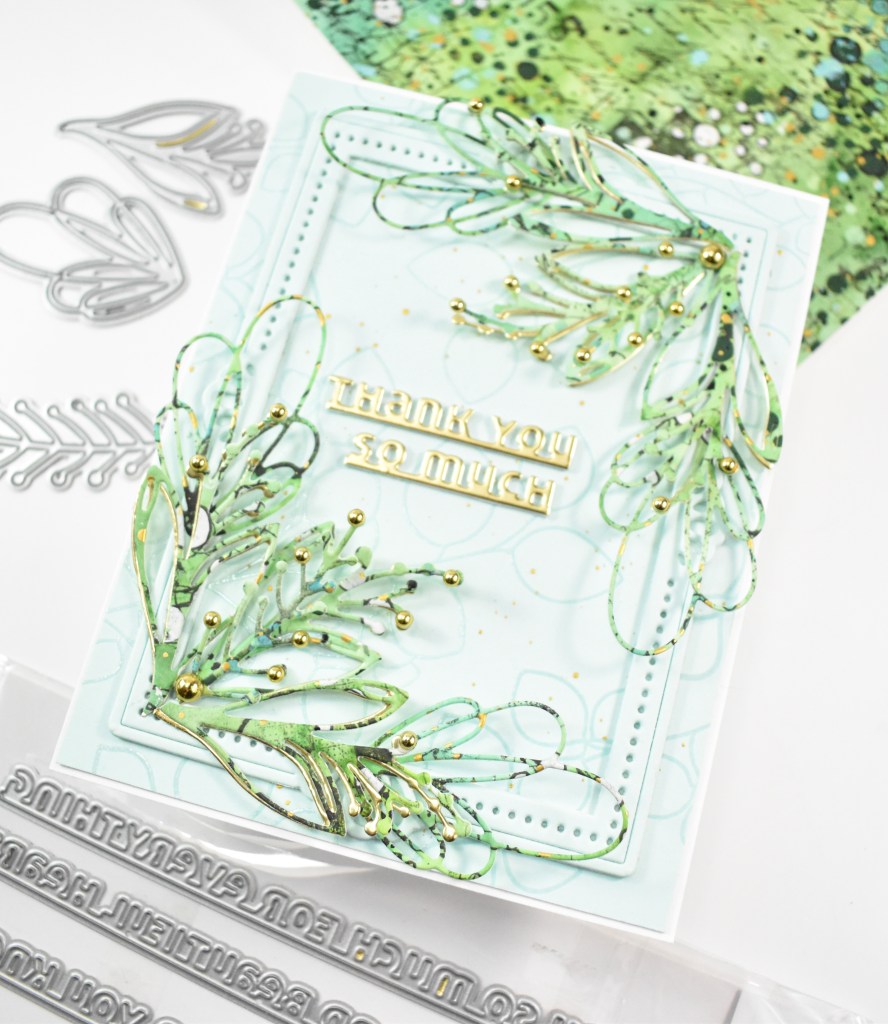
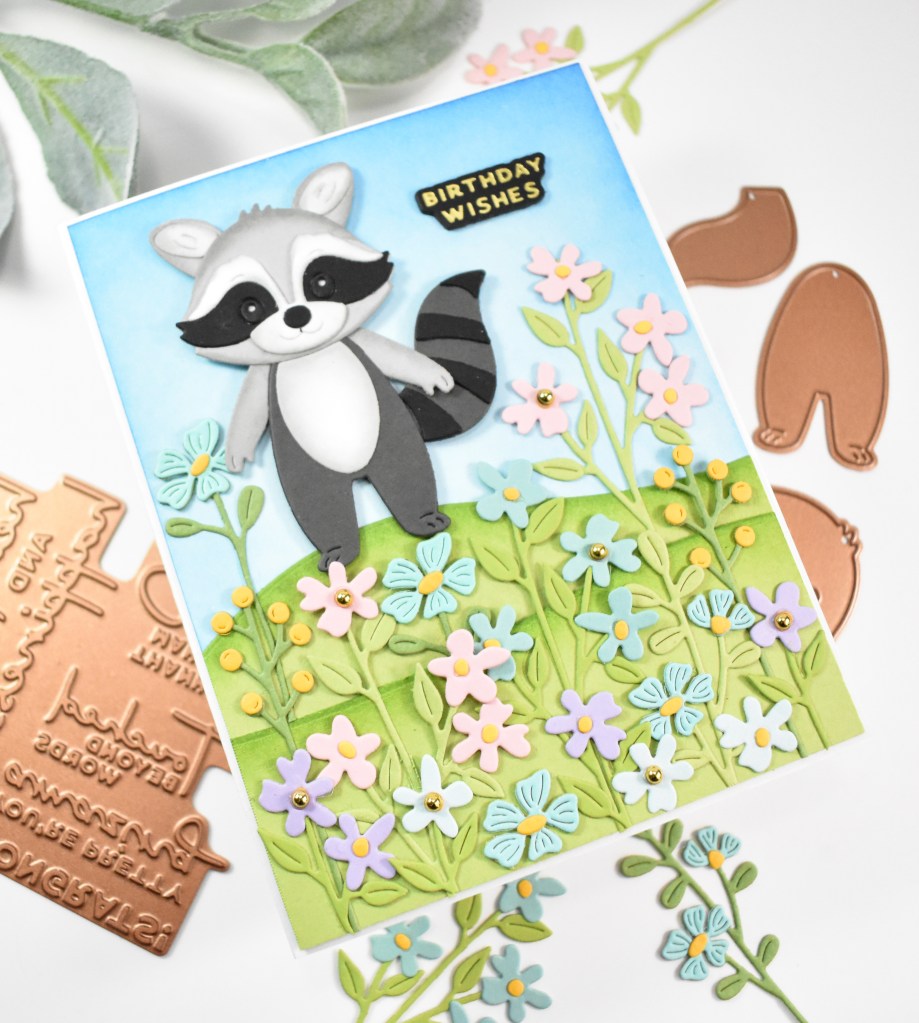
While I was cutting from gold, I cut the sentiment, which is from the Slim Sentiments Die Set, once from the gold and twice from white cardstock. This is a very long sentiment, so I did some cutting and snipped everything off except thank you so much portion.
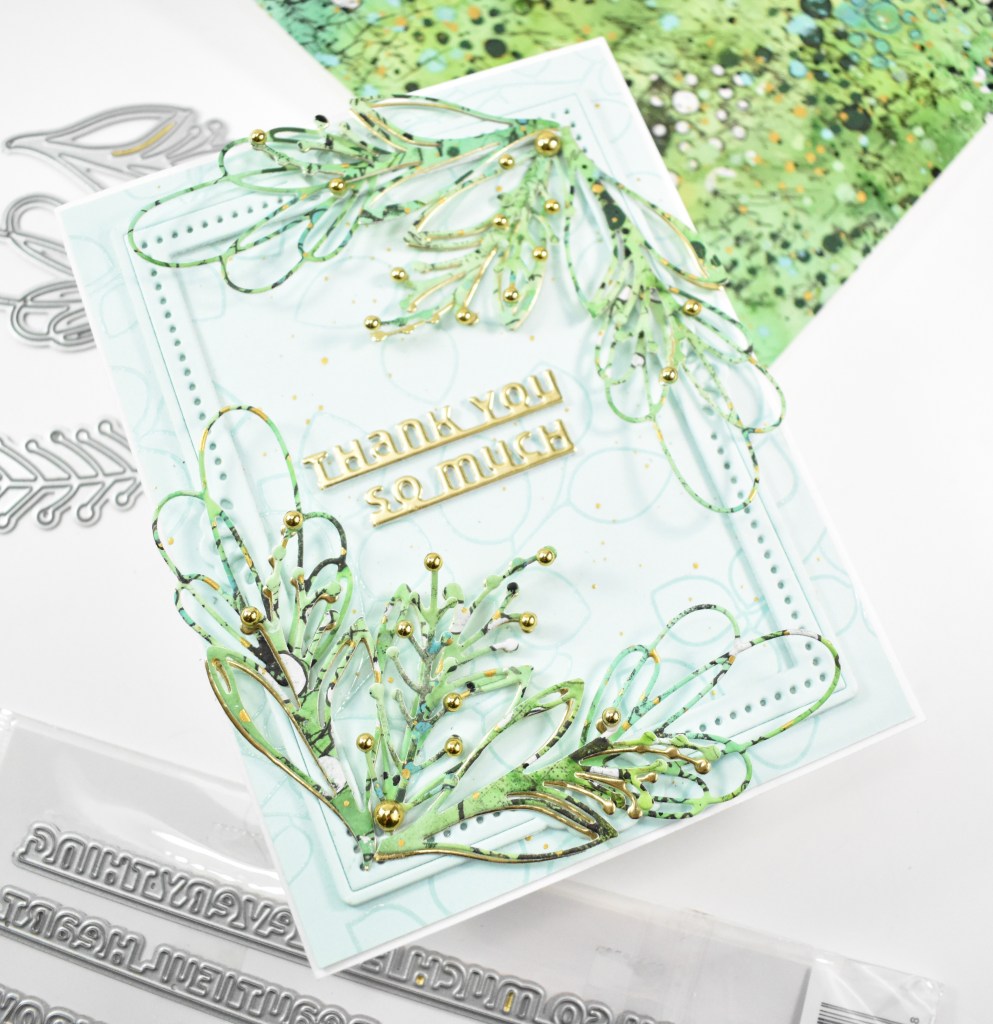
The leaves were adhered to the frame using liquid glue, and the sentiment was tucked in before adding some gold metallic pearls to finish up.
That does it for this project! I hope you’ll swing by and check out the other designers posts and give them some love! Join us next month for a new featured brand!
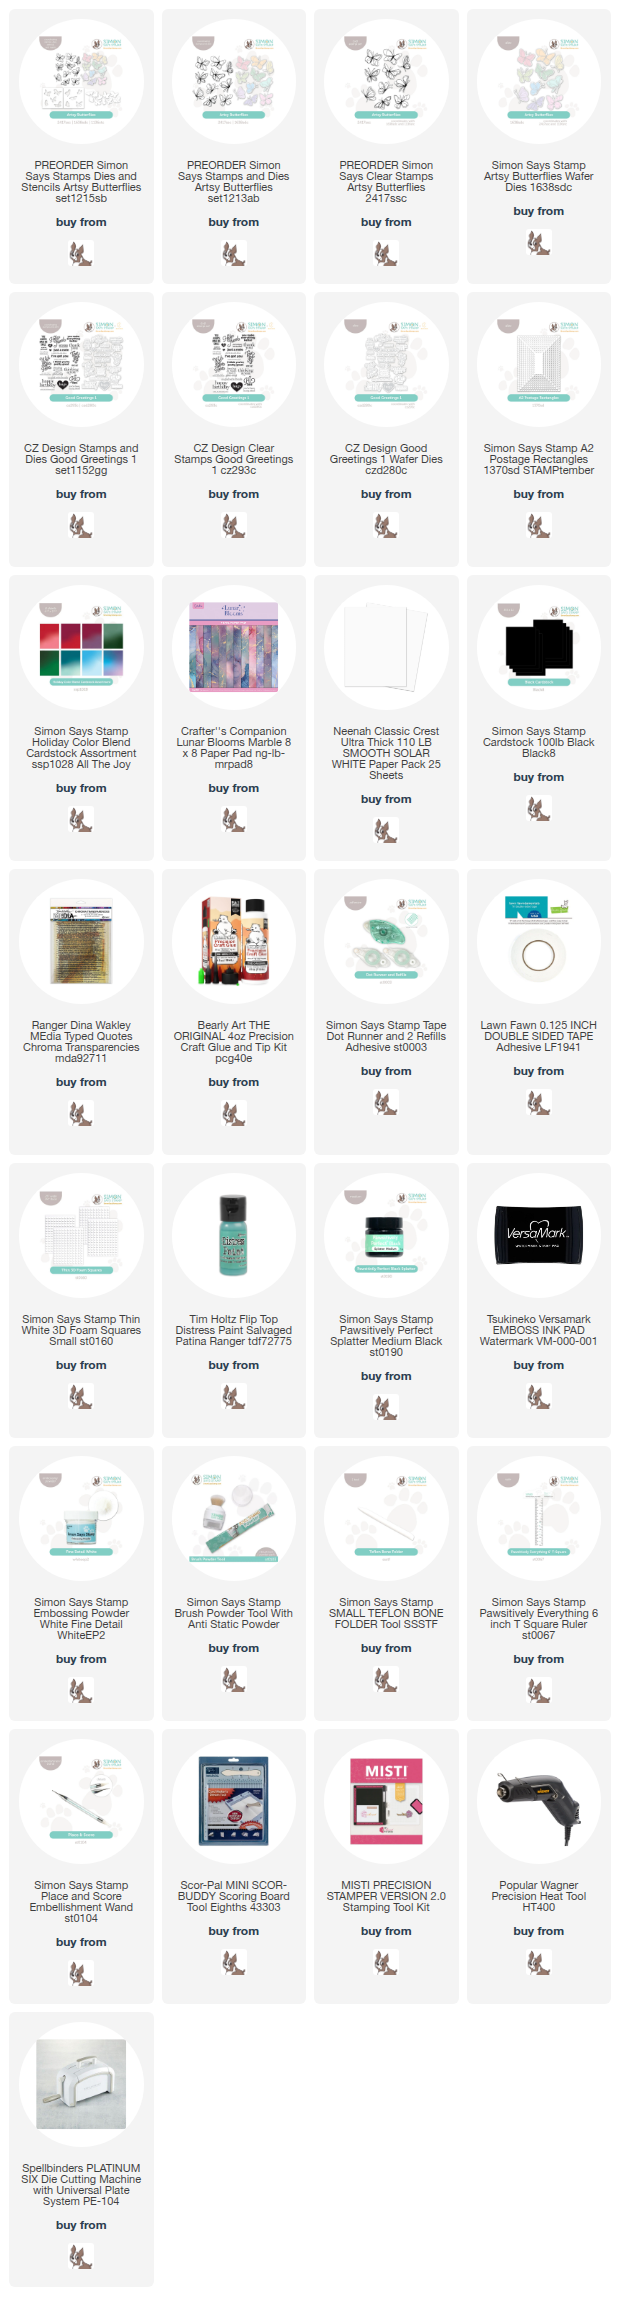
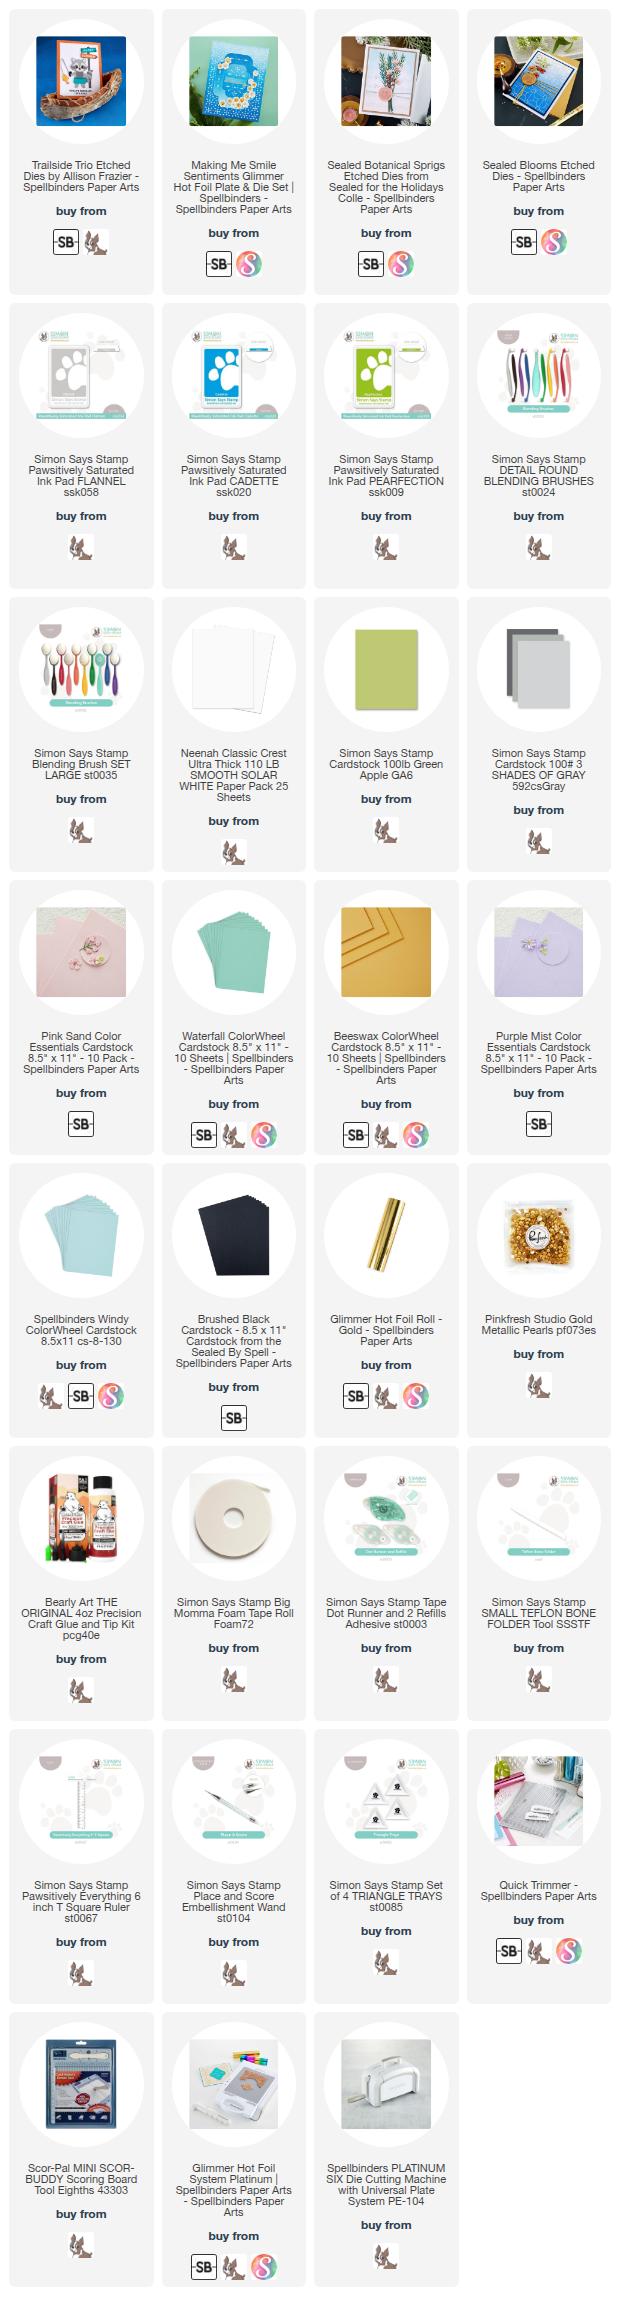
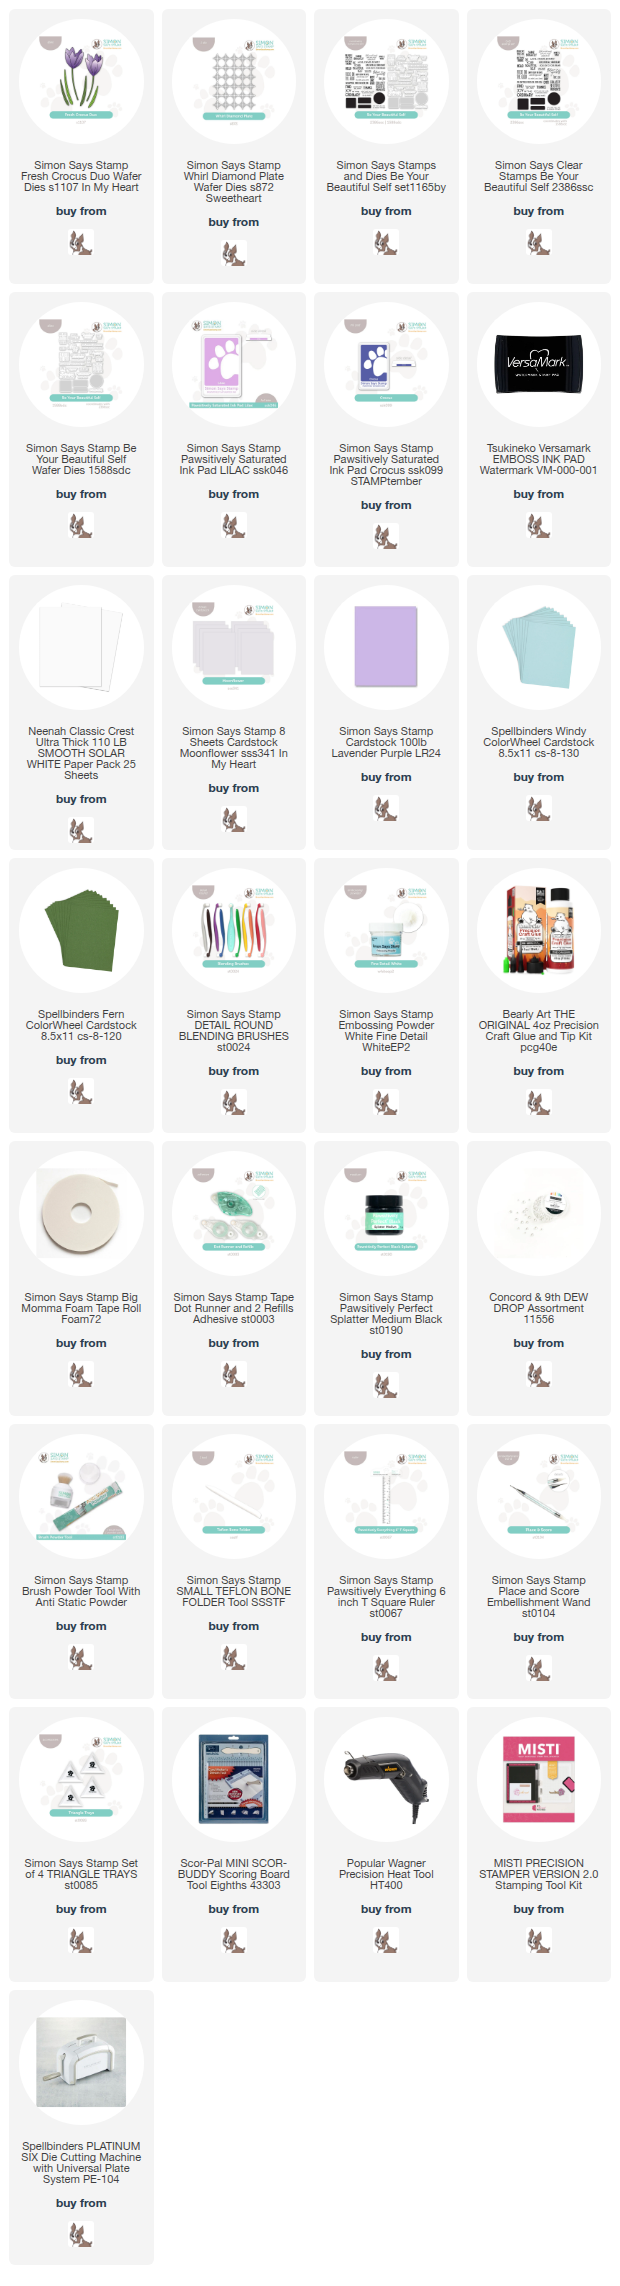
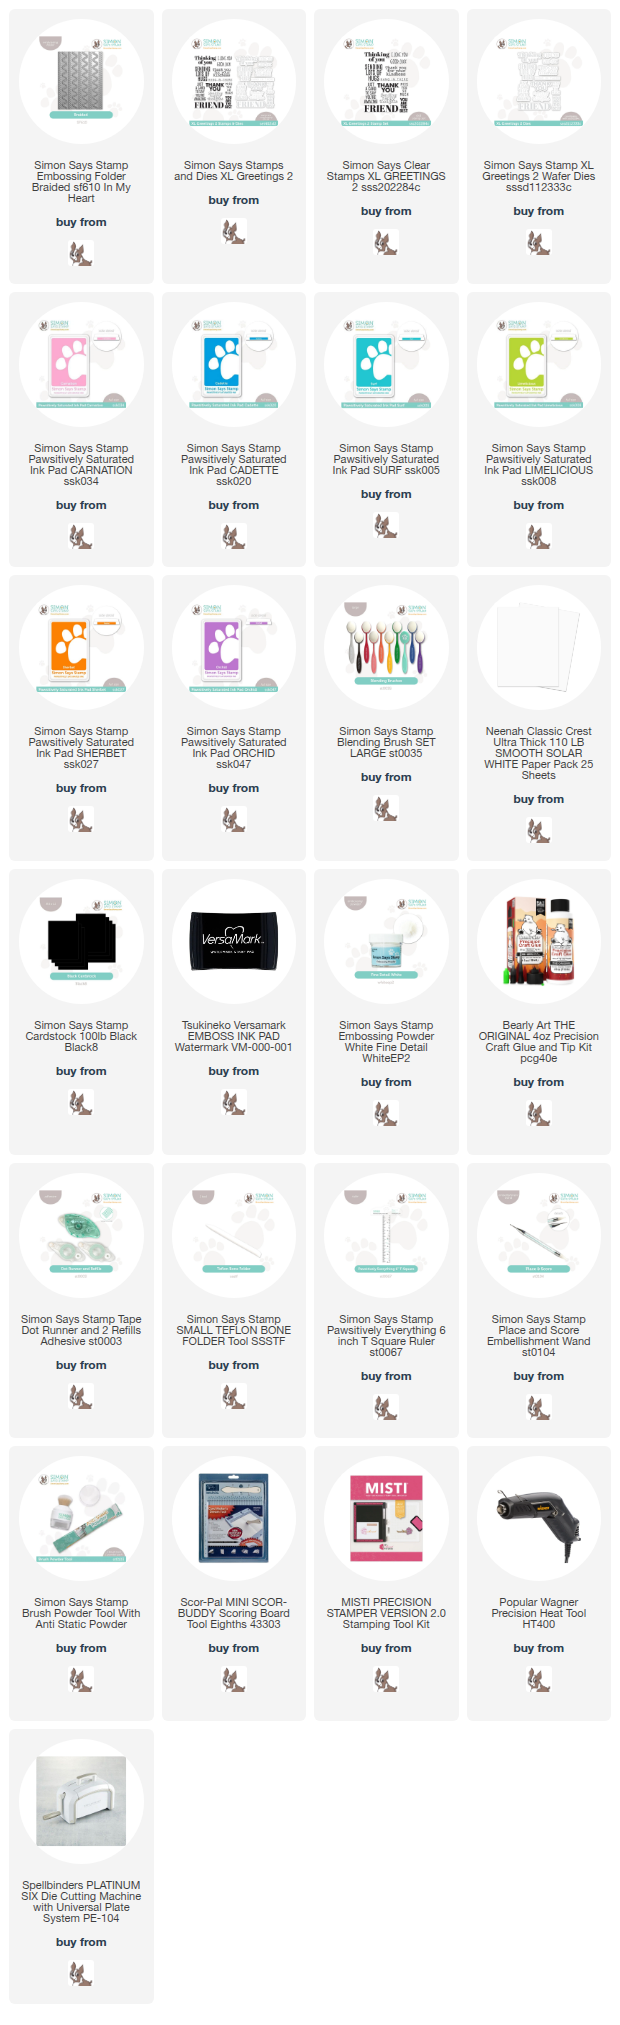
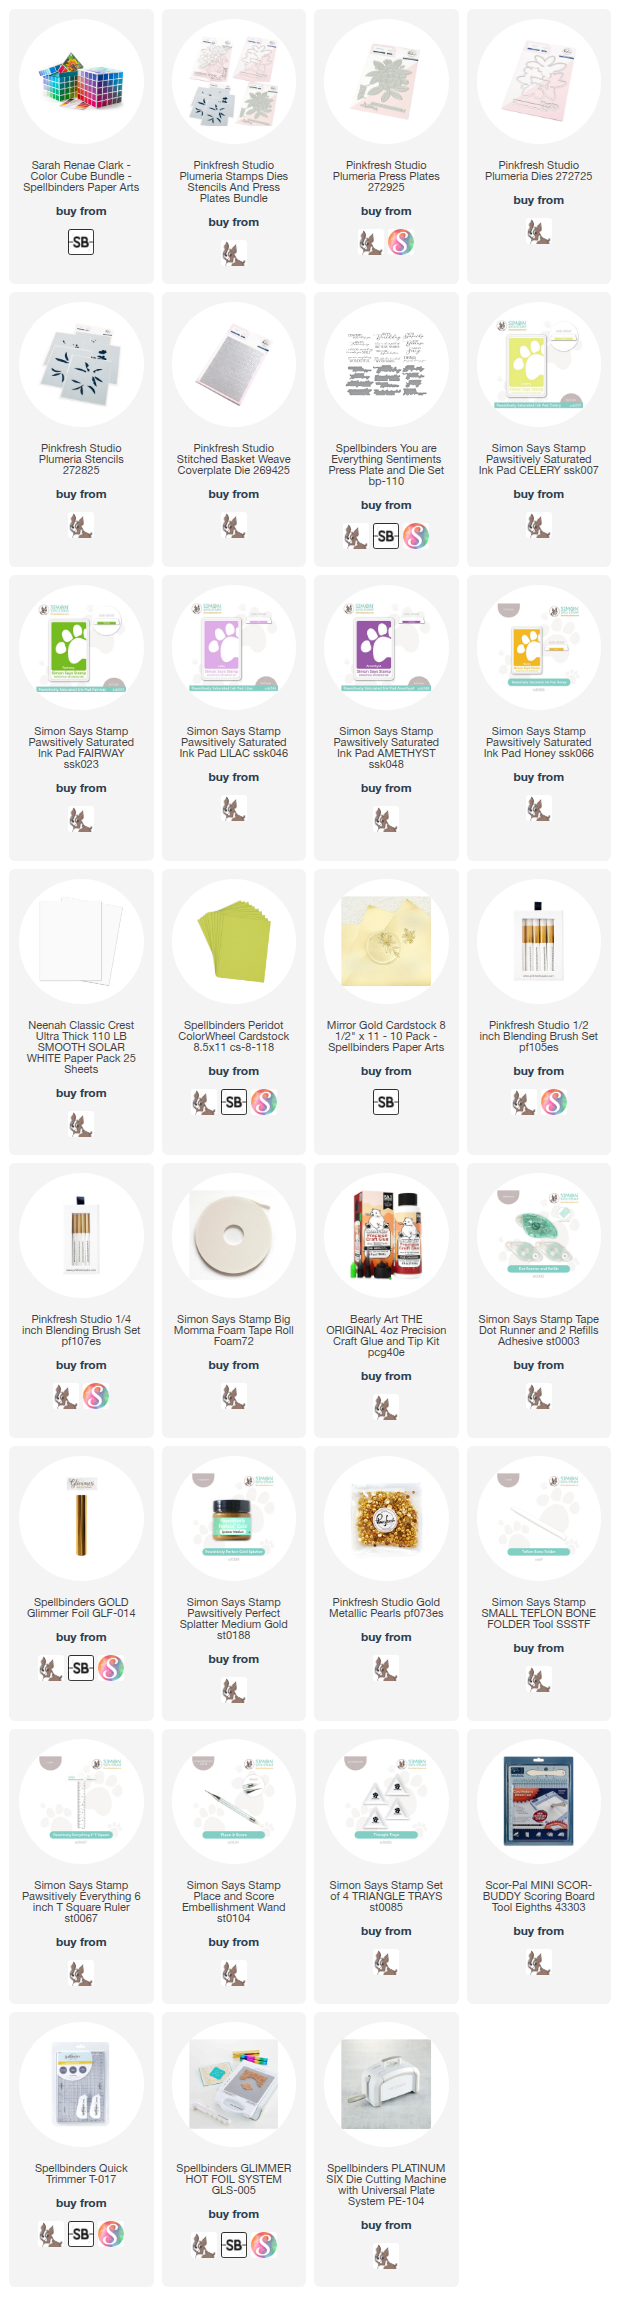
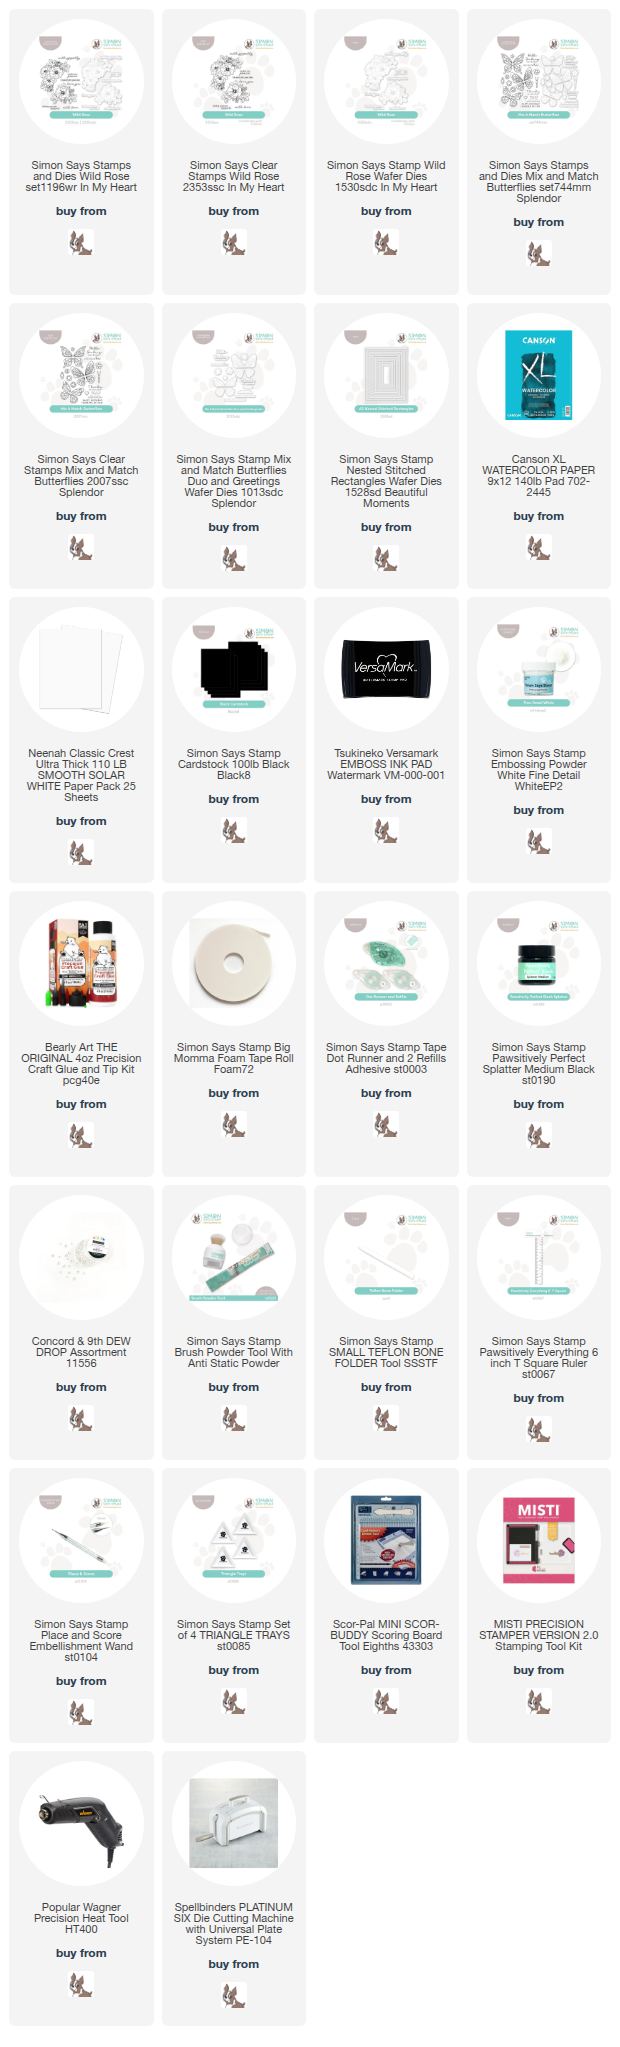
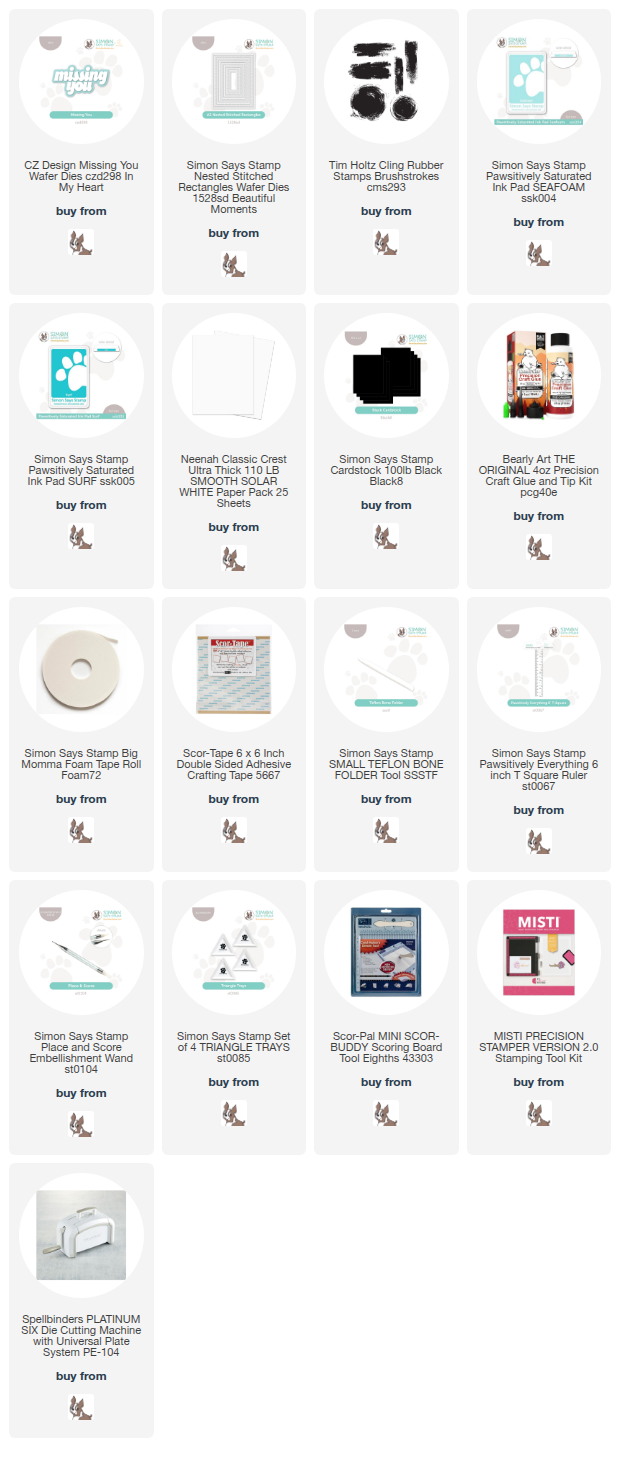
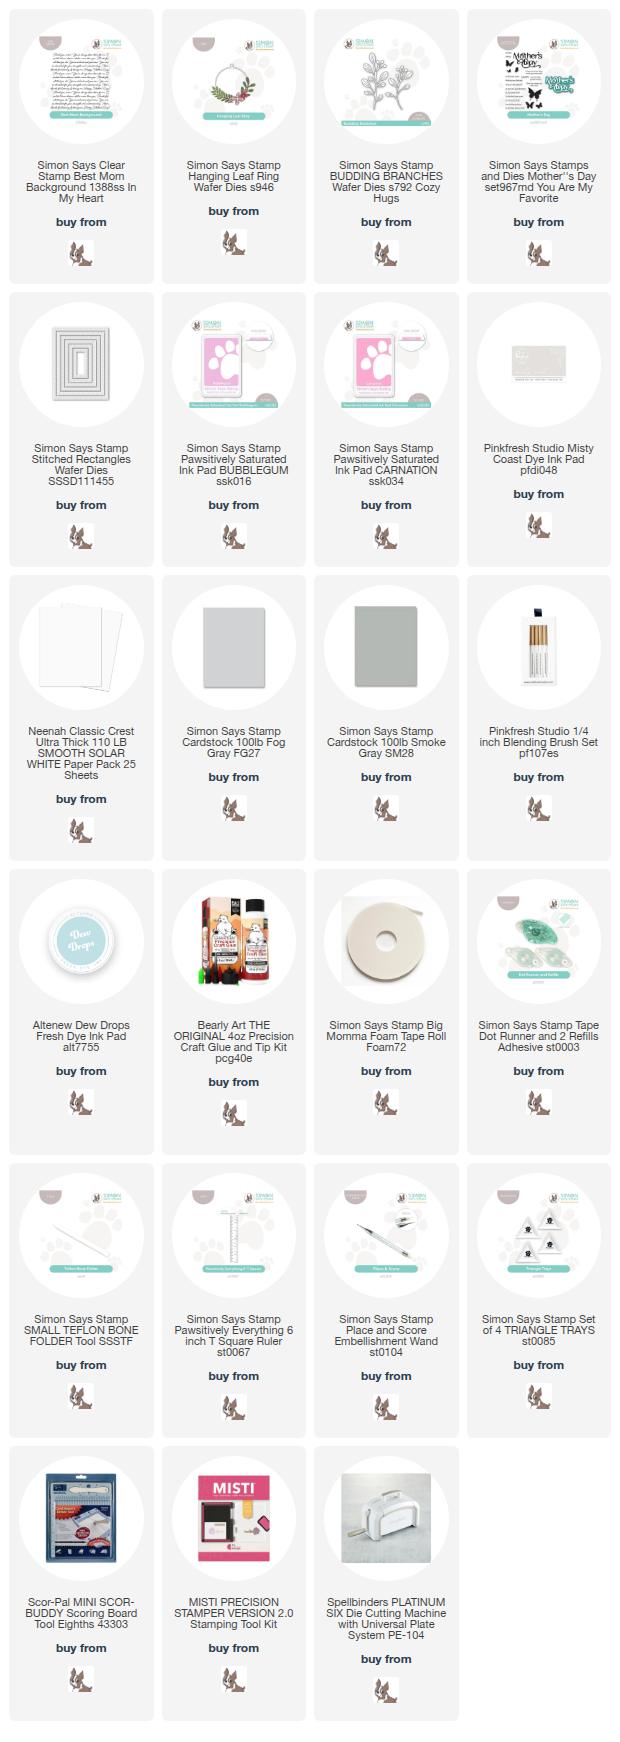
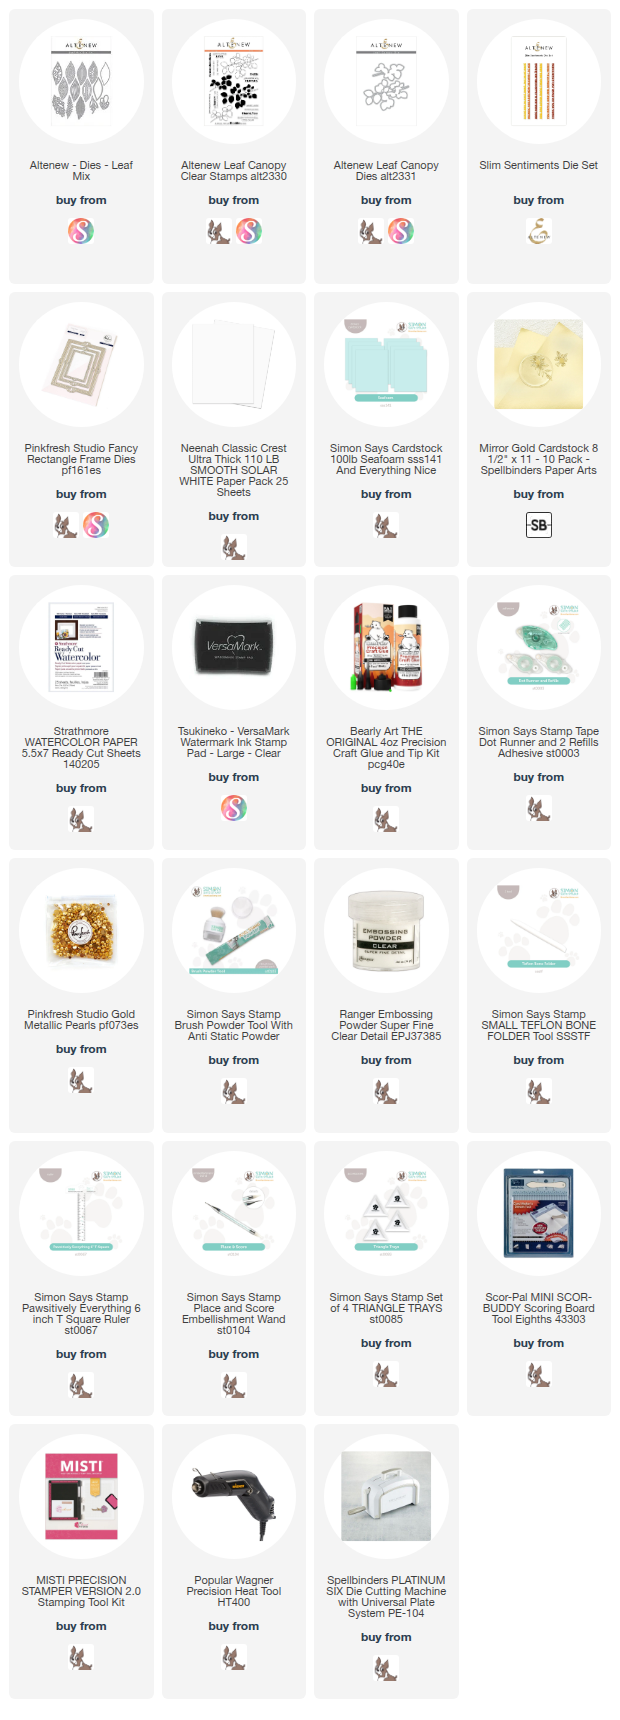
Supply List
Affiliate links used at no cost to you. What does this mean? If you use the links within this post to make a purchase, I receive a small commission, which allows me to continue to post crafty content for your enjoyment. I truly appreciate your support!
Latest Posts
- Simon Says Stamp Tattered Florals

- Simon Says Stamp Amazing Floral

- Simon Says Stamp Friendly Butterflies

- Simon Says Stamp Graceful Hugs

- Simon Says Stamp Hello Butterflies

Latest Instagram Posts