Spellbinders Birthday Field Notes

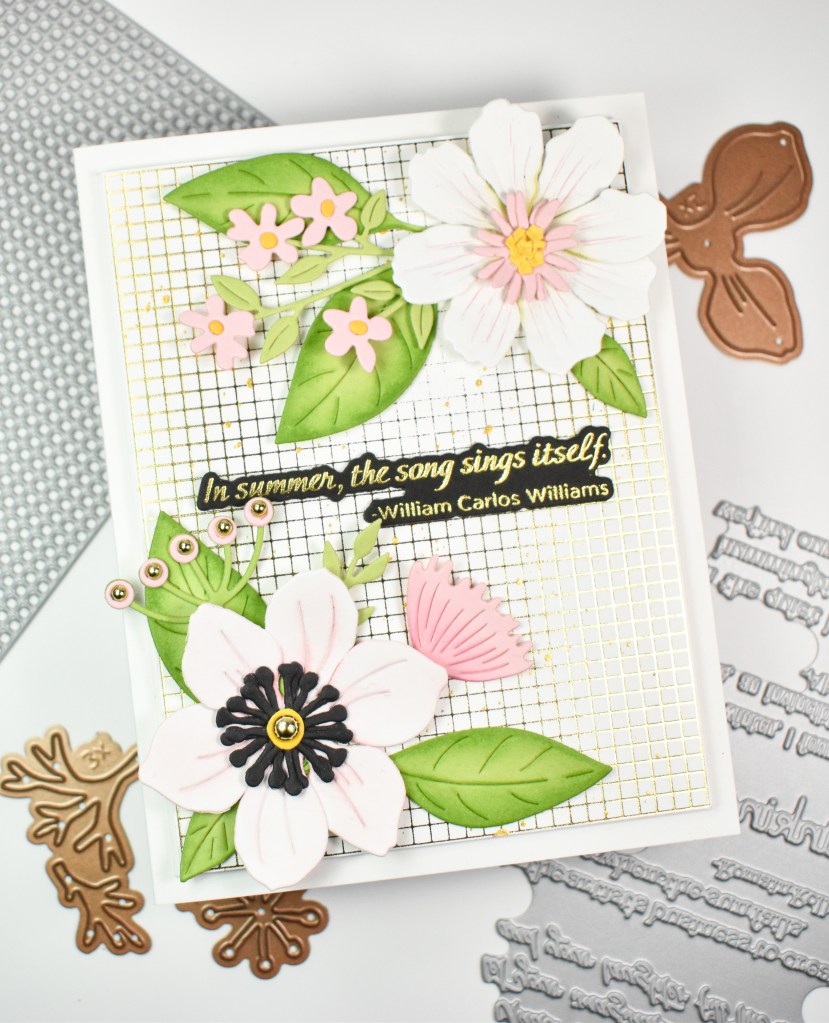
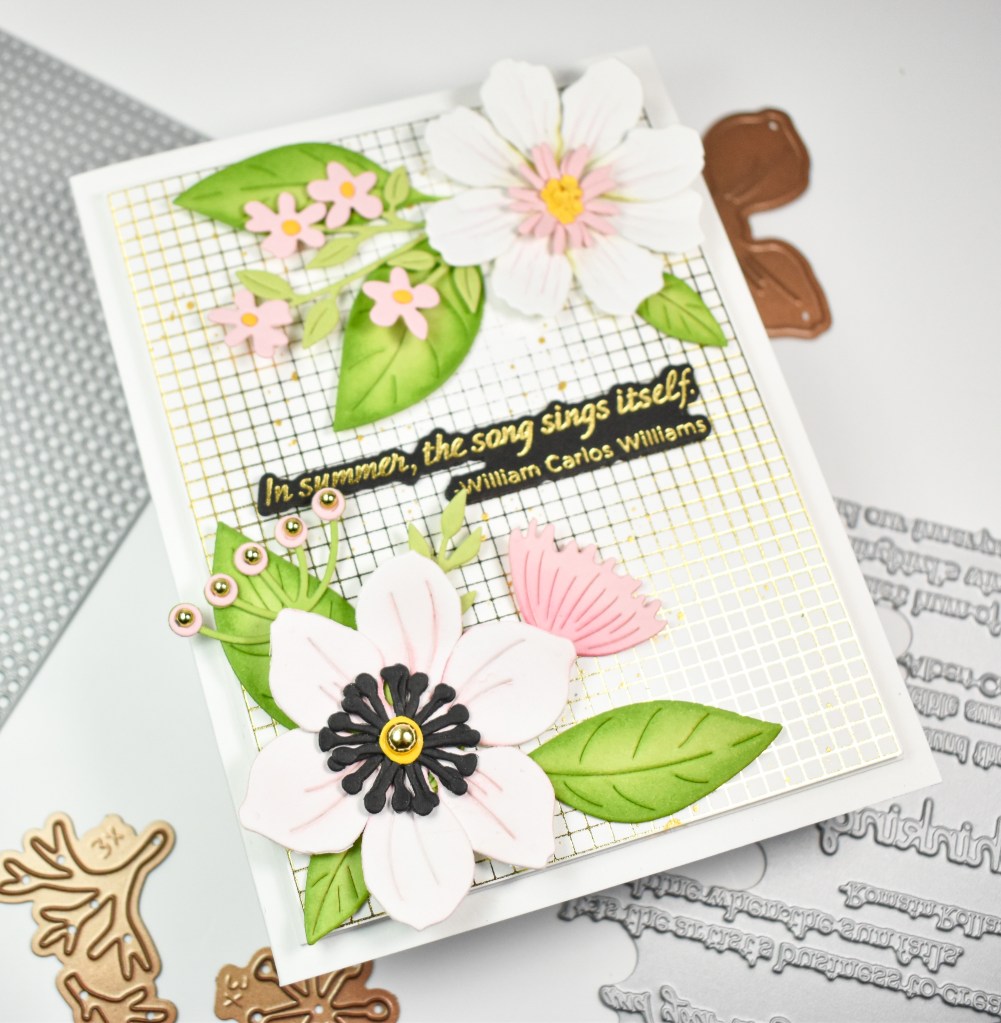
Hello Friends and welcome back! Today’s project is featuring the Field Notes Wildflowers along with the Molded Frame 3D Embossing Folder from the Spellbinders April releases. I got a little behind from traveling and then being sick for a week, so I’m playing a little bit of catch up! Let’s go ahead and go through the details for this one.
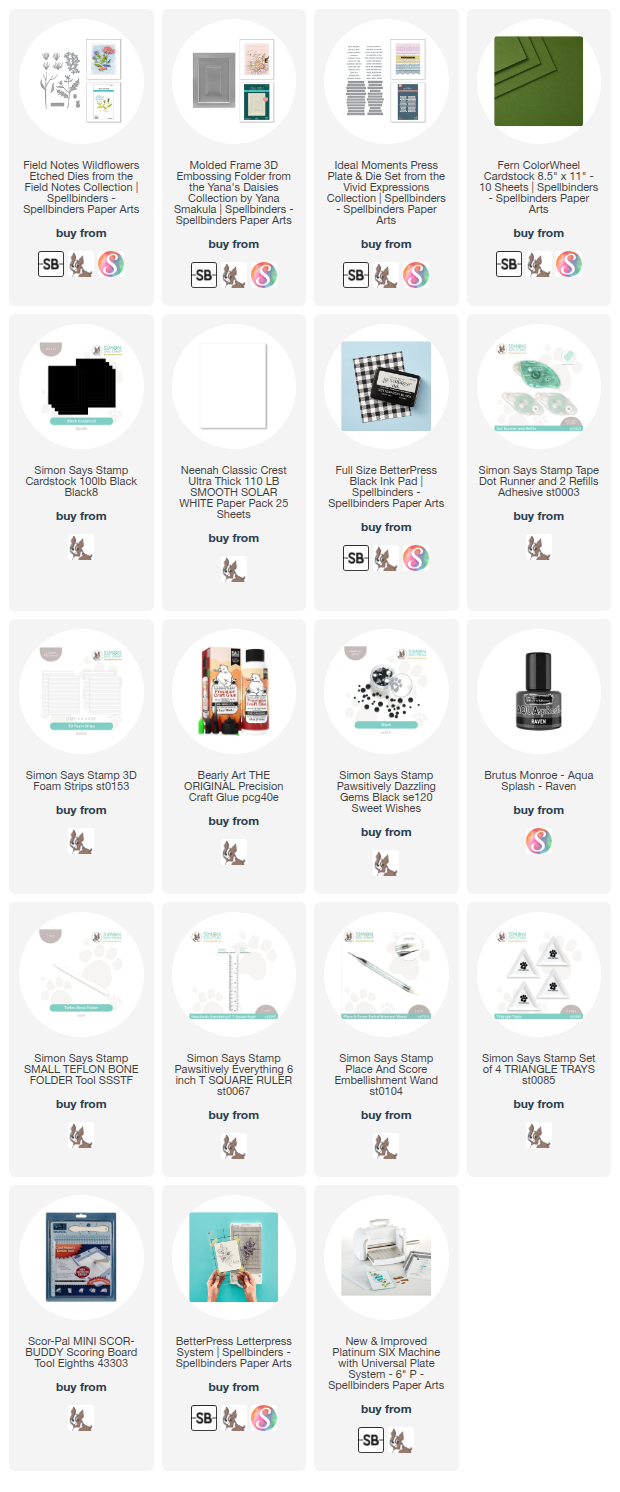
NOTE: all supplies are linked to multiple sources in the thumbnails at the end of this blog post.

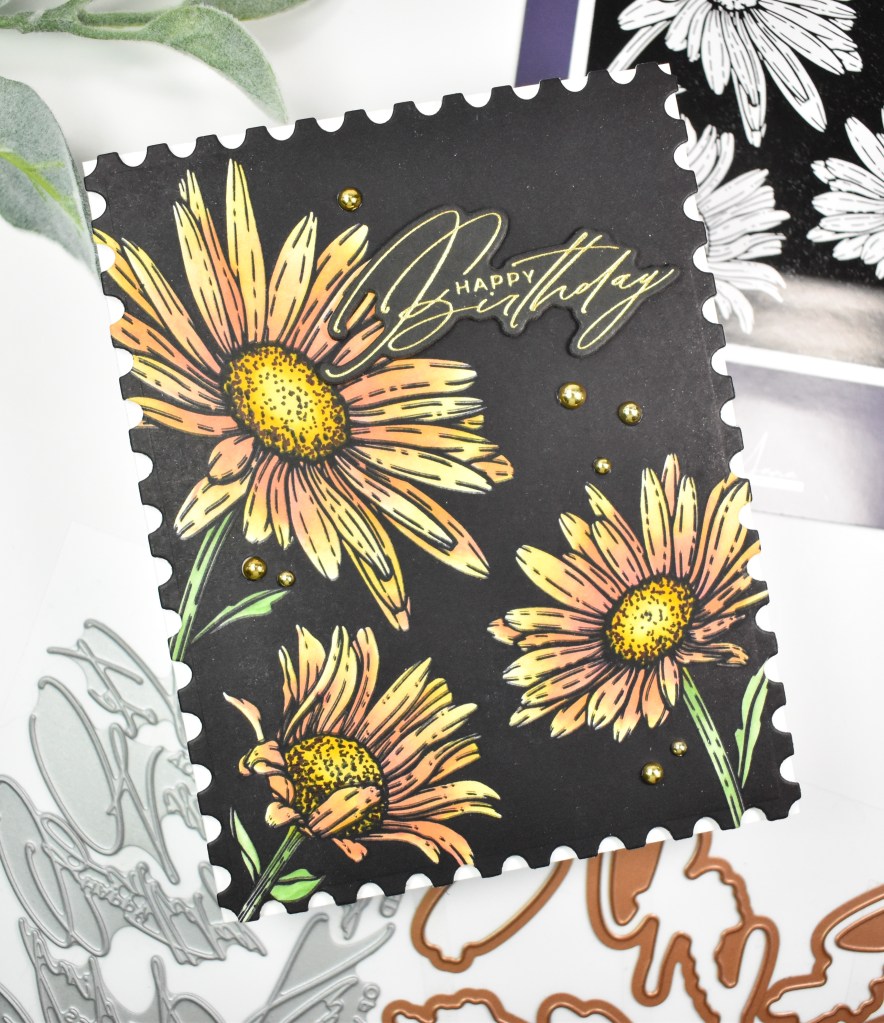
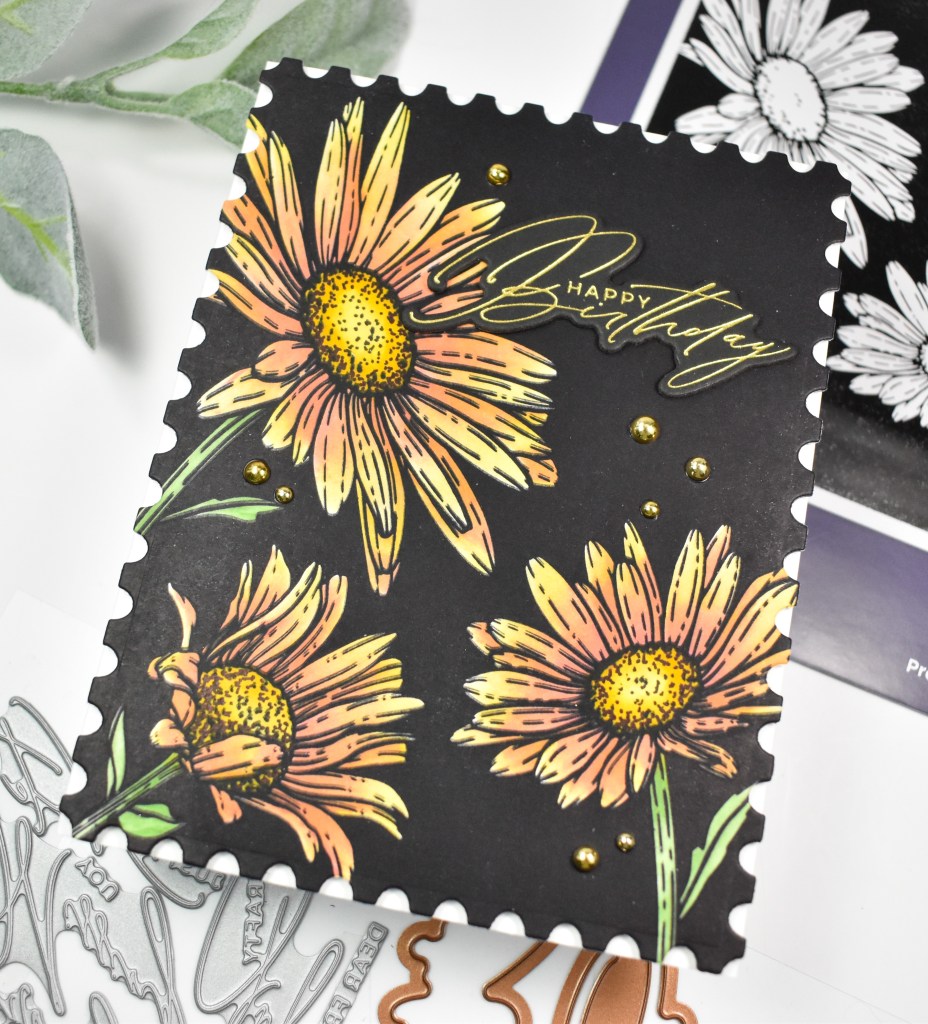
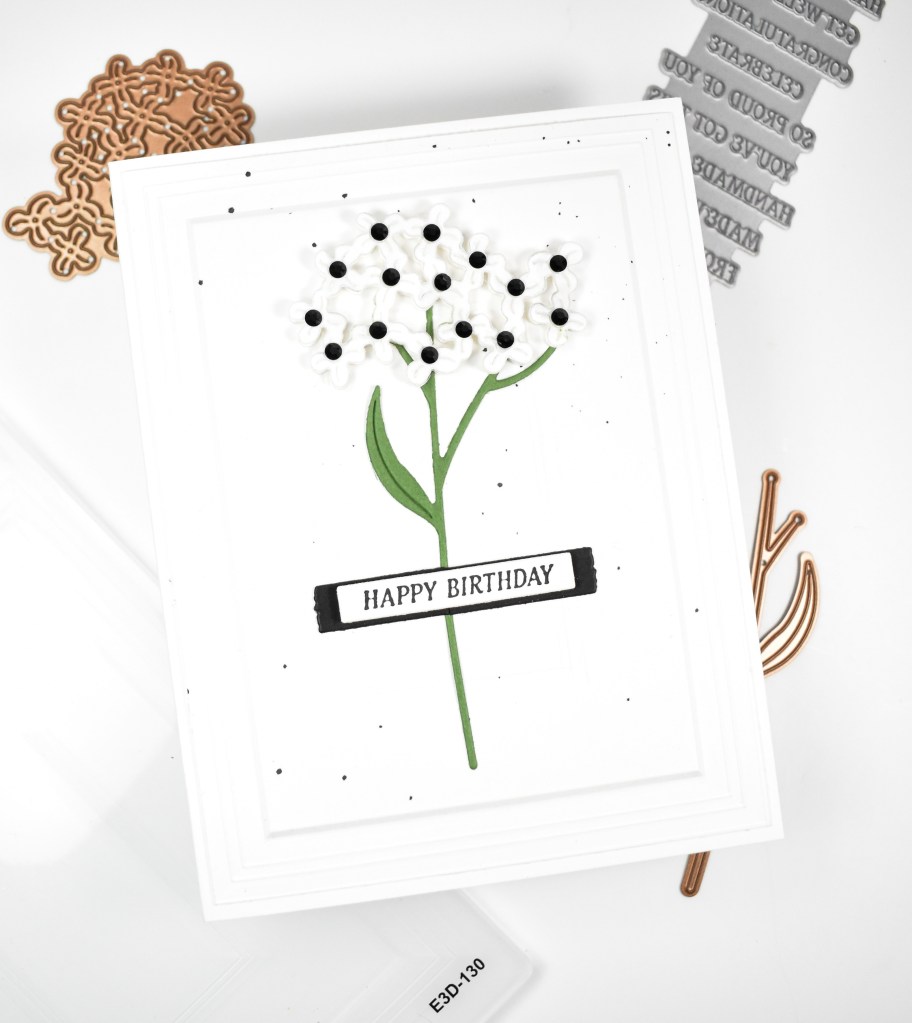
I began this project by creating the background first using the Molded Frame Embossing Folder, trimming it down slightly and then adding some splatter. The next step was to cut the flowers pieces using Neenah 110lb cardstock and Fern cardstock.
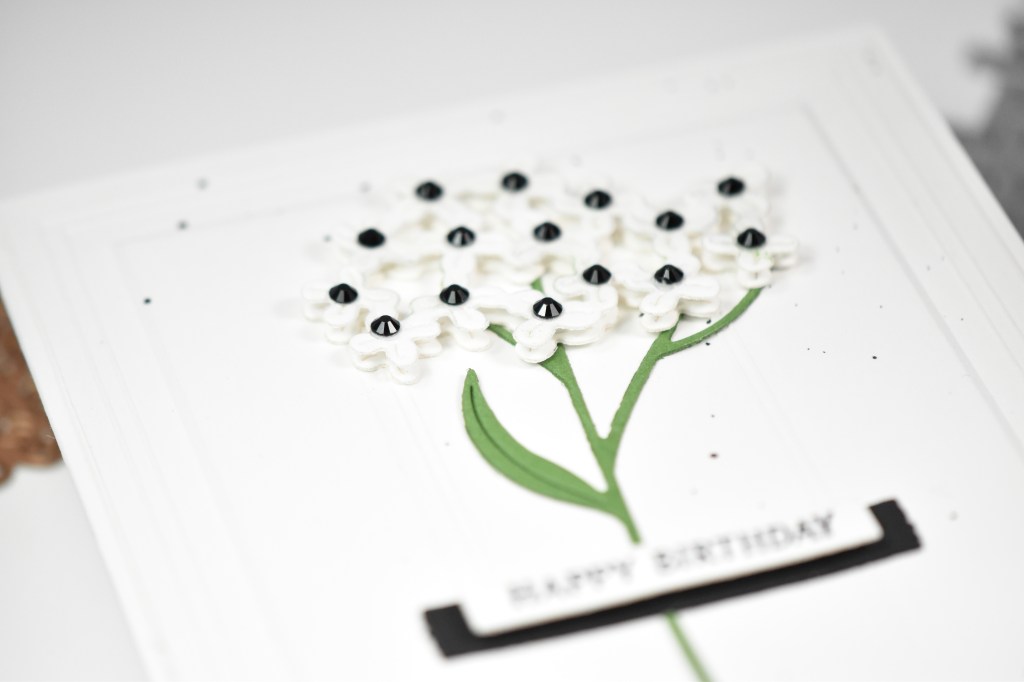
I placed tiny pieces of foam tape on one of the floral pieces and then adhered the other piece atop that for a more dimensional look. This was then adhered to the stem and black gems were added to the centers of the flowers.
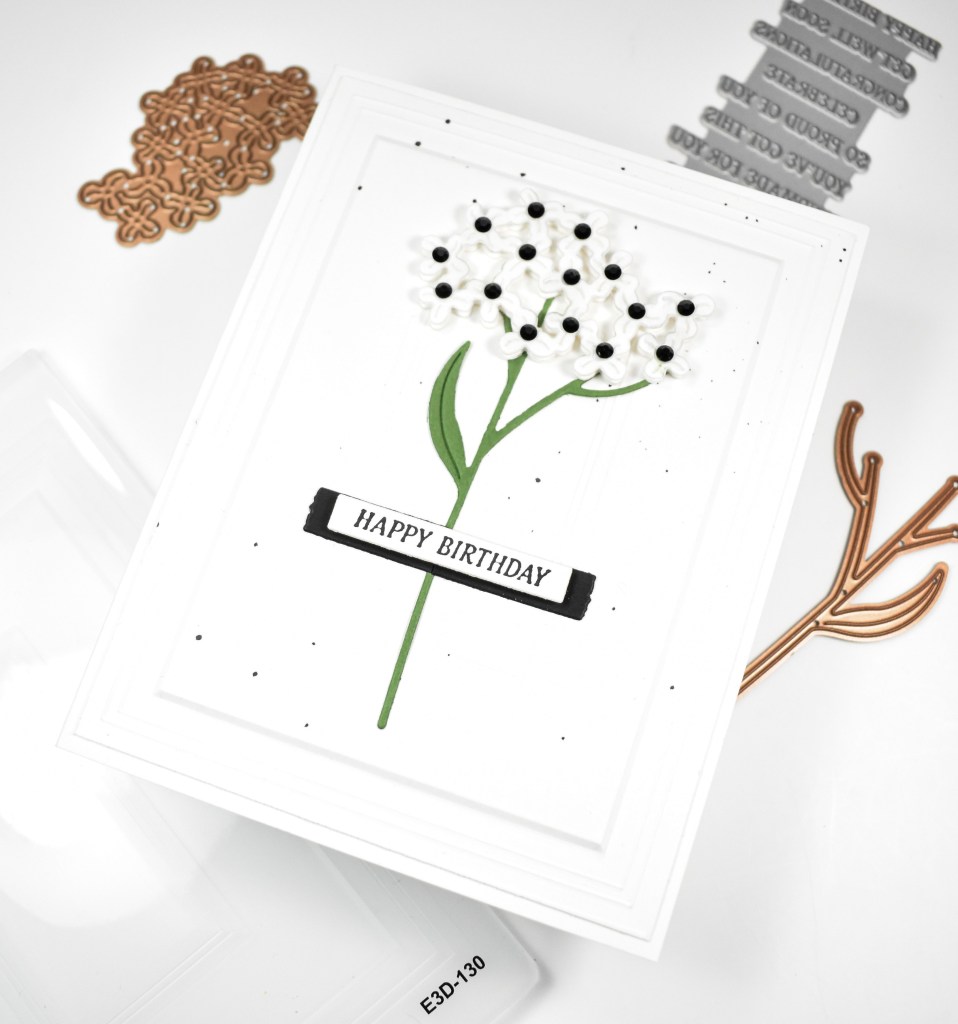
The black strip is part of the wildflower set, but it was smaller than I wanted, so I just cut two of them and trimmed off one end of both. The sentiment was created using the Ideal Moments Sentiments BetterPress Plate along with black BetterPress ink.

The panel was adhered to the card base, the floral was glued in place along with the black strip and the sentiment was adhered with foam strips to finish up.
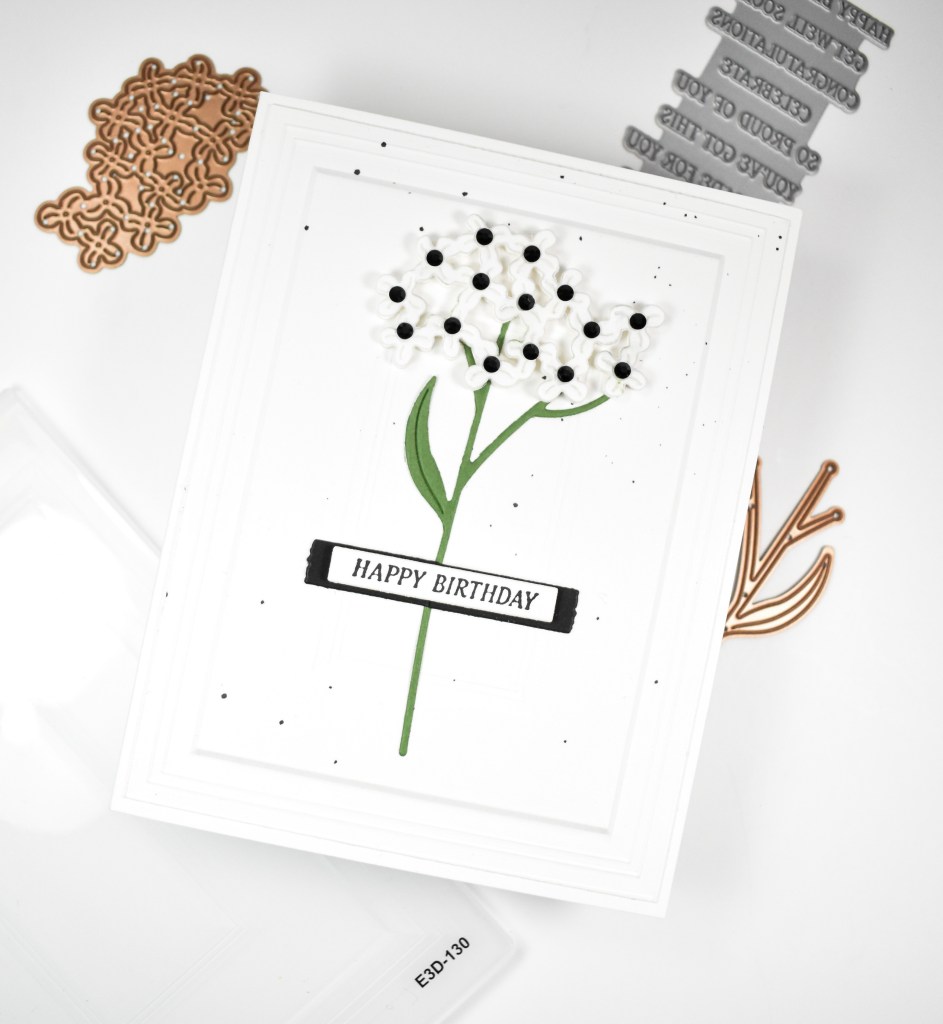
A simple project for today, but I love the classic look of white flowers on a white background. I hope you enjoyed it! Thanks again for stopping by, and I hope you have an awesome day!
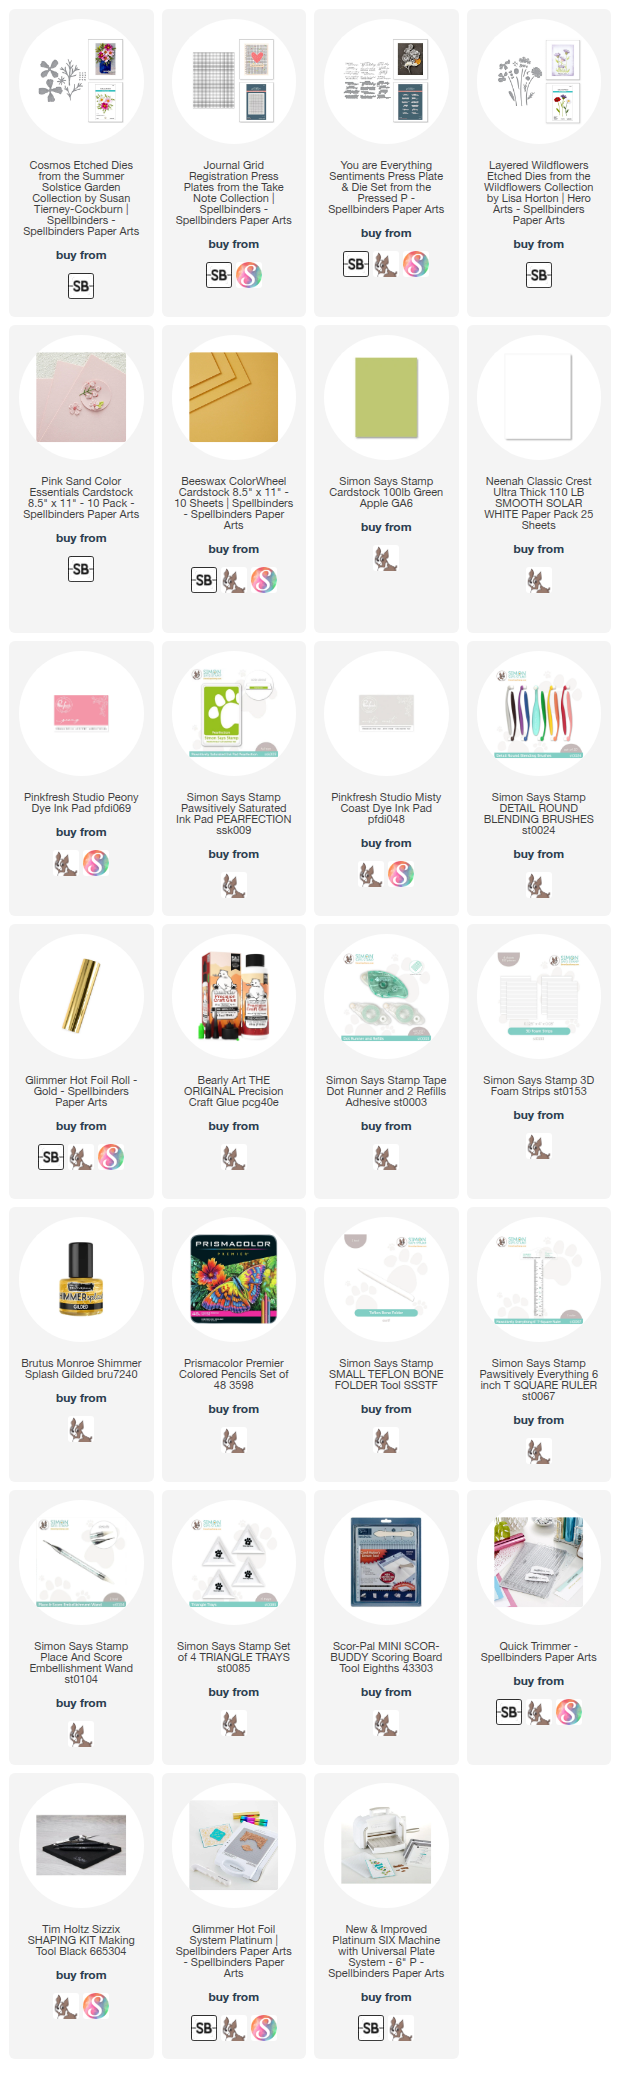
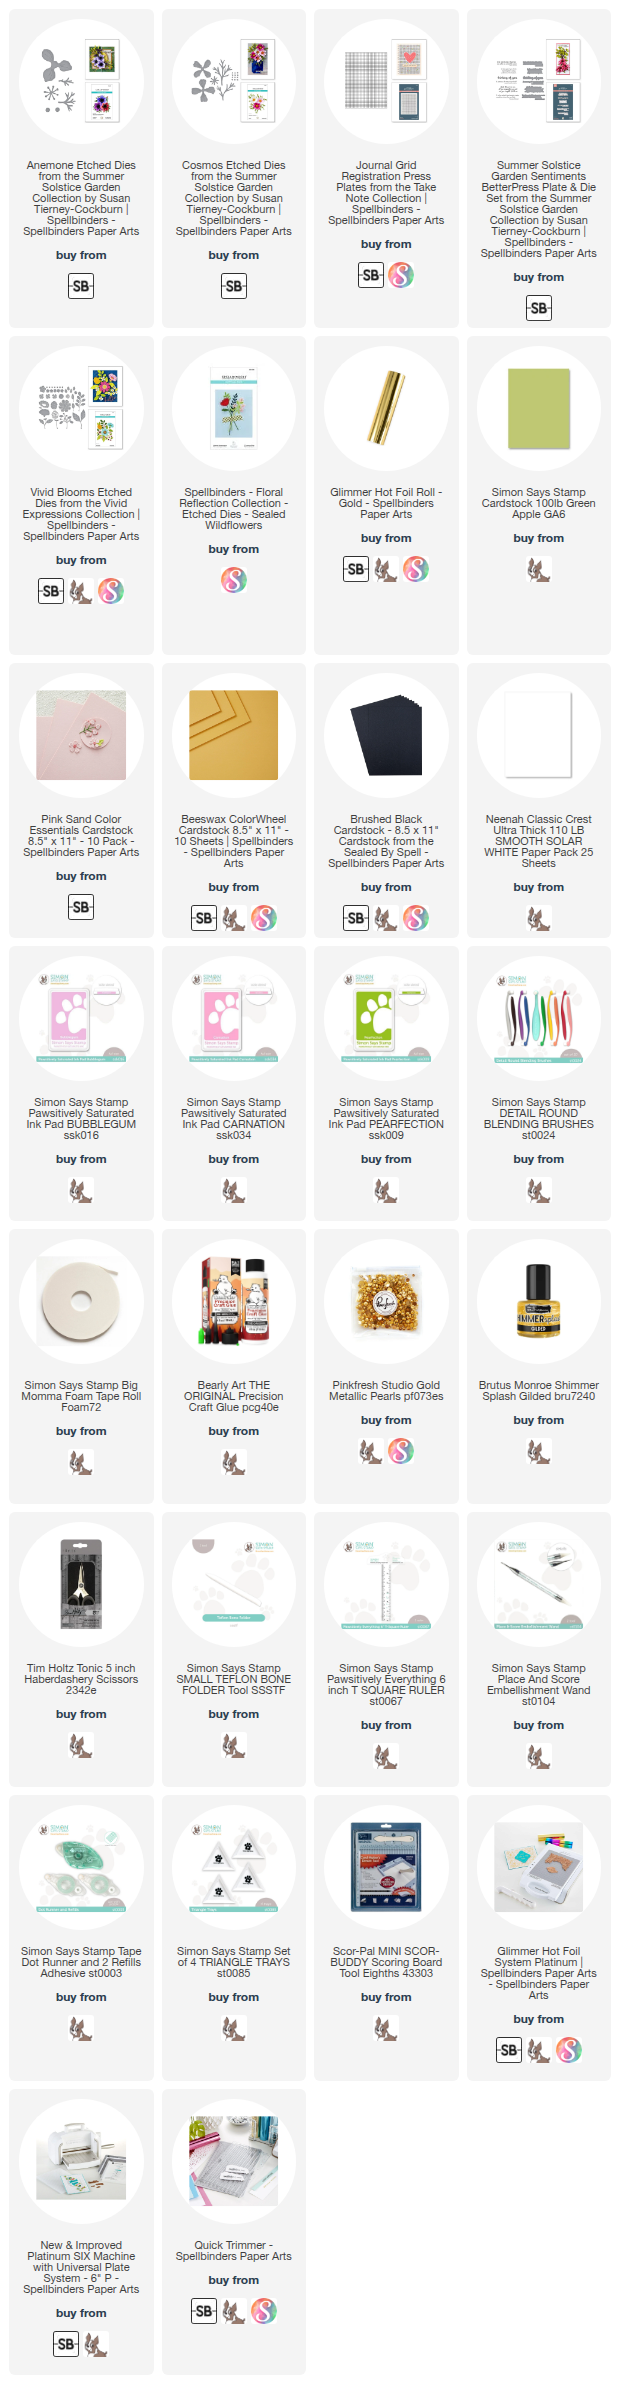
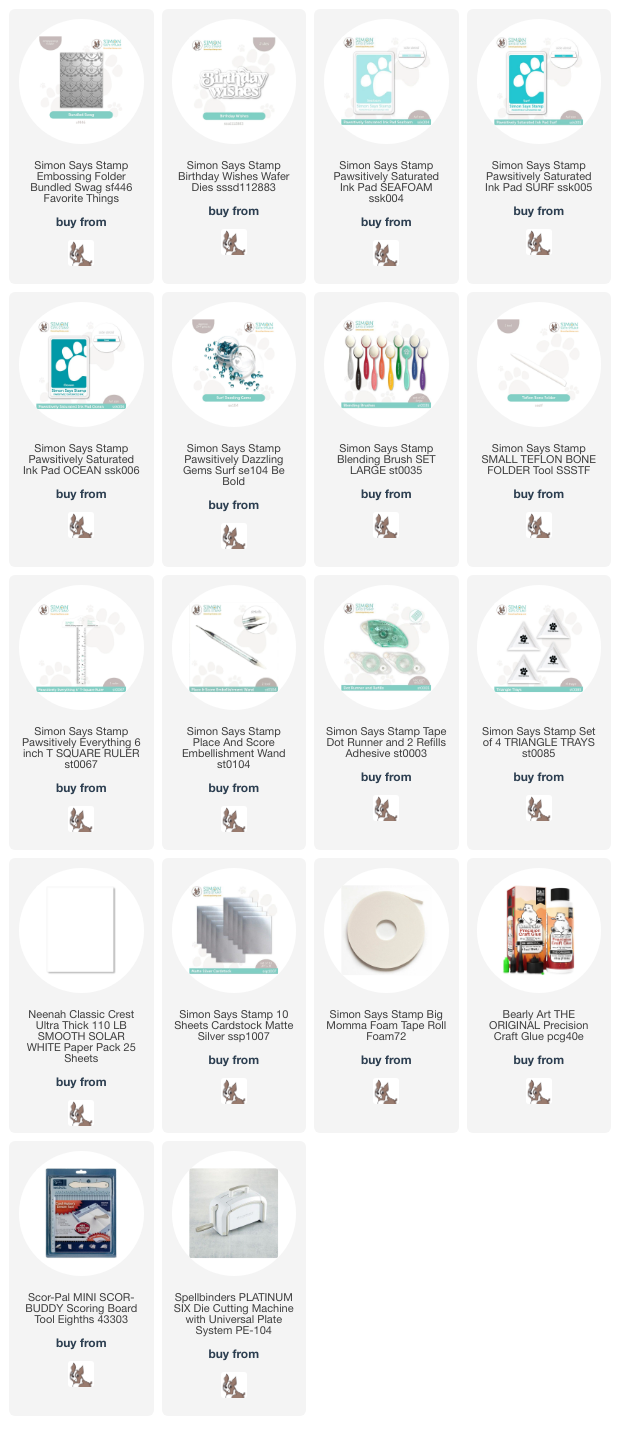
Supply List
Affiliate links used at no cost to you. What does this mean? If you use the links within this post to make a purchase, I receive a small commission, which allows me to continue to post crafty content for your enjoyment. I truly appreciate your support!
Latest Posts
- Simon Says Stamp Grungy Dewdrop Daisy

- Simon Says Stamp Pastel Birthday Wishes

- Simon Says Stamp Best Fish

- Simon Says Stamp Circle Thanks

- Simon Says Stamp Glowing Daisies

Latest Instagram Posts