Simon Says Stamp Birthday Books

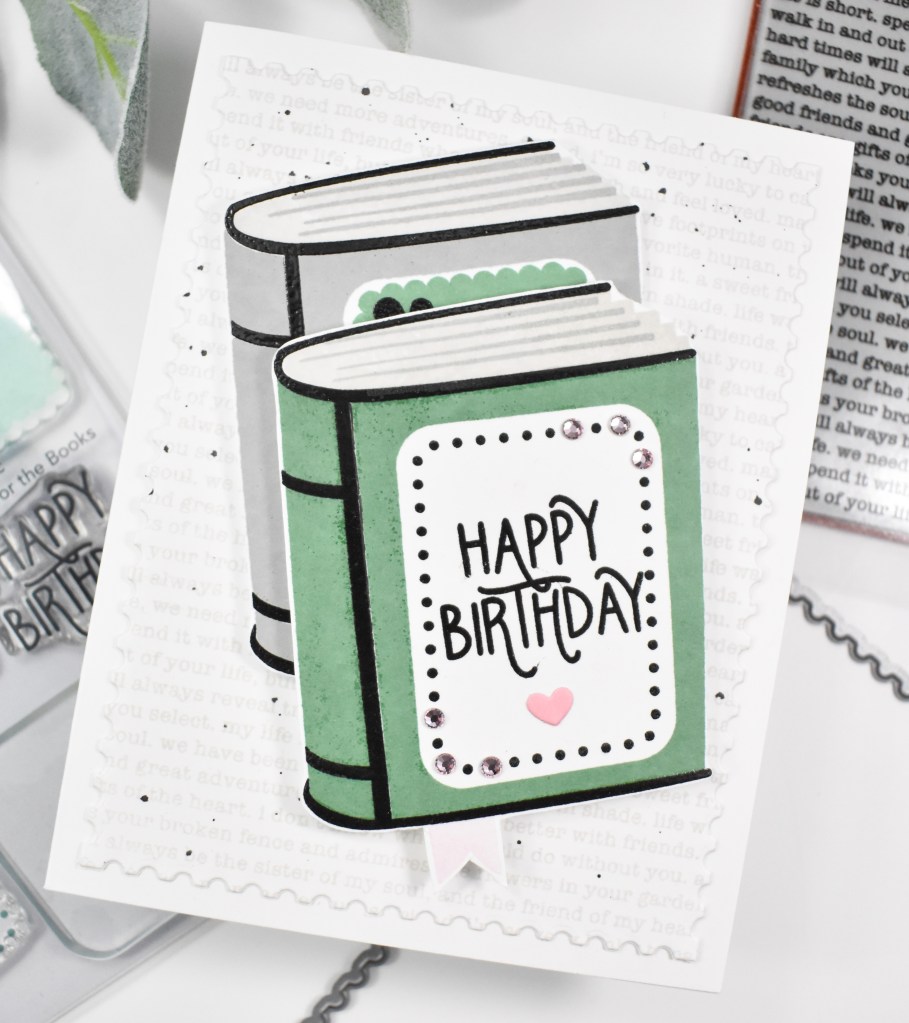
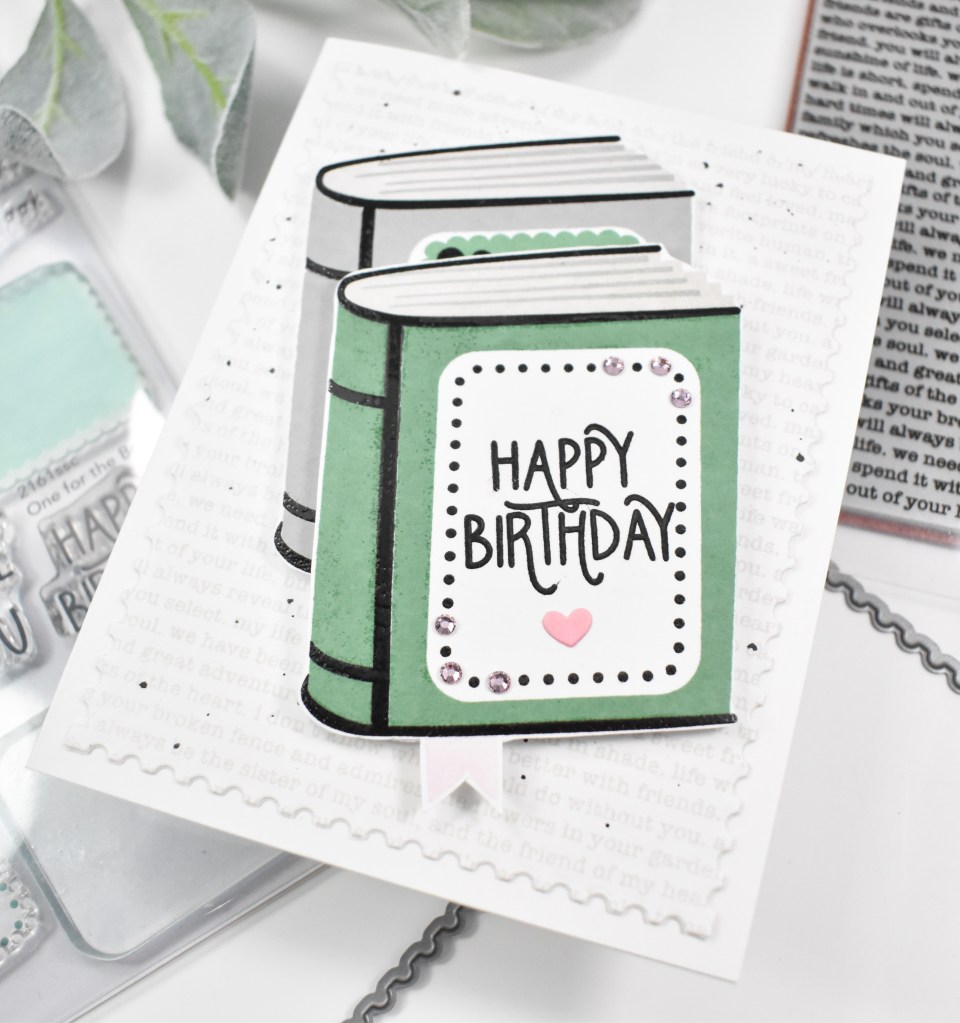
Hello Crafty Friends, and welcome back to my blog! I’m back today with a project featuring the new One for the Books set from Simon’s latest release, Favorite Things. Let’s go ahead and run through the details!

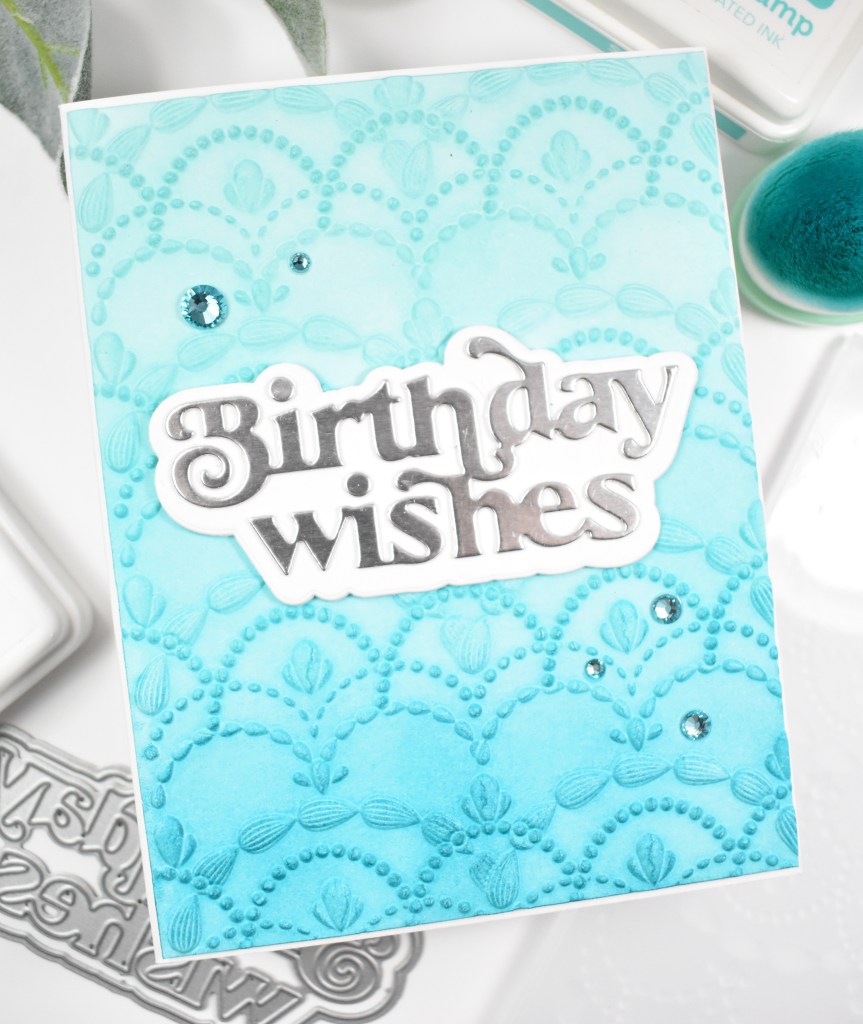
NOTE: all supplies are linked in the thumbnails at the end of this blog post.
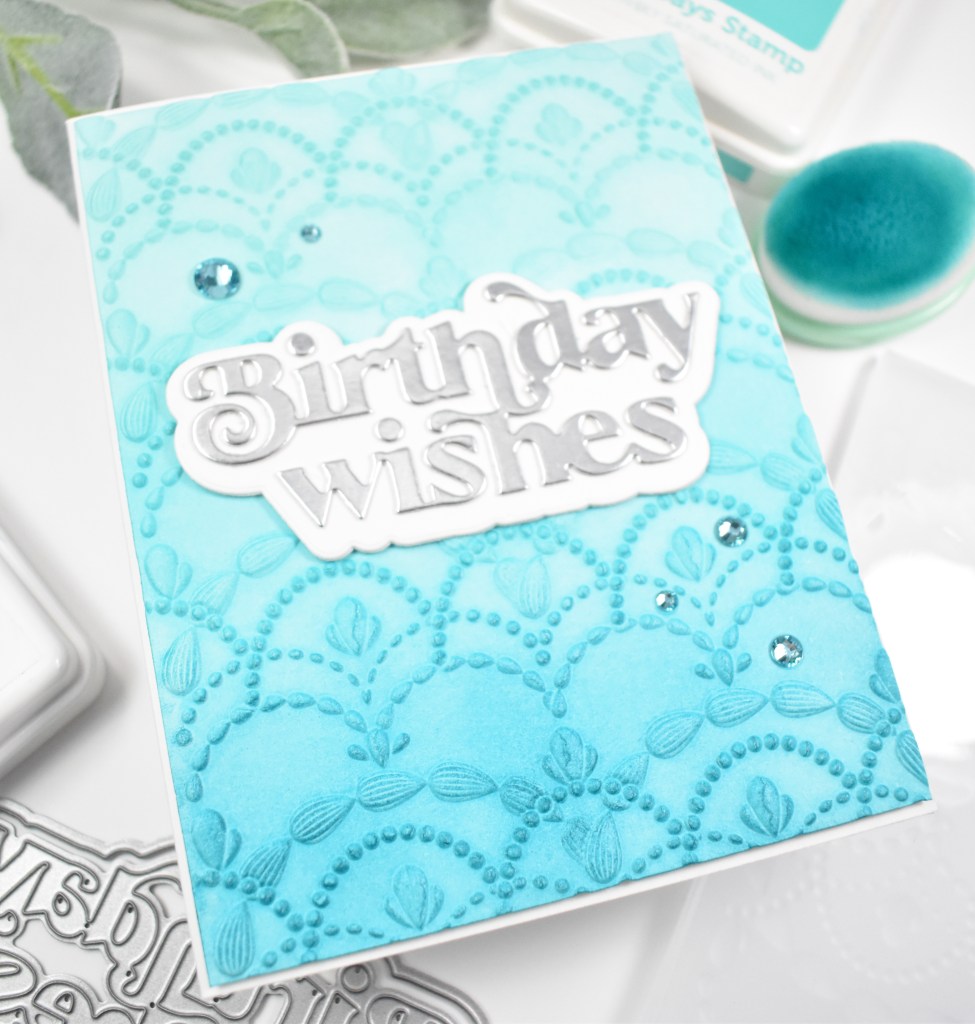
I began this project by stamping the book using Bubblegum, Gravel and Sage inks. This is a layering stamp set, so I moved onto the black areas and used VersaFine Onyx Black ink for that and heat set it using Ranger Clear Embossing Powder. For the “pages” of the books, I used Misty Coast ink from PinkFresh Studio.

Once the stamping of the book was complete, I adhered them to fun foam and trimmed them down to size. I also added a small pink heart and Bubblegum Dazzling Gems to the top book. The background was created using the Friendship Text Background stamp with that same Misty Coast ink. That was then trimmed down using the Postage Stamp Edge Frames. Before adhering to the card base, I added some black splatter and then adhered the books atop that. Because the books had already been adhered to fun foam, there was no need for additional foam tape.

That finishes up this project! I hope you enjoyed it! Head on over to Simon’s website to check out the entire Favorite Things release and let me know your favorites. Thanks for joining me, and I hope you have a fabulous day!
Supply List

Affiliate links used at no cost to you. What does this mean? If you use the links within this post to make a purchase, I receive a small commission, which allows me to continue to post crafty content for your enjoyment. I truly appreciate your support!
Latest Posts

Latest Instagram Posts
Spellbinders Birthday Mountain Daisy

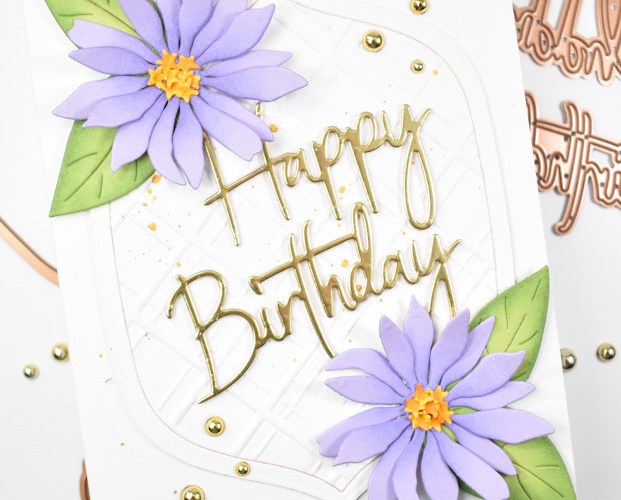
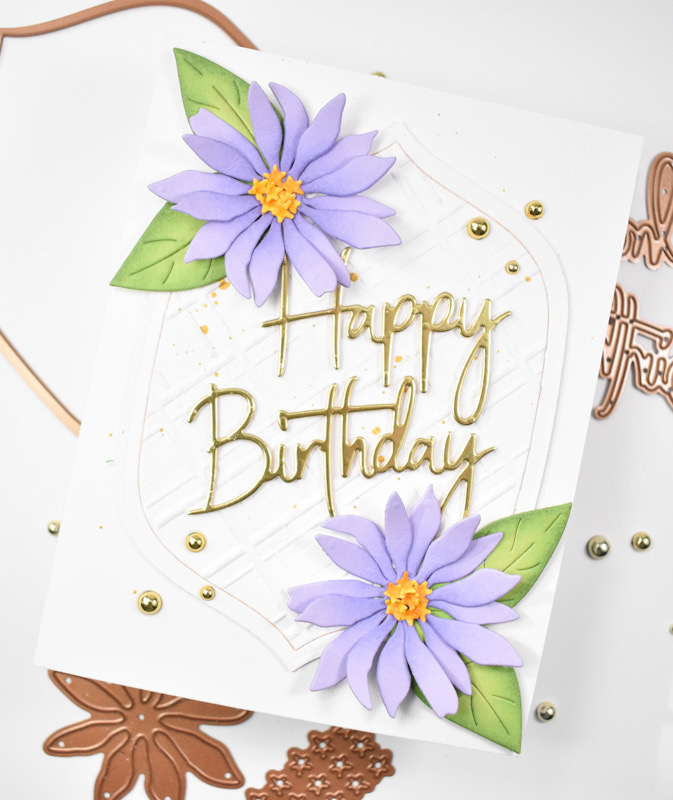
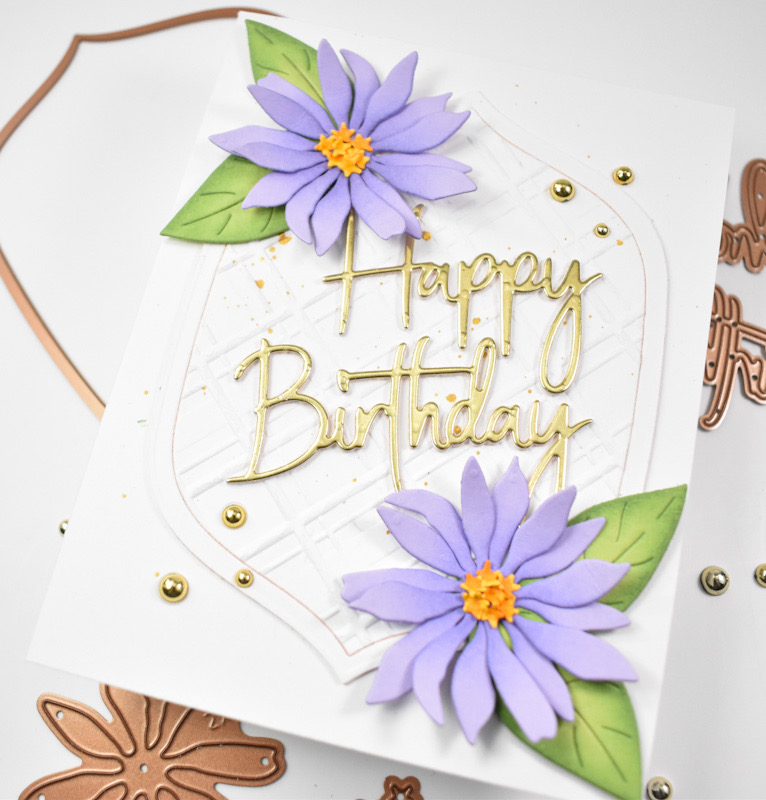
Hello Crafty Friends and welcome back! I’m back today with a project featuring the new Lavender Mountain Daisy from Spellbinders and Susan Tierney Cockburn! You guys know that I love florals, so I was thrilled to be able to work with some of Susan’s latest floral die cuts! Let’s go ahead and get into the details!

NOTE: all supplies are linked to multiple sources in the thumbnails at the end of this blog post.

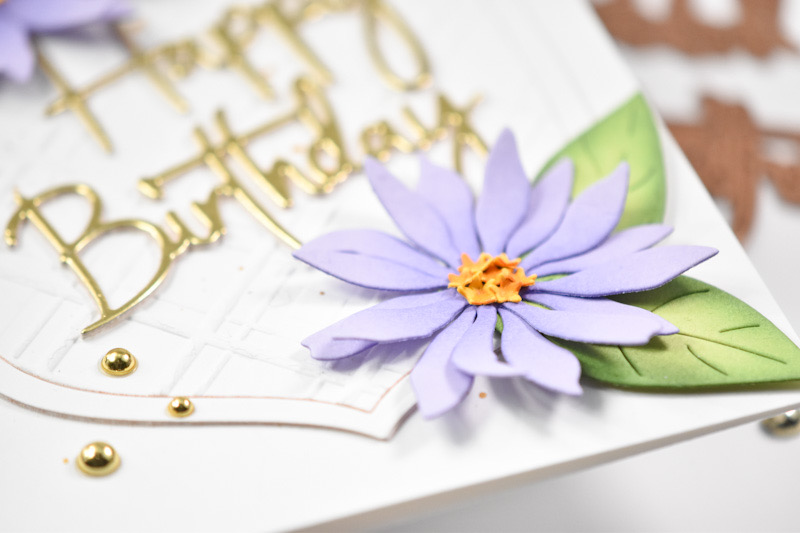
I began this project by die cutting a few of the daisies and centers from Purple Mist and Saffron cardstock. I did some ink blending on the flowers using PFS Hydrangea ink, and I used Copic marker YR04 on the centers. I used the Sizzix Shaping Kit to shape the center pieces and then I went ahead and assembled the flowers.

Now as you all know, I always need greenery so I die cut a few leaves from the Vivid Blooms set from Green Apple cardstock and did some ink blending on those as well using Artichoke ink. For my background, I used the Fresh Picked Labels and Tag to create a focal point. The center portion that was cut out to create the frame was then run through the machine using the Argyle Plaid 3D Embossing Folder to add a bit of texture.

The sentiment, which is from the Simply Perfect Mix & Match Sentiments, was die cut once from gold cardstock and twice from Neenah 110lb cardstock for a stacked sentiment. I was unable to locate this set on the Spellbinders website, so I’m assuming that it must have been discontinued. But, if you’re wanting to recreate this project, just use what’s in your stash! Before assembling, I did splatter both the panel and the card base with gold acrylic ink. The textured panel was adhered to the card base using liquid glue, as well as the flowers, leaves and sentiment. To finish up, I added a few Gold Metallic Pearls.

That does it for this card! I hope you enjoyed it as much as I did! Don’t forget to check out all of the February releases from Spellbinders! Thanks again for joining me, and have a wonderful day!

Supply List

Affiliate links used at no cost to you. What does this mean? If you use the links within this post to make a purchase, I receive a small commission, which allows me to continue to post crafty content for your enjoyment. I truly appreciate your support!

Latest Posts

Latest Instagram Posts
Spellbinders Daisy Birthday Wishes

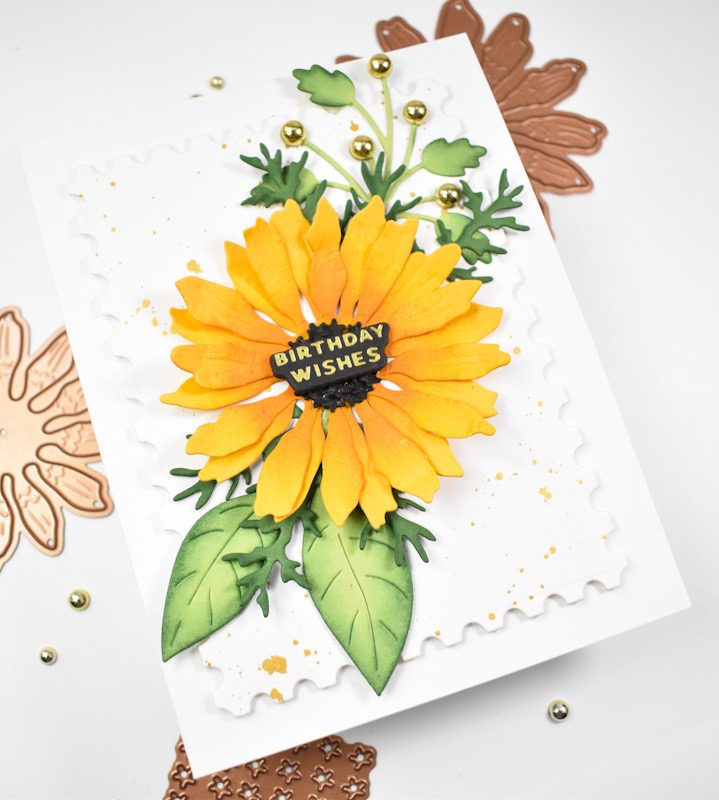
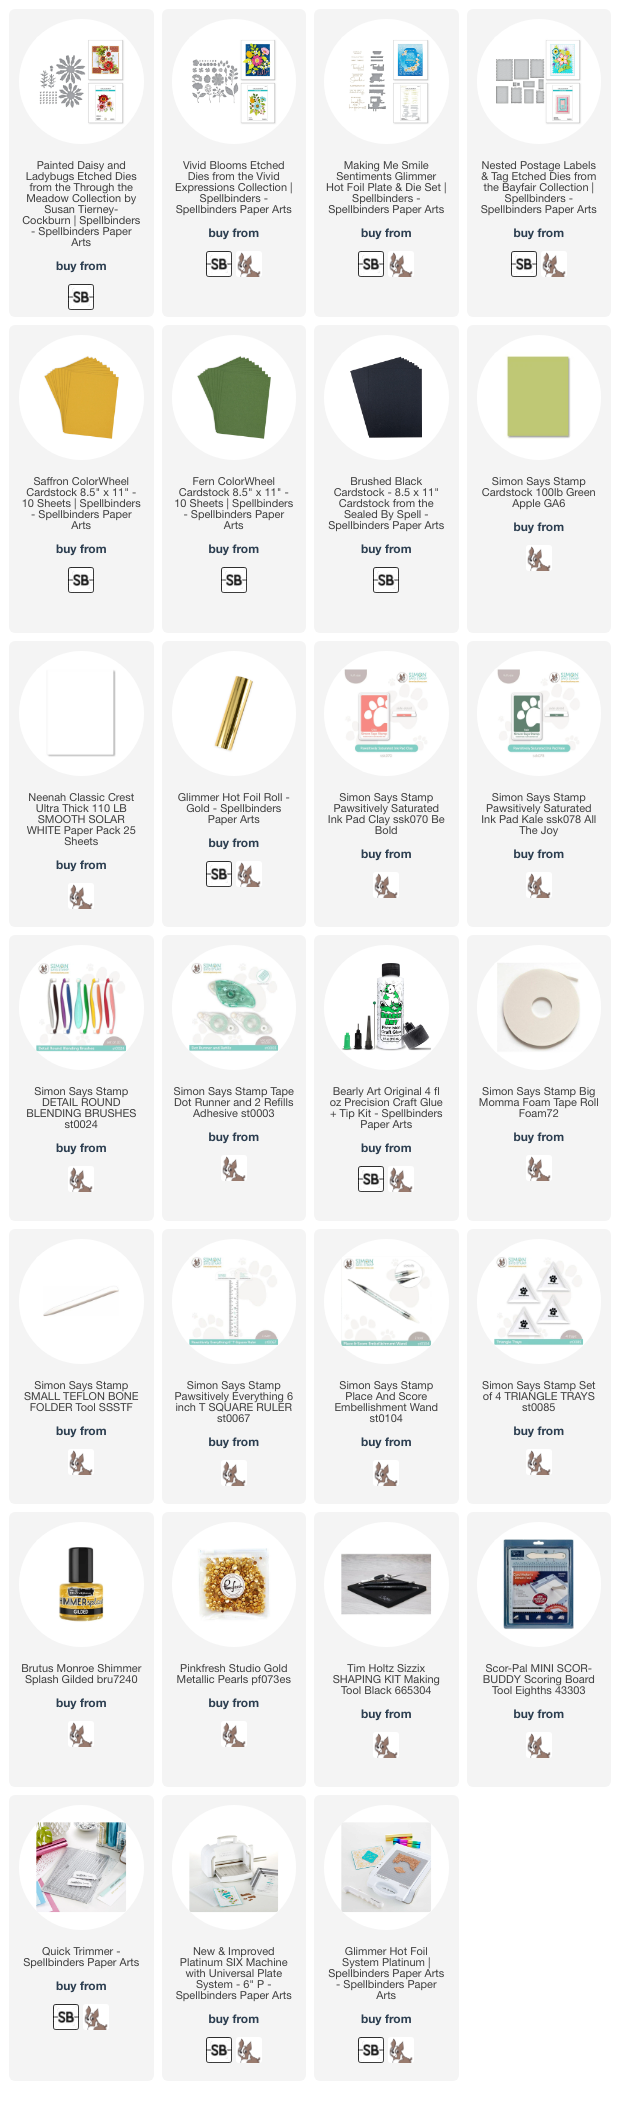
Hello Friends and welcome back! I’m so glad you decided to join me for today’s project featuring the new Painted Daisy & Ladybugs from Spellbinders and Susan Tierney Cockburn. This daisy is so gorgeous and I had so much fun making it, and am so happy with this project! Let’s go ahead and go through the deets, shall we?

NOTE: all supplies are linked to multiple sources in the thumbnails at the end of this blog post.

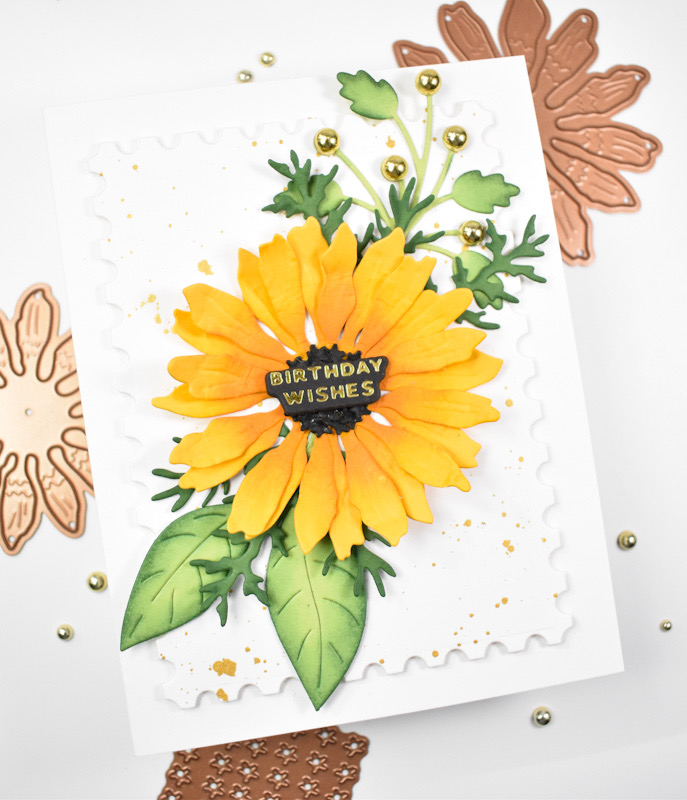
I began this project by die cutting the daisy pieces from Saffron and Black cardstock, while die cutting the leaves from Fern cardstock. I did some ink blending on the flower portions using Clay ink and Kale ink for the leaves. Before assembling the flower, I used the Sizzix Shaping Kit to soften the petals some. I did also die cut some other leaves from the Vivid Blooms set as well.

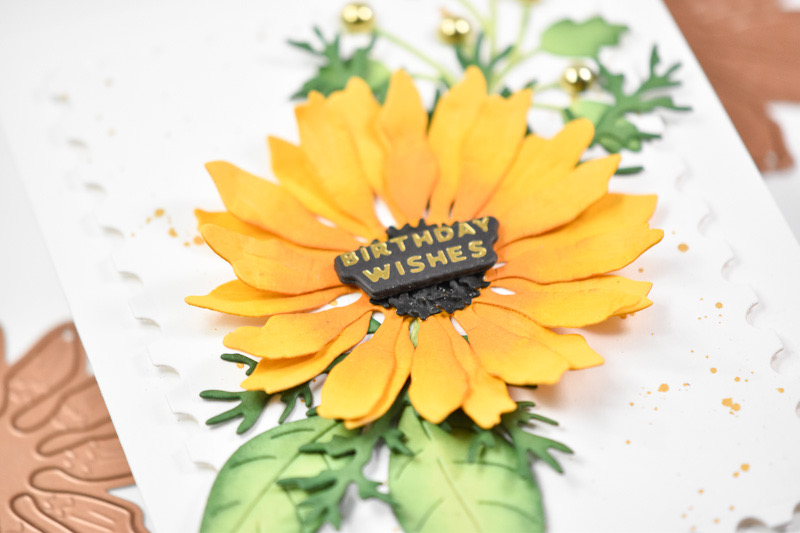
Once the ink blending was complete, I assembled the flower using liquid glue. The center portion of the flower did take some time, but I absolutely love the texture! The sentiment that was used is from the Making Me Smile Sentiments Hot Foil set and that was gold foiled onto black cardstock. I used the included die cut to trim it out along with two additional cuts for a stacked sentiment.

The background was created using the Nestled Postage Labels and Tag set and that was gold splattered before adhering it to the card base with foam tape. The leaves were adhered first, and then the flower. I glued the tiny sentiment right in the middle of the flower and added some Gold Metallic Pearls to one of the leaves to finish up.

A simple design for today’s card, but I love the way it turned out! I hope you enjoyed it as well. I’m always so happy working with florals! Thanks for stopping by, and I hope you have an absolutely wonderful day!

Supply List

Affiliate links used at no cost to you. What does this mean? If you use the links within this post to make a purchase, I receive a small commission, which allows me to continue to post crafty content for your enjoyment. I truly appreciate your support!

Latest Posts

Latest Instagram Posts

Spellbinders Birthday Wishes

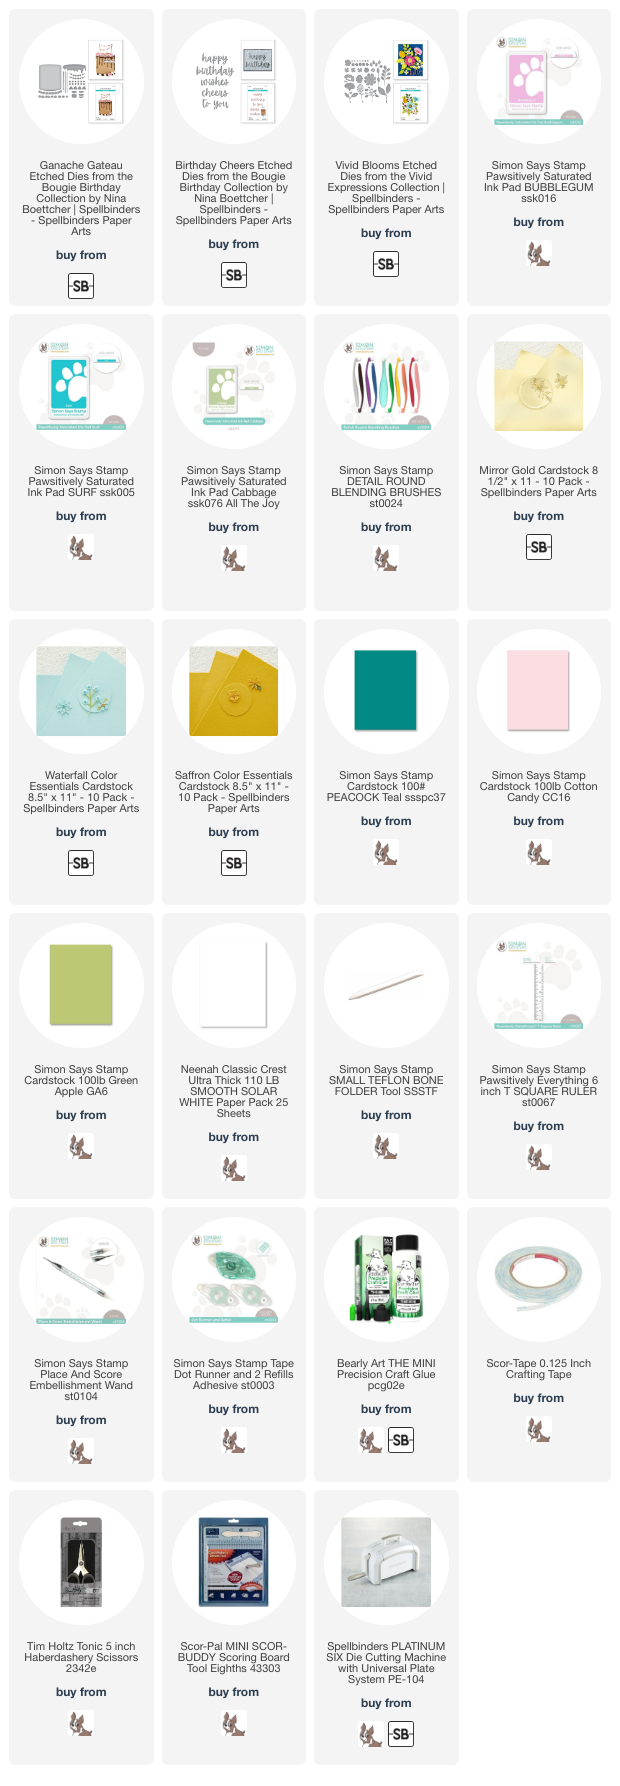
Hello Crafty Friends, and welcome back! The January releases from Spellbinders are live, and I’m back today with a project featuring the new Ganache Gateau, Birthday Cheers and the Vivid Blooms! Don’t you love it when the vision in your mind translates well to an actual project?! Let’s go through the details for this one, shall we?

NOTE: all supplies are linked to multiple sources in the thumbnails at the end of this blog post.

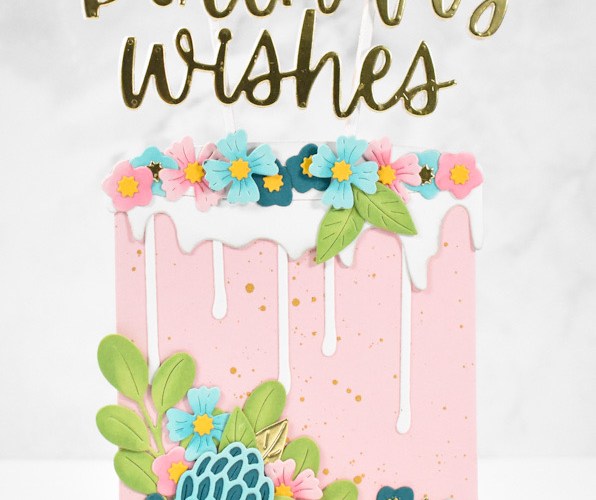
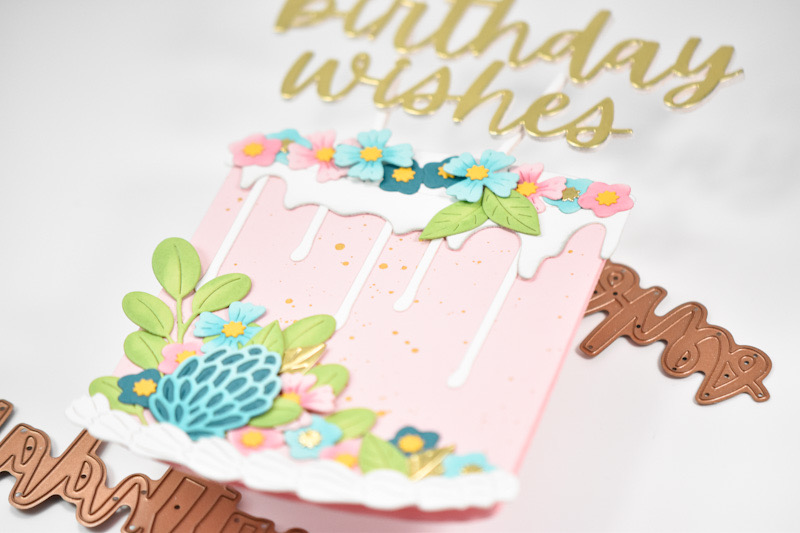
I began this project by cutting the base layer of the cake using Cotton Candy cardstock, while cutting the frosting pieces from Neenah 110lb cardstock. There was quite a bit of floral cutting for this project and the cardstock colors that I used were Gold, Waterfall, Saffron, Peacock and Green Apple. Those will all be listed in the thumbnails below.

Once all of the floral die cutting was complete, I did some ink blending on the flowers using Bubblegum, Surf and Cabbage inks. The floral pieces were then assembled using liquid glue. Before adding anything to the cake, I did splatter it with gold acrylic ink for some added interest. I began the assembly with the leaves and flowers at the bottom of the cake, and then added the bottom icing piece.

I wanted to figure out the sentiment before adding the top pieces to the cake, so I die cut the support sticks five times from Neenah 110lb cardstock, and I die cut the ‘birthday wishes’ once from gold cardstock and four times from Neenah. All of those pieces were adhered together so that it would be sturdy.

I adhered the top icing pieces, the support sticks and then the flowers around those. Adding the flowers over the support sticks hid the bottom portion of those, which I wanted. My next step was to secure the sentiment in place. I wanted the card to be the shape of the cake, so I cut another piece of pink cardstock and scored it at 1/4″ and applied some Scor Tape to secure those together.

That does it for this project! I hope you enjoyed it! In all honesty, this is my very first shaped card, and I kind of like it, so I’ll probably try it again at some point. Thanks for stopping by to hang out with me for a bit, and I hope you have an amazing day!

Supply List

Affiliate links used at no cost to you. What does this mean? If you use the links within this post to make a purchase, I receive a small commission, which allows me to continue to post crafty content for your enjoyment. I truly appreciate your support!

Latest Posts

Latest Instagram Posts
Simon Says Stamp Birthday Rosettes

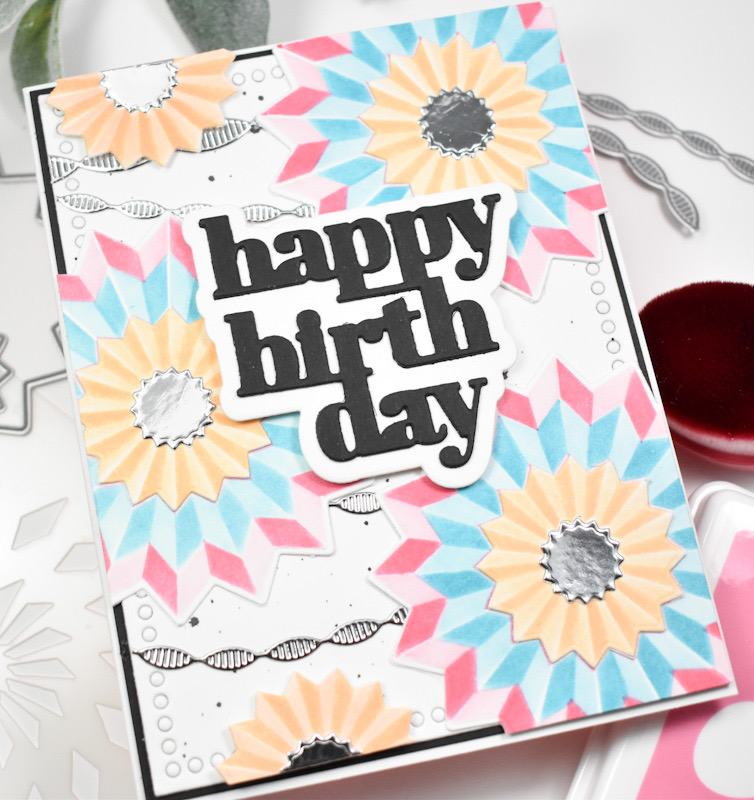
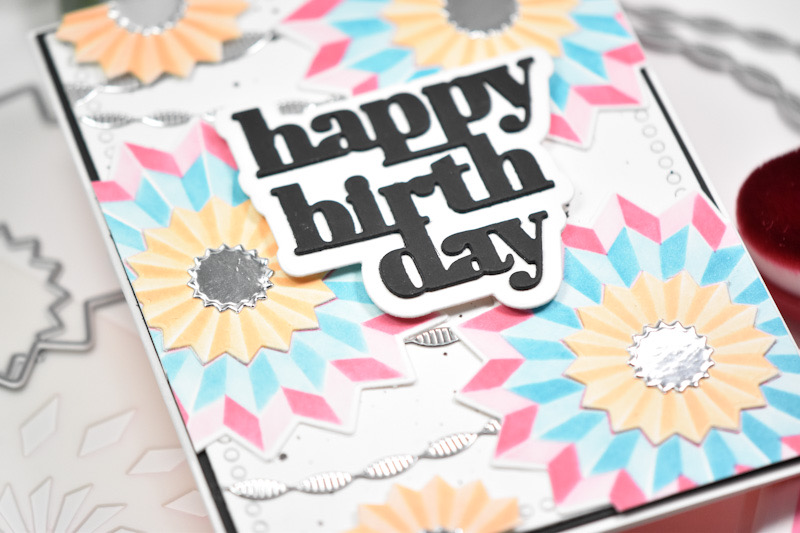
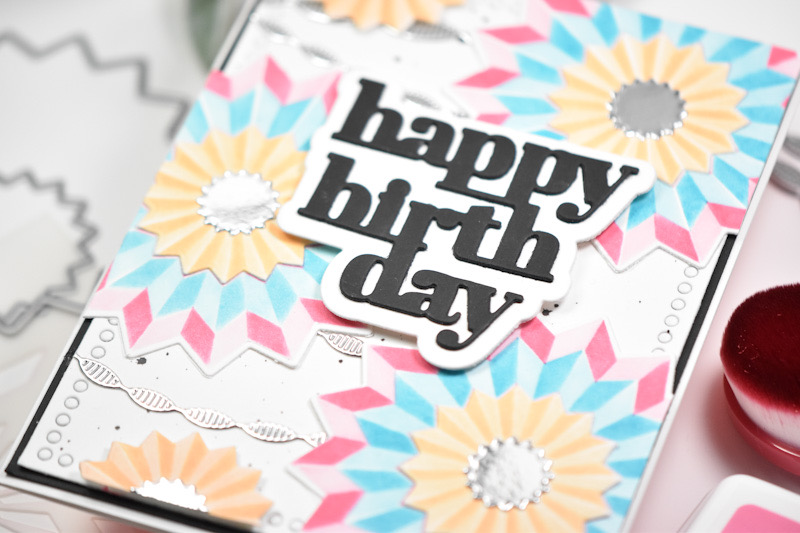
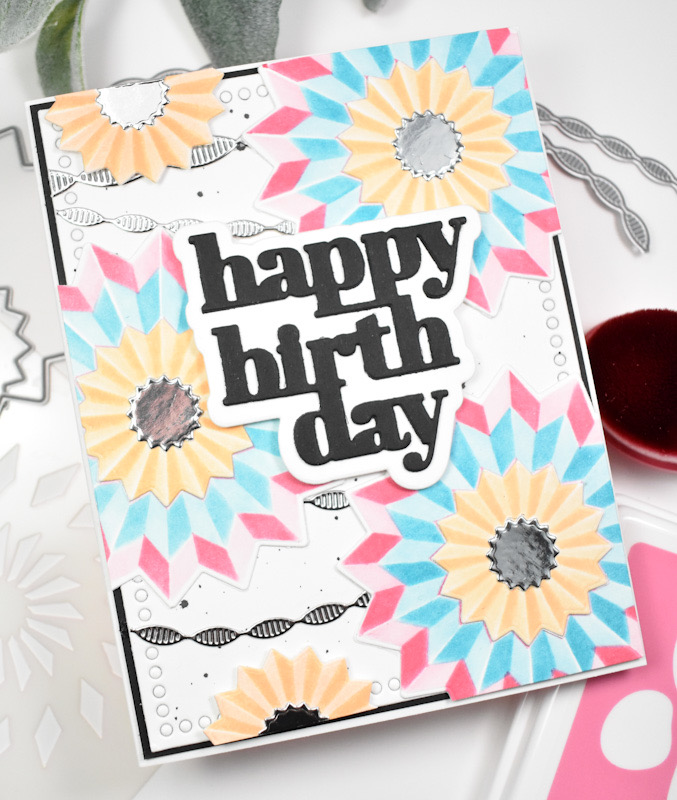
Hello Friends! I hope you’re doing well! I appreciate you stopping by to check out today’s project featuring the Layered Rosette die and stencil combo! Let’s not waste time and jump right into it!

NOTE: all supplies are linked in the thumbnails at the end of this blog post.

I began this project by cutting the Layered Rosettes from Neenah 110lb cardstock and then used the stencils for the ink blending. The colors used were Guava, Watermelon, Cantaloupe, Melon, Surf and Ocean. Once the ink blending was complete, I adhered the layers of the Rosettes together using liquid glue along with silver centers.

For the background, I used the A2 Marquee die and splattered that with black acrylic ink before adhering the silver Streamer Ribbons die cuts. The Rosettes were then adhered using liquid glue and trimmed off before adhering this panel to a black panel for contrast.

The Happy Birthday sentiment was cut from black cardstock twice, the shadow portion was cut from Neenah 110lb twice and all of the pieces were adhered together before being added to the card with foam strips.

That does it for this one! I hope you enjoyed it, and I hope it inspires you to get crafty in your space! Thanks again for joining me, and I hope you have a fabulous day! Stay awesome, Friend!

Supply List

Affiliate links used at no cost to you. What does this mean? If you use the links within this post to make a purchase, I receive a small commission, which allows me to continue to post crafty content for your enjoyment. I truly appreciate your support!

Latest Posts

Latest Instagram Posts
Simon Says Stamp Birthday Leafy Branch

Hello Friends, and welcome back! I’m back today with a project featuring the Leafy Branch for Simon’s latest DieCember release. Let’s go ahead and get into the details!

NOTE: all supplies are linked in the thumbnails at the end of this blog post.

I knew that I wanted a monochromatic look to this project, so I began by die cutting the flowers from Neenah 110lb cardstock, while cutting the centers from black cardstock. I’ll list the flowers used in the thumbnails at the end of this post. Once the flowers were cut, I did some light ink blending using Gravel ink.

I went ahead and assembled the flowers, and adhered Gunmetal Dazzling Gems to the centers of the smaller flowers. I die cut the Leafy Branch from black cardstock to provide that contrast that I needed. For added interest, I die cut the Double Plaid Cover from Gravel cardstock and adhered that to a darker grey cardstock using liquid glue.

Before adhering the leaves to the panel, I splattered them with white acrylic ink. I then adhered the florals in place with black foam squares. I stamped the sentiment, which is from the Birthday Basics set, using VersaMark ink and heat set that using Detail White Embossing Powder. The coordinating die was used to trim it out, along with two additional cuts for a stacked sentiment. That was then added to the card using foam strips, along with a few more embellishments to finish up.

That does it for this project! I hope you enjoyed it! I always love working with florals, so this was a favorite of mine for sure! Thanks again for stopping by, and I hope you have a wonderful day!

Supply List

Affiliate links used at no cost to you. What does this mean? If you use the links within this post to make a purchase, I receive a small commission, which allows me to continue to post crafty content for your enjoyment. I truly appreciate your support!

Latest Posts

Latest Instagram Posts

Simon Says Stamp Artsy Birthday Instagram Hop

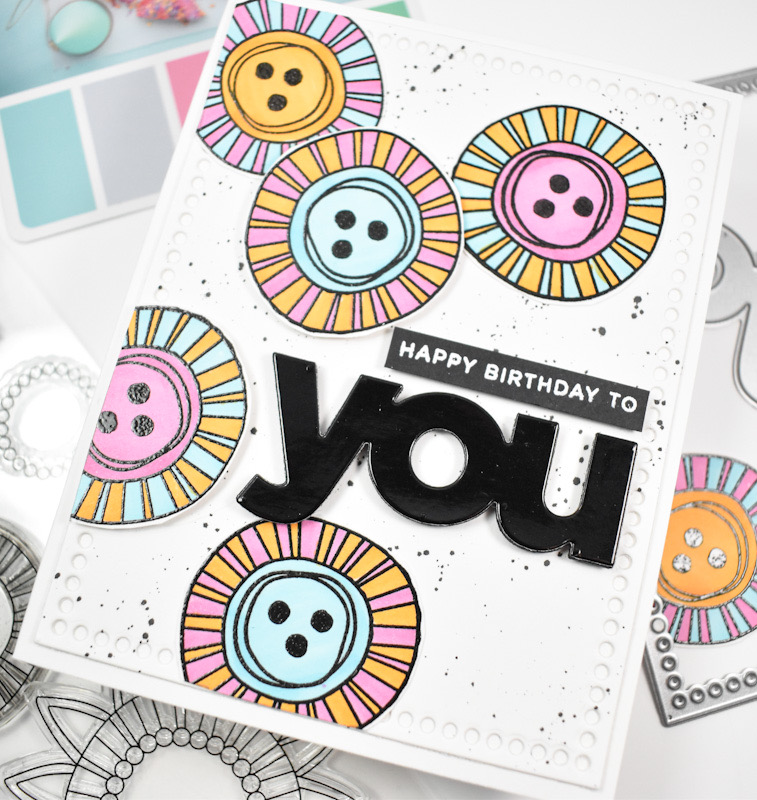
Hello Friends, and welcome back! The newest release from Simon, Sweet Wishes, is live and I’m back today with a birthday card featuring the new Artsy Florals set. There’s also a super, fun Instagram Hop happening today, so you’ll want to check that out as well! Be sure to comment along the hop for your chance to win a $25 gift certificate! Let’s not waste any more time, and get to the details!

NOTE: all supplies are linked in the thumbnails at the end of this blog post.

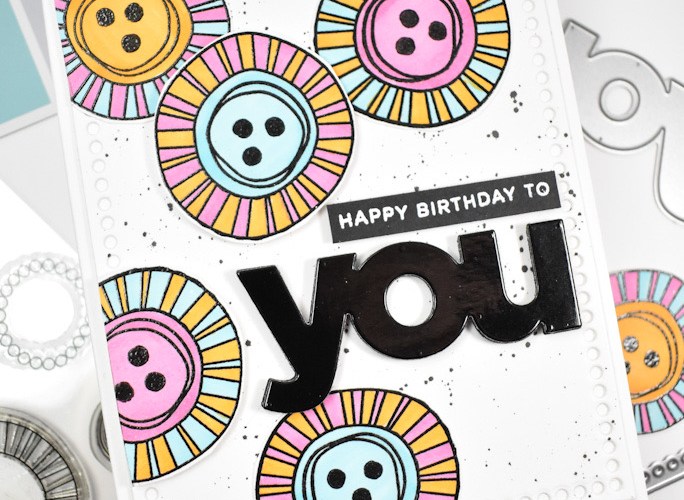
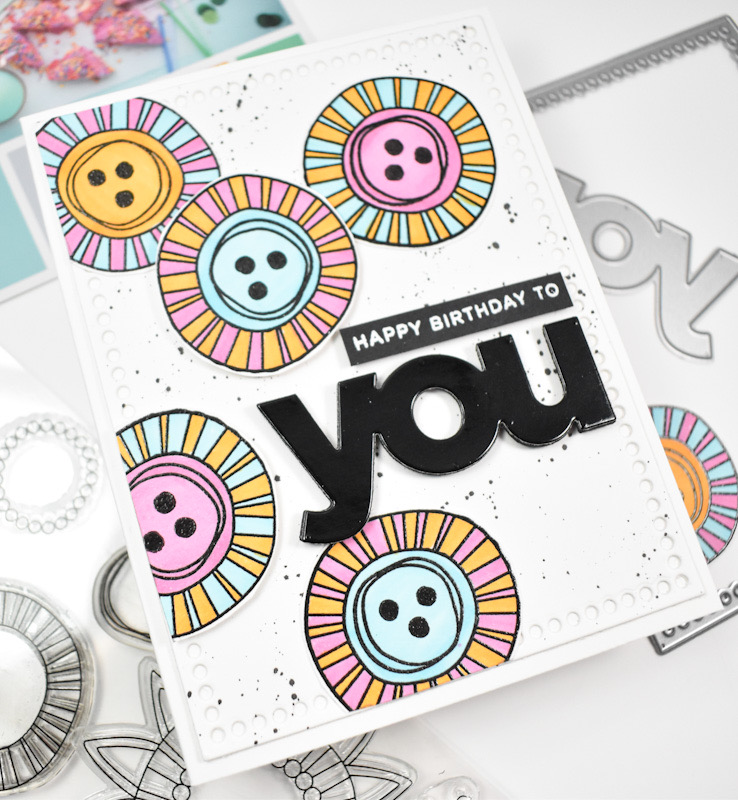
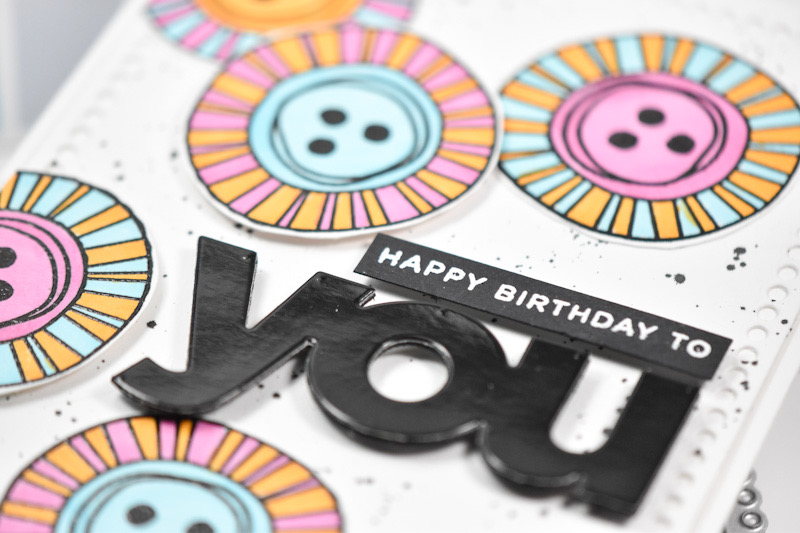
I began this project by stamping one of the circle elements from the set a bunch of times using VersaFine Onyx Black ink and heat setting them using Ranger Clear Embossing Powder. I also stamped another circle detail and dots within the centers for some added interest.

Once everything was stamped, I colored the artsy circles using Copic Markers in RV55, Y38 and BG01. I decided on these colors after pulling an inspiration card from my Color Cubes, because I get stuck on colors sometimes. I die cut the You once from black glossy cardstock and twice from regular black cardstock and adhered all of those together using liquid glue. The sub-sentiment is from the You stamp set, and that was stamped using VersaMark Ink and heat set using SSS Detail White Embossing Powder.

My background uses the SSS A2 Marquee die and some black splatter. I adhered a few of the arty circles with glue and some with foam tape, and both of the sentiments were adhered using foam strips for that added dimension that I love.

That does it for this one! I’m so glad that you stopped by to check it out! Don’t forget to head over to Simon’s website to check out the entire Sweet Wishes release, and head on over to Instagram to join the hop over there! I hope you have yourself a wonderful day!

Supply List

Affiliate links used at no cost to you. What does this mean? If you use the links within this post to make a purchase, I receive a small commission, which allows me to continue to post crafty content for your enjoyment. I truly appreciate your support!

Latest Posts

Latest Instagram Posts

Simon Says Stamp Positive Birthday Wishes

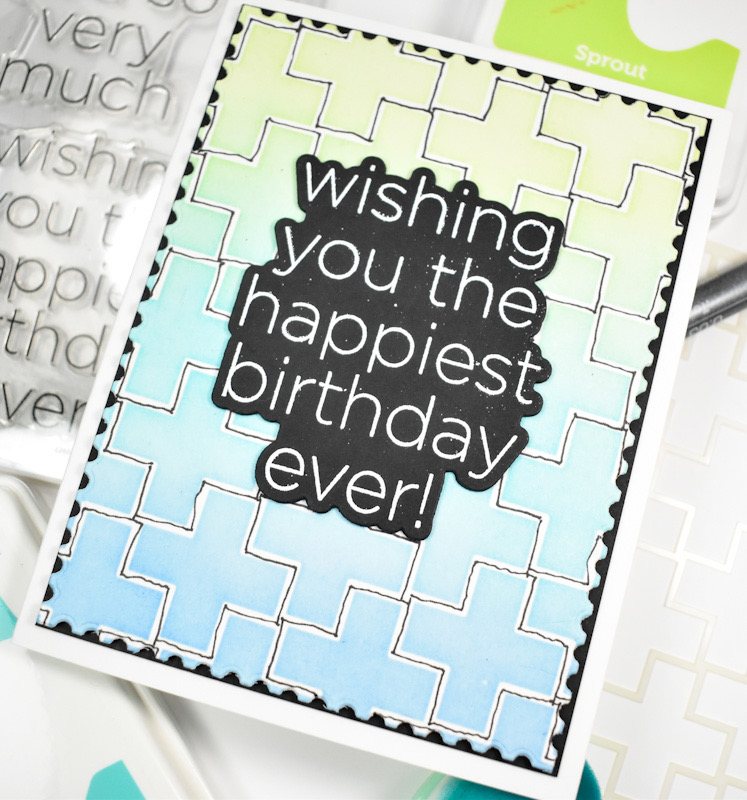
Hello Friends, and welcome back to my blog! Thanks so much for stopping by to check out today’s project featuring the new Positivity Stencil from Simon’s latest release, Sweet Wishes. Let’s go ahead and get right into the details!

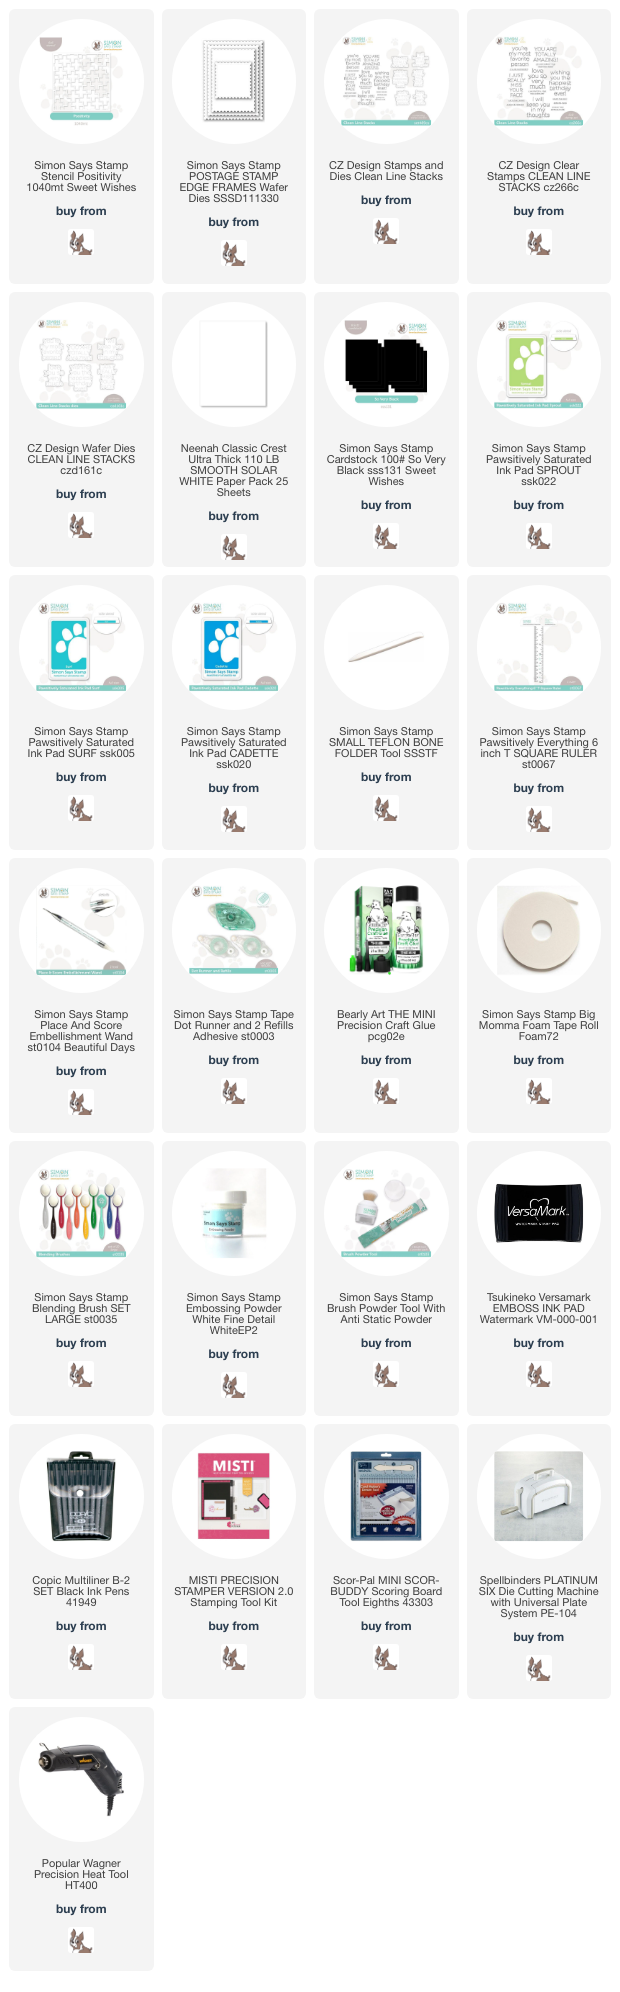
NOTE: all supplies are linked in the thumbnails at the end of this blog post.

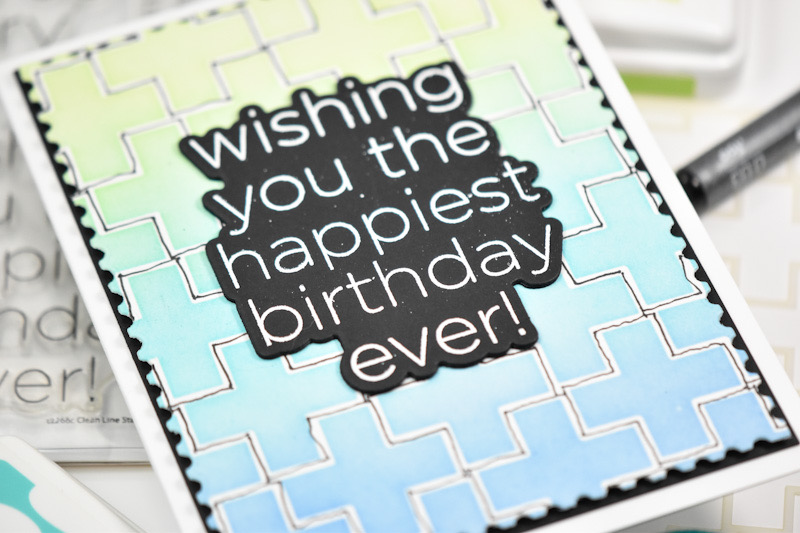
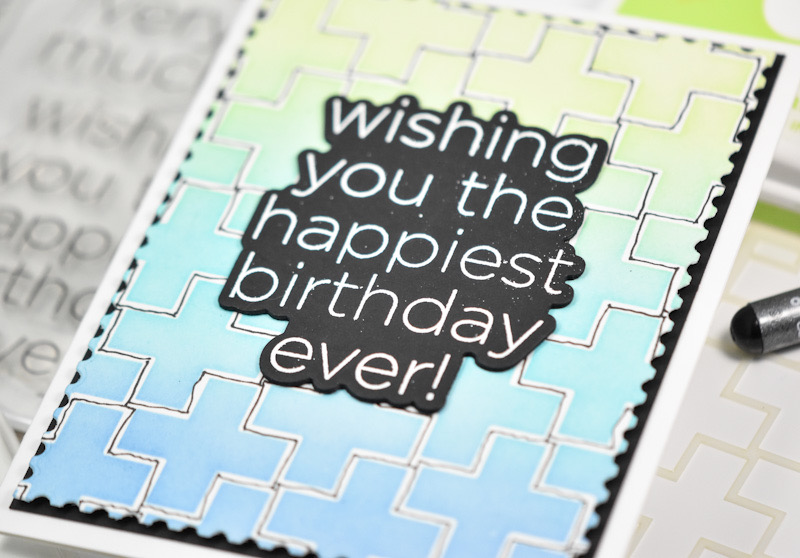
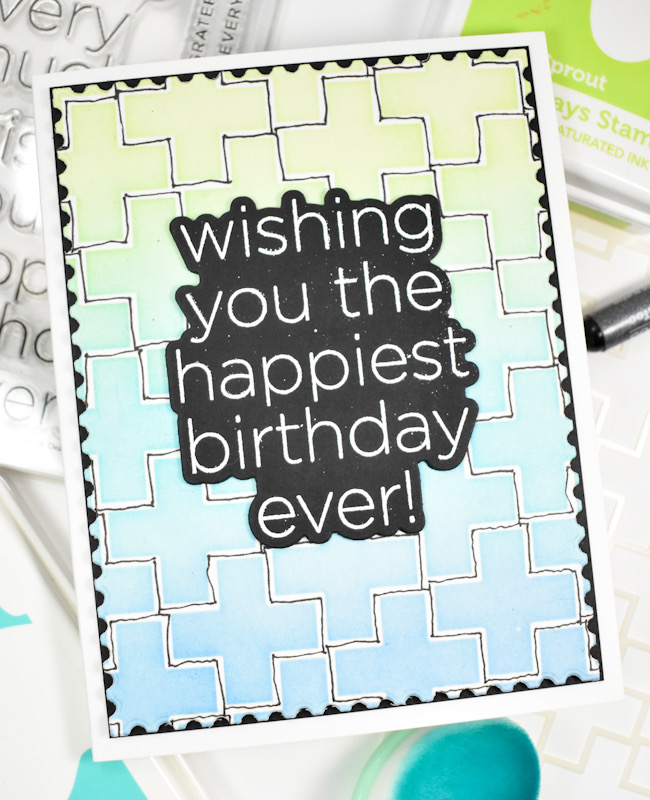
This was a simple card to pull together, but I love the how it came out! I began by taping the stencil to a panel of Neenah 110lb cardstock and did some ink blending using Sprout, Surf and Cadette inks. Once the ink blending was complete, I trimmed the panel down using the SSS Postage Stamp Edge Frames.

At this point, the panel was missing something, so I decided to use a Copic Multiliner and draw lines within the white spaces. I wasn’t being careful or perfect with my lines, as I’m sure you can tell, but I felt like this simple addition of black made all the difference.

I stamped the sentiment, which is from the Clean Line Stacks set, onto a panel of black cardstock using VersaMark Ink, and heat set that using Detail White Embossing Powder. I used the coordinating die to trim it out, along with two additional cuts and adhered all of those together using liquid glue. The sentiment was then glued to the panel, and everything was then adhered to the card base to finish up.

That does it for this one! Like I said, a super, simple card, but I love the finished project! Don’t forget to check out the entire Sweet Wishes release, and let me know your favorites! Thanks again for joining me, and I hope you have a fabulous day!

Supply List

Affiliate links used at no cost to you. What does this mean? If you use the links within this post to make a purchase, I receive a small commission, which allows me to continue to post crafty content for your enjoyment. I truly appreciate your support!

Latest Posts

Latest Instagram Posts
Spellbinders Rainy Birthday Wishes

Hello Crafty Friends, and welcome back to my blog! I appreciate you joining me for today’s project featuring the new Spellbinders Autumn Rain BetterPress Plate. How fun is this plate?!?!? I mean for real! Let’s not waste any time and get into the details!

NOTE: all supplies are linked to multiple sources in the thumbnails at the end of this blog post.

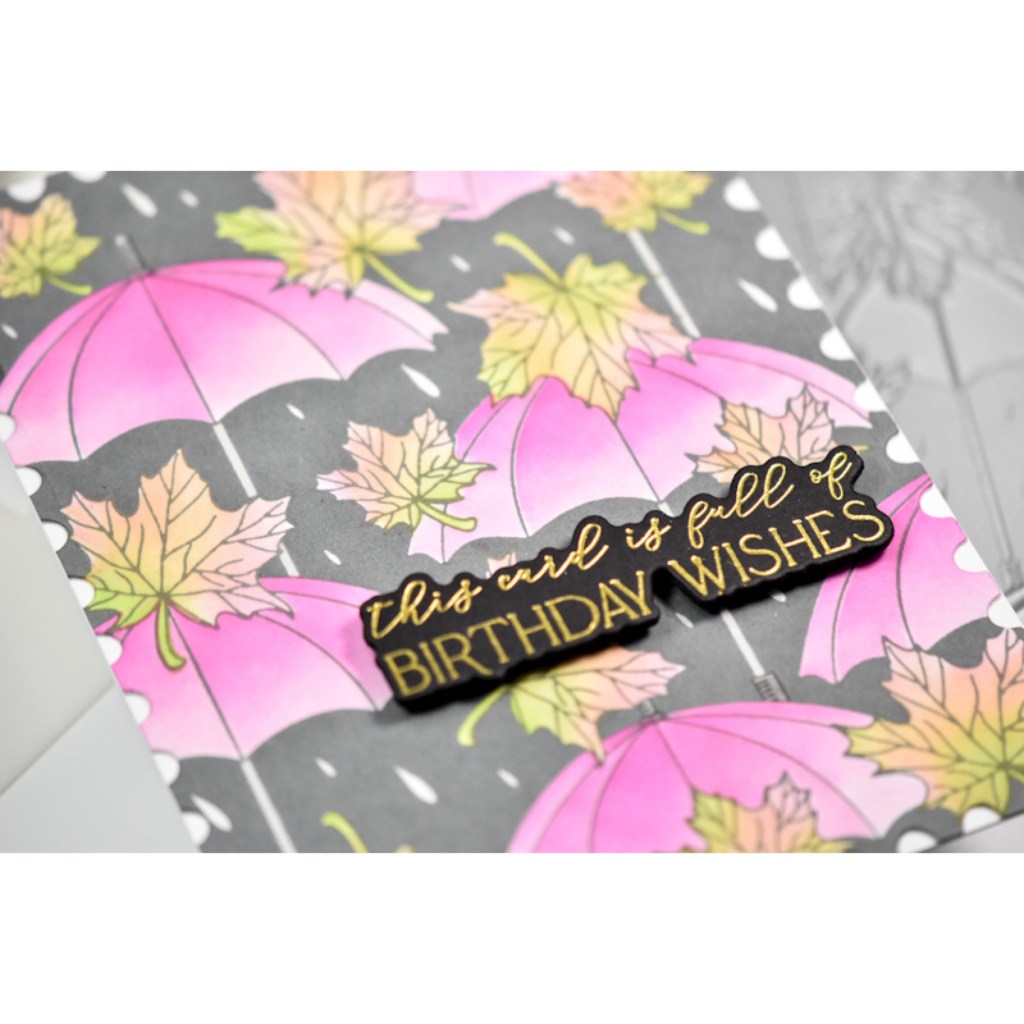
For this project, I wanted a dreary grey background with brighter umbrellas, so I inked the Autumn Rain plate with VersaFine Clair Morning Mist ink. If you’re looking for a great grey ink, then you should definitely check this one out! I did ink the plate a couple times and run it through the machine for better coverage.

Once the background was complete, I used the Autumn Rain stencils to add color to the leaves and umbrellas. The ink that i used was SSS Pawsitively Saturated Inks in Bubblegum, Carnation, Sweets, Celery and Melon. I also used a Zig Wink of Stella pen to add a touch of shimmer to the raindrops, although it’s hard to see that in the pictures.

The panel was then trimmed down using the Nested Postage Labels & Tag set and then adhered to the card base. I gold foiled the sentiment, which is from the You Are Everything Sentiments BetterPress Plate set, onto black cardstock and trimmed it with the coordinating die. I did cut it three times for a stacked look and adhered the sentiment to the panel using foam strips to finish up.

That does it for this project! I hope you enjoyed it as much as I did! Head on over to the Spellbinders website to check out all of the new September releases. There’s so much awesome stuff in this release! Thanks again for joining me, and have a wonderful day!

Supply List

Affiliate links used at no cost to you. What does this mean? If you use the links within this post to make a purchase, I receive a small commission, which allows me to continue to post crafty content for your enjoyment. I truly appreciate your support!

Latest Posts

Latest Instagram Posts
Simon Says Stamp Floral Birthday Love STAMPtember Blog Party

Hello Crafty Friends, and welcome back! I’m so happy that you joined me for today’s HUGE STAMPtember blog party! Each stop throughout the party has a STAMPtember promotion, so you’ll want to check those out for sure! You can start your party experience here or by heading to Simon’s blog. My project is featuring the new Rustic Layering Flower in aqua tones with a hint of grey. This is such an awesome release, with so many more things coming during the month, so stay tuned for all of the excitement! Let’s go ahead and go through the details for my project!

NOTE: all supplies are linked to multiple sources in the thumbnails at the end of this blog post.

I began this project by pulling an inspiration card from The Color Cubes, and then I ink blended a panel of Neenah 110lb cardstock using SSS Pawsitively Saturated Ink in Mist and Raindrop. Those two colors seemed to match the color palette best. Once the ink blending was complete, I cut the Rustic Layering Flower twice from that panel. I do a little more ink blending in the center of the flowers for more depth before assembling the flowers using liquid glue.

Now that I had the flowers, I had to decide on the rest of the card! I opted to go with the Whirl Diamond Plate for my background, and I cut a bunch of leaves from grey cardstock using the Budding Branches. In laying out the card, I decided that I needed one more small flower, so I cut that and assembled it as well.

I splattered my card base using TH Distress Oxide Spray in Hickory Smoke before adhering the background panel. I began adhering the grey leaves in place first using liquid glue, trimming down as necessary. Once I was happy with the leaf placement, I adhered the flowers using foam strips.

For the sentiment, I used the Mix & Match Butterflies set and stamped that using VersaFine Onyx Black and heat set it using Ranger Clear Embossing Powder. I trimmed it out using the coordinating dies, and made two additional cuts for a stacked sentiment. That was then adhered using foam strips as well. To finish up, I added some Surf Dazzling Gems and some silver metallic pearls to the “buds” of the branches.

That does it for this one! I hope you enjoyed it as much as I did! I always love working with die cut flowers, so this card was totally in my wheelhouse! Don’t forget to head on over to Simon’s website to check out the entire STAMPtember release! Thanks again for stopping by, and have a wonderful day!

Supply List

Affiliate links used at no cost to you. What does this mean? If you use the links within this post to make a purchase, I receive a small commission, which allows me to continue to post crafty content for your enjoyment. I truly appreciate your support!

Latest Posts
Latest Instagram Posts