Spellbinders Birthday Balloons

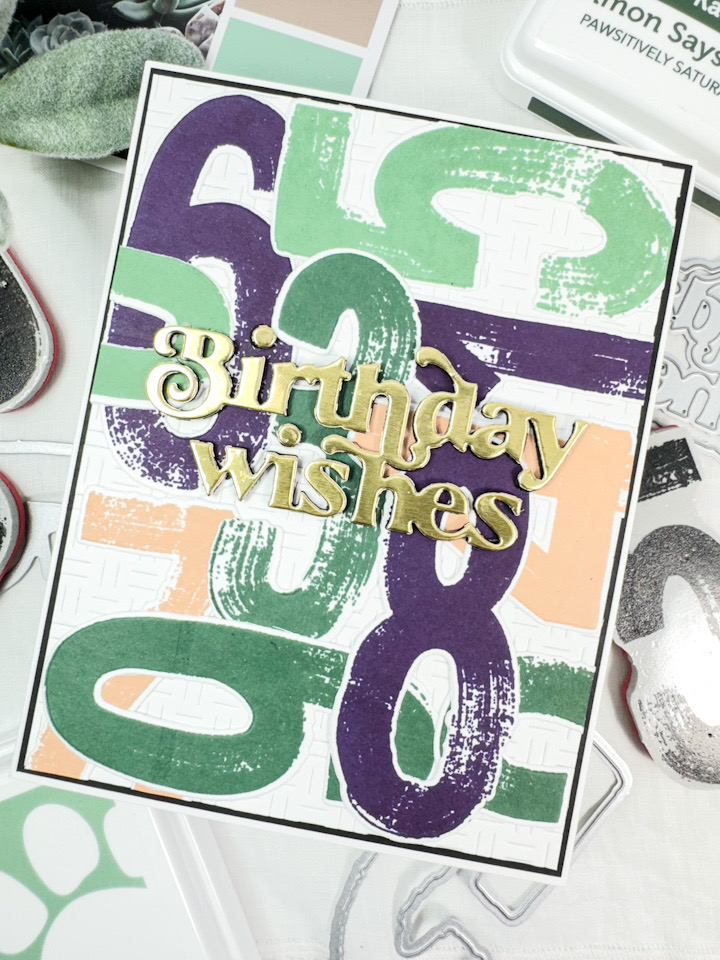
Hello Friend, and welcome back to my blog! Today’s project is featuring the new Spellbinders Sprinkled Confetti BetterPress Press Plate in the form of a fun birthday card! Let’s get into the details!
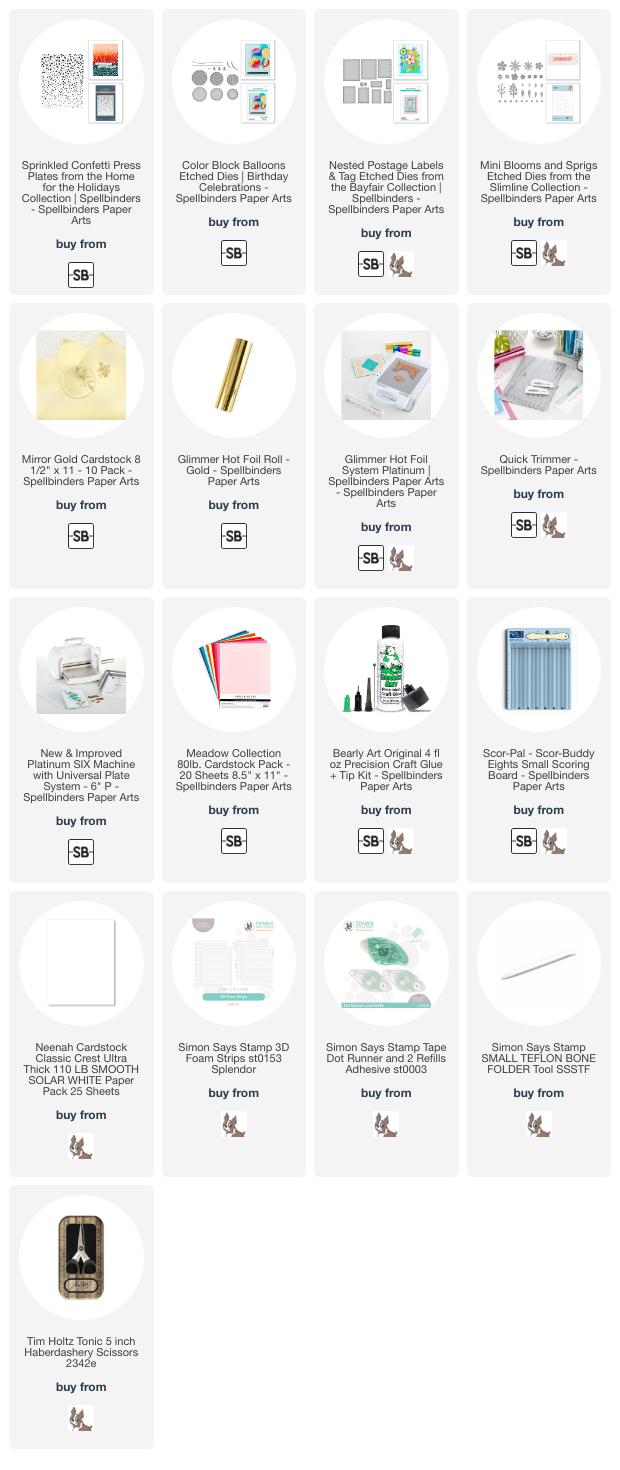
NOTE: all supplies are linked to multiple sources in the thumbnails at the end of this blog post.
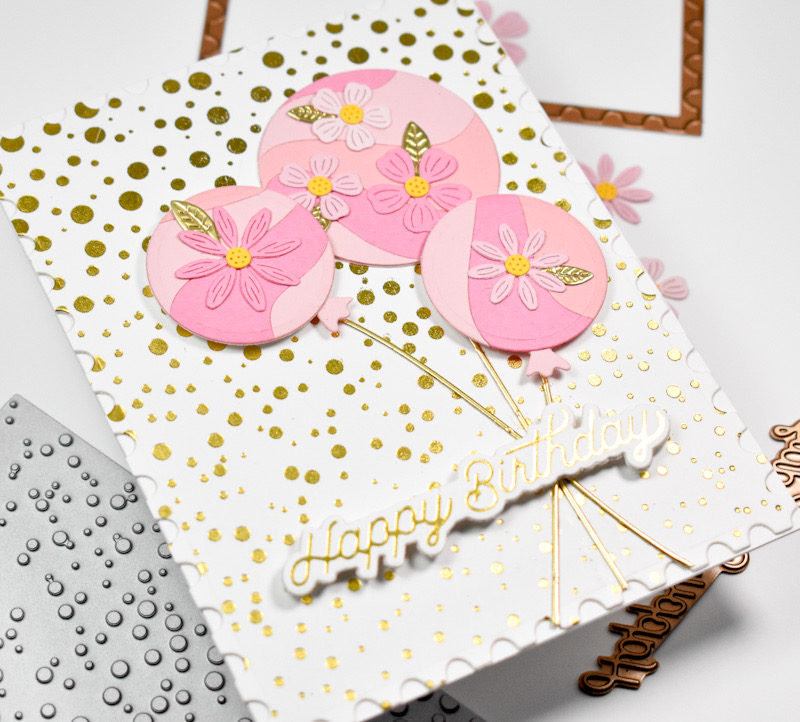
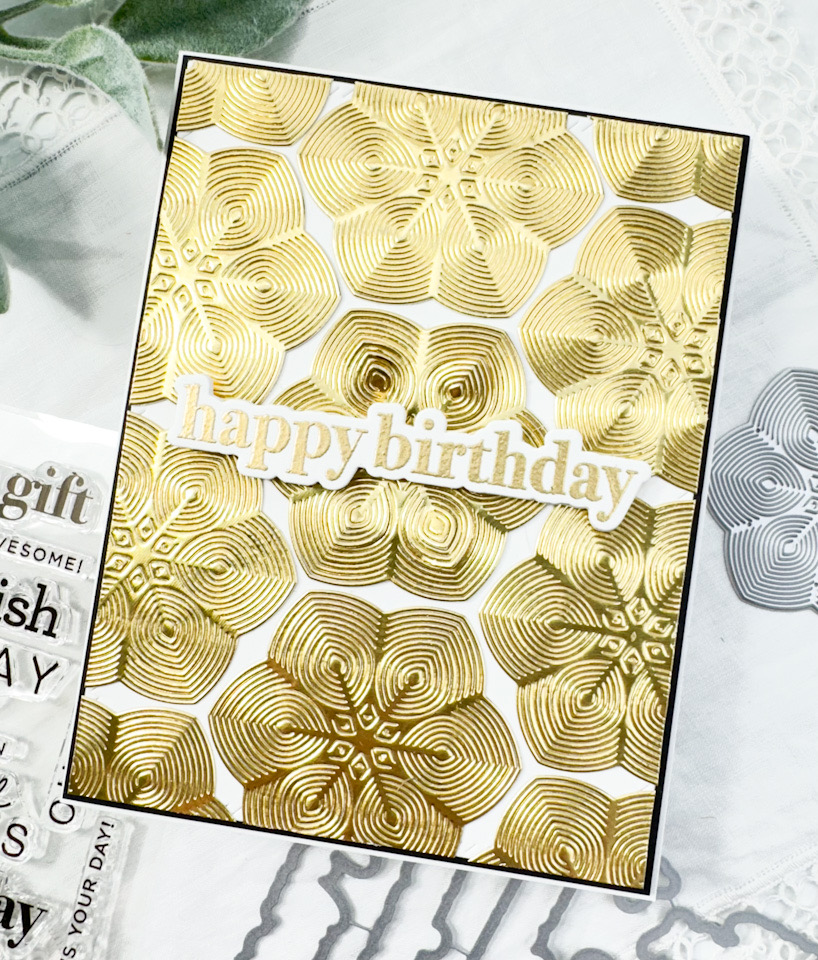
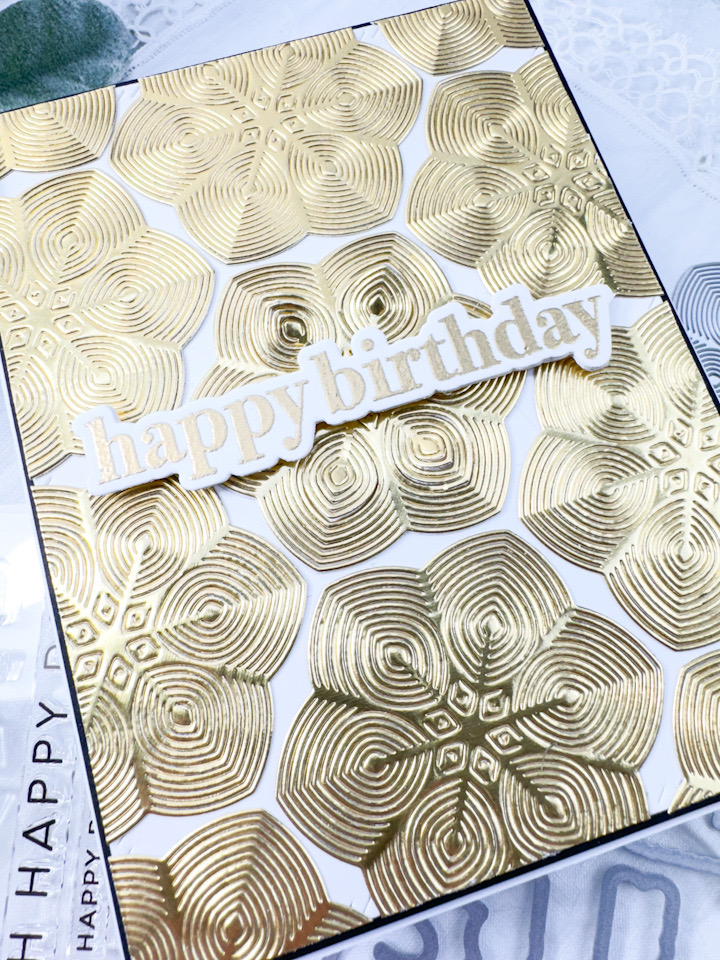
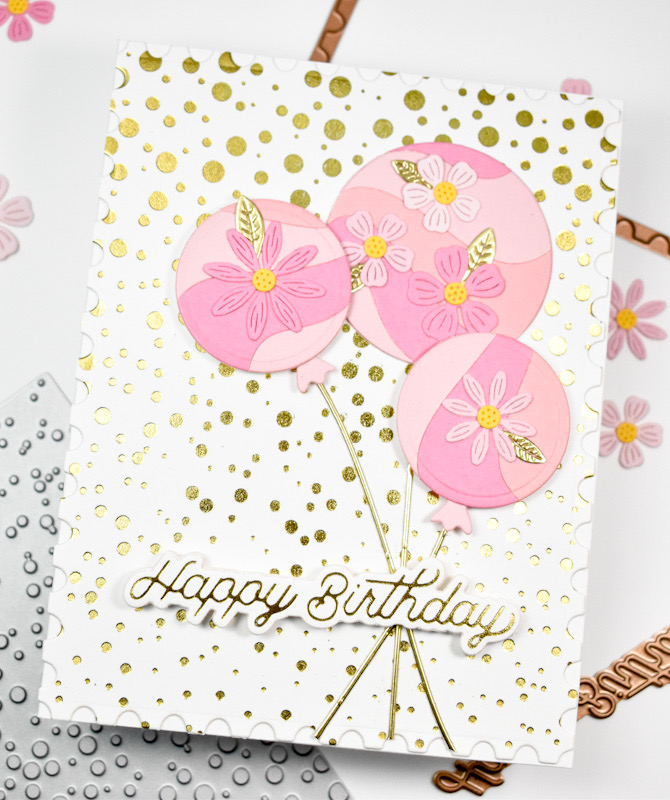
I began this project by foiling the Sprinkled Confetti plate using gold foil and trimmed it down using the Spellbinders Nested Postage Labels and Tag set. I then went to work on the balloons using various pink cardstock colors and the Spellbinders Color Block Balloons set.
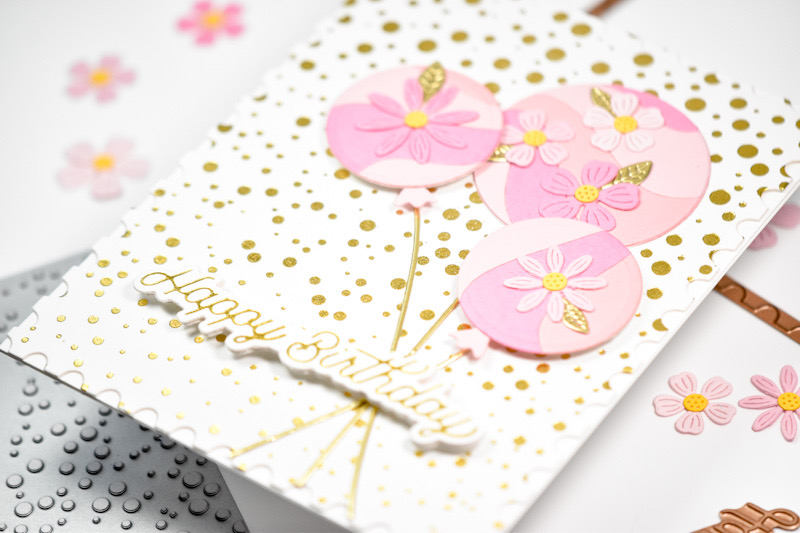
Once the balloons were assembled, I added some flowers to the balloons for some added interest using the Spellbinders Mini Blooms and Sprigs set. These were flowers that I already had made from a previous project, and I thought they added a nice touch.

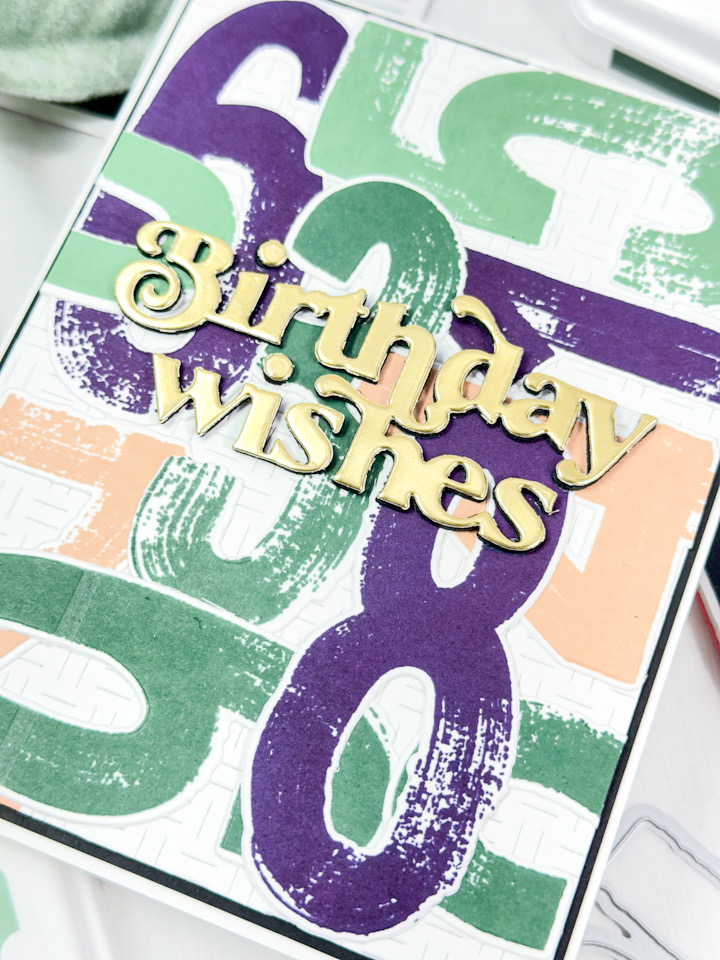
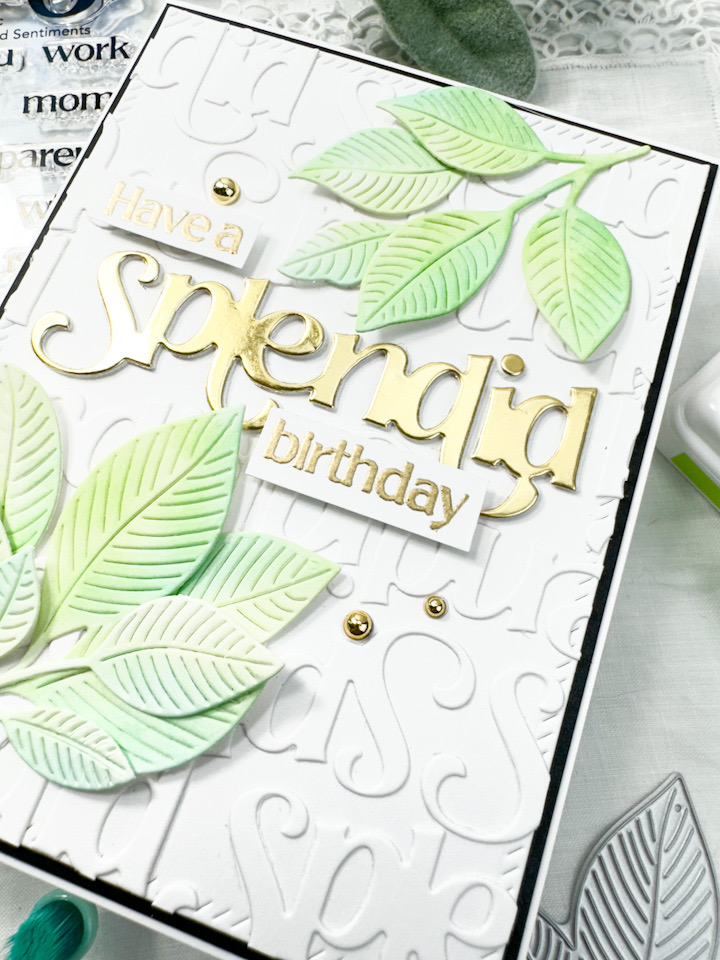
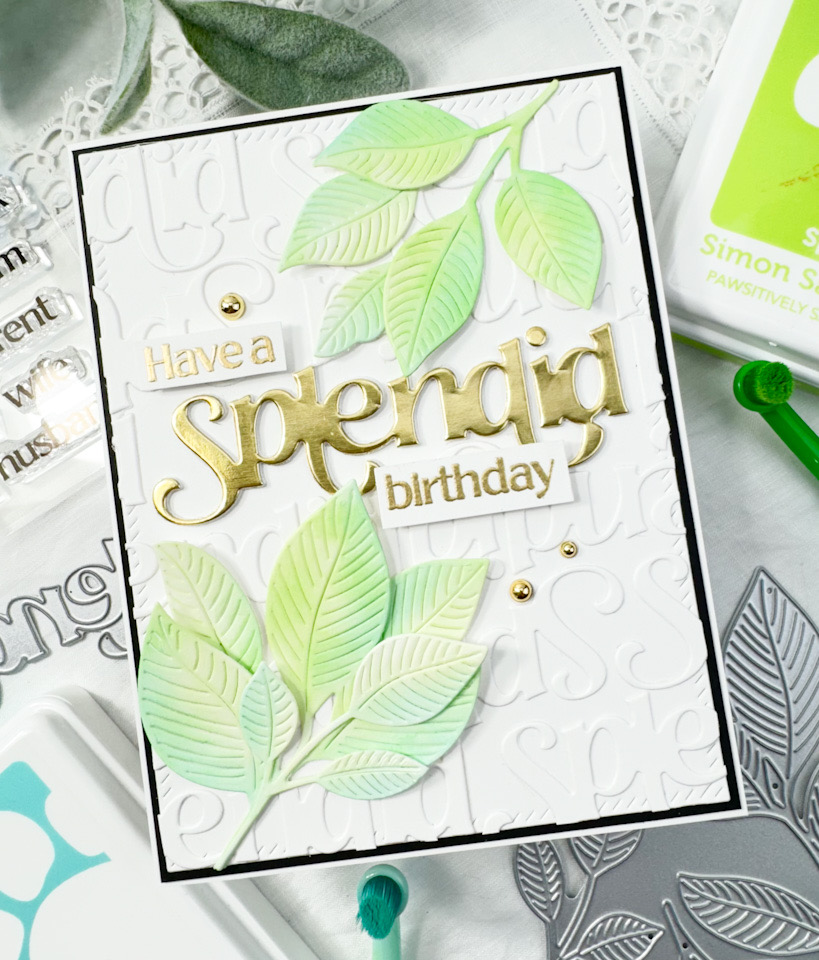
I foiled the Happy Birthday sentiment, which is from the Spellbinders Birthday Celebrations Collection, using the same gold foil, and trimmed it out with the coordinating die along with three additional cuts and stacked those. Unfortunately, this Glimmer Hot Foil set of sentiments has been discontinued.

I adhered the balloon strings using liquid glue, and the balloons along with the sentiment were adhered using foam strips. Everything was then adhered to the card base to finish up.

That does it for this project! Even though this plate is included in a holiday collection, I thought it would be great for a birthday card. I can totally see it as snow too! Don’t forget to head over to Spellbinders to check out all of the new July releases! Thanks again for stopping by, and have an awesome day!
Supply List
Affiliate links used at no cost to you. What does this mean? If you use the links within this post to make a purchase, I receive a small commission, which allows me to continue to post crafty content for your enjoyment. I truly appreciate your support!
Latest Posts
- Simon Says Stamp Braided Greetings

- Together By Design Color Cube Floral

- Simon Says Stamp Cute Duckling

- Simon Says Stamp Watercolor Wild Rose

- Simon Says Stamp Striped Missing You