Birthday Checking In

Hello Crafty Friends and thanks for stopping by! STAMPtember has arrived! Are you excited? Have you checked out the release yet? What are your favorites? I would love to know in the comments! I’m here today with a card featuring the brand new Checking In stamp set from Simon Says Stamp. So, let’s go through the details, shall we?
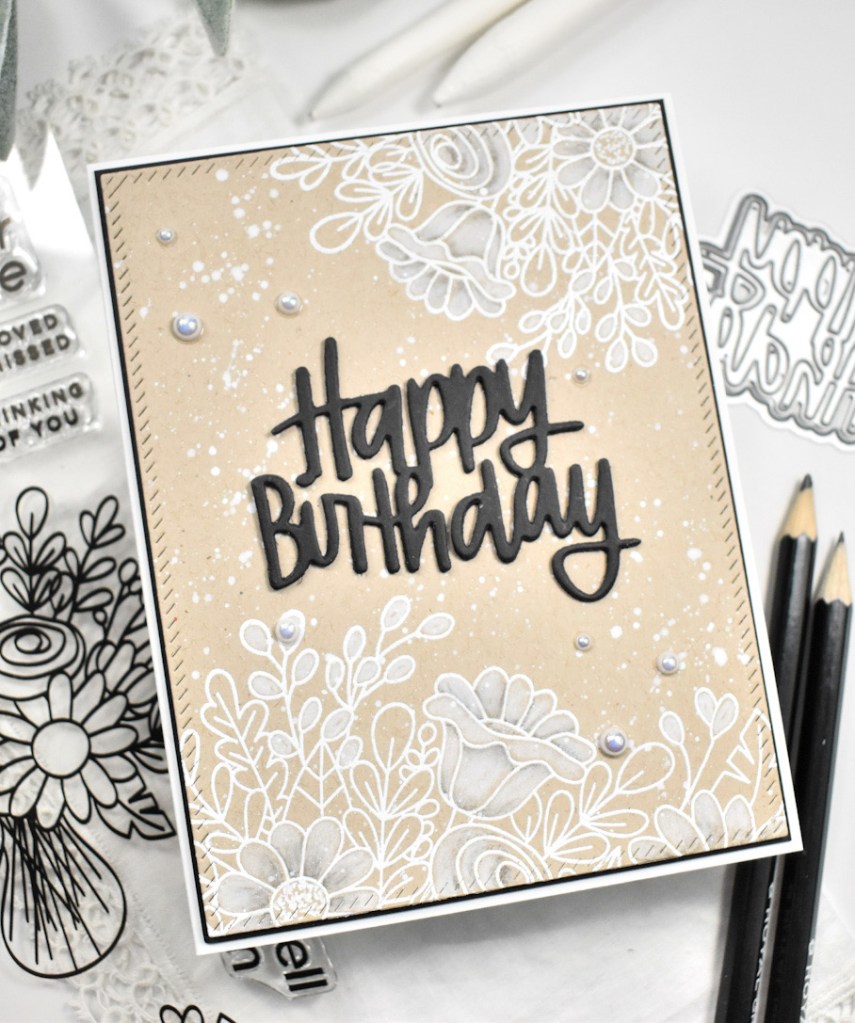
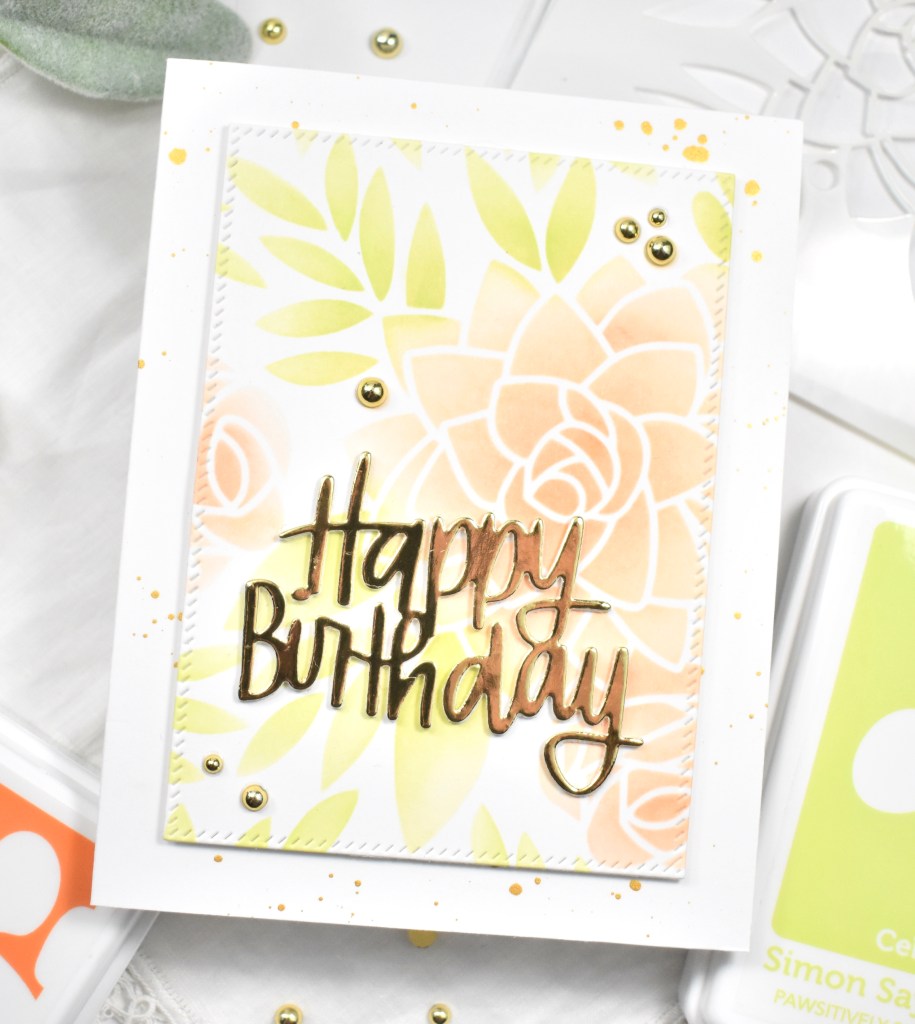
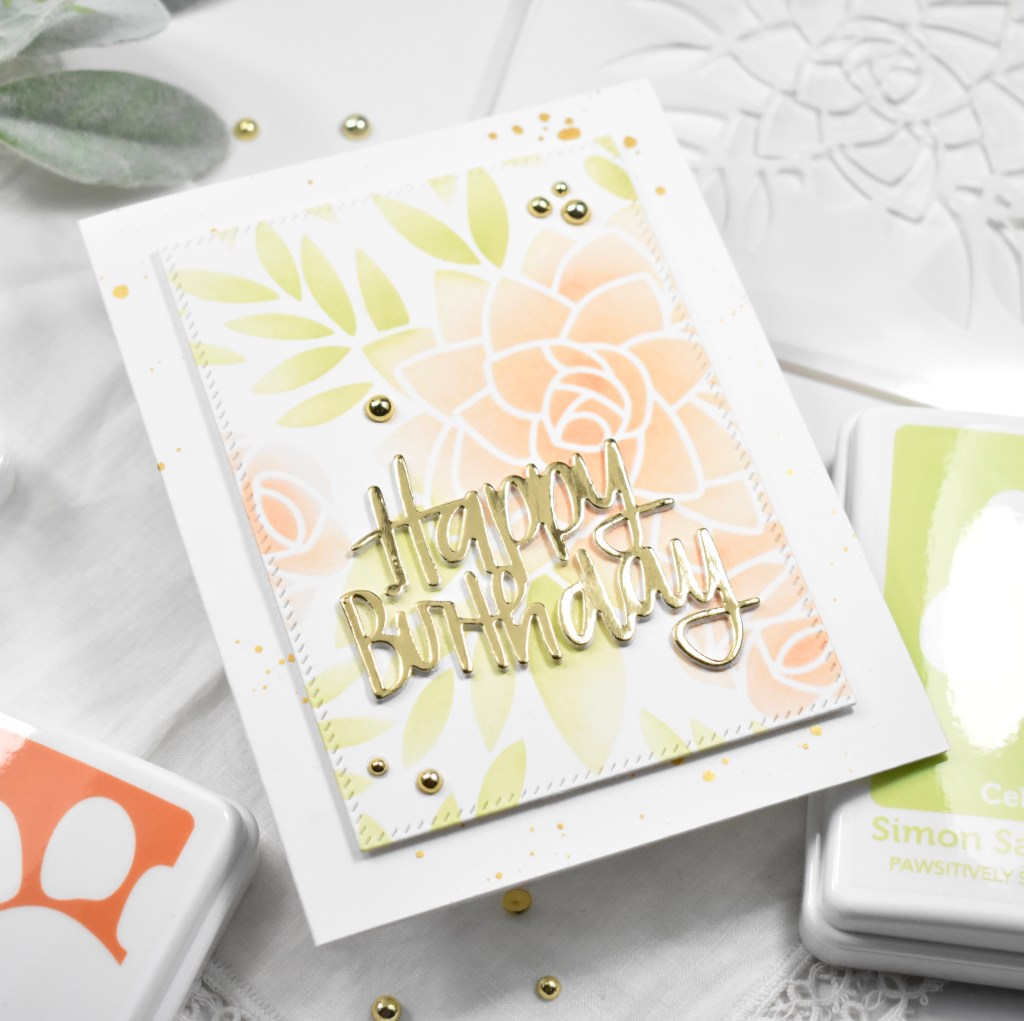
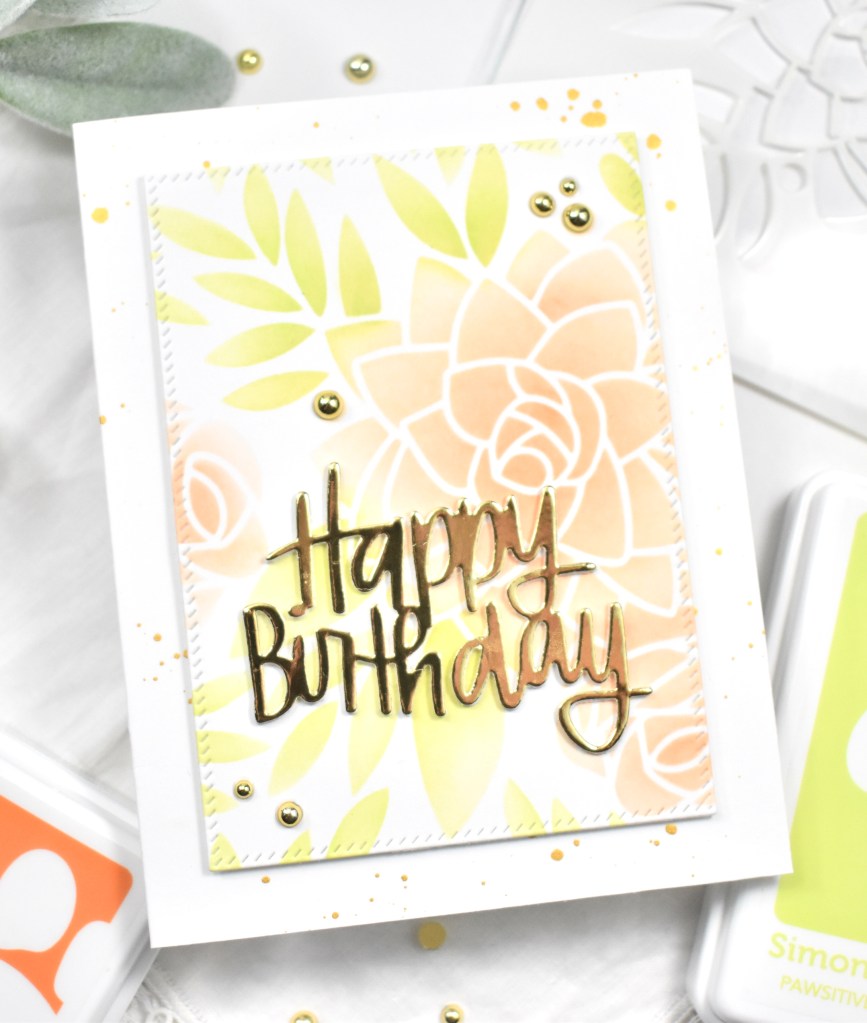
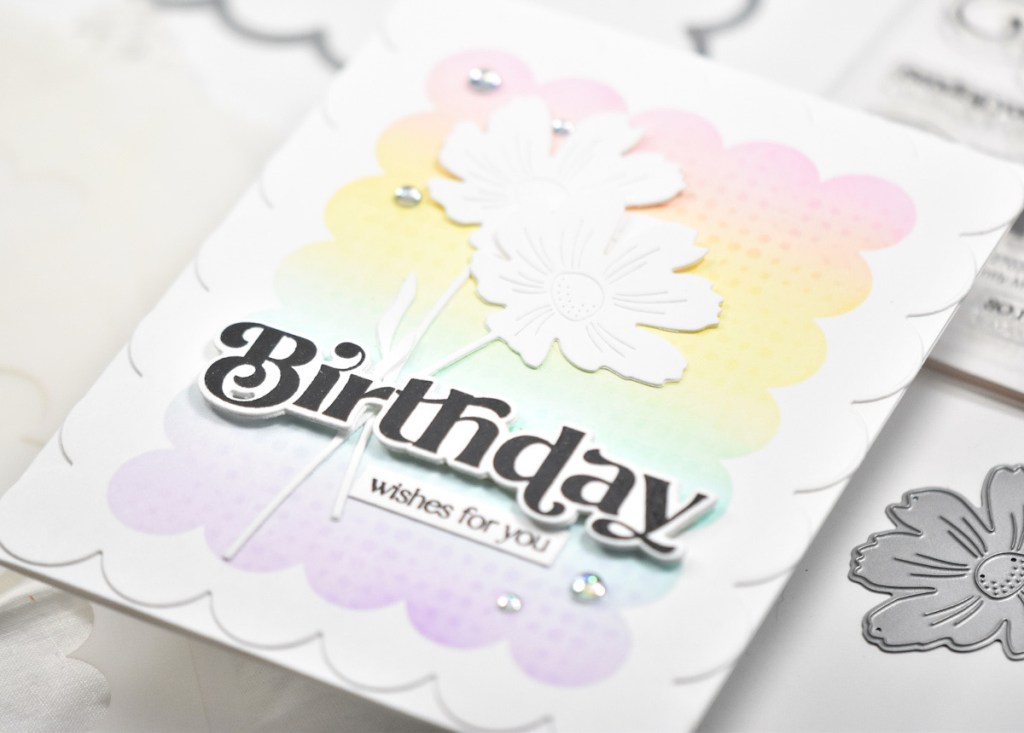
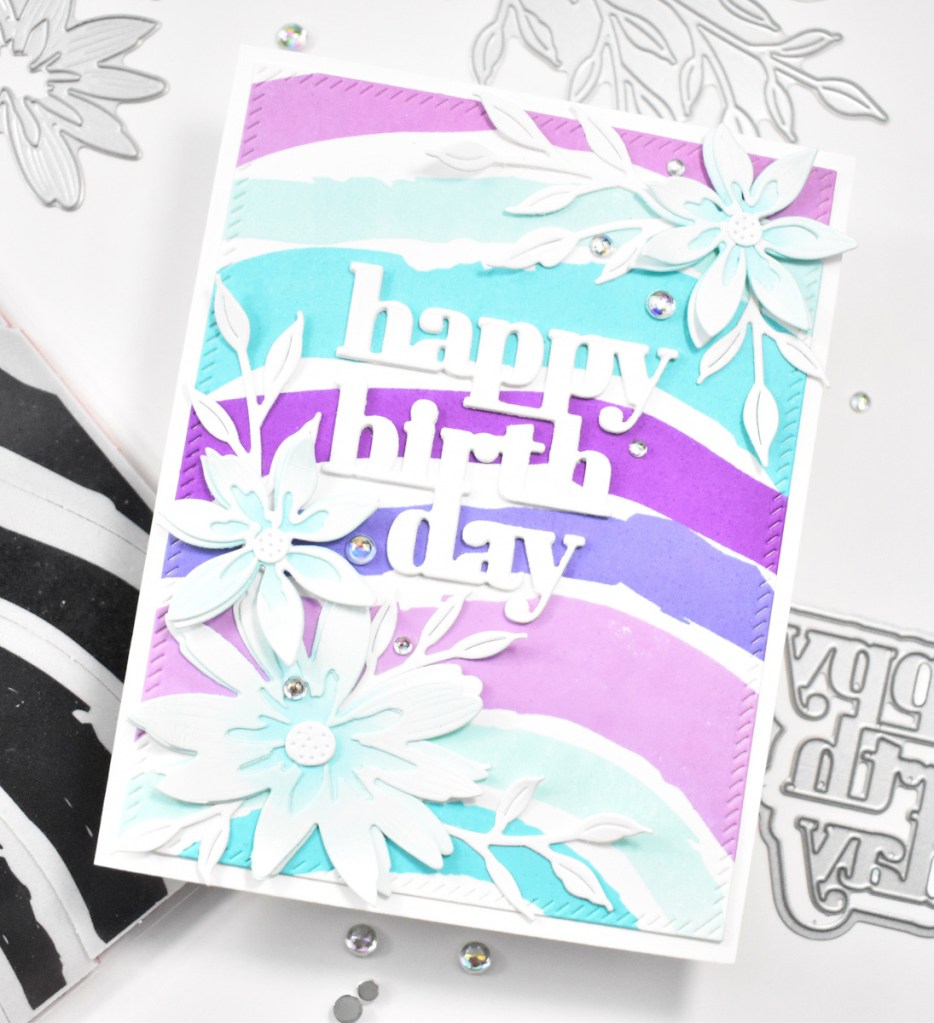
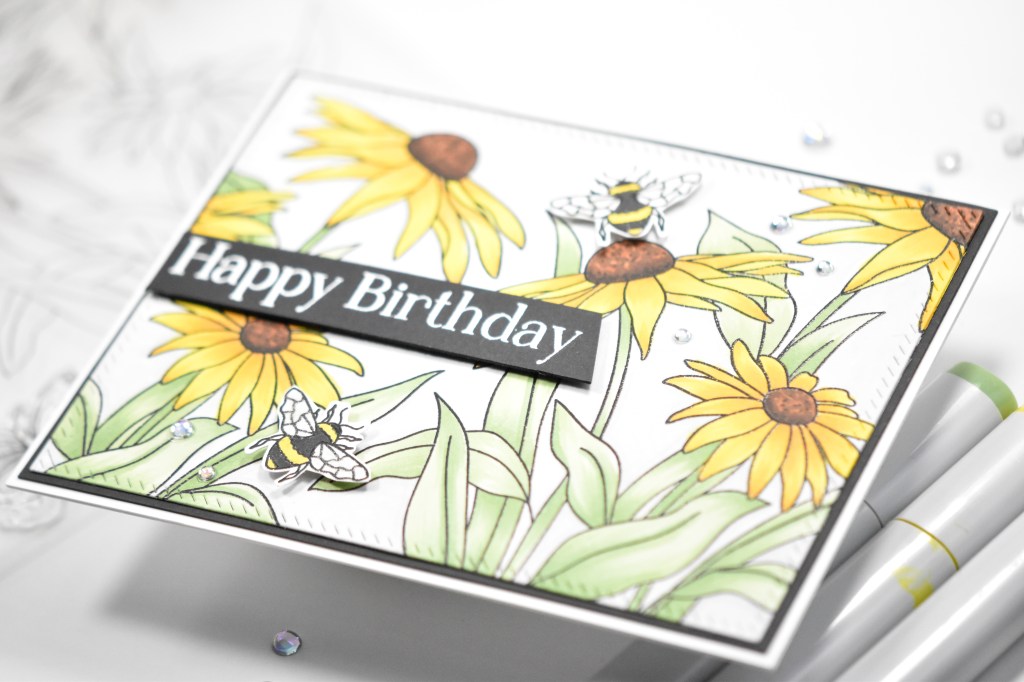
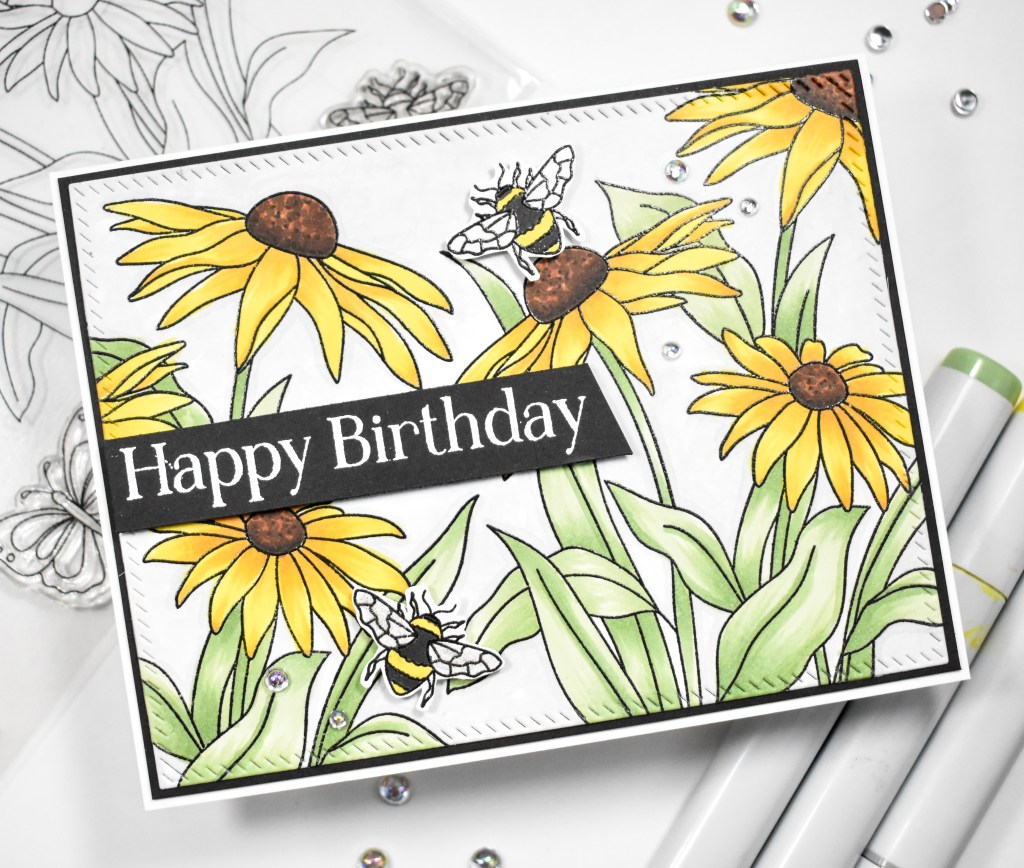
I began by stamping the floral image from the SSS Checking In set onto a panel of Neenah Desert Storm cardstock in the corners using VersaMark Ink and heat setting that using SSS Detail White Embossing Powder. Once the stamping was done, I used the PFS Diagonal Stitched Rectangles to trim the panel down.
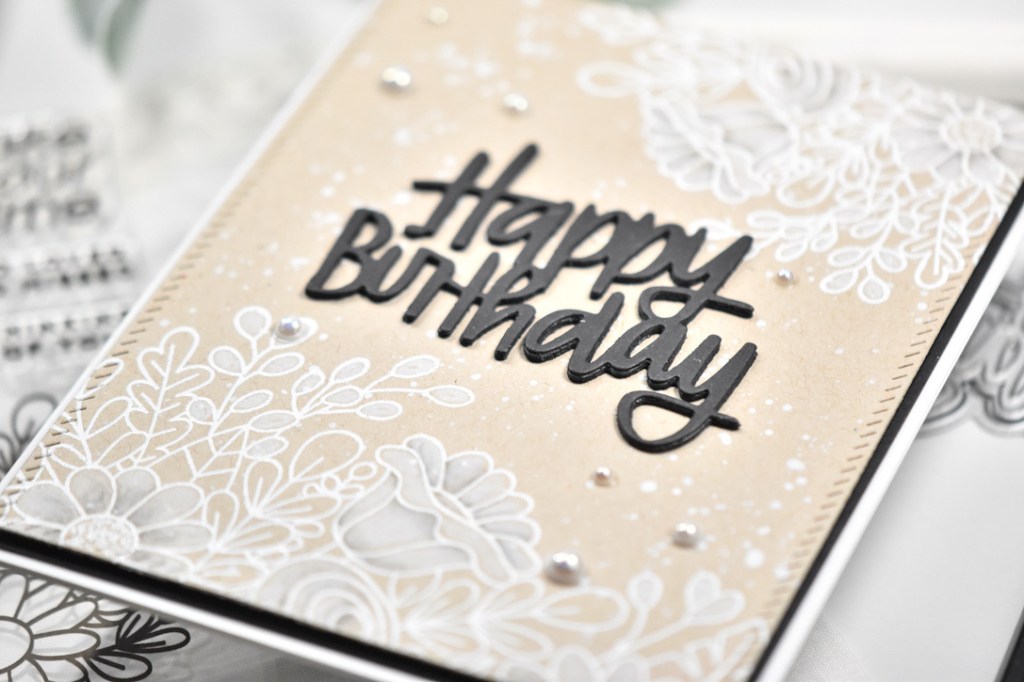
To add color to the flowers, I used a white colored pencil, as well as a graphite pencil and a blending stump. After the coloring was completed, I splattered the panel using White Acrylic Ink.

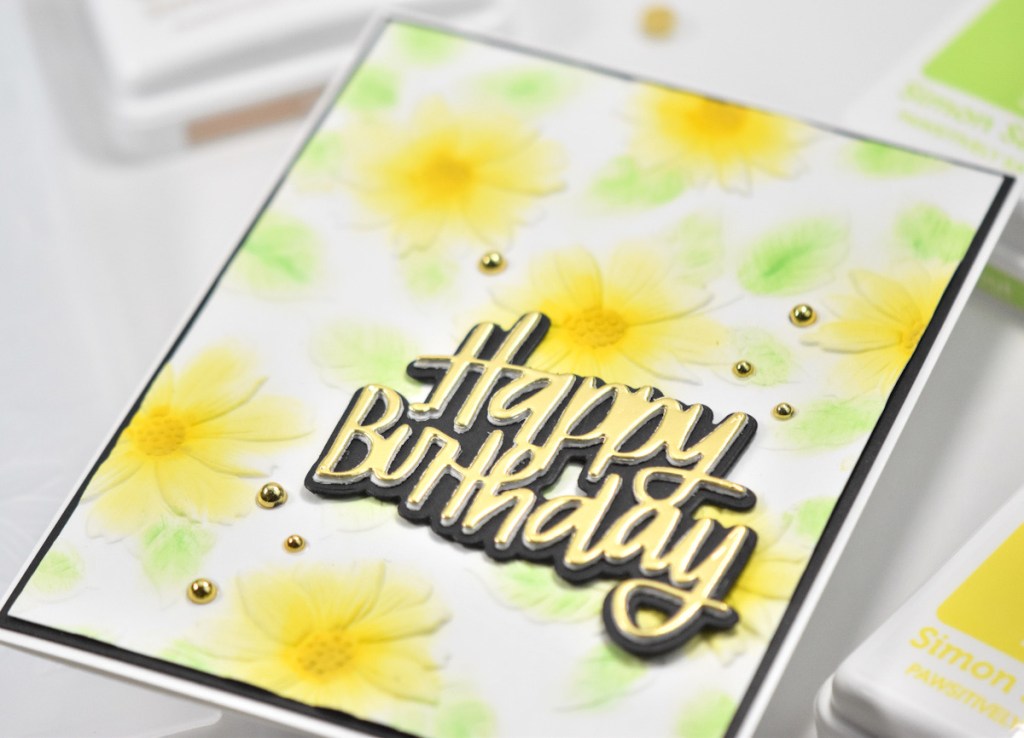
For the sentiment, I opted for the SSS Happy Birthday Brush Script and cut that three times from black cardstock, adhering them all together using liquid glue. I then adhered the sentiment to my panel between the florals and added some pearls for a little added interest.

To finish up, the stamped panel was adhered to a black panel for contact using foam tape, and that was then adhered to the card base.

Super simple card, but I like the monochromatic tone of the finished project. I hope you enjoyed it as well. Don’t forget to check out the entire STAMPtember release, and buckle up for an exciting month! The collaboration sets will start rolling out soon! Thanks again for stopping by and have yourself a wonderful day!
Supply List:
- SSS Checking In Stamp Set, Die, Bundle
- SSS Happy Birthday Brush Script
- SSS Detail White Embossing Powder
- SSS Bone Folder
- SSS Triangle Trays
- SSS Dot Tape Runner
- SSS Place and Score Embellishment Wand
- PFS Diagonal Stitched Rectangles
- VersaMark Ink
- Neenah Classic Crest Solar White 110lb Cardstock
- Neenah Desert Storm Cardstock
- Black Cardstock
- Bearly Art Glue
- 3M Foam Tape
- Little Things from Lucy’s Pearls
- Wagner Heat Tool
- Anti Static Powder Tool
- Misti
- Spellbinders Platinum 6
- New Amsterdam White Acrylic Ink (Not an affiliate link)
- White Colored Pencil
- Graphite Pencil
- Blending Stump
* Affiliate links used at no cost to you. Thanks so much for your support!
Latest Posts
- Simon Says Stamp Braided Greetings

- Together By Design Color Cube Floral

- Simon Says Stamp Cute Duckling

- Simon Says Stamp Watercolor Wild Rose

- Simon Says Stamp Striped Missing You