Layered Holly Sprigs
Hello Friends, and welcome back! I’m so glad that you stopped by to check out today’s post featuring the Wonderful Counselor stamp from Simon’s Joy For You release! Let’s go ahead and get into the details!
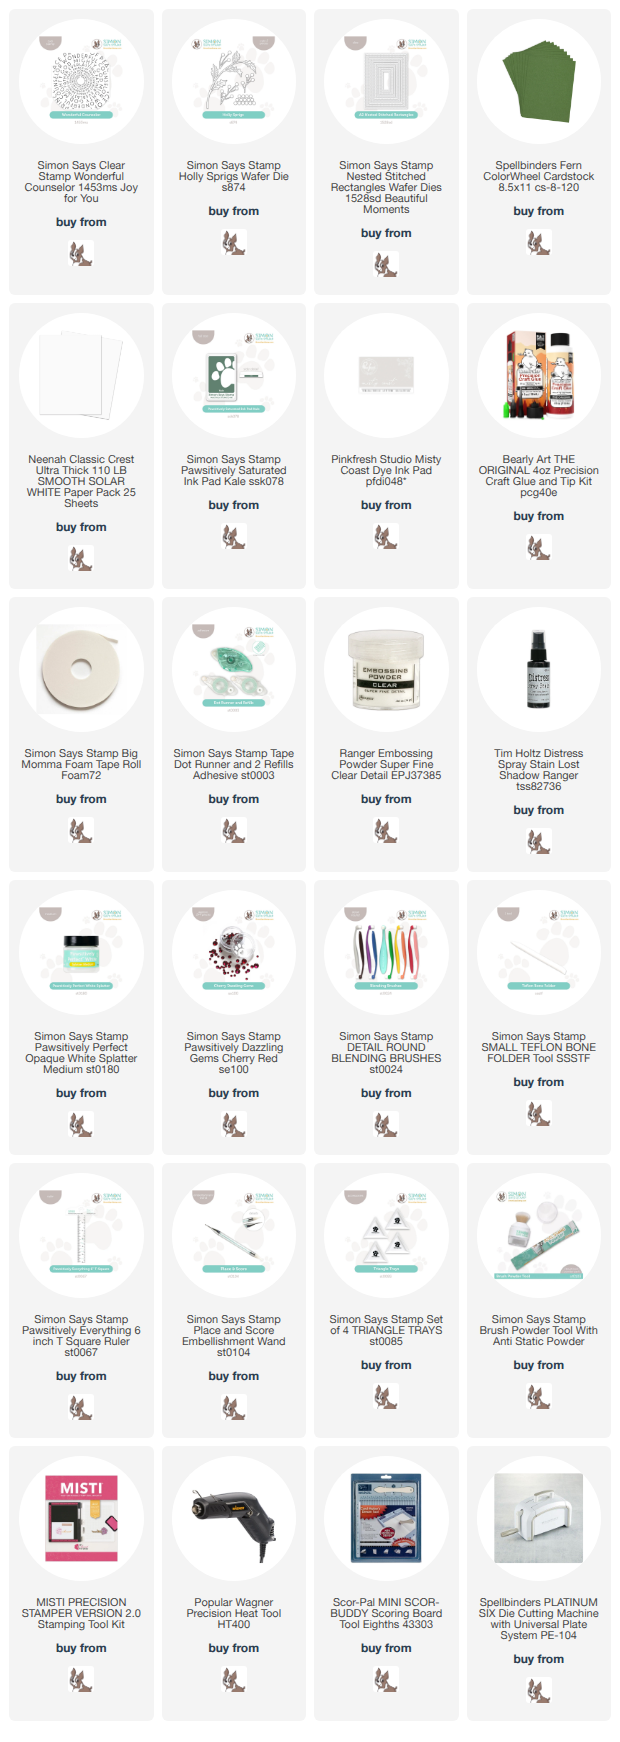
NOTE: all supplies are linked in the thumbnails at the end of this blog post.
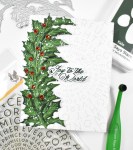
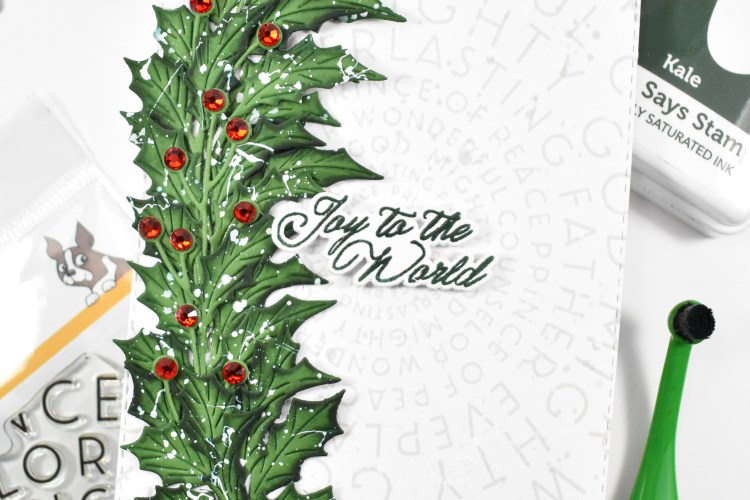
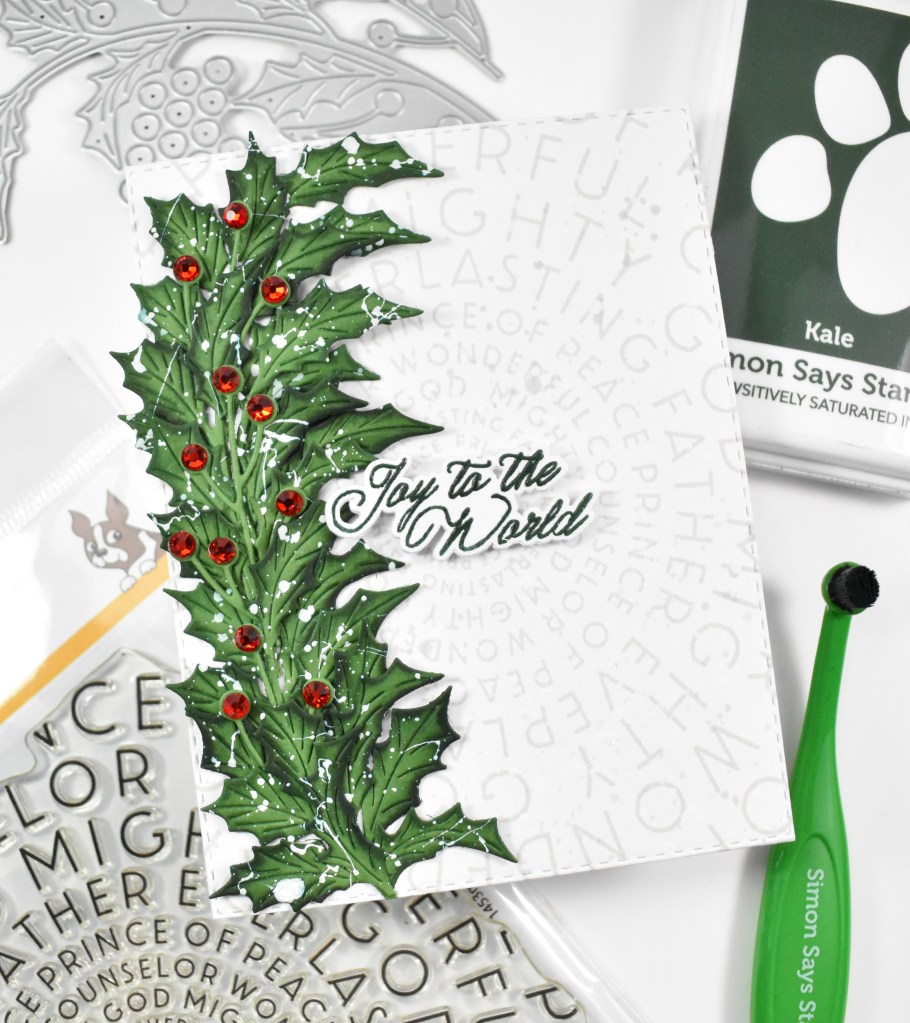
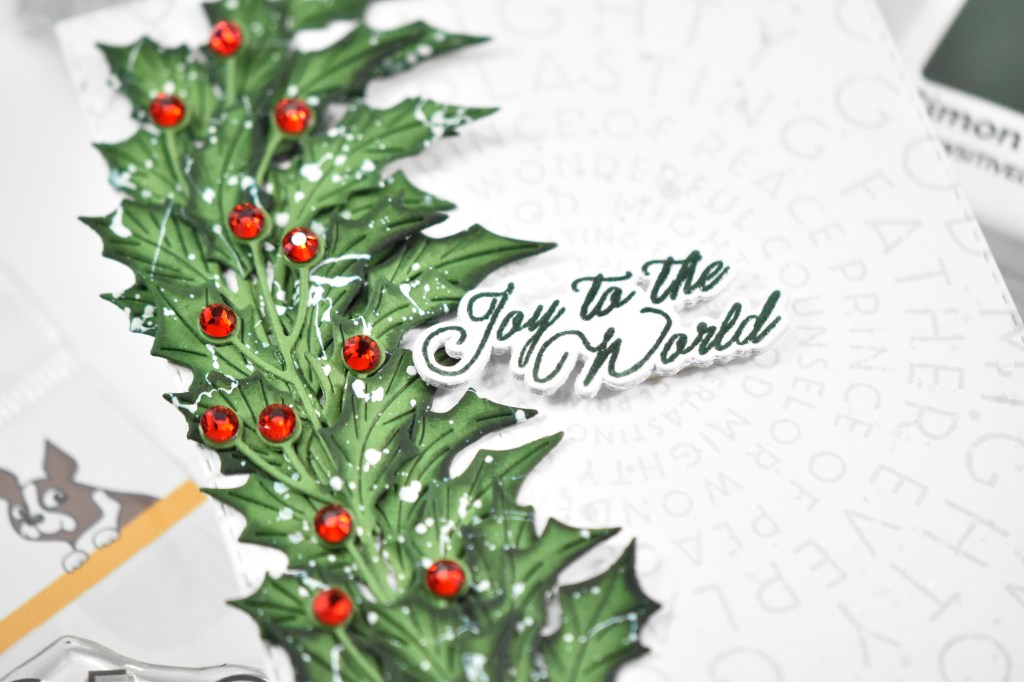
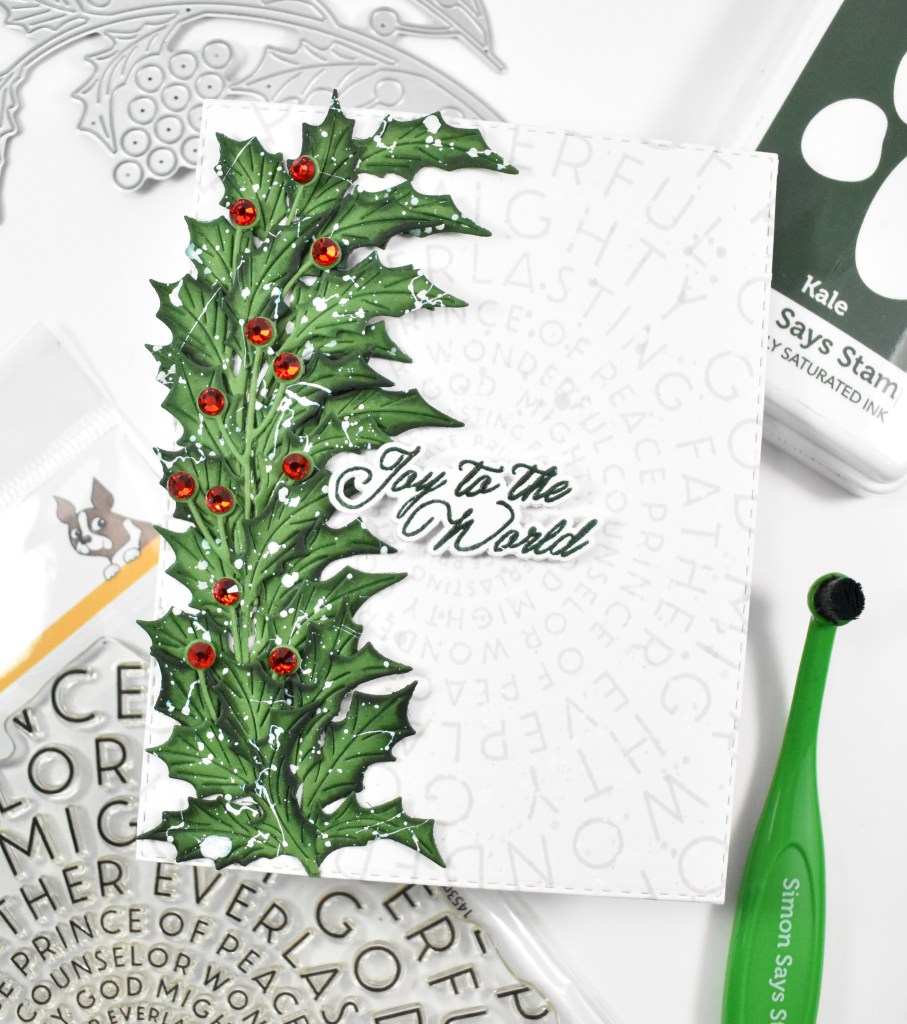
I didn’t have any ideas for using this stamp, because I don’t have any religious type of die cuts, so I decided to just use it as a background for the holly sprigs. I began by die cutting a bunch of the holly sprigs from fern cardstock, adding some ink blending using Kale ink and some white splatter.
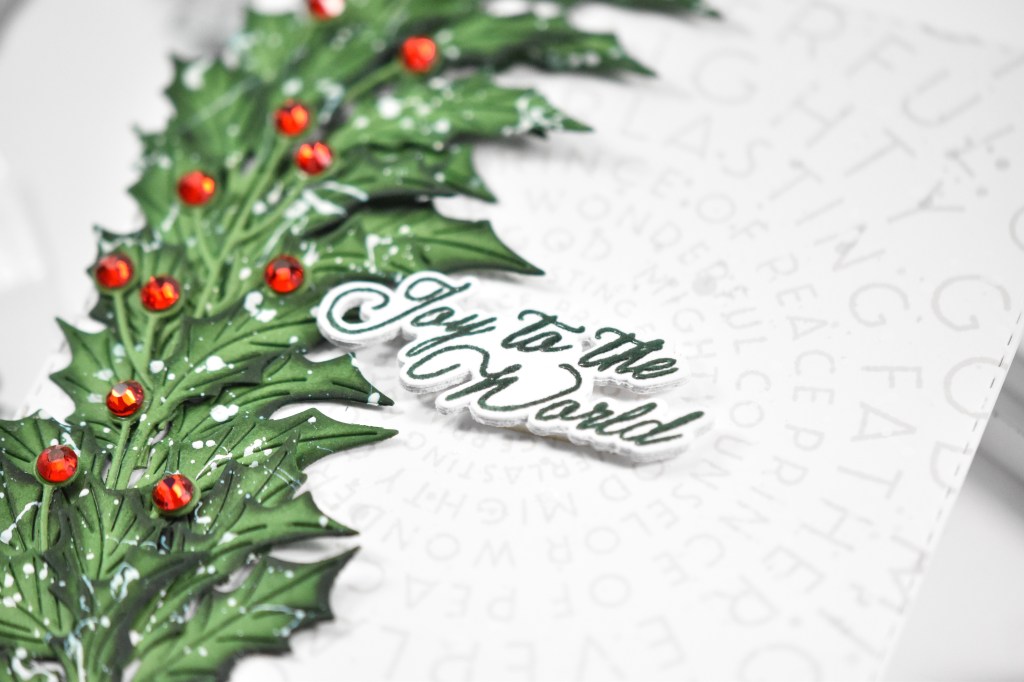
I stamped the Wonderful Counselor onto a white panel using Misty Coast ink, trimmed it down using the A2 Nested Stitched Rectangles and giving it a splatter using white and Lost Shadow Distress Stain. The sentiment, which is from the Season of Wonder limited edition set, was stamped using the Kale ink and heat embossed using clear embossing powder. I added several layers of embossing powder so that it was smoother. I did that just be heating the previous layer and adding more powder. The sentiment was trimmed out several times with all of those pieces being adhered with liquid glue.
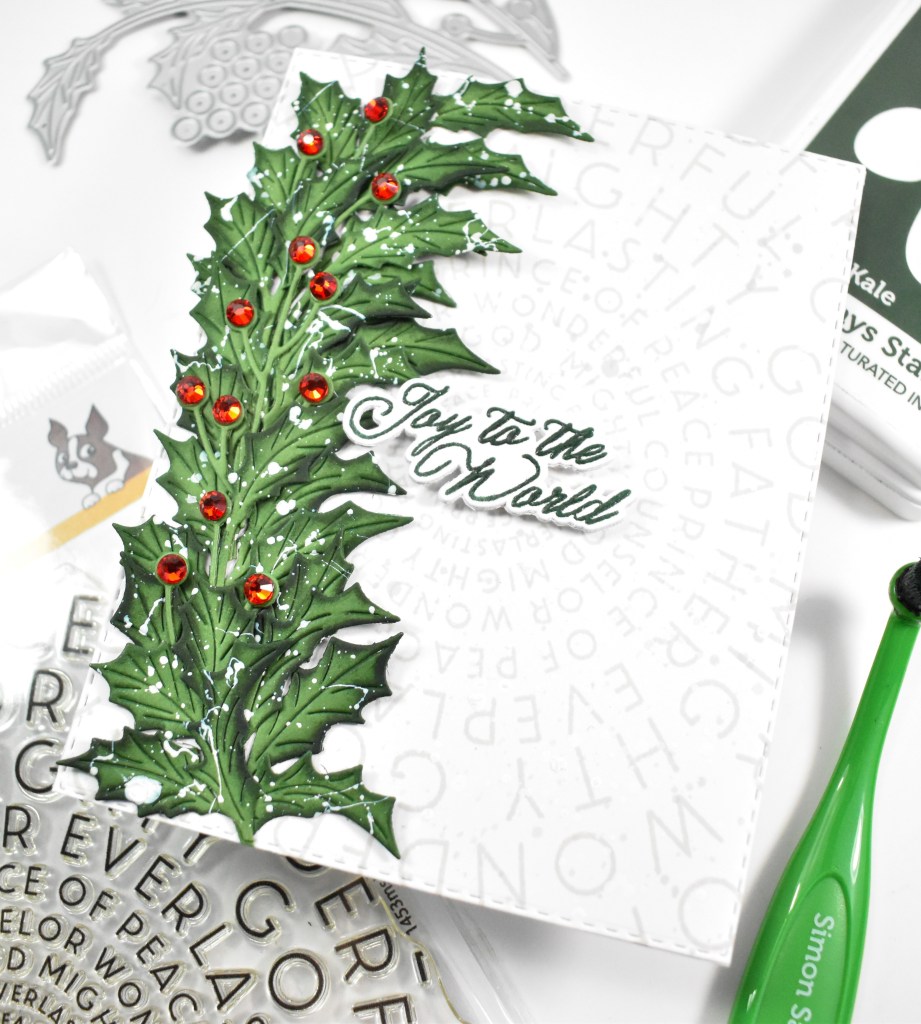
I began securing the sprigs with liquid glue and tucking in the berry portions. The sentiment was secured with foam tape and I added some red gems to finish up.
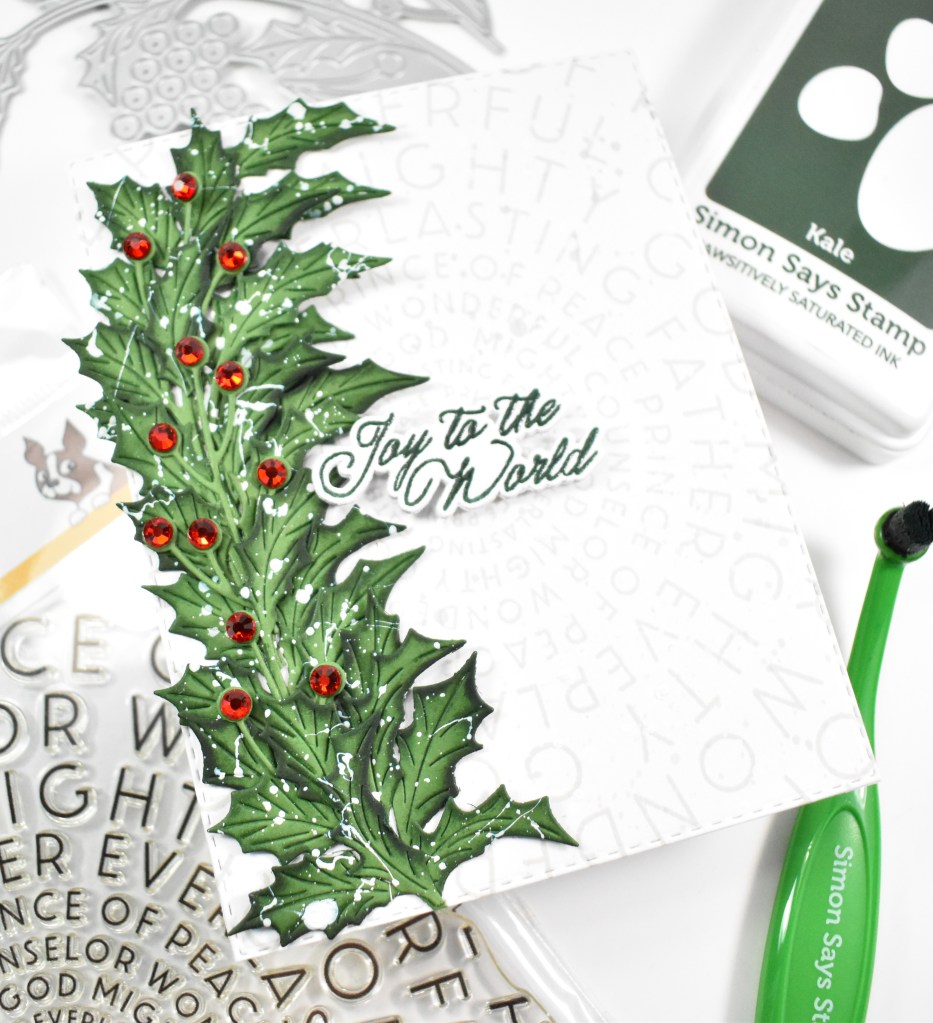
That does it for this project! I hope you like it! I really wanted to add some “ice” but I felt like I’ve used that on every project lately! Thanks again for stopping by, and I hope you have yourself a wonderful day!
Supply List:

Affiliate links used at no cost to you. What does this mean? If you use the links within this post to make a purchase, I receive a small commission, which allows me to continue to post crafty content for your enjoyment. I truly appreciate your support!
Latest Posts

Latest Instagram Posts

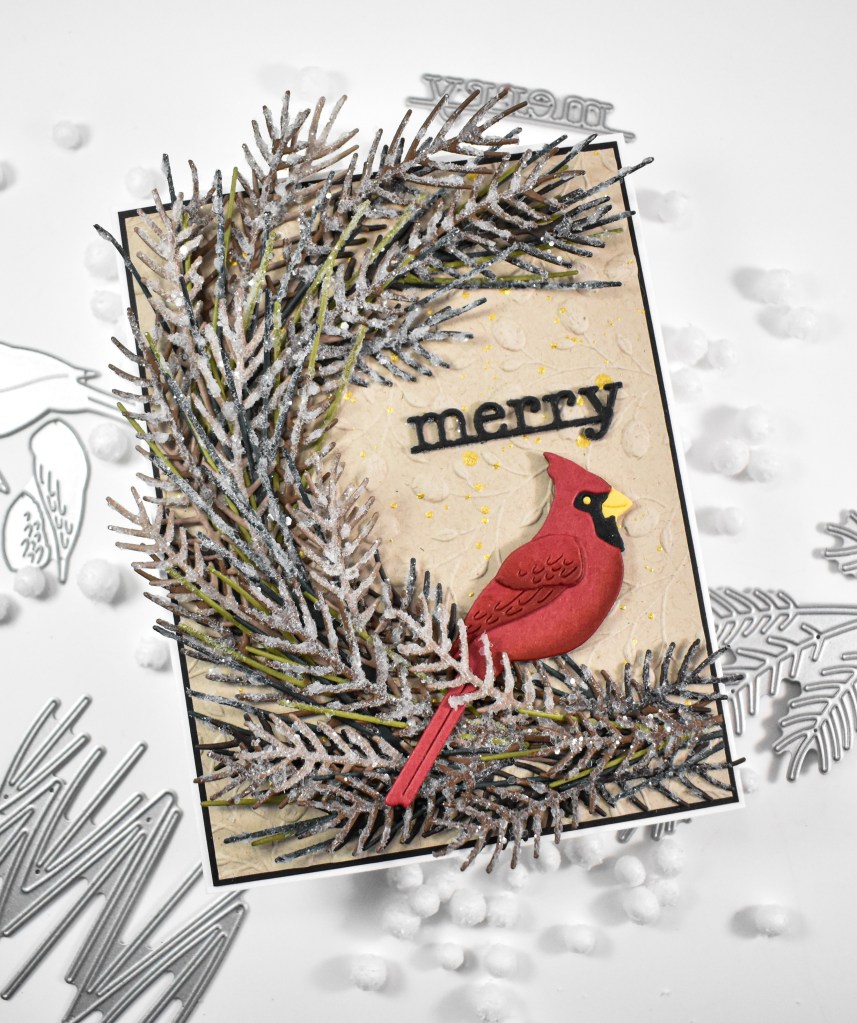
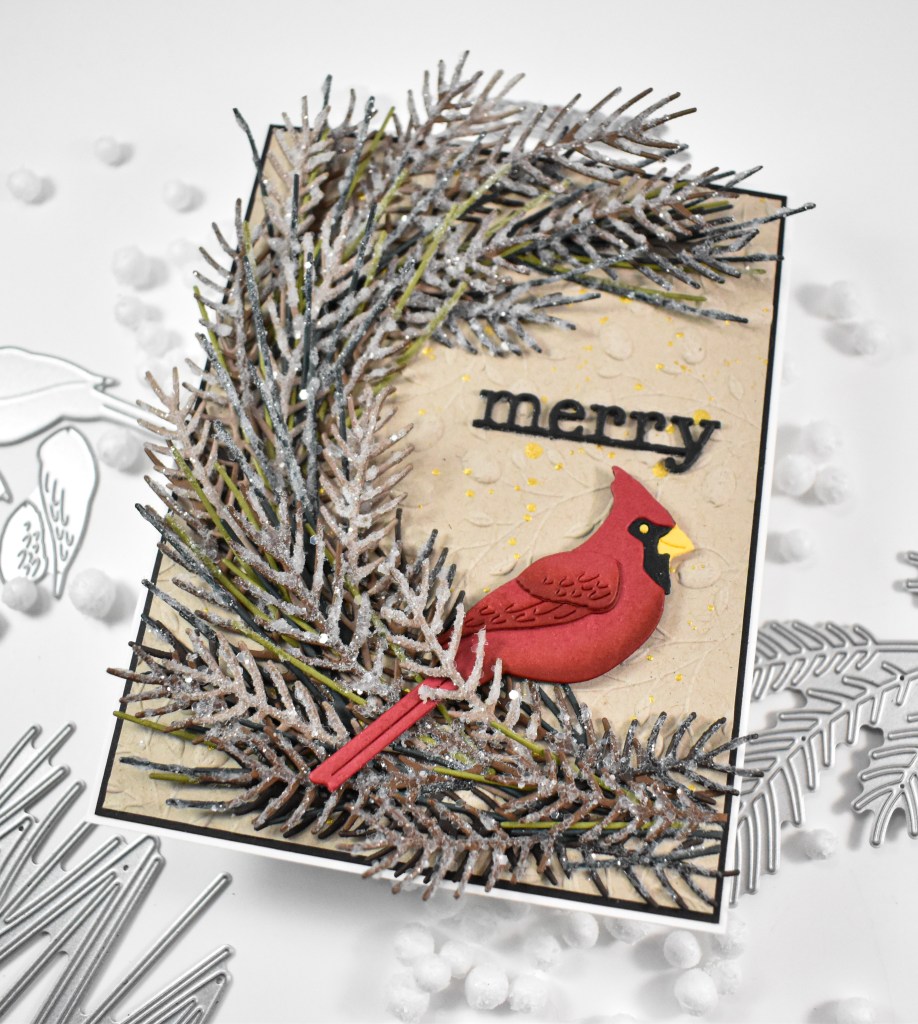
Winter Cardinal Swag Featuring Simon Says Stamp
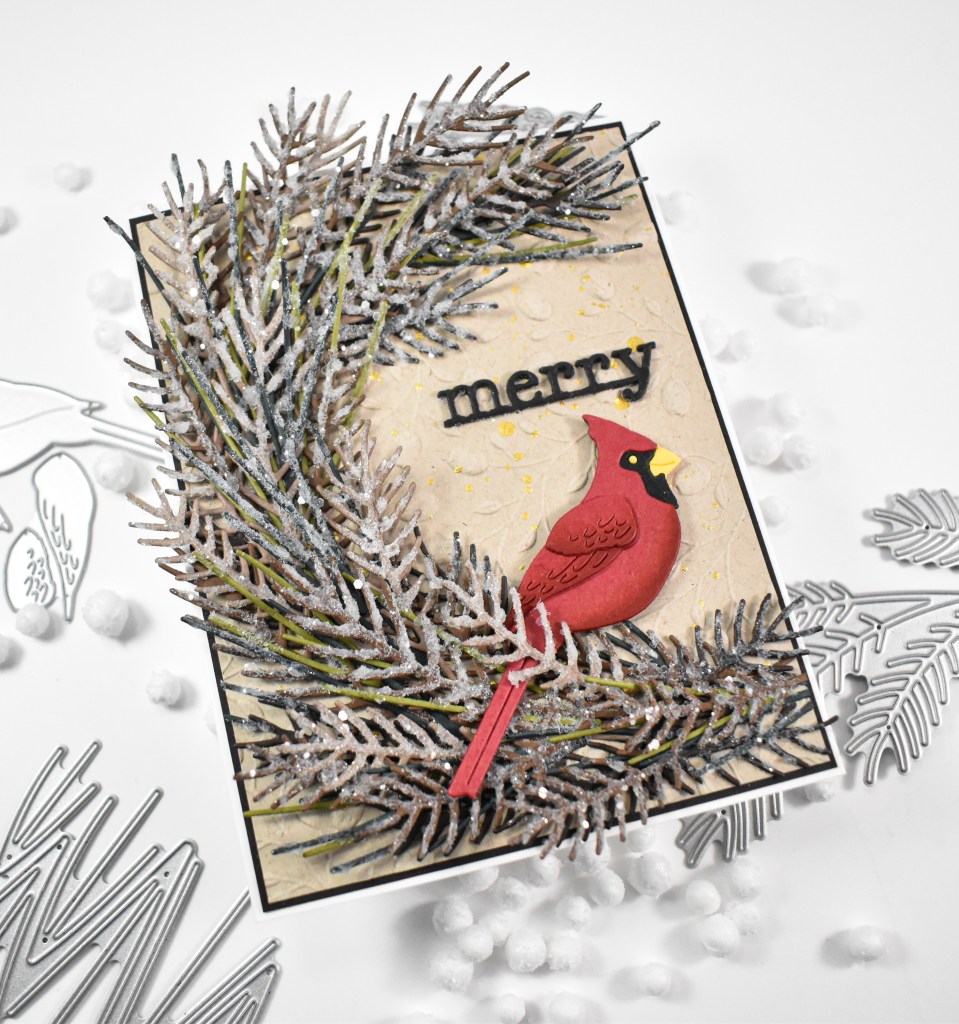
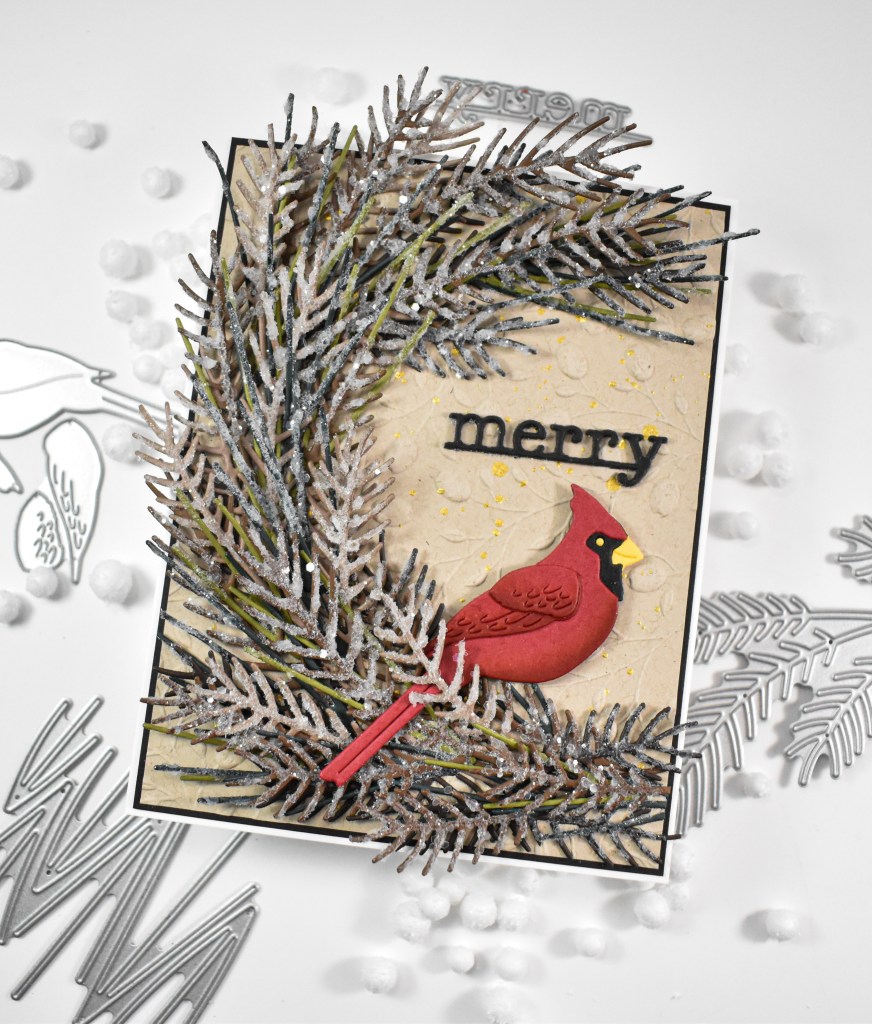
Welcome back, Friends! Today’s project is featuring the new Classic Cardinal from Simon’s latest release, Joy For You. Not going to lie, this project took me a bit of time, but I feel like it was so worth it! I love the icy sprigs creating the swag! Let’s go ahead and get into the details!

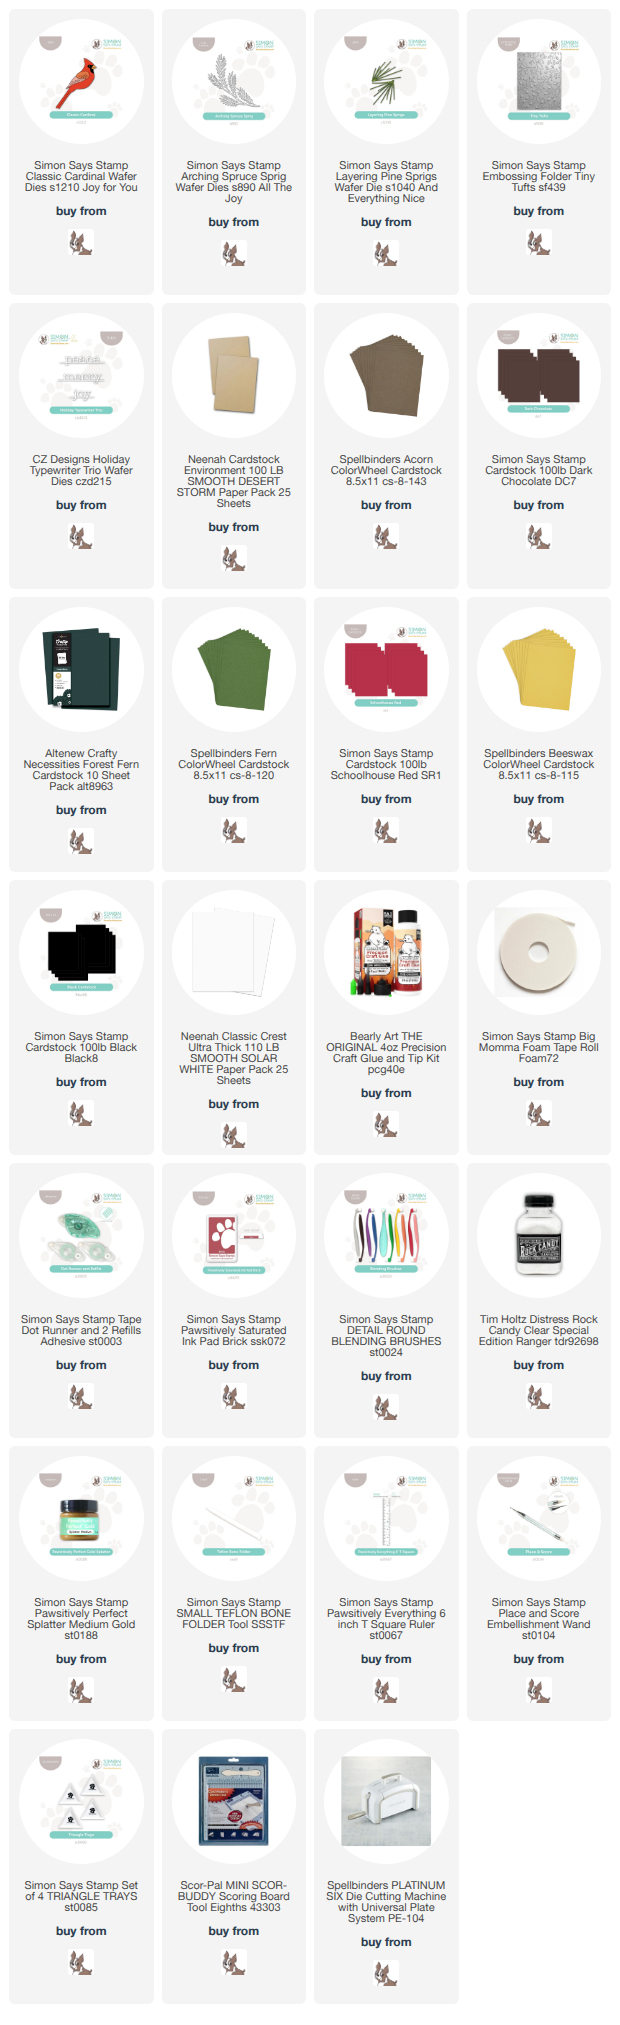
NOTE: all supplies are linked in the thumbnails at the end of this blog post.

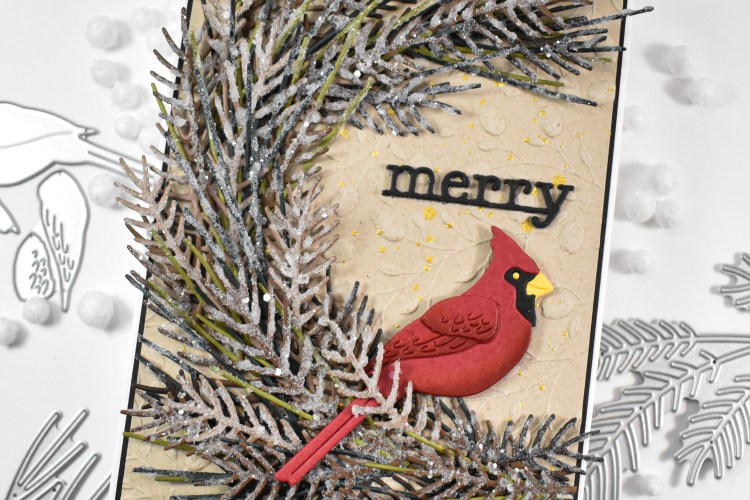
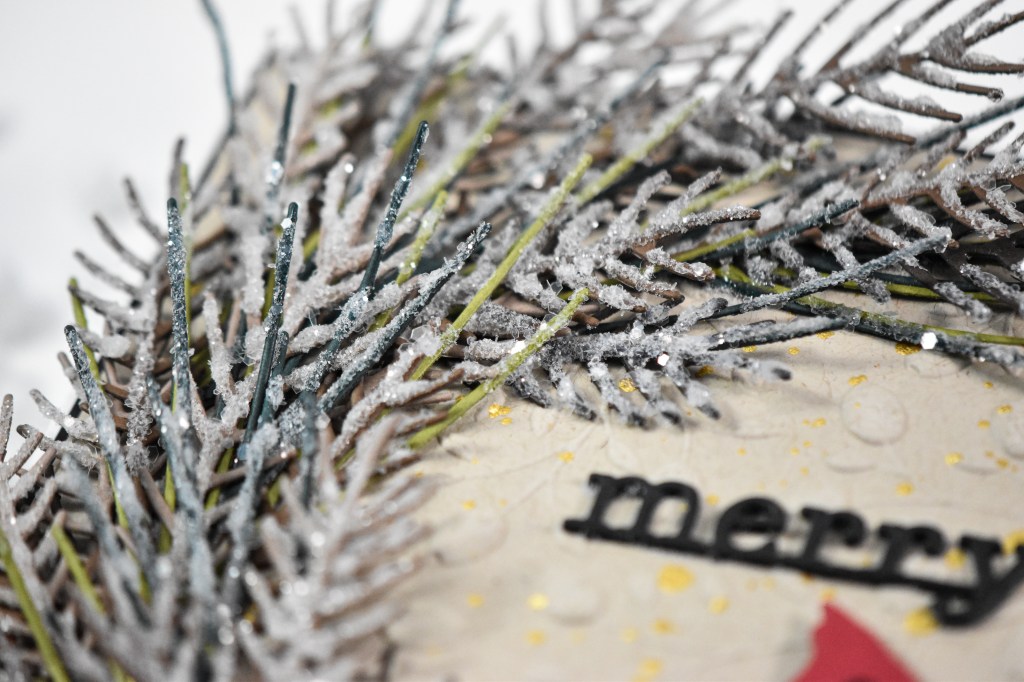
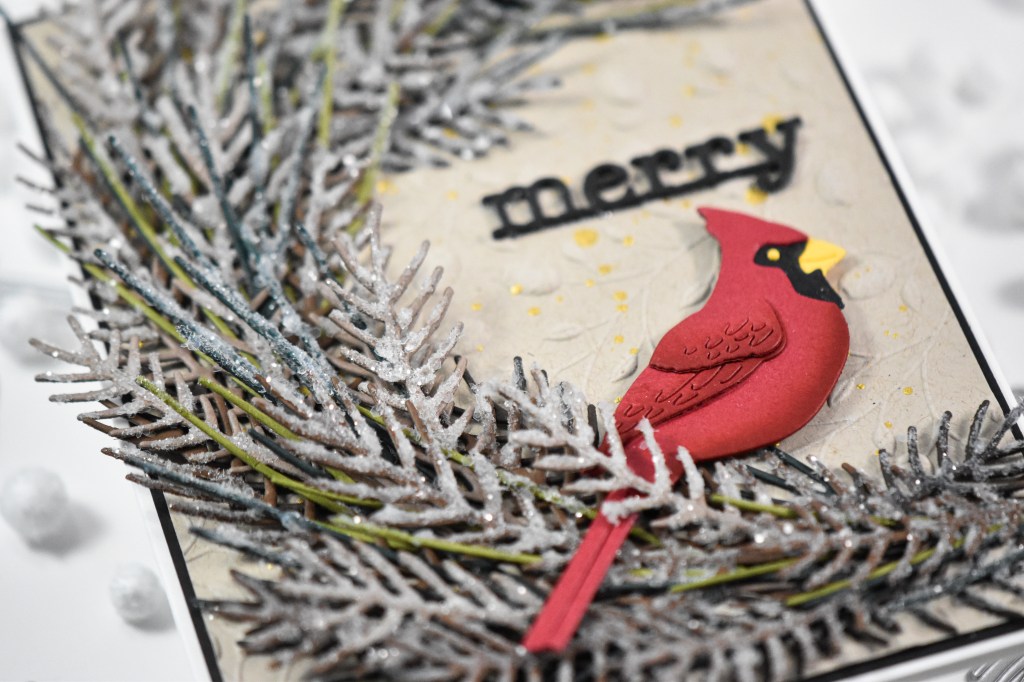
I began the project by die cutting the cardinal pieces first and doing some ink blending on the red using Brick ink. Once that was all assembled, I went to work die cutting all of the pieces for the swag. I used the Arching Spruce Sprig to die cut lots of those from forest, brown, and desert storm cardstock. I also used the Layering Pink Sprigs and cut those from fern and forest cardstock. Before moving on, I did white splatter some of the pieces, but I feel like that got lost in the process of adding the glitter.

The background was created using the Tiny Tufts Embossing Folder, desert storm cardstock and some gold splatter, which was layered atop a black panel. I secured the spruce sprigs in place using liquid glue and tucked in all of the pine sprigs. I then began the tedious task of adding glue to the pieces individually and then adding rock candy. The sentiment was cut three times from black cardstock and those were adhered together for that stacked sentiment.

Once everything was dry, I tucked the cardinal in and secured with foam tape, while the sentiment was glued directly to the panel to finish up.

That does it for this project! I absolutely love creating icy projects, and I know that I probably get carried away, but it’s hard not to! Thanks so much for stopping by, and I hope you’ll check out the entire Joy For You release! Have yourself an amazing day!

Supply List:

Affiliate links used at no cost to you. What does this mean? If you use the links within this post to make a purchase, I receive a small commission, which allows me to continue to post crafty content for your enjoyment. I truly appreciate your support!

Latest Posts

Latest Instagram Posts

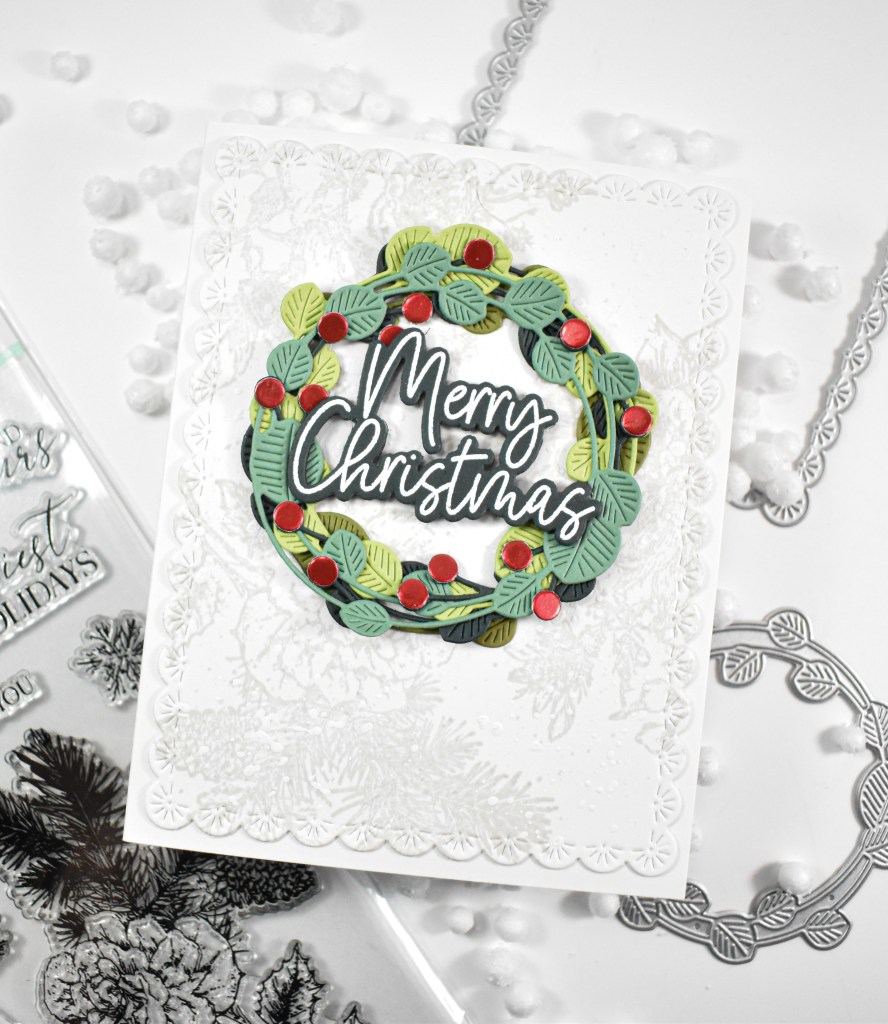
Multi-Layered Holiday Wreath

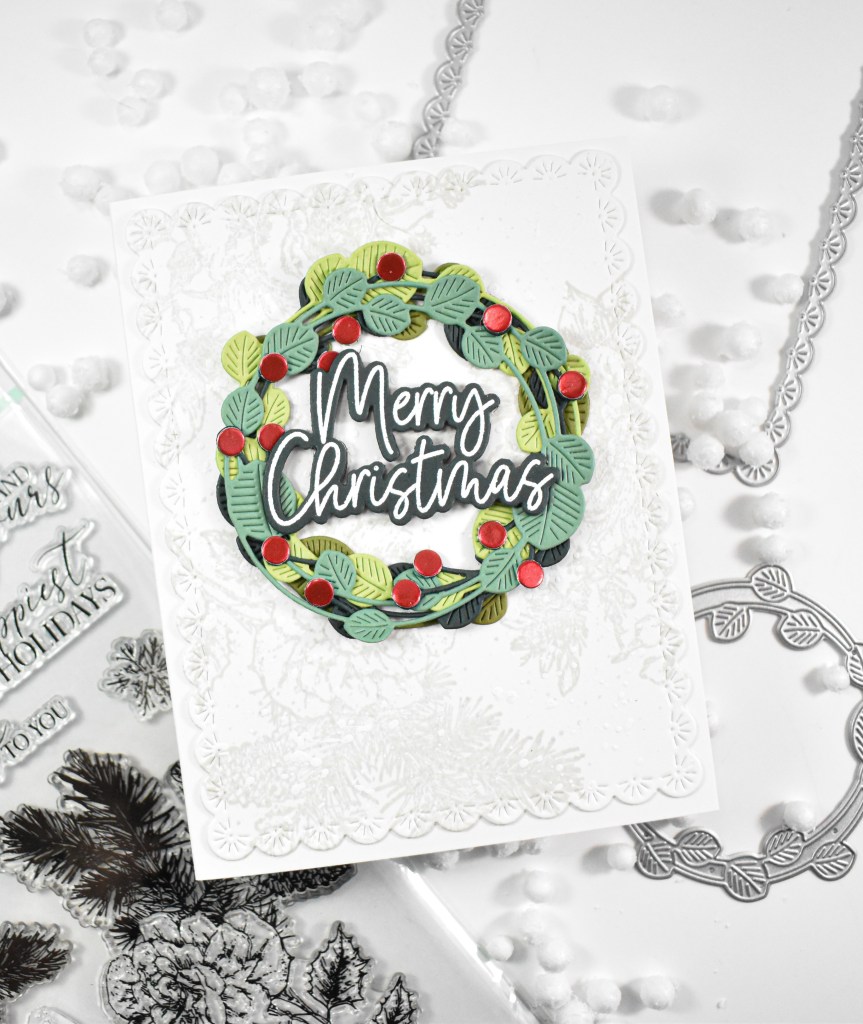
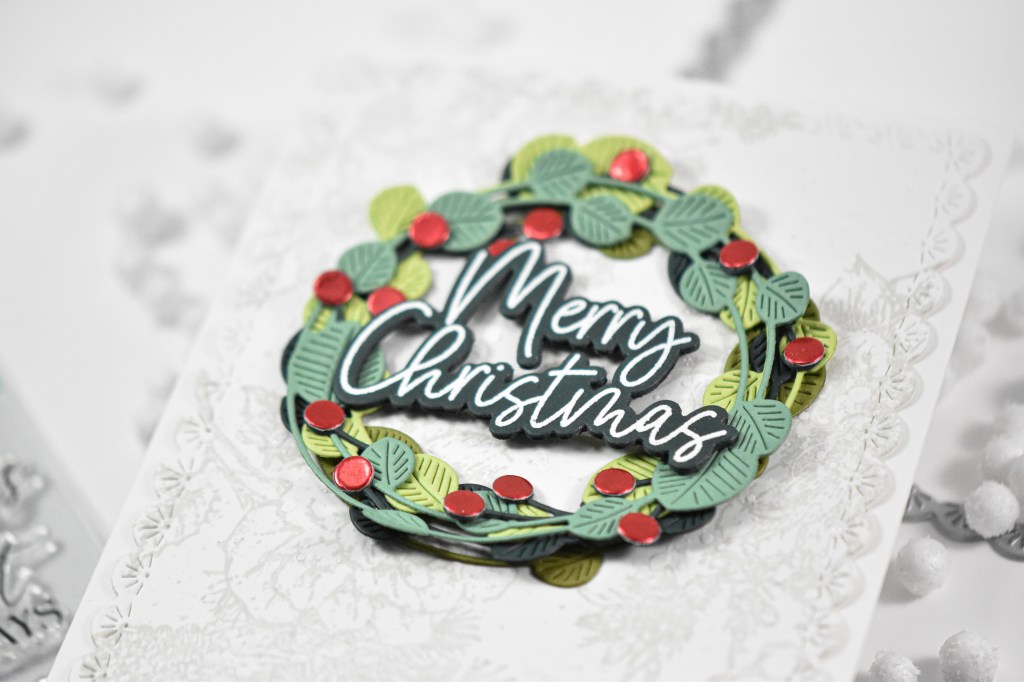
Hello Crafters, and welcome back! Today’s project is featuring the new Elegant Christmas Botanicals from Simon Says Stamp’s latest release, Joy For You. Let’s get right into the details.

NOTE: all supplies are linked in the thumbnails at the end of this blog post.

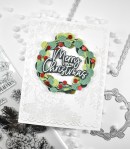
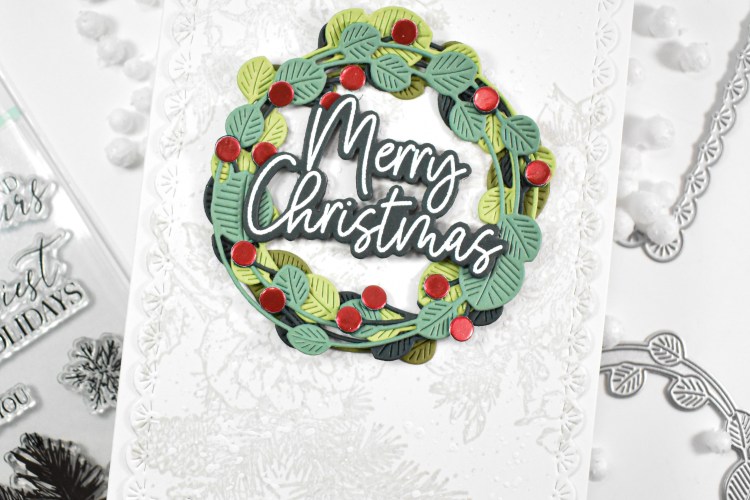
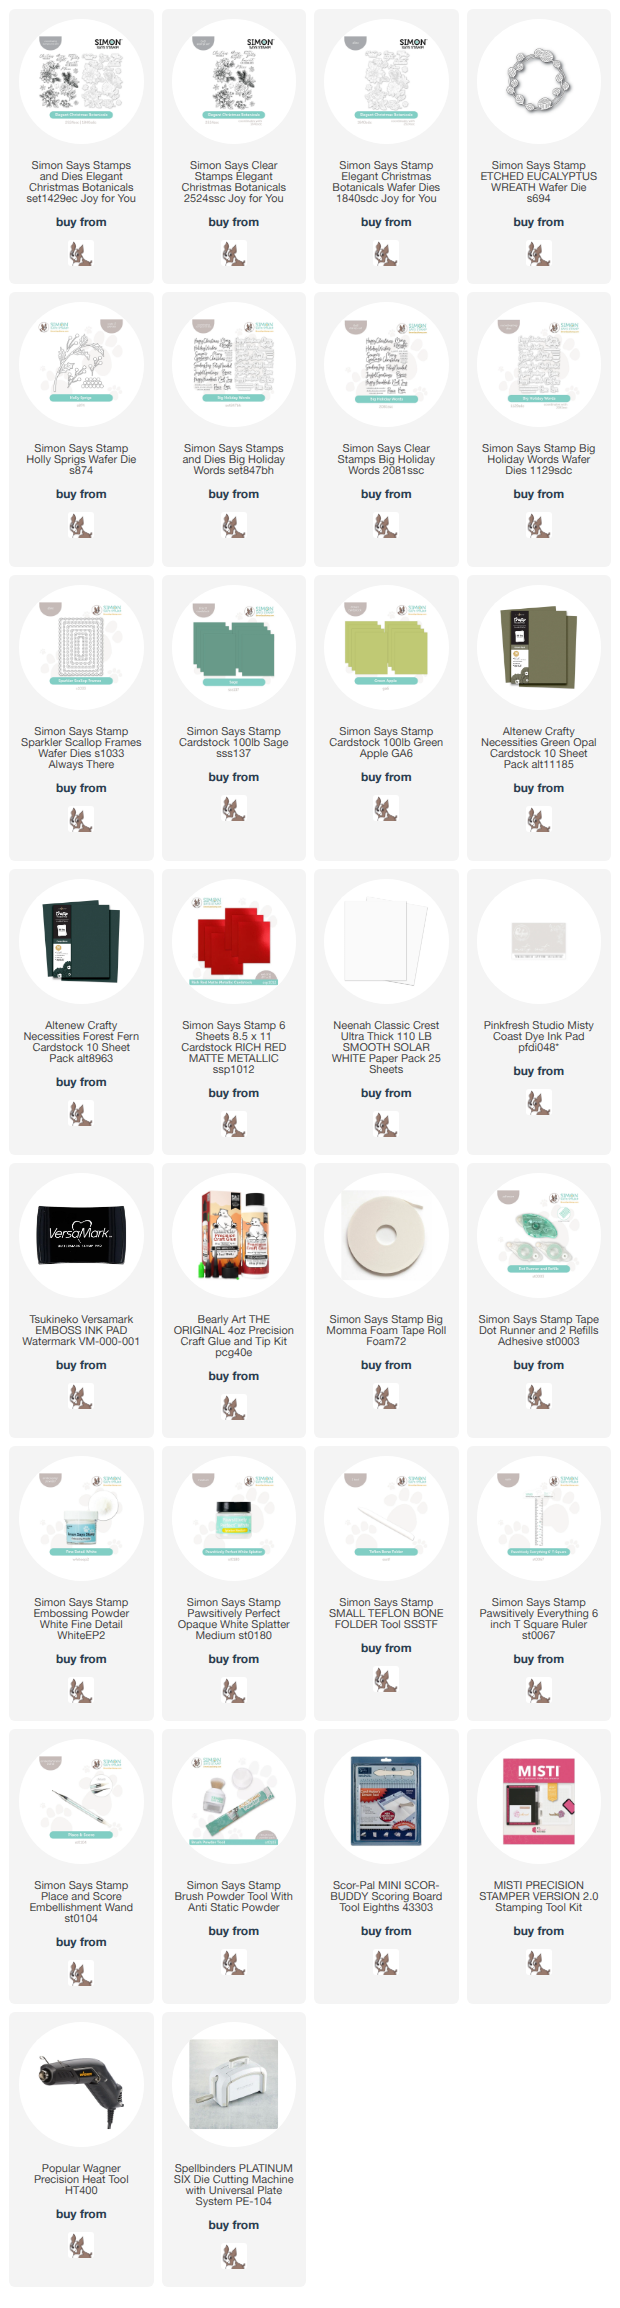
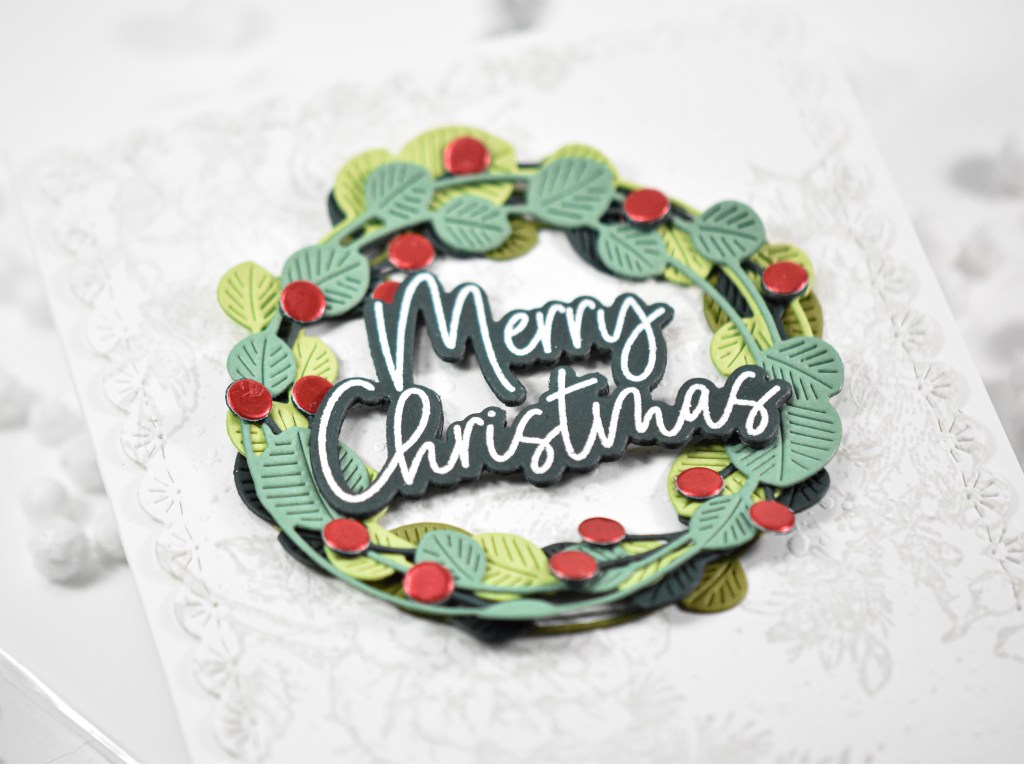
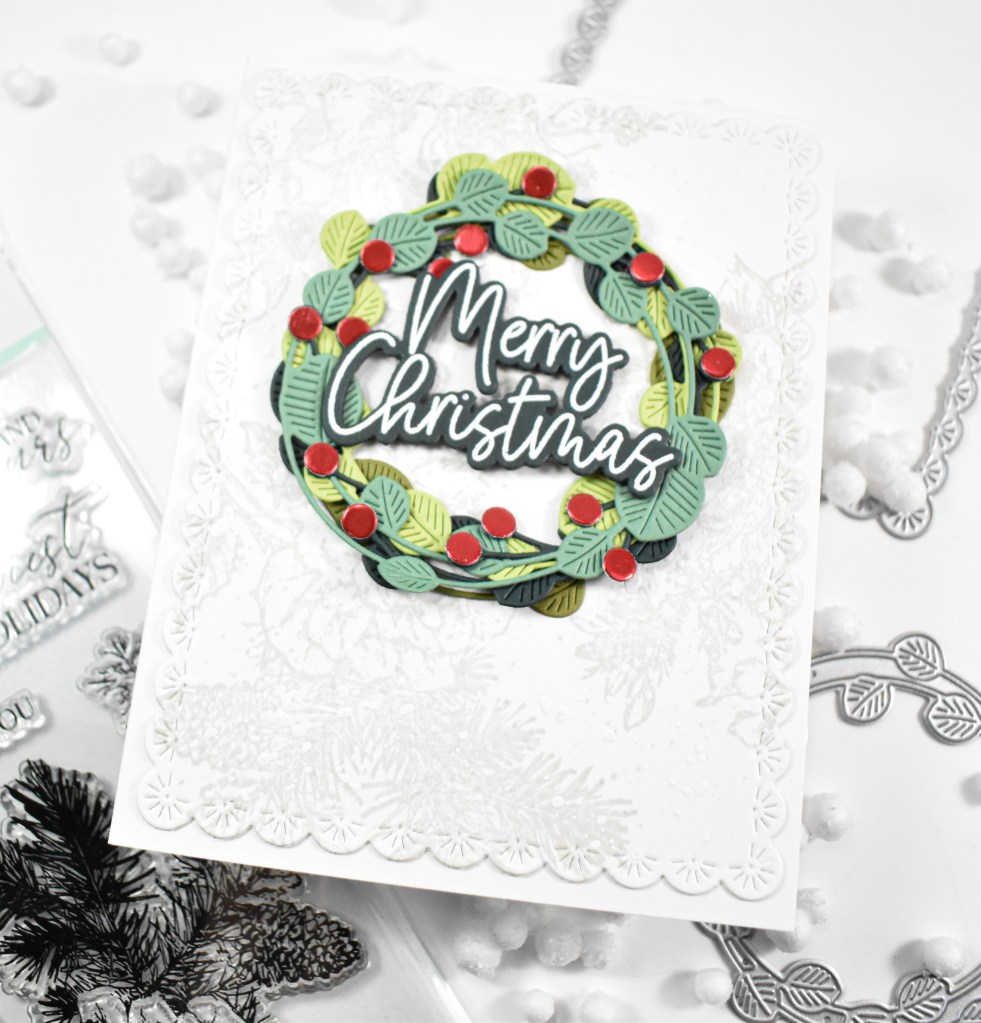
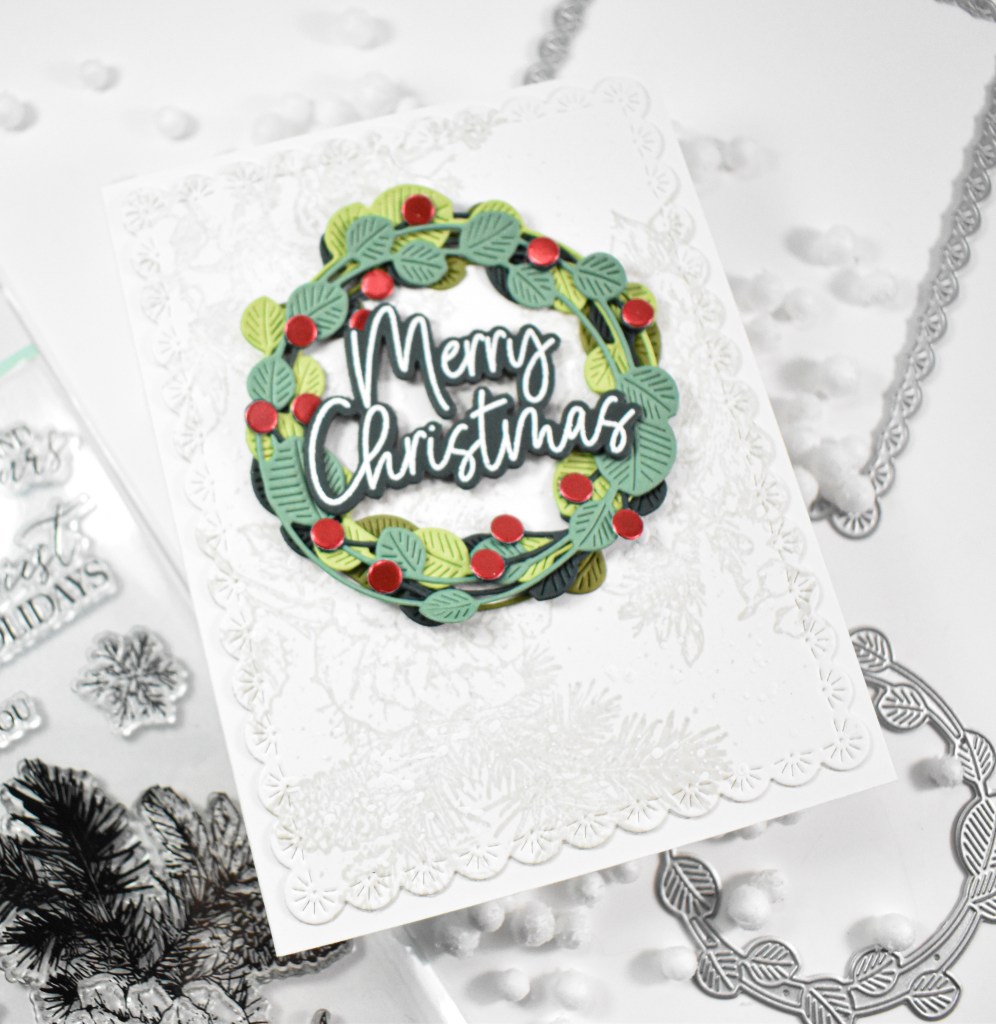
I began this project by die cutting the Etched Eucalyptus Wreath from four different colors of green cardstock and adhering all of those together. I also used the Holly Sprigs die cut to cut the red berries from Matte Red cardstock. and the sprigs themselves from forest cardstock. I tucked the sprigs in and secured them with liquid glue and added the red berries.

The background was created using the new Elegant Christmas Botanicals stamped with Misty Coast ink, trimmed out using the Sparkler Scallop Frames with some added white splatter. The sentiment was stamped onto forest cardstock using VersaMark ink, heat set using white embossing powder and trimmed out three times for a stacked sentiment.

The panel was adhered to the card base, the wreath secured in place and the sentiment was added using foam tape to finish up.

That does it for this project! I hope you like it, and I hope you’ll stop by and check out the entire Joy For You release! Thanks so much for stopping by, and I hope you have an amazing day!

Supply List:

Affiliate links used at no cost to you. What does this mean? If you use the links within this post to make a purchase, I receive a small commission, which allows me to continue to post crafty content for your enjoyment. I truly appreciate your support!

Latest Posts

Latest Instagram Posts

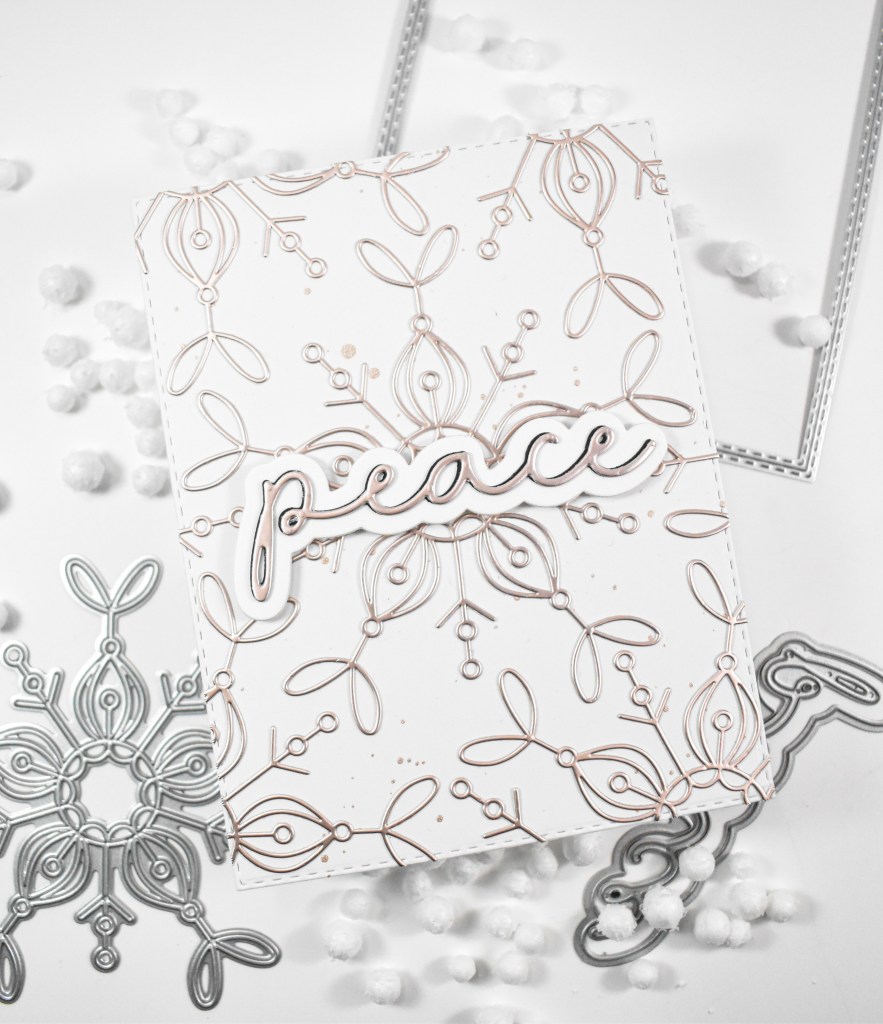
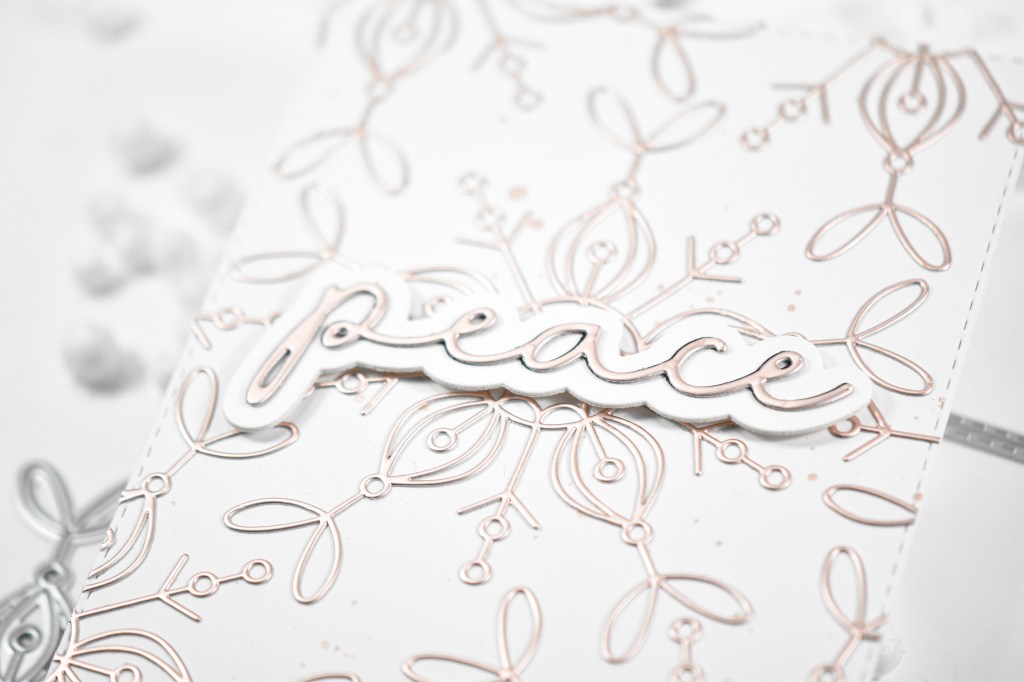
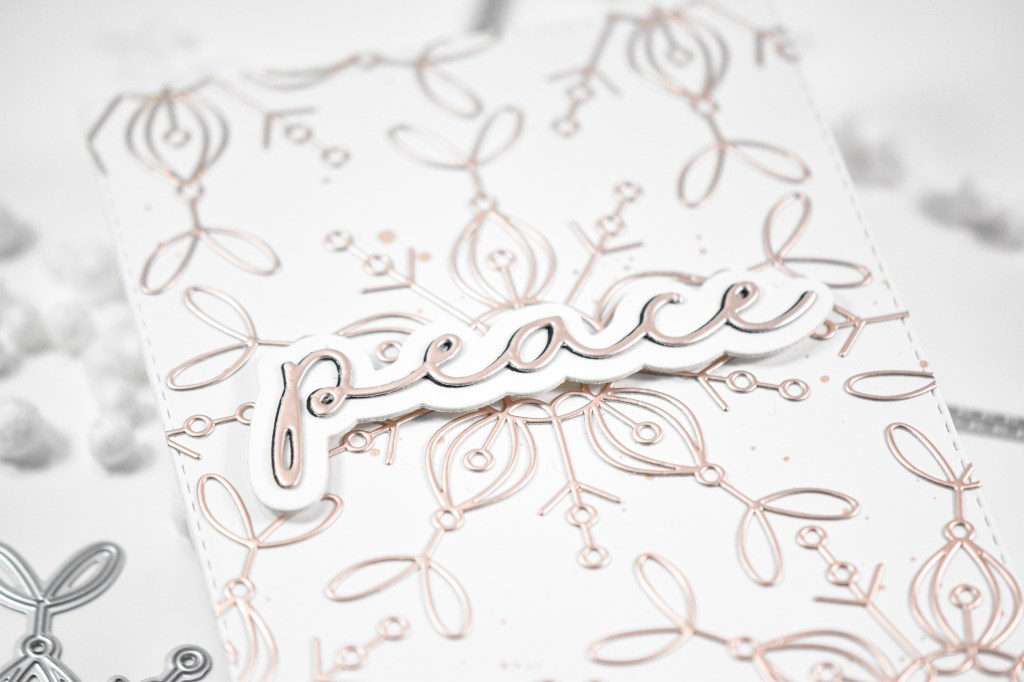
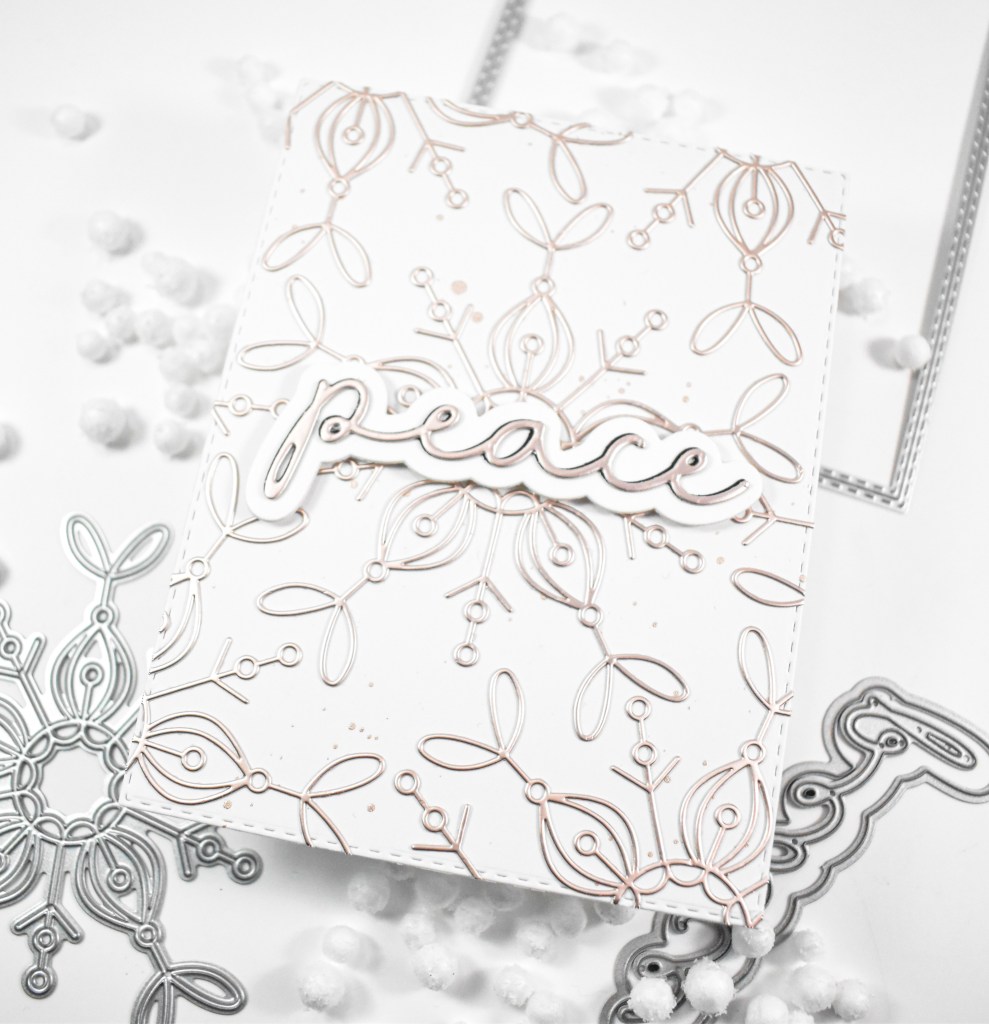
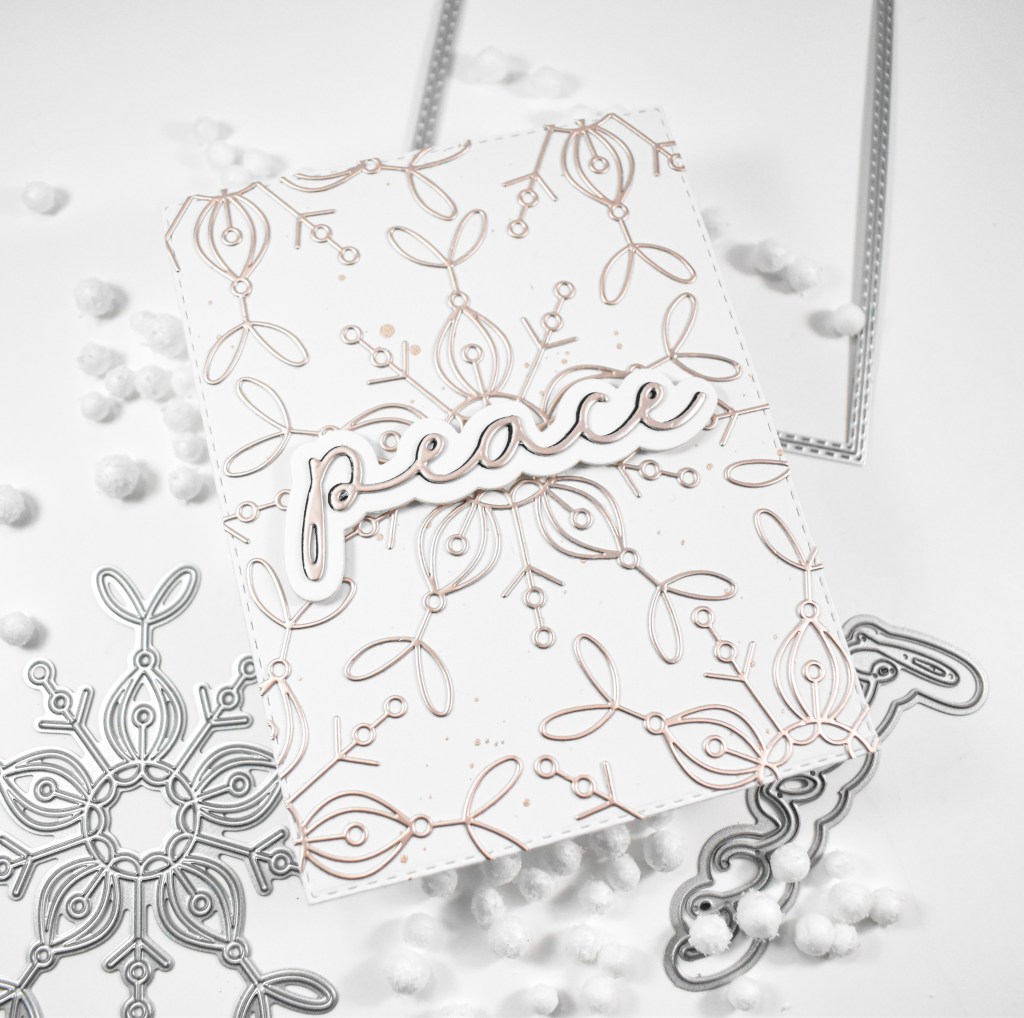
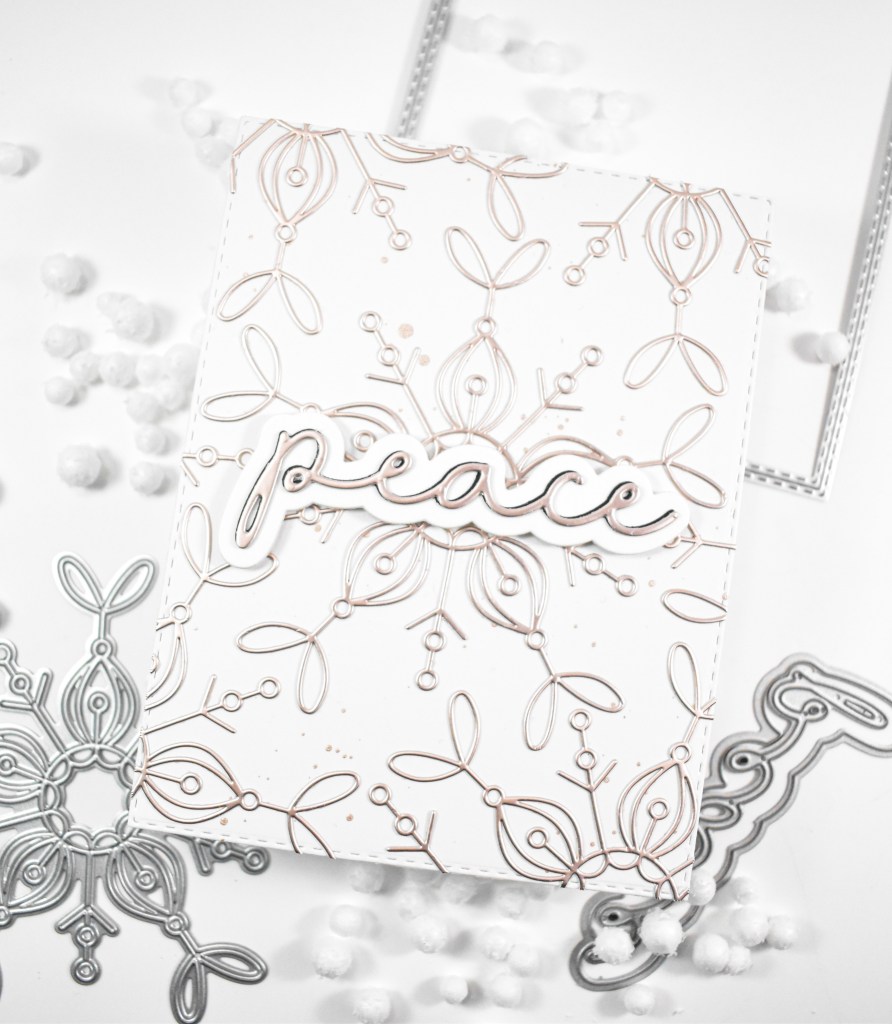
Repeating Snowflakes Featuring Simon Says Stamp Frozen Fractal Love
Hello Crafty Friends! It’s been a minute since I’ve written a blog post! STAMPtember kind of wore me out, and then life got in the way of creating, but I’m back to it! Today’s project is featuring the new Frozen Fractal Love snowflake from their latest release, Joy For You. I love using die cuts on repeat, and that’s exactly what I did here. Let’s go through the details.

NOTE: all supplies are linked in the thumbnails at the end of this blog post.

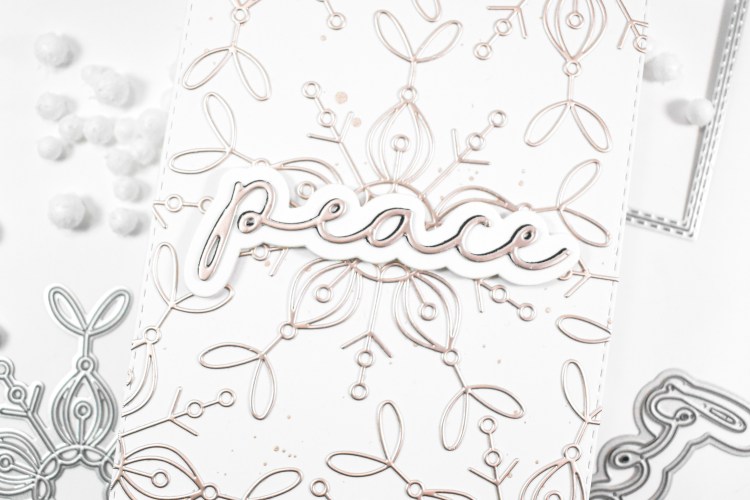
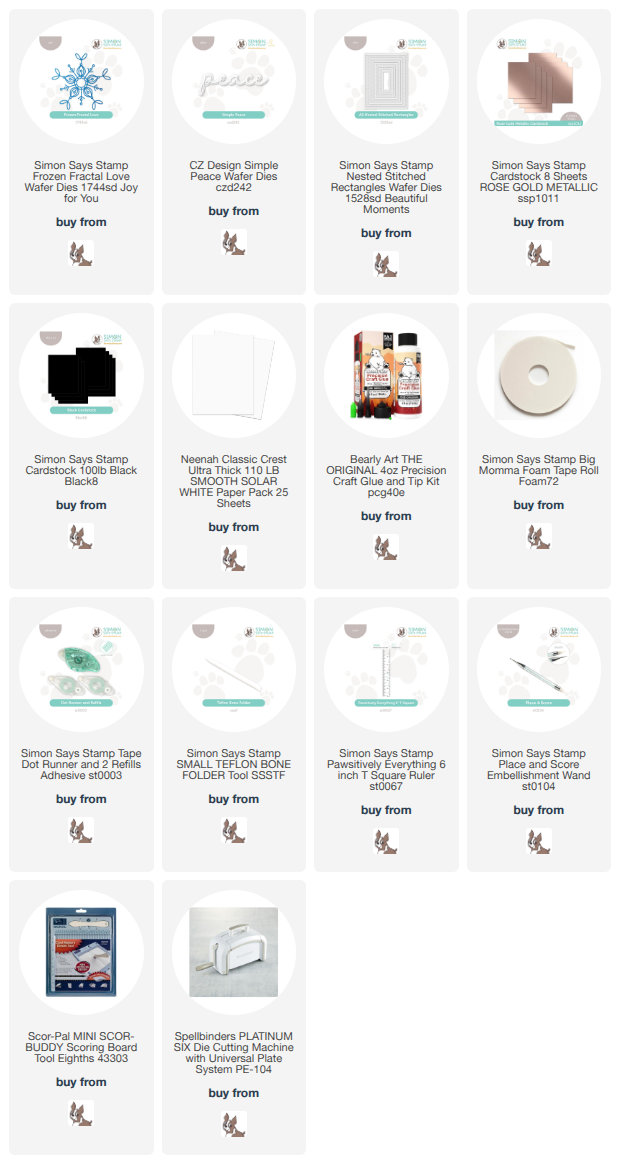
I began this project by die cutting the snowflakes several times from a rose gold cardstock. My background panel was created using the A2 Nested Stitched Rectangles and some rose gold splatter. Once that was dry, I began adhering the snowflakes using liquid glue. I was trying to be careful and get the middle snowflake centered, but it ended up slightly twisted. Oh well, things happen sometimes and you’ve got to move on.

The excess was trimmed off, and I used those pieces to add in some additional snowflakes around the edges where I had room. The sentiment was cut once from the same rose gold cardstock and twice from black cardstock, while the shadow portion was cut twice from white. All of those pieces were adhered together using liquid glue, with the black offset every so slightly, so that it had more definition. The sentiment was secured with foam tape to finish up.

That does it for this project! A pretty simple one, but I like how it turned out, despite being slightly off center. I hope you’ll stop by and check out the entire Joy For You release over on Simon’s website. Thank you so much for stopping by to check out today’s project, and I hope you have a wonderful day!

Supply List

Affiliate links used at no cost to you. What does this mean? If you use the links within this post to make a purchase, I receive a small commission, which allows me to continue to post crafty content for your enjoyment. I truly appreciate your support!

Latest Posts

Latest Instagram Posts
Spellbinders Dear Santa Floral Letter

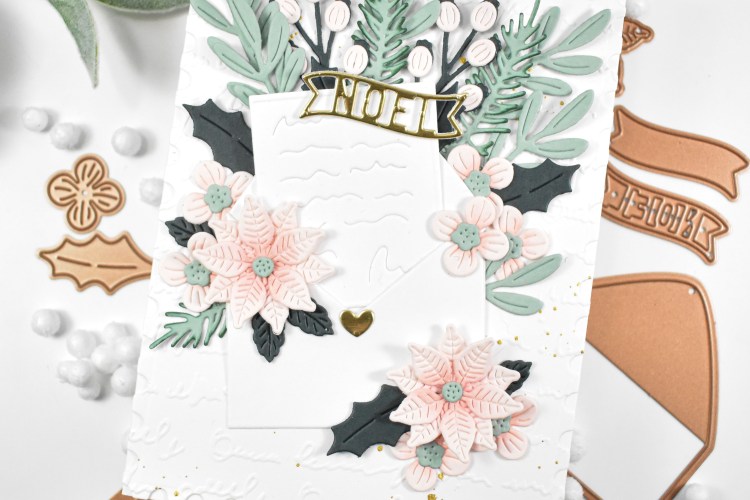
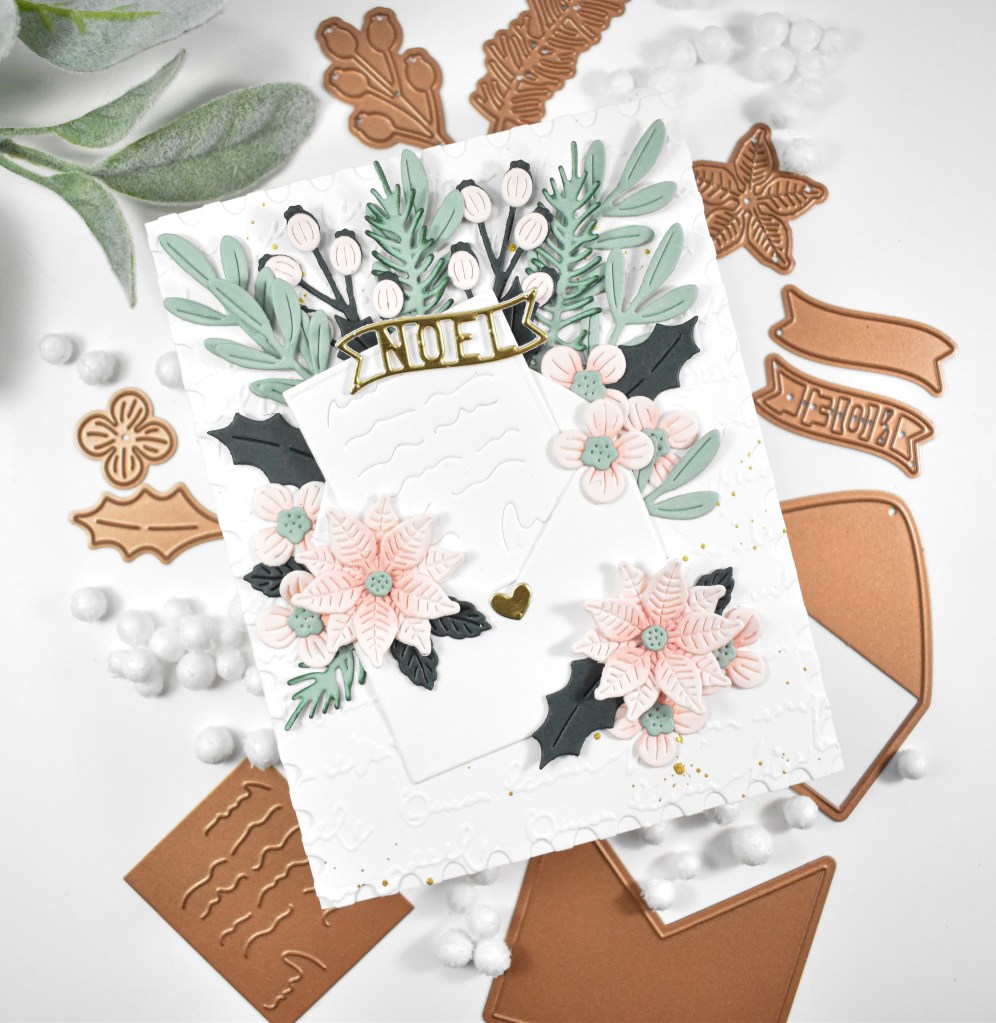
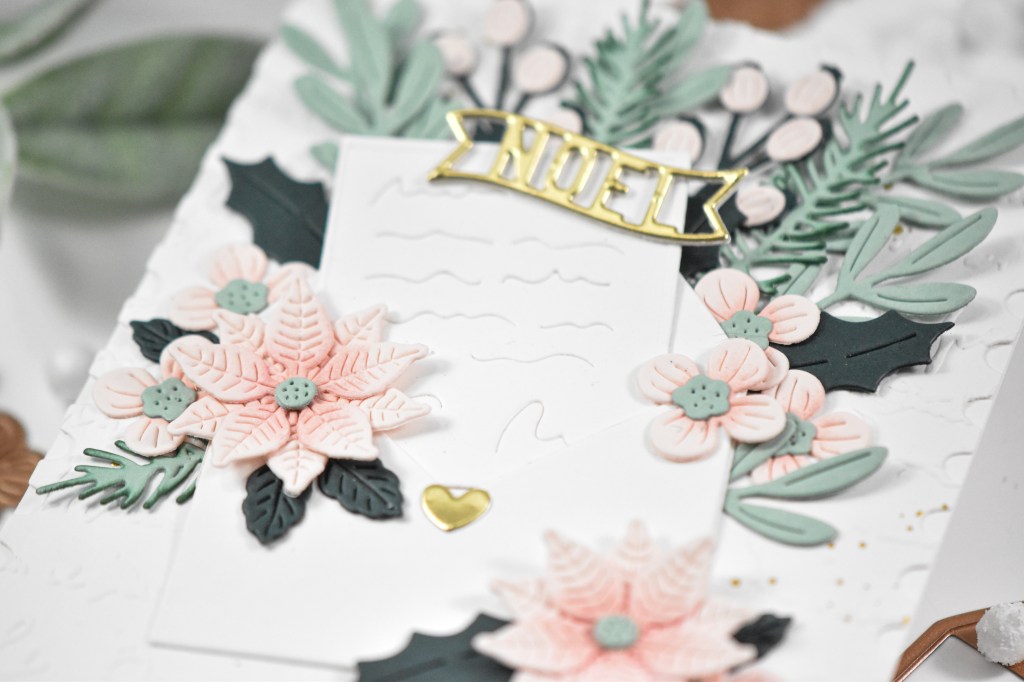
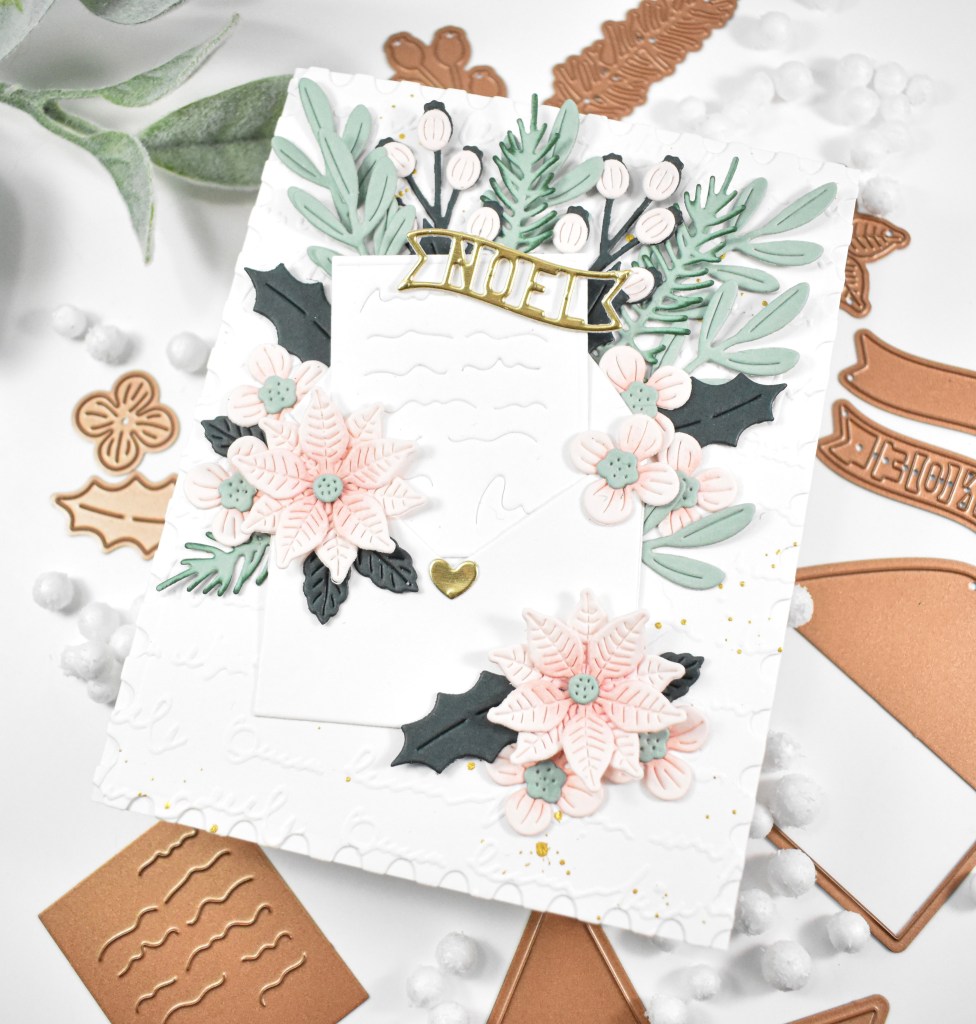
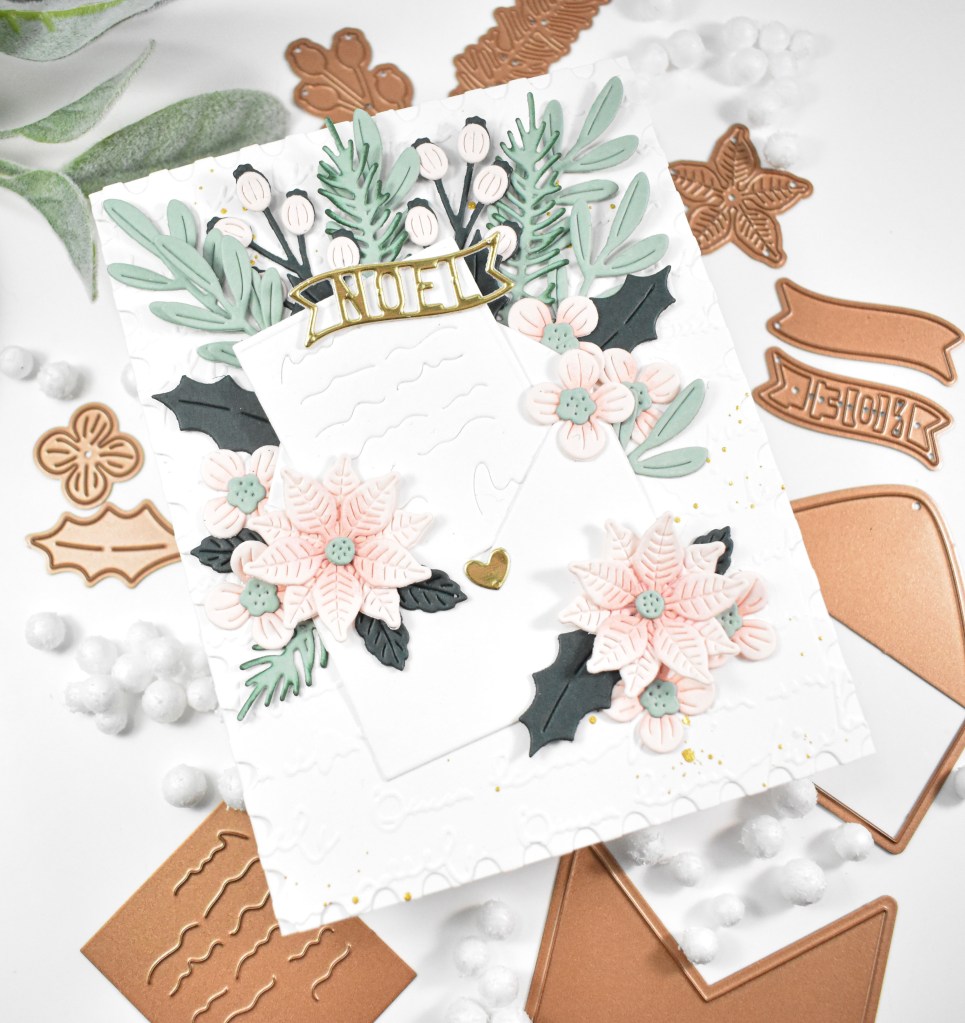
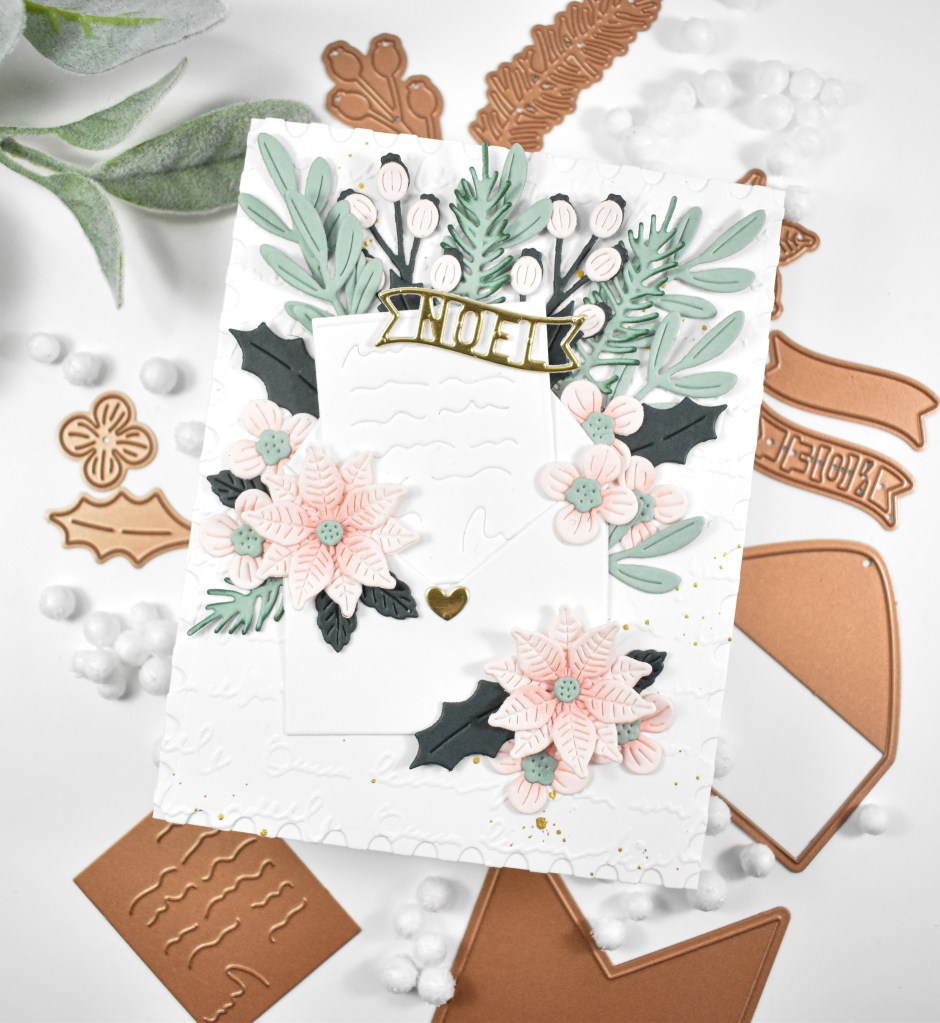
Hello Friends, and thanks so much for stopping by to check out today’s project! This one is featuring the Happy Post Envelope and Festive Floral Mix from the Spellbinders Dear Santa collection. I always enjoy working with florals from Spellbinders, and this project was no exception! Let’s go ahead and run through the details!

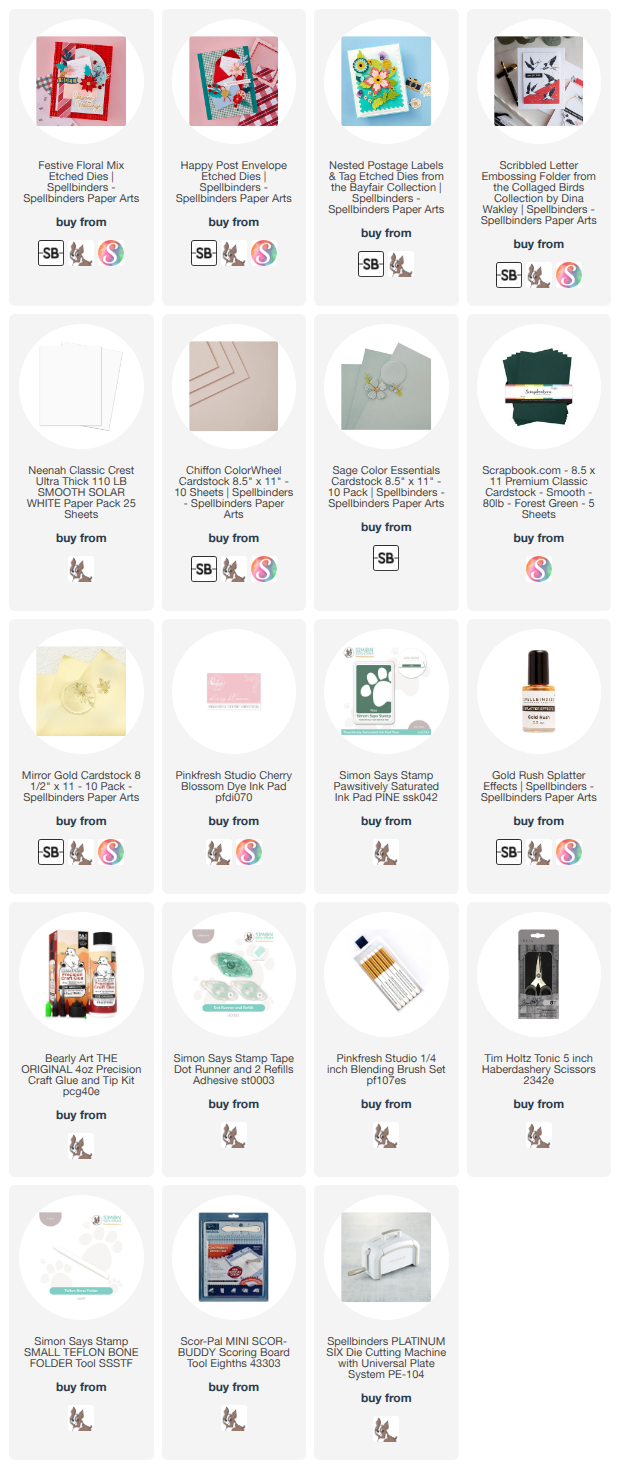
NOTE: all supplies are linked to multiple sources in the thumbnails at the end of this blog post.

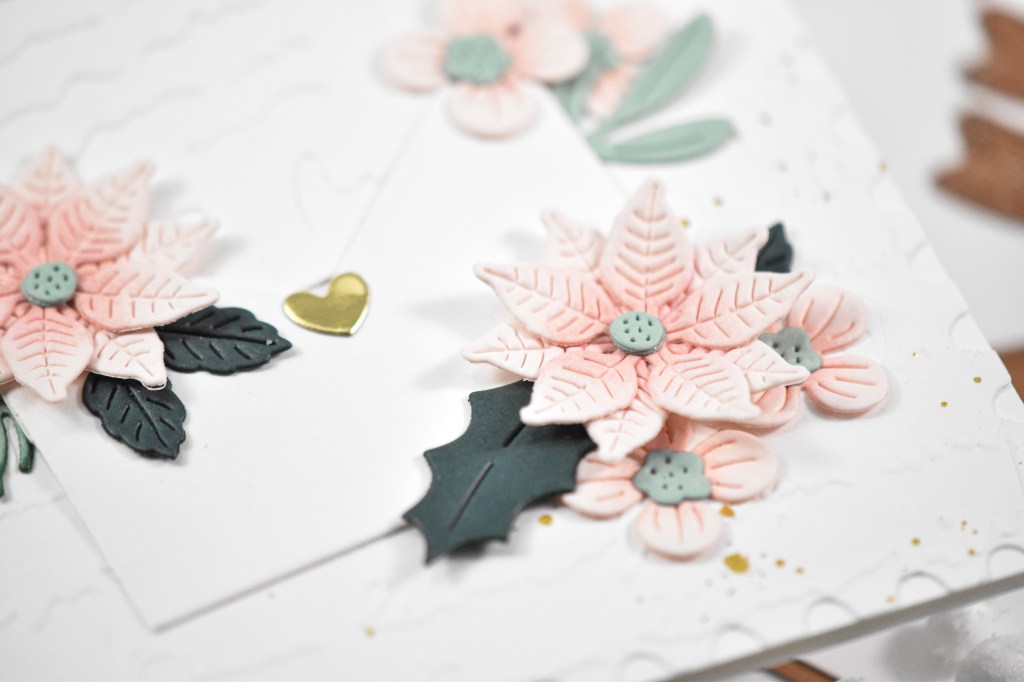
I began the project by die cutting my florals from Chiffon cardstock, and the various leaves from Sage and Forest cardstock. The envelope elements and my background were cut from Neenah 110lb cardstock. I did some ink blending on the flowers and leaves using Cherry Blossom and Pine inks. Once that step was complete, I assembled the flowers and set those aside.

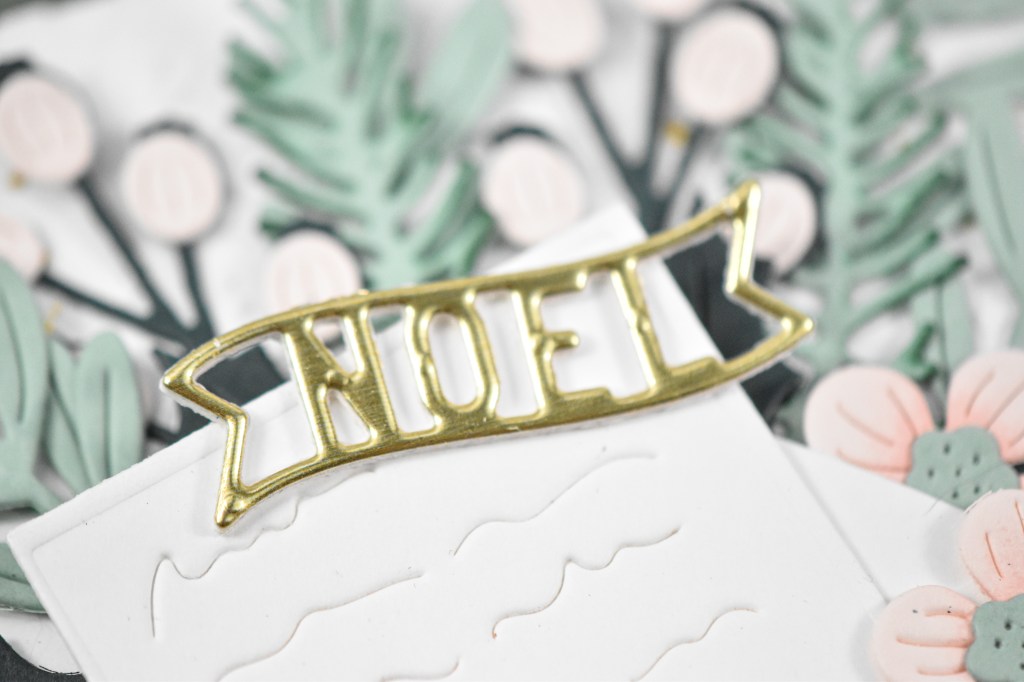
My background panel was cut using the Nested Postage Labels and Tag and then embossed using the Scribbled Letter Embossing Folder. I thought that folder would pair well with the die cut letter that would be tucked into the envelope. Before adhering the background to the card base, I did give it a gold splatter treatment. At this point, I went ahead and cut the heart and the Noel sentiment from gold cardstock. The sentiment was also cut several times from Neenah so that it would be a bit more sturdy.

The envelope was assembled and adhered to the panel, and I began tucking in the flowers and leaves adhering those with liquid glue. The gold heart and sentiment were then added to finish up.

That does it for this project! I hope you enjoyed it as much as I did! I’m really loving this color palette, and might need to try it again on a different project! Thanks again for stopping by, and I hope you have yourself a wonderful day!

Supply List:

Affiliate links used at no cost to you. What does this mean? If you use the links within this post to make a purchase, I receive a small commission, which allows me to continue to post crafty content for your enjoyment. I truly appreciate your support!

Latest Posts

Latest Instagram Posts
Simon Says Stamp Floral Warm Wishes

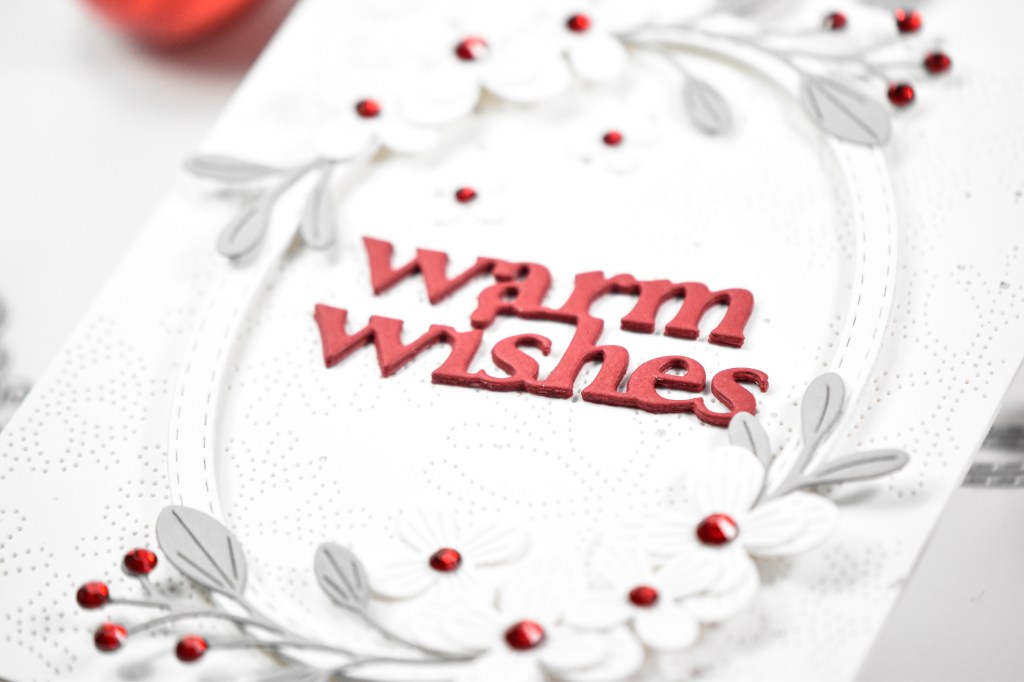
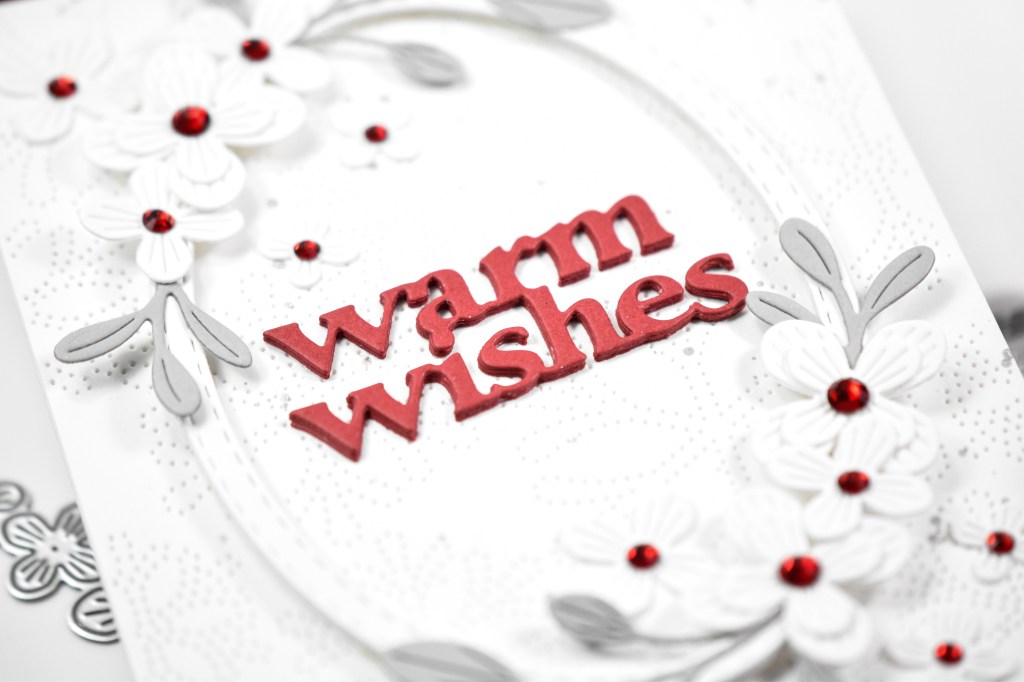
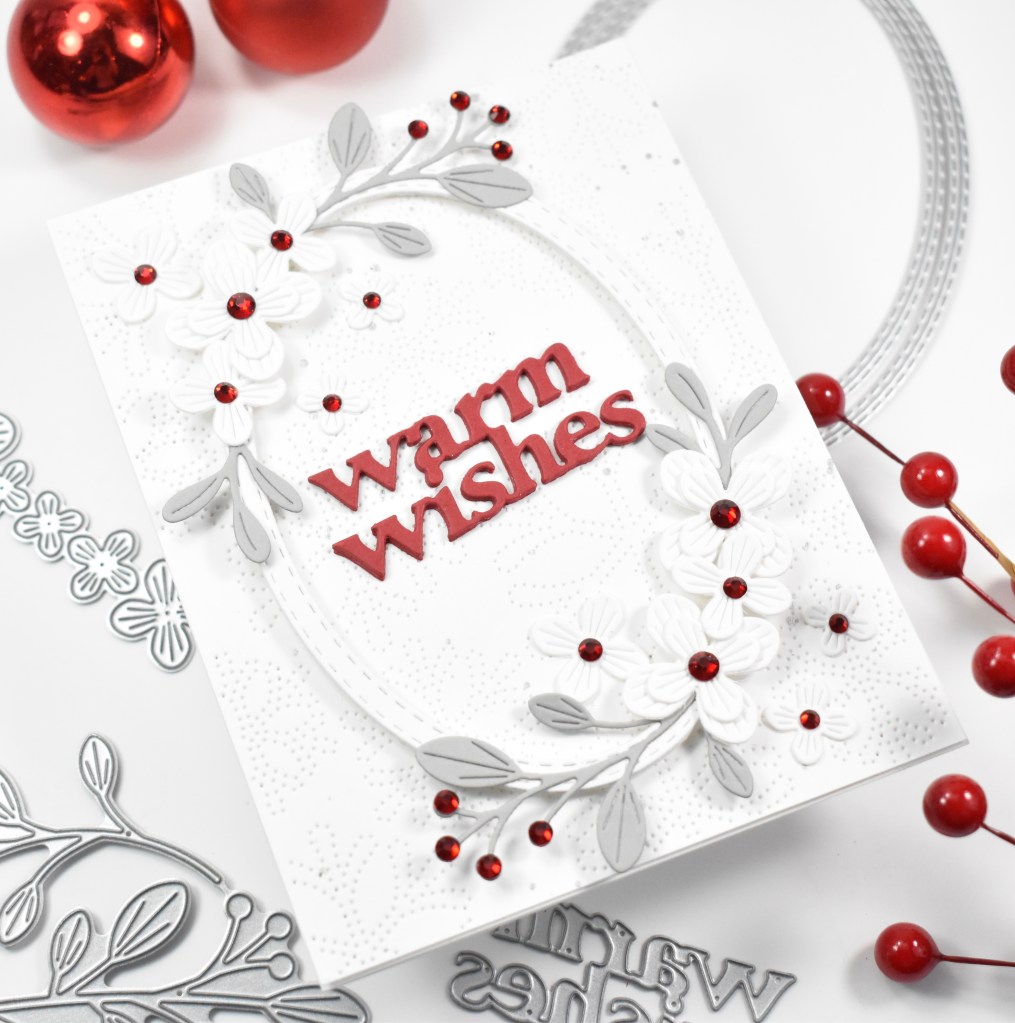
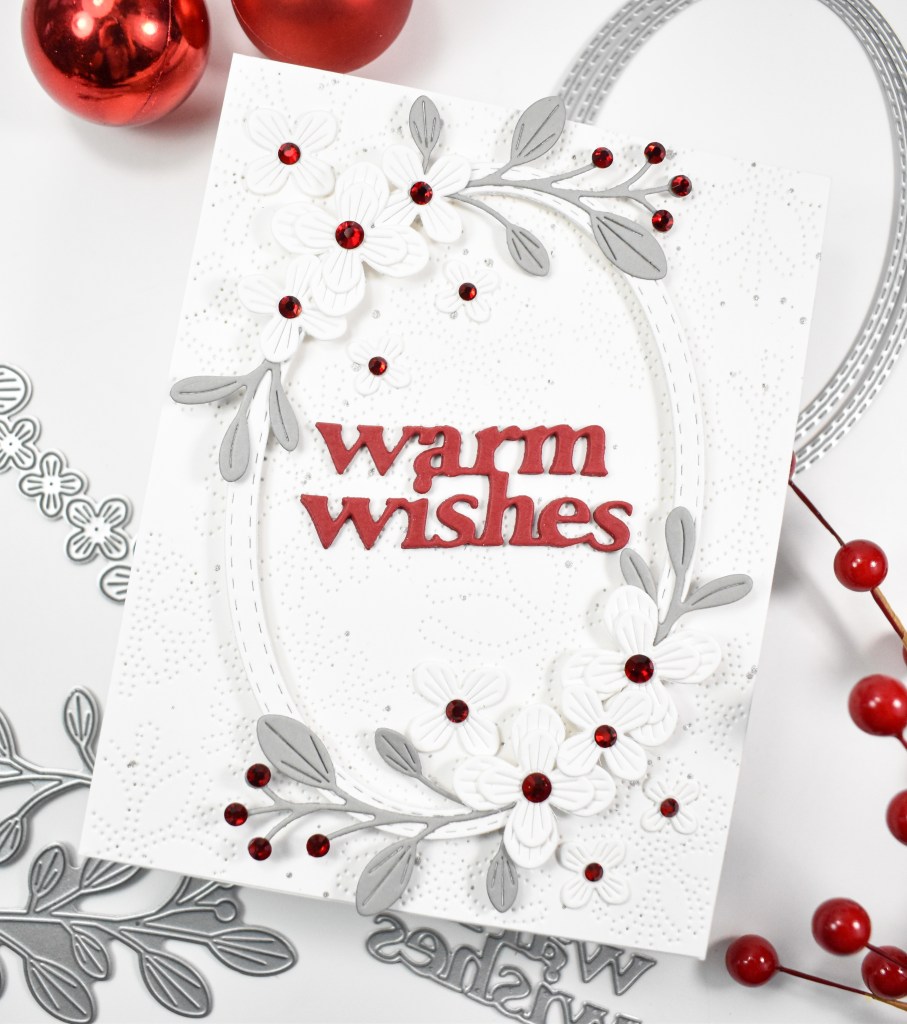
Welcome back, friends! I’m so glad that you stopped by to check out today’s post featuring the new Warm Wishes Medley Script and the Nested Stitched Ovals from Simon’s DieCember release. Let’s go ahead and go through the details!

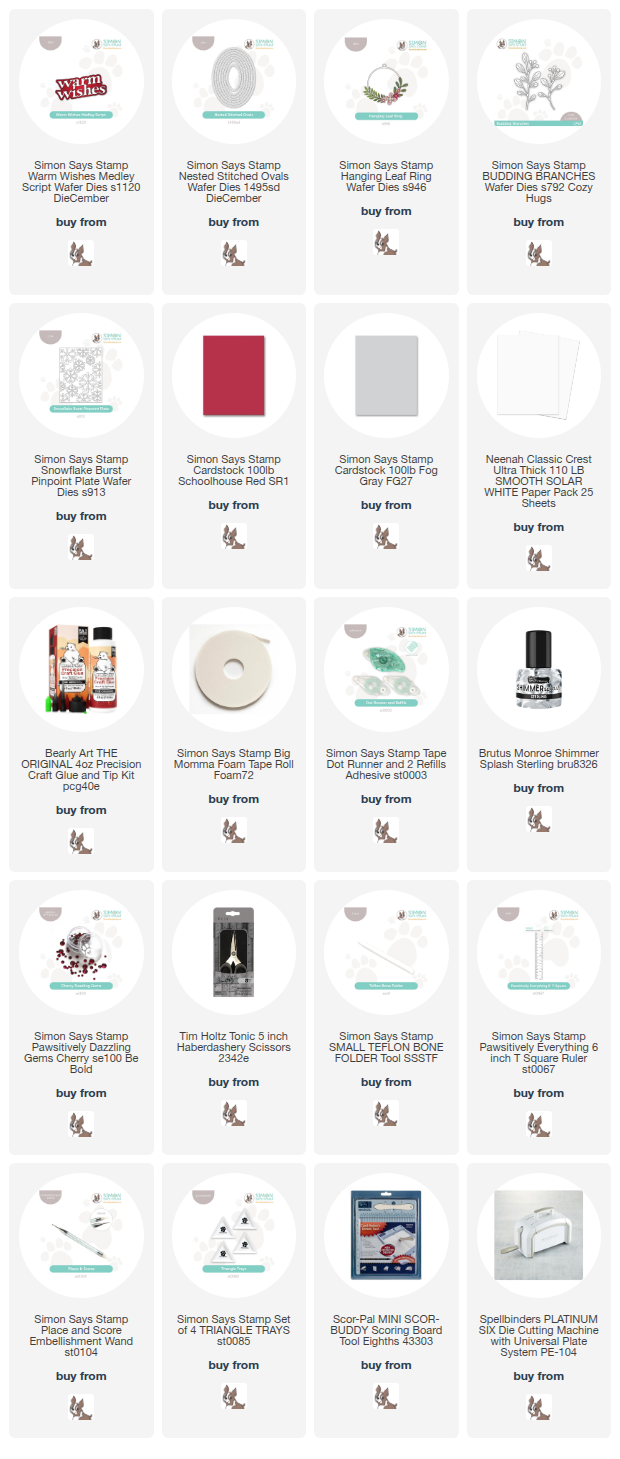
NOTE: all supplies are linked in the thumbnails at the end of this blog post.

I began this project by die cutting the sentiment three times from red cardstock and creating the frame from white cardstock. To be honest, the flowers and leaves were already cut from a previous project from several months ago, and they were cut from white and fog cardstock.

My background was created using the Snowflake Burst Pinpoint plate and splattering that with some silver acrylic ink. I adhered the frame to the panel with foam tape and secured the leaves and flowers to the frame with liquid glue.

The sentiment was added with glue, as well as the red gems for a touch of sparkly! That does it for this project. Don’t forget to head on over to Simon’s website to check out the entire DieCember release. Thanks for stopping by, and I hope you have a wonderful day!

Supply List

Affiliate links used at no cost to you. What does this mean? If you use the links within this post to make a purchase, I receive a small commission, which allows me to continue to post crafty content for your enjoyment. I truly appreciate your support!

Latest Posts

Simon Says Stamp Peaceful Bird

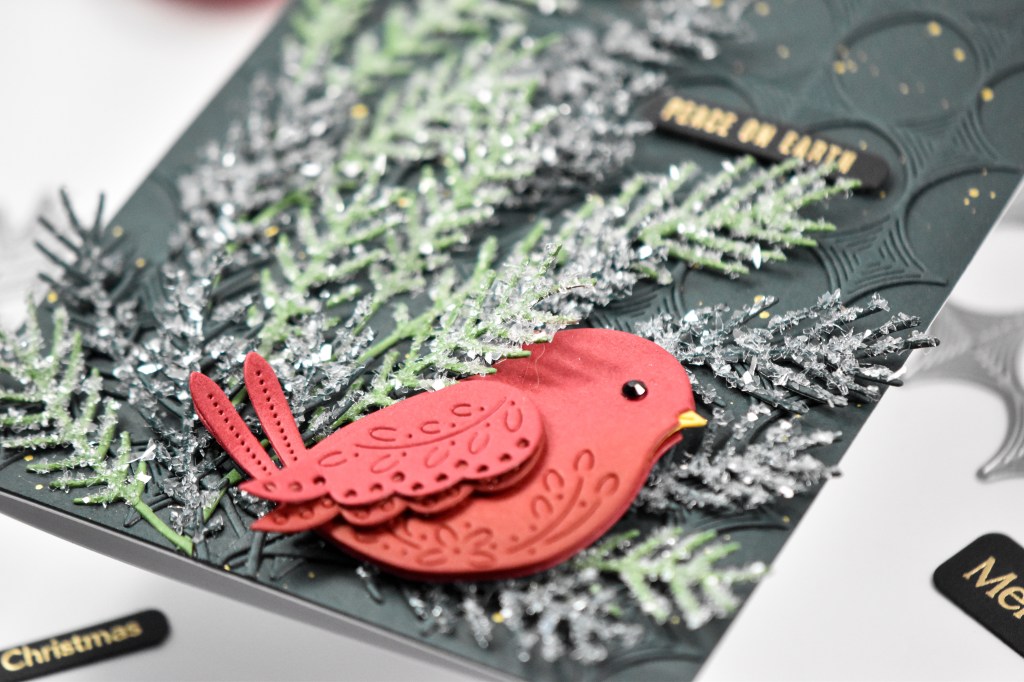
Hello Crafty Friends, and welcome back! We are celebrating the DieCember release with a super fun Instagram Hop, so be sure to check that out for your chance to win a gift card to the Simon’s website! Who doesn’t love winning gift cards, am I right?! Today’s project is featuring the new Flourish Bird in an icy surrounding along with the EZ Strips Christmas stamp, so let’s go ahead and get into the details!

NOTE: all supplies are linked in the thumbnails at the end of this blog post.

I began this project by die cutting the bird twice from red cardstock, and ink blended it using Brick ink. Once done with the ink blending, I assembled the bird with foam tape in between the two layers. I then got started on the spruce sprigs.

The greenery was cut several times from Fern and Forest cardstock, adding the Diamond Dust to them using liquid glue. Those were all set aside to dry while I worked on the rest of the card. The sentiment was stamped using VersaMark Ink, heat set using Princess Gold Embossing Powder and trimmed out using the EZ Strips Rounded Rectangles die.

The background was created using a panel of the forest cardstock that was gold splattered and the Whirl Diamond Plate cut from the same cardstock. That was adhered in place and I began adhering the sprigs in place as well. Some of the sprigs were trimmed off and tucked in different place for a more full appearance. The bird and sentiment were adhered using foam tape to finish up.

That does it for this one! Sorry if you guys are tired of the icy leaves, I’ve just been having so much fun making them! Don’t forget to join the Instagram Hop! Comment along the hop for your chance to win a gift card. Thanks so much for joining me, and I hope you have an awesome day!

Supply List

Affiliate links used at no cost to you. What does this mean? If you use the links within this post to make a purchase, I receive a small commission, which allows me to continue to post crafty content for your enjoyment. I truly appreciate your support!

Latest Posts

Latest Instagram Posts
Simon Says Stamp Christmas Grid

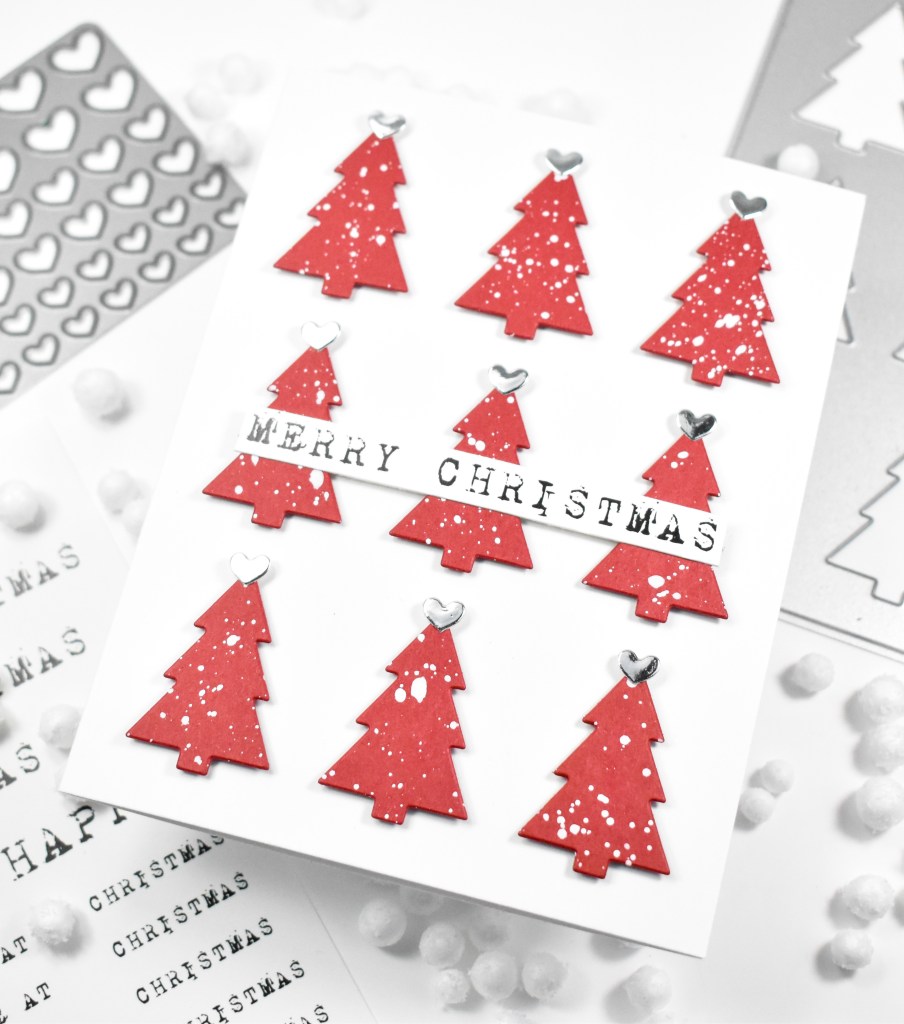
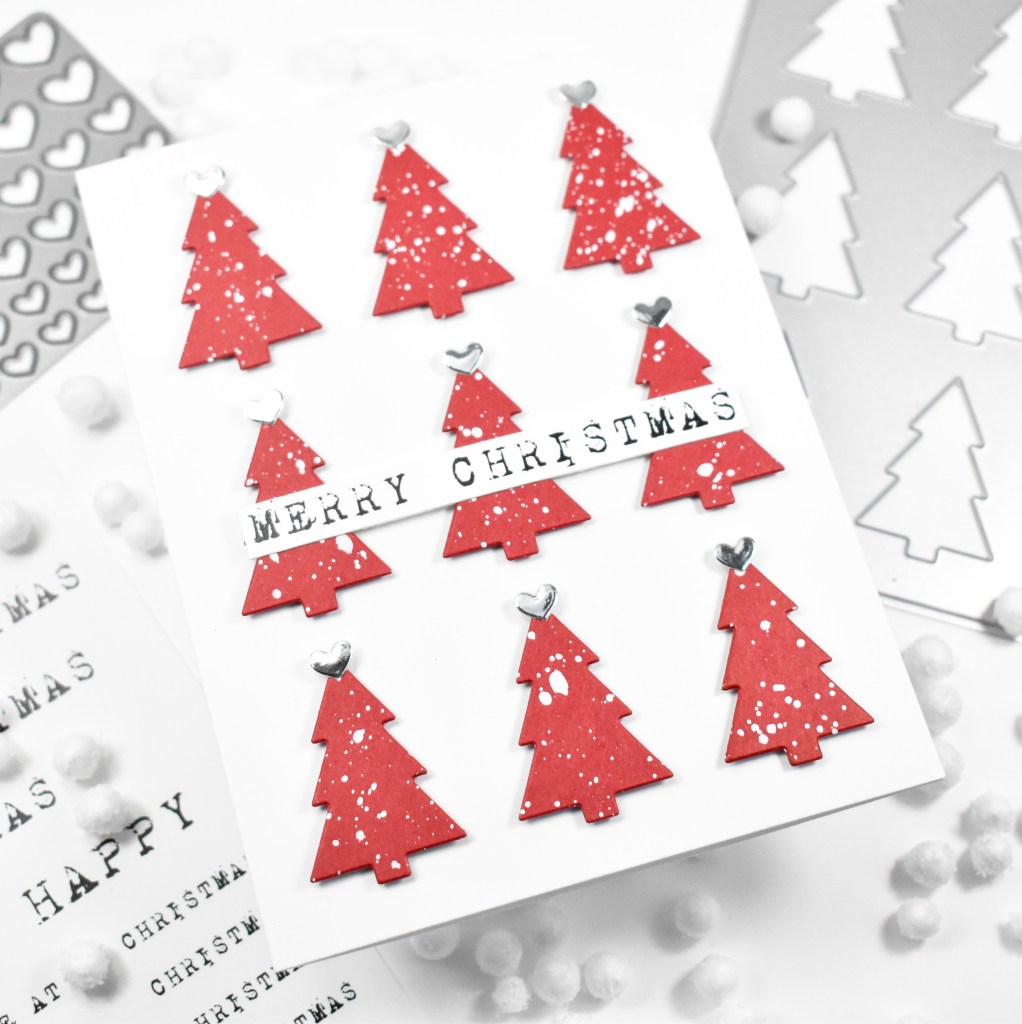
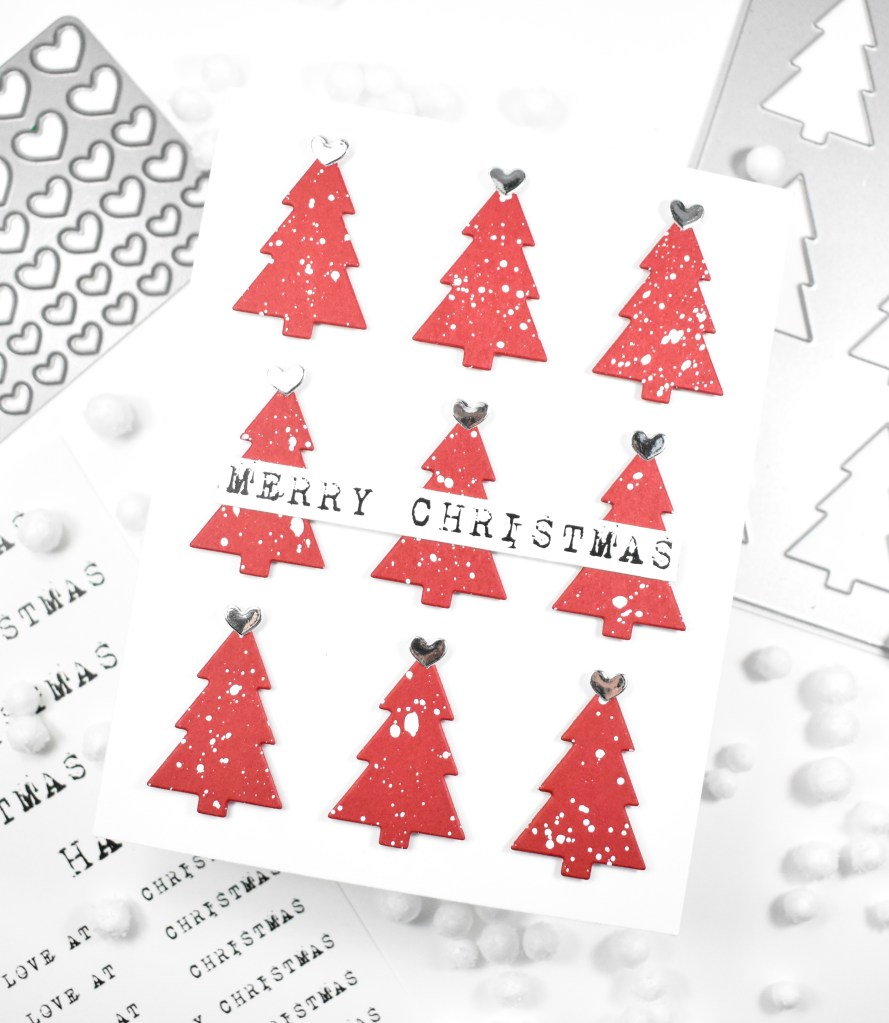
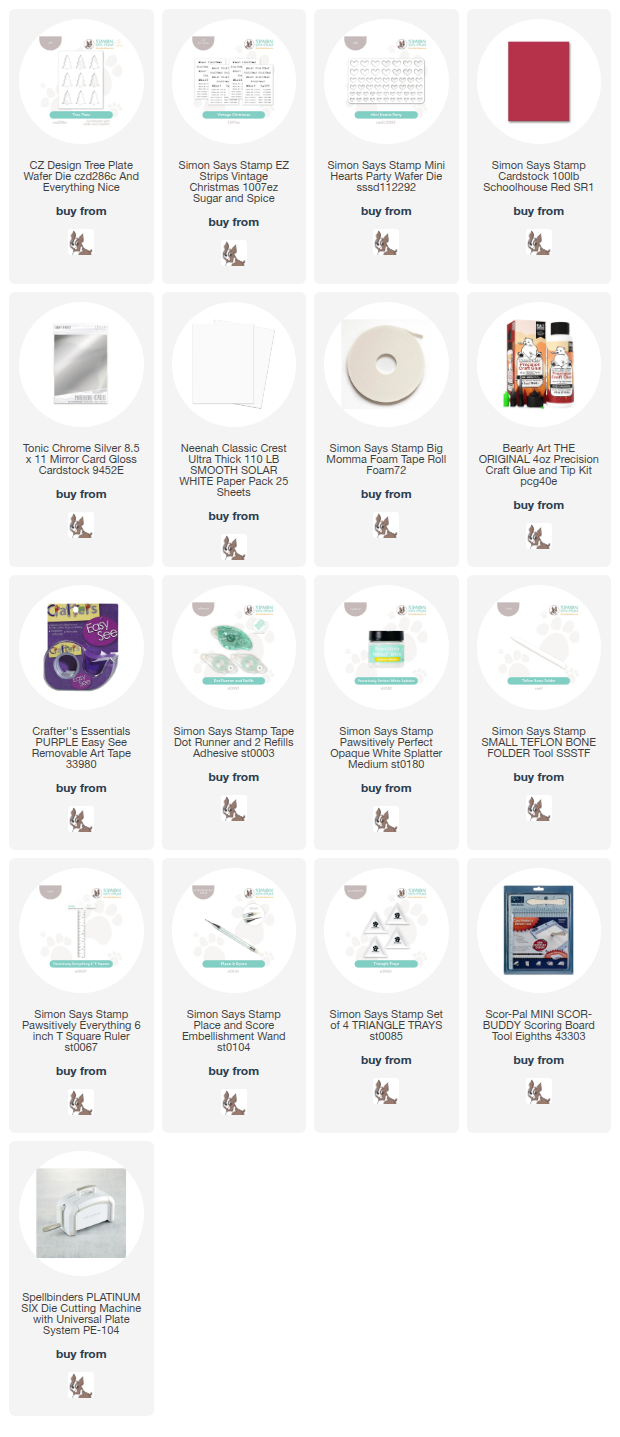
Welcome back, Crafters! Thanks so much for stopping by to check out today’s project featuring the new Tree Plate from Simon’s latest release, And Everything Nice. This is a simple card that would be great for mass producing, that is of course, if you like die cutting! Let’s go ahead and get into the details.

NOTE: all supplies are linked in the thumbnails at the end of this blog post.

I began this project by die cutting the Tree Plate from red cardstock and splattering the trees with white ink. I used the negative panel to adhere to my card base with removable tape to help in the placement of the trees.

The trees were adhered using foam tape, and the sentiment was glued directly atop those. I decided that I needed something on the tops of the trees, so I die cut the Mini Hearts Party from silver cardstock and glued them in place to finish up.

That does it for this project! Like I said, a super simple one, but I do love me a good grid pattern! Don’t forget to check out the entire And Everything Nice release over on Simon’s website. Thanks again for stopping by, and have yourself a great day!

Supply List

Affiliate links used at no cost to you. What does this mean? If you use the links within this post to make a purchase, I receive a small commission, which allows me to continue to post crafty content for your enjoyment. I truly appreciate your support!

Latest Posts

Latest Instagram Posts
Simon Says Stamp Pink Poinsettia

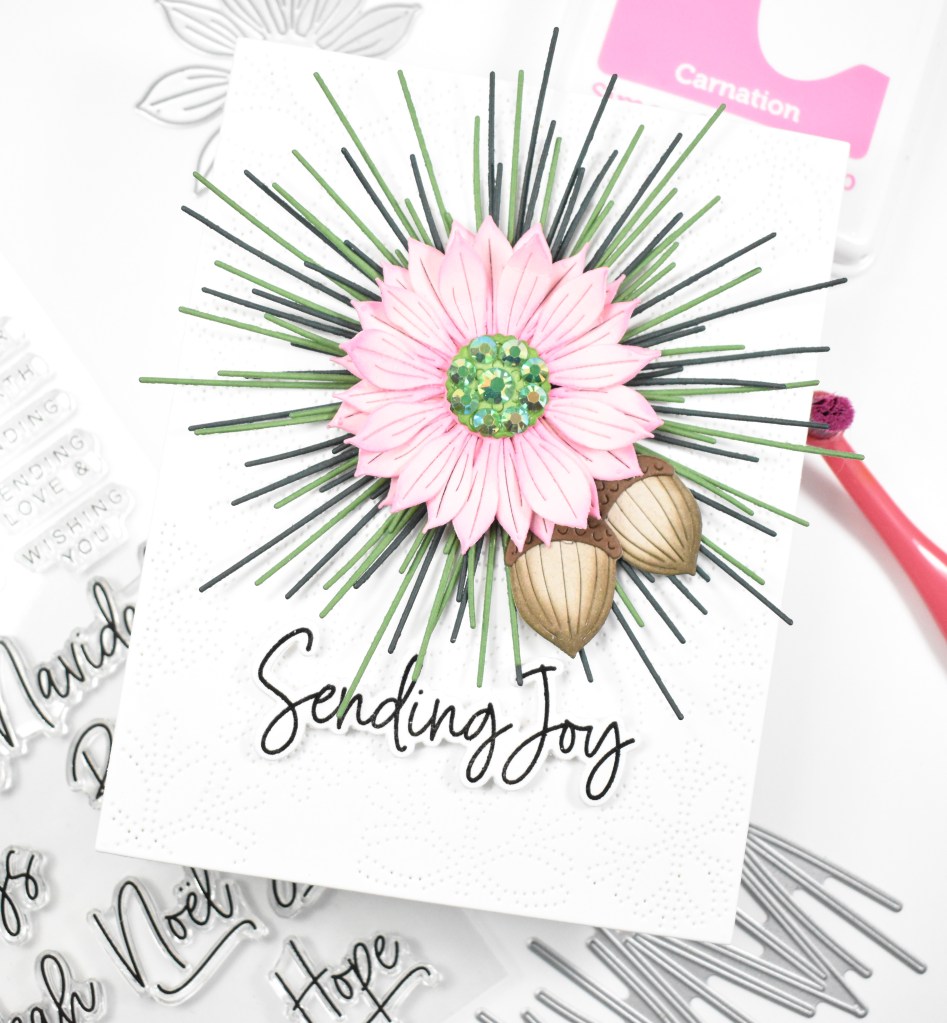
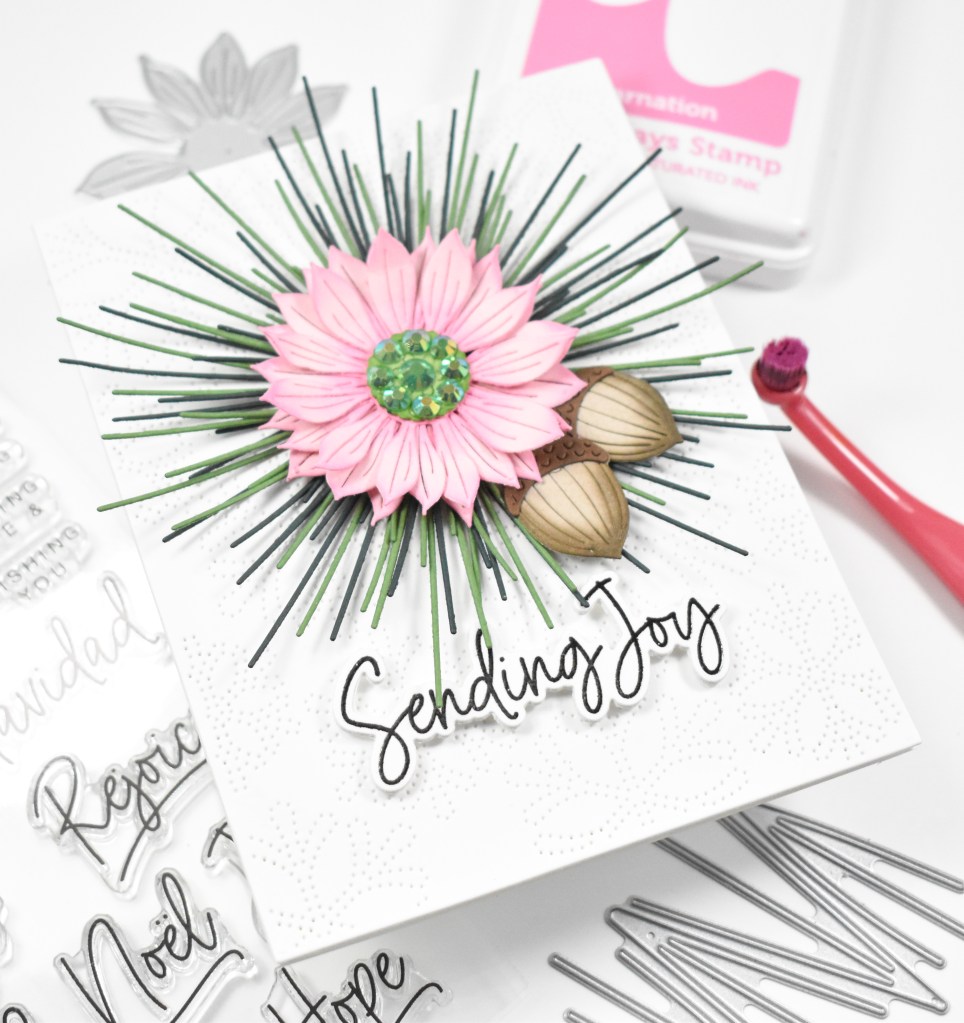
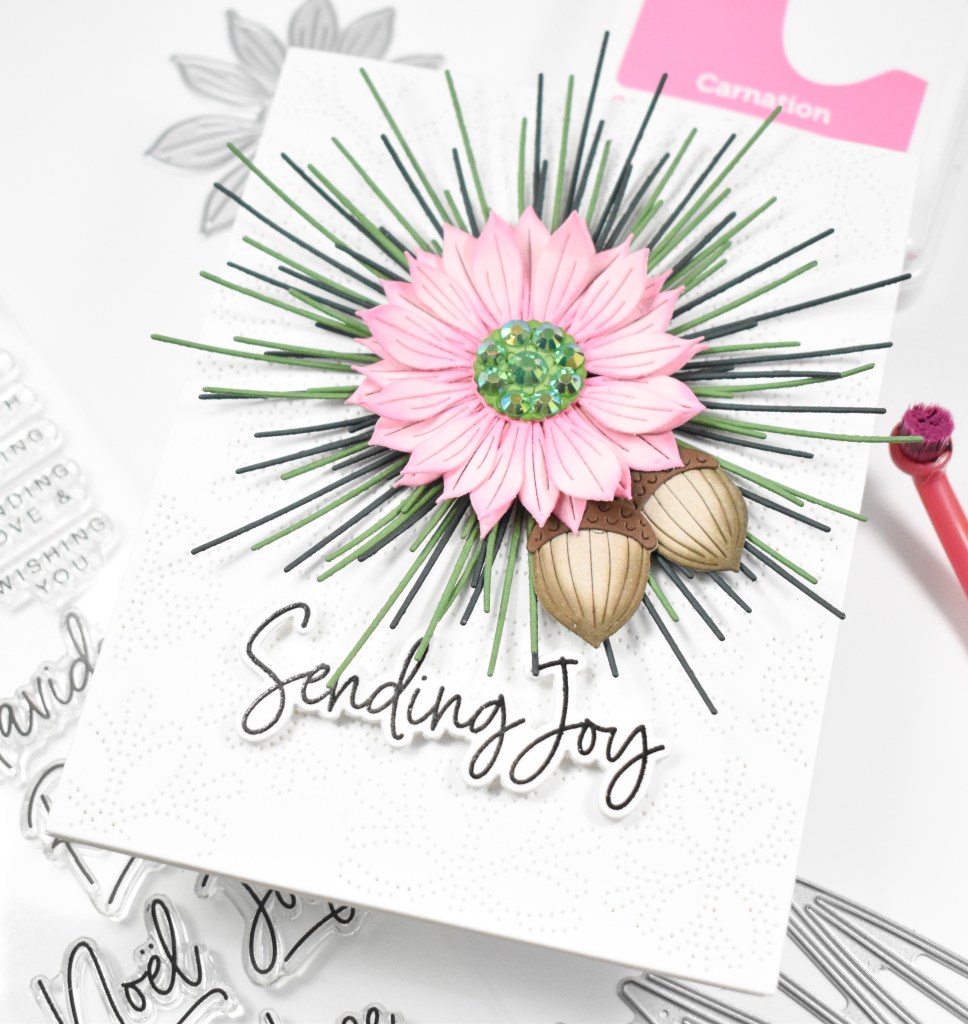
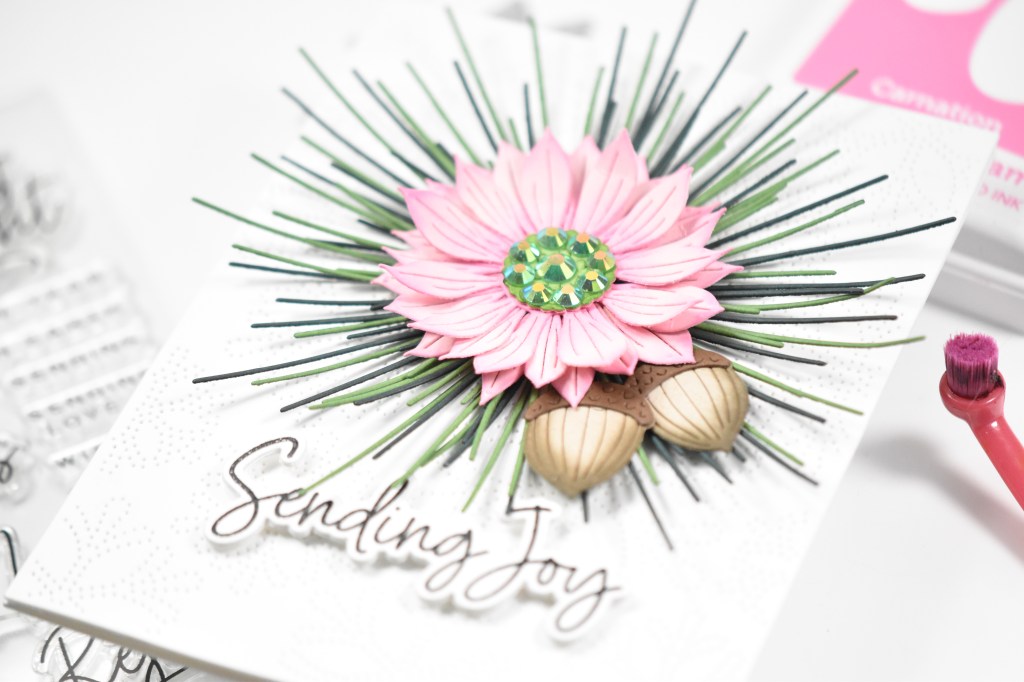
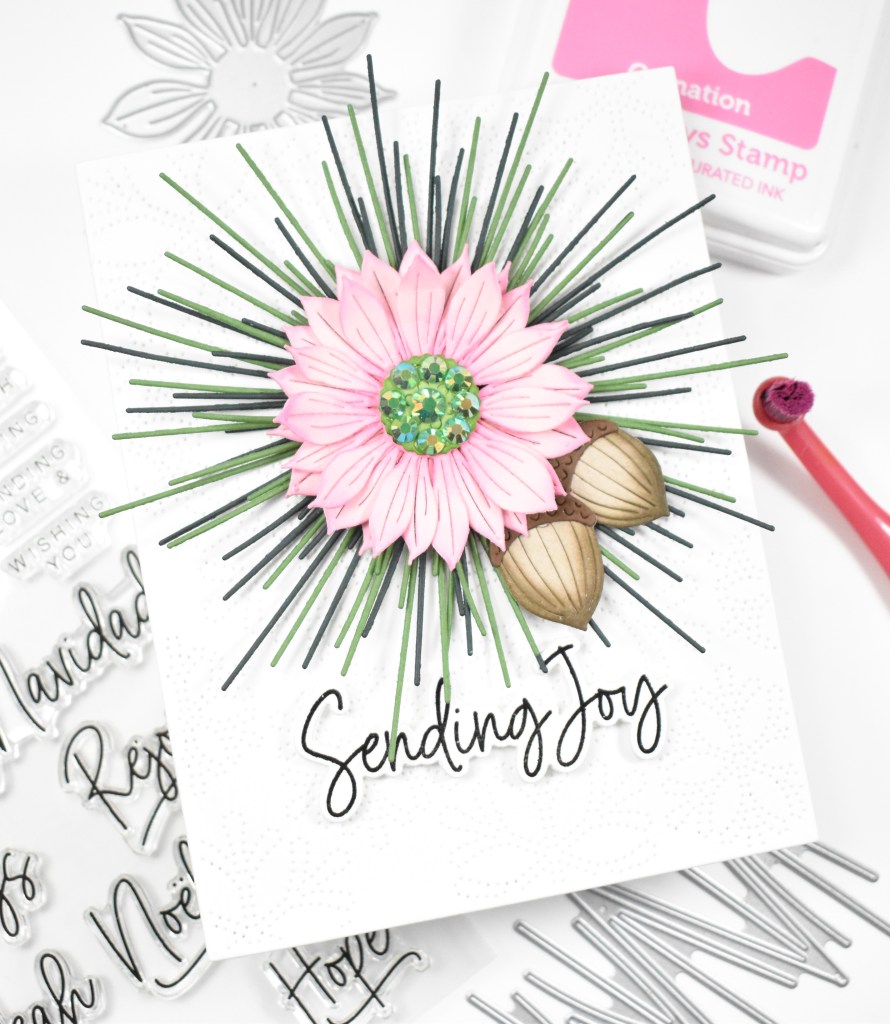
Hi Friends, and thanks so much for joining me! I’m back today with a project featuring the new Layering Pine Sprigs from Simon’s latest release, And Everything Nice. Let’s get into the details for this one, and a little back story of how it came about.

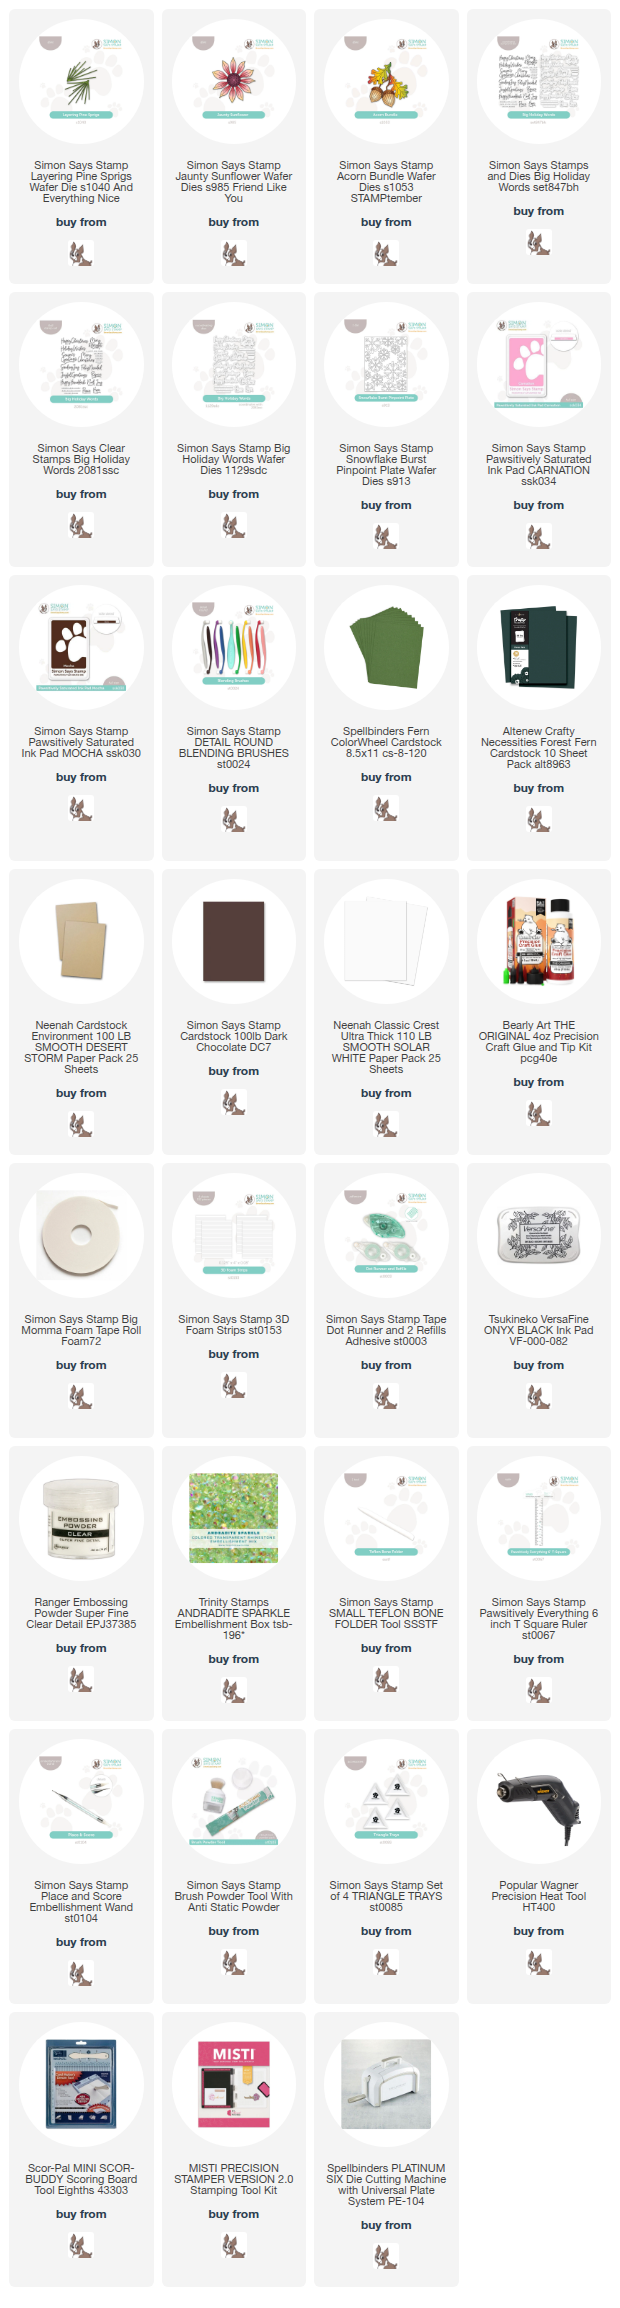
NOTE: all supplies are linked in the thumbnails at the end of this blog post.

I began this project by die cutting the sprigs a bunch of times from Fern and Forest cardstock. I assembled the pieces and set them aside to dry while I worked on the rest of the card. I die cut the sunflower from pink cardstock three times and did some ink blending using Carnation ink. I cut the center of the flower from Green Apple cardstock and assembled all of those pieces together. For some interest and shine, I added some green gems to the center.

Now for the back story .. I had all of the assembled pin sprigs on my desk when I received a phone call from my daughter, so I sat playing with them and moving them around when they ended up in this starburst pattern and that’s how this particular design came to be. I had originally planned on just having them here and there around the flower, but I like this better! I die cut the Acorn Bundle from Desert Storm and chocolate and ink blended that using Mocha ink.

My background was created using the Snowflake Burst Pinpoint Plate and I adhered the sprigs in place using liquid glue, while the flower and acorns were adhered with foam tape. The sentiment was stamped using VersaFine Onyx Black and heat set using clear embossing powder. It was trimmed out using the coordinating die cut three times for a stacked sentiment. That was also added using foam strips to finish up.

That does it for this project. I hope you enjoyed it! I know this is technically a sunflower die cut, but I thought it was fine to use it as a poinsettia. What do you think? Don’t forget to check out the entire And Everything Nice release over on Simon’s website. Thanks again for stopping by, and I hope you have an awesome day!

Supply List

Affiliate links used at no cost to you. What does this mean? If you use the links within this post to make a purchase, I receive a small commission, which allows me to continue to post crafty content for your enjoyment. I truly appreciate your support!

Latest Posts

Latest Instagram Posts
Simon Says Stamp Snowy Hillside

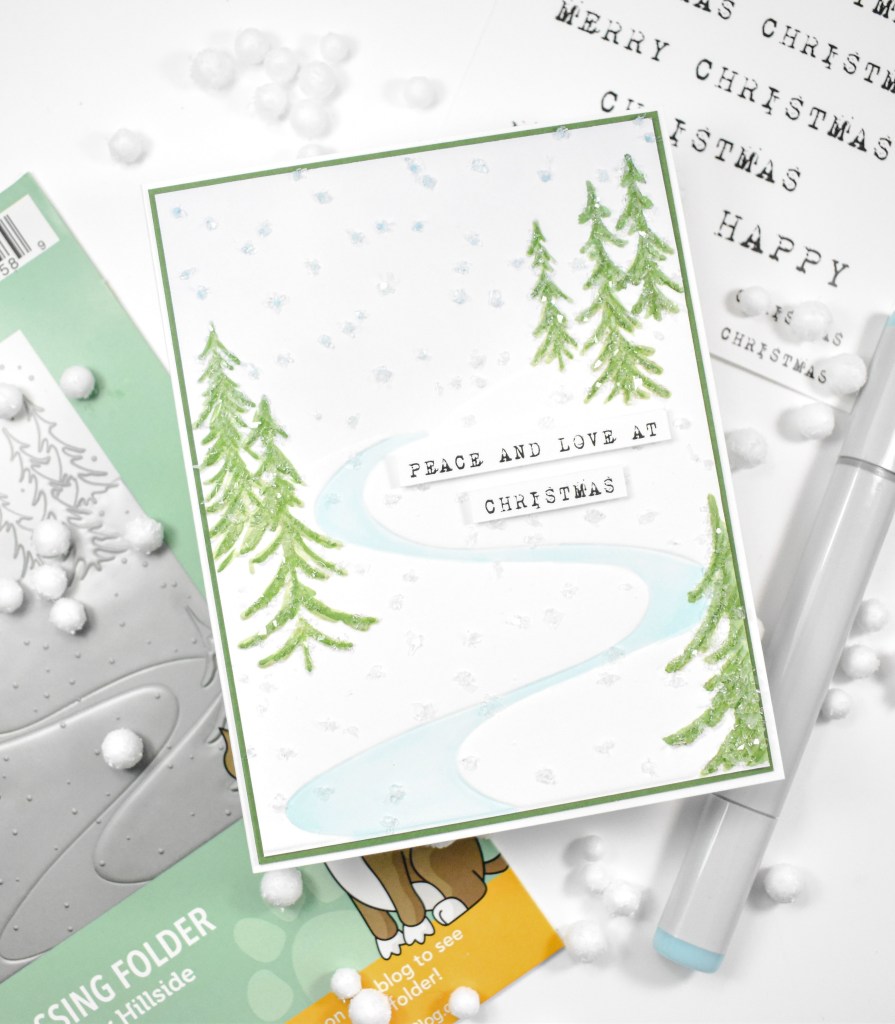
Welcome back, and thanks for joining me for today’s project featuring the Snowy Hillside Embossing Folder from Simon’s latest release, And Everything Nice. Let’s go ahead and get right into the details.

NOTE: all supplies are linked in the thumbnails at the end of this blog post.

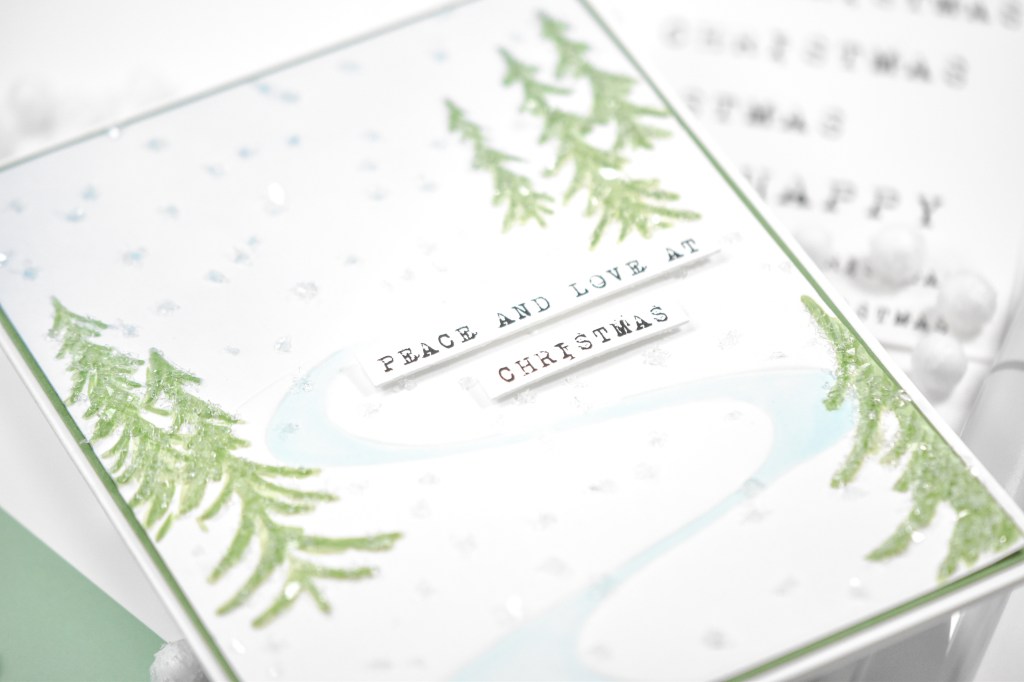
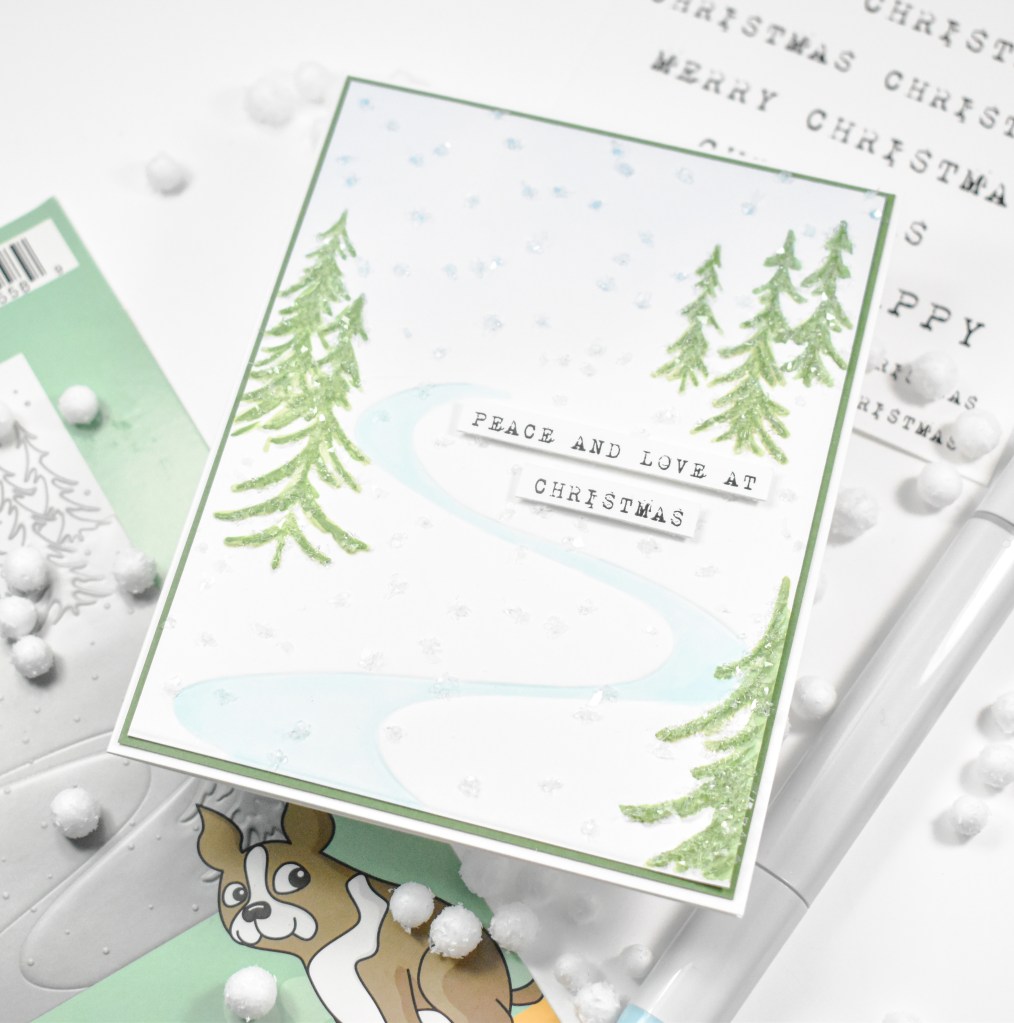
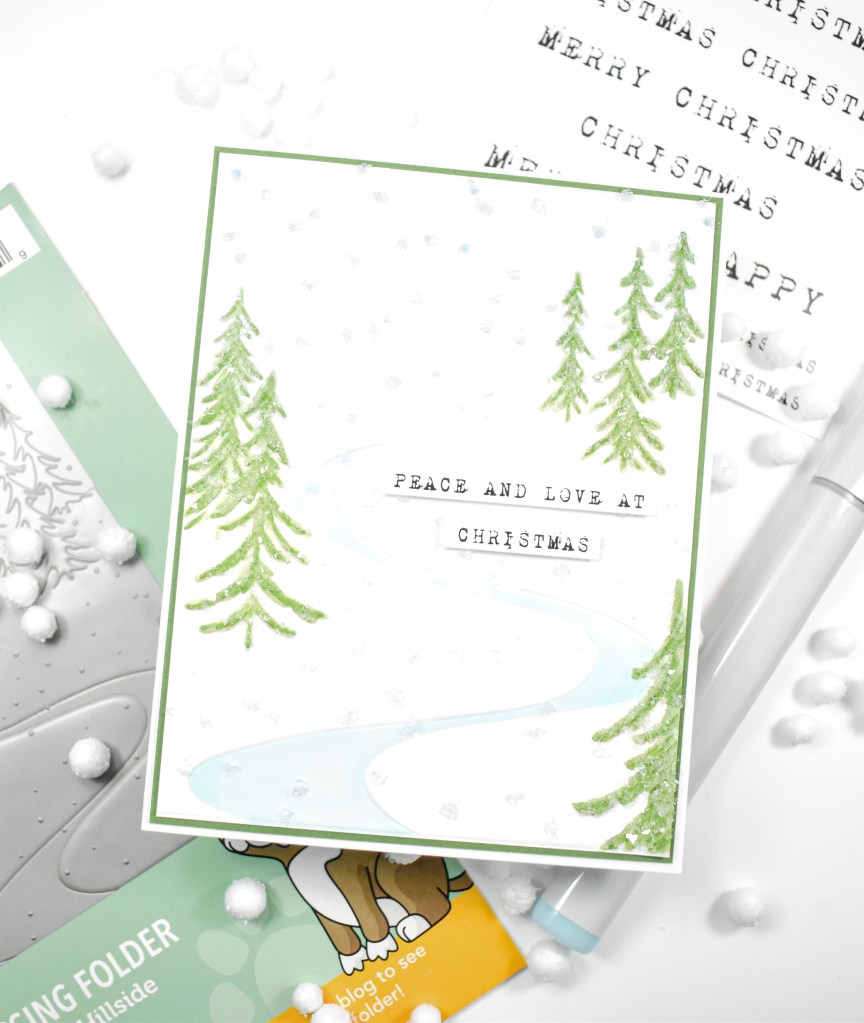
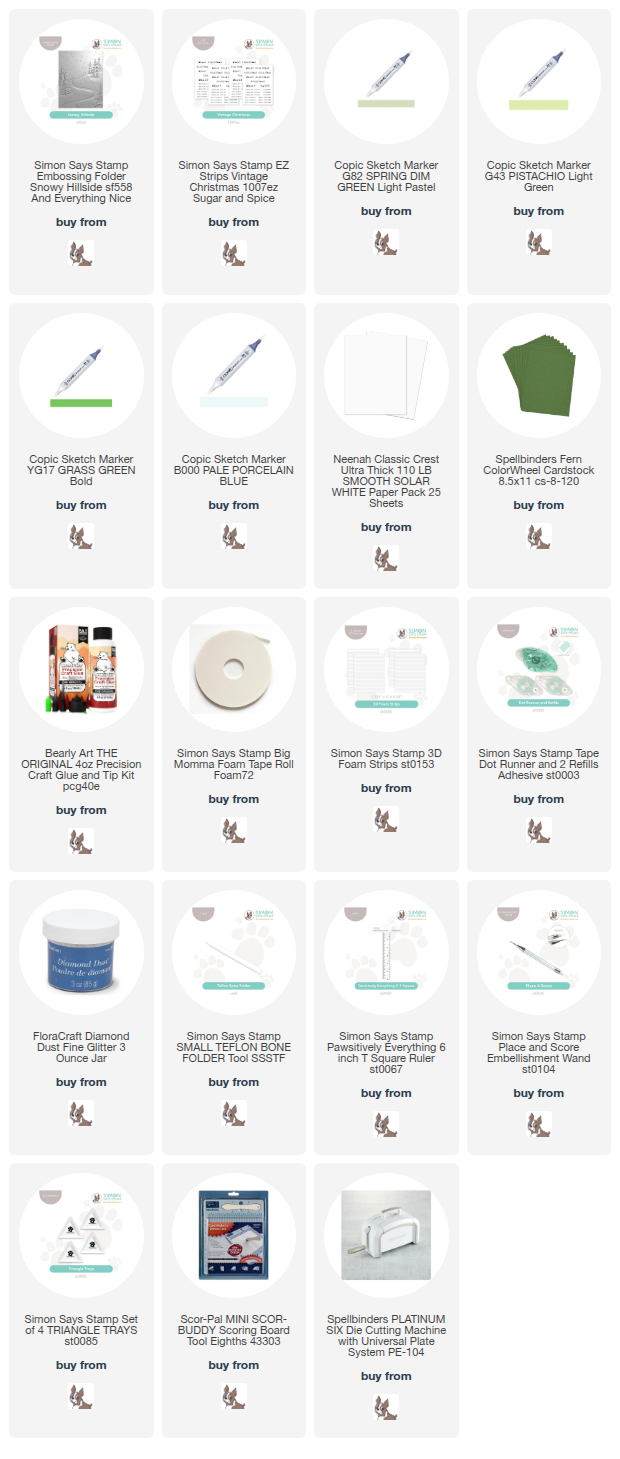
I began this project by embossing a panel of Neenah 110lb cardstock and coloring the trees and stream using Copic markers. I added some Diamond Dust to the falling snowflakes as well as the trees for added interest. The sentiment strips were added using foam tape for a little bit of dimension. The embossed panel was adhered to a Fern colored panel before being adhered to the card base to finish up.

A simple project for today! Don’t forget to check out the entire And Everything Nice release over on Simon’s website. Thanks again for stopping by, and I hope you have an awesome day!

Supply List

Affiliate links used at no cost to you. What does this mean? If you use the links within this post to make a purchase, I receive a small commission, which allows me to continue to post crafty content for your enjoyment. I truly appreciate your support!

Latest Posts
Latest Instagram Posts