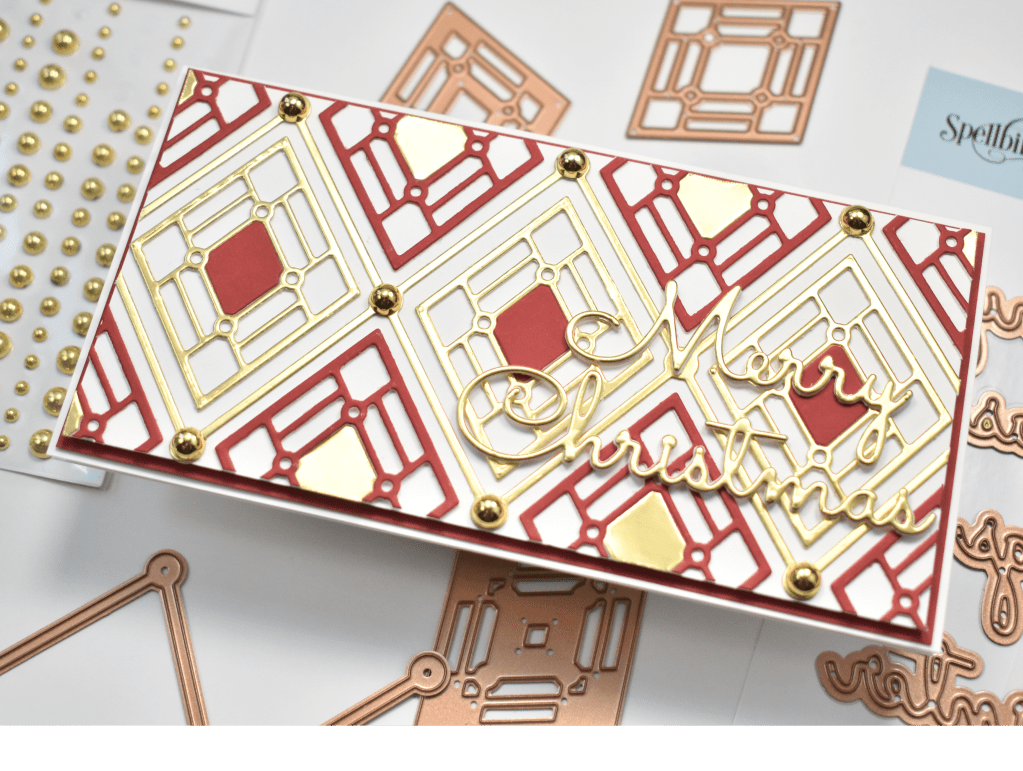
Spellbinders Chill Bear Winter Wishes
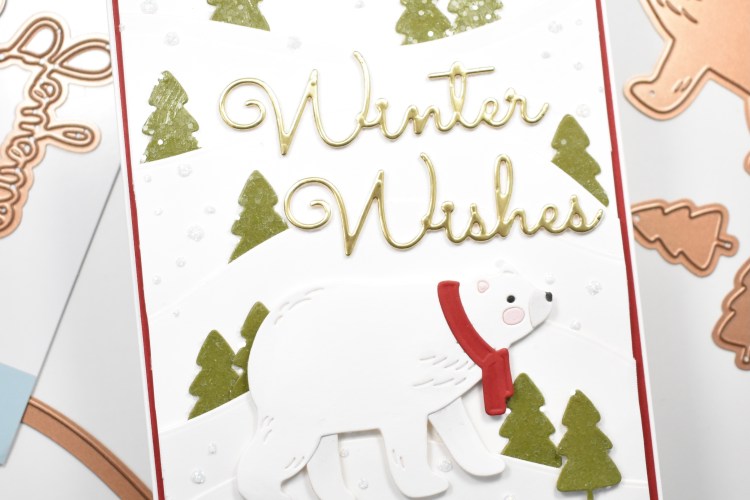
Hello Friend and thanks for stopping by! For today’s project, I’m featuring the Chill Bear and the Color Block Scenic Scape dies from the July releases from Spellbinders. There are so many beautiful and adorable Christmas and holiday things to choose from! I had a lot of fun playing with the Chill Bear, so let’s get into the details!
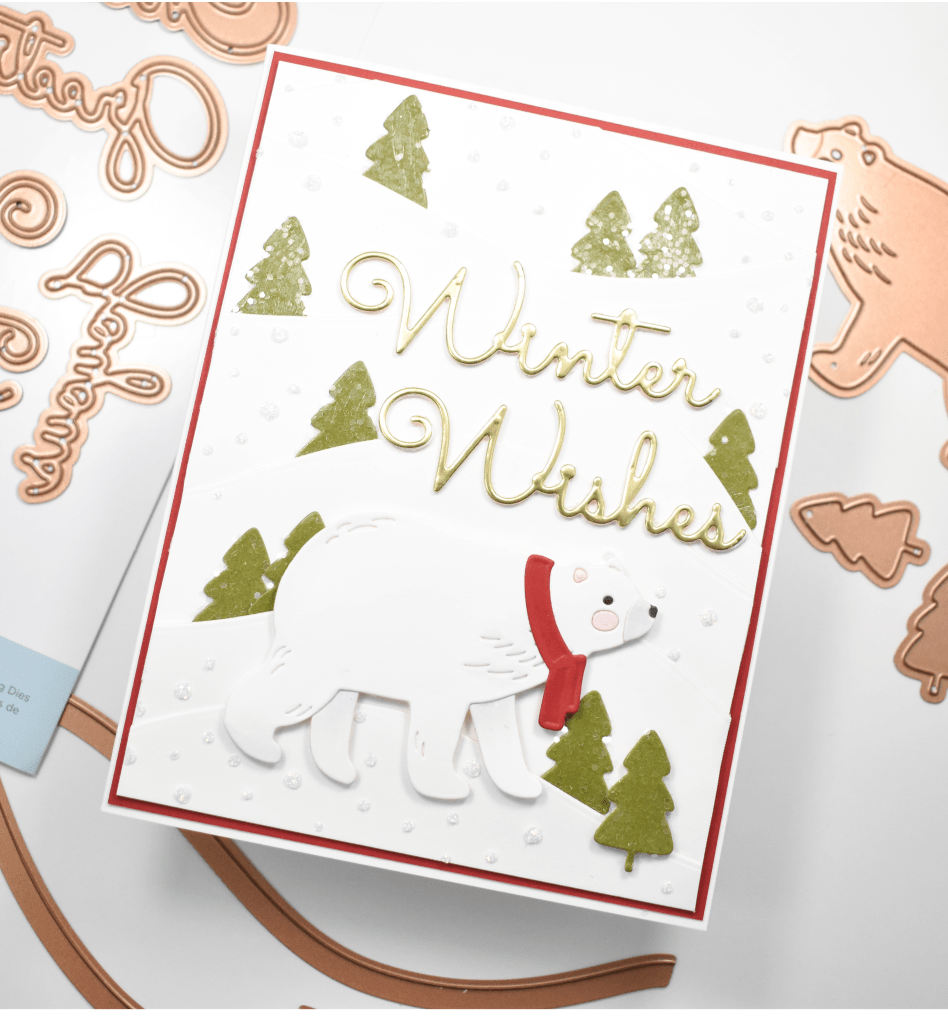
I began by cutting the Chill Bear and a bunch of “hills” using the Color Block Scenic Scape dies from Neenah Classic Crest 110lb cardstock. For the bear, I did cut two additional legs and I cut the face from pink and black cardstock so that I could inlay those pieces. I cut the snout and colored that using Copic Markers C00, N0 and 110 Black. I also cut some of the included trees from green cardstock. I smeared the trees with Tacky When Dry Gel Medium and set those aside to dry.

I cut a panel of Neenah Classic Crest 80lb cardstock just smaller than an A2 card, because I needed something to glue the “hills” to. I began adhering the hills to the panel using liquid glue, leaving the tops of the panels unglued so that I could tuck the trees inside. Once the trees were dry, I sprinkled some Crystal Glitter over them to give just a little bit of sparkle.

For the sentiment, I cut the Winter Wishes, which is from the Spellbinders Christmas Mix & Match Sentiments, once from Spellbinders Gold Mirror cardstock and twice from Neenah 110lb and glued all of those together. For the last bit of die cutting, I went ahead and cut the scarf from red cardstock and glued that to the bear.
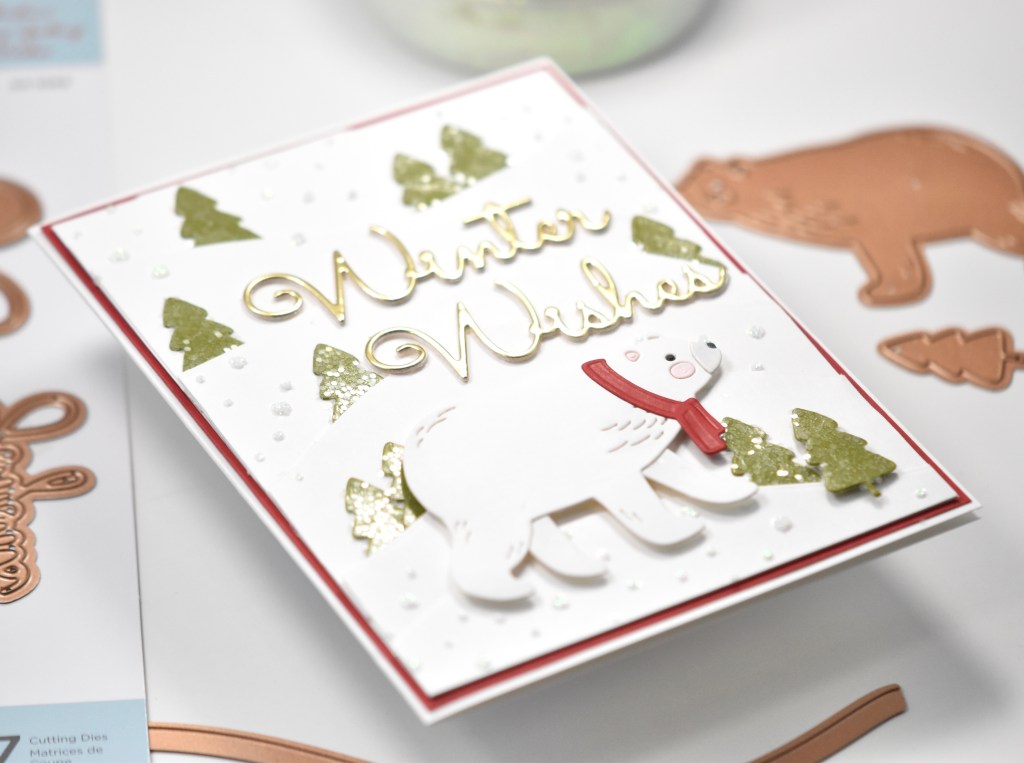
I had to play around with the placement of the trees, the sentiment and the bear, but once decided, I adhered the bear to the panel using foam tape. I tucked the trees into the hills and glued the sentiment to the panel. Once all of that was done, I grabbed the Spellbinders Layered Christmas Tree Stencil and strategically placed some snow, using Gina K Iridescent Glitz Glitter Gel.
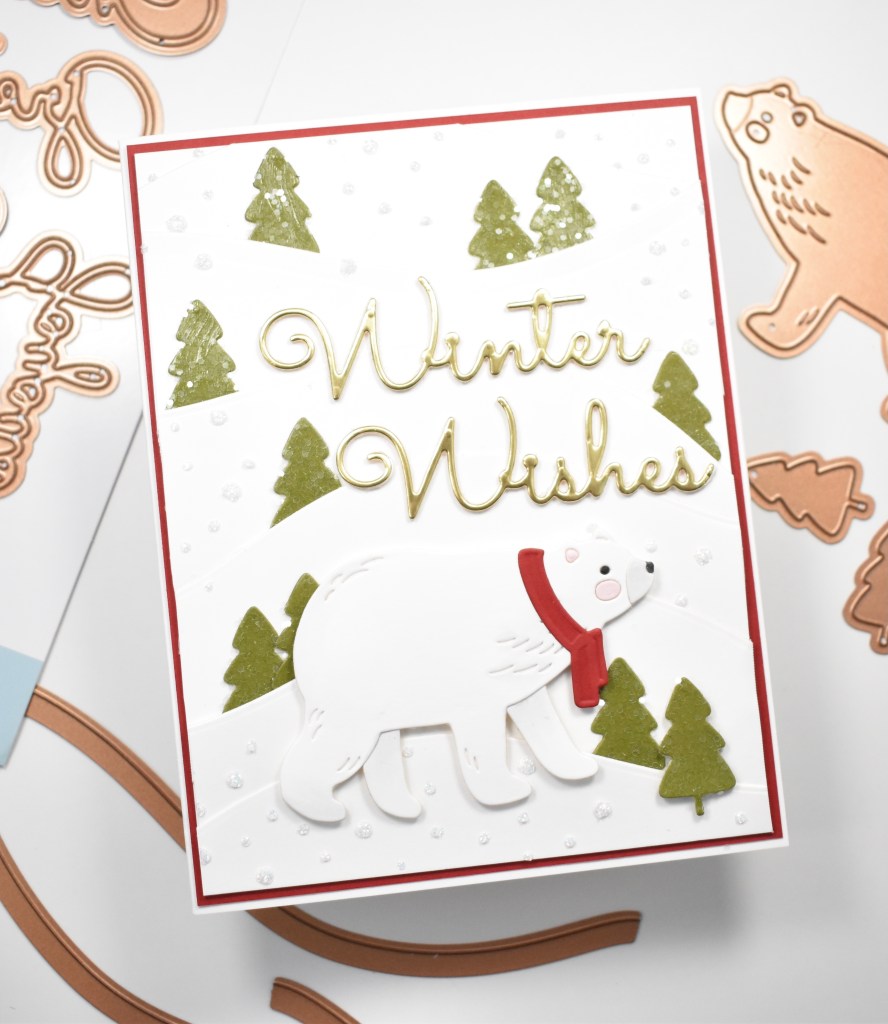
To finish up, I adhered the panel to a red cardstock panel using foam tape and that was then adhered to the card base, which is also Neenah 110lb. I hope you enjoyed this project, and I hope it inspires you to get crafty! Don’t forget to stay awesome!

Supply List:

*Affiliate links used at no cost to you. Thank you so much for your support!

Latest Instagram Posts

Spellbinders Faith, Hope And Peace

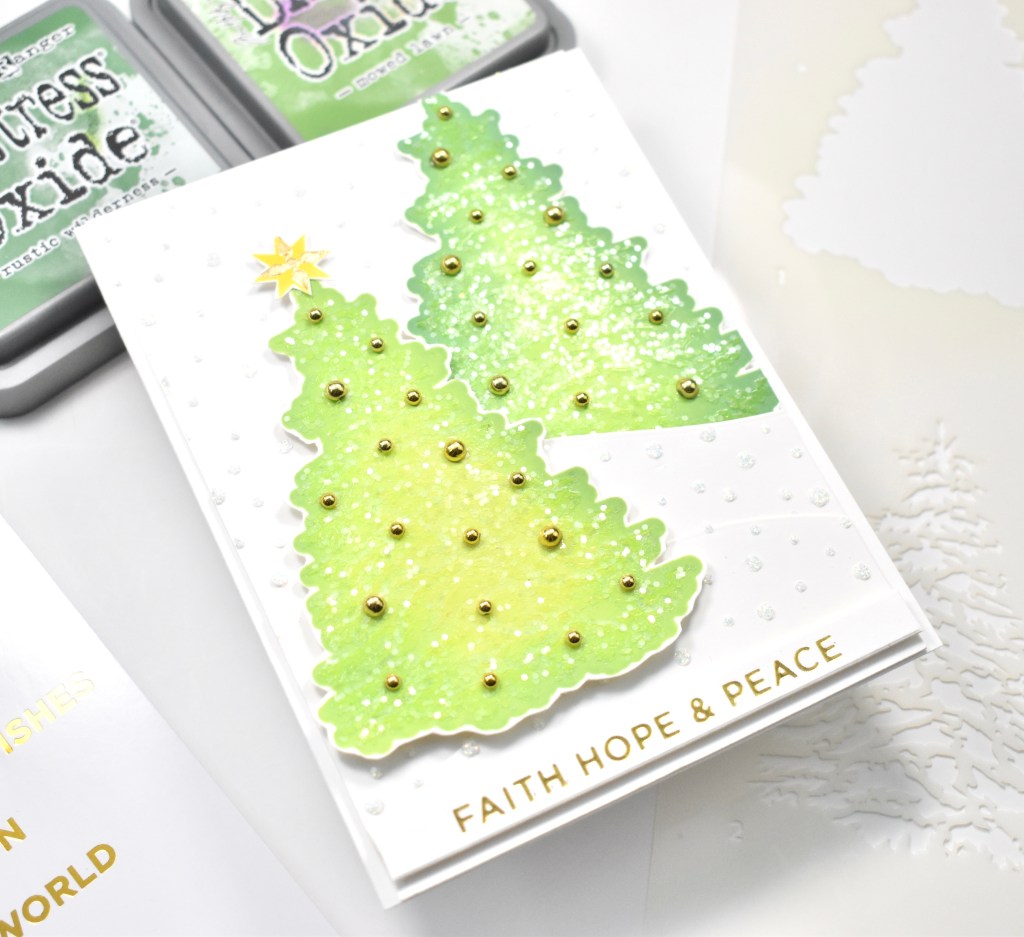
Hey there! Thanks for stopping in today! I hope you’re having a wonderful day! Is it too early for Christmas cards? I don’t know that I’ve ever made a Christmas or holiday card in August! But … All the new Christmas goodies on the Spellbinders website are just too good to resist! Today’s card is featuring the new Layered Christmas Tree Stencil. I had a lot of fun with this one, so let’s get right into the details!

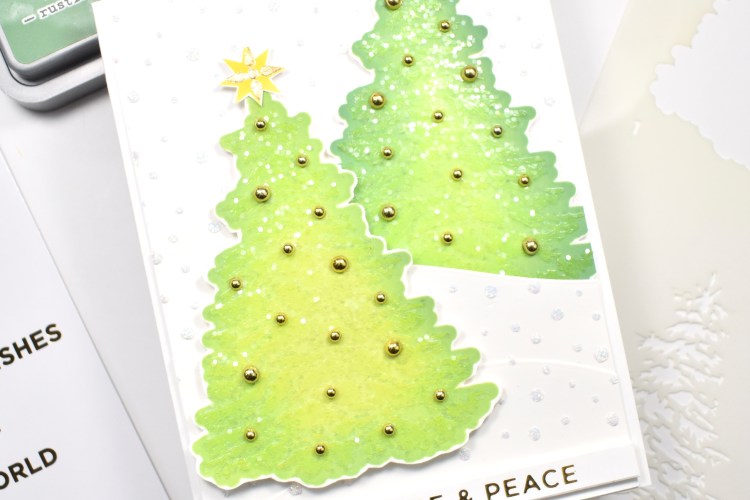
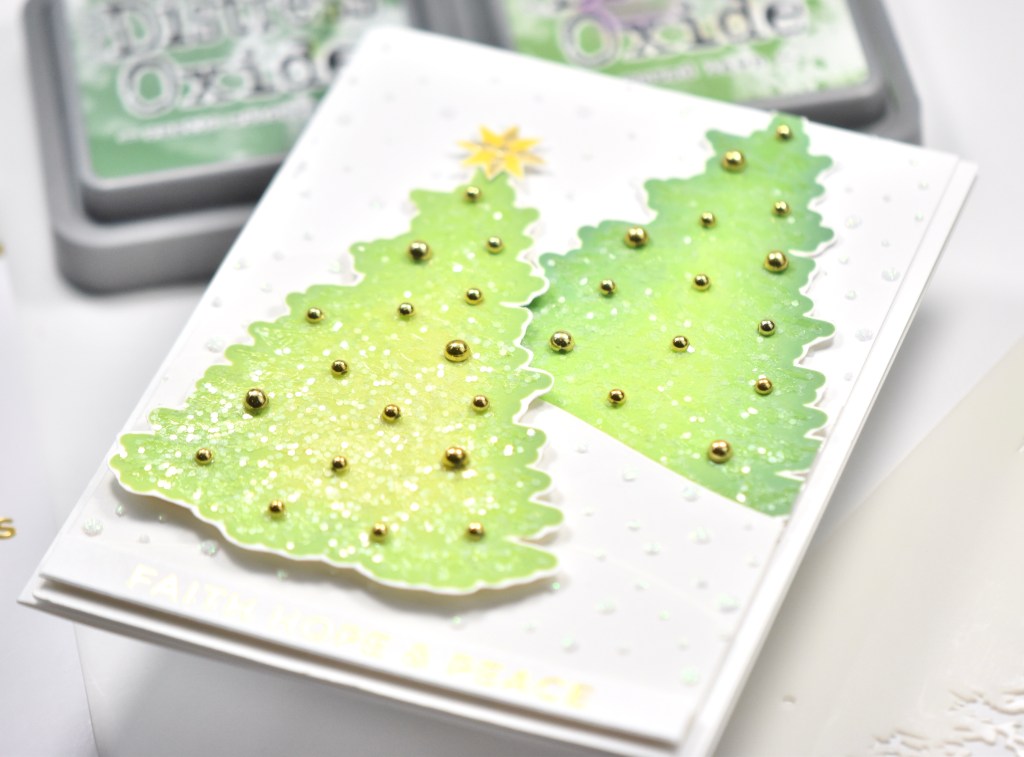
I began by adhering the Layered Christmas Tree Stencil to a panel of Neenah Classic Crest 110lb cardstock using masking tape. Then I started ink blending on the open tree portion using Distress Oxide Mowed Lawn and Rustic Wilderness. I also used Distress Oxide Mustard Seed for the star. I switched to the detailed tree portion of the stencil and applied a good layer of Tacky When Dry Gel Medium and set that aside to dry. I also did the same to the detailed portion of the star. I repeated this process to make two trees.

I cut a panel of Neenah 110lb cardstock just smaller than an A2 card, and also used the Spellbinders Color Block Scenic Scape dies to cut some “hills.” I adhered the hills to the panel using liquid glue, but leaving an open area on one of the hills so that I could tuck the second tree in there. I then used the snowfall portion of the stencil and applied Gina K Glitz Glitter Gel Iridescent over the panel and set that aside to dry.

Now that the tacky medium has dried clear, I sprinkled Crystal Glitter over the trees to give them a nice sparkle. For the gold on the yellow star, I used Tonic Studios Nuvo Gold Gilding Flakes, and just rubbed them on with my finger. Remember, I had put tacky medium on that as well. I then fussy cut the trees and the star. I used Spellbinders Fashion Gold Embellishments to add all of the gold baubles. I did reinforce those with glue, just to be sure they didn’t fall off.

I tucked one of the trees in the open space that I had left on the hills and glued it there. I glued the star to the other tree and put foam tape on the back of that one and adhered it atop the panel. I used the Spellbinders Holiday Sentiments Series 2 to gold foil one of the sentiments, and adhered it to the panel using foam tape again. All of this was then adhered to the card base, which is also Neenah 110lb.

That does it for this project. A super fun card to make! I hope it inspires you to get crafty. Hop over to the Spellbinders website to check out all of the new Christmas and holiday goodies they have to offer! You won’t be disappointed. Have a wonderful day and don’t forget to stay awesome!

Supply List:

*Affiliate links used at no cost to you. Thank you so much for your support!

Latest Instagram Posts

Spellbinders Christmas Argyle

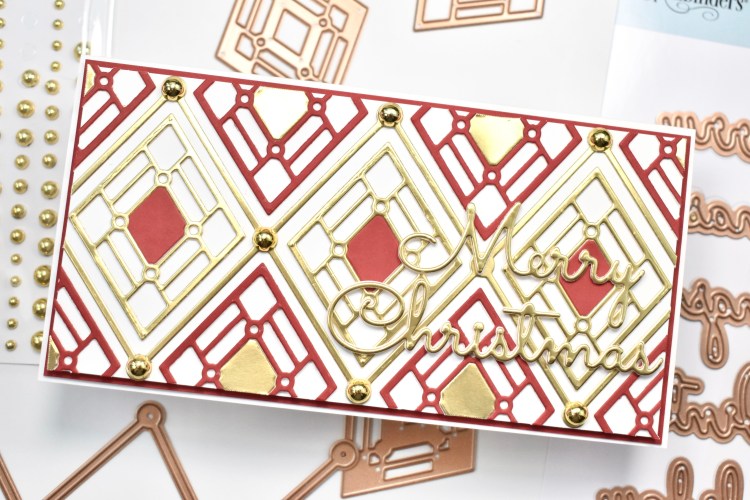
Hello Crafty Friends! Hope you’re having a wonderful day! There are tons of new Christmas and holiday releases over on the Spellbinders website, and I’m super excited to be featuring the new Kaleidoscope Argyle dies from the Slimline Collection! This was such a fun set to work with, so let’s go ahead and get into the details!

I began this project by cutting the main triangle grid element from this set twice from Spellbinders Mirror Gold cardstock. I chose one of the three triangle elements from the set and cut that maybe six times from Spellbinders Cranberry Bliss cardstock. I decided that I wanted some dimension to the triangles, so I cut a bunch from Neenah Classic Crest 110lb cardstock and adhered one layer to each of the triangles using liquid glue.

I reserved the center pieces from the gold and red triangles, because I wanted to inlay those on the opposite triangles on the finished project. I cut a mini slim line panel of Neenah 110lb and adhered the gold grid element overlapping in one section for better symmetry on the card. I then adhered the gold triangles in the center first.

Then, I moved on to adhering all of the red triangles, trimming off the excess. I glued the inlay pieces in the center of the triangles as well. I added some of the larger Spellbinders Fashion Gold Embellishments to the edges of the grid element for added dimension and interest. I adhered the panel to a panel of the Cranberry Bliss cardstock using foam tape for some contrast as well.

I used the Spellbinders Christmas Mix & Match Sentiments for my sentiment. I cut it once from the same Mirror Gold cardstock and twice from Neenah 110lb and adhered those together using liquid glue. That was then adhered directly to the card panel before adhering everything to the card base.

That finishes up this project! I hope you enjoyed it! Even though this set was used to make a Christmas card, it can certainly be used year round using different colors! Head on over to the Spellbinders website to check out all of the new releases! Thanks for stopping by and don’t forget to stay awesome!

Supply List:

*Affiliate links used at no cost to you. Thank you so much for your support!

Latest Instagram Posts