Spellbinders Hey Pupkin

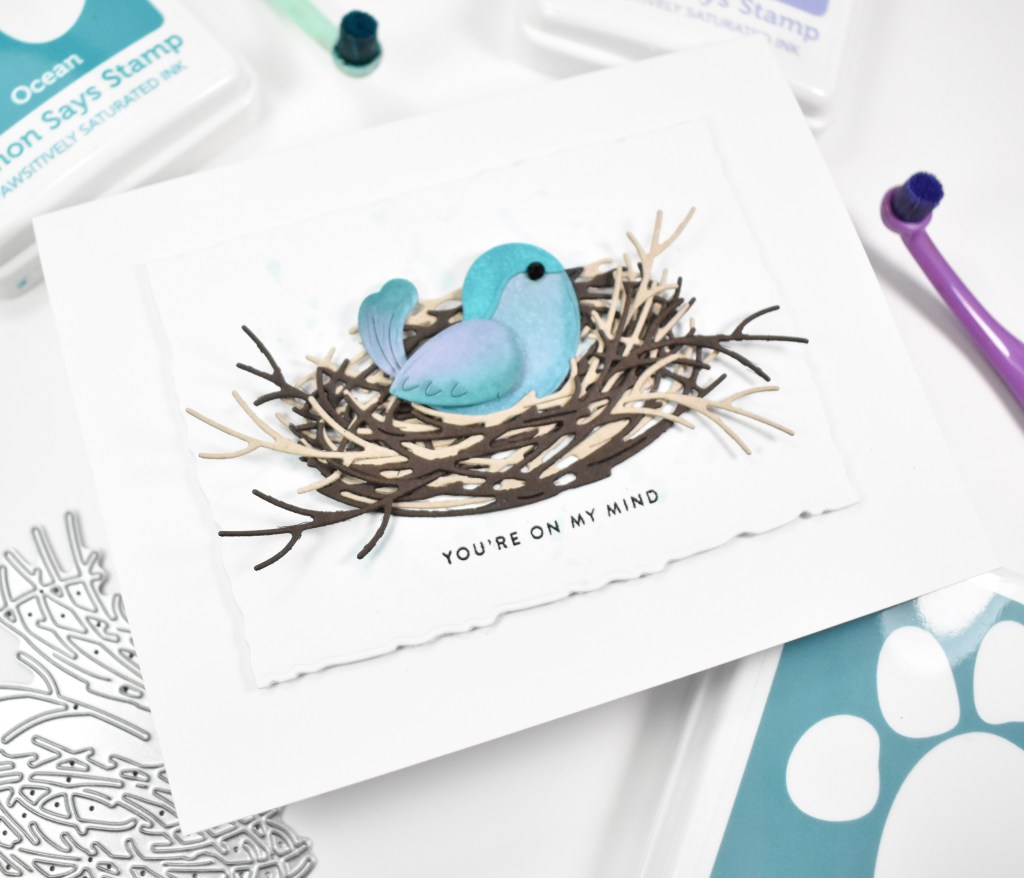
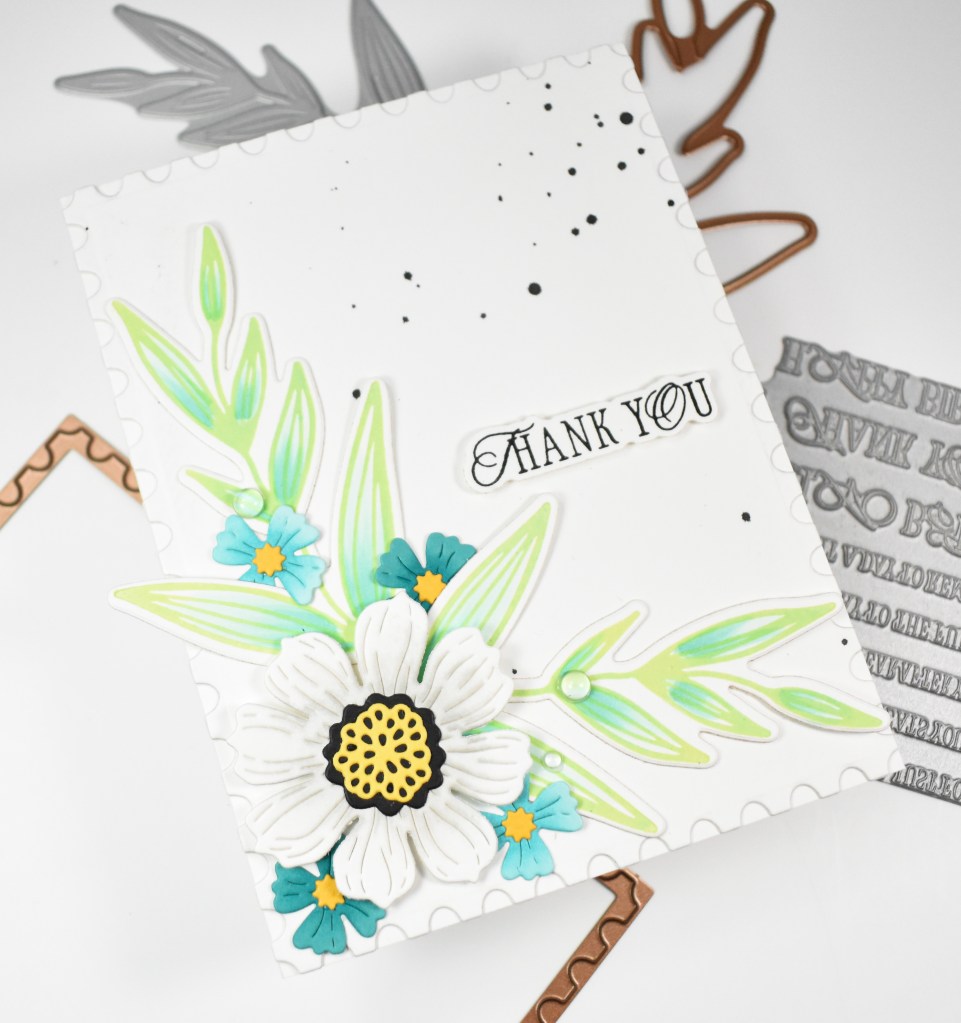
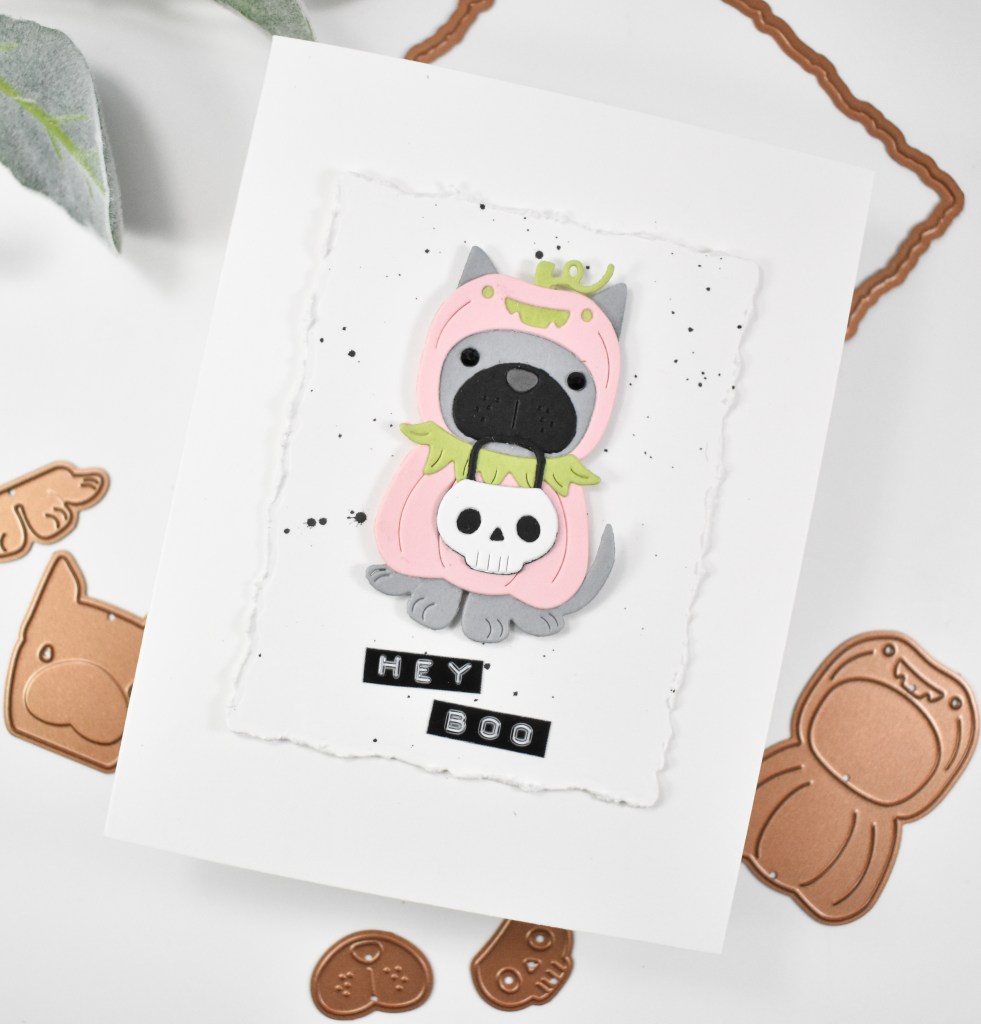
Hello Crafty Friends, and thanks for joining me! I’m back today with a cutie card featuring the new Pupkin from the Spellbinders August releases. Let’s jump right into the details!
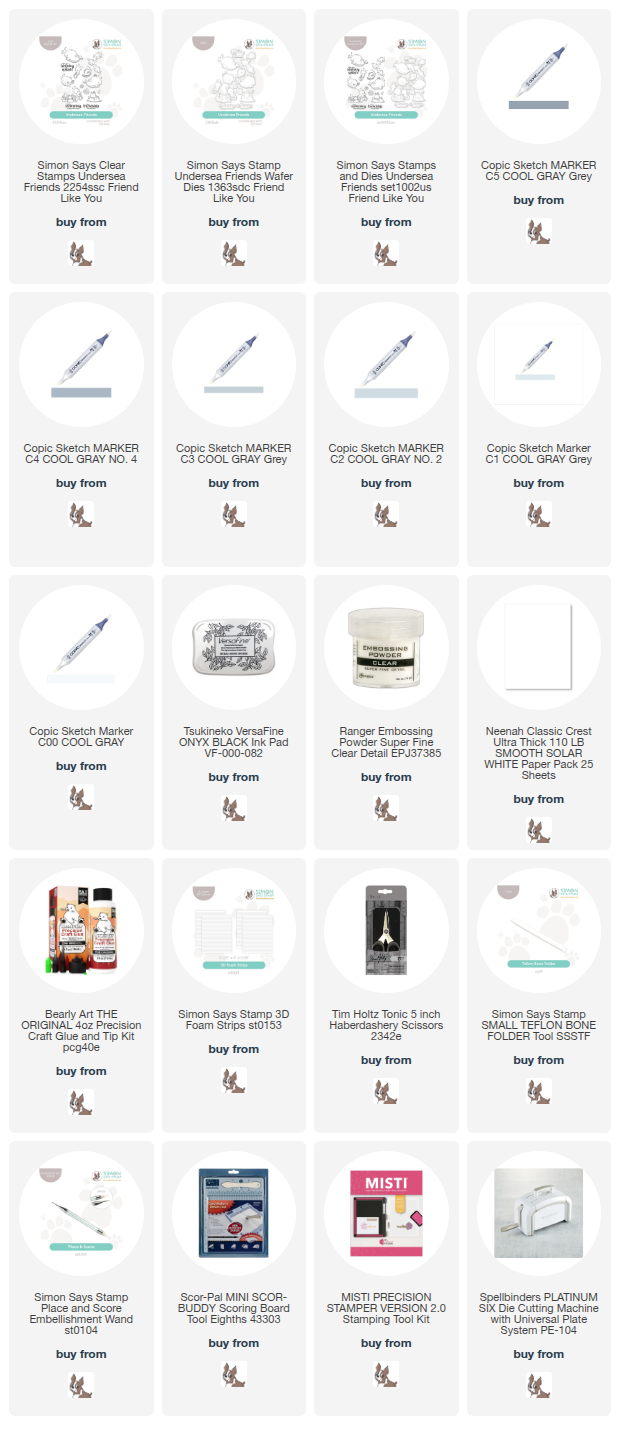
NOTE: all supplies are linked to multiple sources in the thumbnails at the end of this blog post.
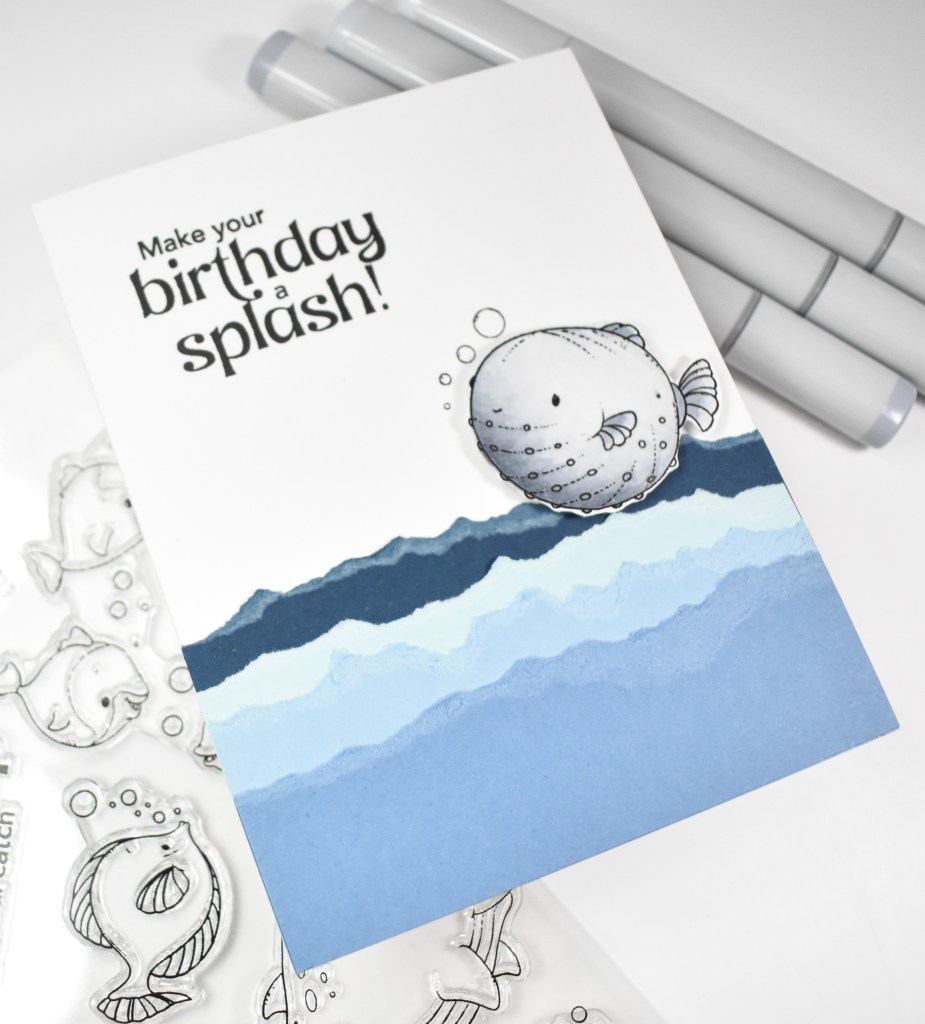
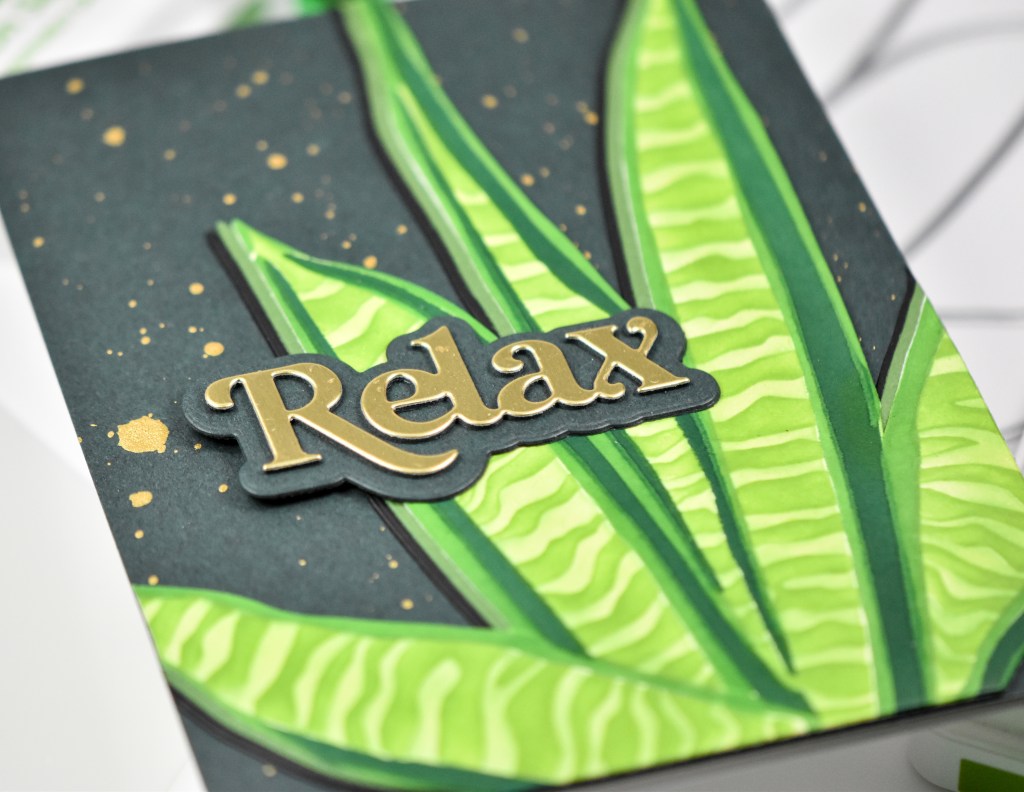
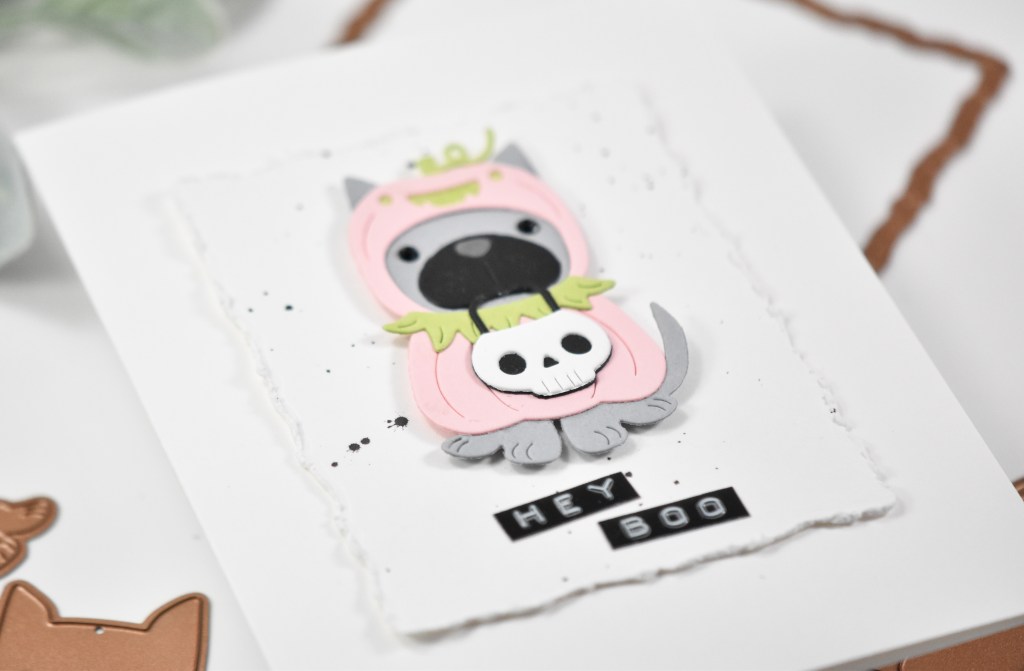
I began this project by die cutting all of the pieces from various cardstock scraps. Once all of the cutting was done, I began assembling the pup. I should have done some light ink blending, but to be honest, I forgot and it was too late at the point that I remembered. Have you ever done that? I was too lazy to cut all of the pieces again.
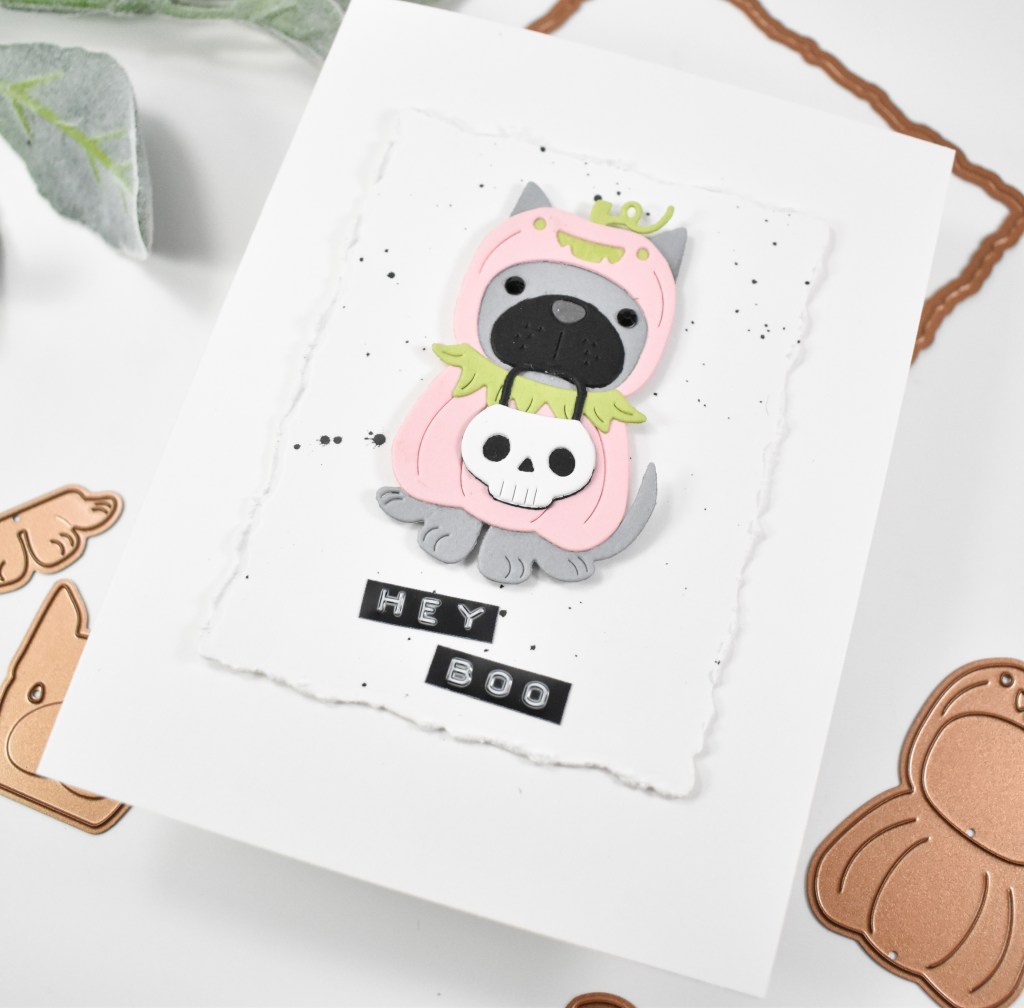
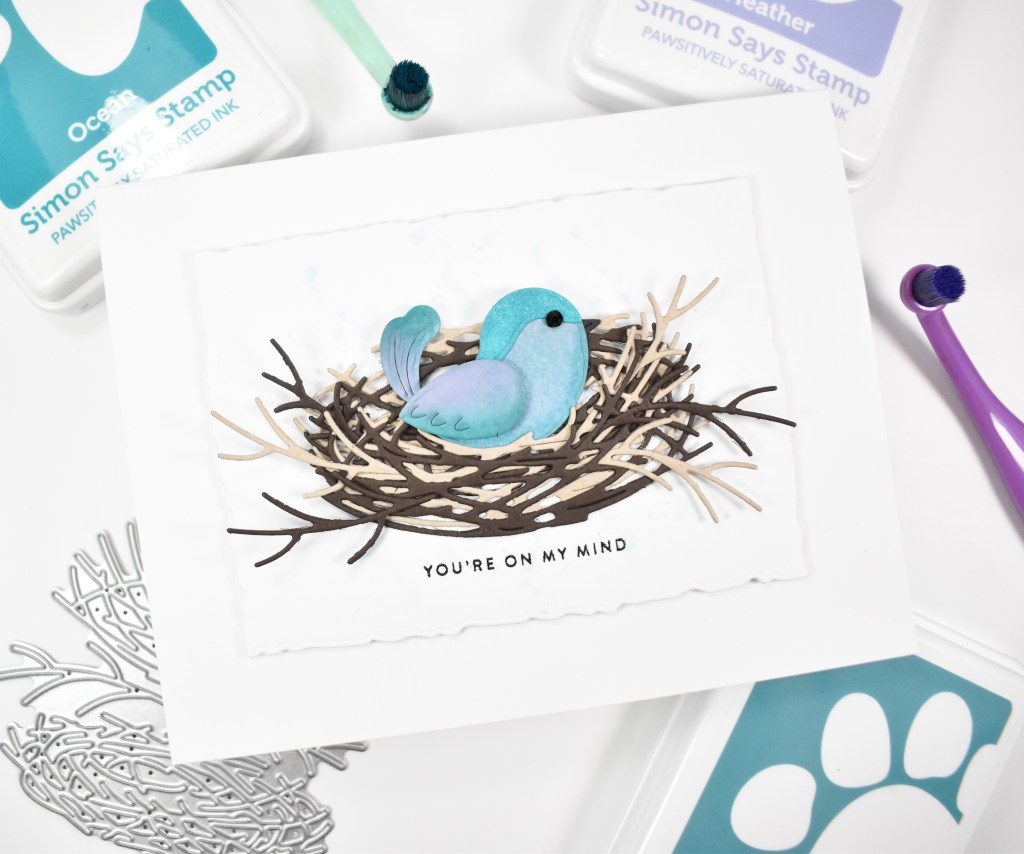
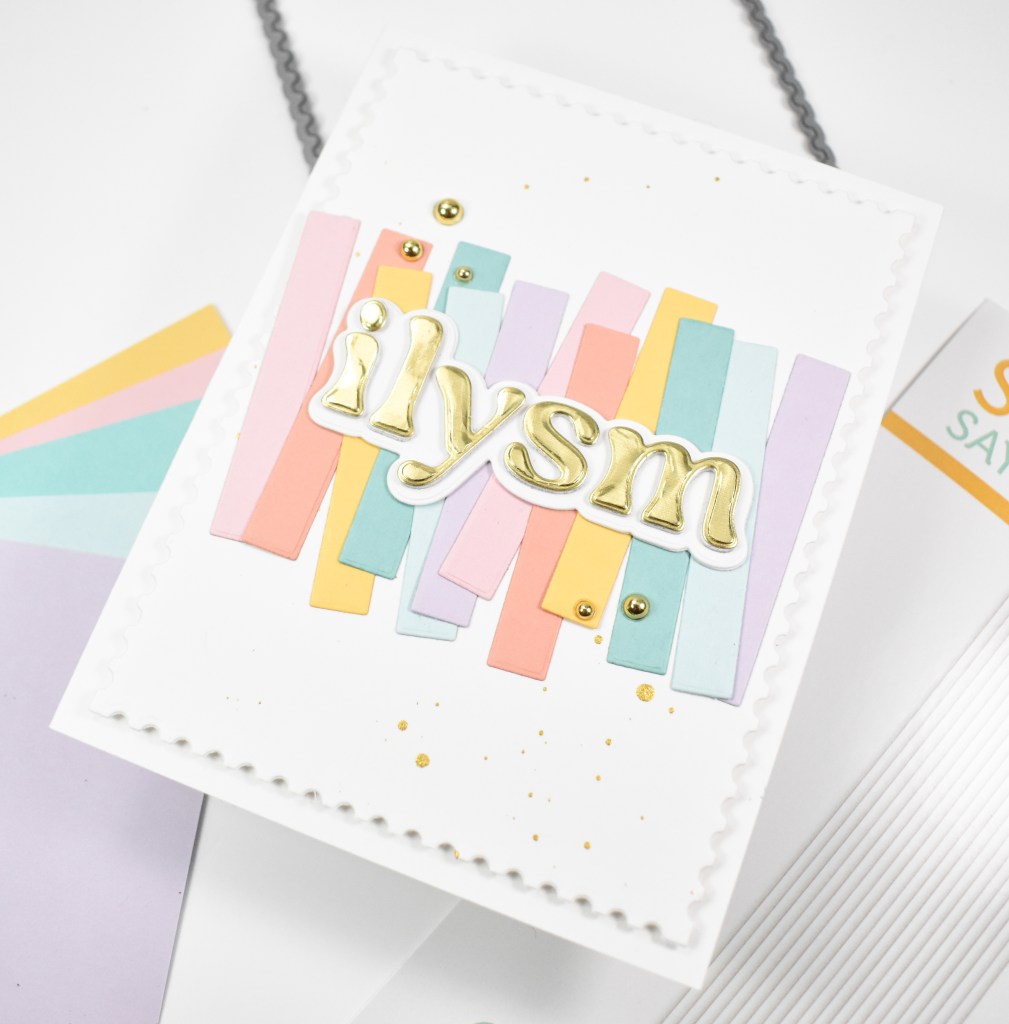
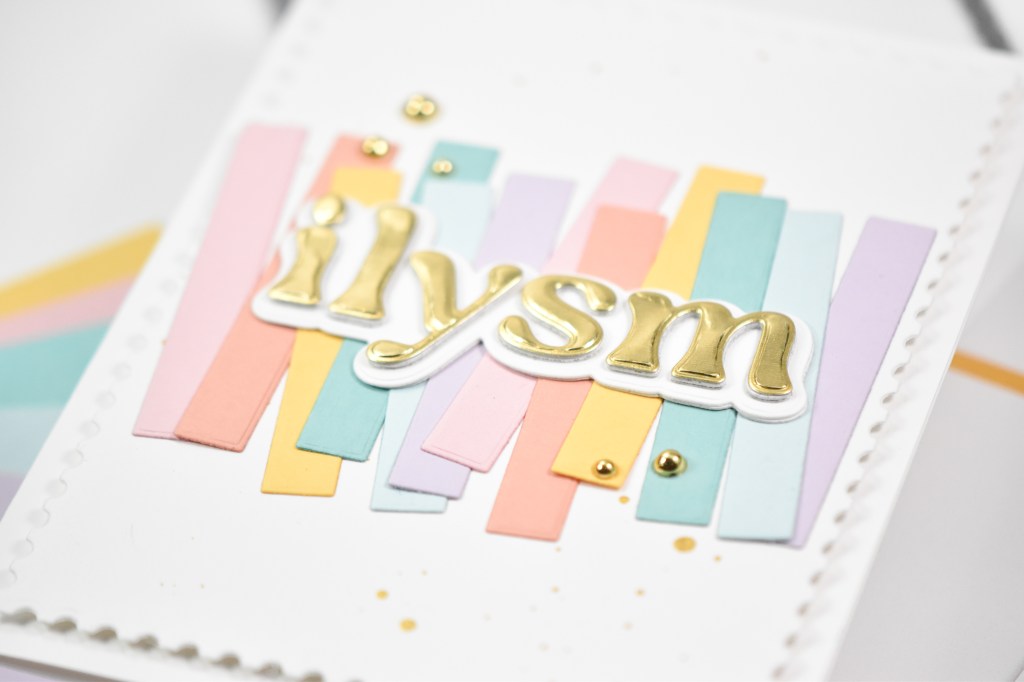
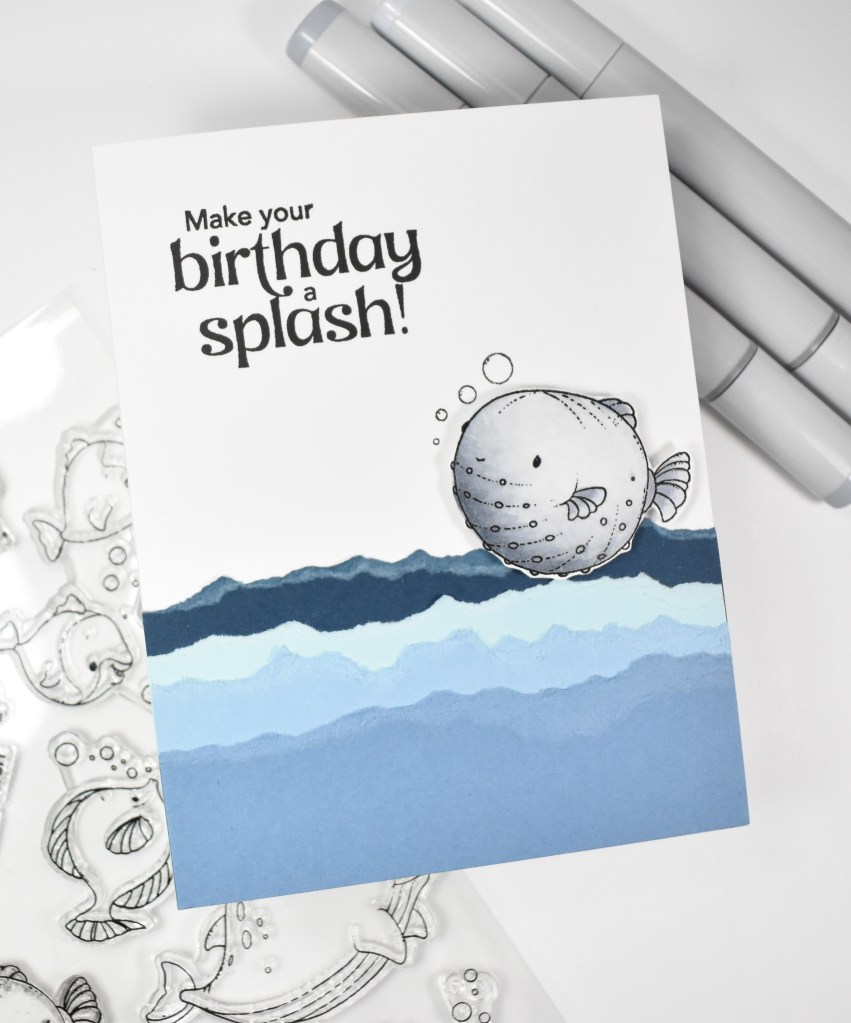
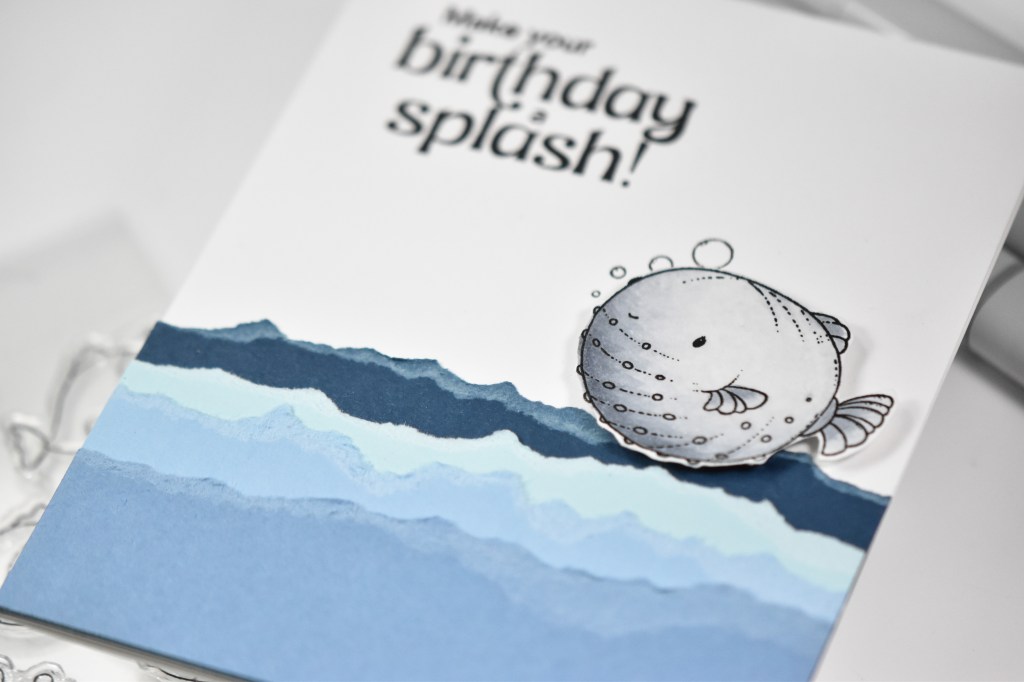
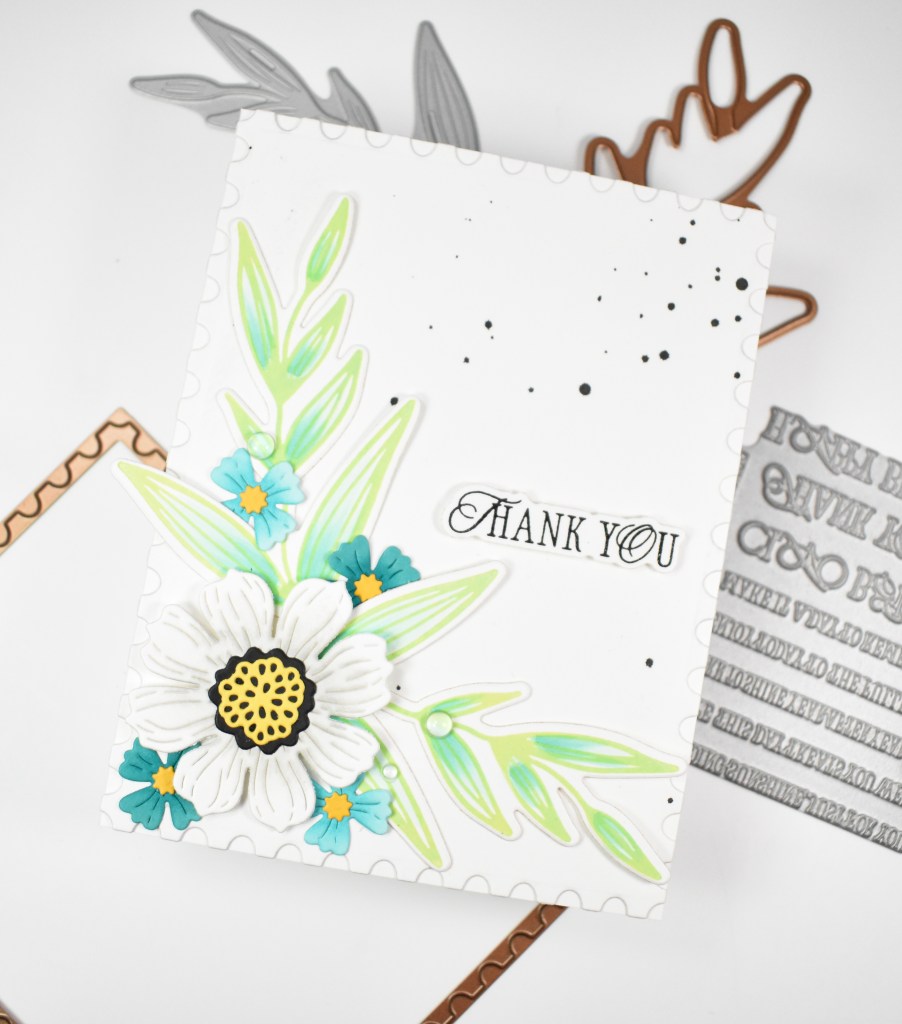
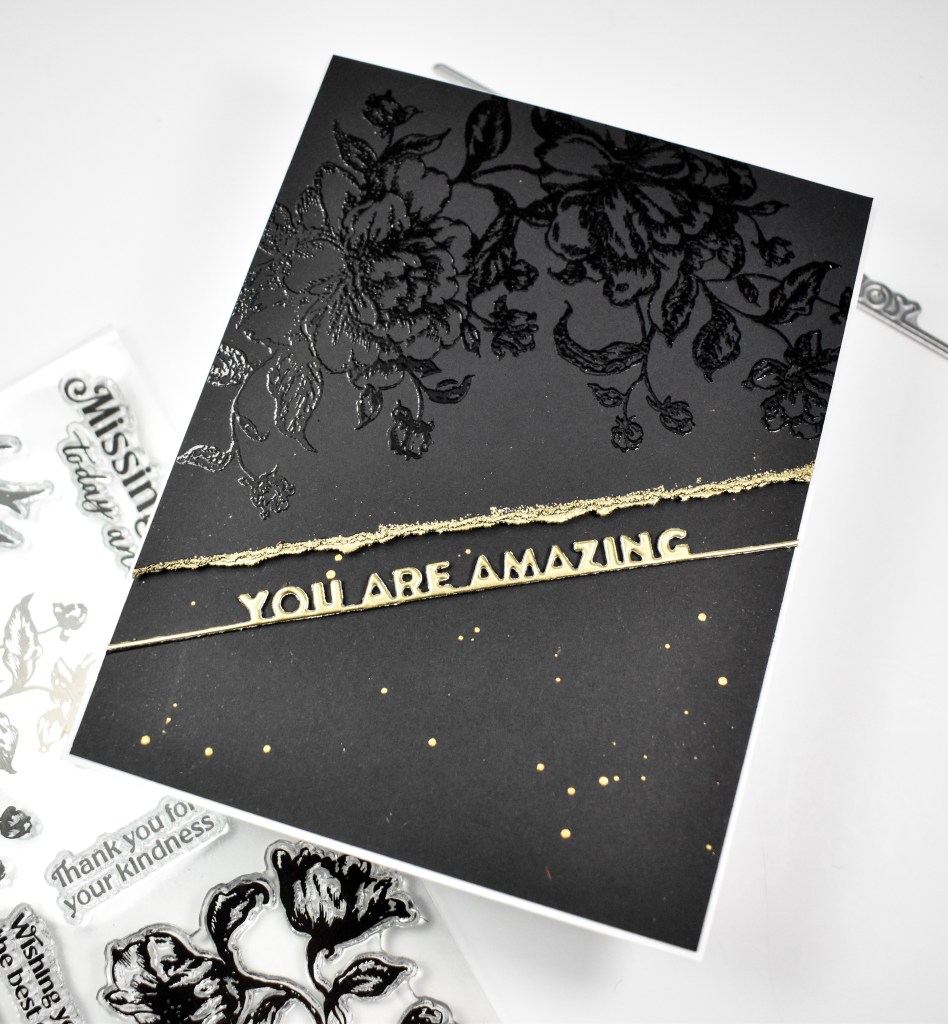
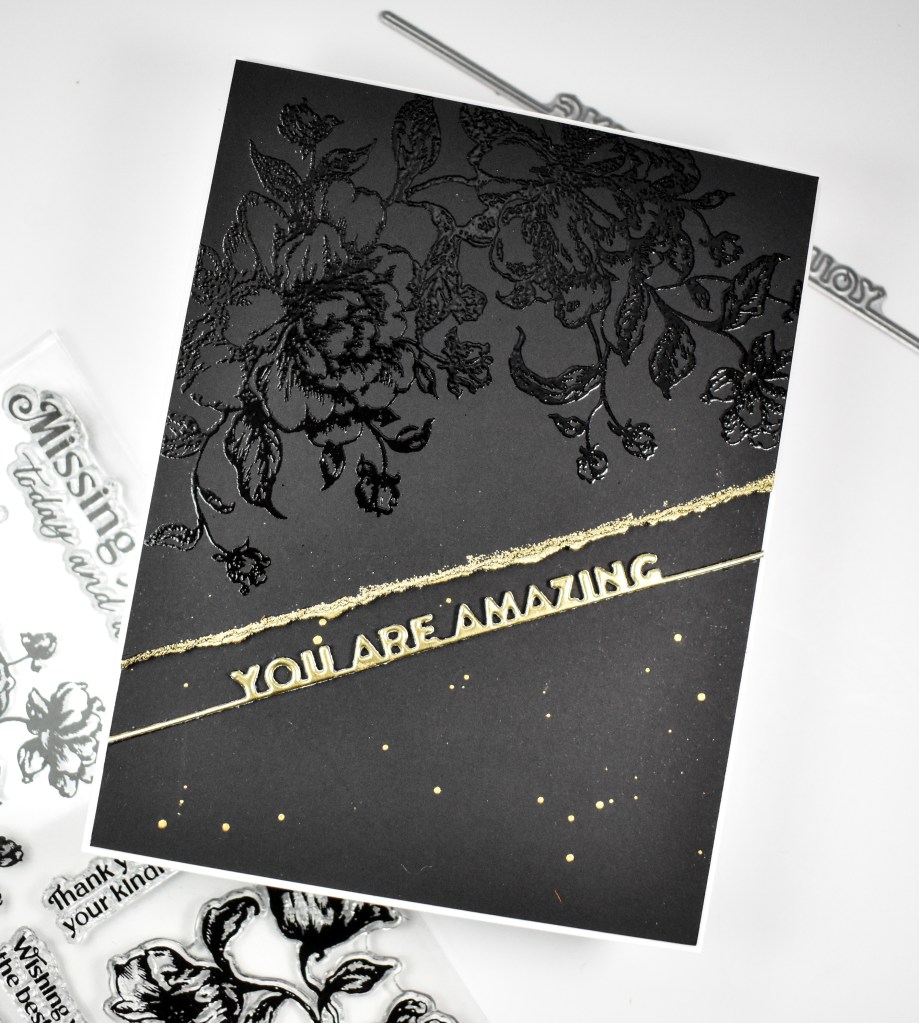
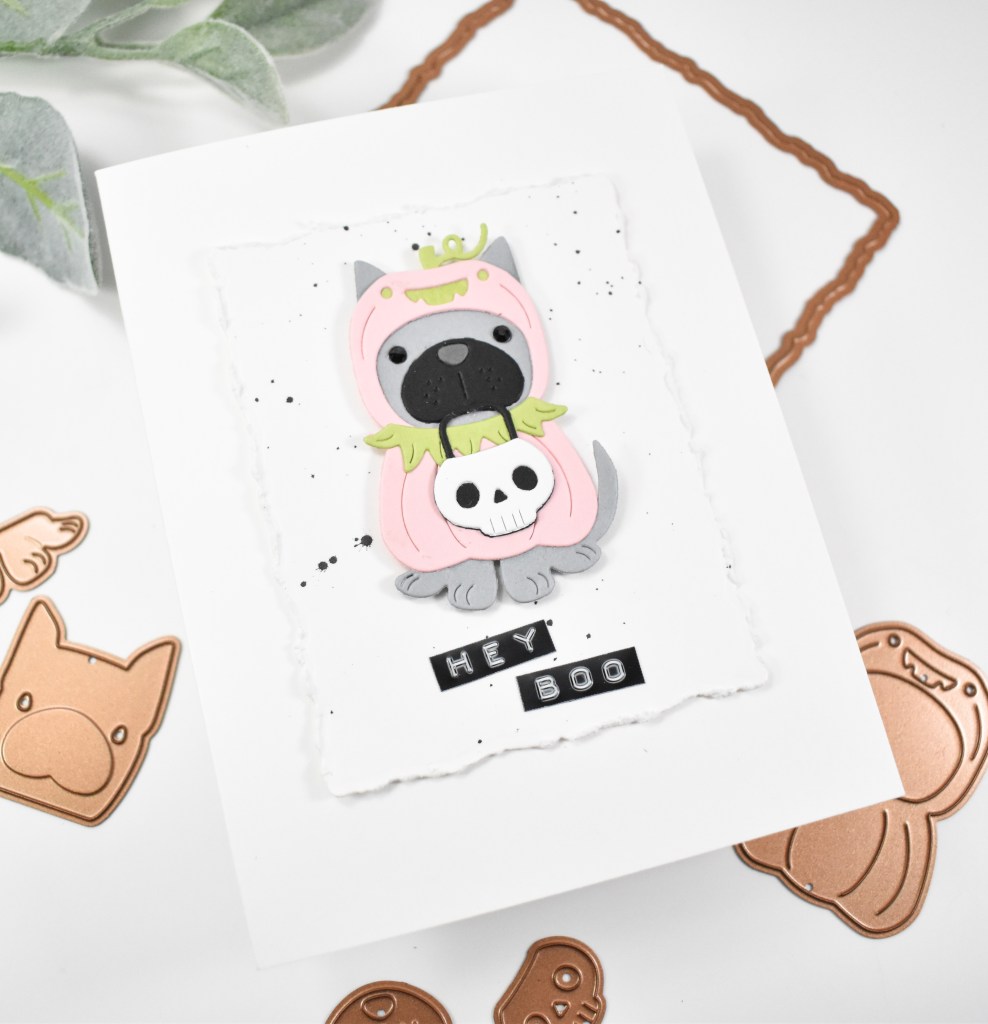
The background panel was created using the Deckled Rectangles and the Tim Holtz Paper Distresser tool thingy. Once I was satisfied with the distressing of the edges, I took it over to my splat box and added some black splatter. The panel was adhered to the card base and the pup was adhered atop that with foam tape.
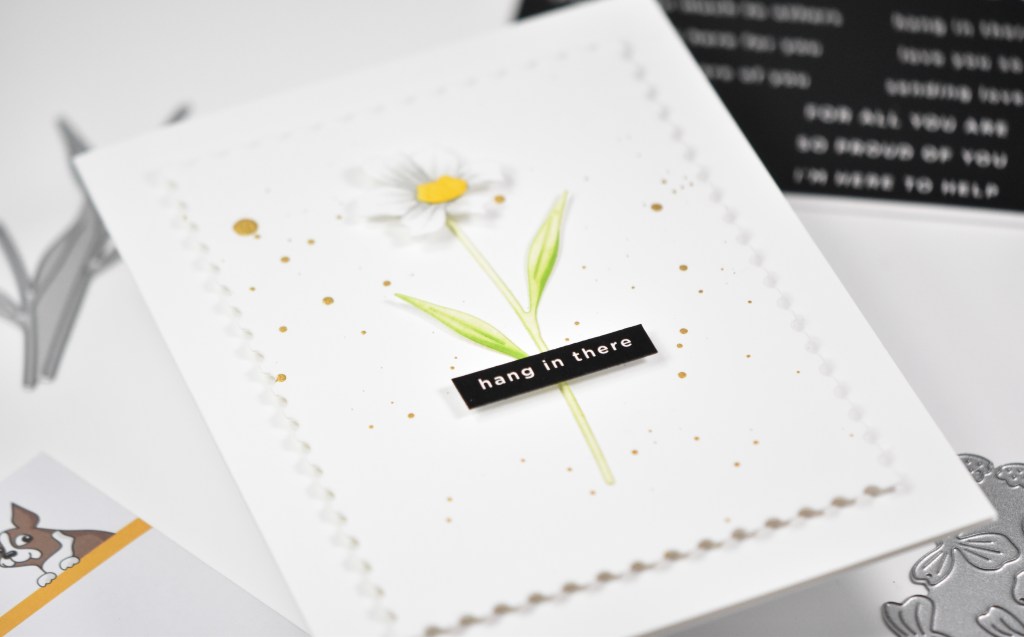
Now for the interesting part .. I don’t make Halloween cards, so I didn’t have a sentiment to use on this project. I also didn’t request one when the Pupkin was being sent to me. A little snafu on my part! With all of that being said, I had to whip out the label maker for the sentiment.
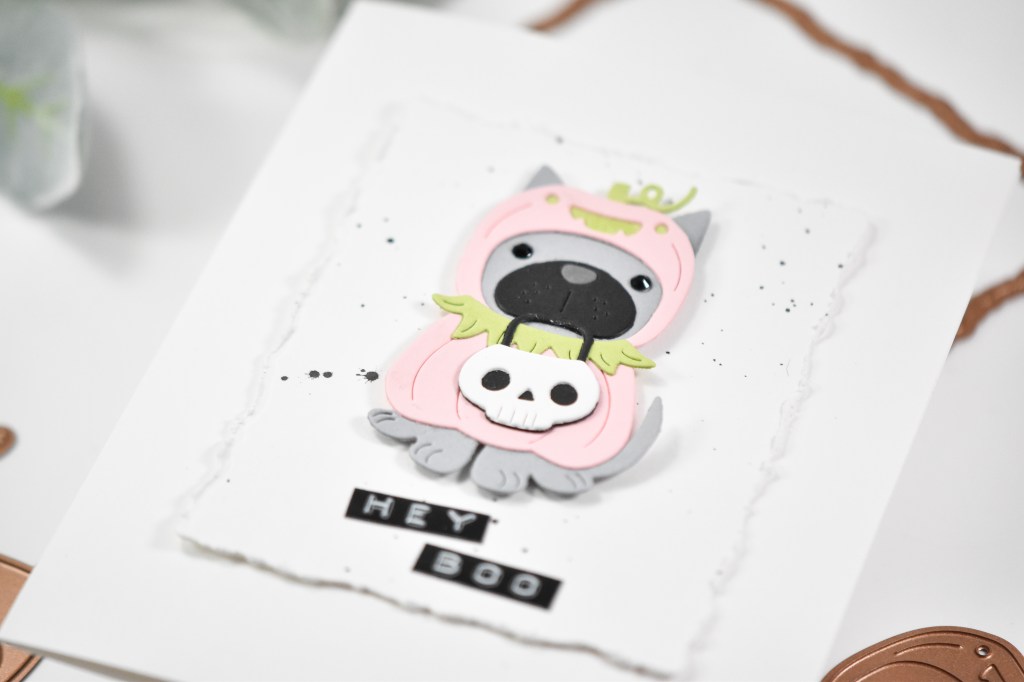
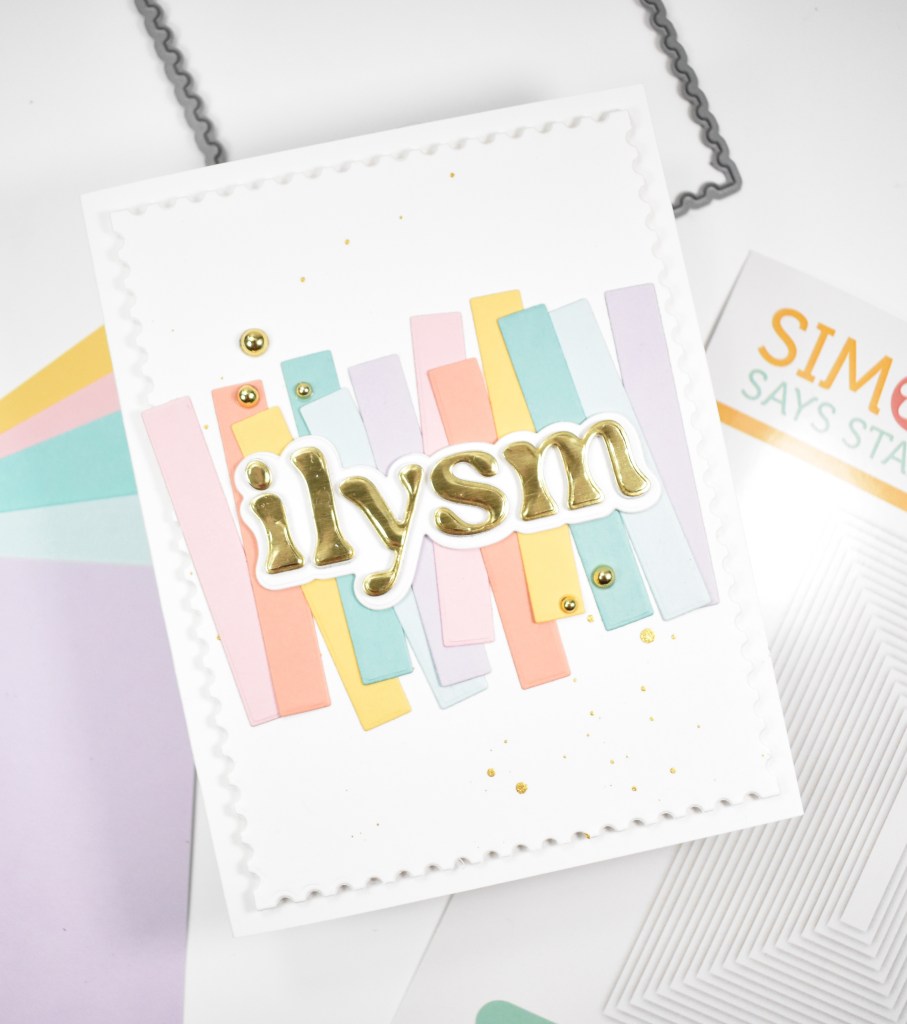
A pretty simple card, but I actually like how it turned out, even though cutesy cards are not in my wheelhouse. Don’t forget to swing by the Spellbinders site to check out all of the new August releases! Thanks again for joining me, and I hope you have a fabulous day!

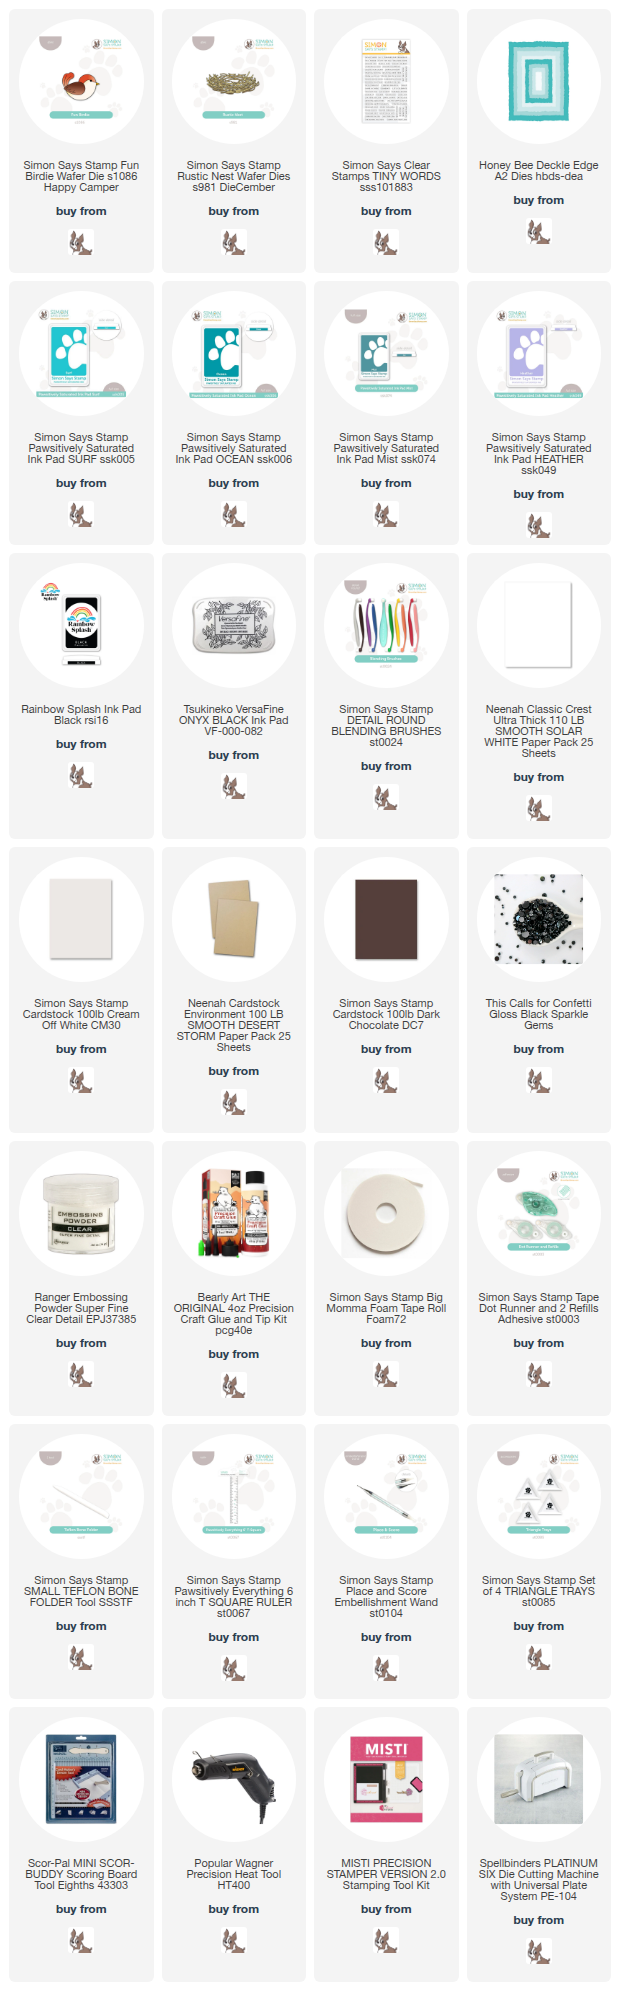
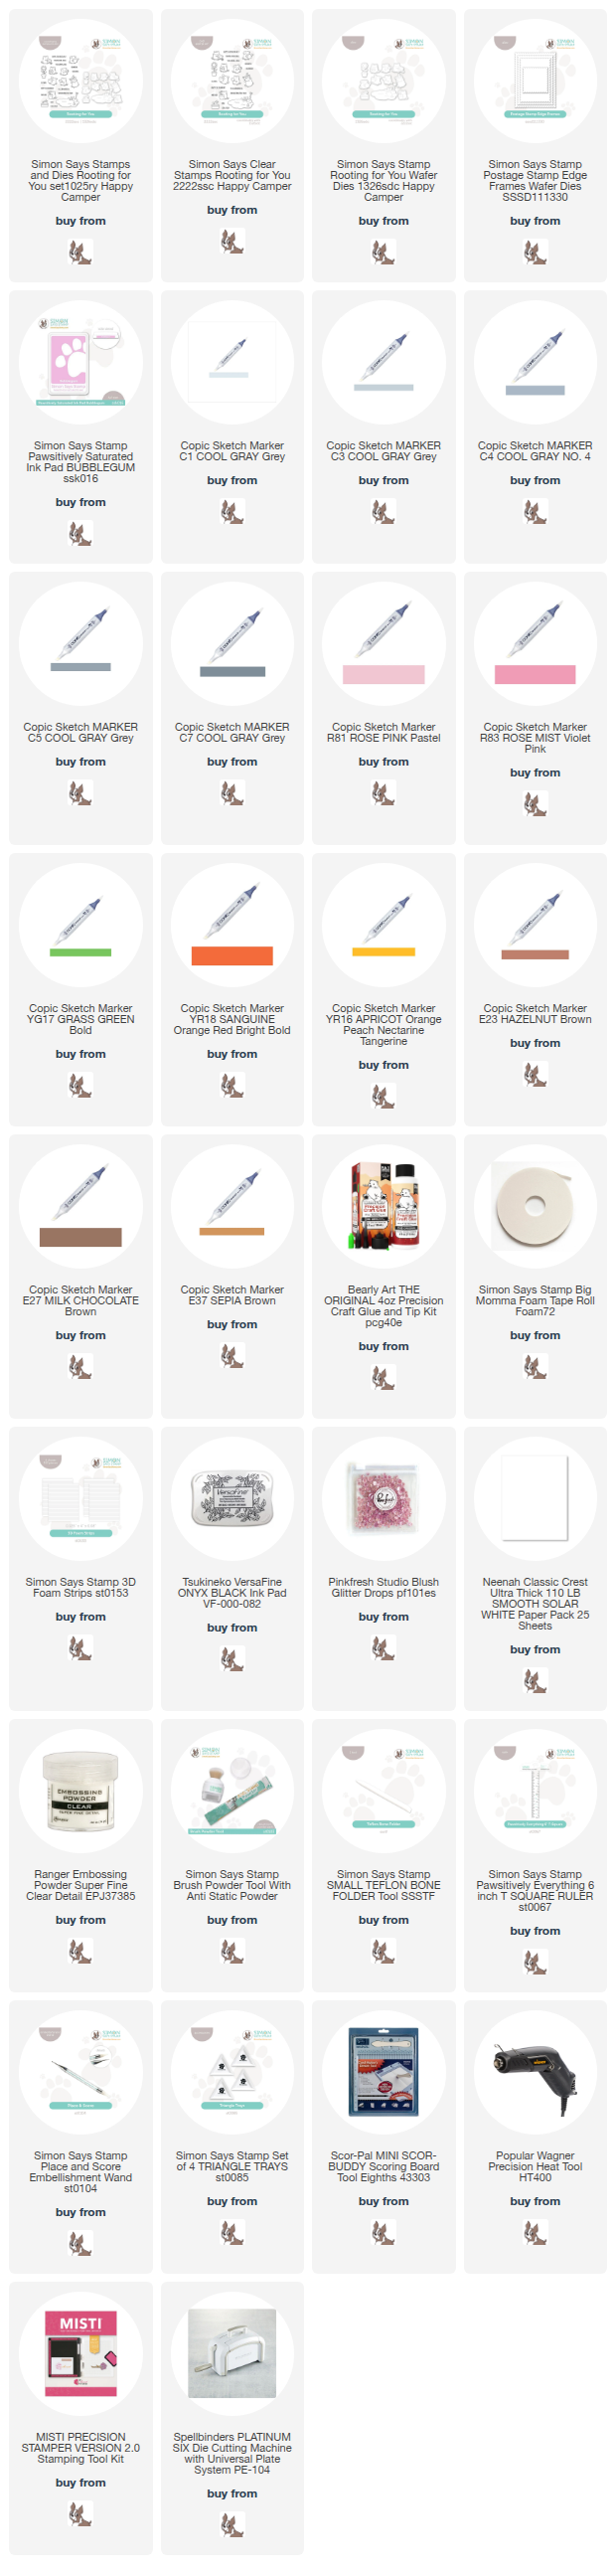
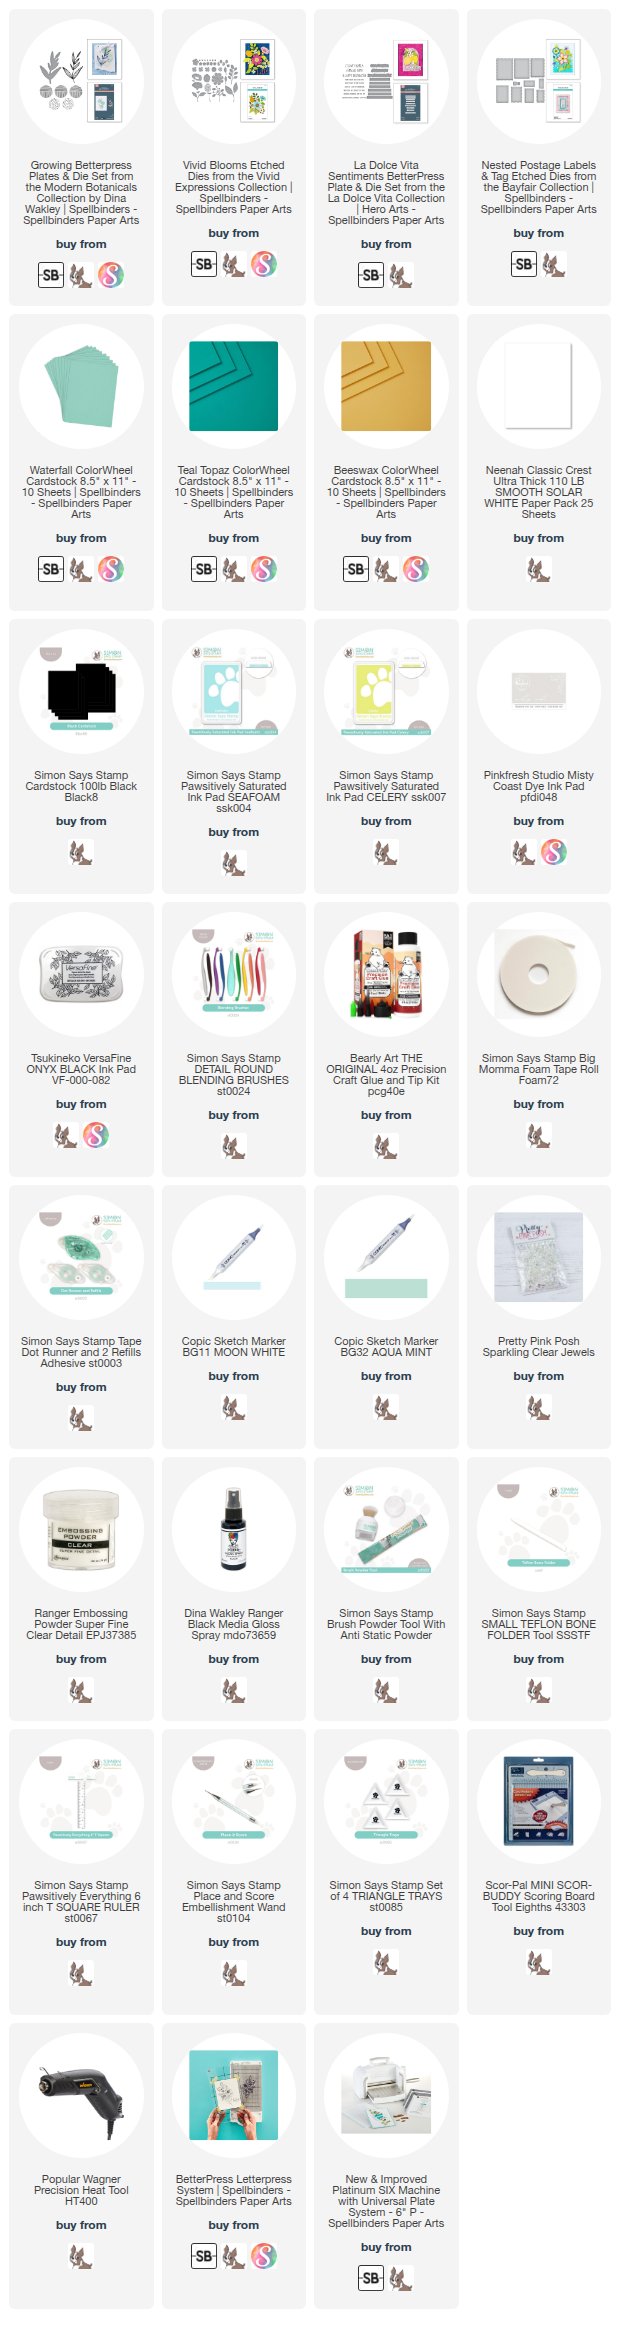
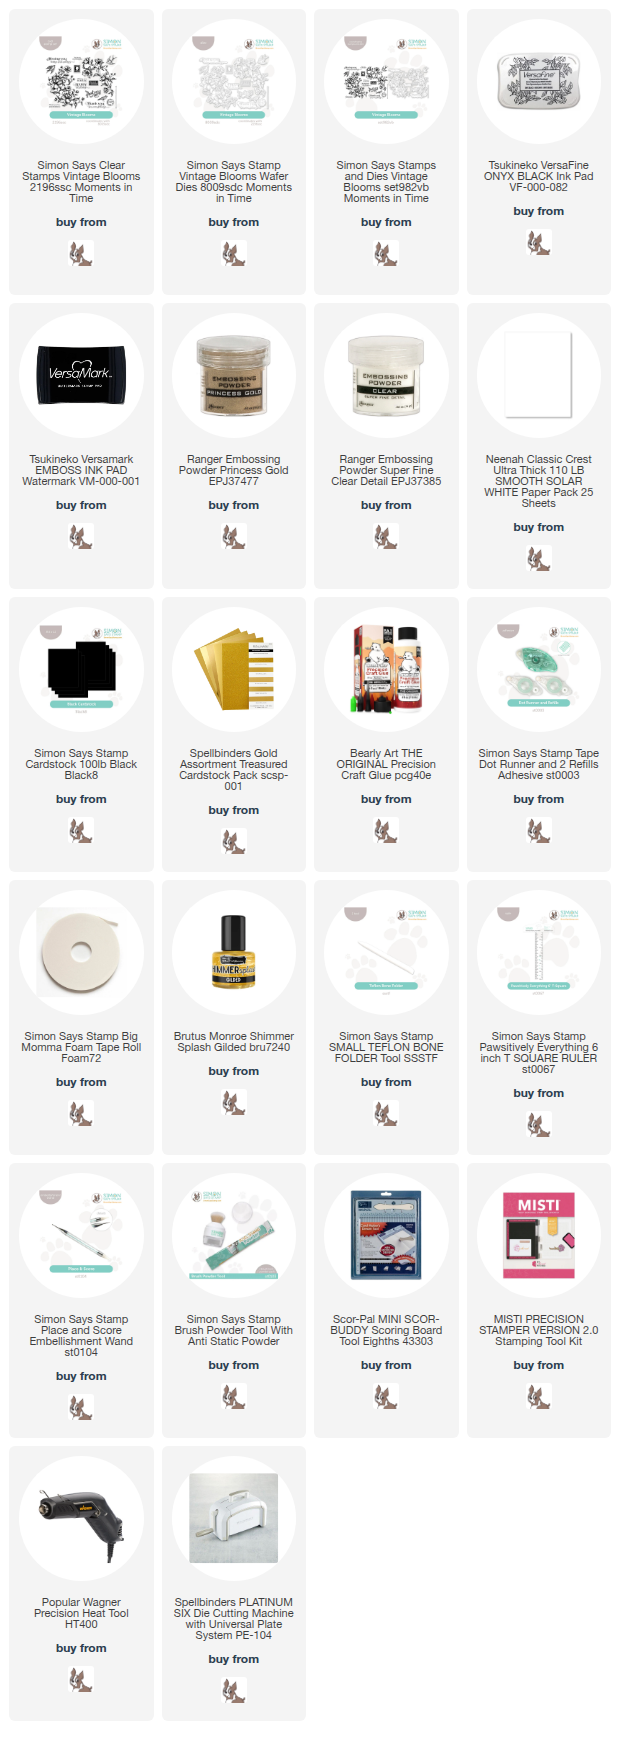
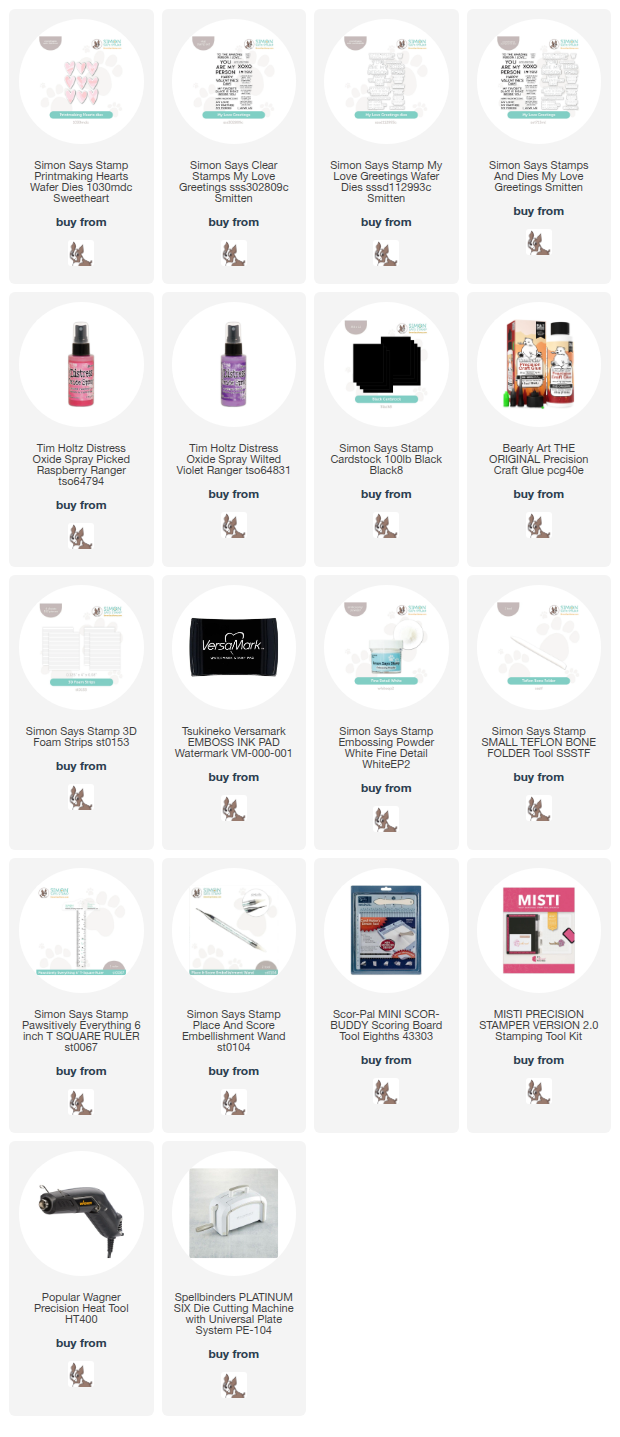
Supply List
Affiliate links used at no cost to you. What does this mean? If you use the links within this post to make a purchase, I receive a small commission, which allows me to continue to post crafty content for your enjoyment. I truly appreciate your support!

Latest Posts
- Simon Says Stamp Watercolor Wild Rose

- Simon Says Stamp Striped Missing You

- Simon Says Stamp Best Mom

- Simon Says Stamp Latte Birthday Wishes
- Simon Says Stamp Thinking of You Whirl Butterflies
Latest Instagram Posts