Simon Says Stamp Bundled Birthday Swag

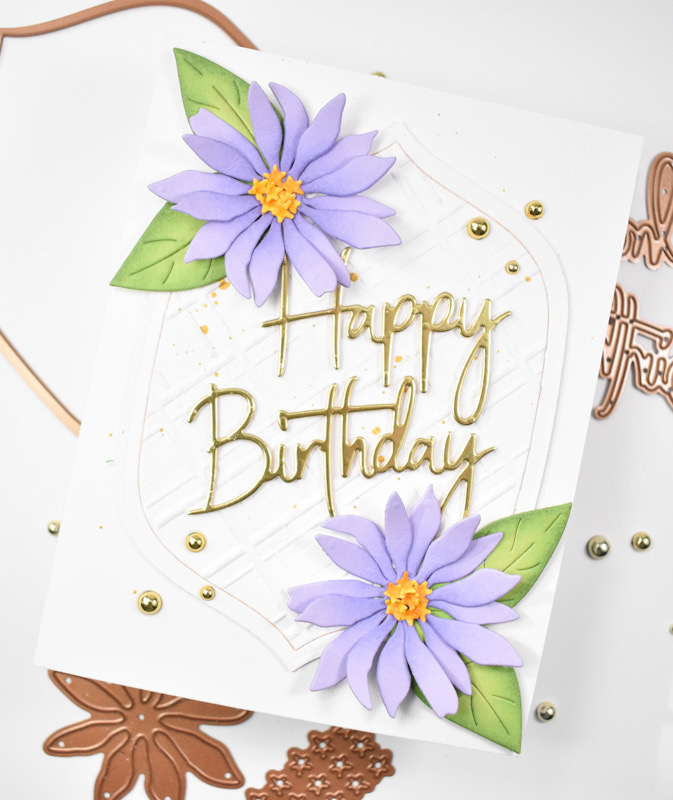
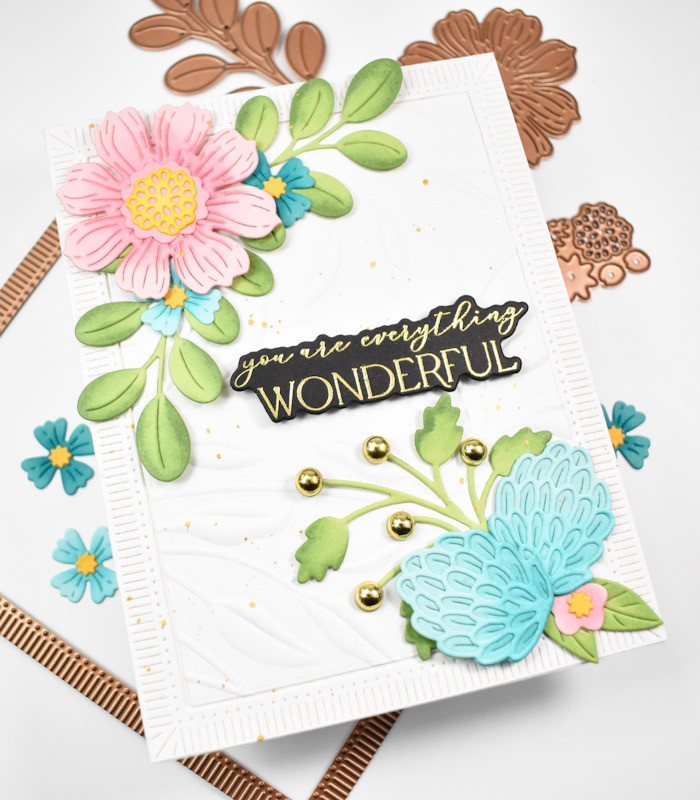
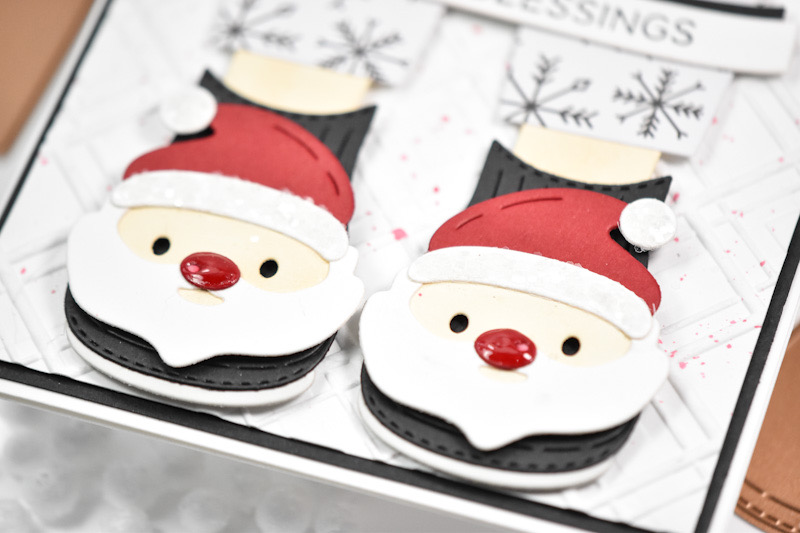
Hello Friends and thanks for joining me! Today’s project is featuring the new Bundled Swag Embossing Folder from Simon’s latest release, Favorite Things. This is a super simple project, so let’s run through the deets!

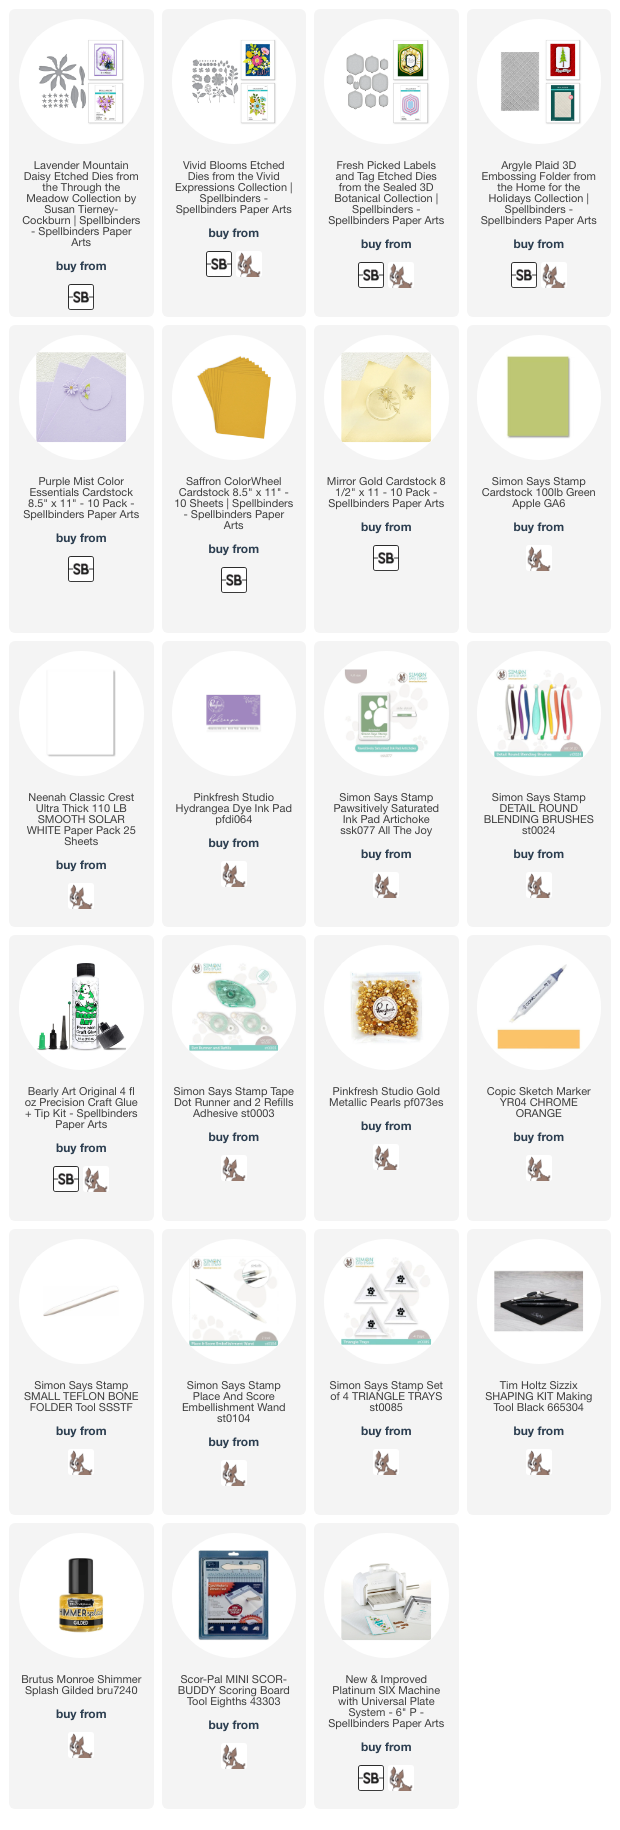
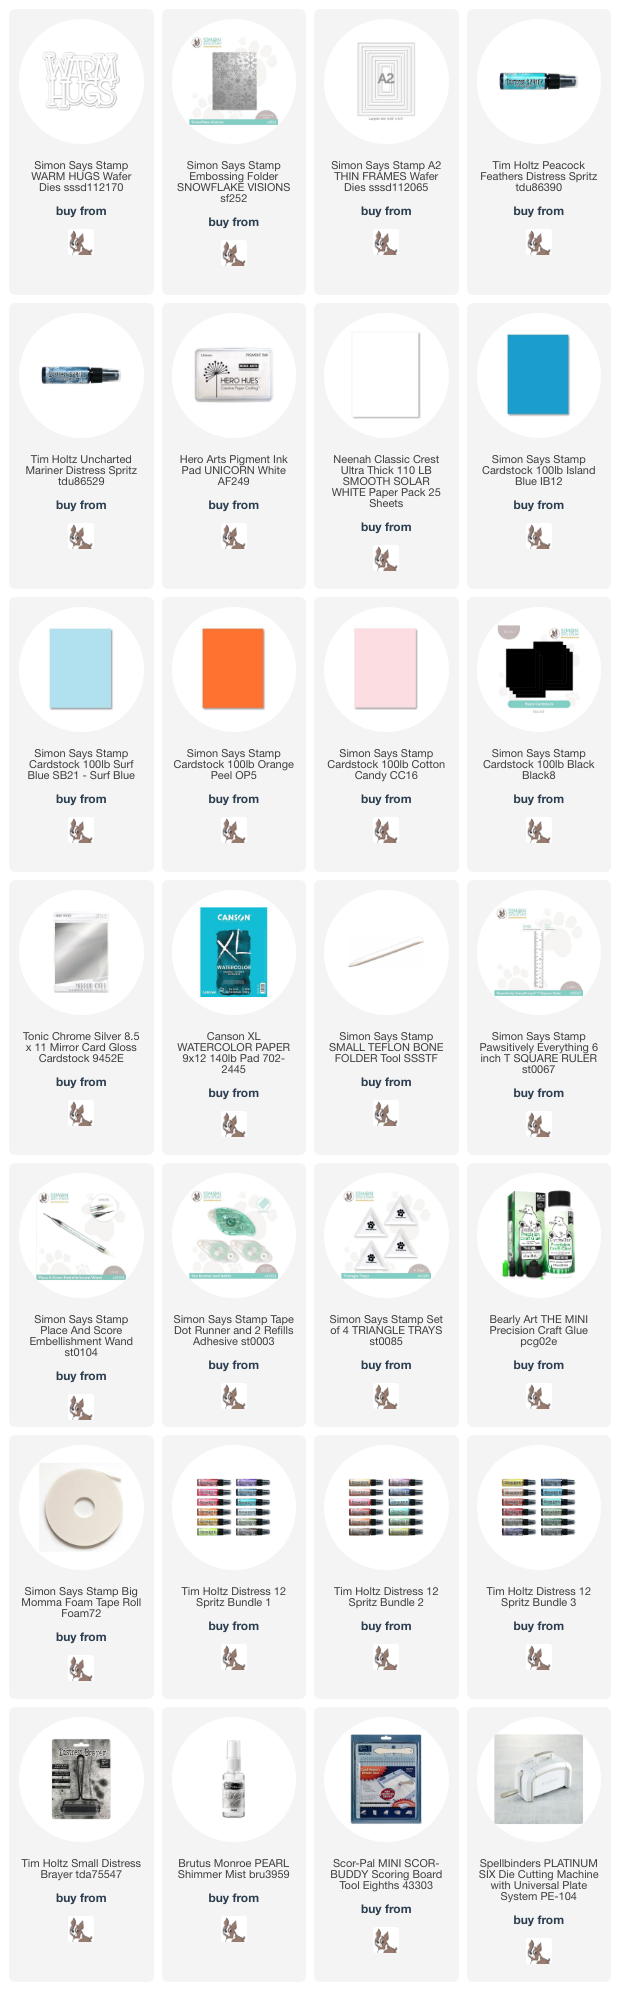
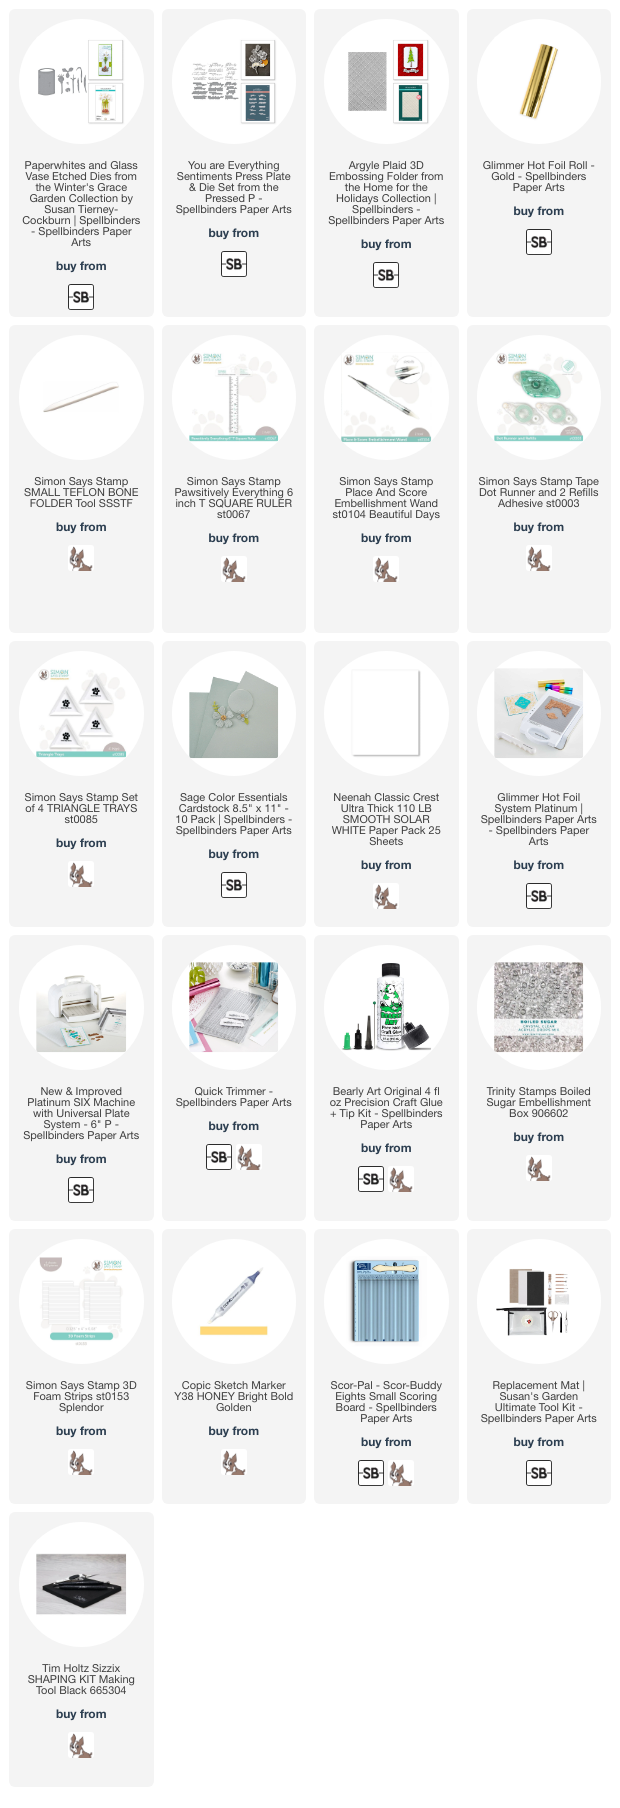
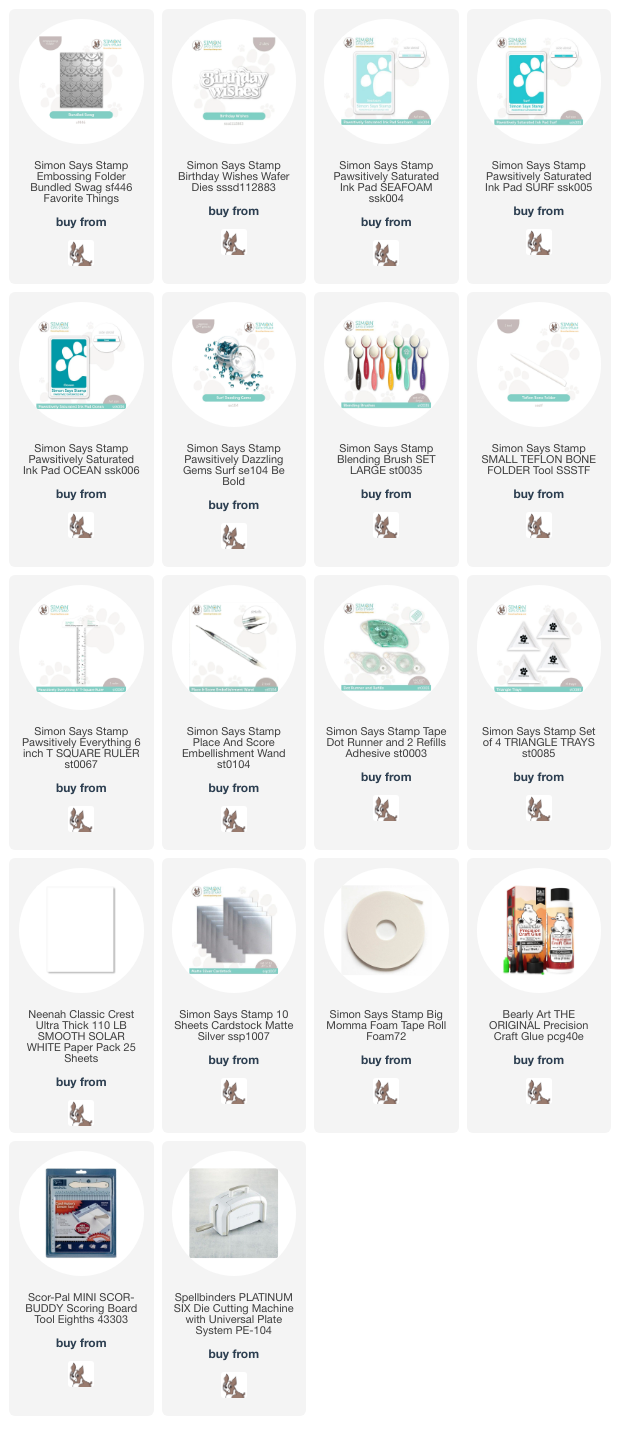
NOTE: all supplies are linked in the thumbnails at the end of this blog post.
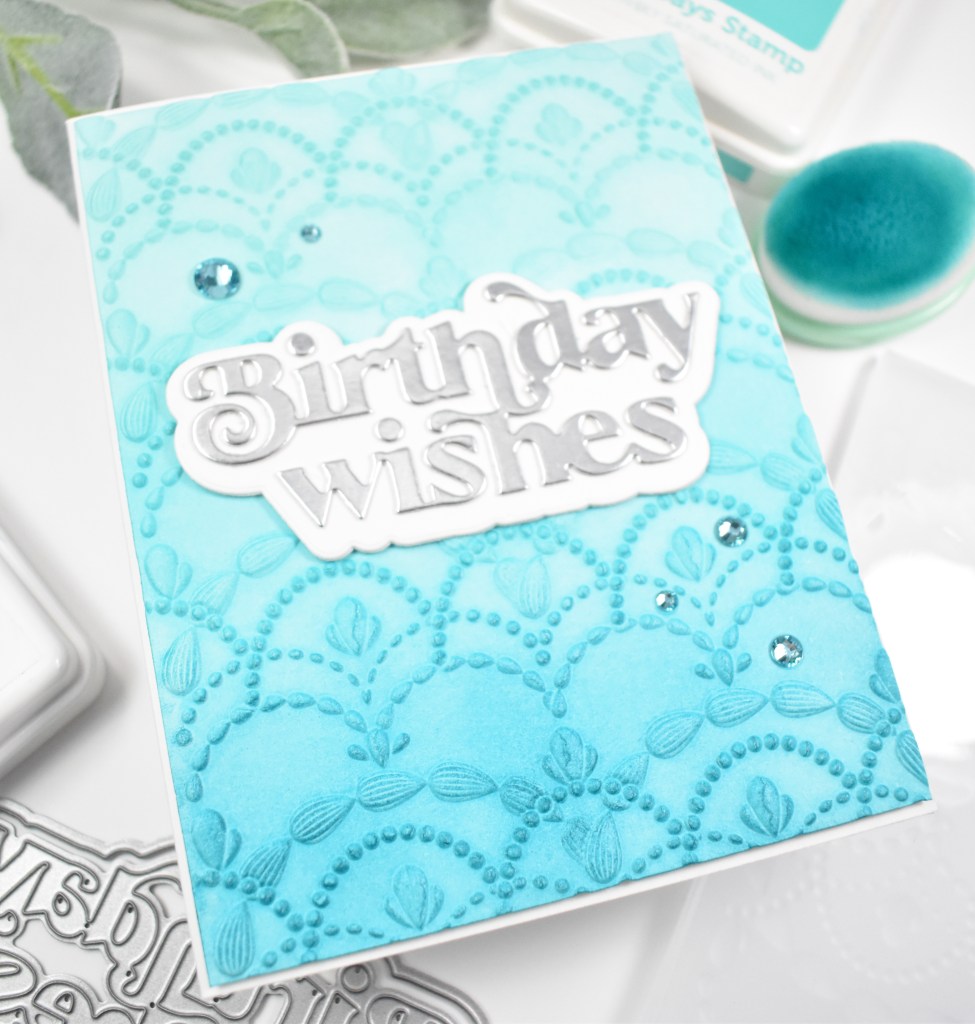
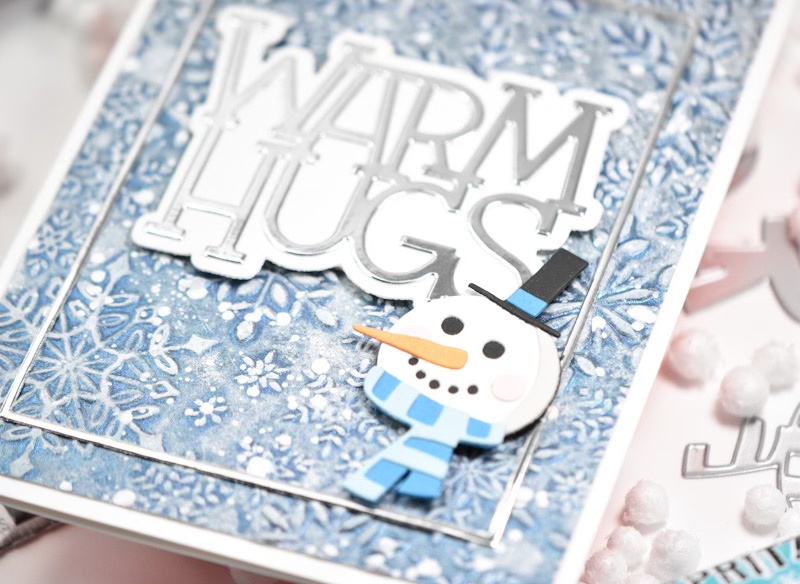
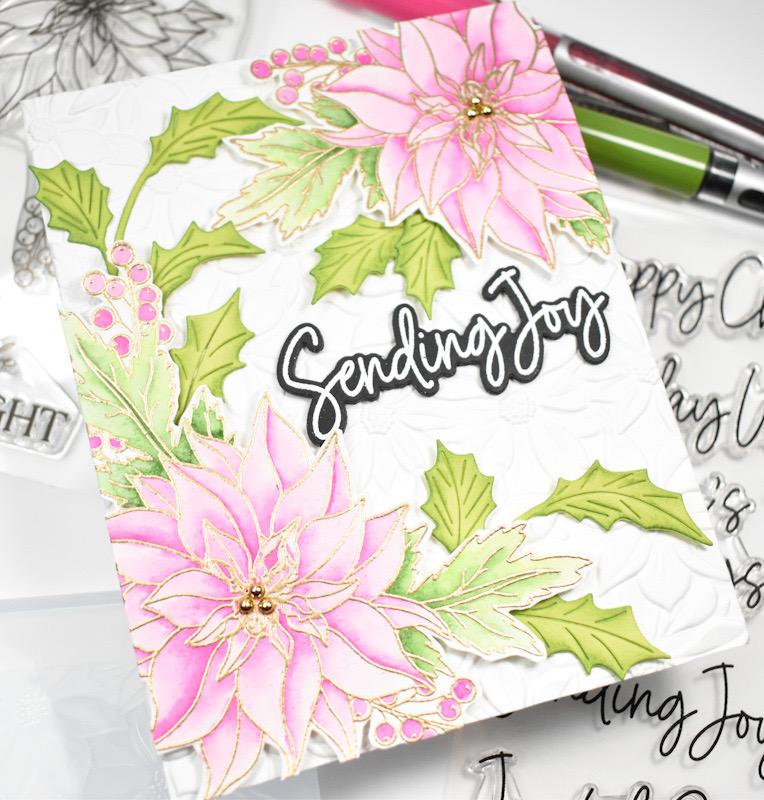
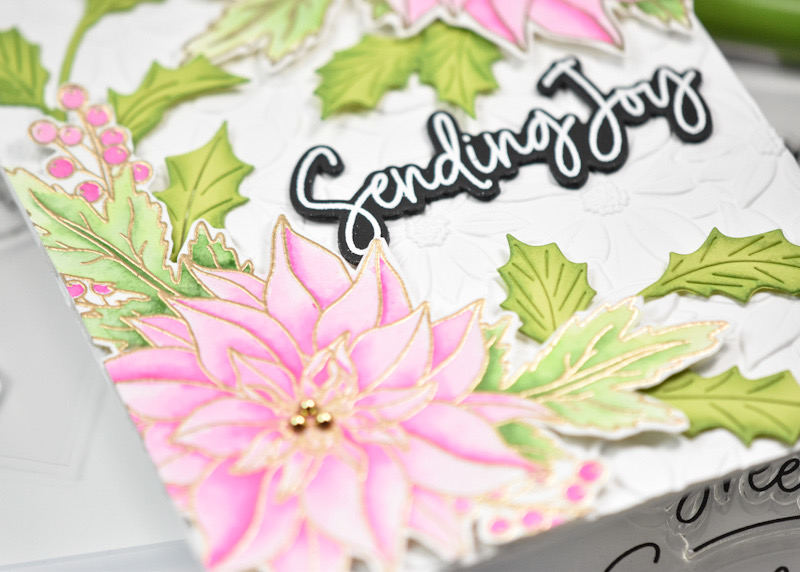
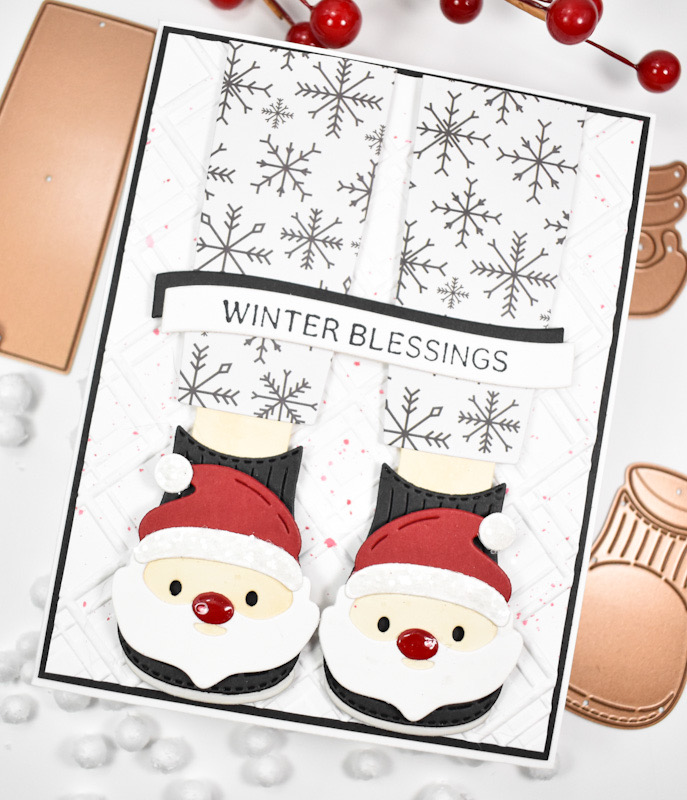
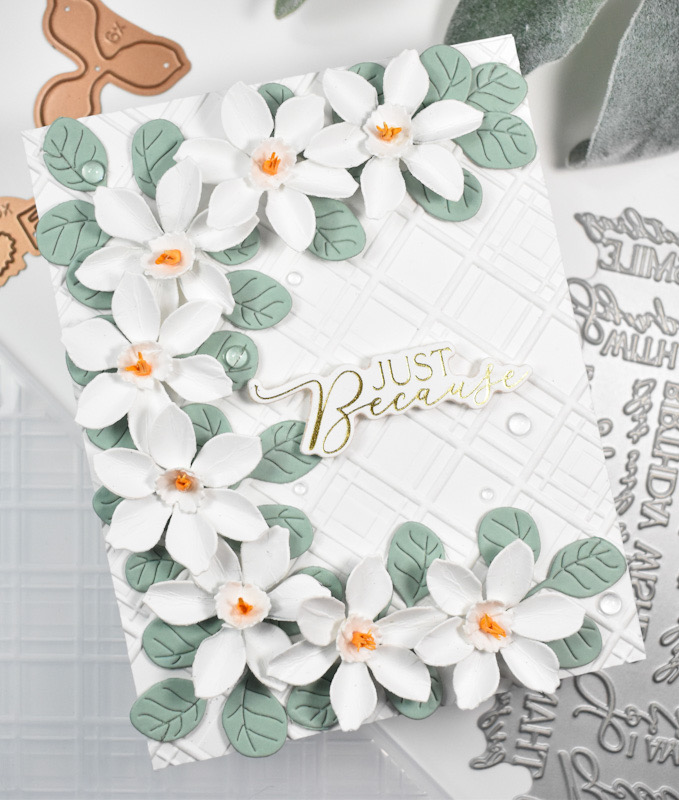
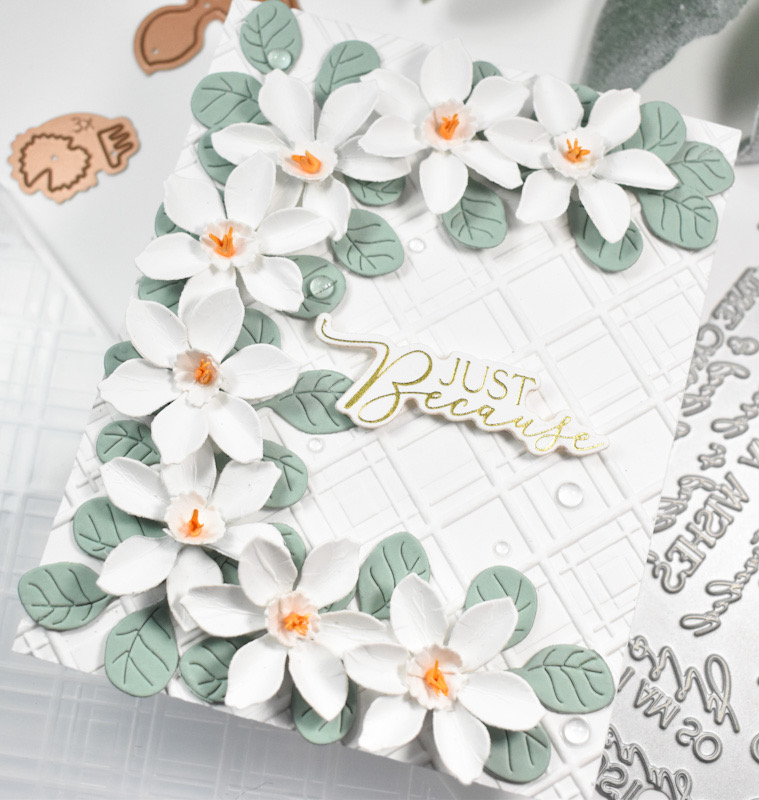
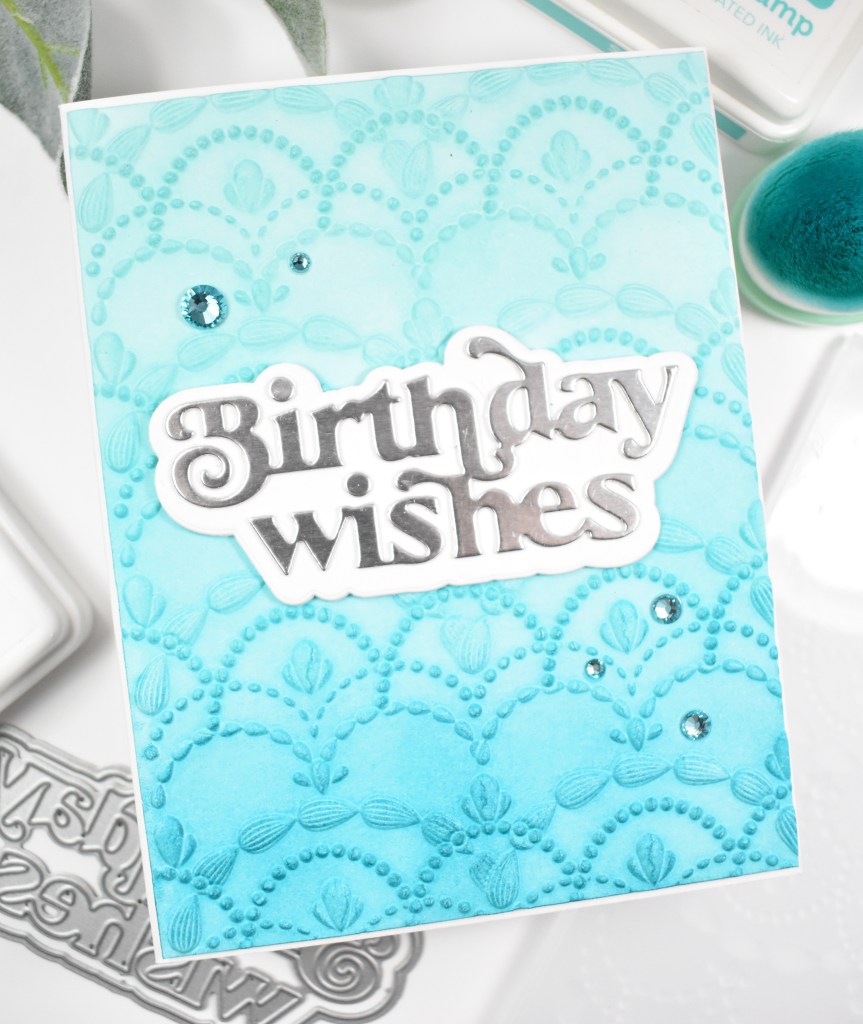
I began this project by running a panel of Neenah 110lb cardstock through the machine with the folder, and then doing some ink blending using Seafoam, Surf and Ocean inks.

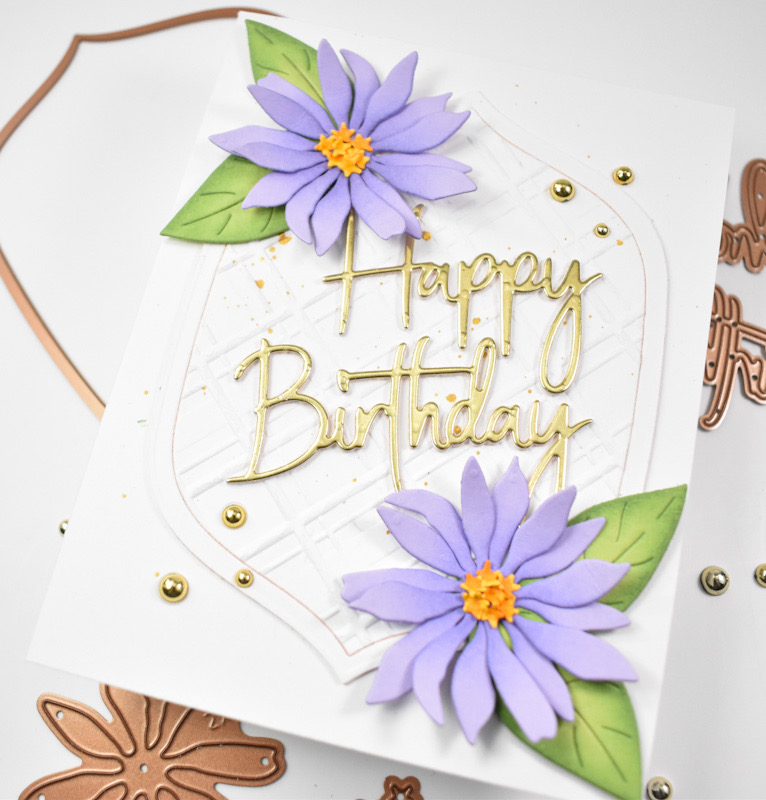
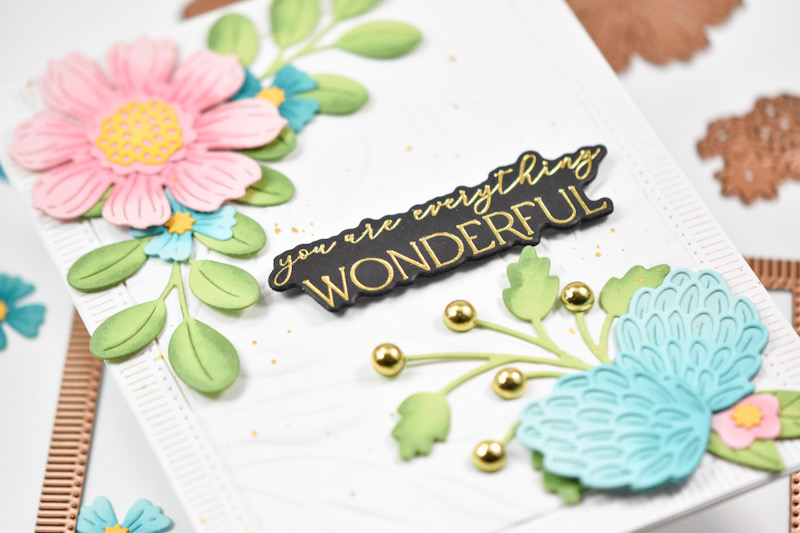
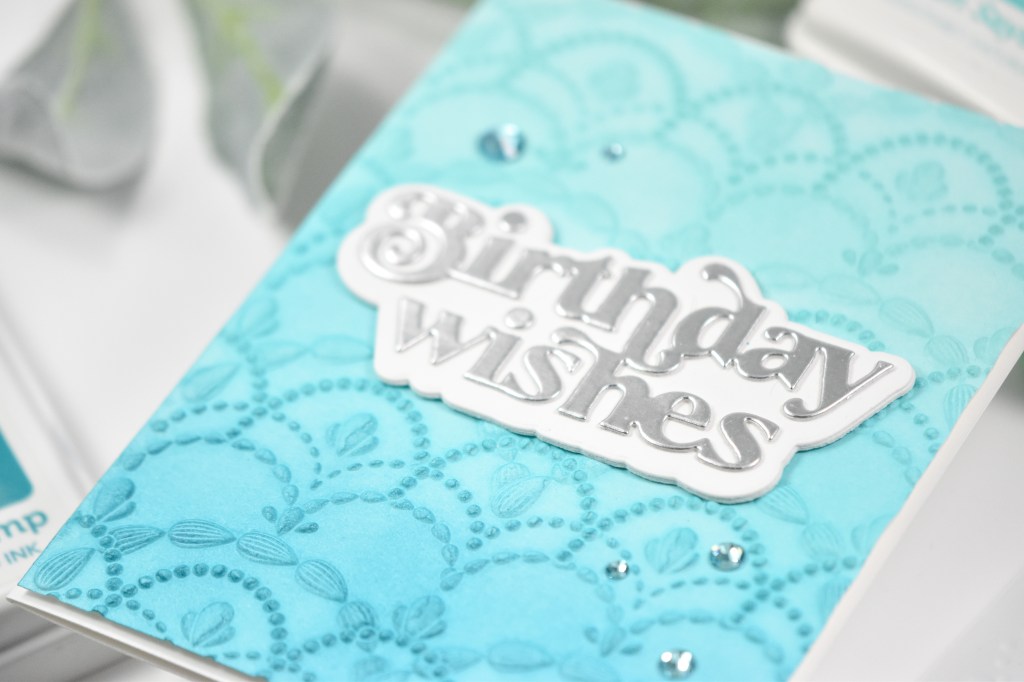
The Birthday Wishes sentiment was cut once from Matte Silver Cardstock and twice from Neenah, the shadow portion was cut twice and all of those pieces were adhered together for that stacked sentiment look.

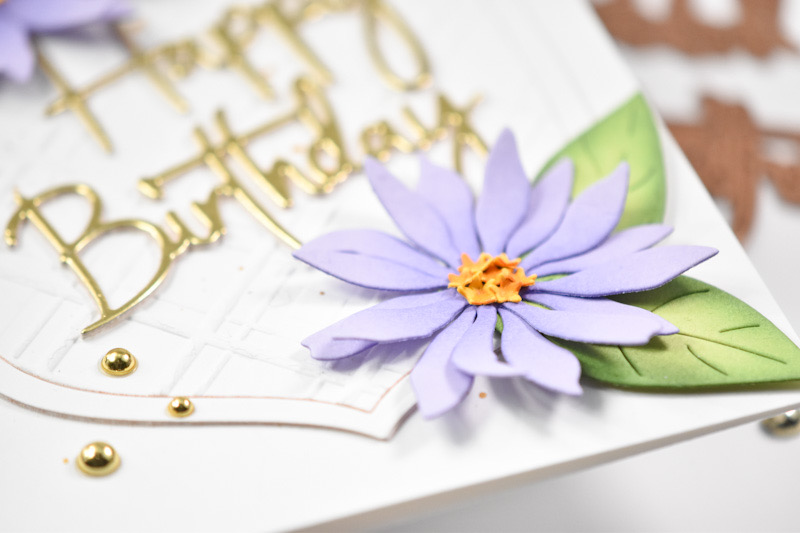
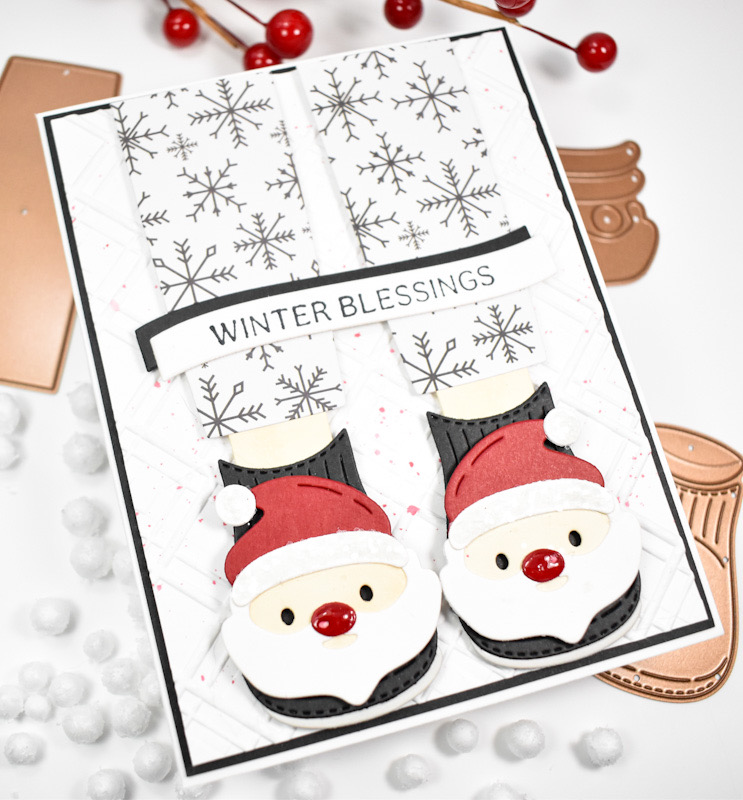
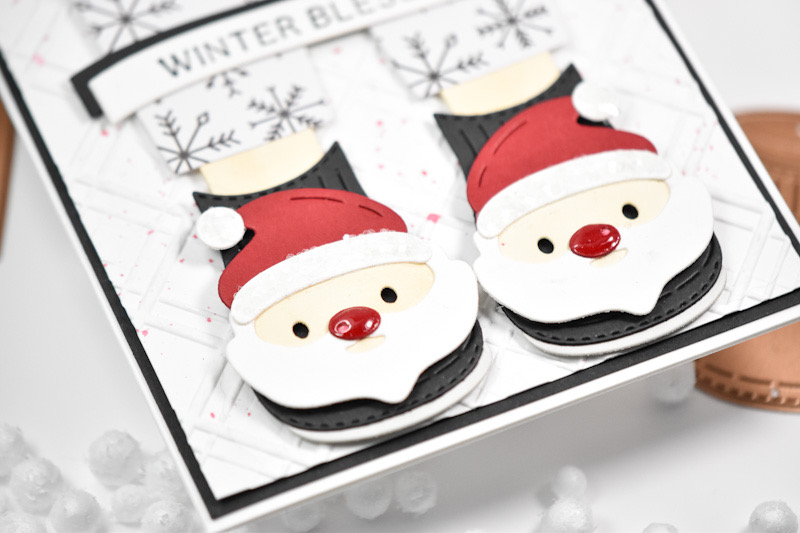
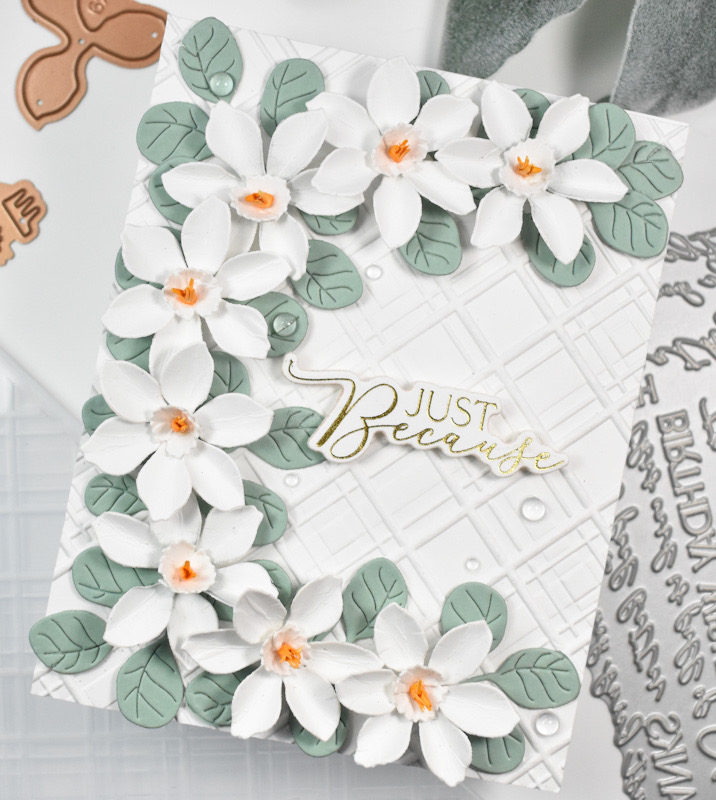
The embossed panel was added to the card base using foam tape, and the sentiment was glued directly to the panel. I added Surf Dazzling Gems to finish up.
A super simple project for today! That’s the awesome thing about embossing folders .. You can create beautiful projects quickly! Thanks again for joining me, and I hope you have a fabulous day!
Supply List
Affiliate links used at no cost to you. What does this mean? If you use the links within this post to make a purchase, I receive a small commission, which allows me to continue to post crafty content for your enjoyment. I truly appreciate your support!
Latest Posts
- Simon Says Stamp Rainbow Oak Leaf
- Spellbinders Dear Santa Floral Letter
- Simon Says Stamp Grungy Dewdrop Daisy

- Simon Says Stamp Pastel Birthday Wishes

- Simon Says Stamp Best Fish

Latest Instagram Posts