Spellbinders Withered Viburnum

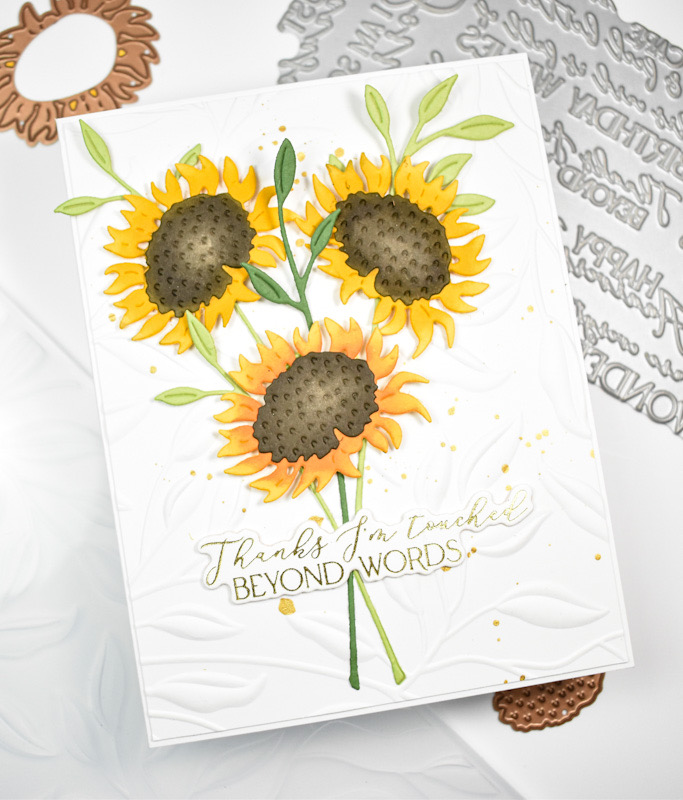
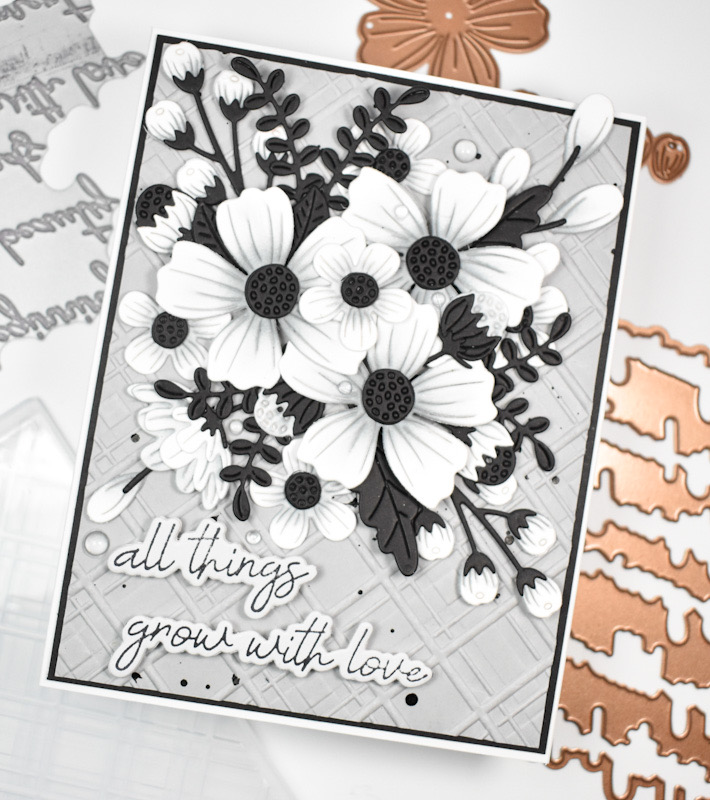
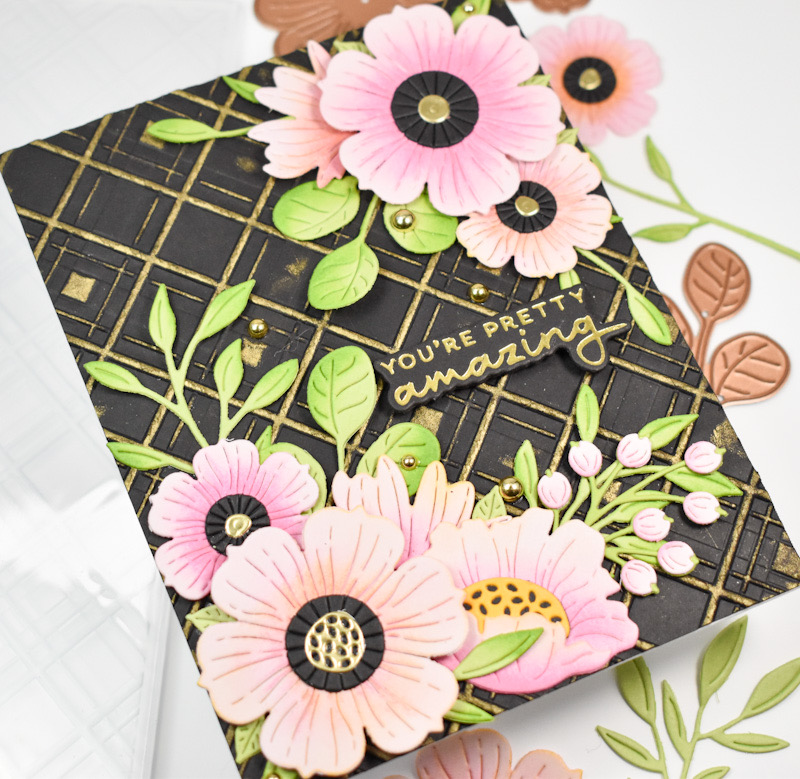
Hello Friends, and welcome back! I’m back today with a card featuring the new Withered Viburnum from the Winter’s Grace Garden collection from Spellbinders. This is such a beautiful set from Susan Tierney-Cockburn, and I just loved adding sparklies for the berries! Let’s go ahead and go through the details.

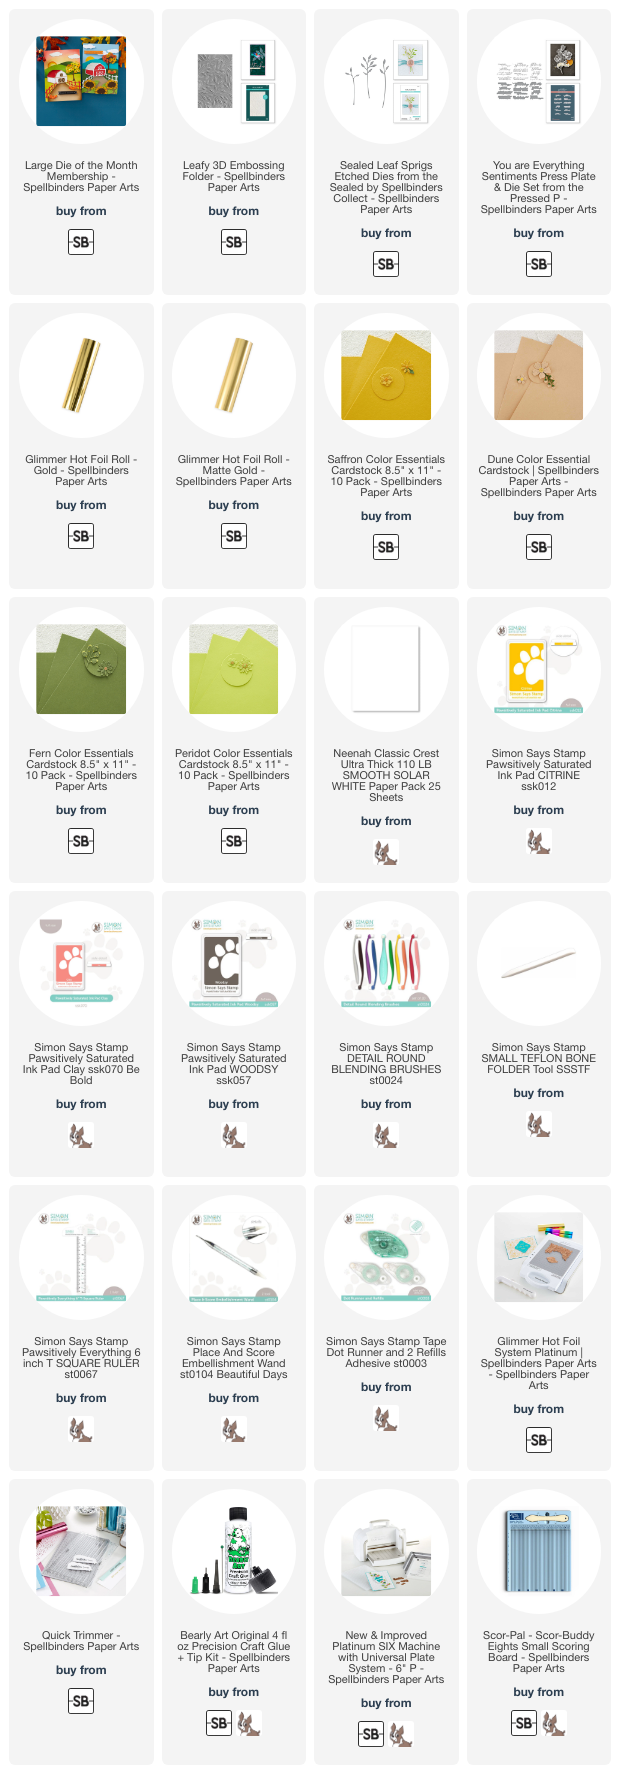
NOTE: all supplies are linked to multiple sources in the thumbnails at the end of this blog post.

I began this project by cutting the leaves from Fern cardstock, and cutting the berry portion from Indigo cardstock. I did end up cutting the leaves several times for a fuller spray. Once the cutting was complete, I did some ink blending on the leaves using SSS Pawsitively Saturated Inks in Cabernet and Kale.
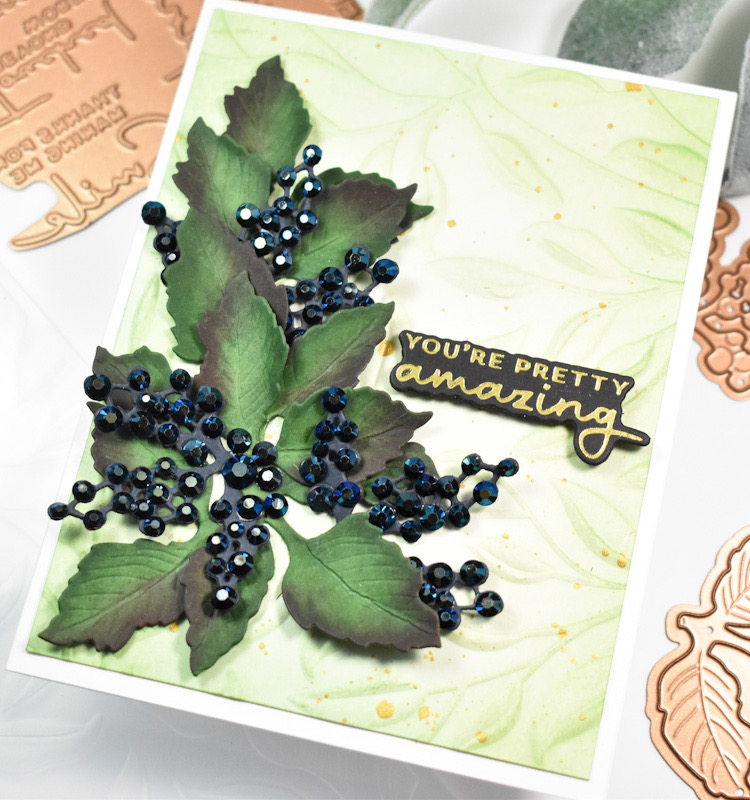
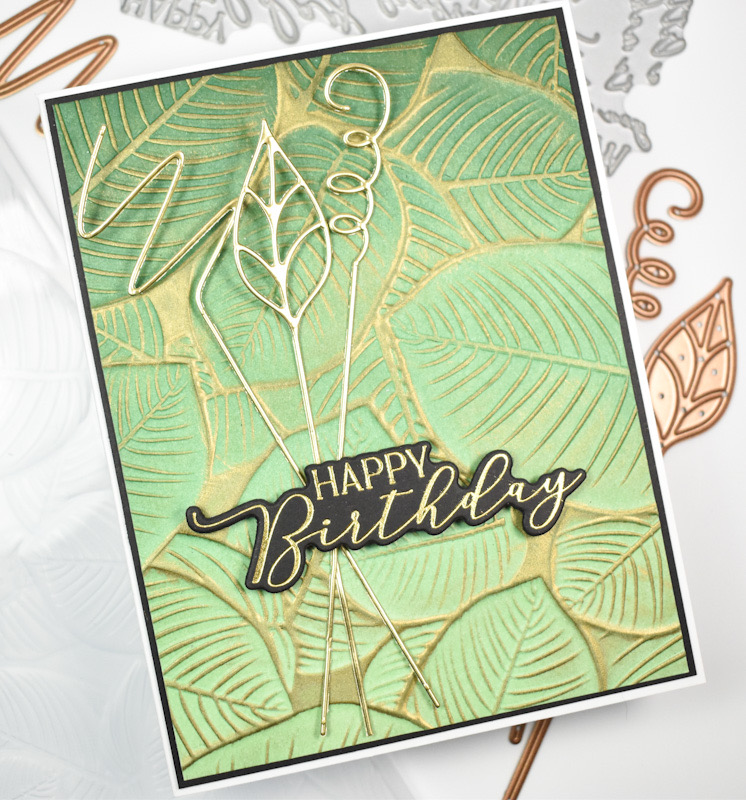
Like I said earlier, I added jewels to the berry portions and then went to work on the rest of the card. The background was created using the Leafy 3D Embossing Folder and I lightly ink blended some Sprout ink on that before splattering it with some gold acrylic ink.
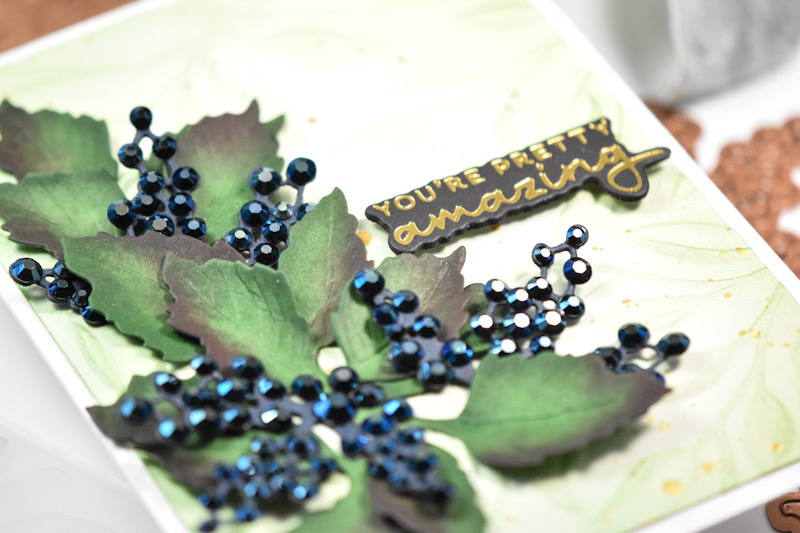
The sentiment, which is from the Making Me Smile Sentiments set, was gold foiled onto black cardstock and die cut several times using the included die. I adhered the background panel to the card base and then began the layout.

The leaves were adhered first and the berry clusters were adhered next, tucking those in as needed. To finish up, the sentiment was adhered with foam strips for dimension.

That does it for this one! I hope you enjoyed it, and I hope it inspires you to get crafty in your space! Don’t forget to head over to the Spellbinders website to catch all of the September releases! Thanks again for stopping by, and have a wonderful day!
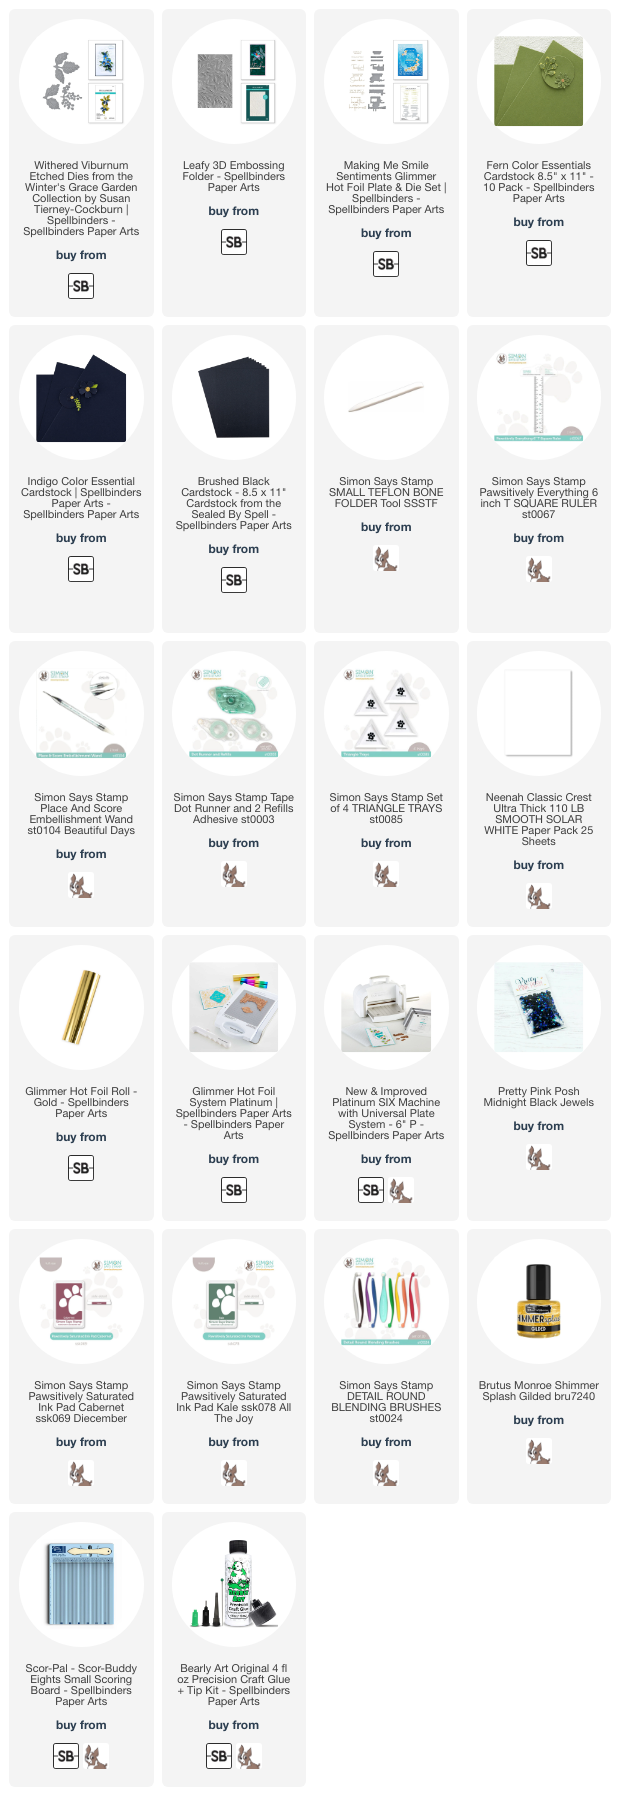
Supply List
Affiliate links used at no cost to you. What does this mean? If you use the links within this post to make a purchase, I receive a small commission, which allows me to continue to post crafty content for your enjoyment. I truly appreciate your support!
Latest Posts
- Simon Says Stamp Rainbow Oak Leaf
- Spellbinders Dear Santa Floral Letter
- Simon Says Stamp Grungy Dewdrop Daisy

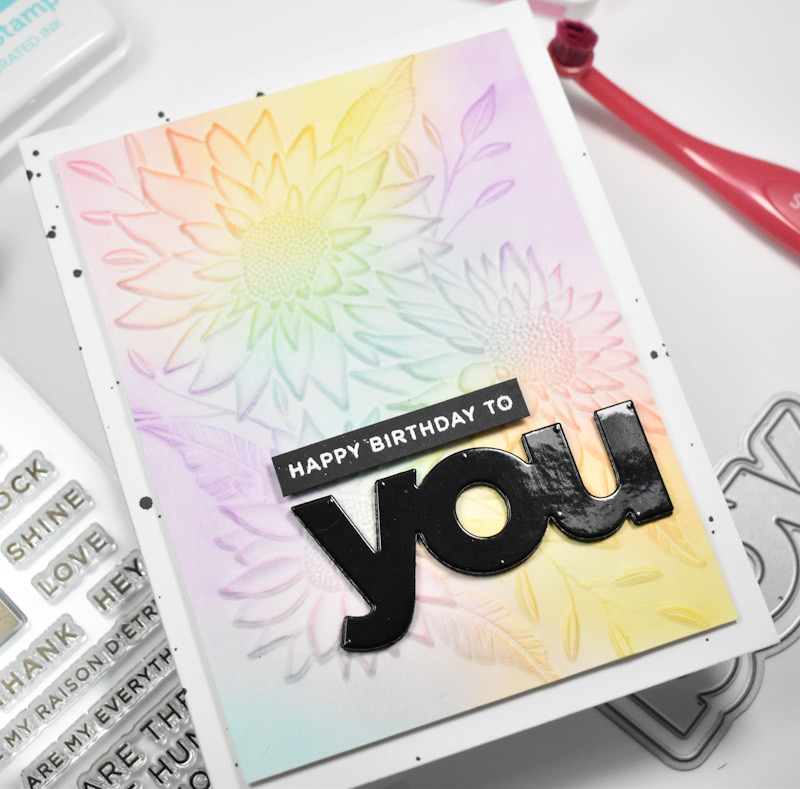
- Simon Says Stamp Pastel Birthday Wishes

- Simon Says Stamp Best Fish