Simon Says Stamp Cute Duckling

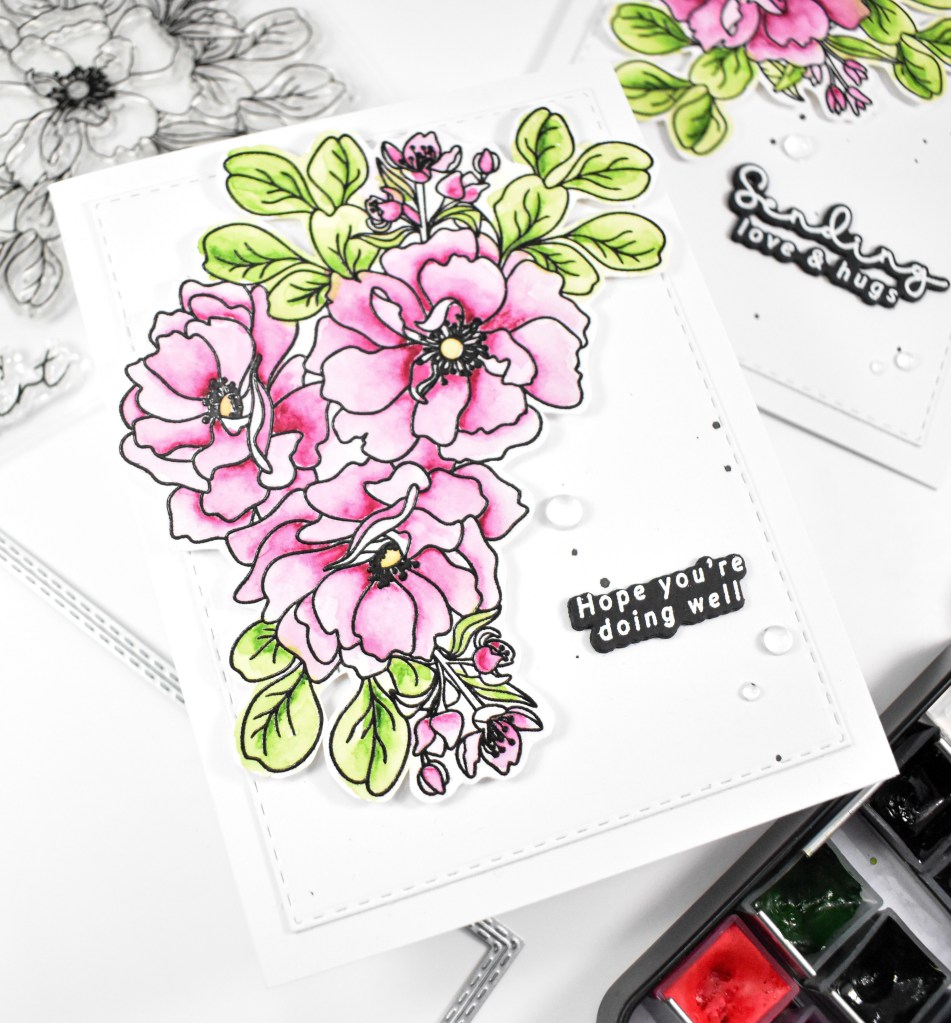
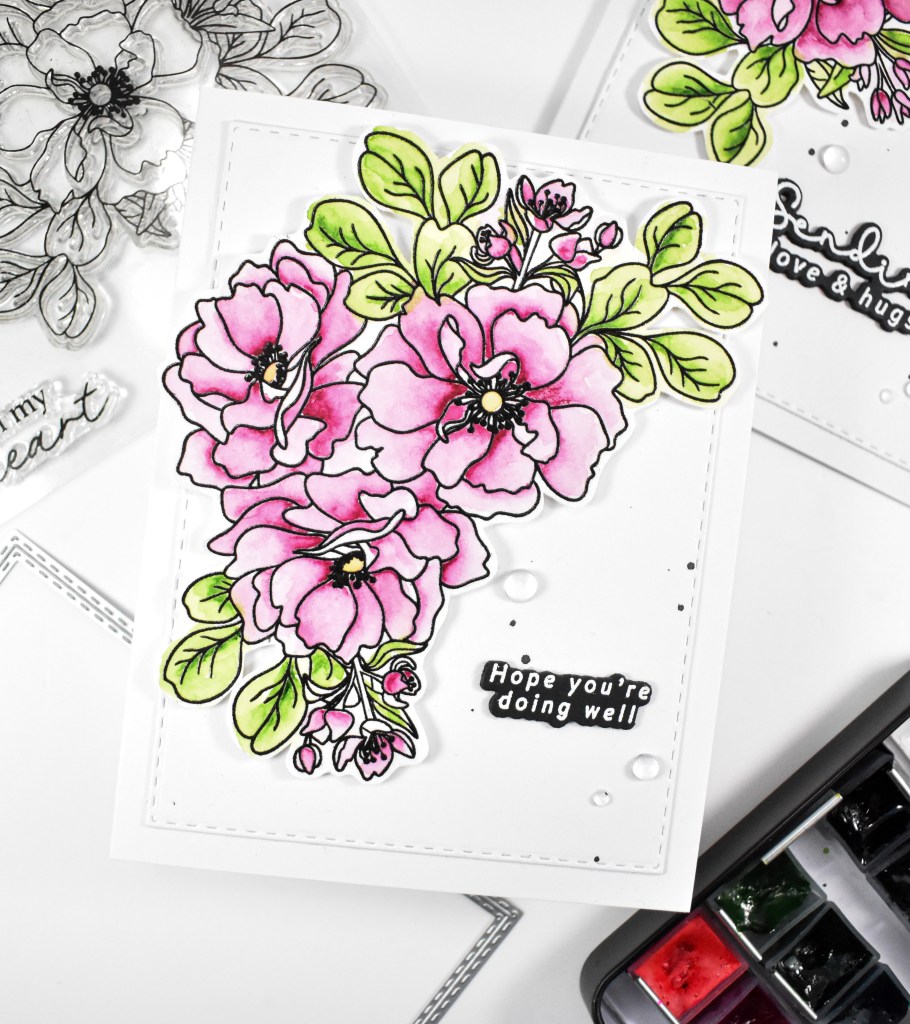
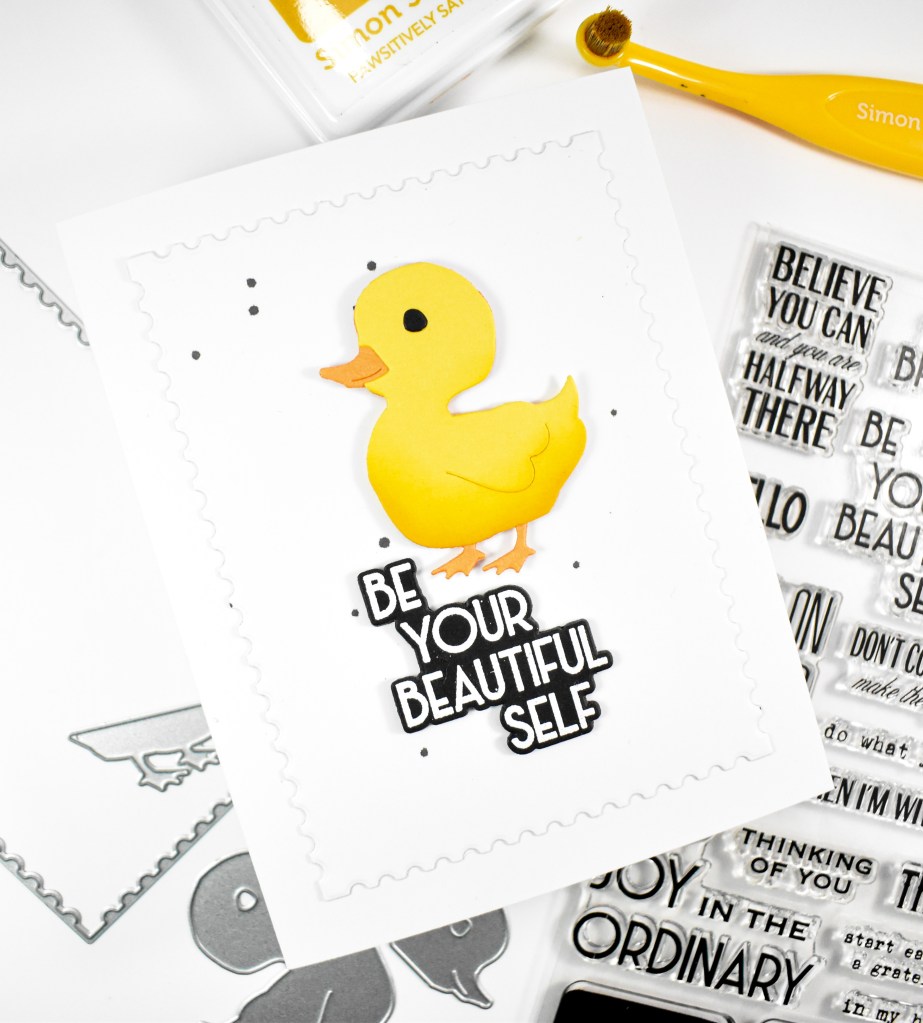
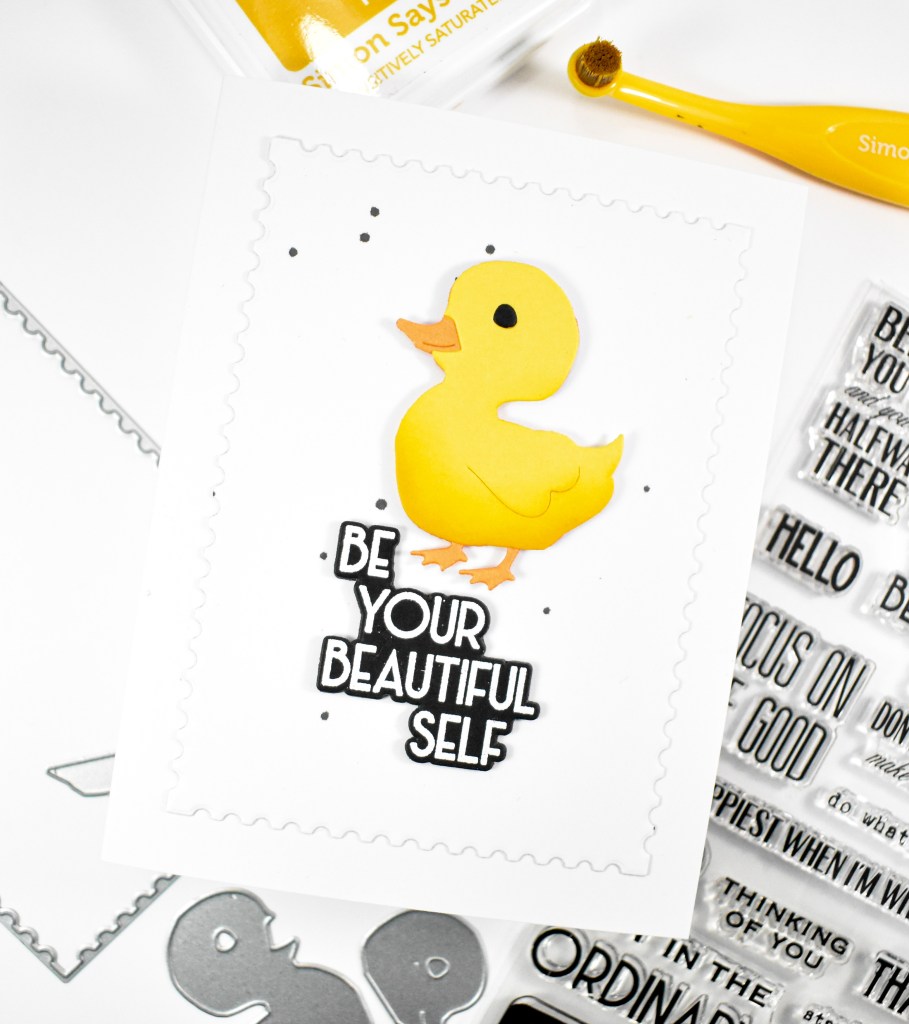
Hello Friends, and welcome back! Today’s post is featuring the new Cute Duckling from Simon’s latest release, In My Heart. Let’s go ahead and run through the details for this one.
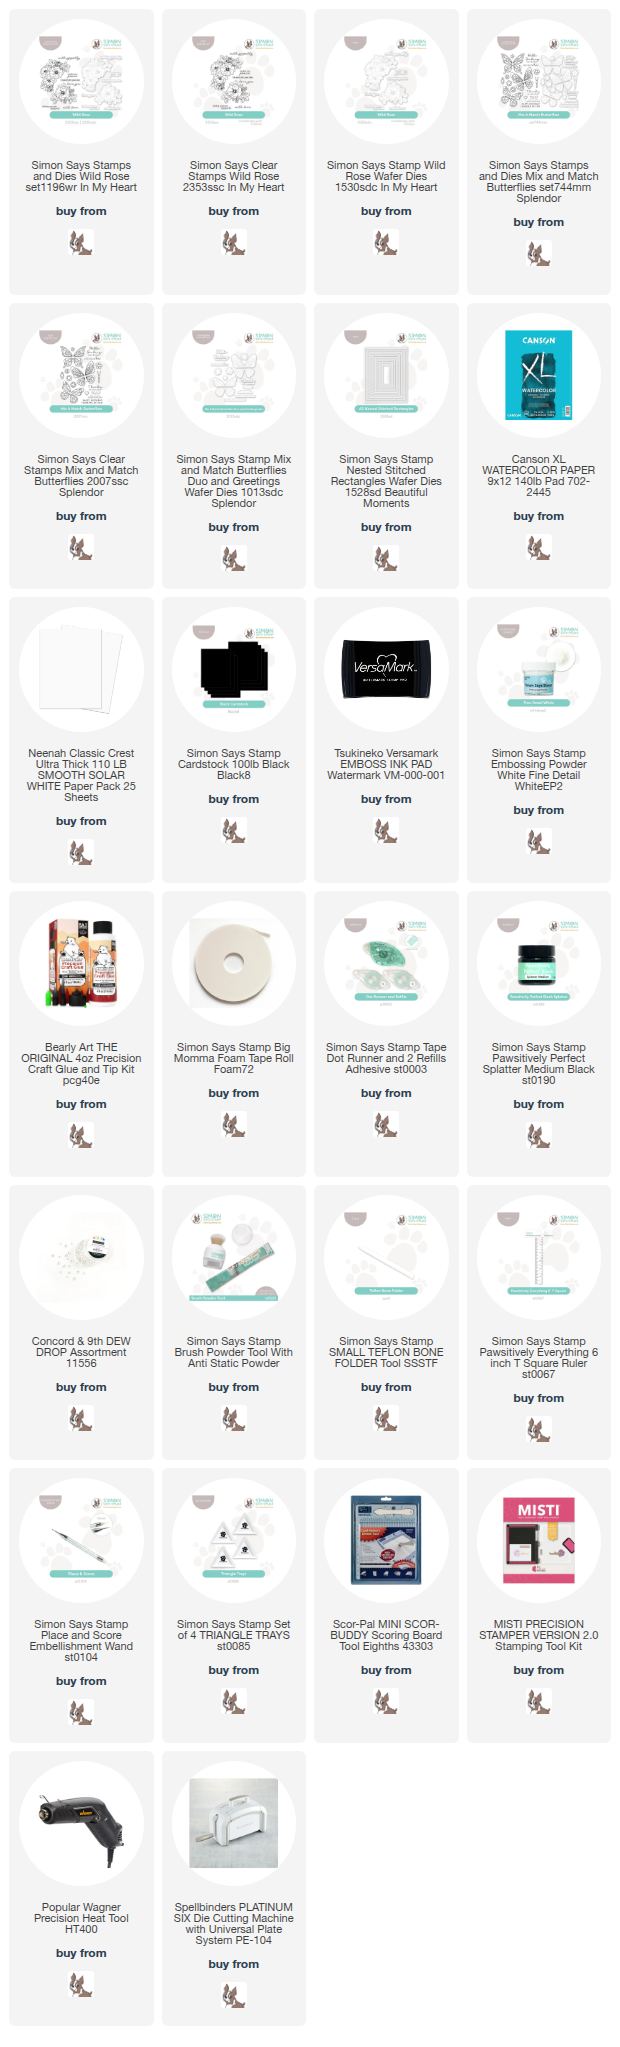
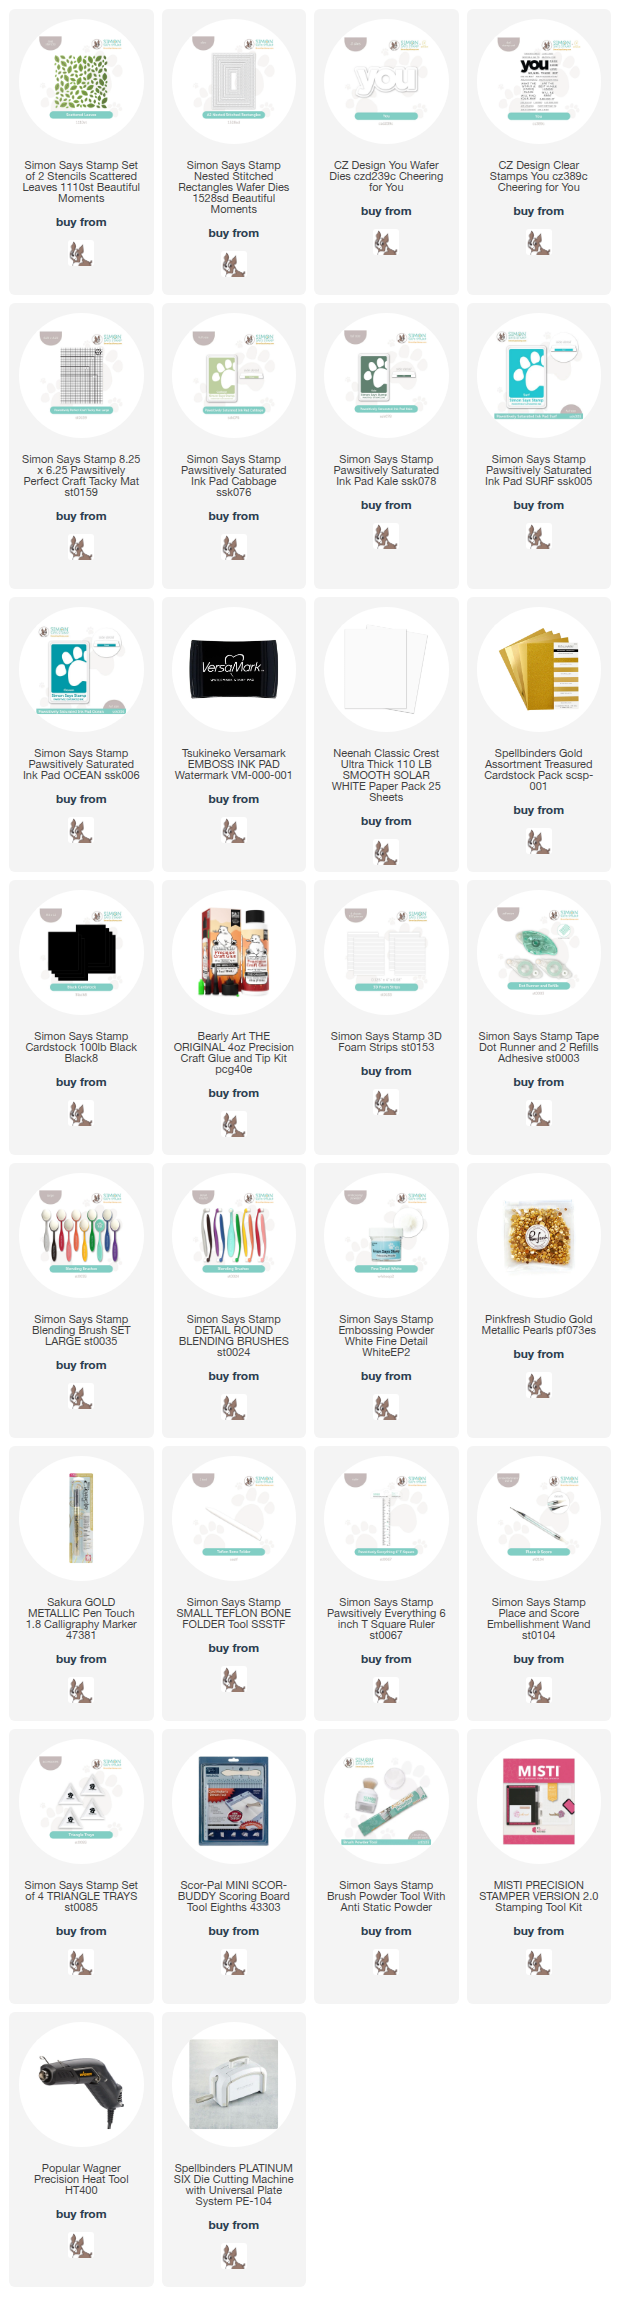
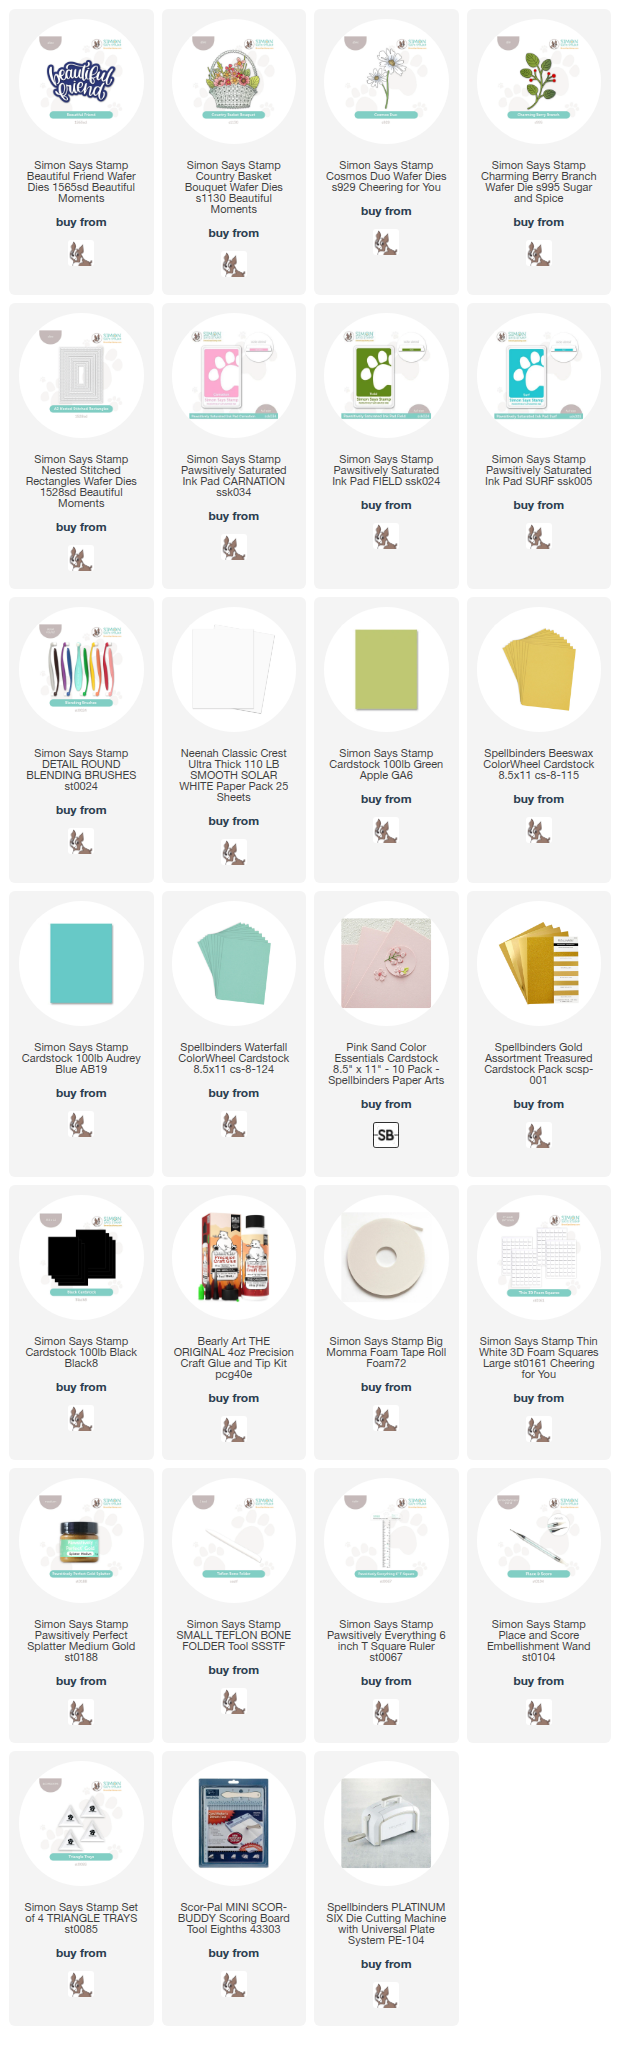
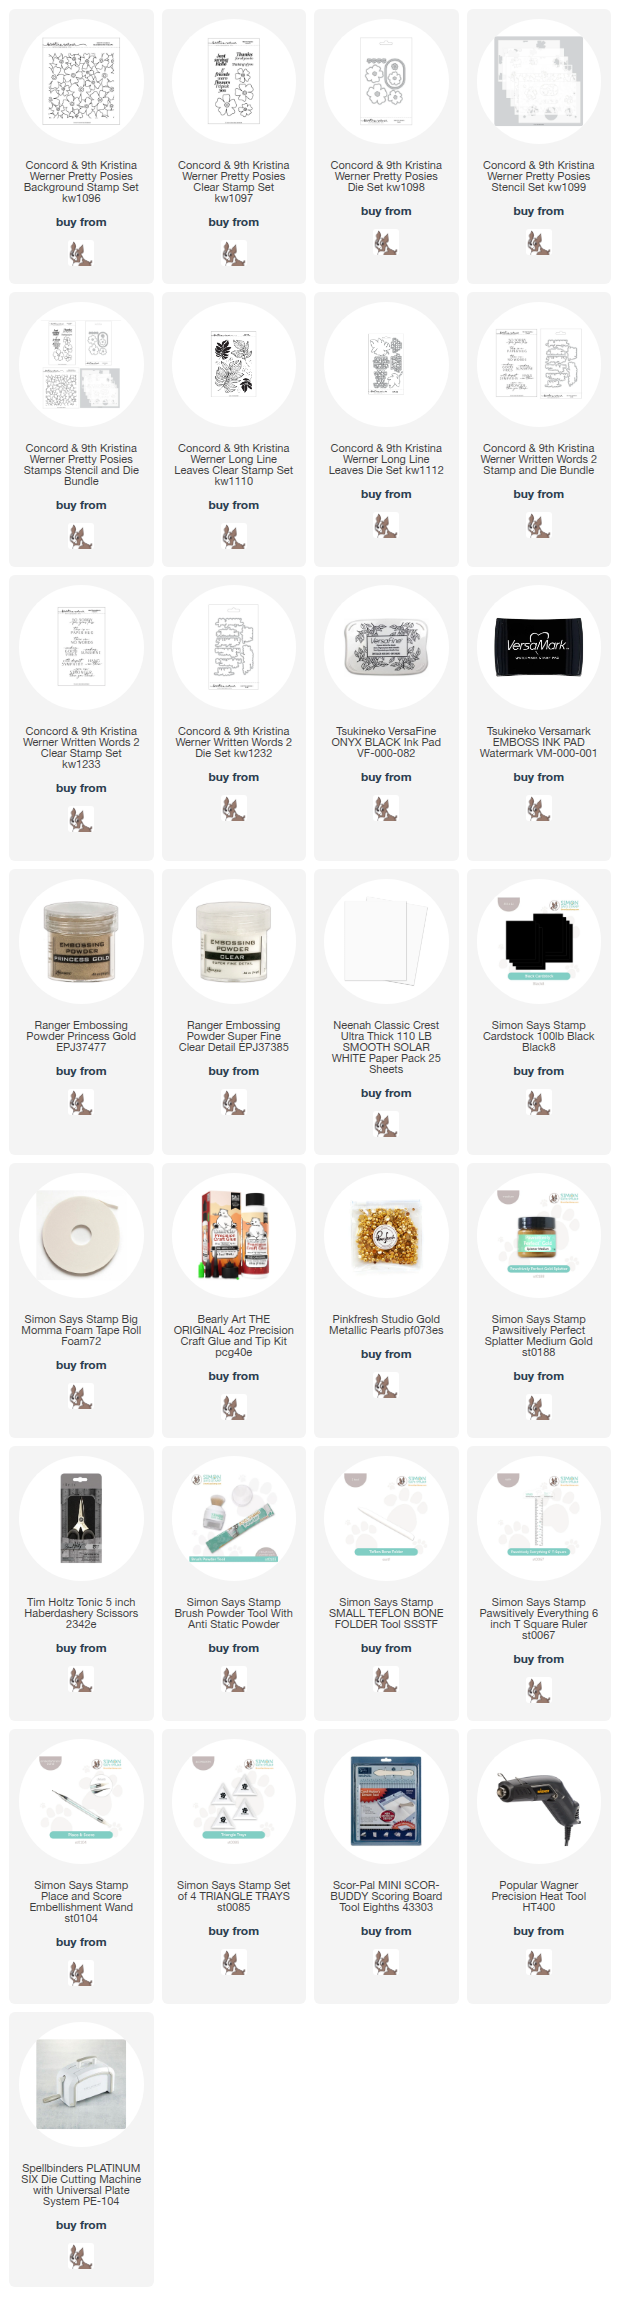
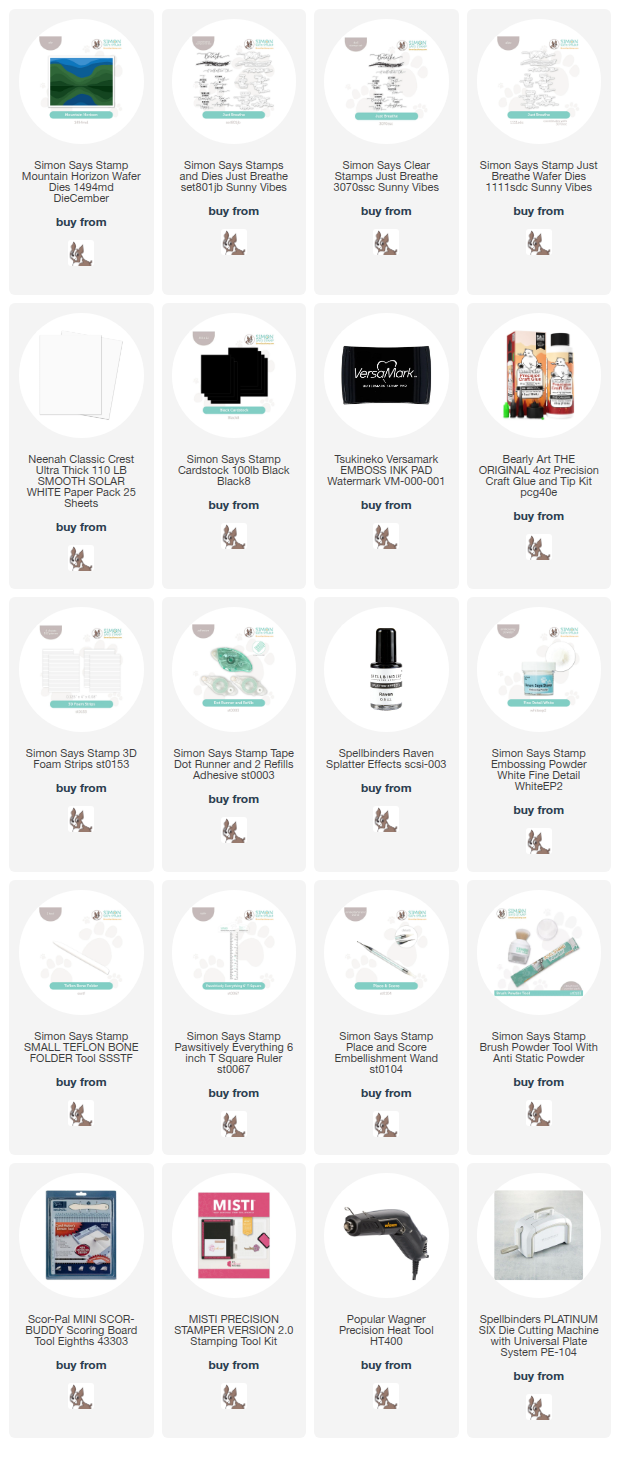
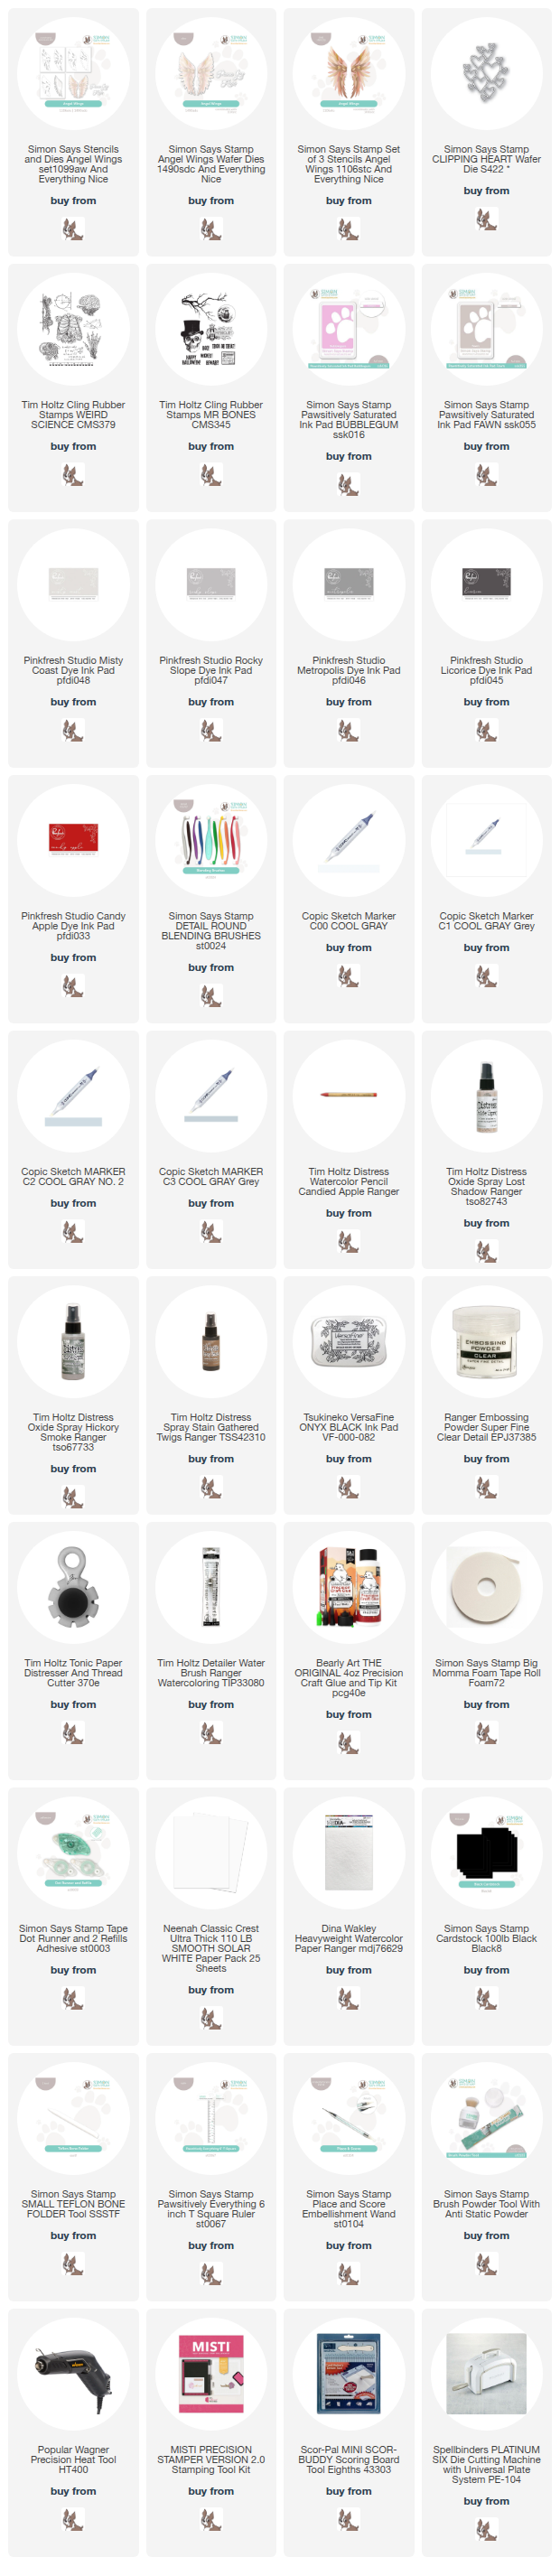
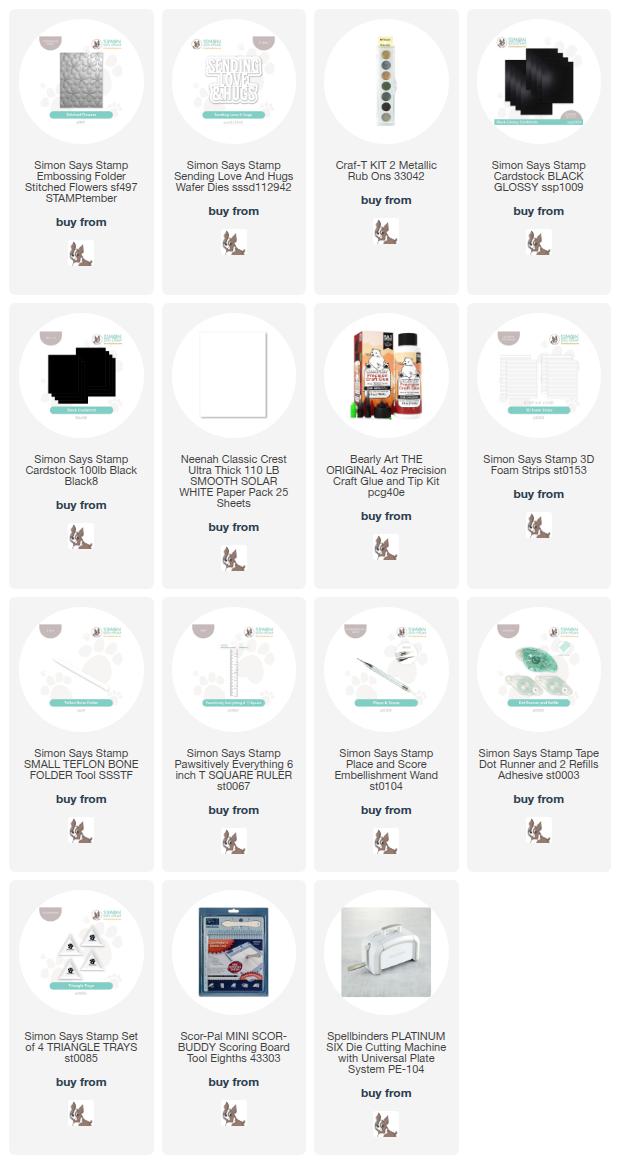
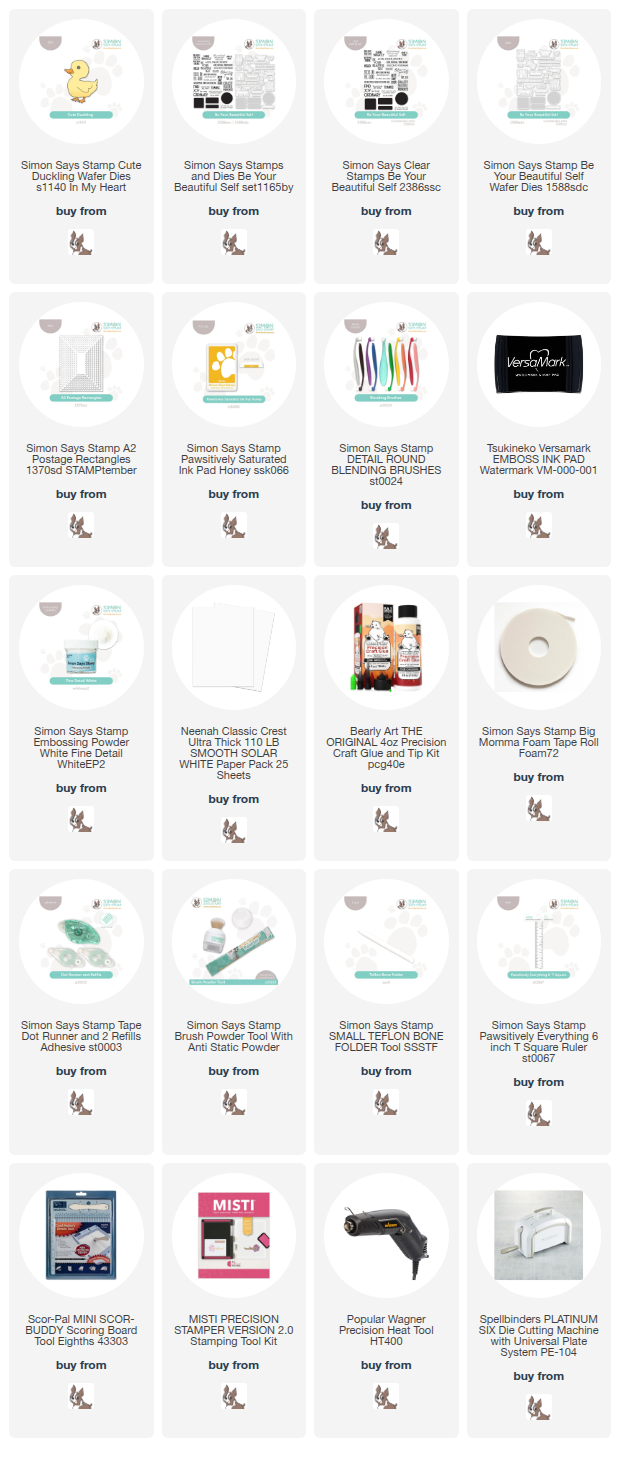
NOTE: all supplies are linked in the thumbnails at the end of this blog post.
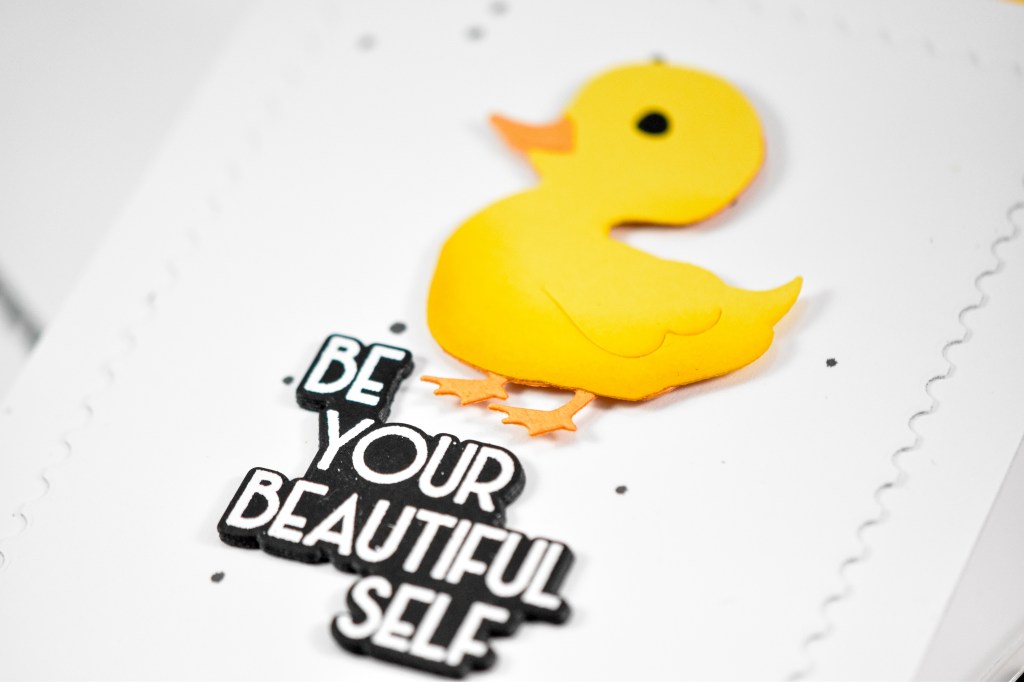

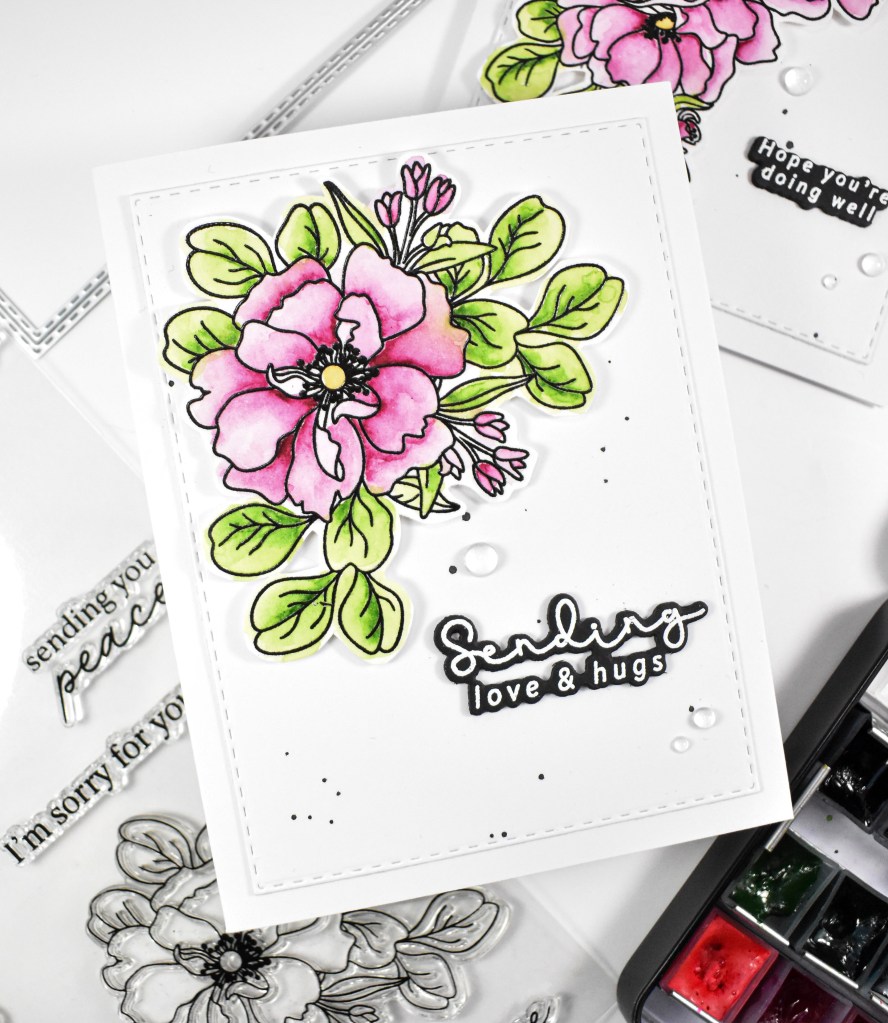
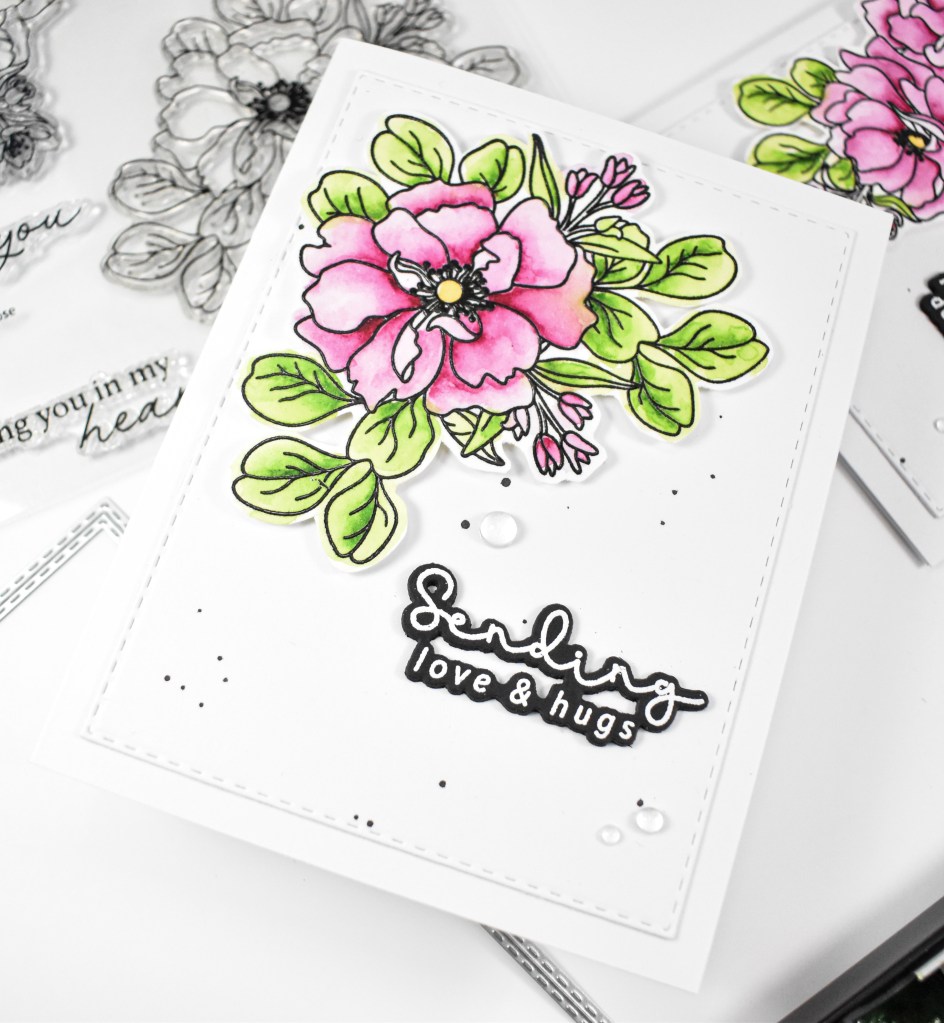
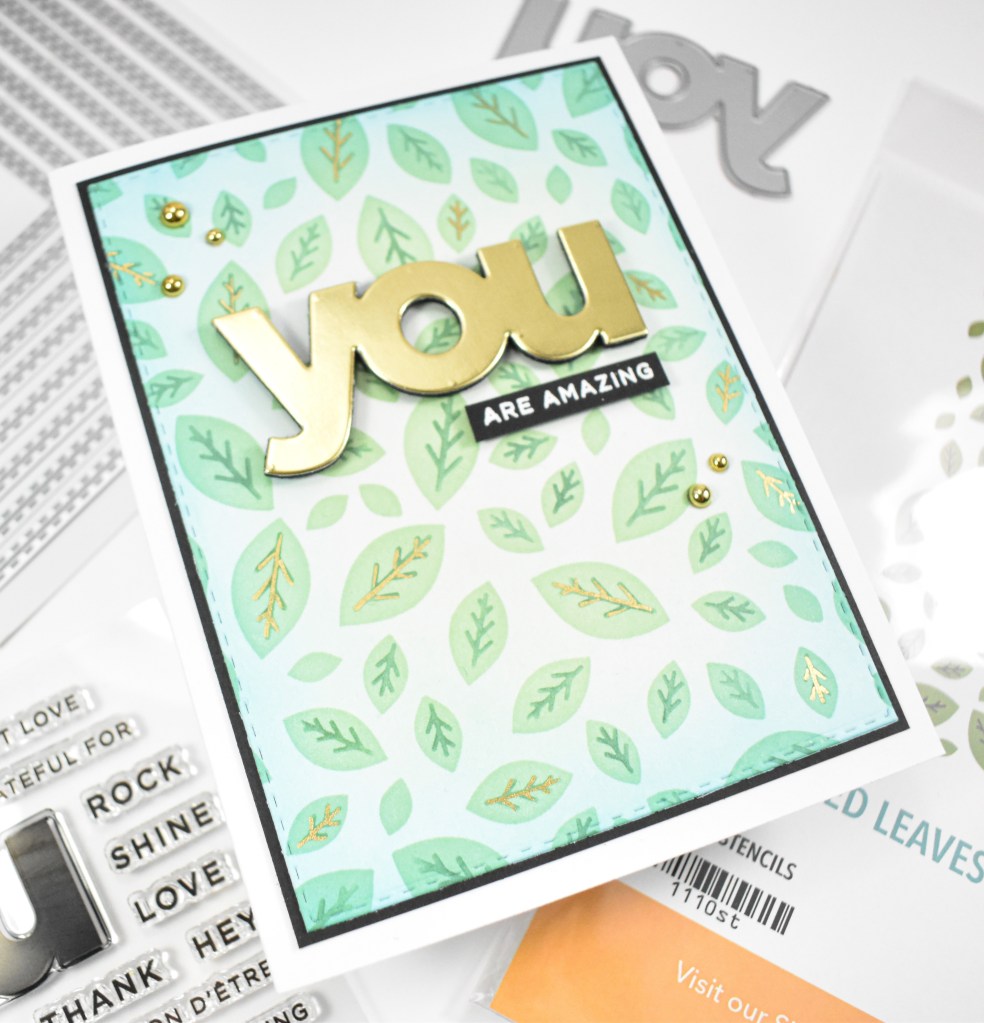
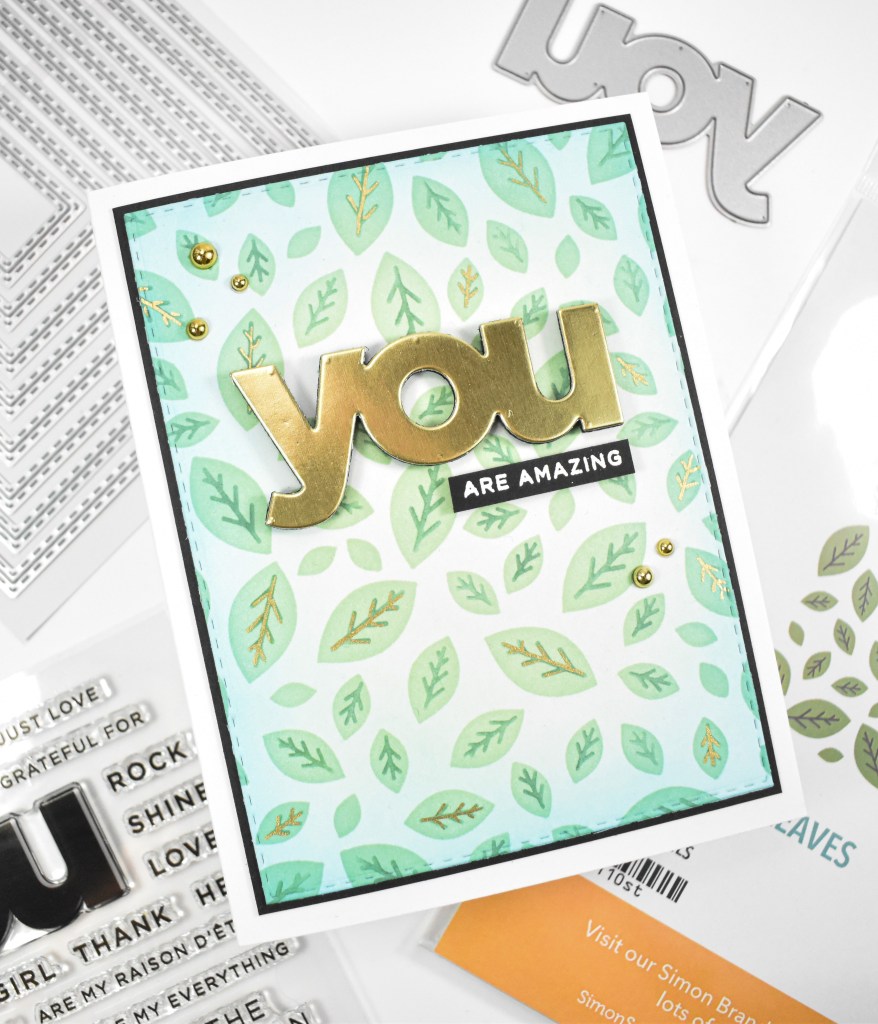
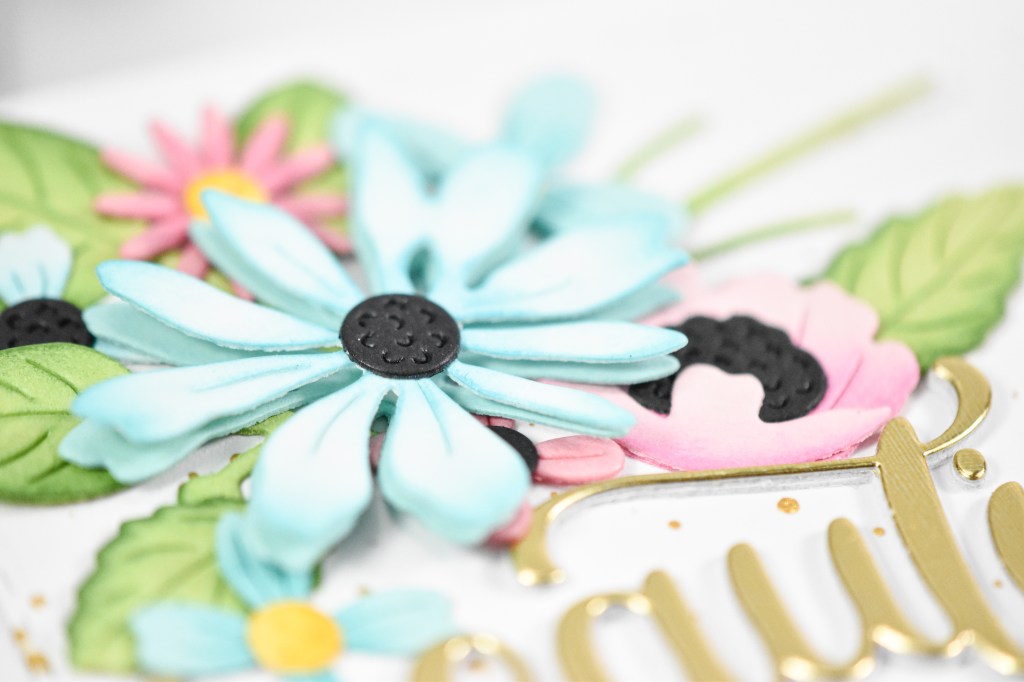
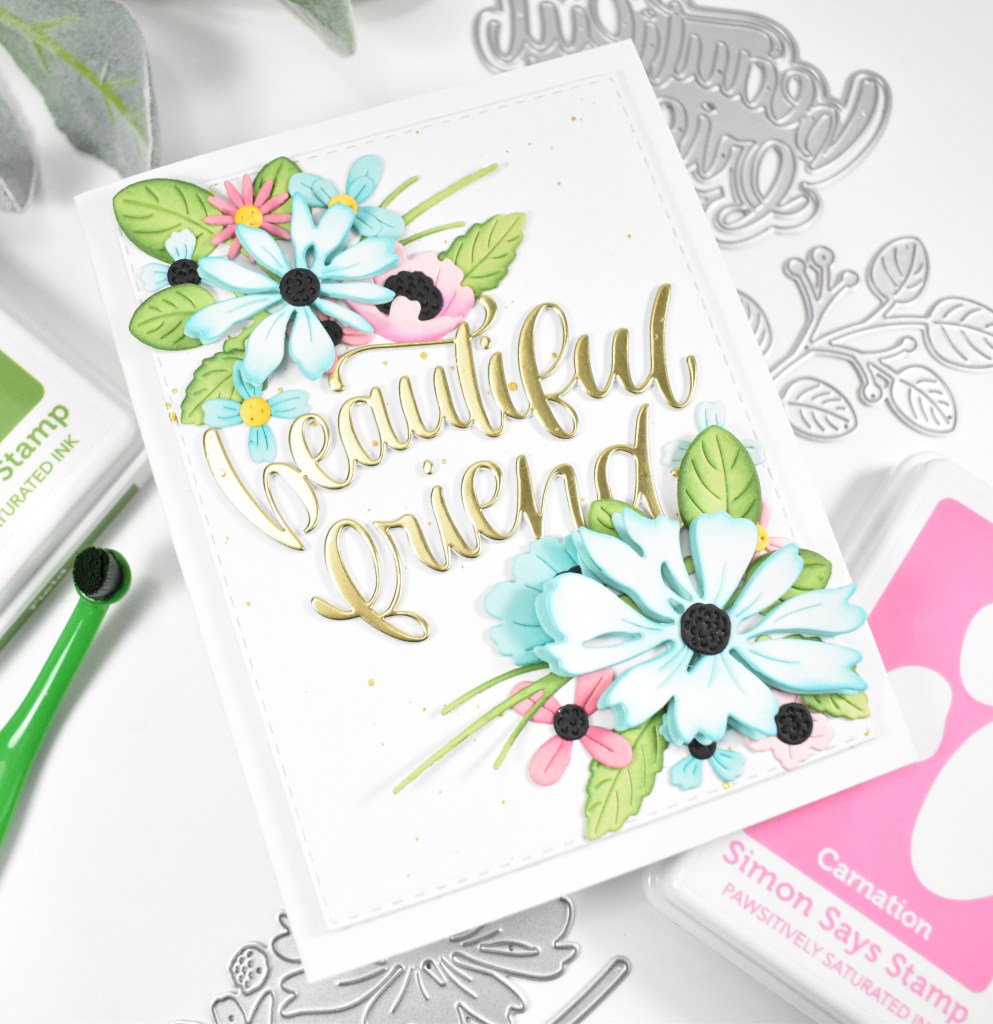
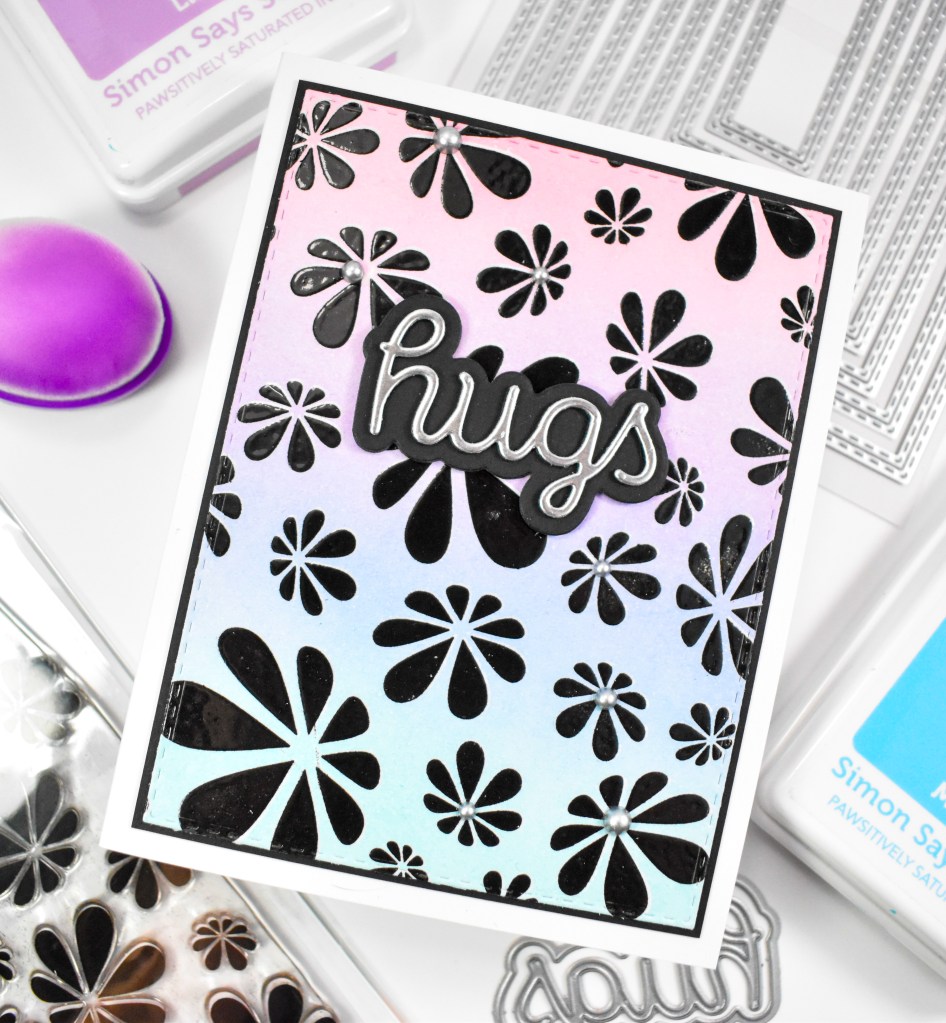
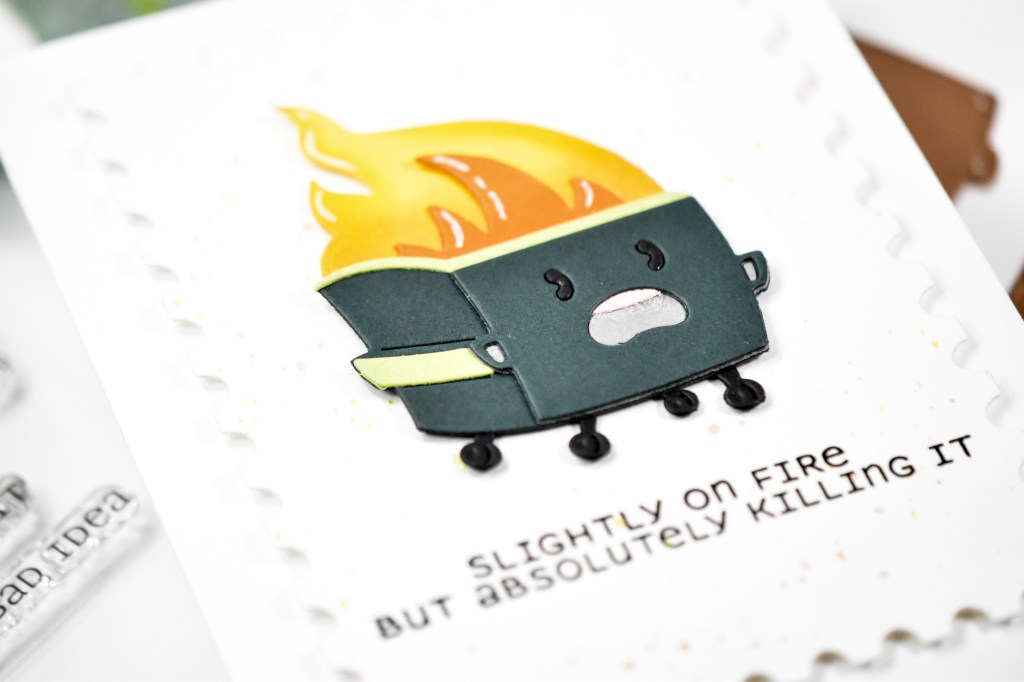
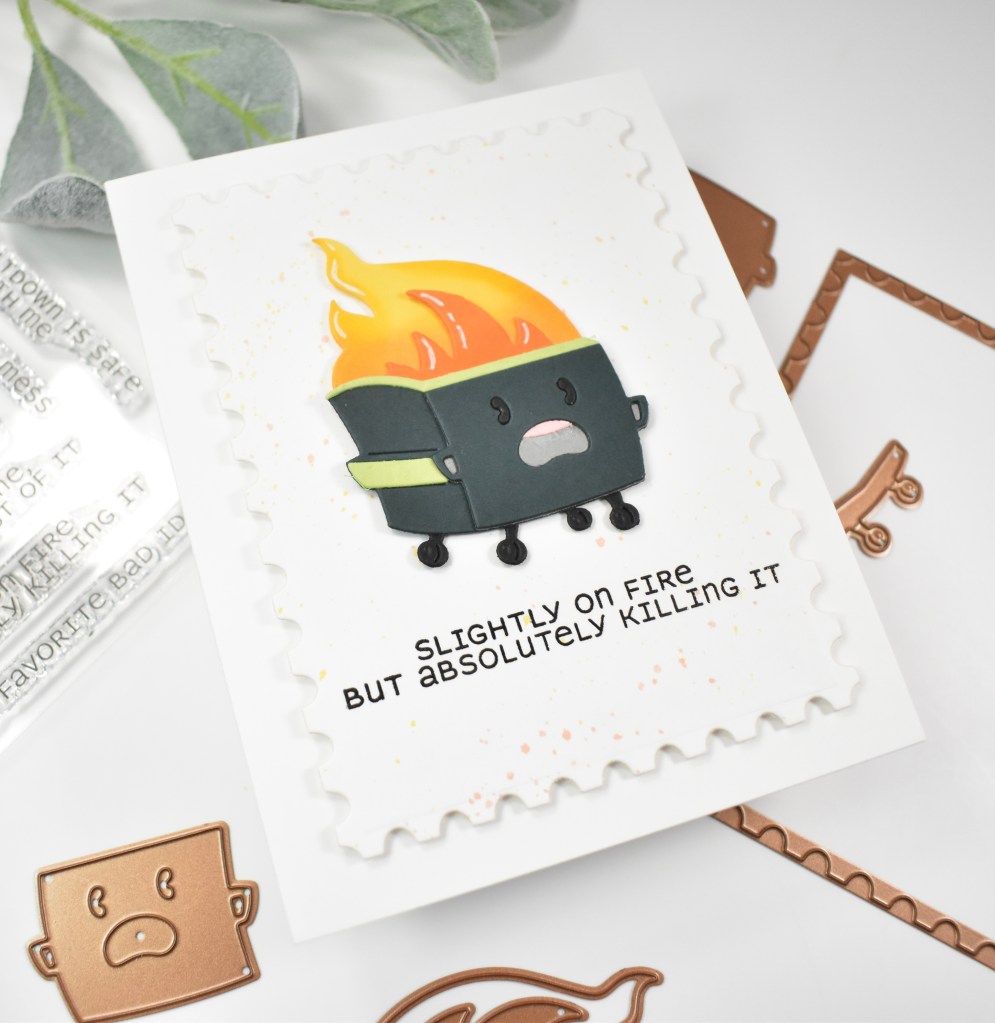
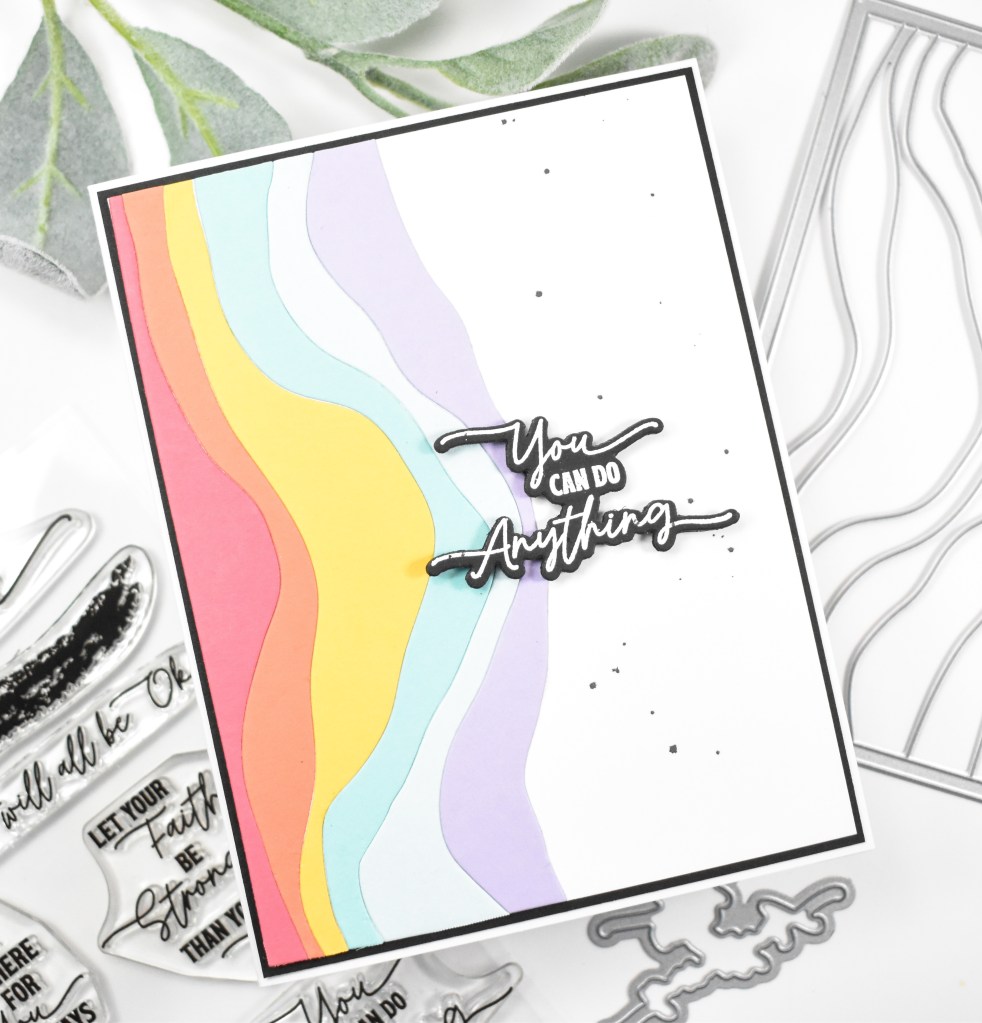
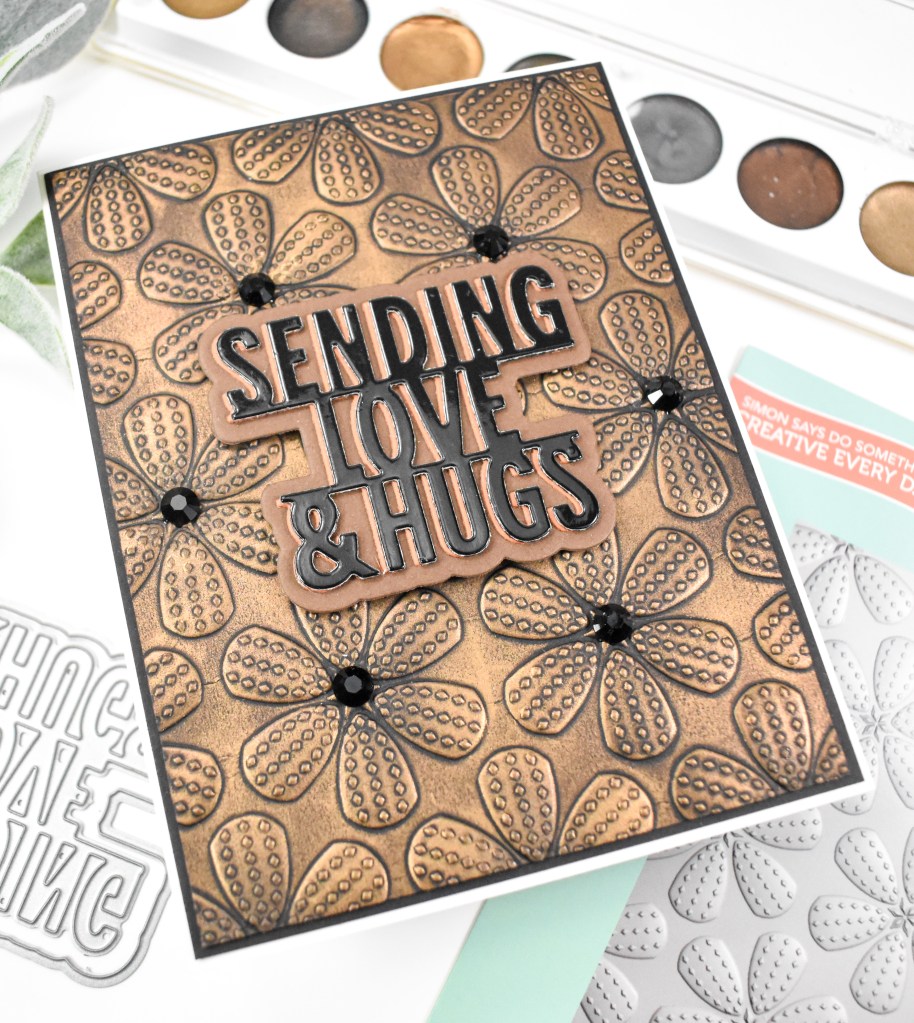
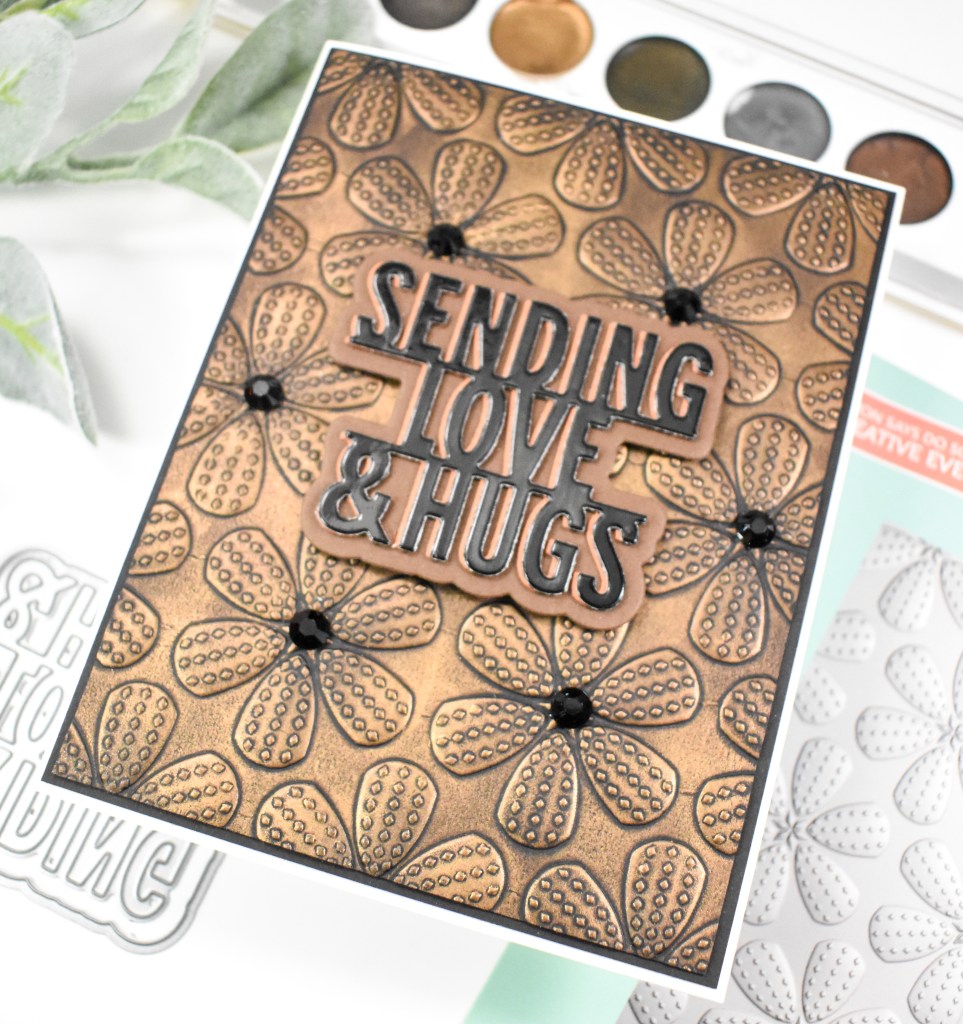
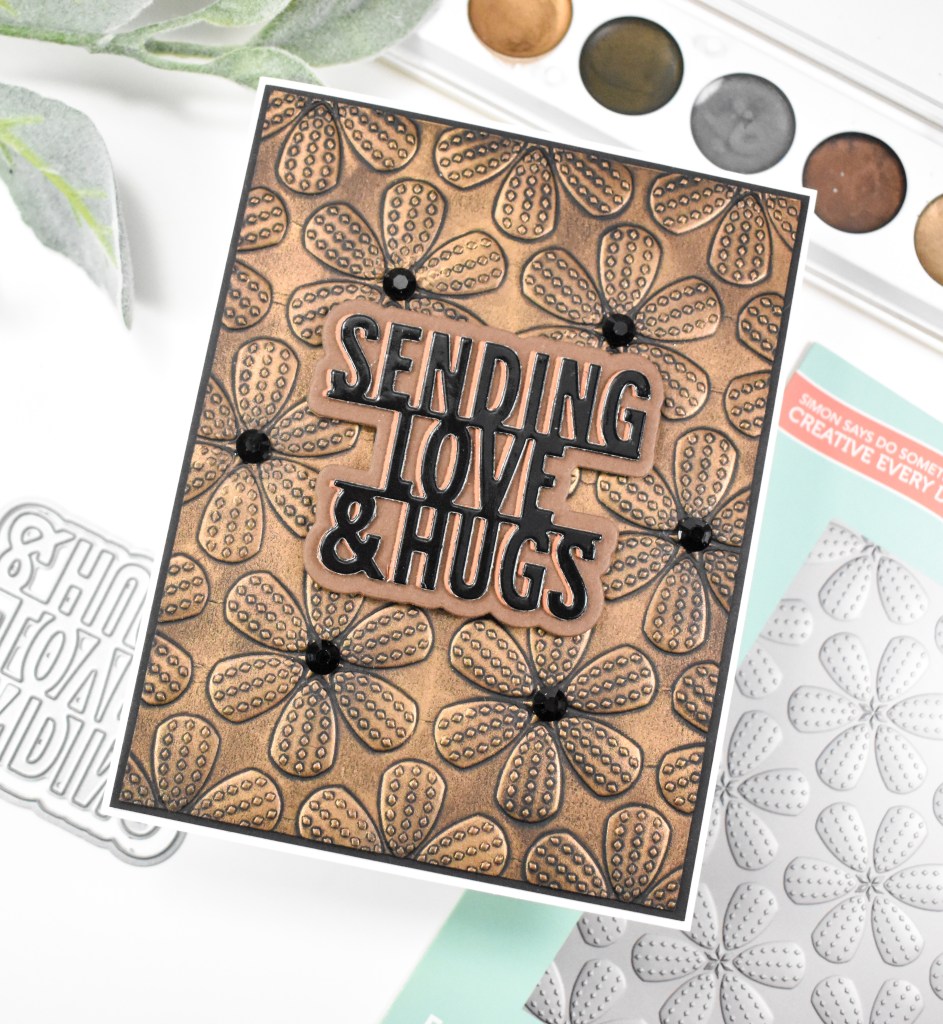
I began this project by die cutting the pieces for the duckling from colored cardstock and adding some ink blending using Honey ink. I assembled the pieces and set that aside while I worked on the rest of the card.
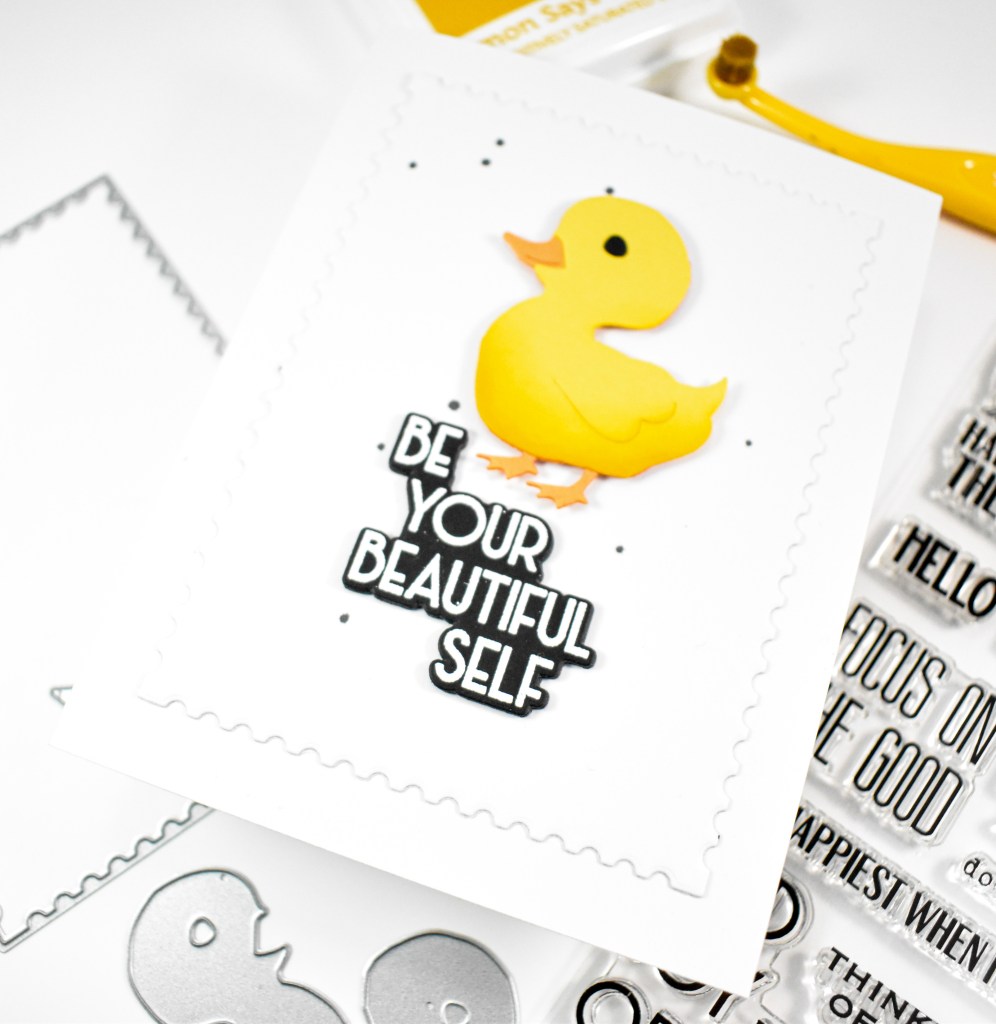
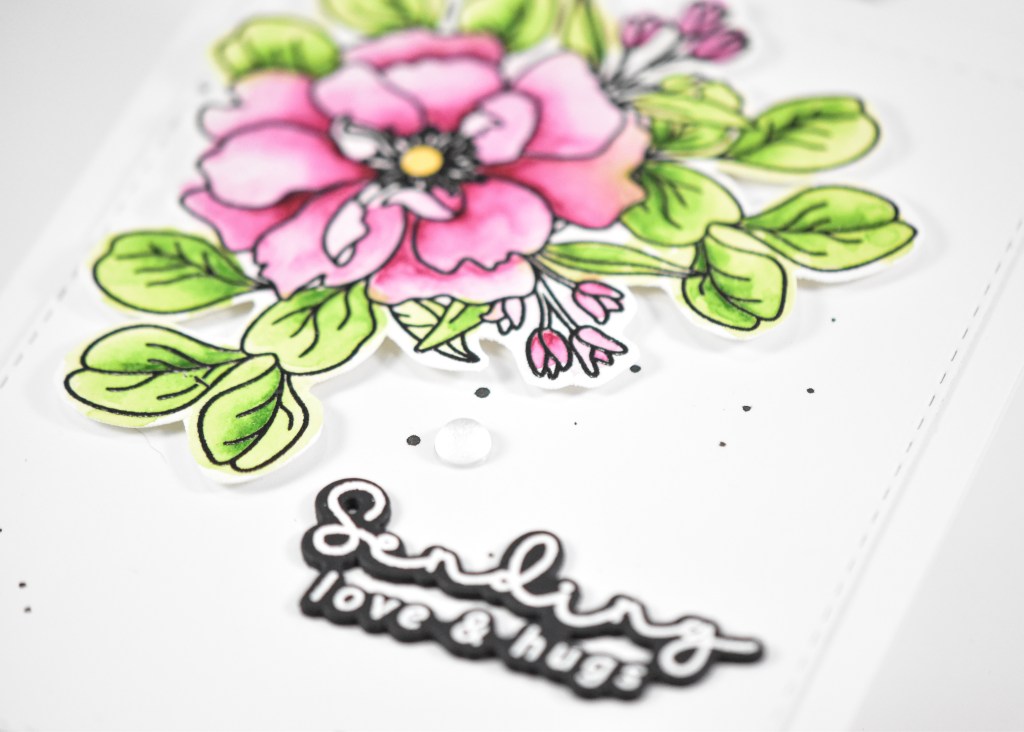
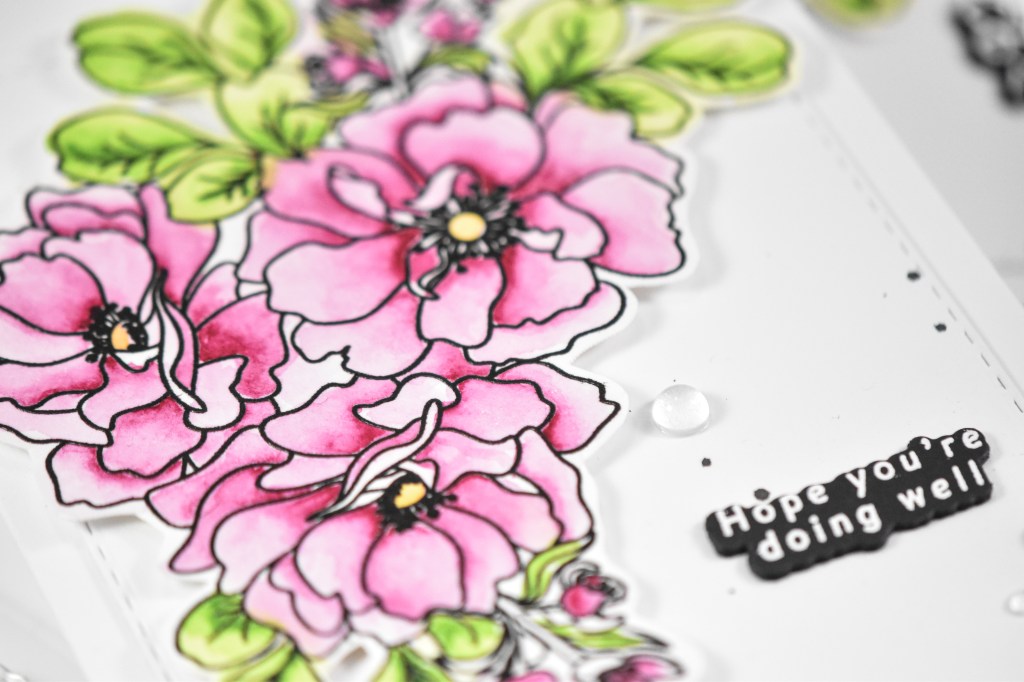
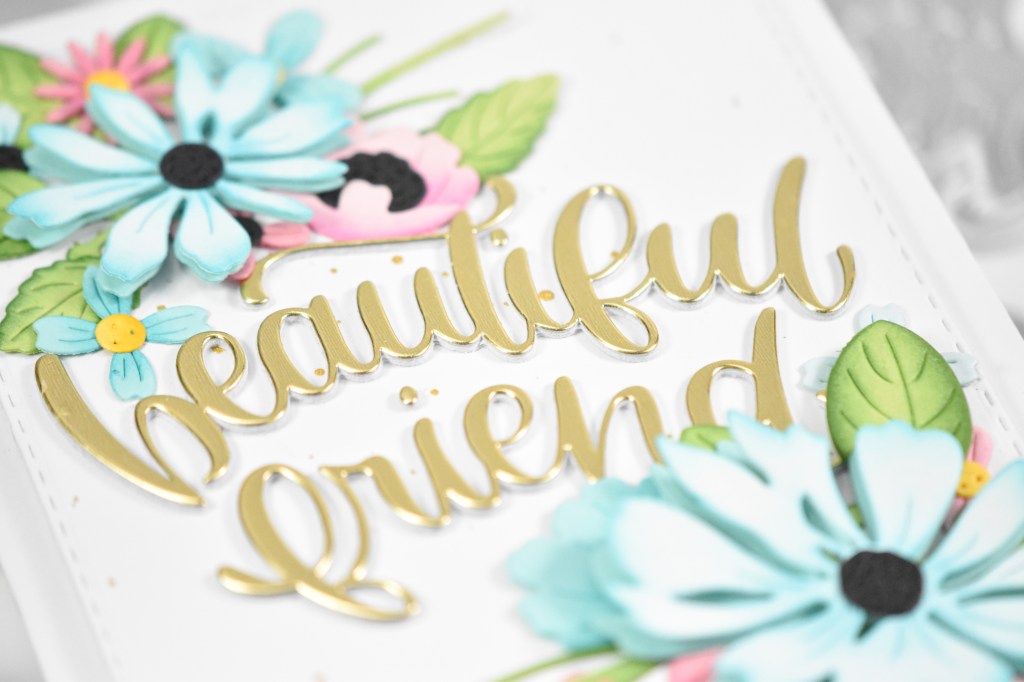
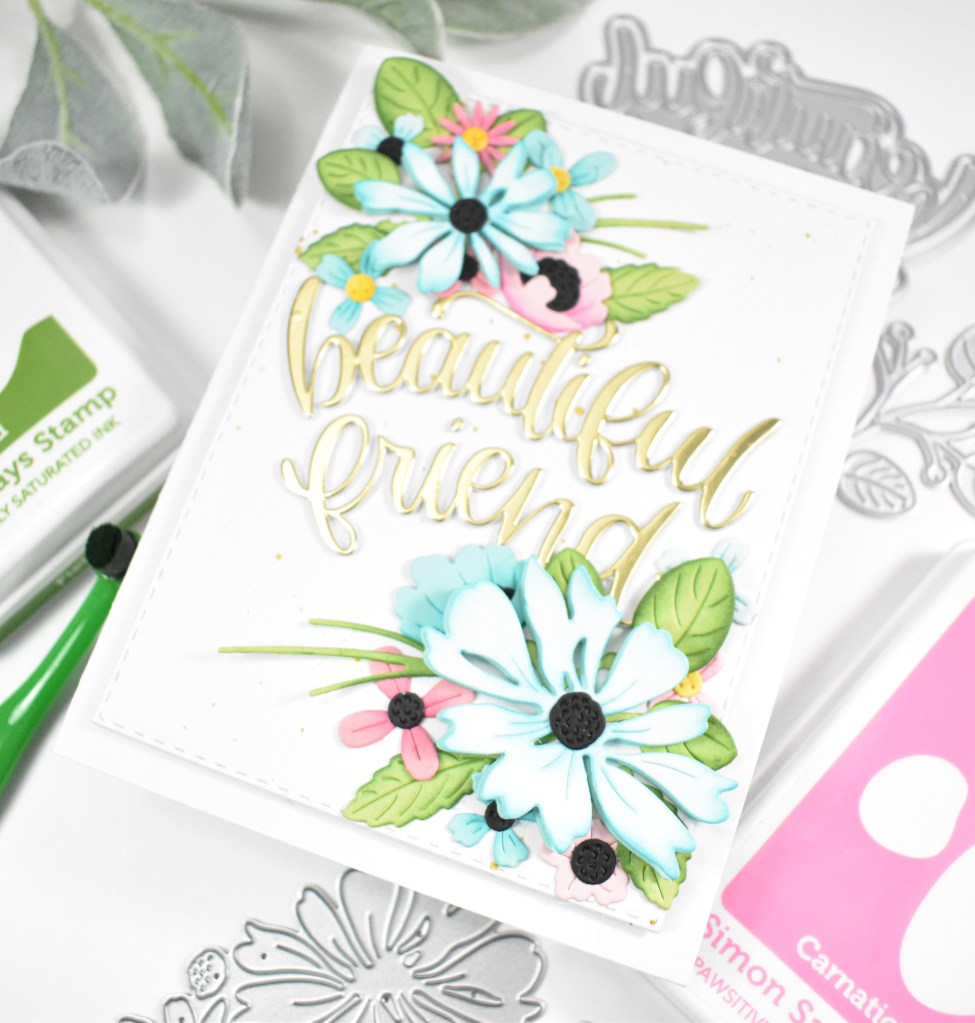
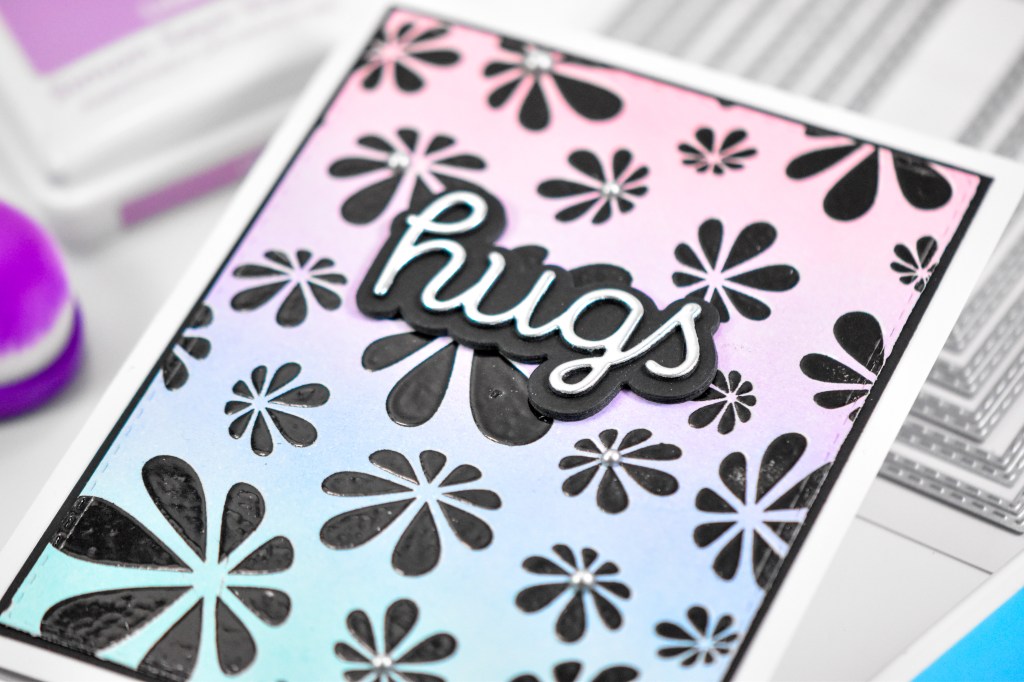
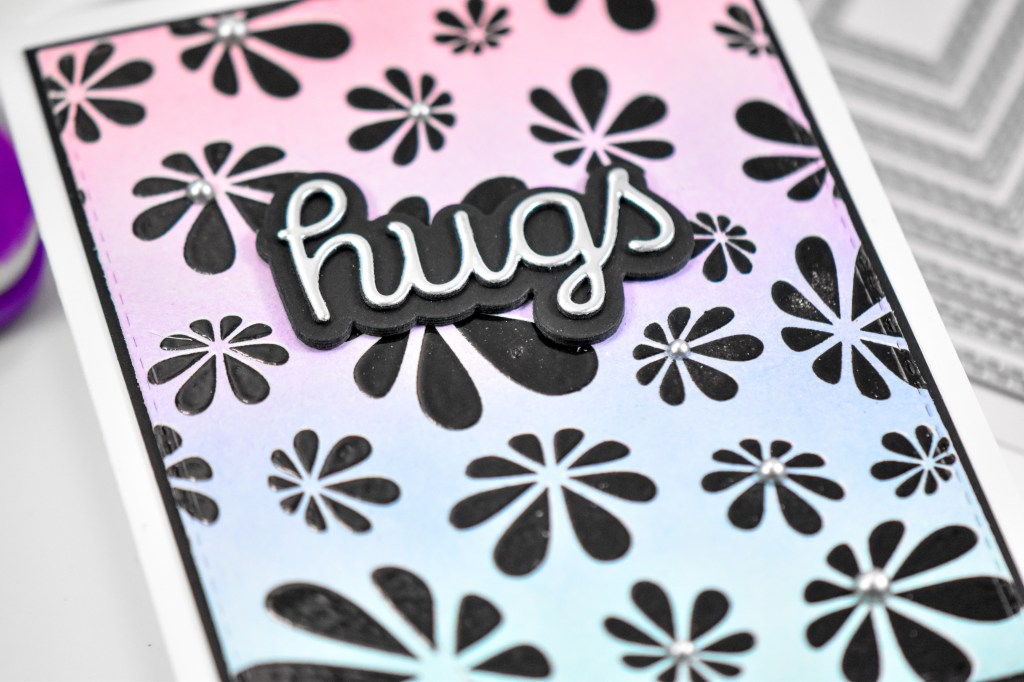
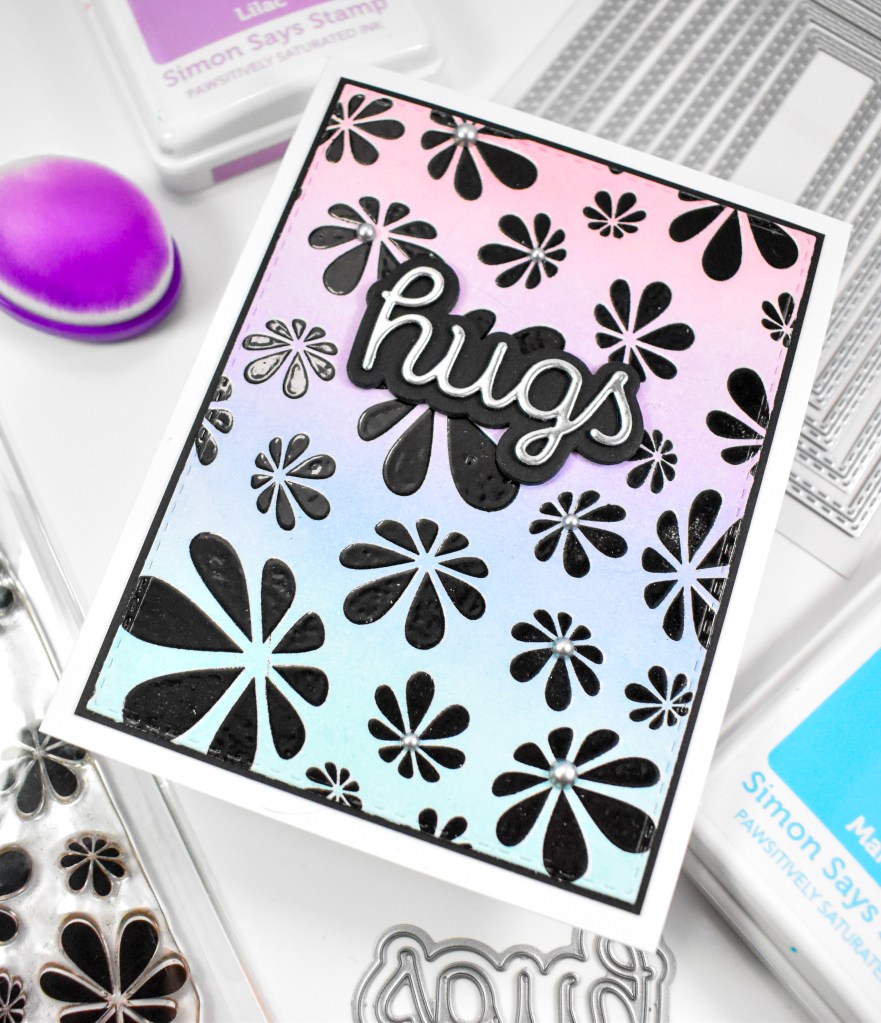
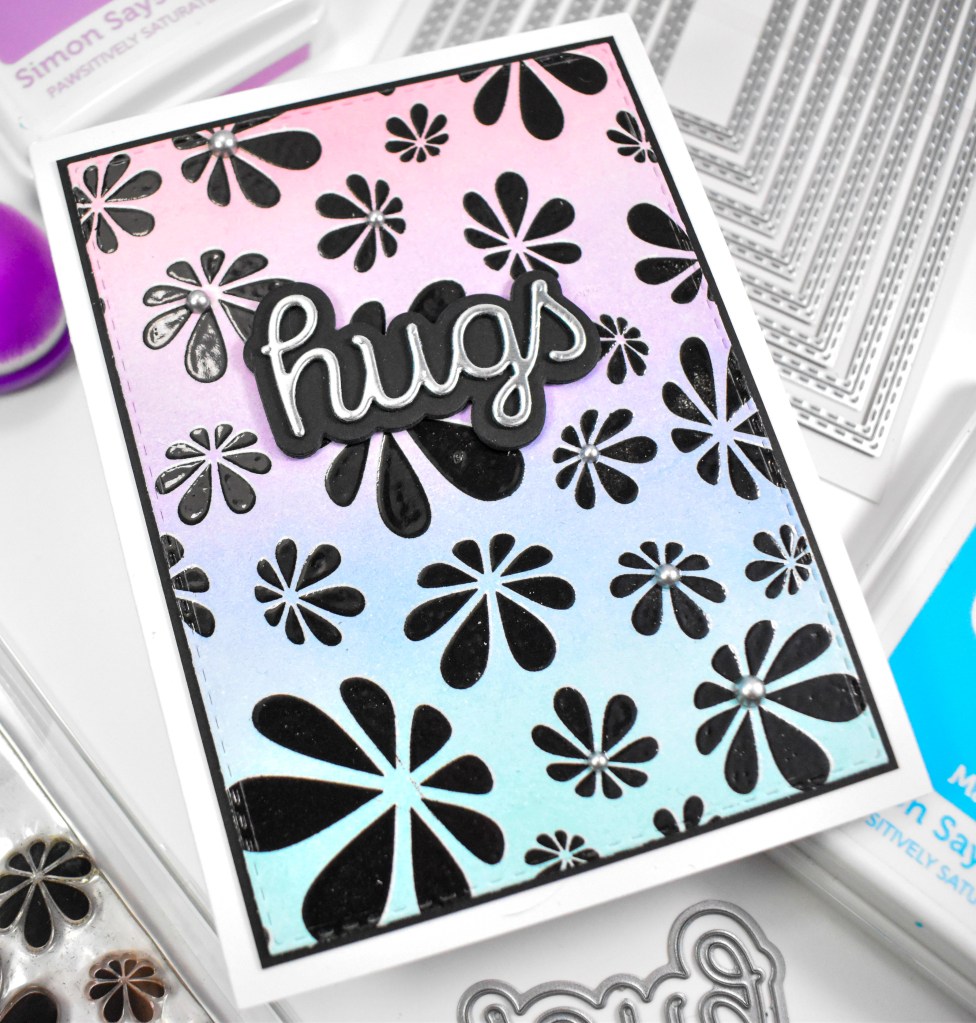
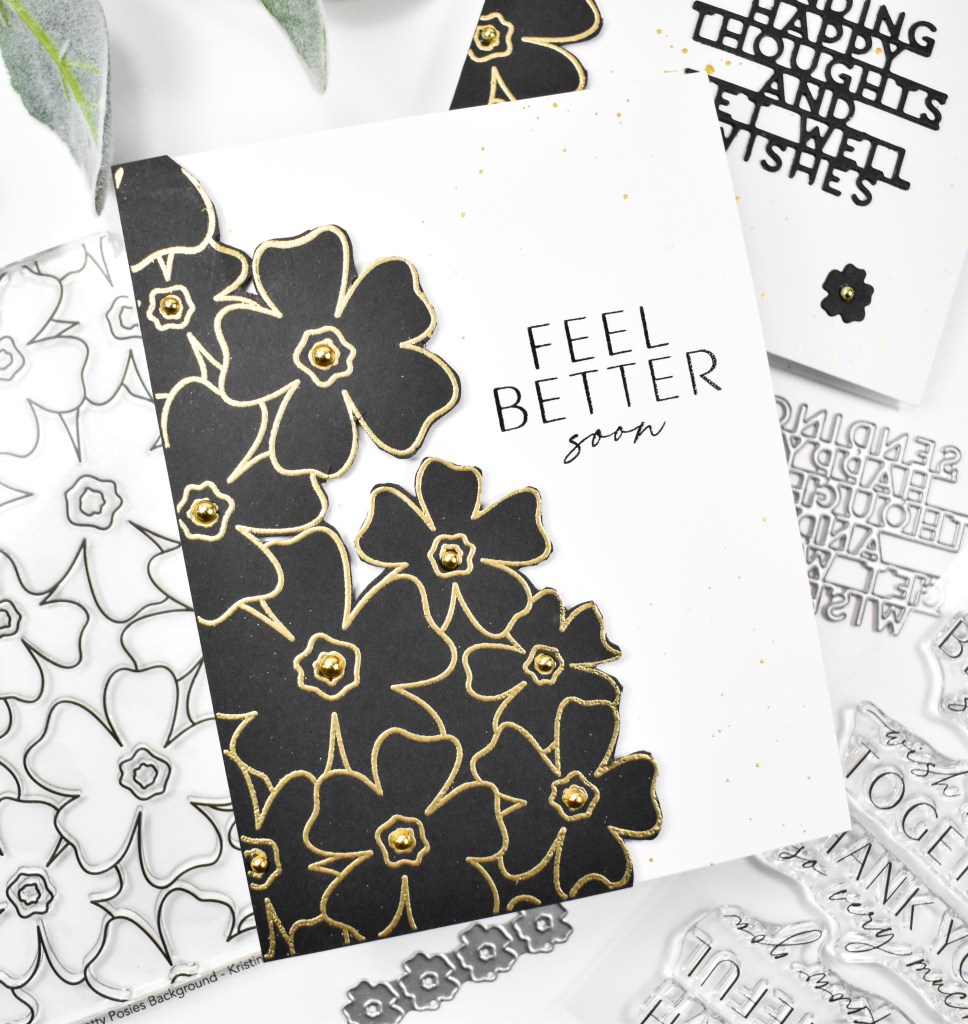
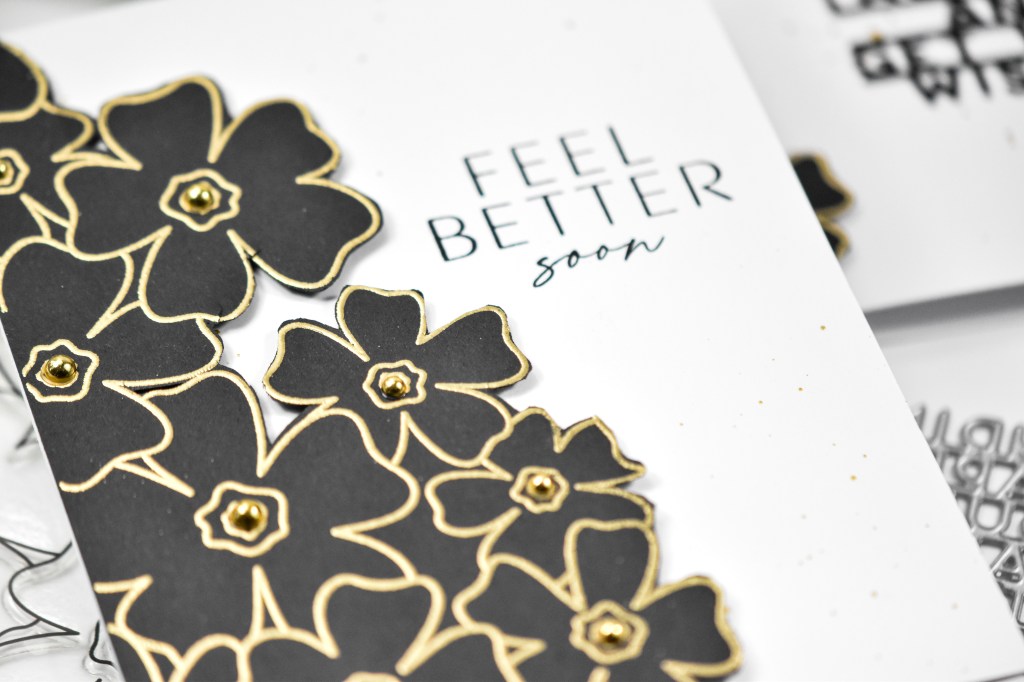
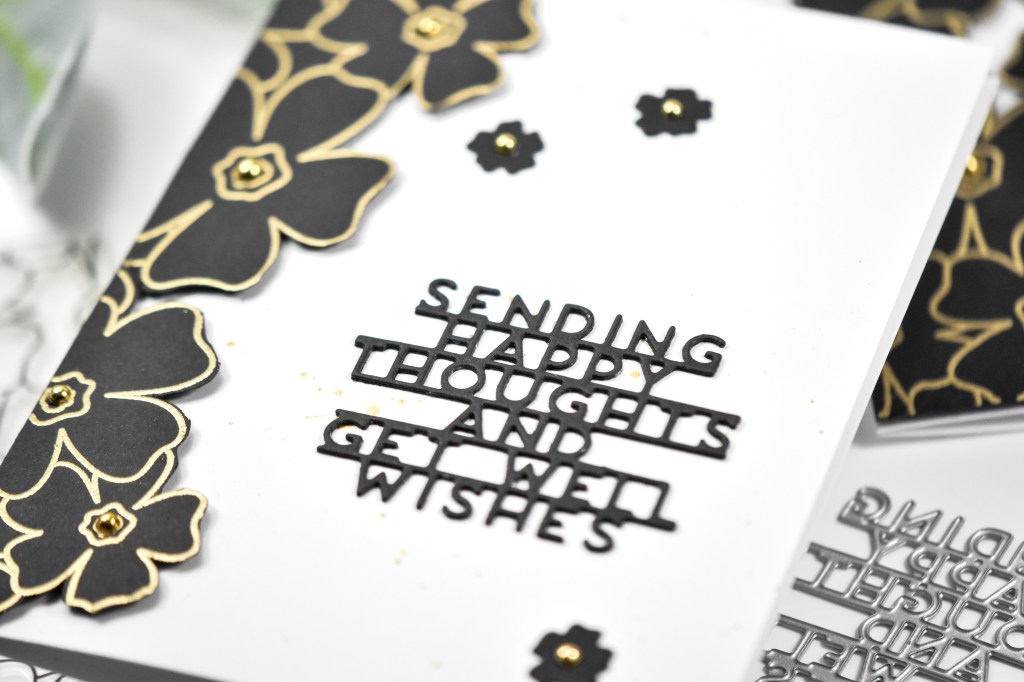
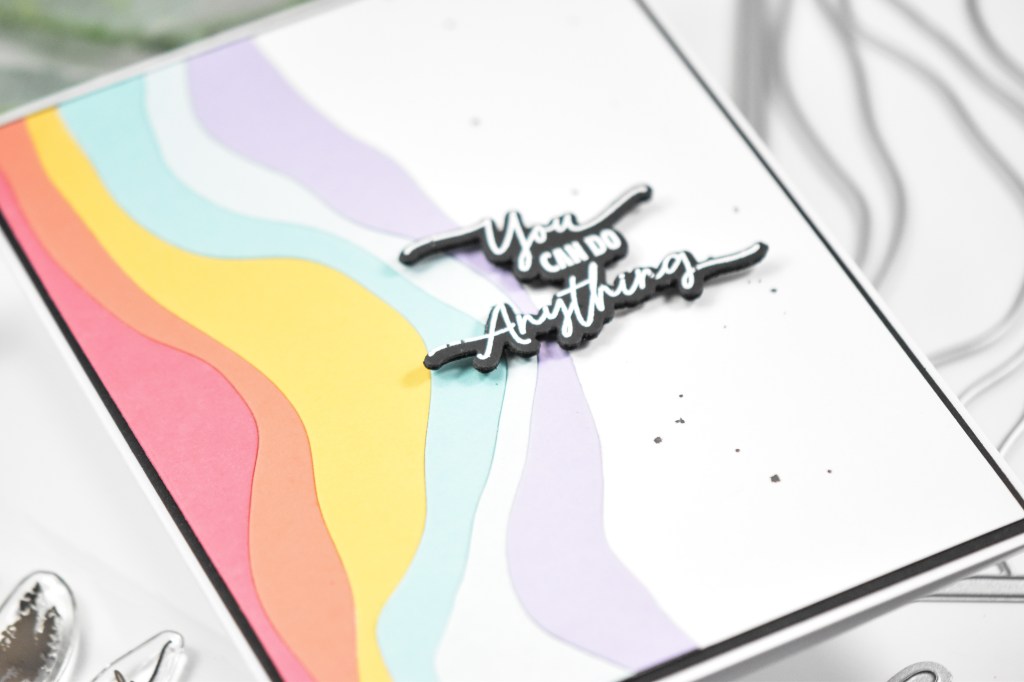
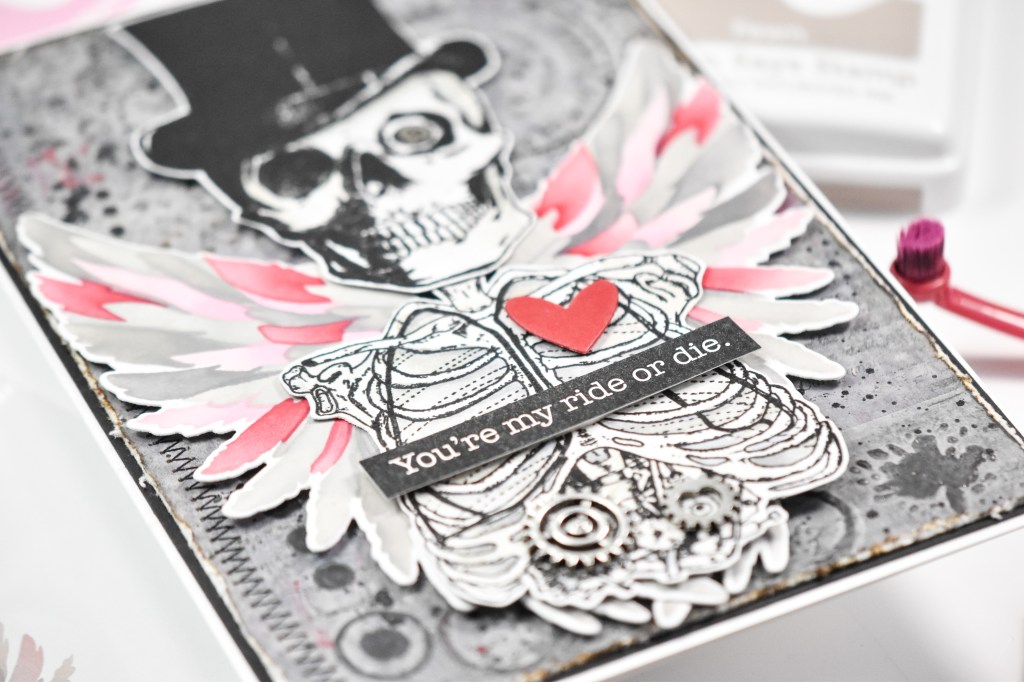
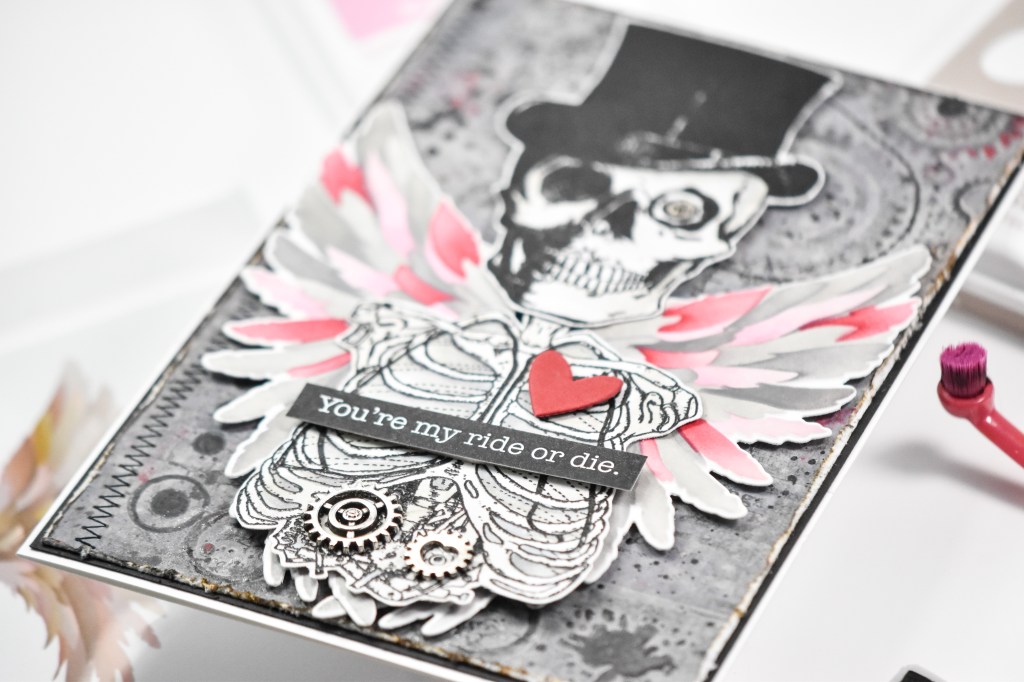
The background was created using the A2 Postage Rectangles with some black splatter for added interest. The sentiment was stamped using VersaMark ink, heat set using white embossing powder and trimmed out several times for a stacked look. The panel was adhered to the card base, the sentiment was glued in place and the duckling was added with foam tape for added dimension.
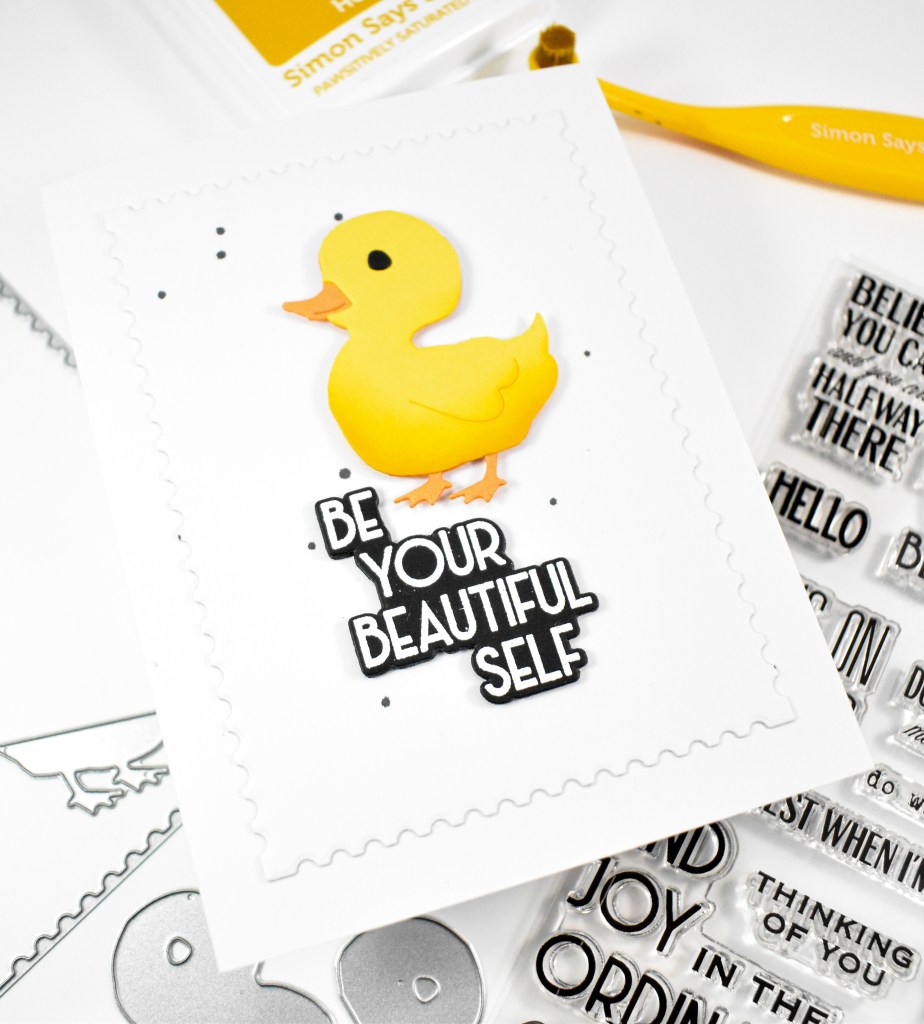
That’s it for this one! A super quick, clean and simple card! Don’t forget to swing by and check out the entire In My Heart release over on Simon’s website. Thanks again for stopping by, and I hope you have an awesome day!
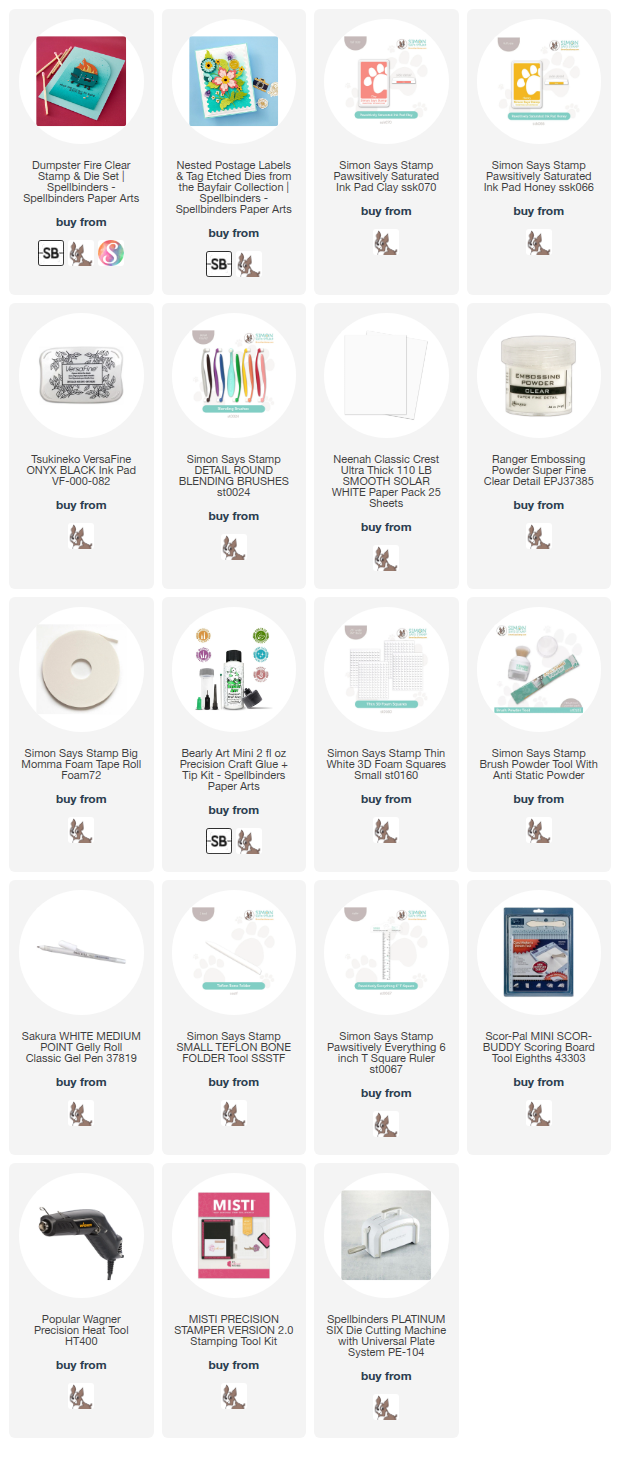
Supply List
Affiliate links used at no cost to you. What does this mean? If you use the links within this post to make a purchase, I receive a small commission, which allows me to continue to post crafty content for your enjoyment. I truly appreciate your support!
Latest Posts
- Simon Says Stamp Grungy Dewdrop Daisy

- Simon Says Stamp Pastel Birthday Wishes

- Simon Says Stamp Best Fish

- Simon Says Stamp Circle Thanks

- Simon Says Stamp Glowing Daisies
Latest Instagram Posts