Carry On With Courage

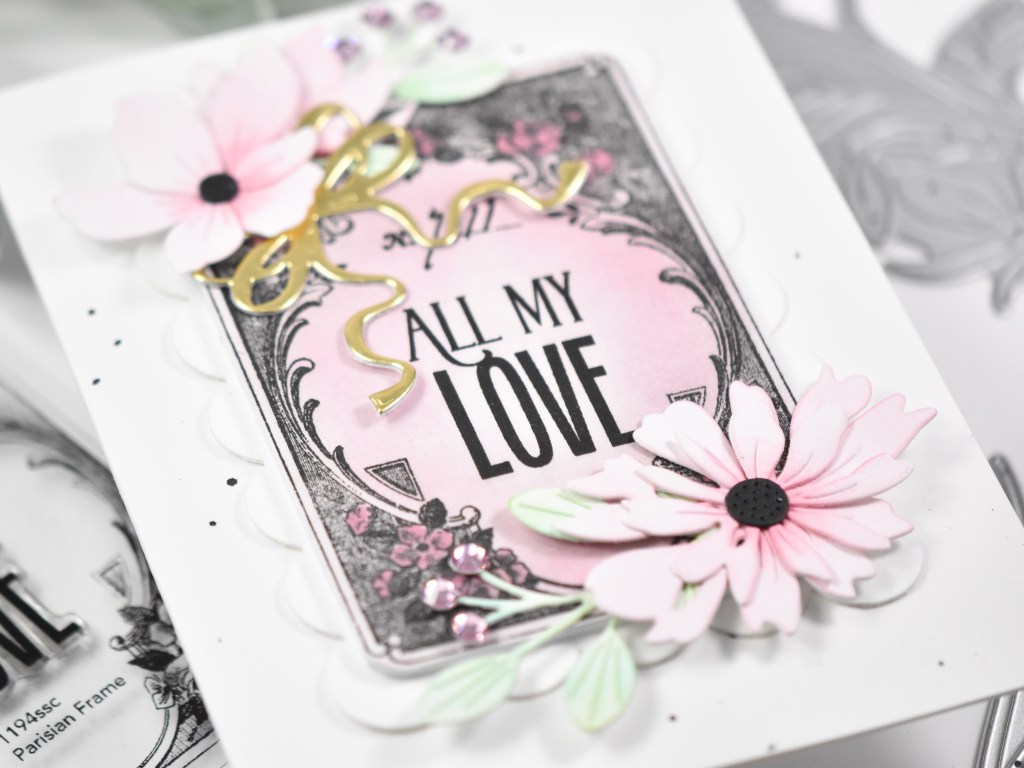
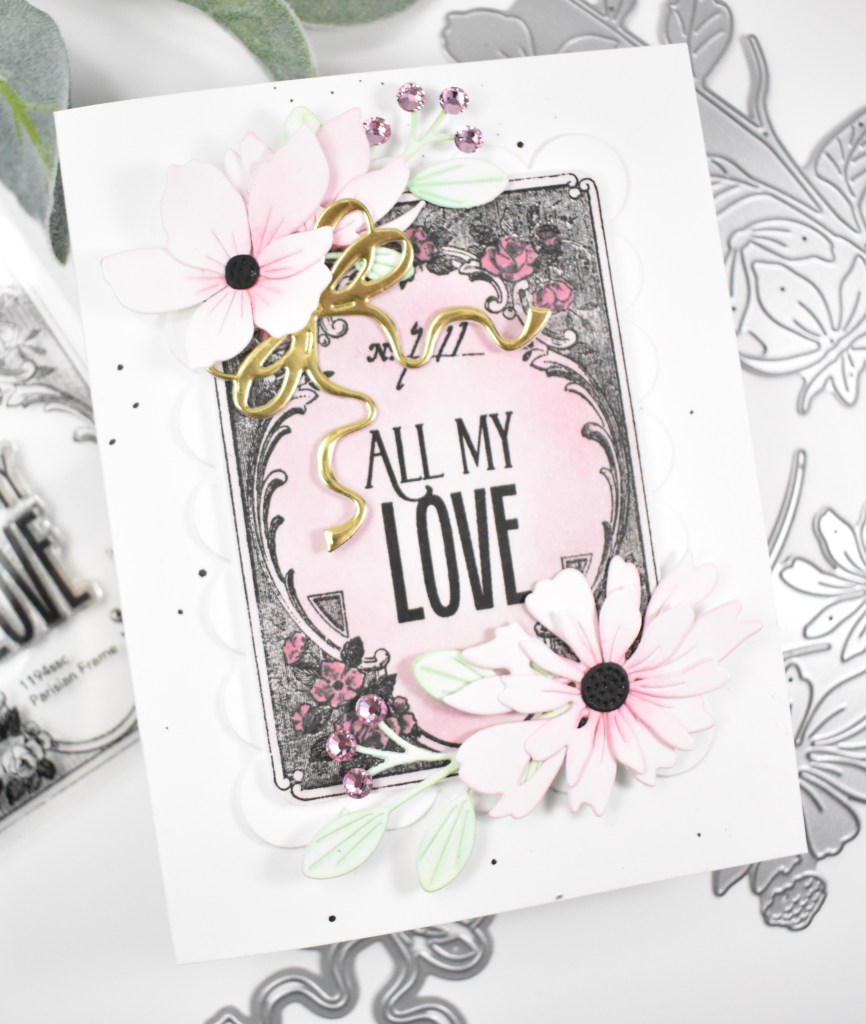
Hello Friends, and welcome back! Today’s project is featuring florals with some absolutely gorgeous paper from Your Paper Insider! I love grays and black, but this pink cardstock is beyond gorgeous! The color doesn’t come through in the pictures, but it’s the softest, palest pink that I’ve ever come across, and I thought it paired so well with the dark colors on this card. If you haven’t checked out Your Paper Insider, I highly recommend that you do so! It’s a fun subscription box that features papers from all over the world to include many cardstock colors and specialty papers. Let’s go ahead and get into the details for this project.
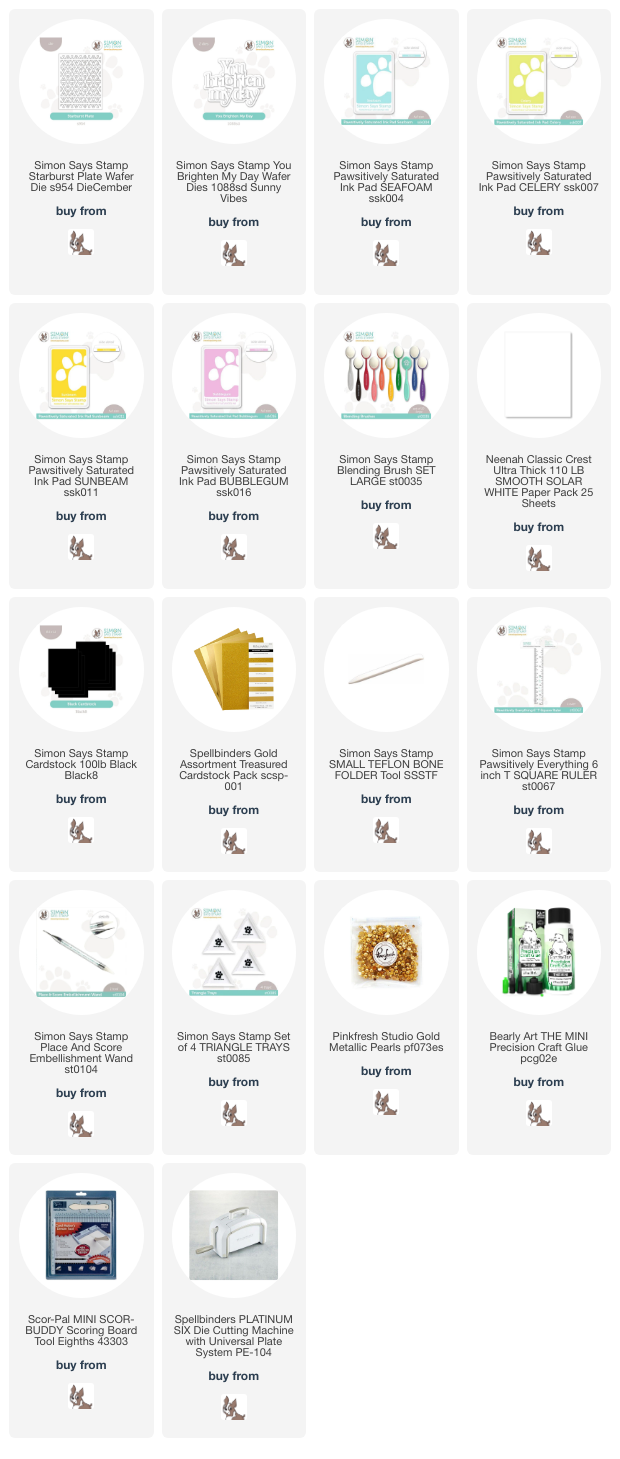
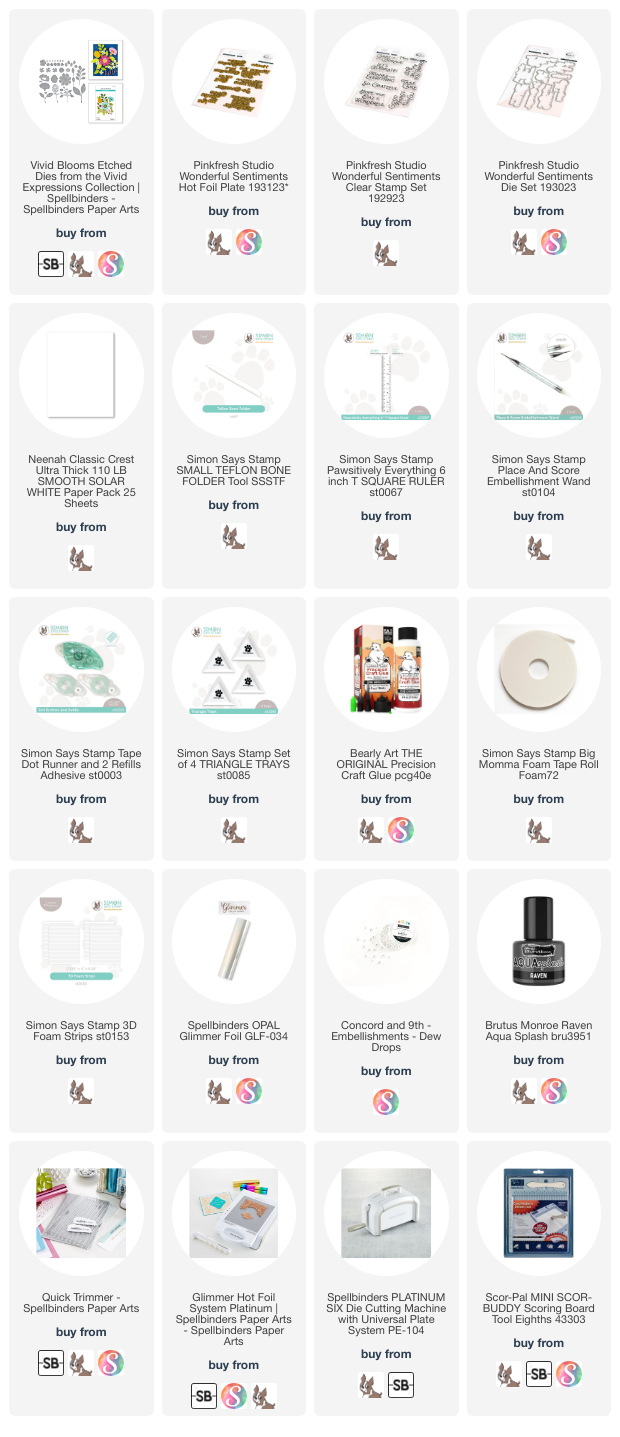
NOTE: all supplies are linked to multiple sources in the thumbnails at the end of this blog post.

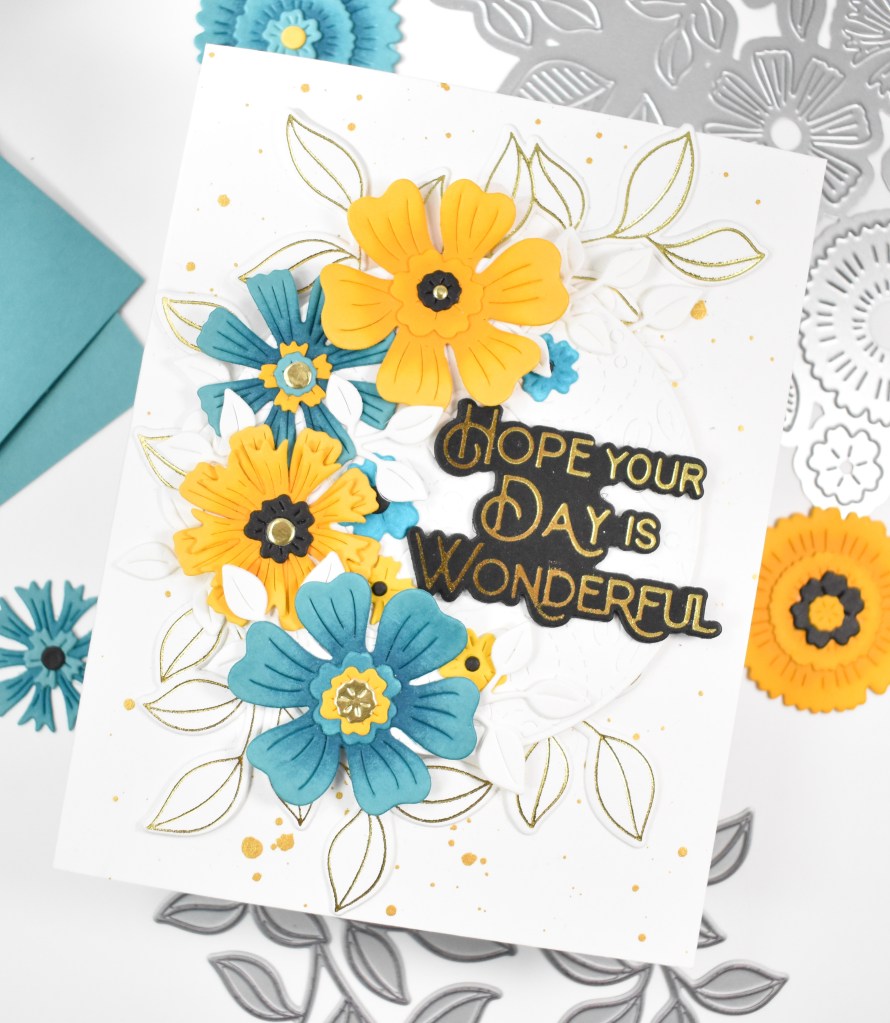
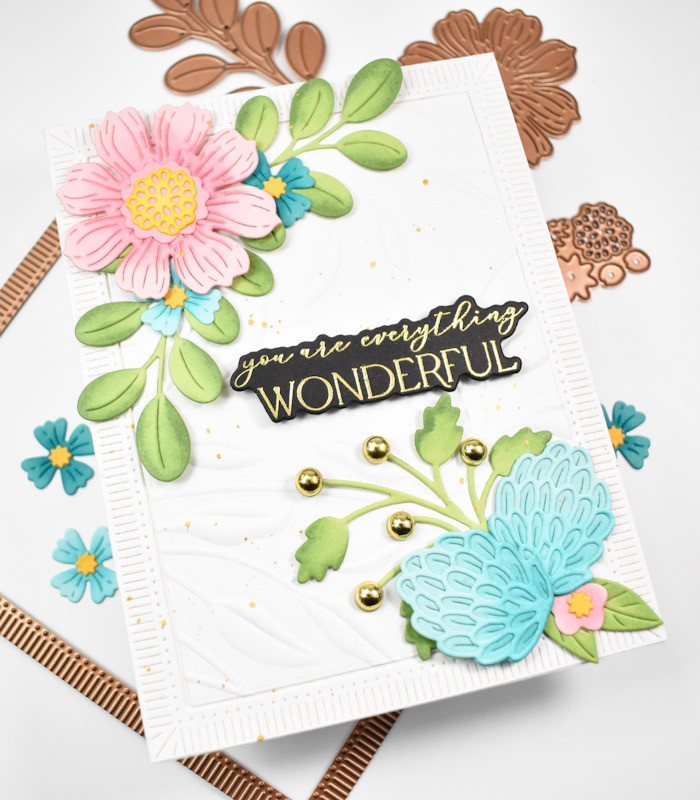
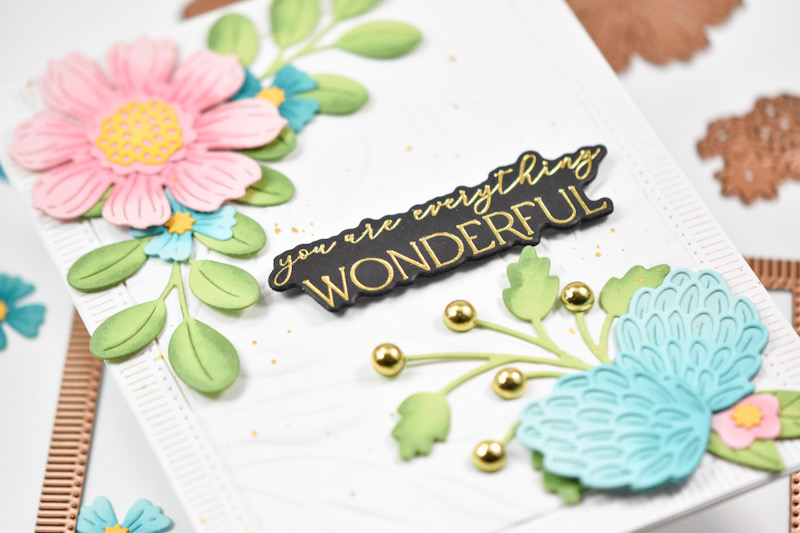
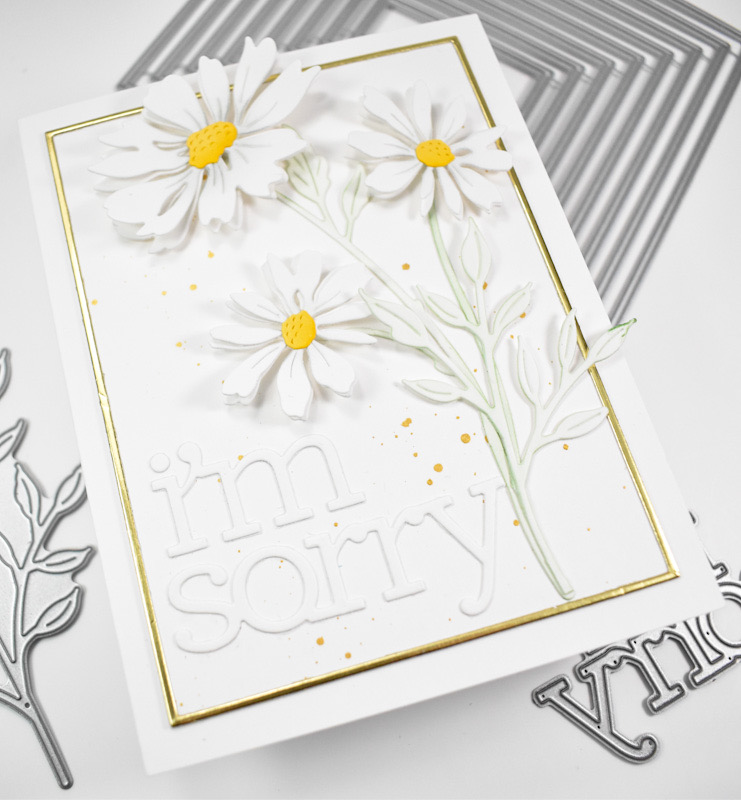
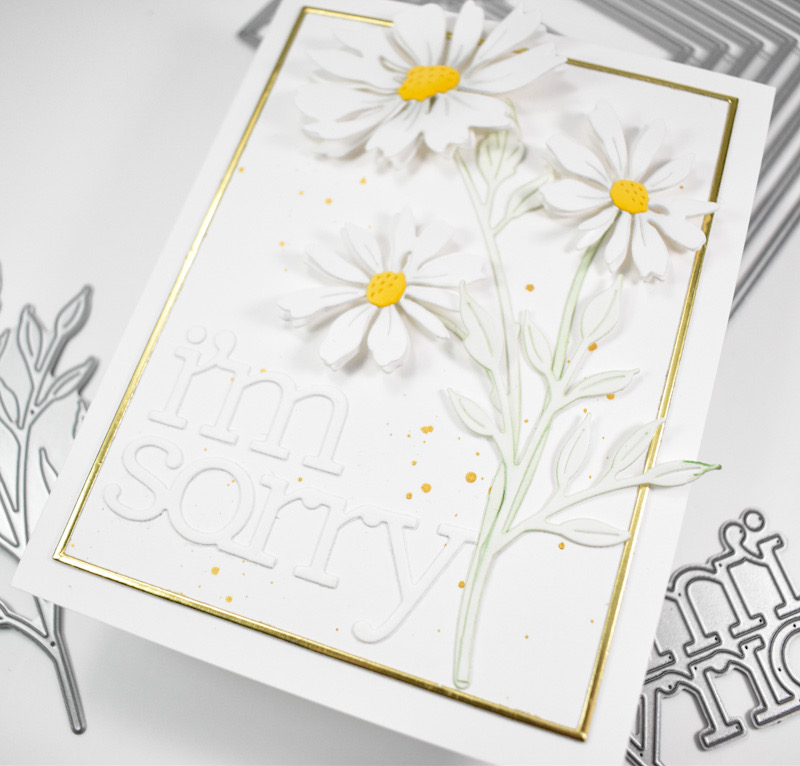
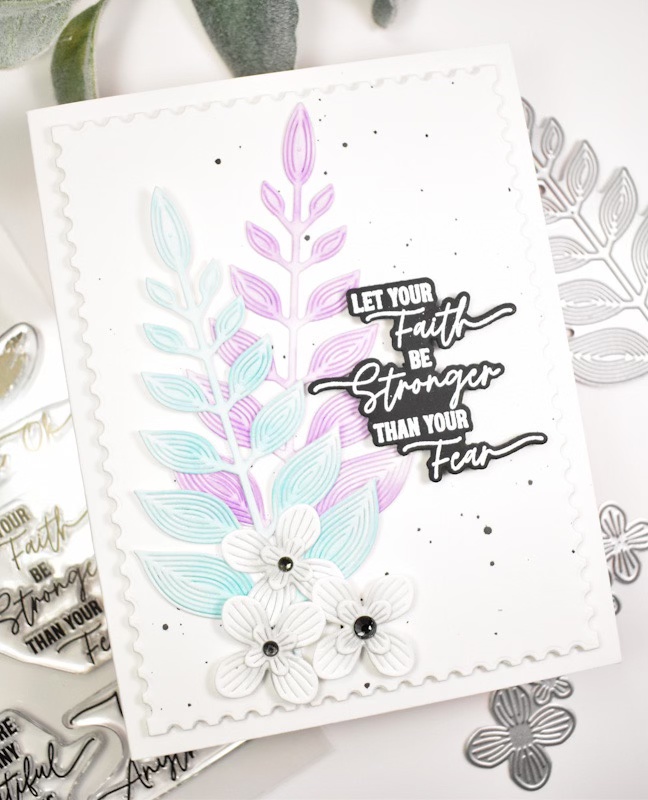
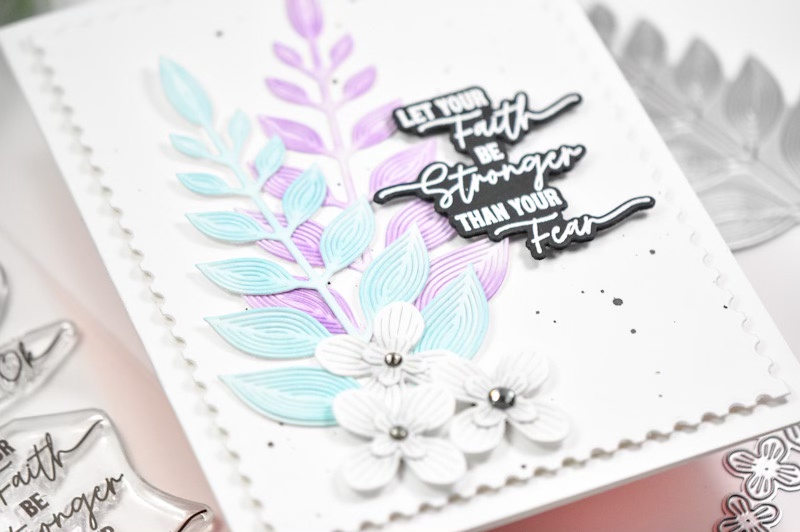
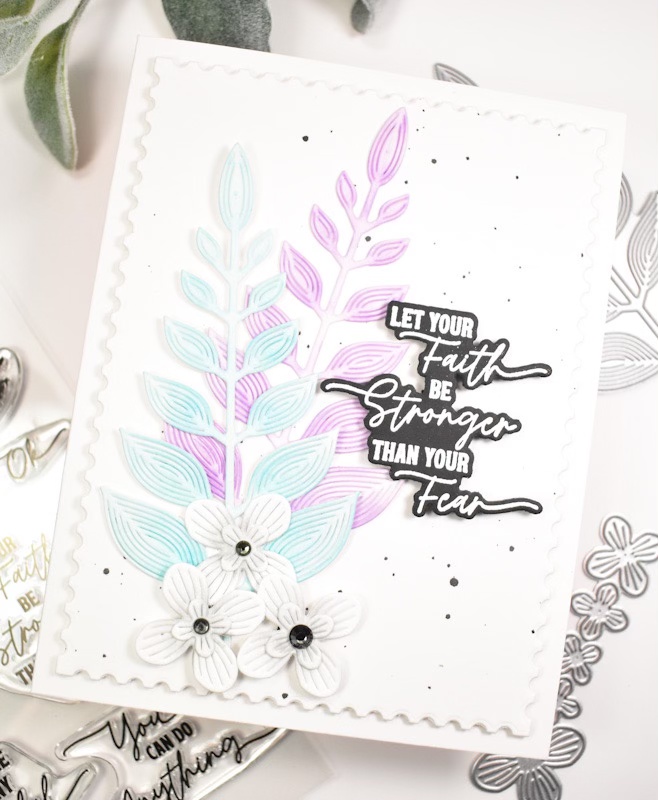
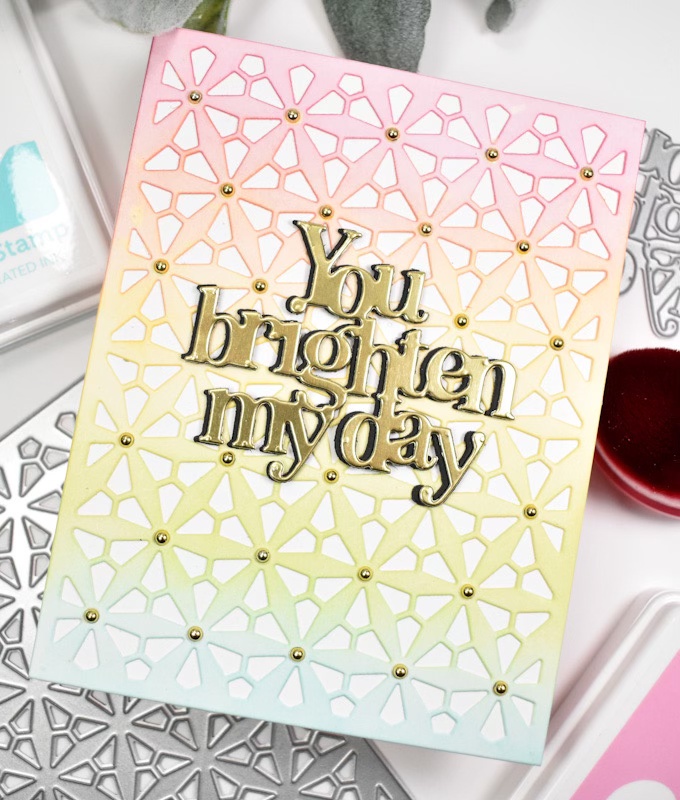
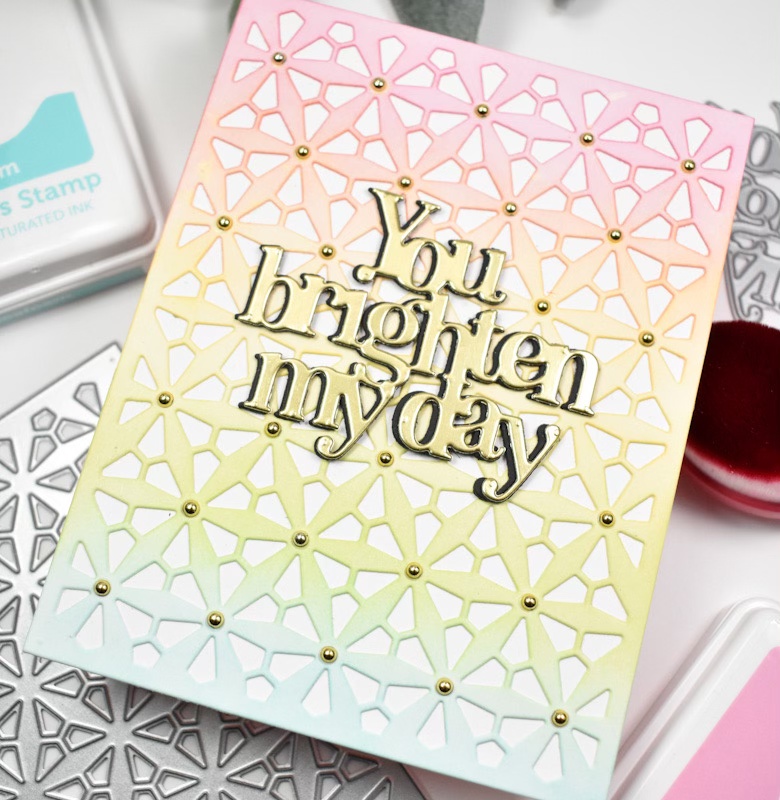
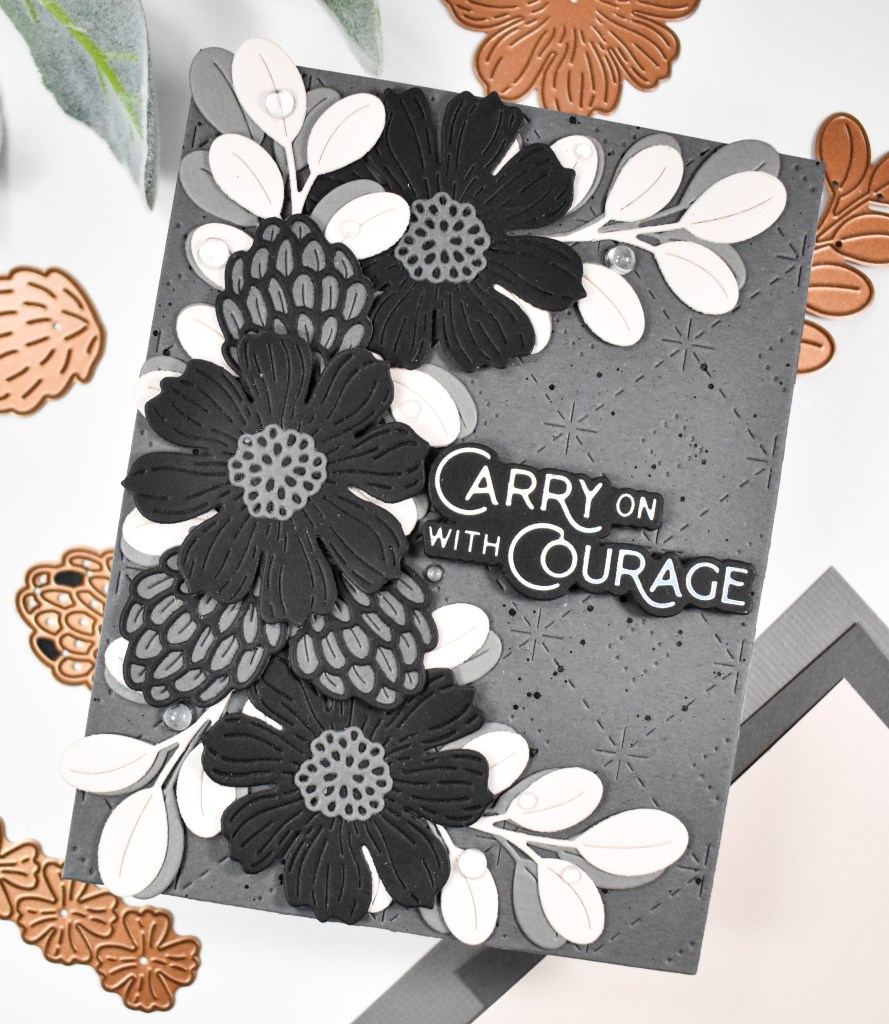
I began this project by die cutting some florals and leaves from the Spellbinders Vivid Blooms set using all of these colors from my subscription box. Once the florals were assembled, I went ahead and used the PinkFresh Studio Sparkling Diamonds plate on a panel of darker gray cardstock.
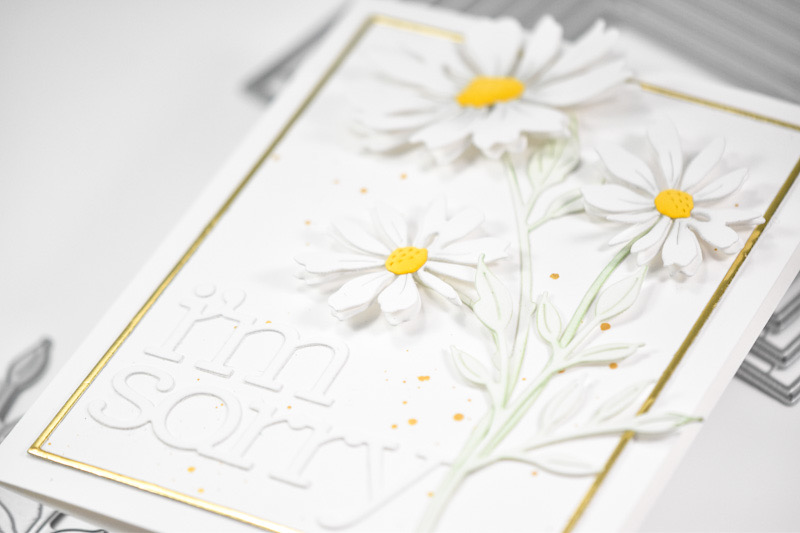
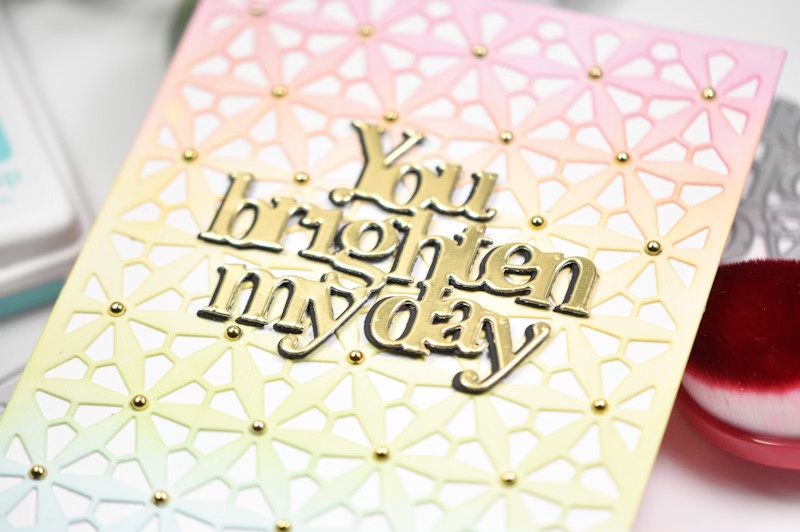
Before moving on, I did splatter that panel with some black acrylic ink for some added interest. The sentiment was created using the PinkFresh Studio Wonderful Sentiments and Opal foil. The was die cut several times to create a stacked sentiment.

I began assembling the card by adhering the gray leaves first using liquid glue and then adhering the pink leaves atop those. I then adhered the outside flowers, again with liquid glue, and then adhered the center flower with foam tape. The sentiment was adhered with foam strips, and I tucked in some additional leaves to fill in. Clear drops were added to finish up.

That does it for this project. I hope you enjoyed it as much as I did! Take some time to check out Your Paper Insider to see if it’s something that interests you! Thanks again for hanging out with me, and I hope you have a fabulous day!
Supply List
Affiliate links used at no cost to you. What does this mean? If you use the links within this post to make a purchase, I receive a small commission, which allows me to continue to post crafty content for your enjoyment. I truly appreciate your support!
Latest Posts
- Simon Says Stamp Braided Greetings

- Together By Design Color Cube Floral

- Simon Says Stamp Cute Duckling

- Simon Says Stamp Watercolor Wild Rose

- Simon Says Stamp Striped Missing You

Latest Instagram Posts