Together By Design Color Cube Floral

Together by Design is a monthly collaboration where a small group of designers all create with products from the same featured brand. Each of us chooses a favorite product and puts our own creative spin on it, showing just how many different ways one brand can inspire. Follow along, explore every project, and discover new designers and new favorites along the way.

This month’s featured brand: The Color Cubes – #193
Here is a list of designers participating this month:
- Jessica: www.lovenotesbyjess.com/blog; @jessica.vasher
- Jean: www.studio-jd.com; @jean.studiojd
- Maggie: www.schoolhousestamps.blogspot.com; @teacher11494
- Tracy: https://redsas.co; @redsas
NOTE: all supplies are linked to multiple sources in the thumbnails at the end of this blog post.
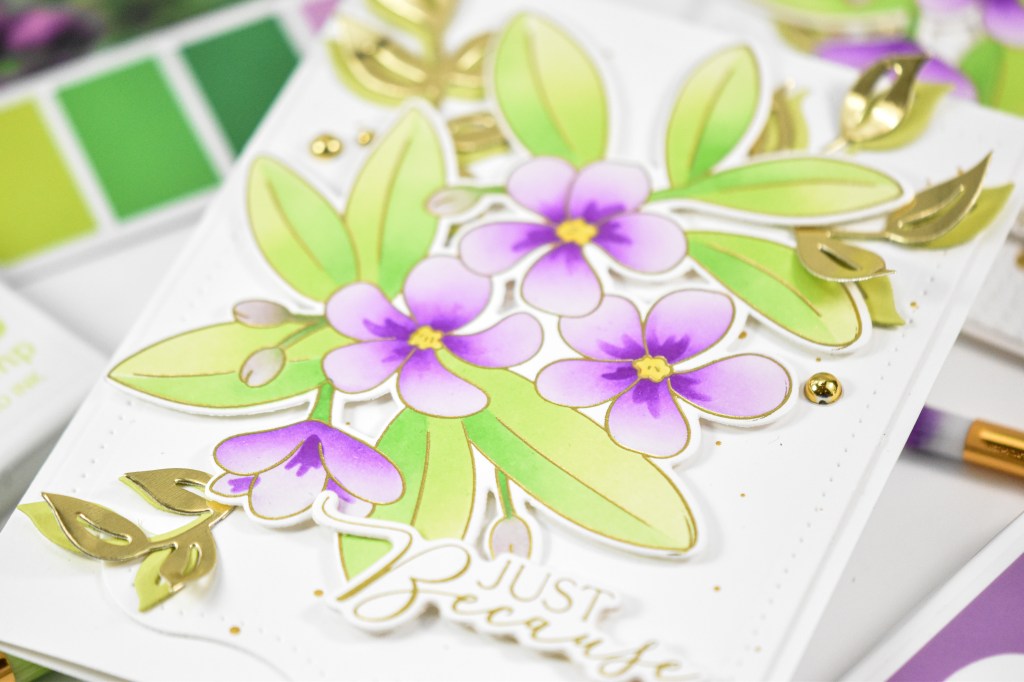
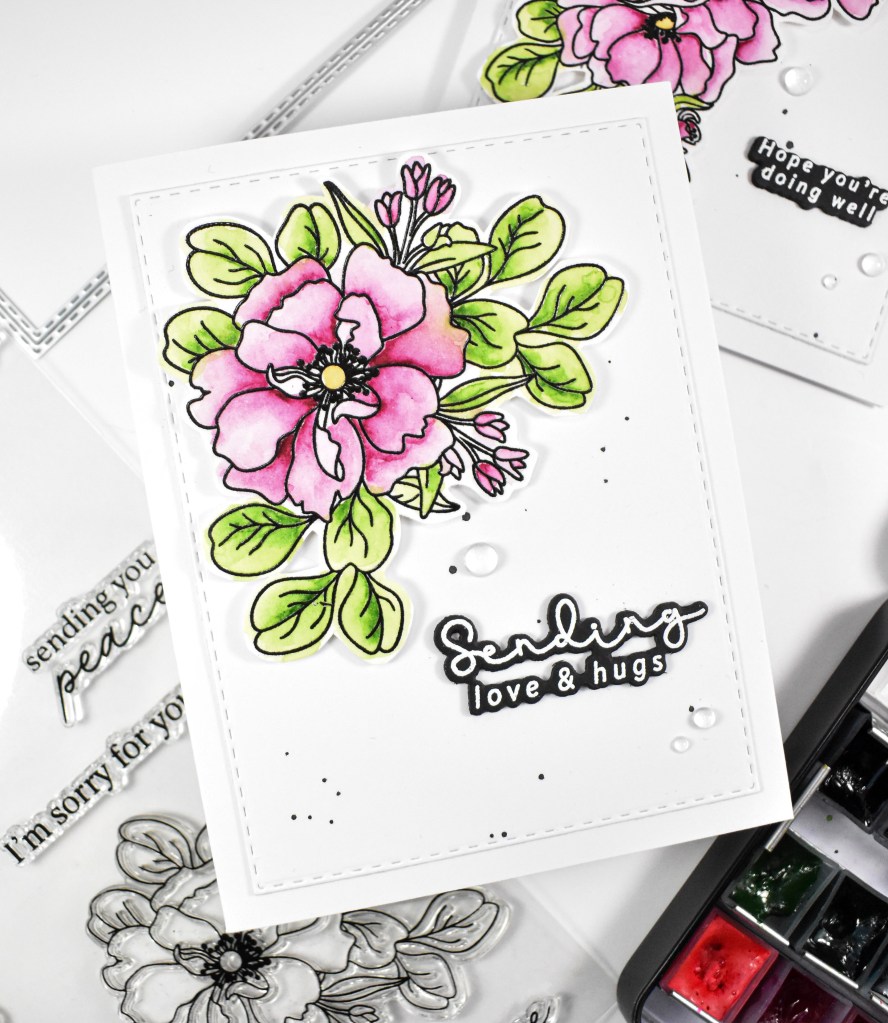
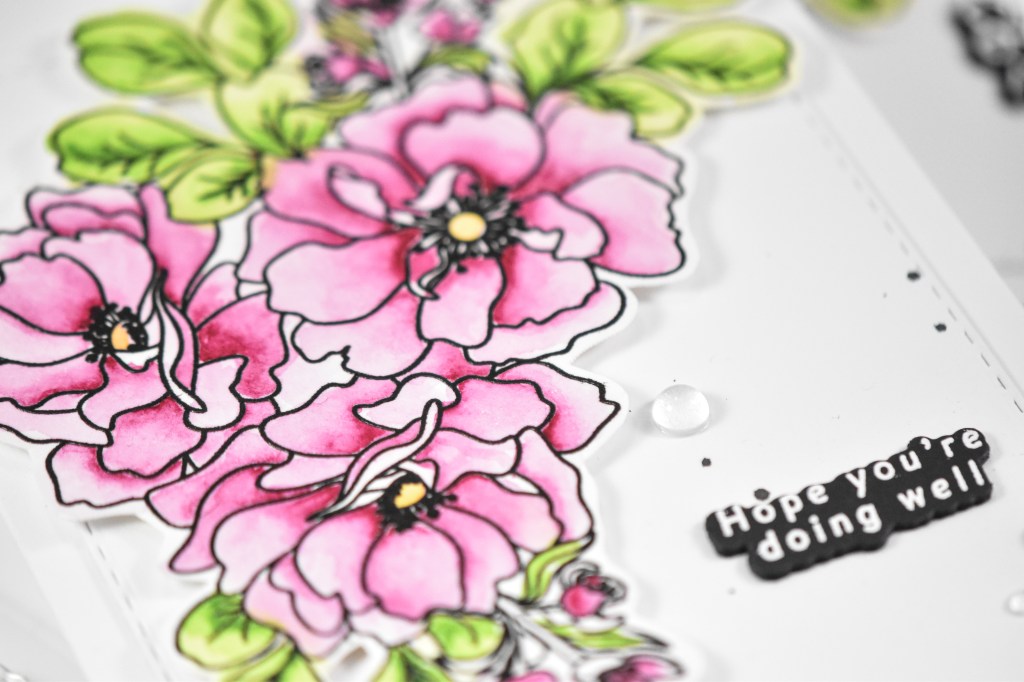
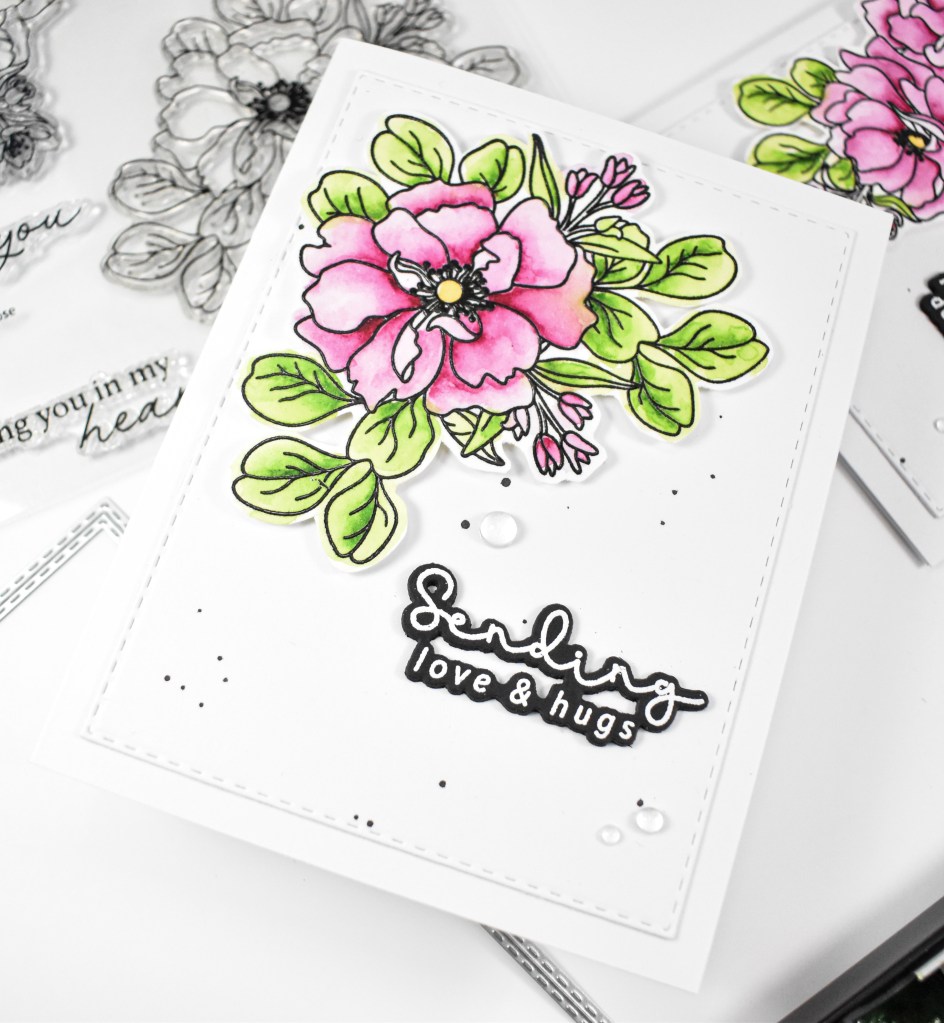
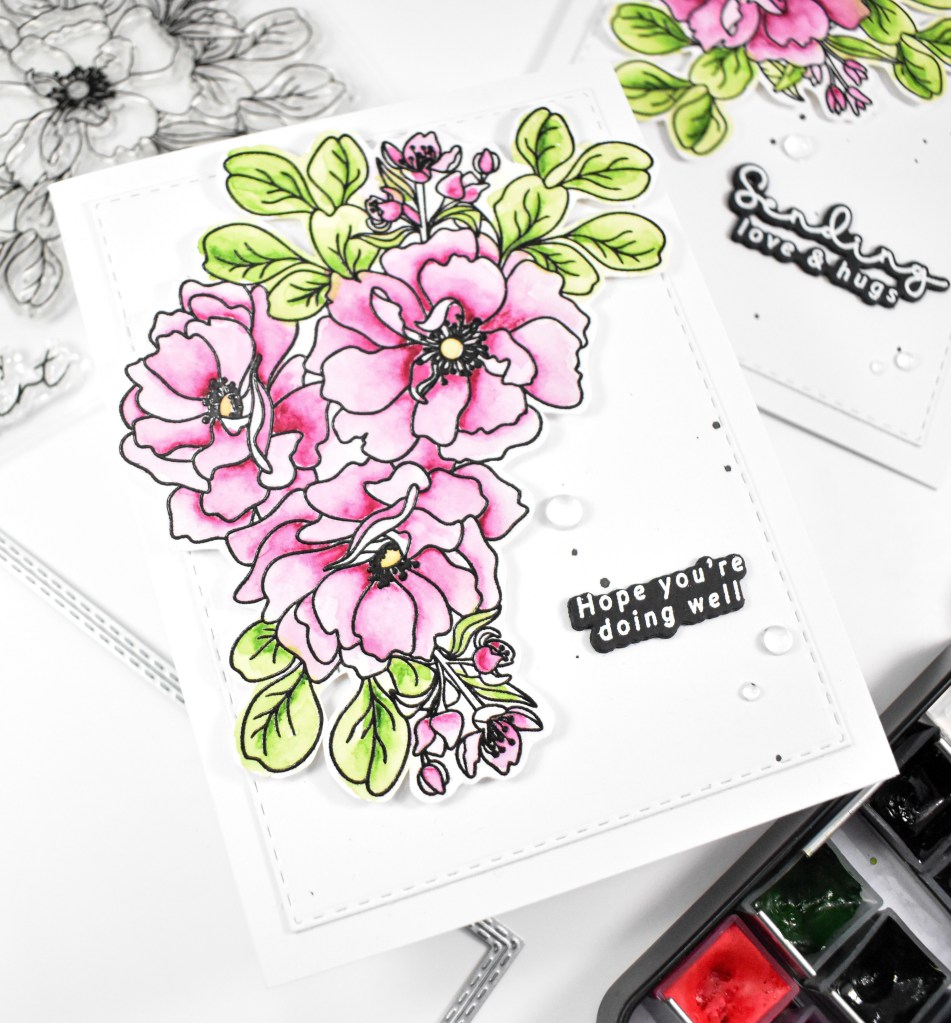
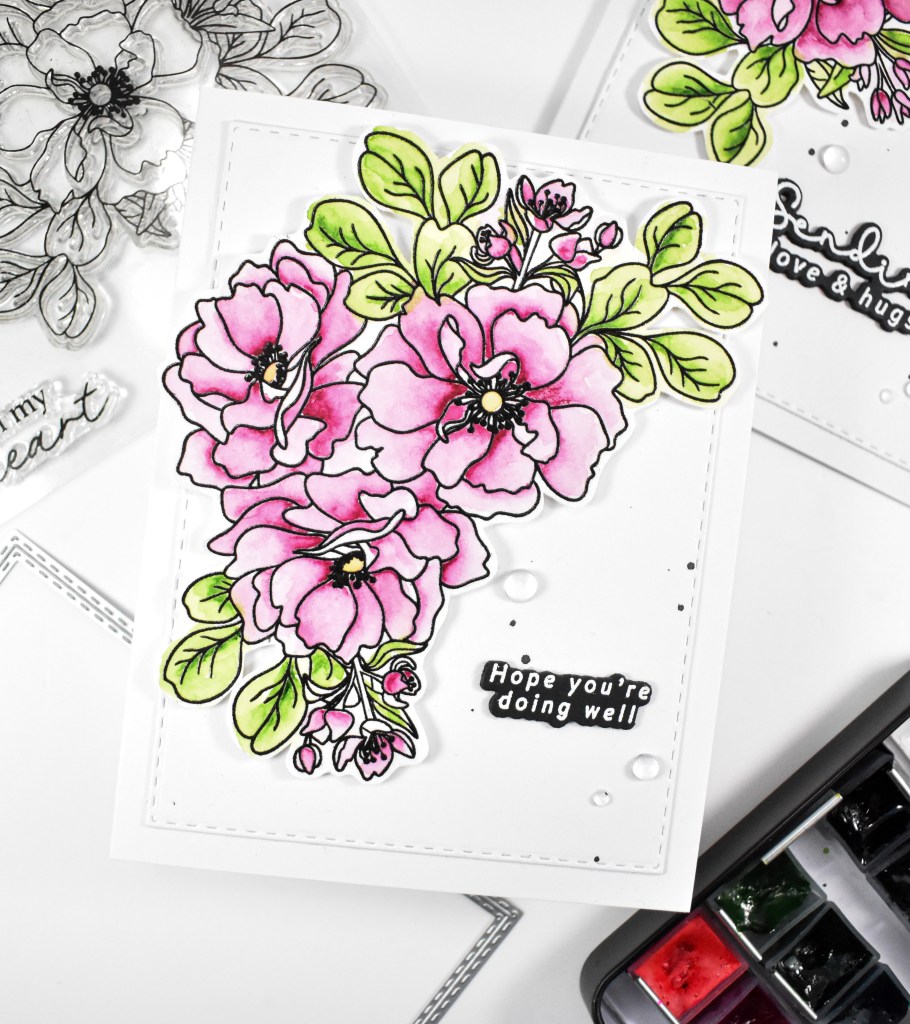
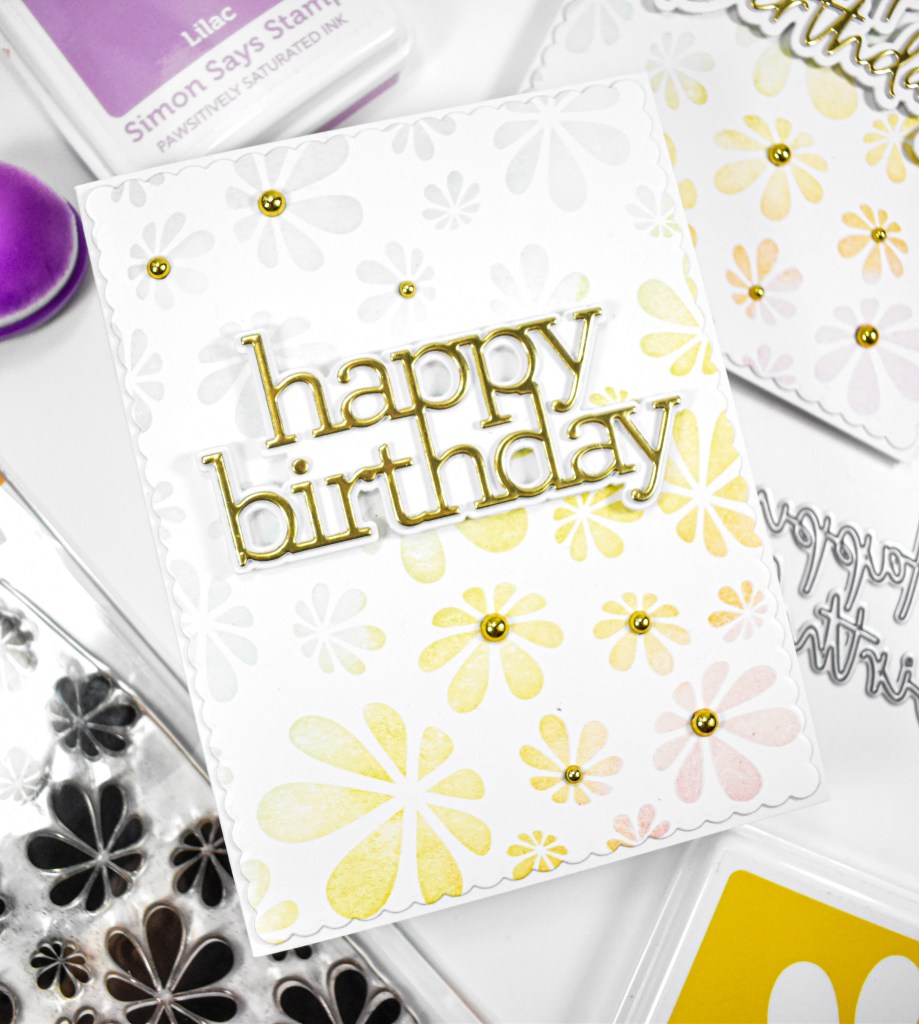
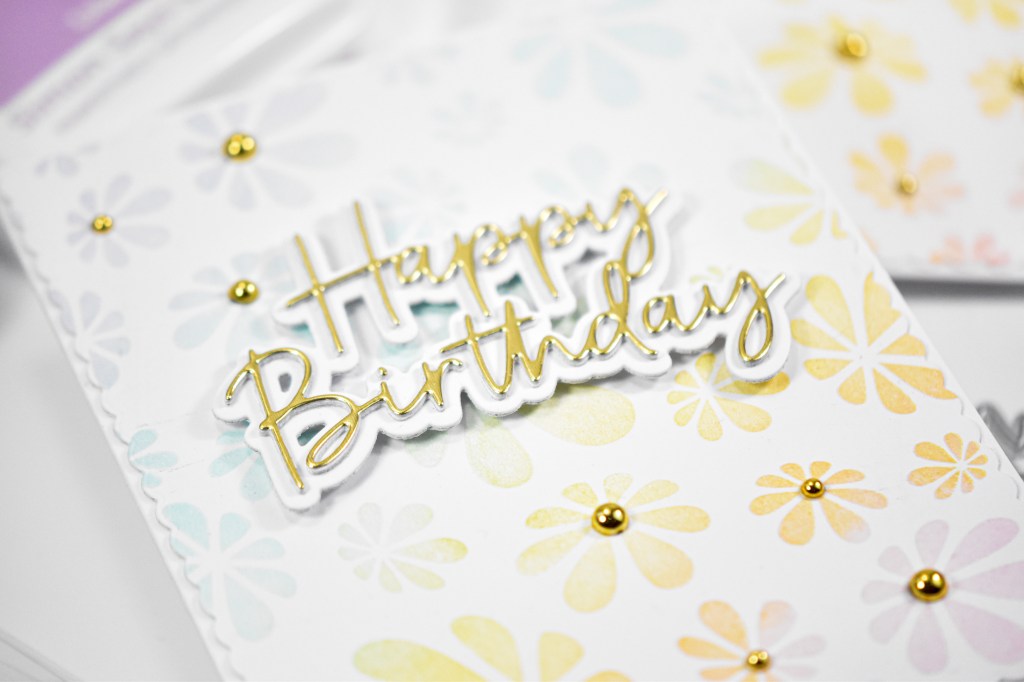
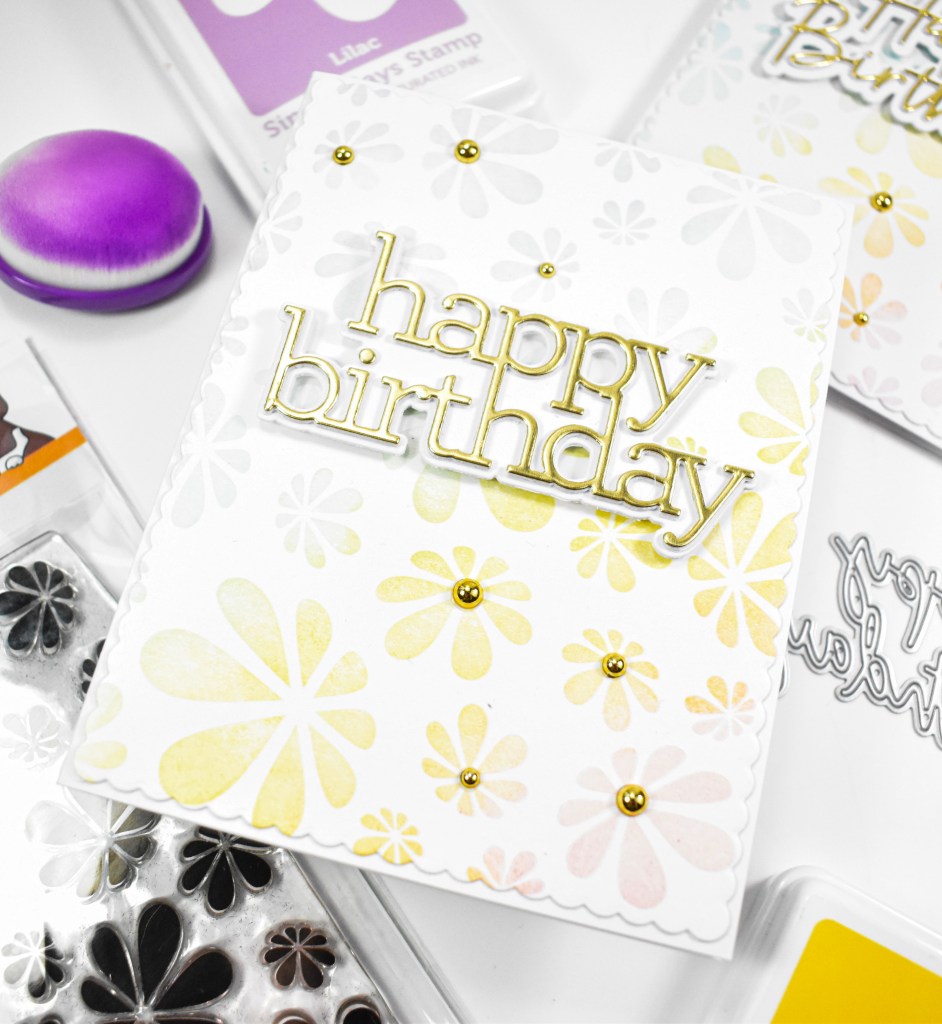
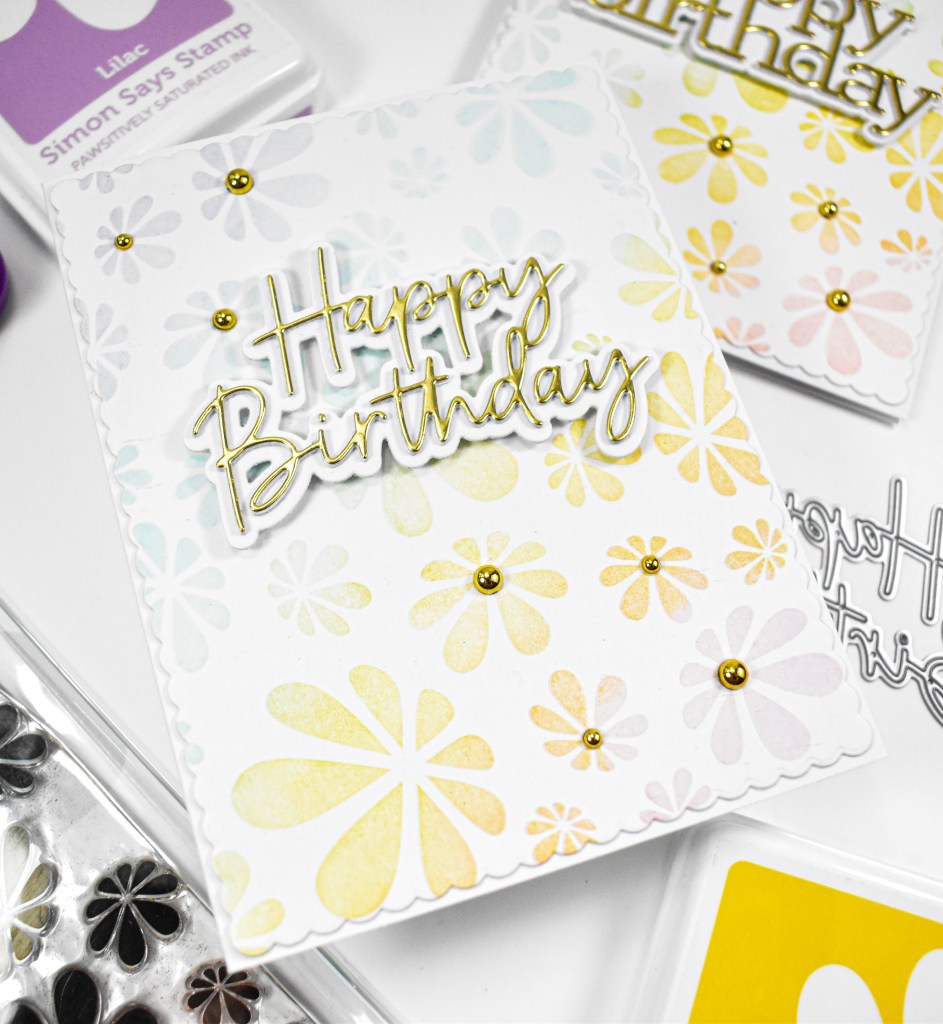
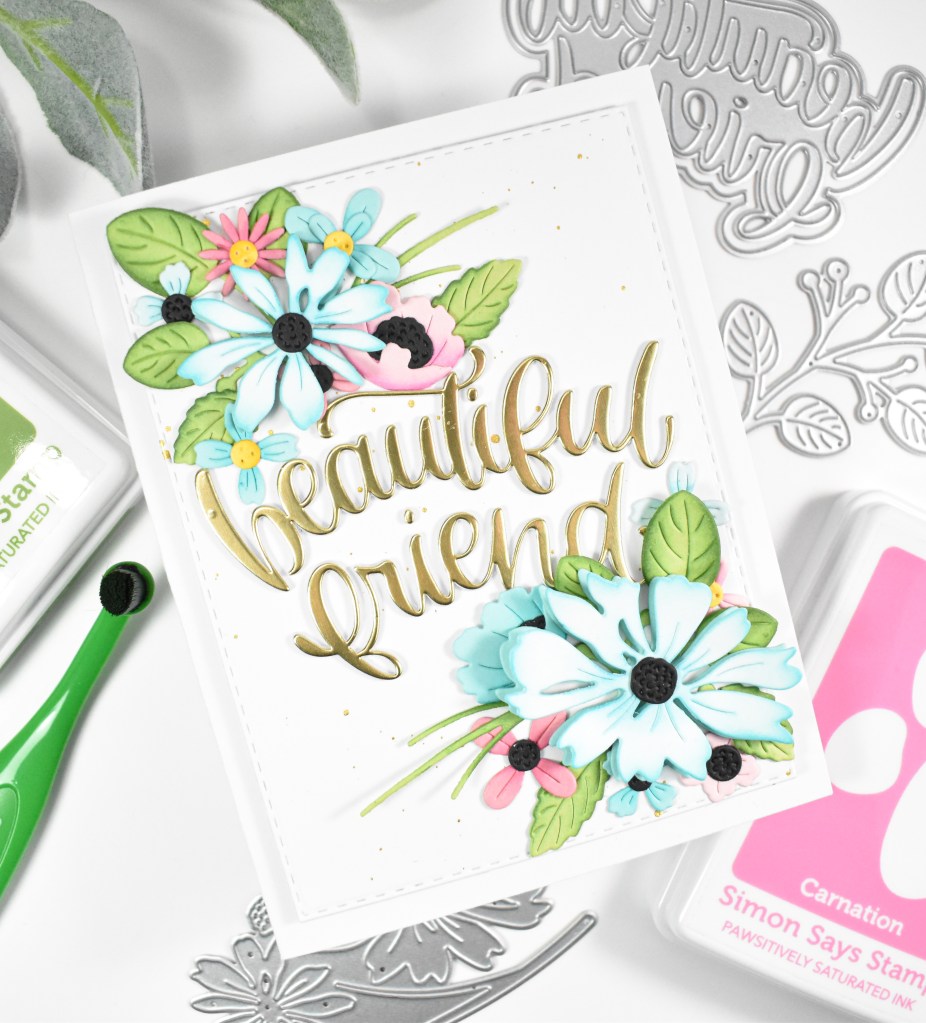
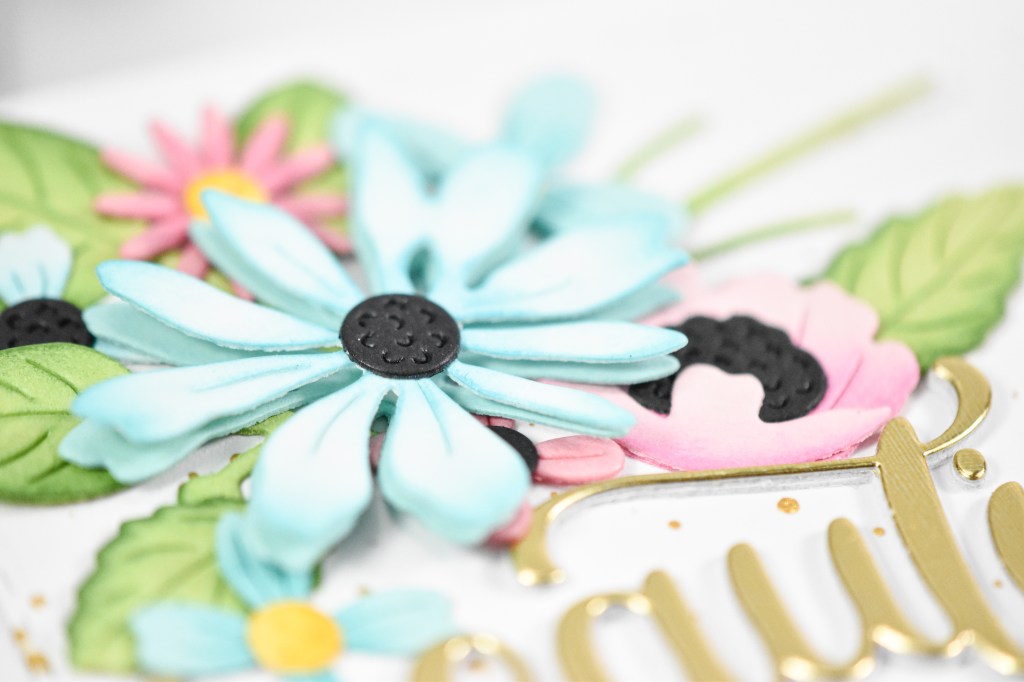
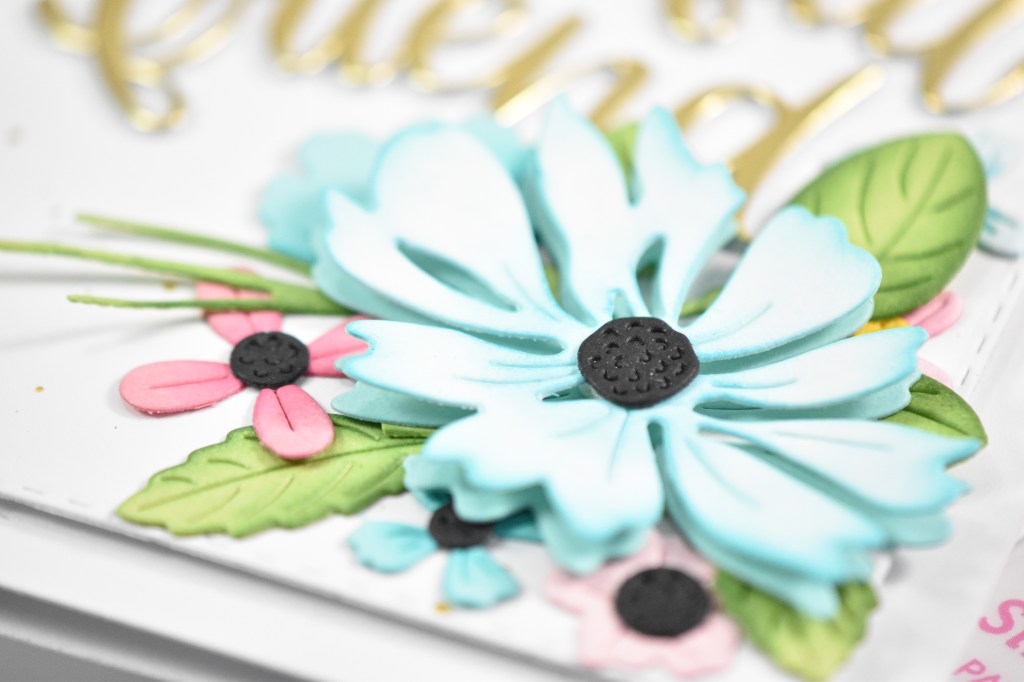
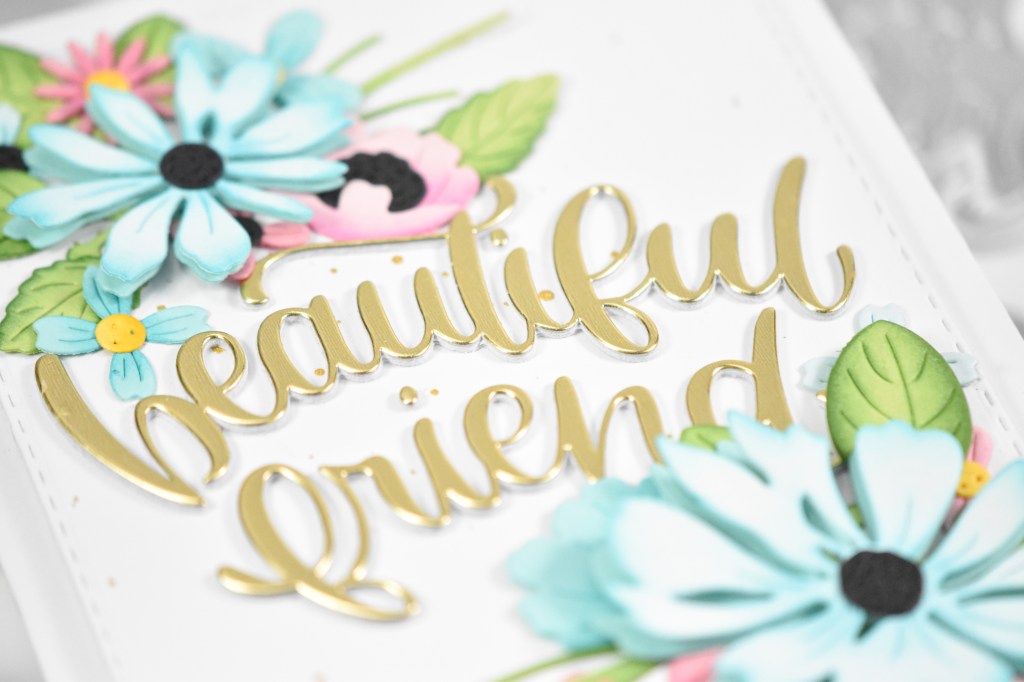
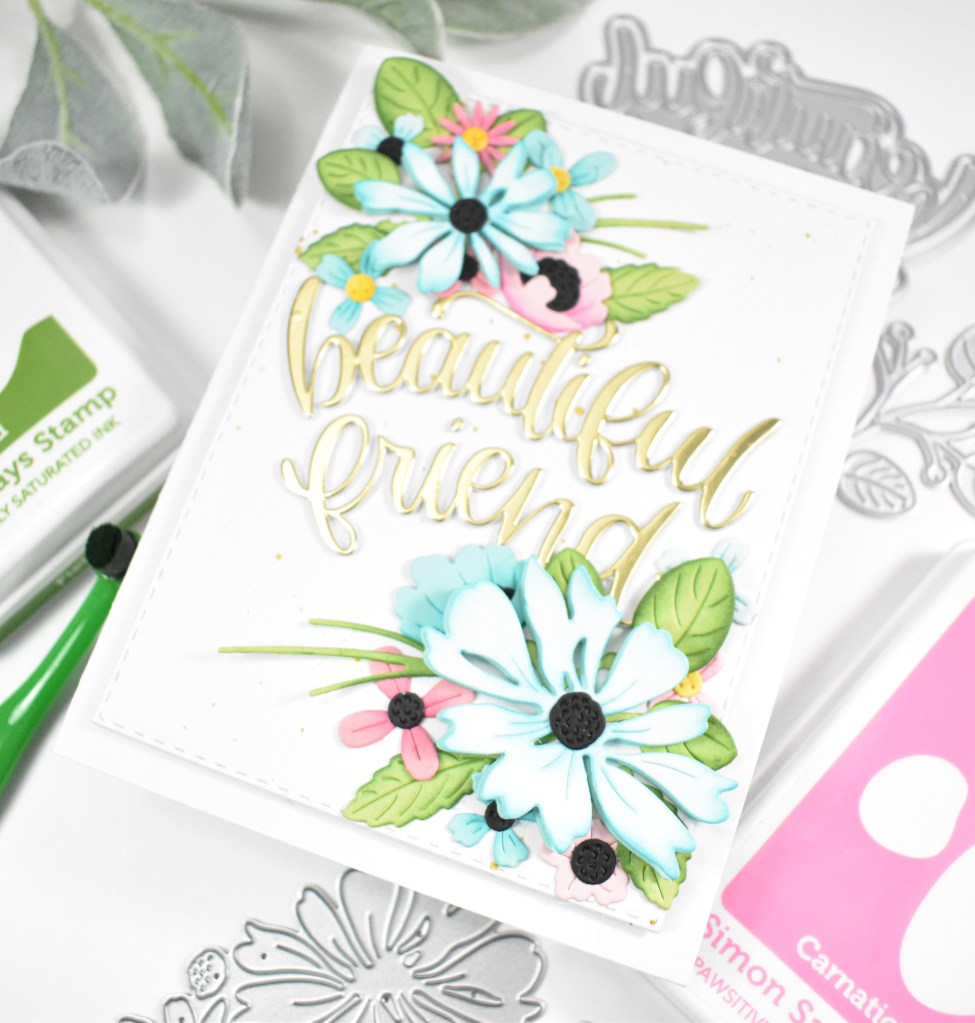
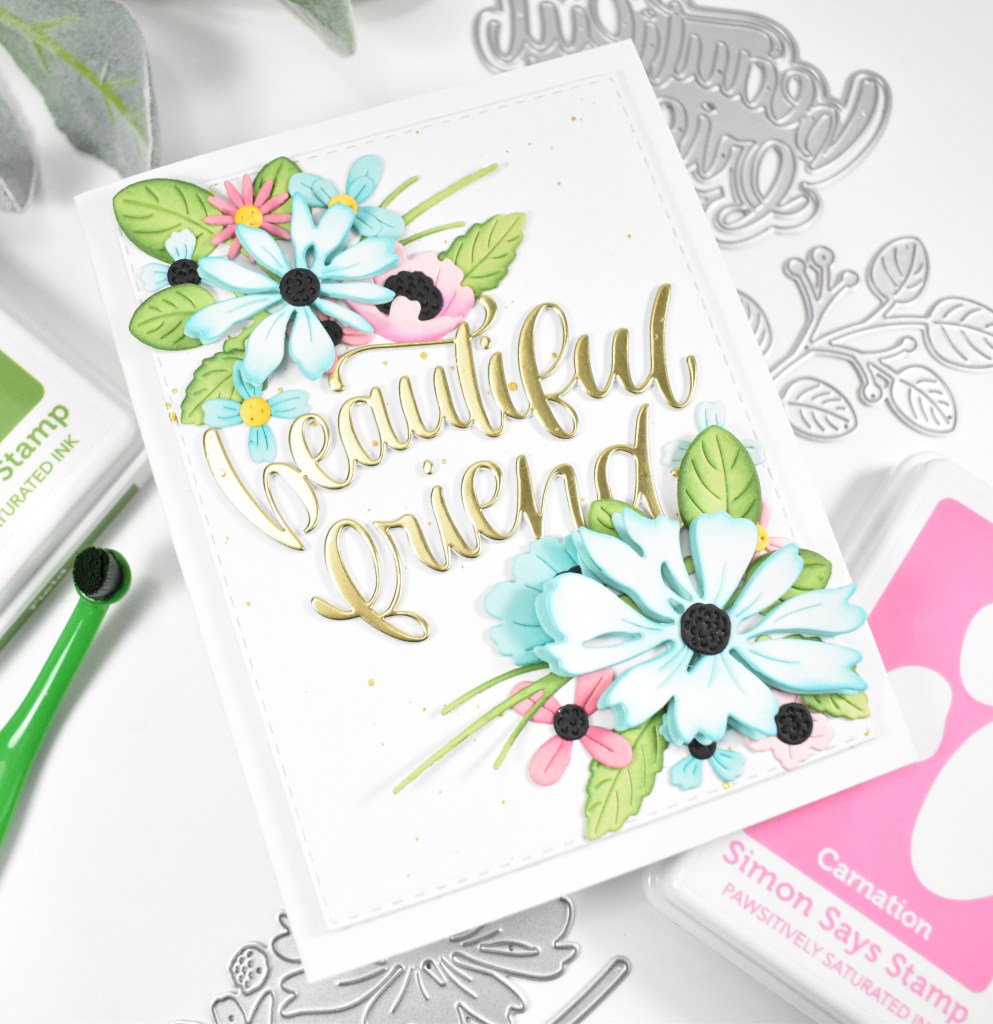
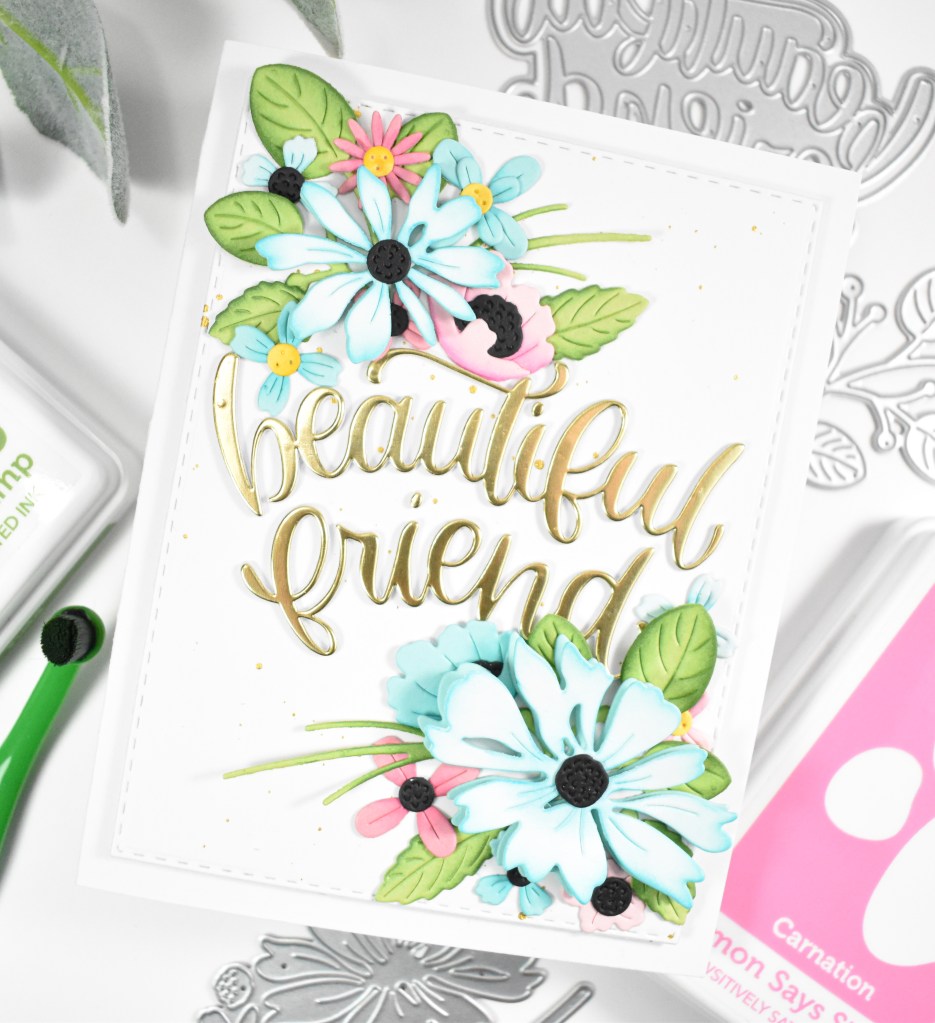
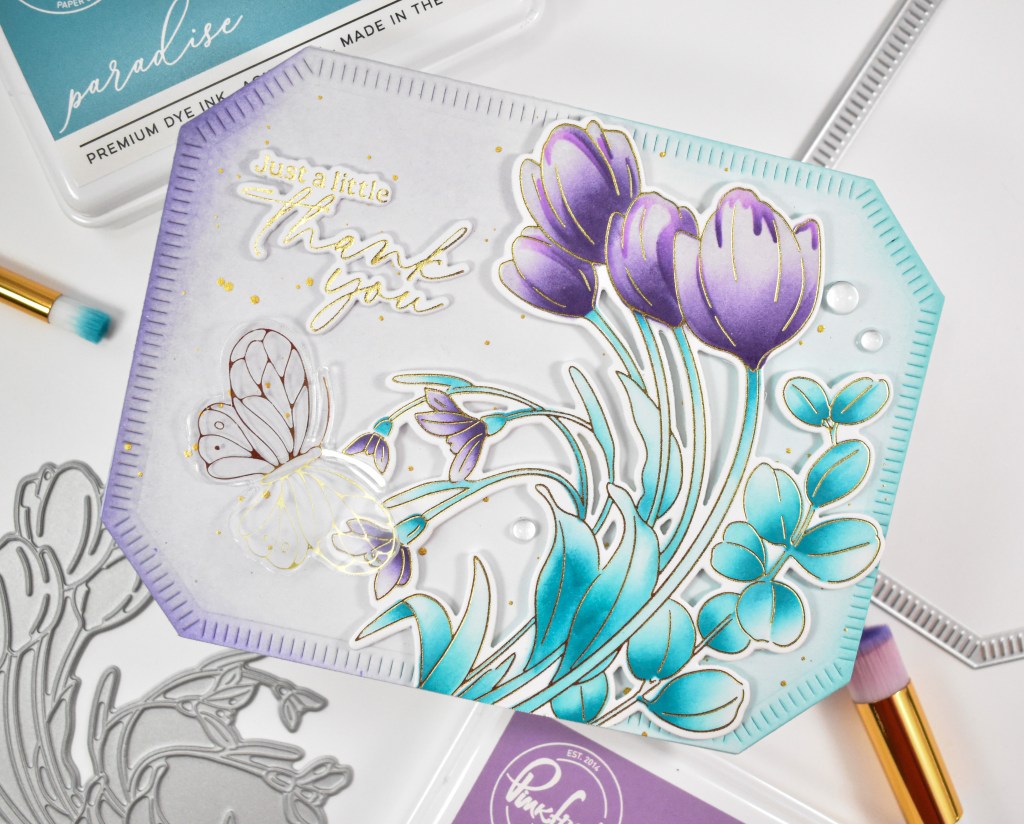
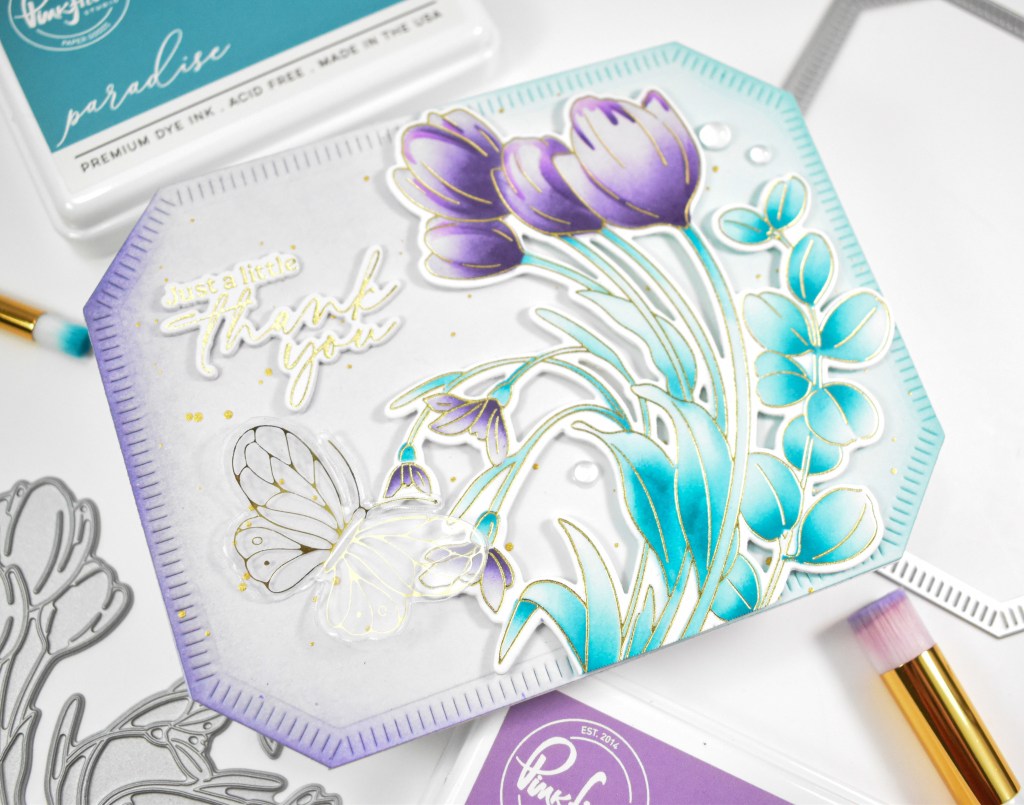
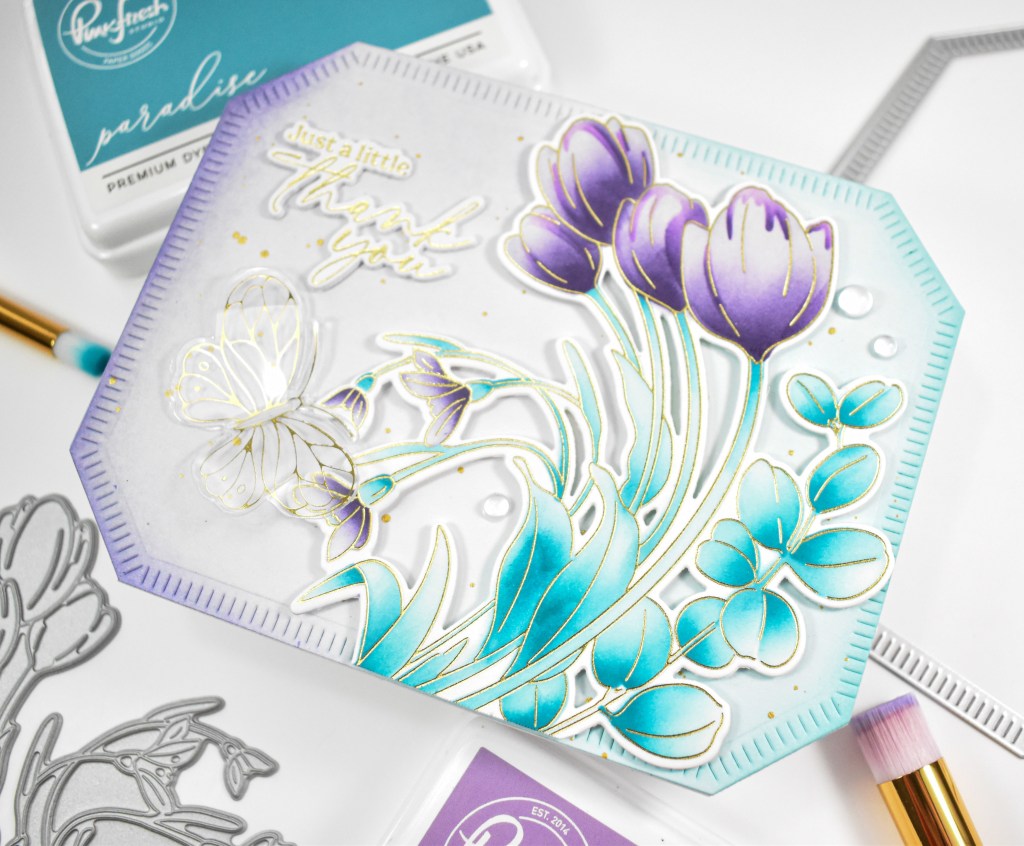
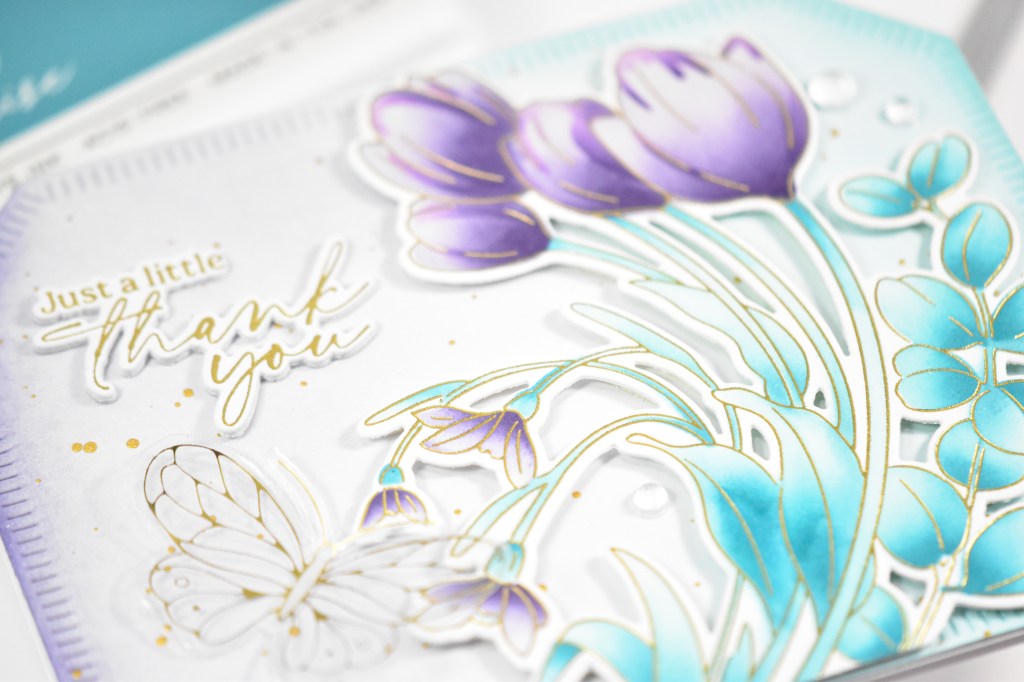
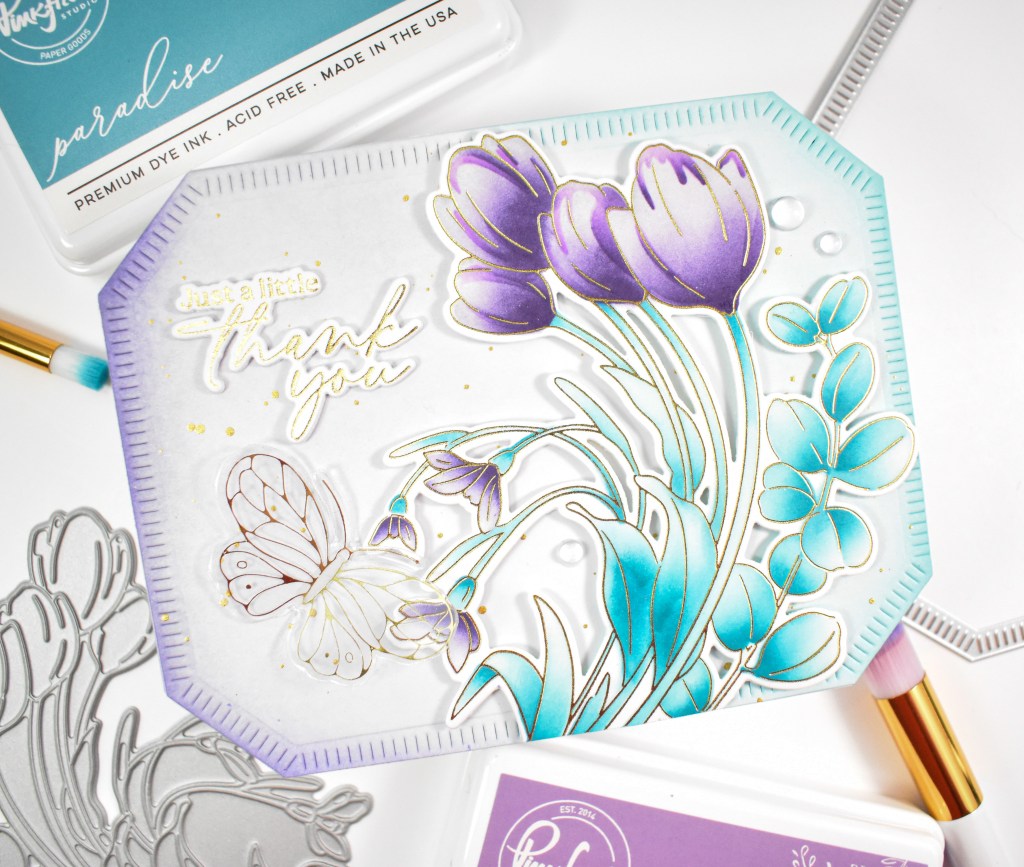
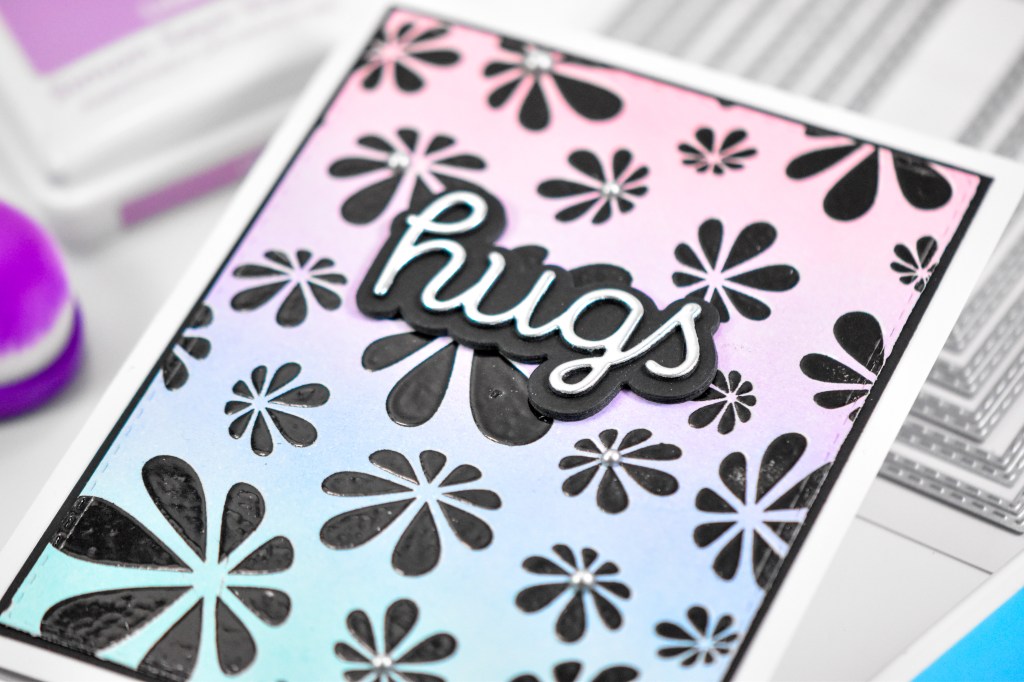
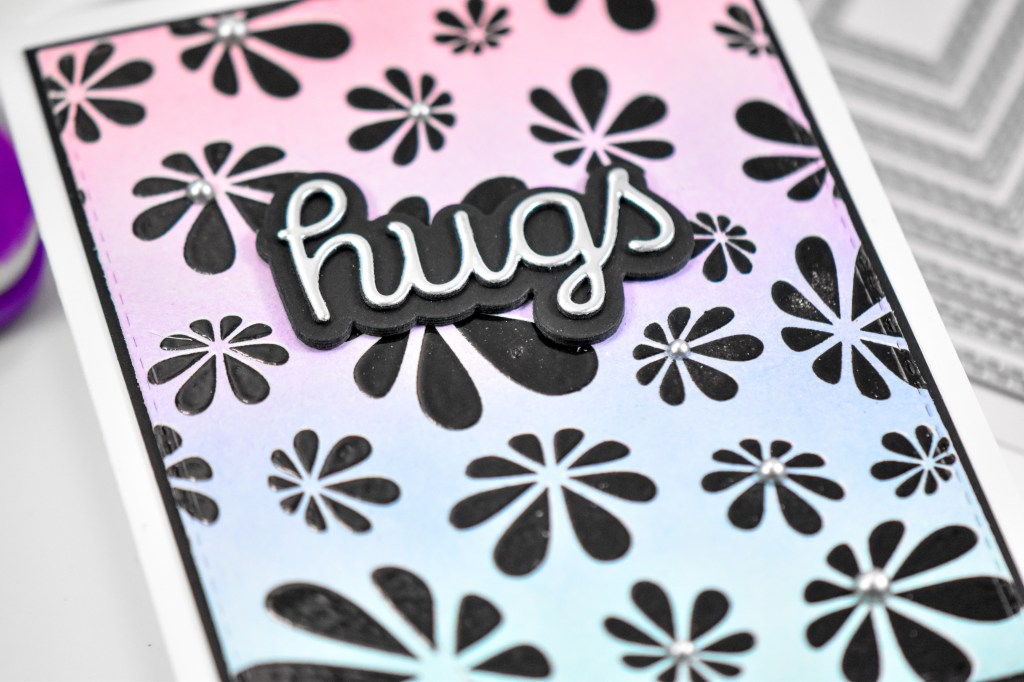
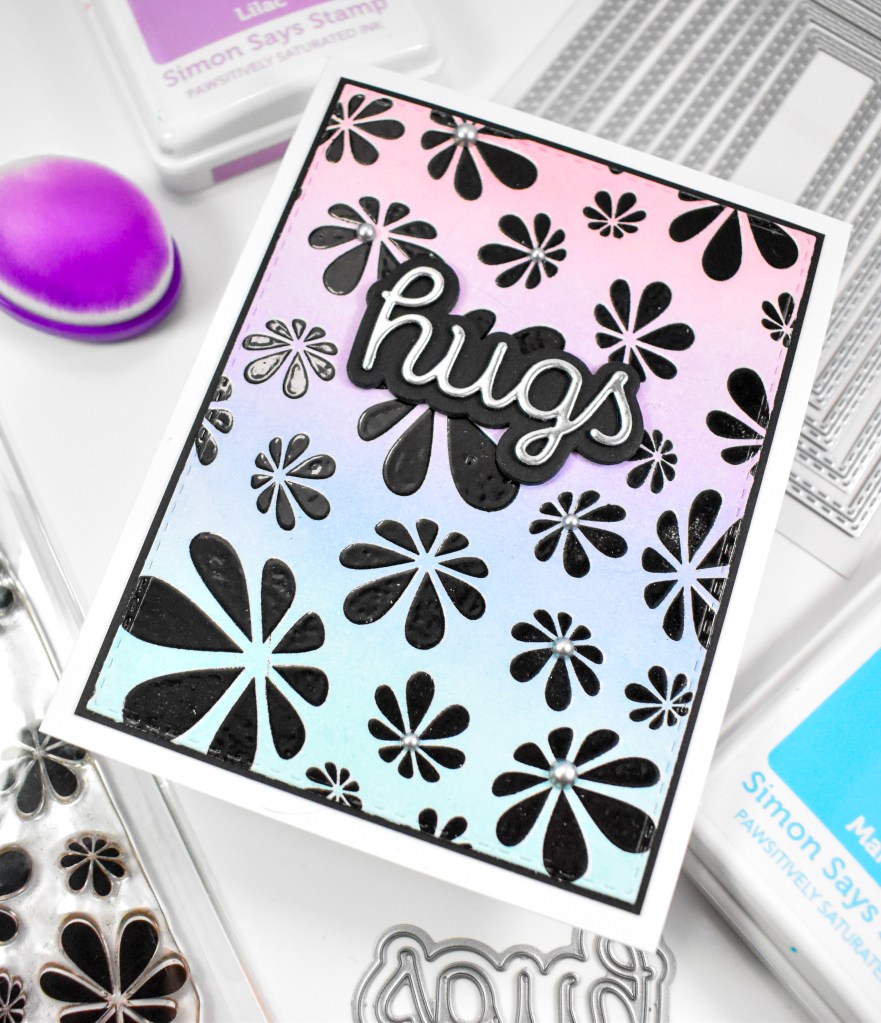
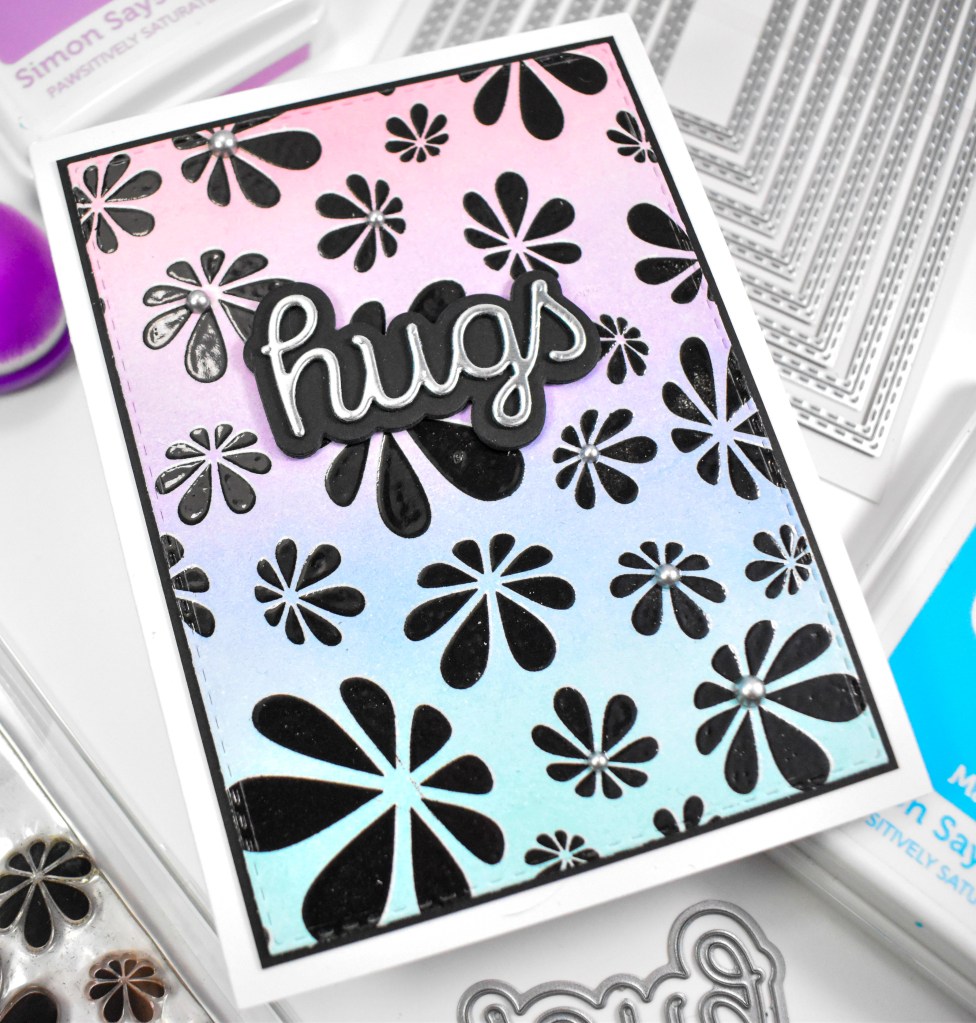
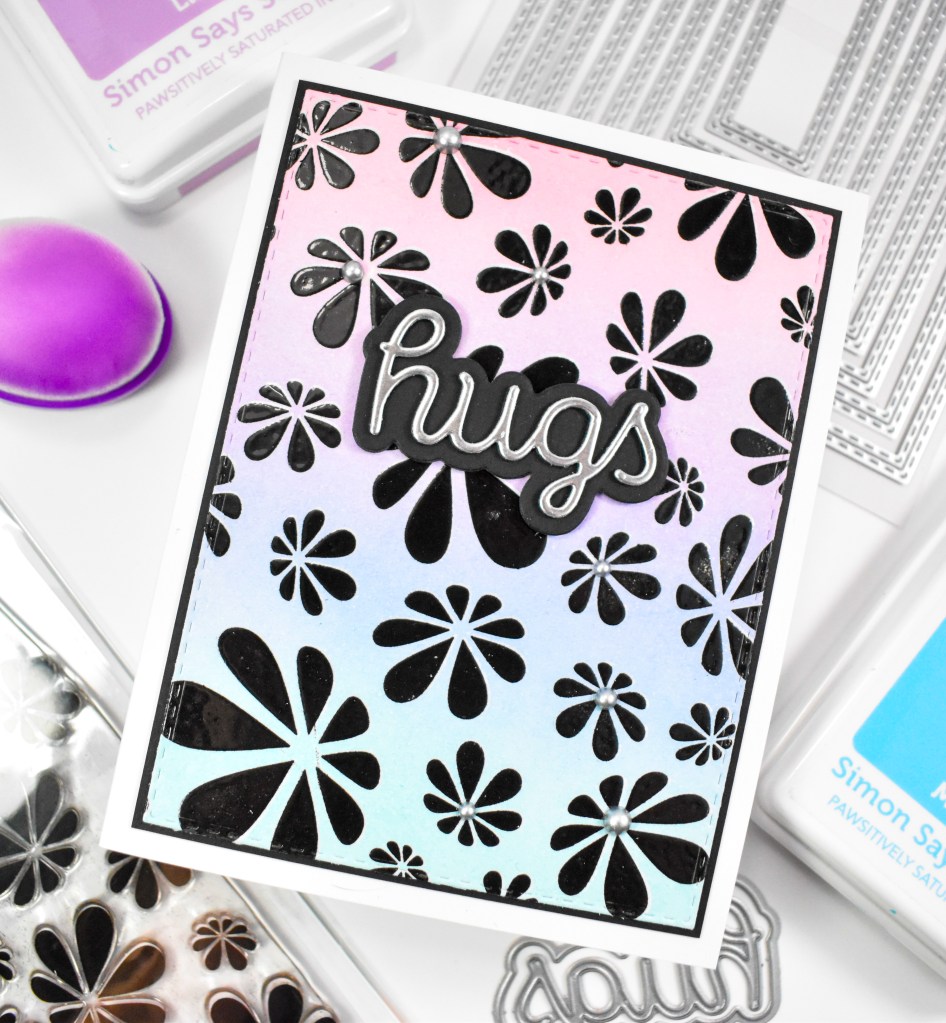
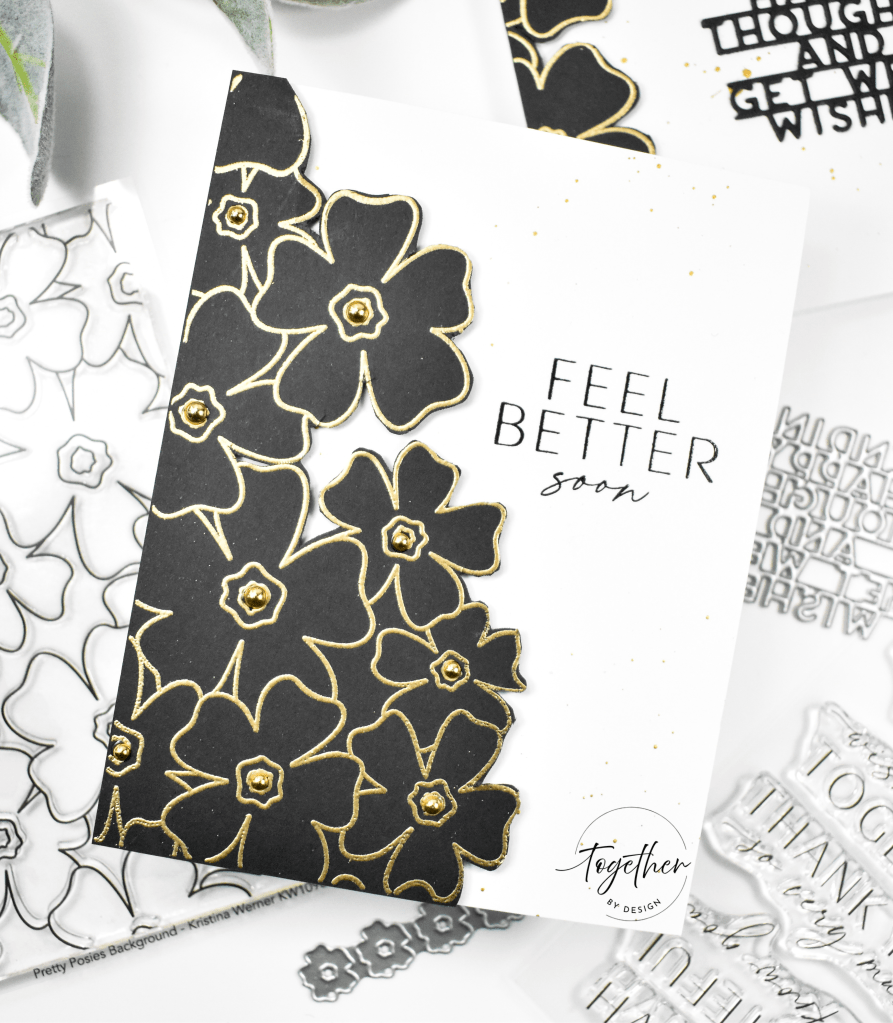
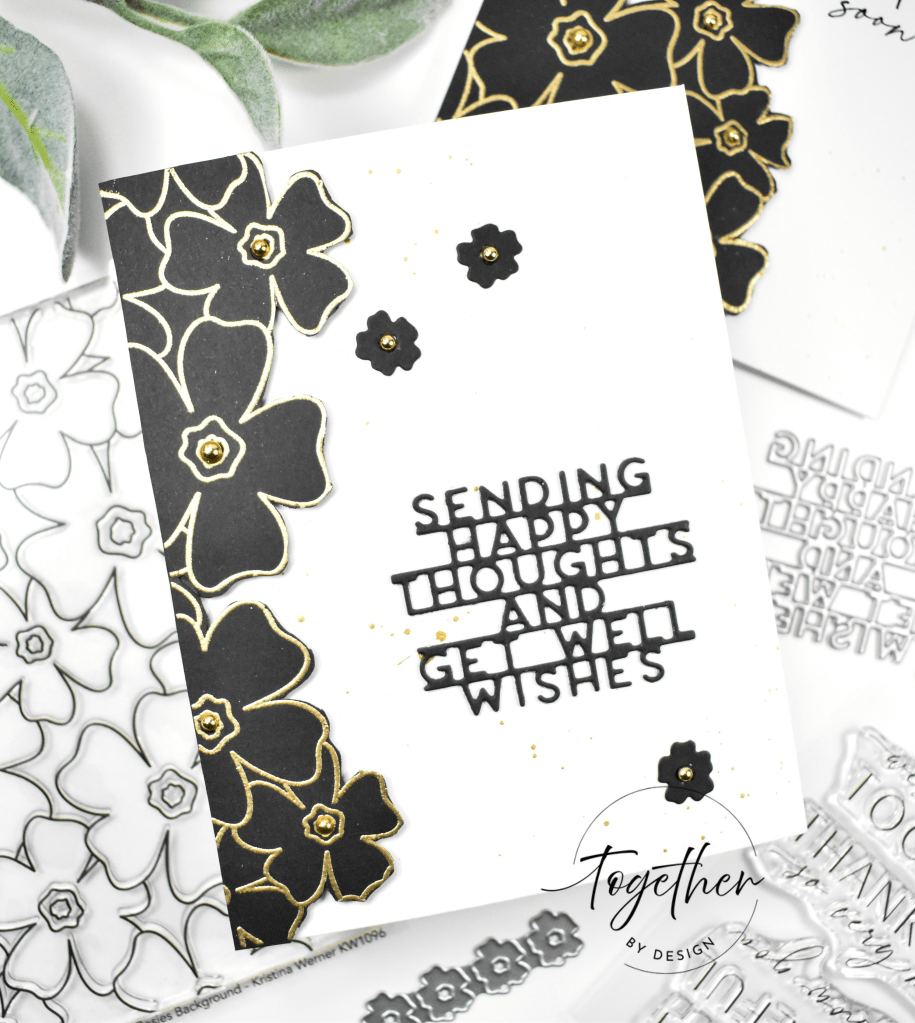
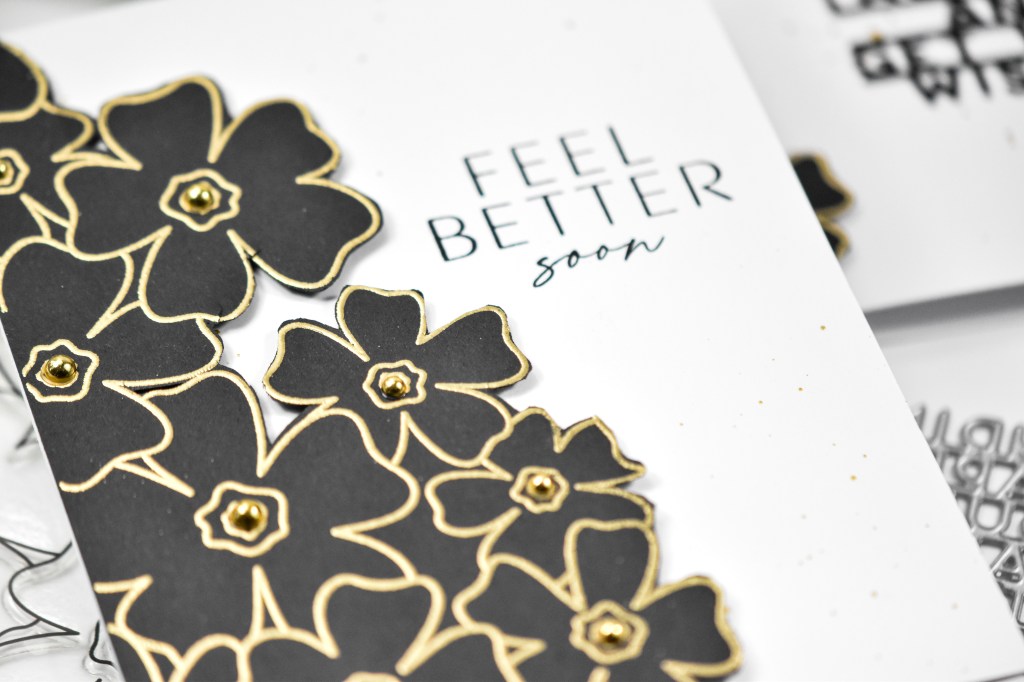
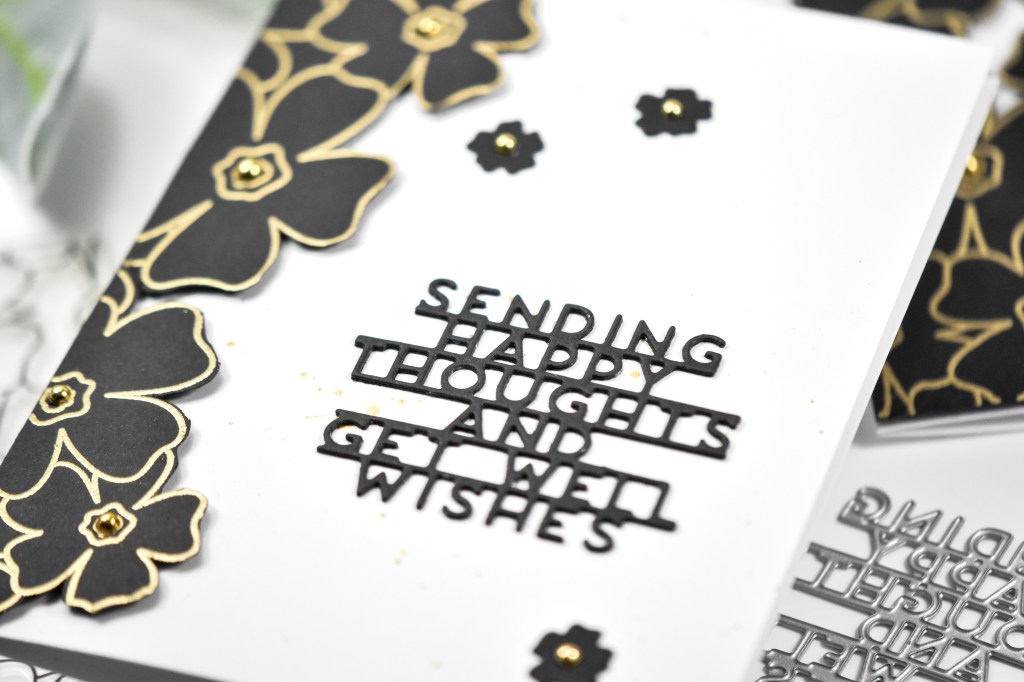
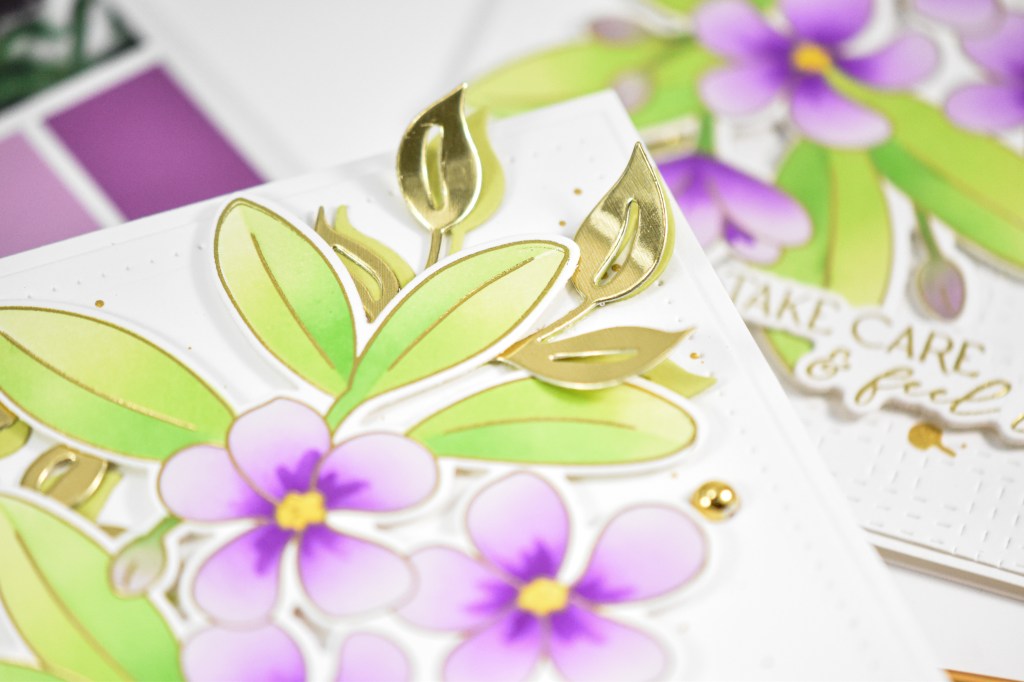
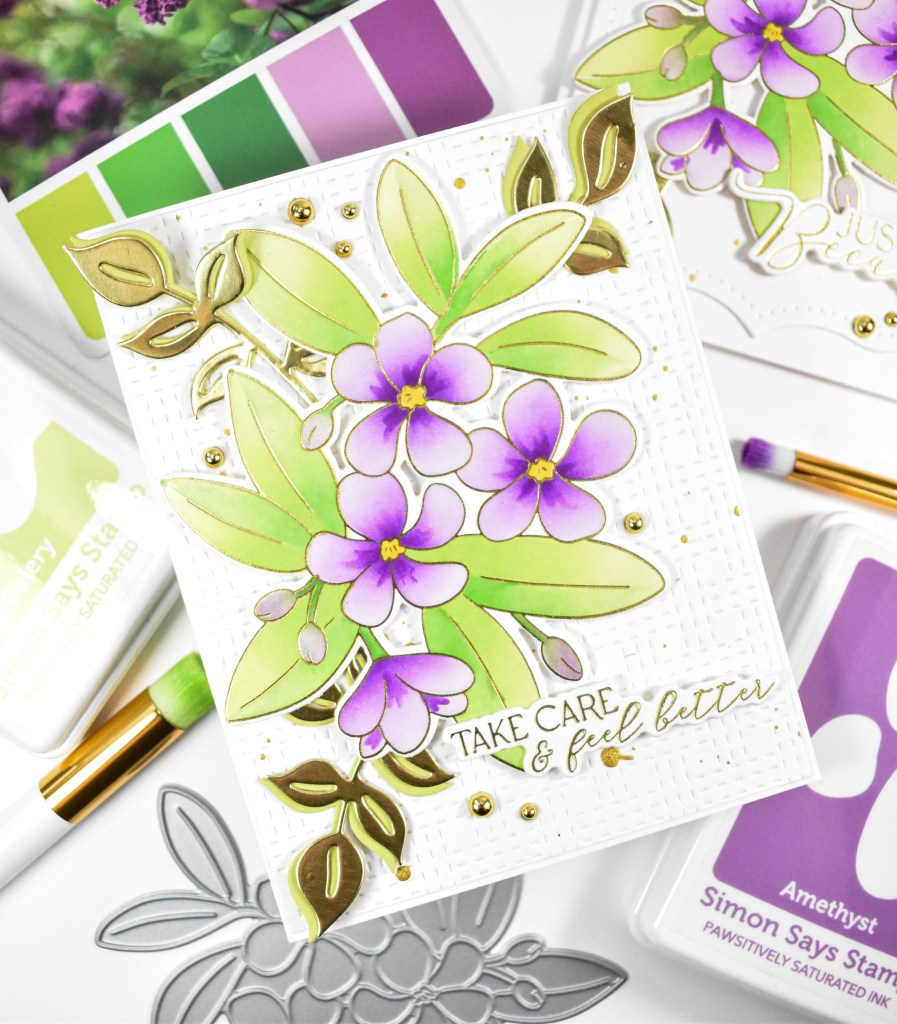
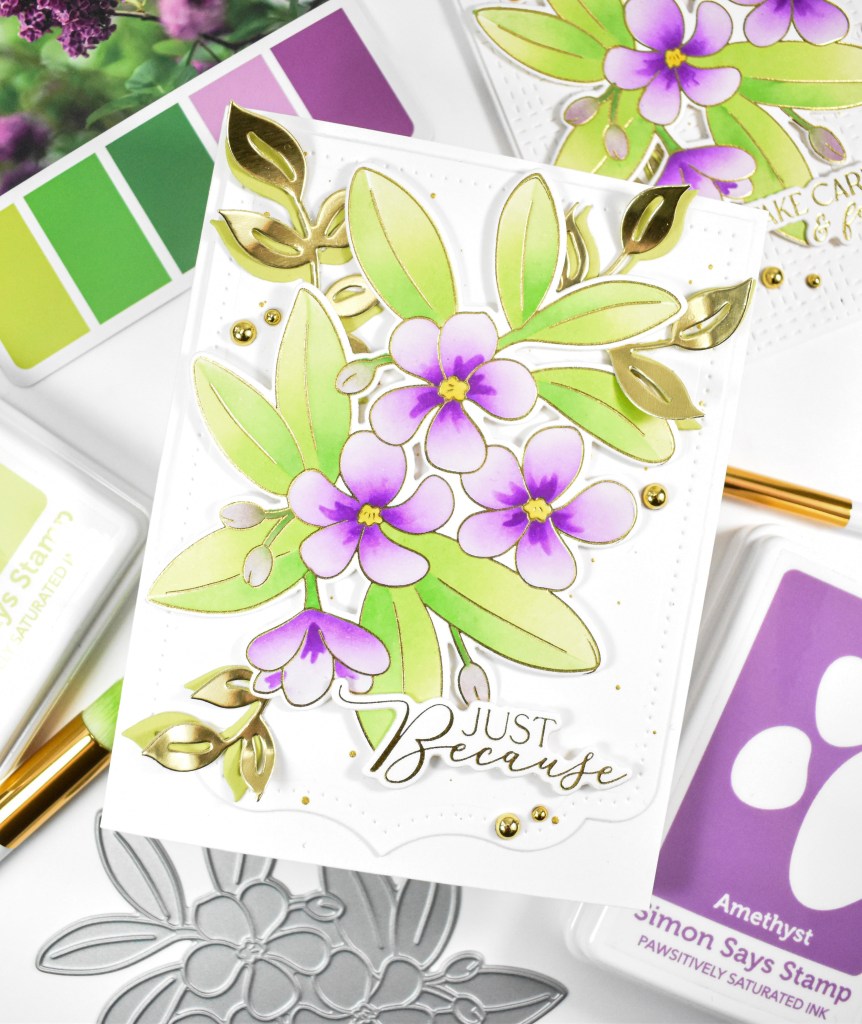
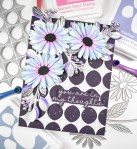
I began my project by gold foiling the Pinkfresh Plumeria Press Plate twice. I did it twice, because I wasn’t sure if I was going to use one or two on my card. Once the foiling was complete, I pulled the inks that I thought best matched the featured card number. I began my ink blending using the coordinating stencils and then trimmed them out using the coordinating dies.
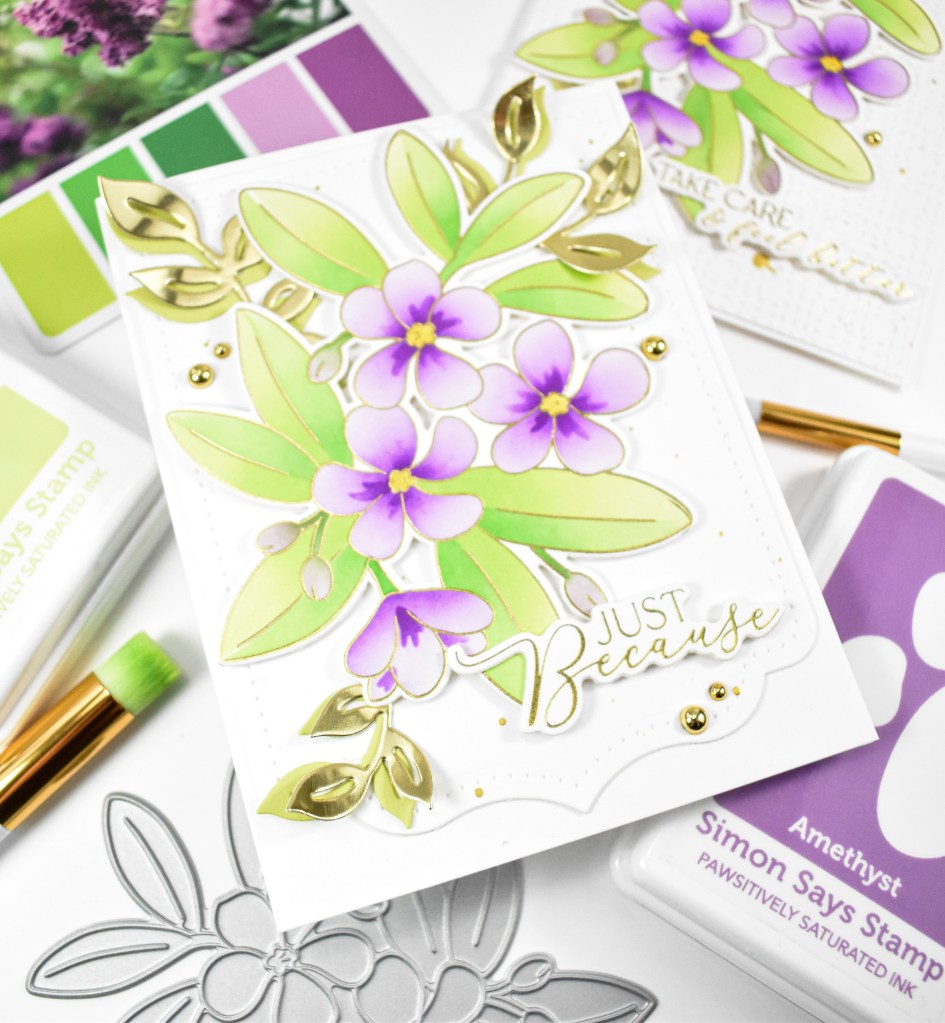
The backgrounds was created by gold splattering the Ornate Banner and the Stitched Basket Weave.. As I always say, I needed more leaves, so I cut the Curvy Leaves from Peridot and Gold cardstock. Unfortunately, I was unable to locate the banner and leaves to link to, but just use items in your stash!
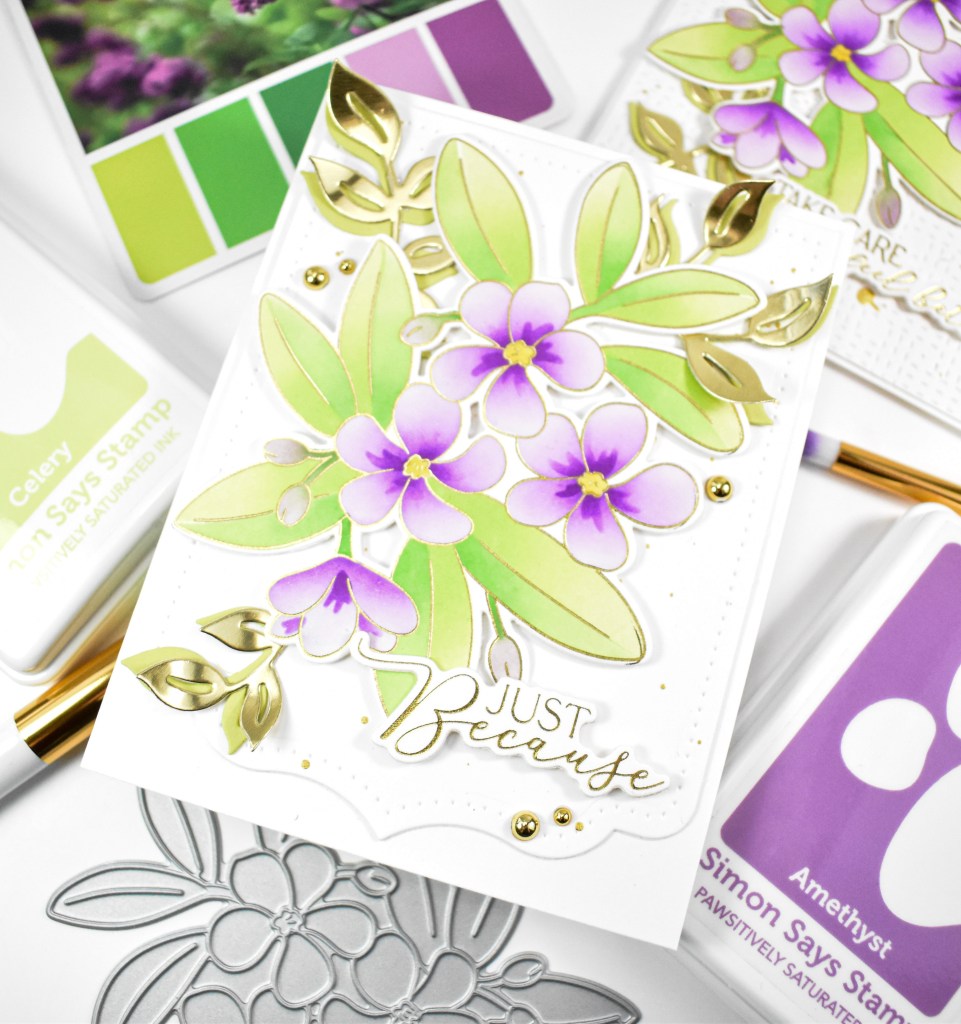
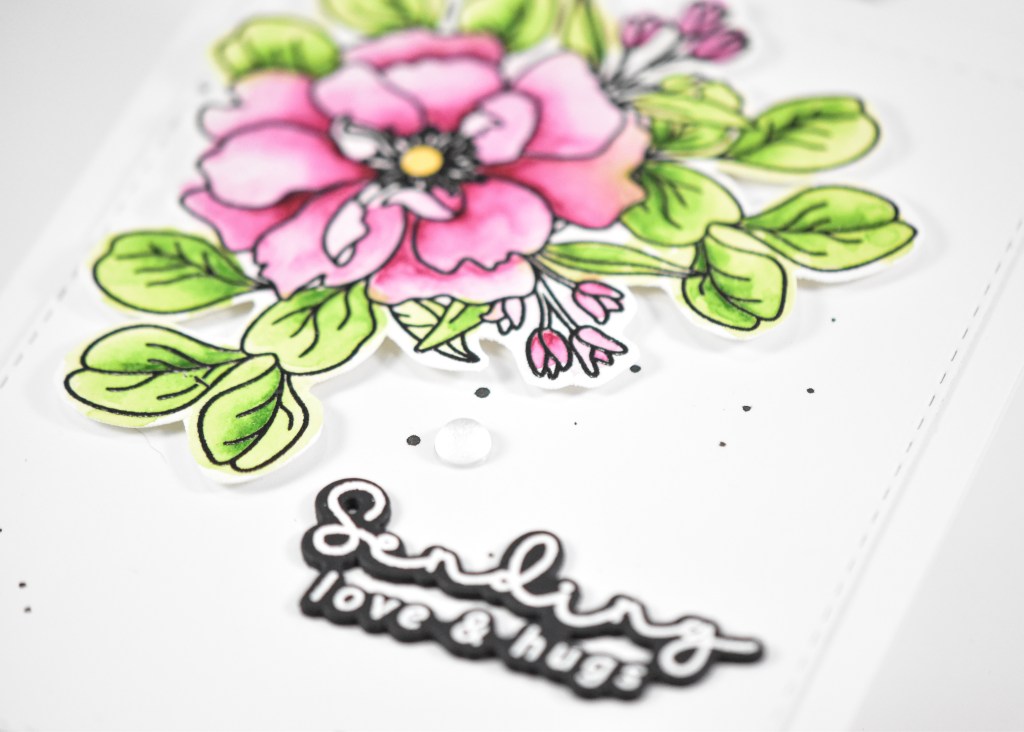
The banner and panel were adhered to the card bases, the leaves were secured in place using liquid glue and the floral panel was adhered with foam tape. The sentiments were gold foiled as well, added with foam tape, and some gold metallic pearls were added to tie it all together and finish up.
That does it for this month’s project! I hope you enjoyed it, and I hope you’ll go check out the other designer’s projects using this same card number from the Color Cubes. Thanks for stopping by, and I hope you have a wonderful day!
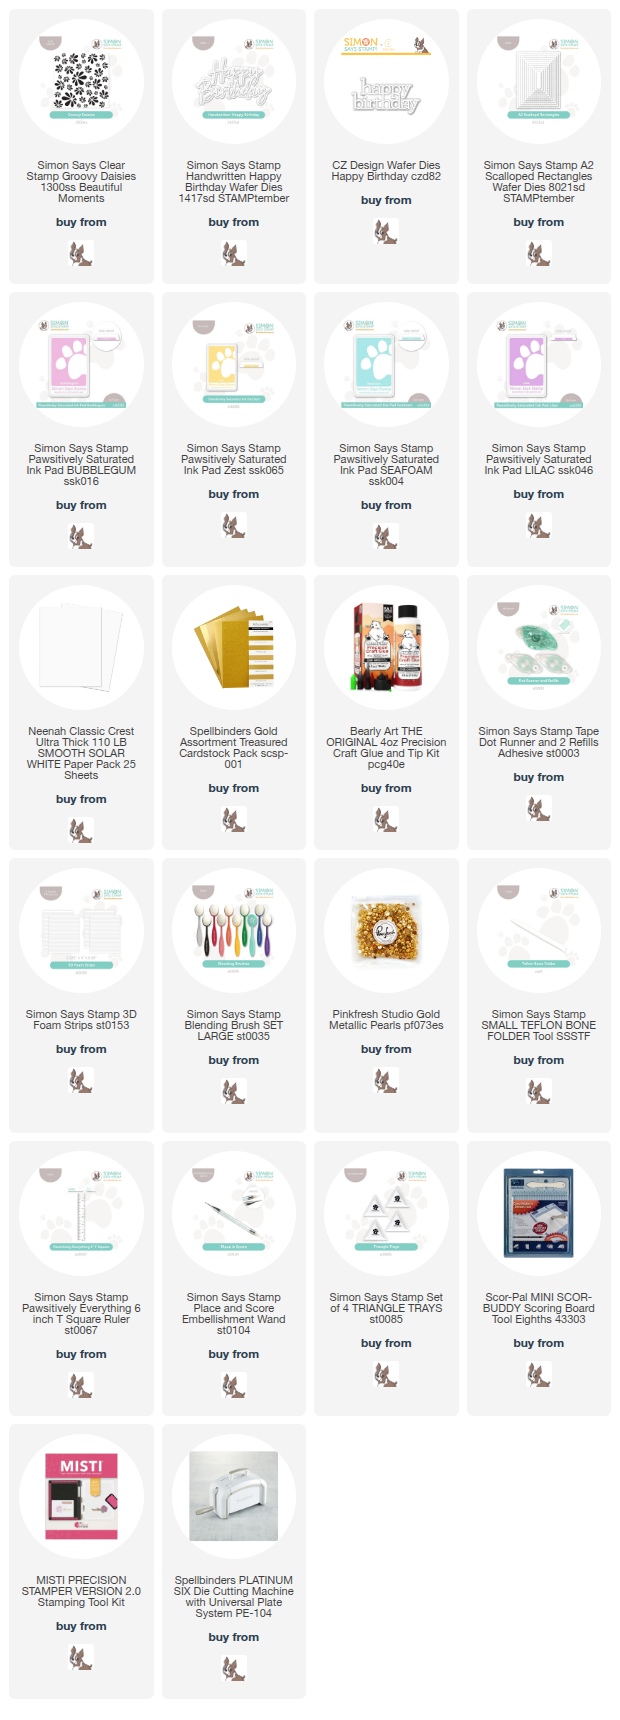
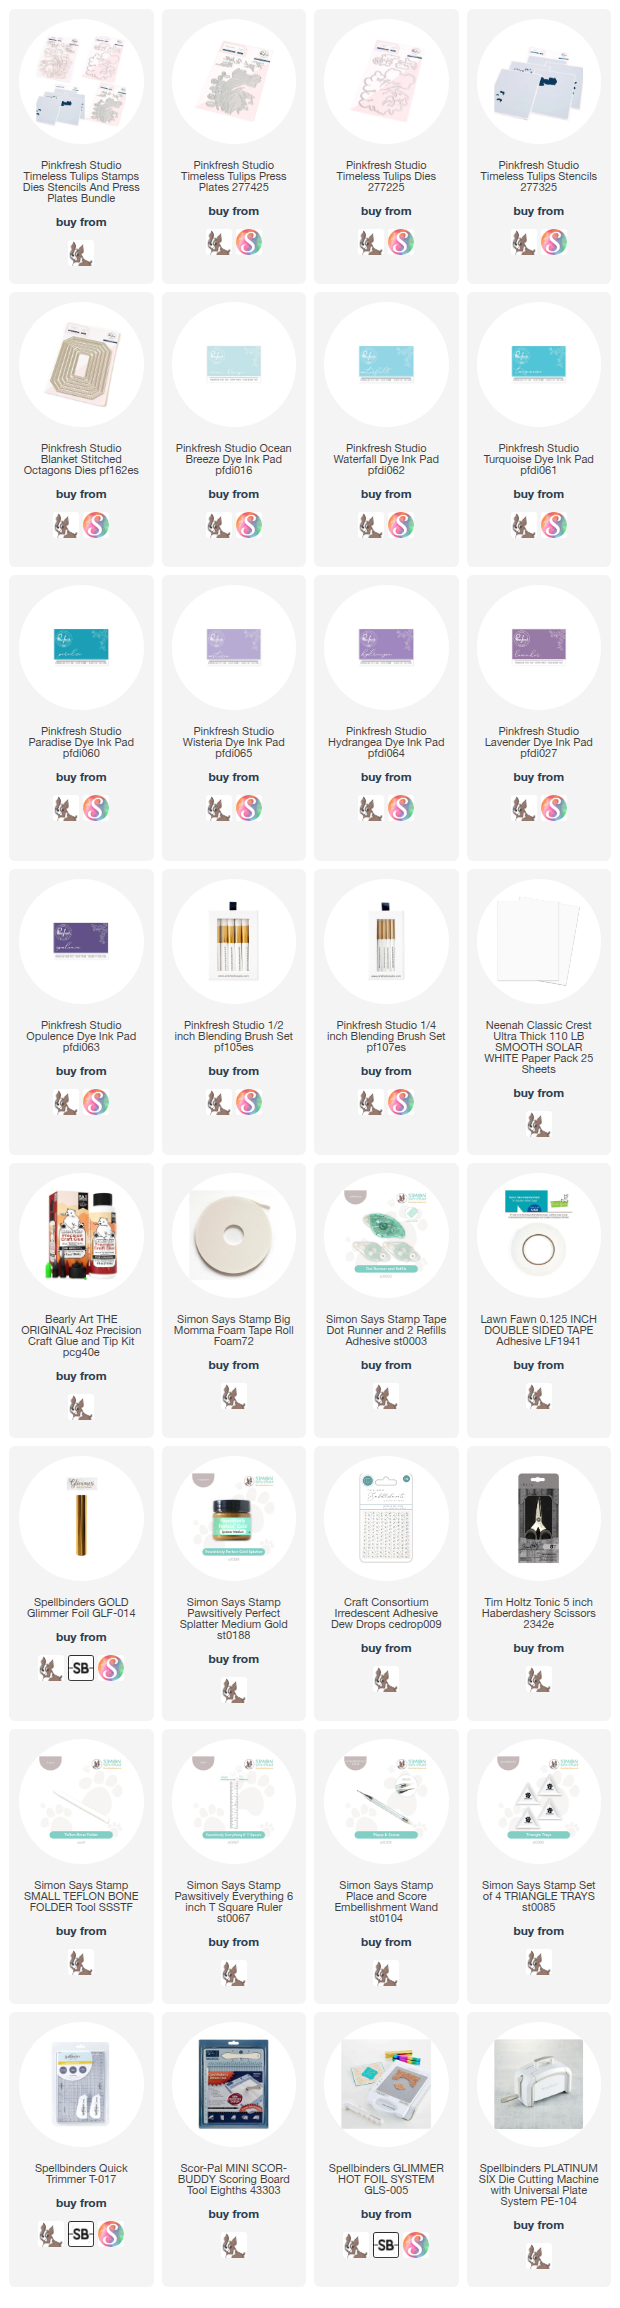
Supply List
Affiliate links used at no cost to you. What does this mean? If you use the links within this post to make a purchase, I receive a small commission, which allows me to continue to post crafty content for your enjoyment. I truly appreciate your support!
Latest Posts
- Simon Says Stamp Grungy Dewdrop Daisy

- Simon Says Stamp Pastel Birthday Wishes

- Simon Says Stamp Best Fish

- Simon Says Stamp Circle Thanks

- Simon Says Stamp Glowing Daisies
Latest Instagram Posts