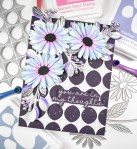
Simon Says Stamp Pink Poinsettia

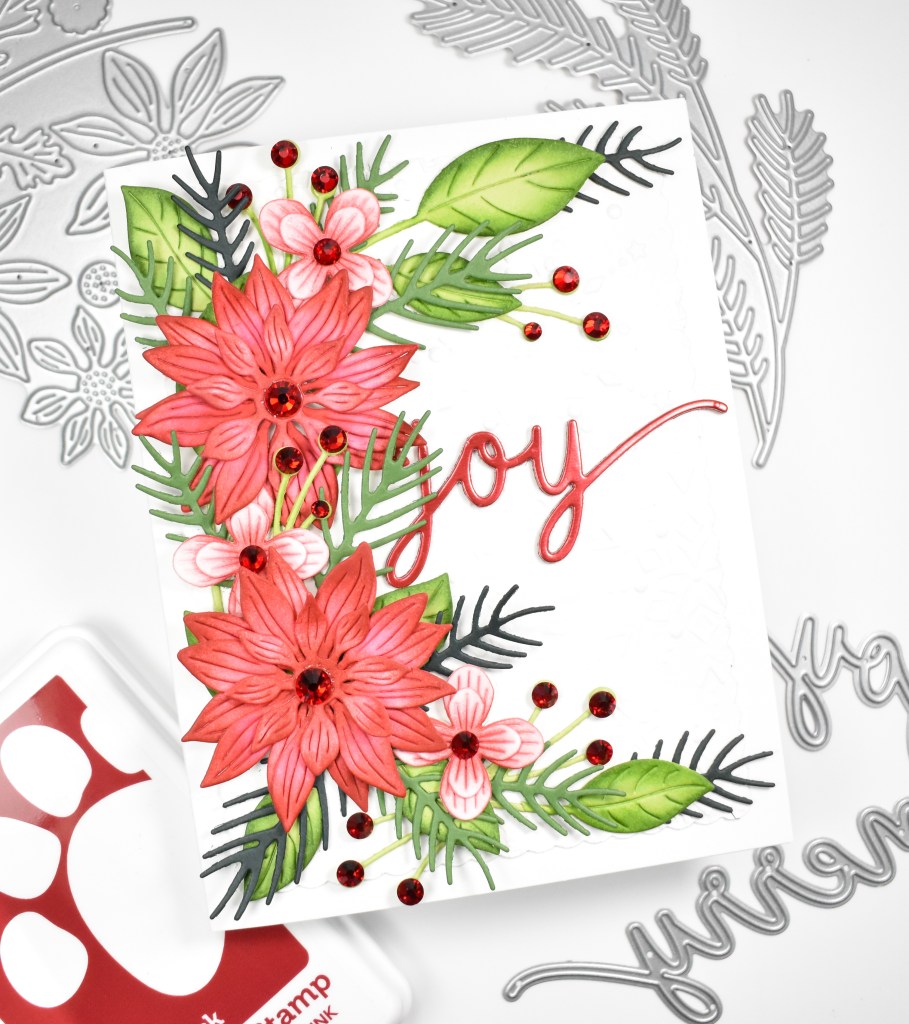
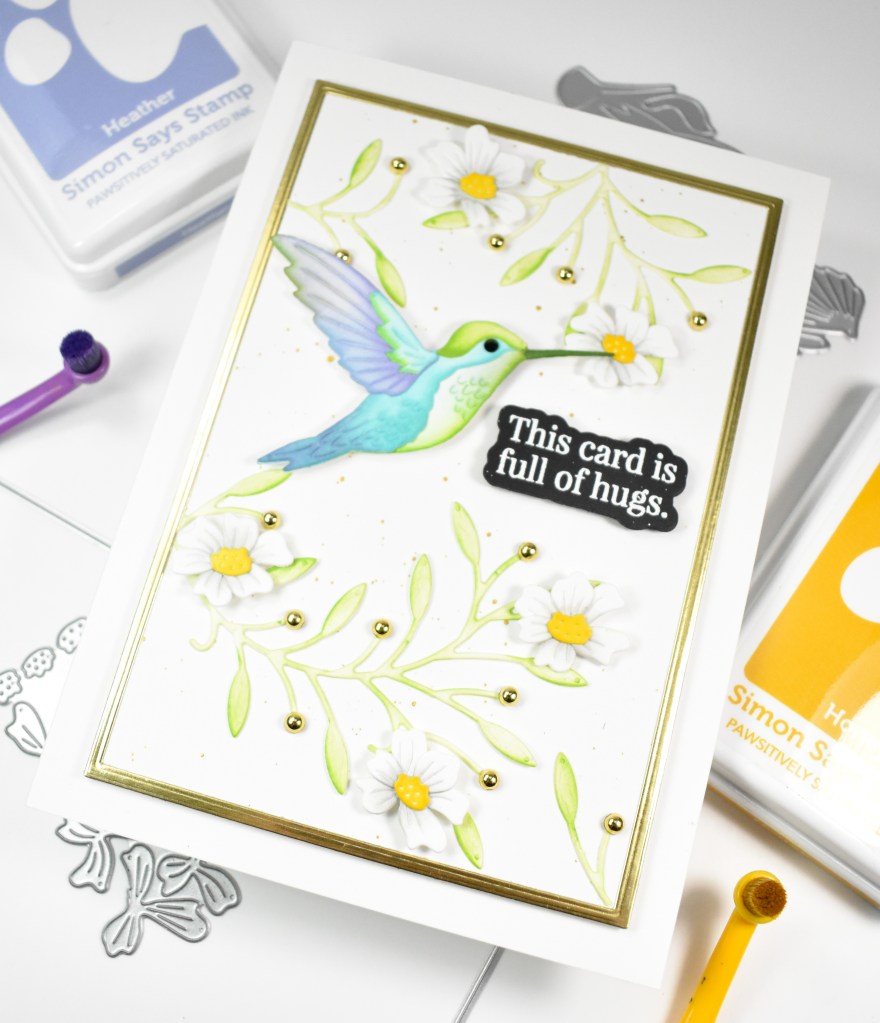
Hi Friends, and thanks so much for joining me! I’m back today with a project featuring the new Layering Pine Sprigs from Simon’s latest release, And Everything Nice. Let’s get into the details for this one, and a little back story of how it came about.
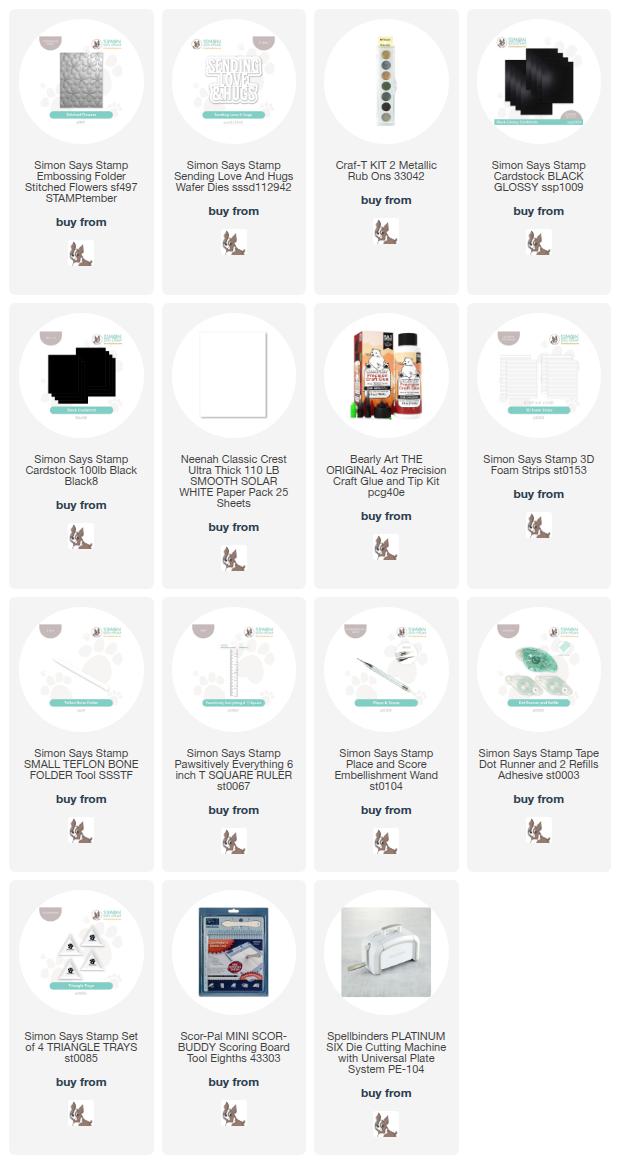
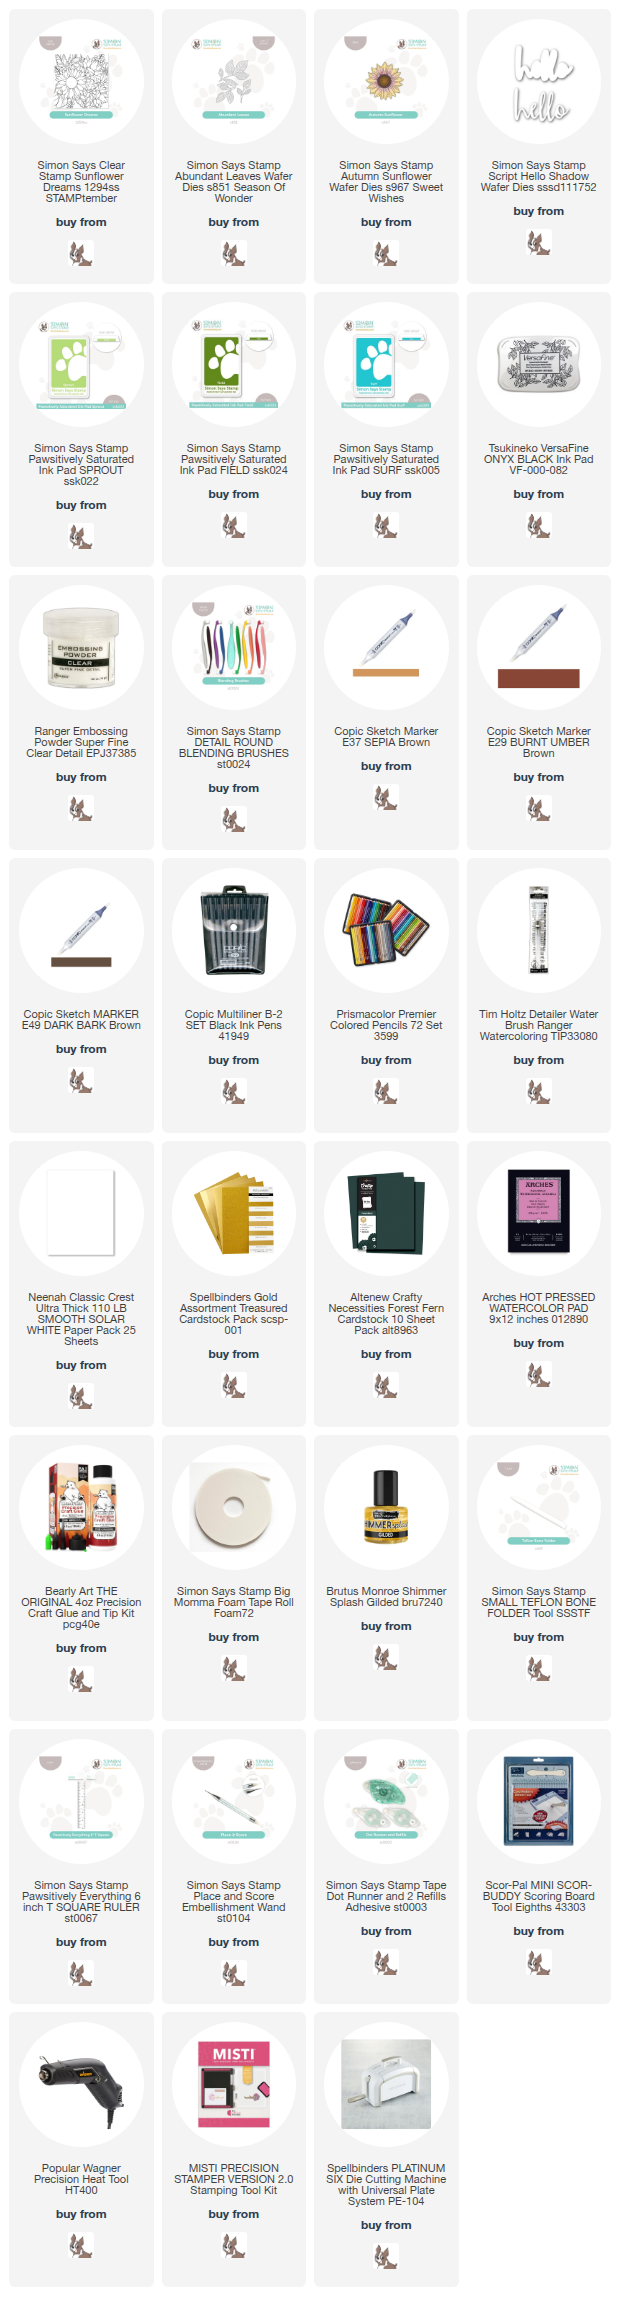
NOTE: all supplies are linked in the thumbnails at the end of this blog post.
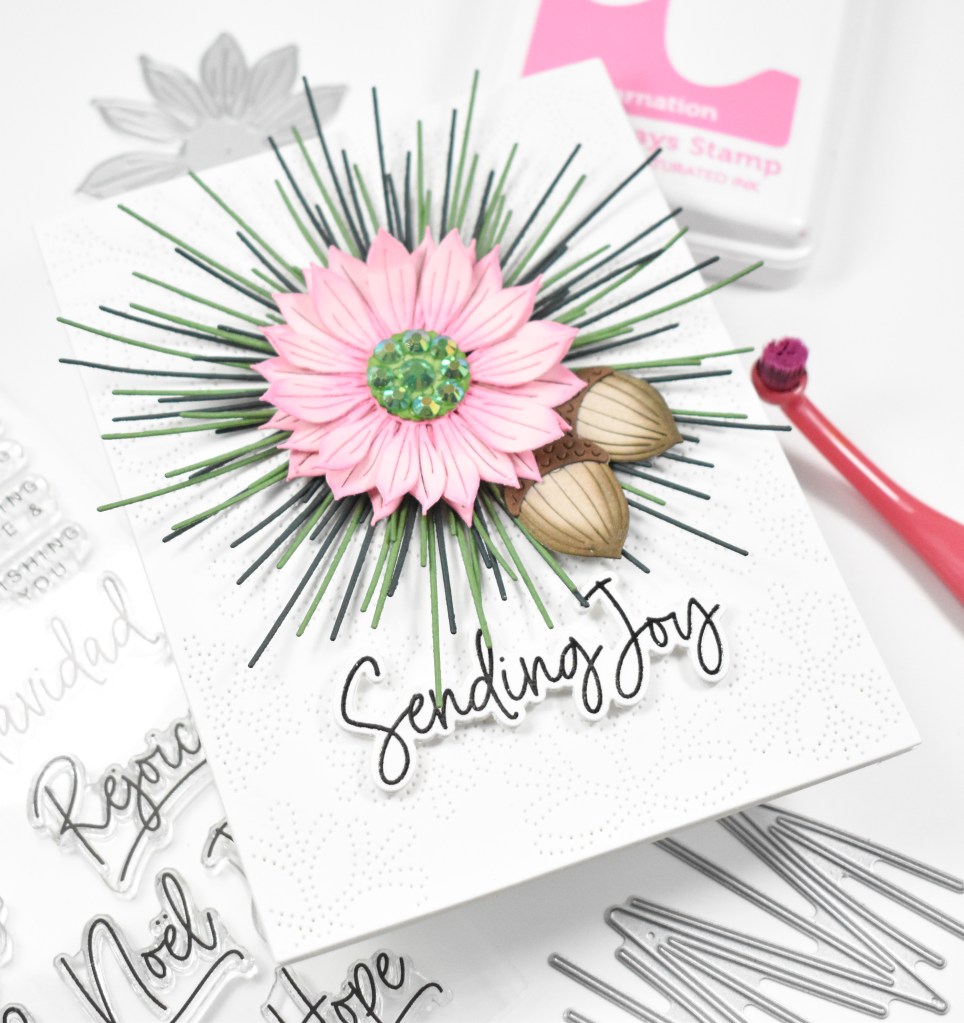
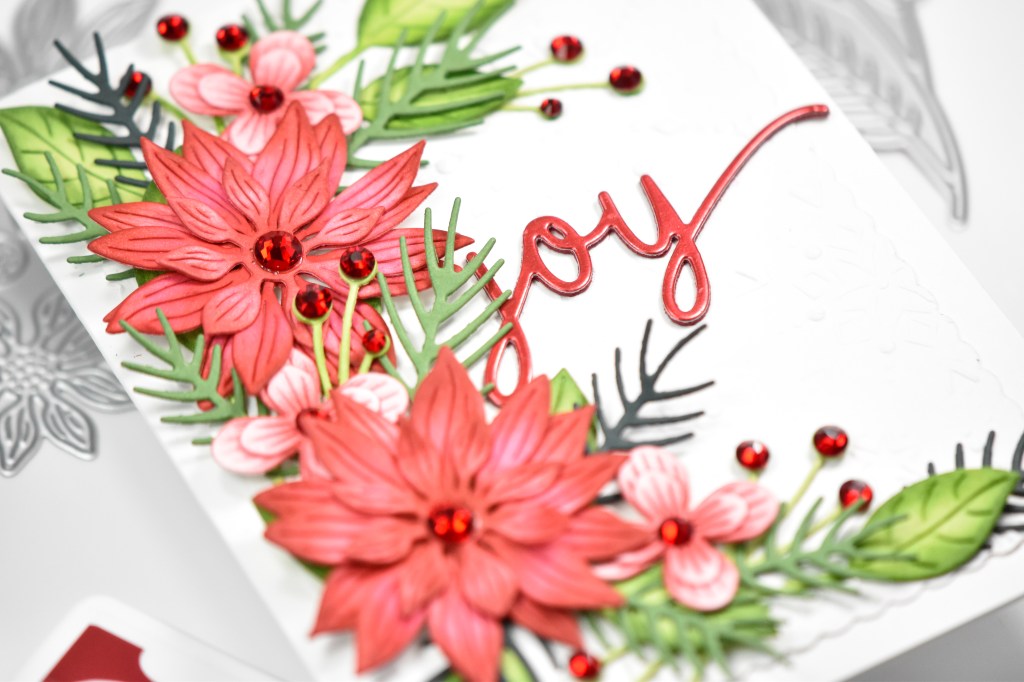
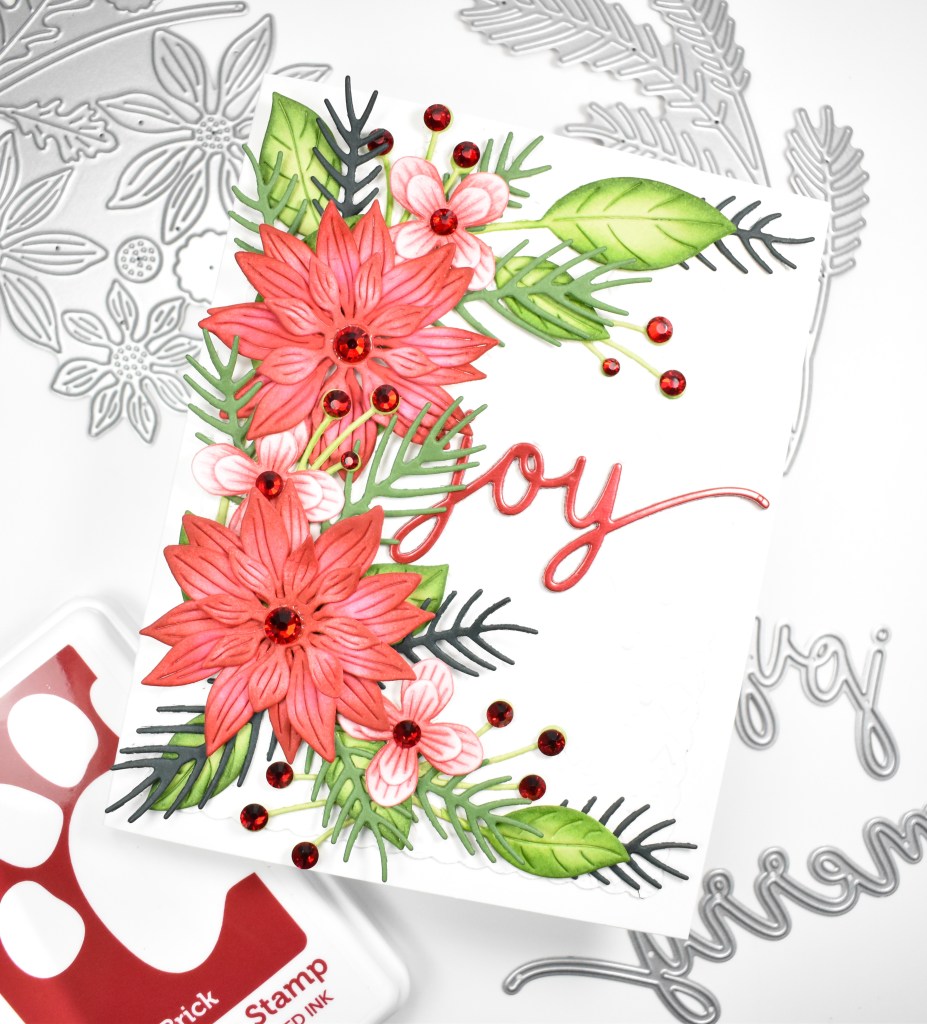
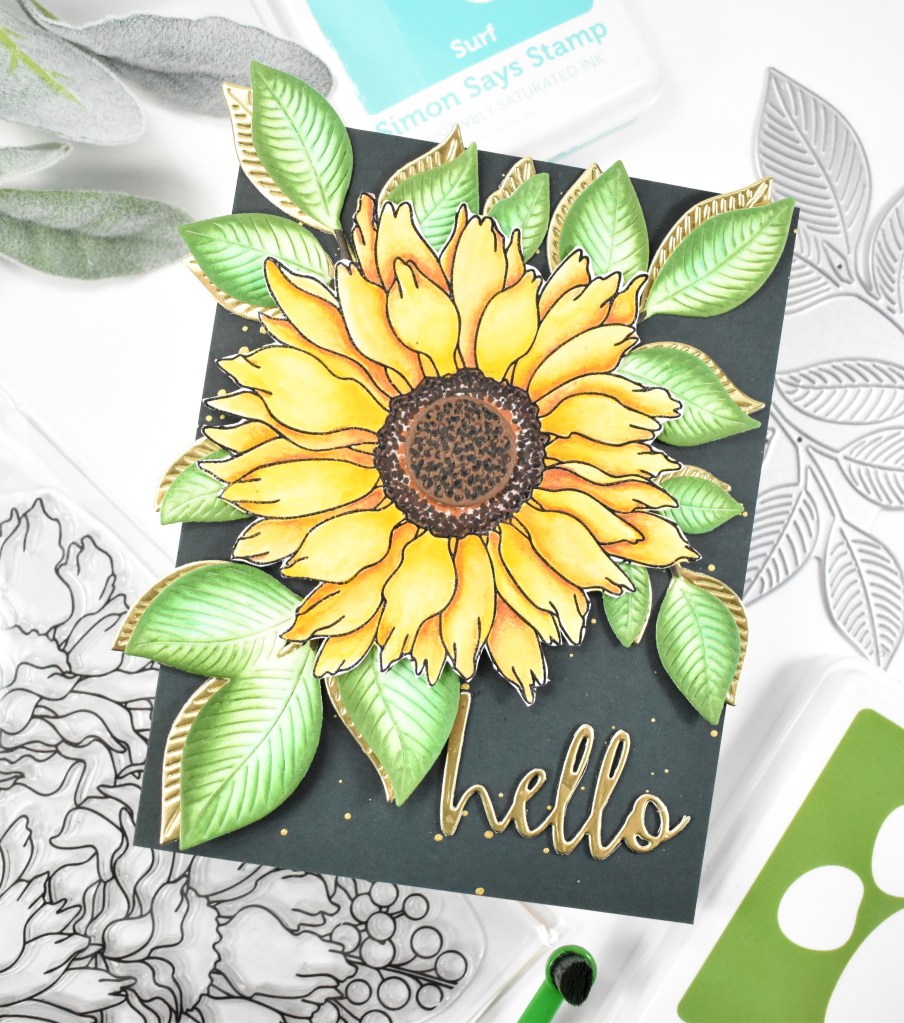
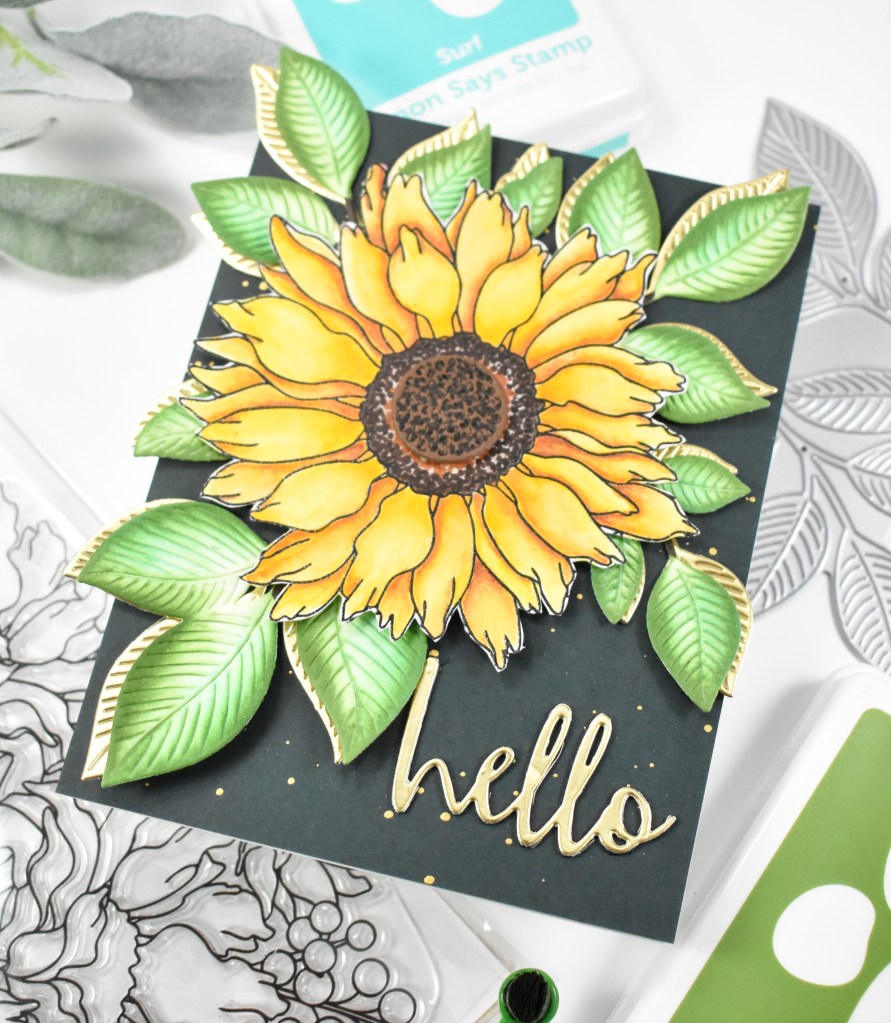
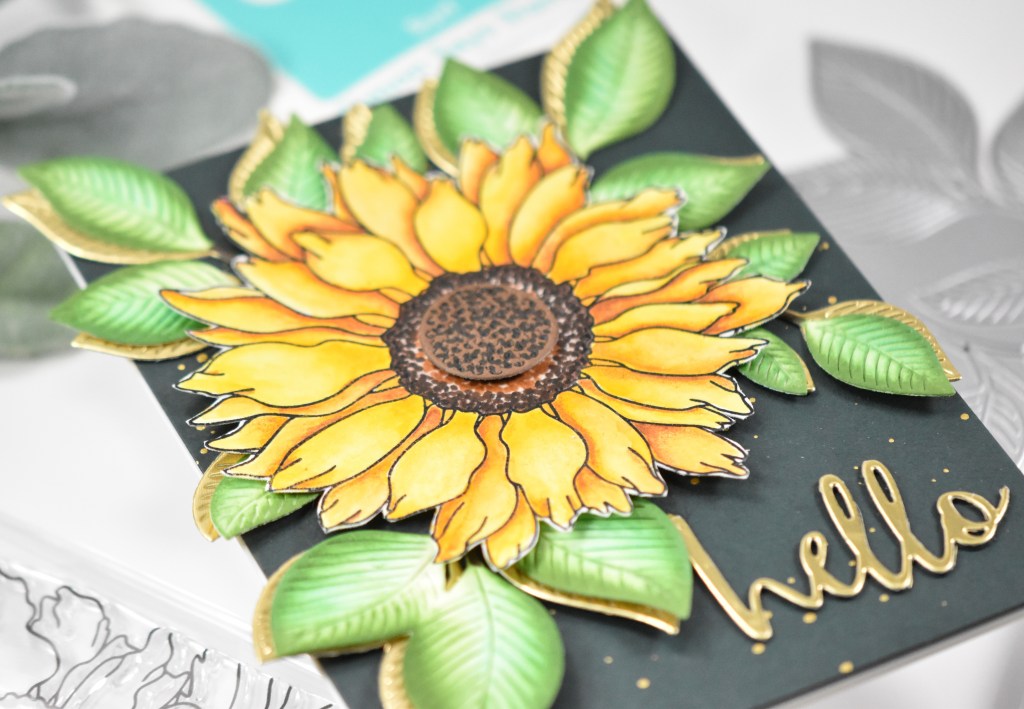
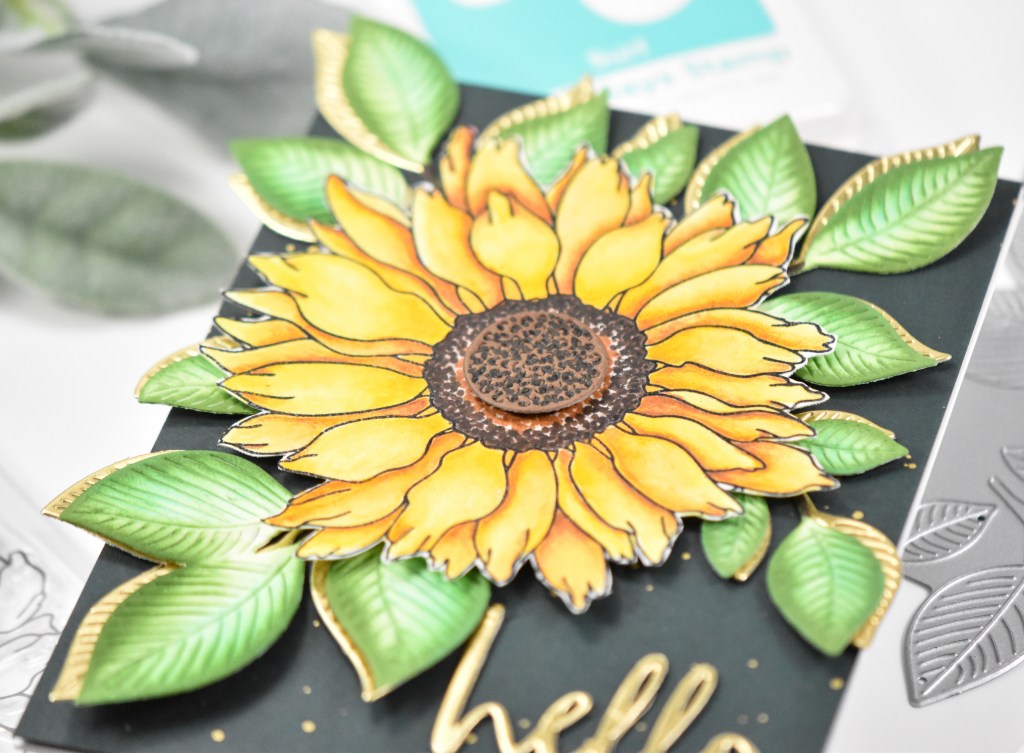
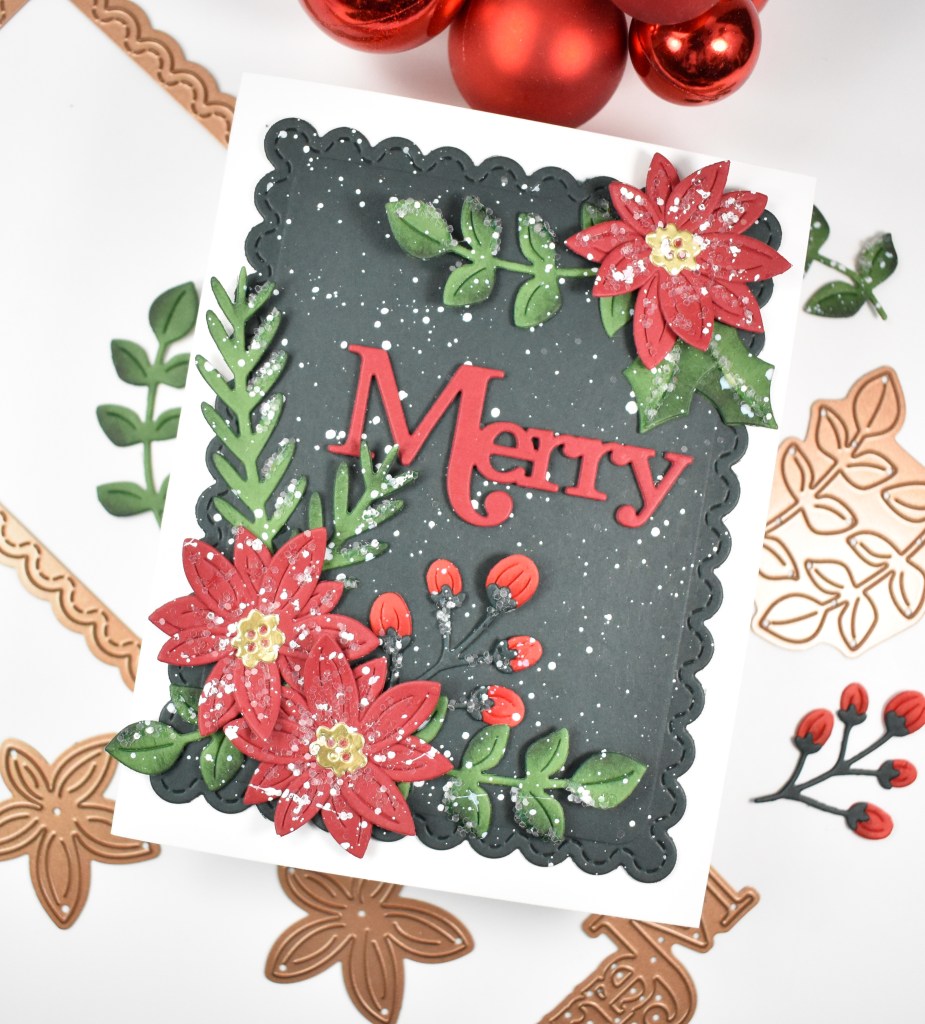
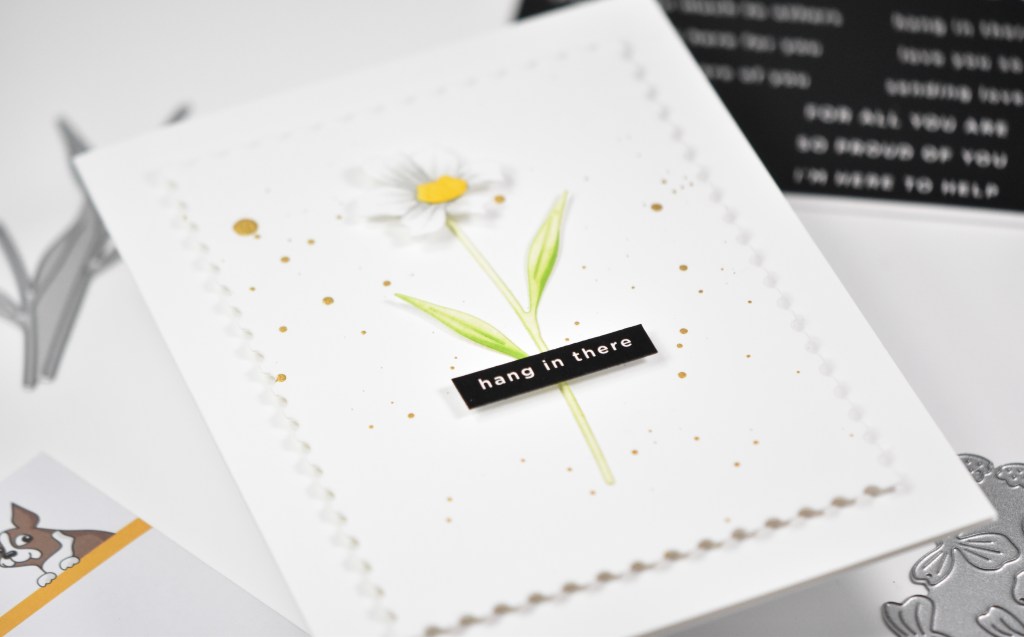
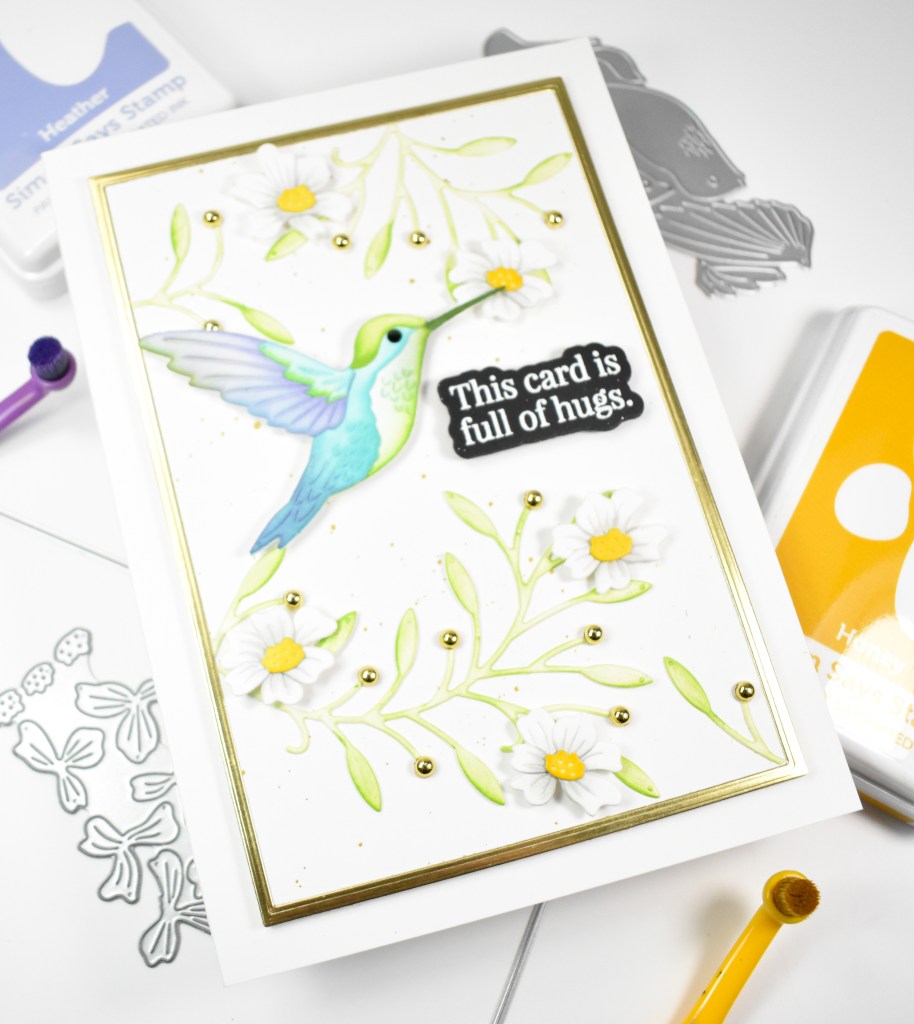
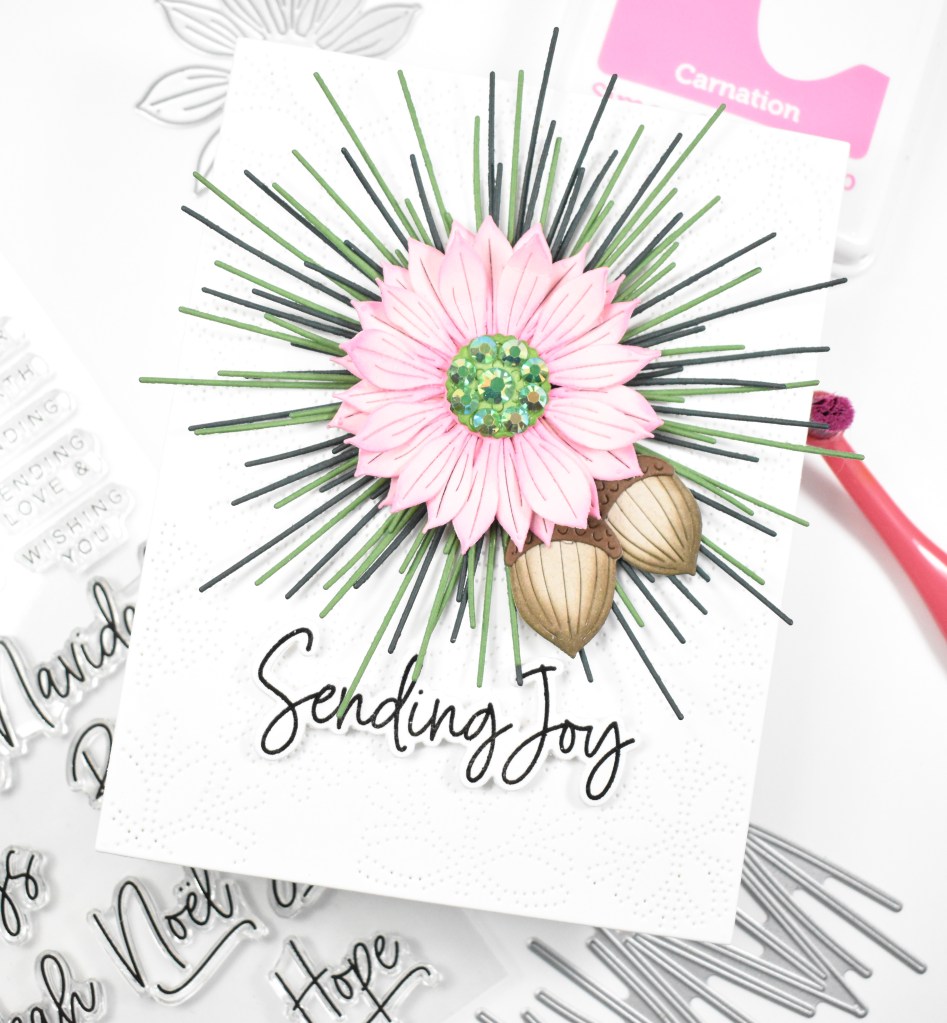
I began this project by die cutting the sprigs a bunch of times from Fern and Forest cardstock. I assembled the pieces and set them aside to dry while I worked on the rest of the card. I die cut the sunflower from pink cardstock three times and did some ink blending using Carnation ink. I cut the center of the flower from Green Apple cardstock and assembled all of those pieces together. For some interest and shine, I added some green gems to the center.
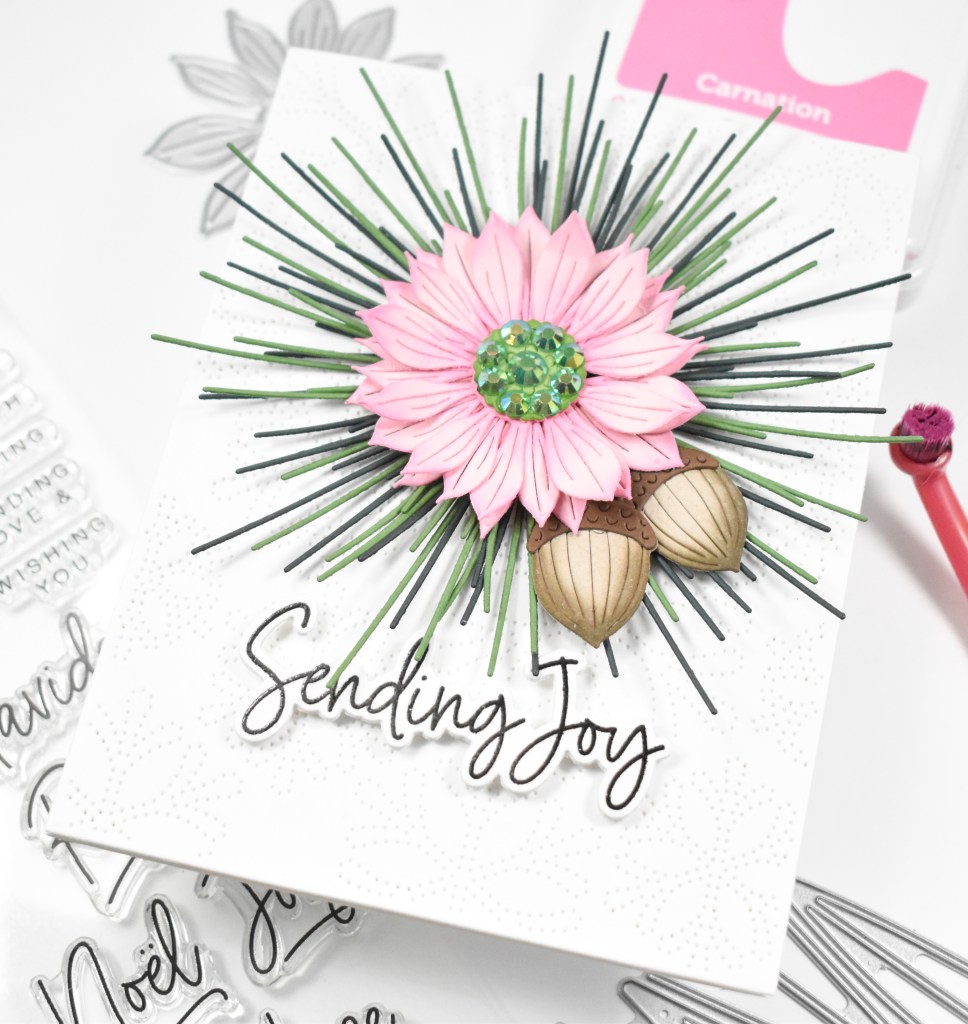
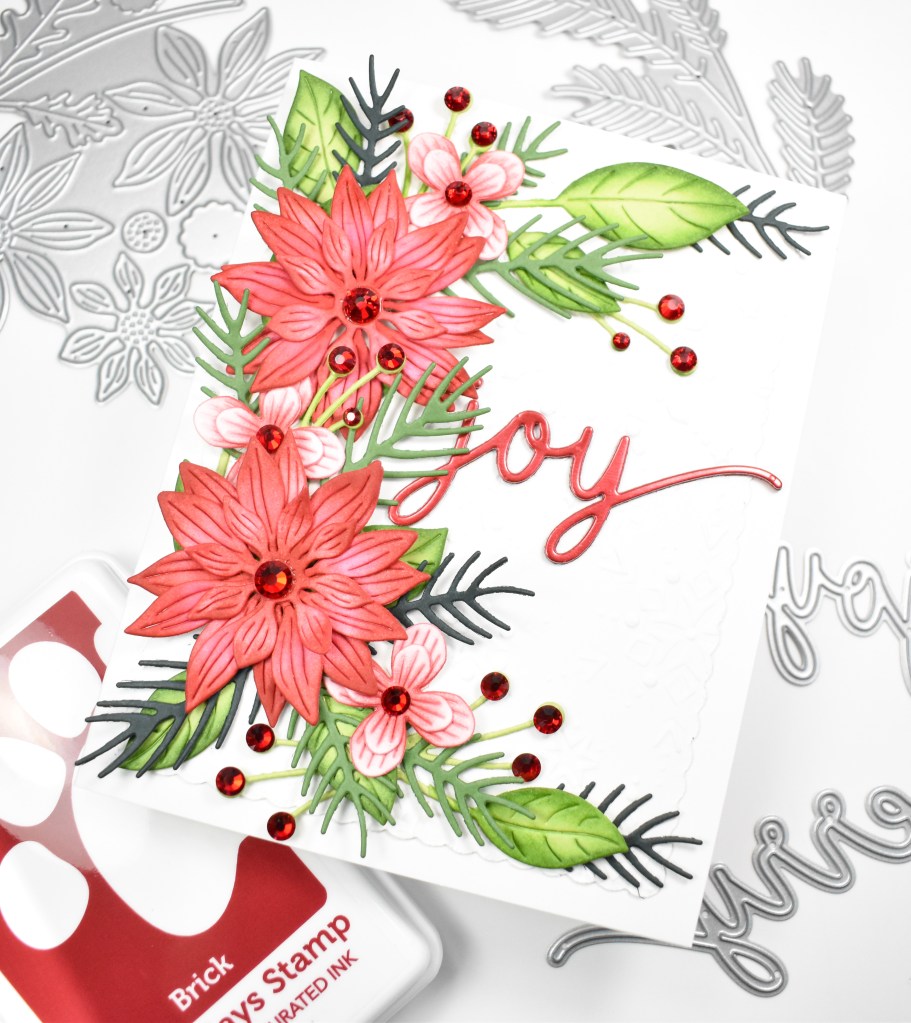
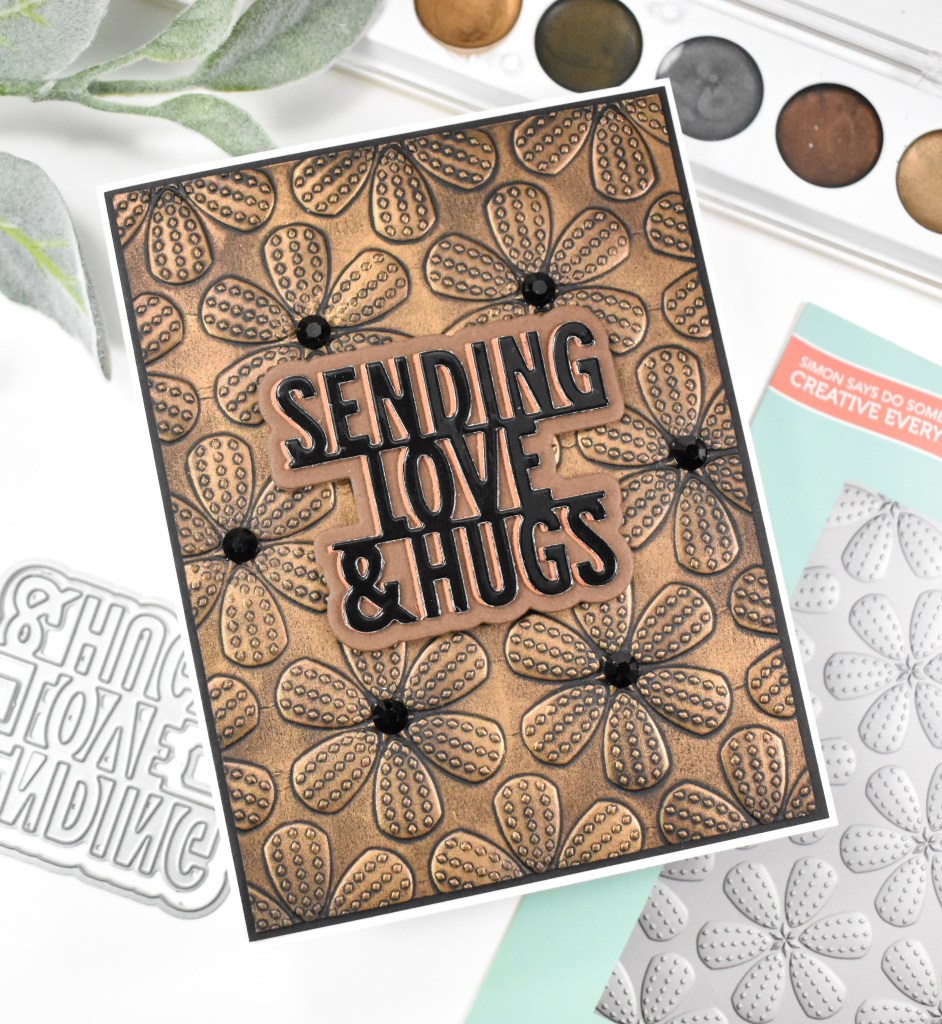
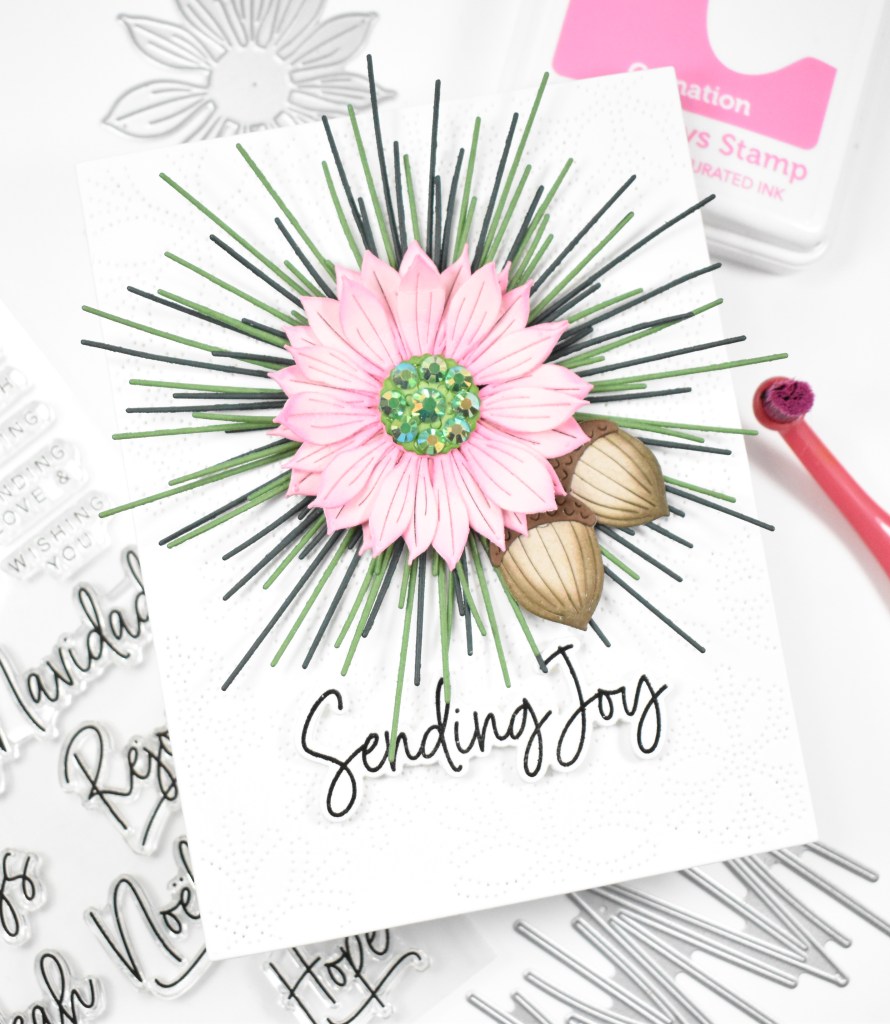
Now for the back story .. I had all of the assembled pin sprigs on my desk when I received a phone call from my daughter, so I sat playing with them and moving them around when they ended up in this starburst pattern and that’s how this particular design came to be. I had originally planned on just having them here and there around the flower, but I like this better! I die cut the Acorn Bundle from Desert Storm and chocolate and ink blended that using Mocha ink.

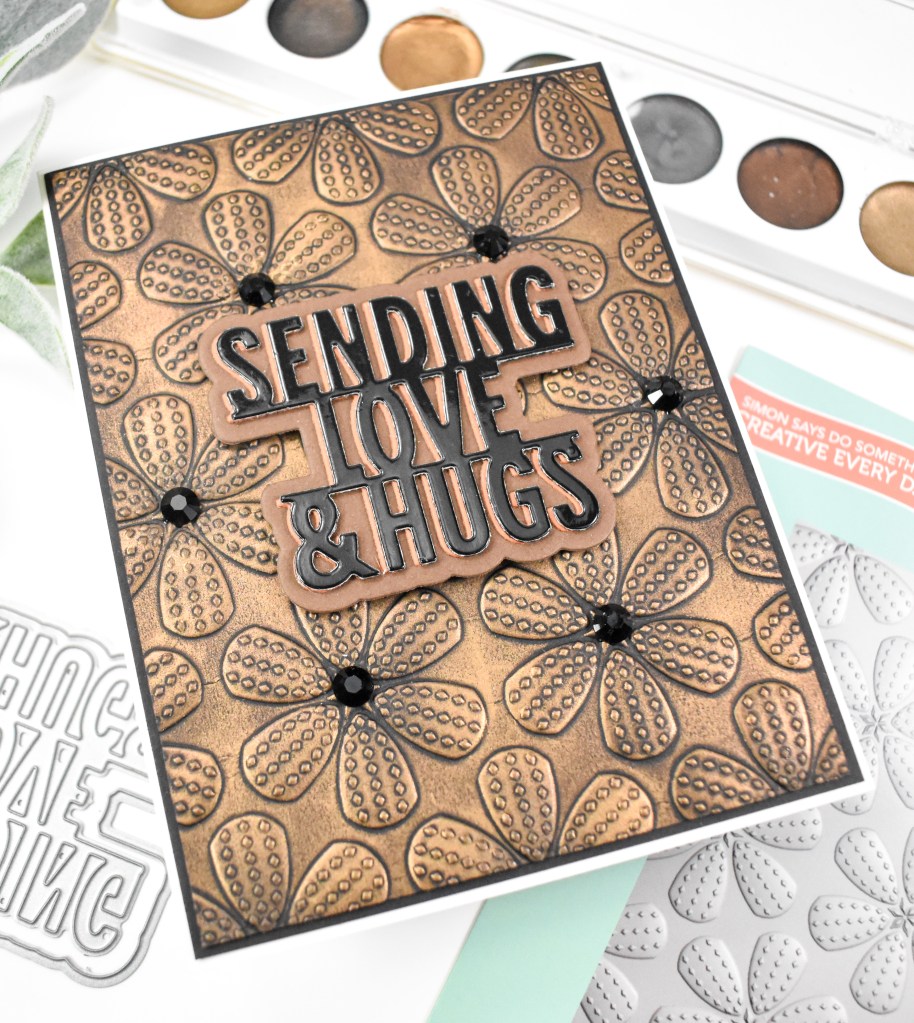
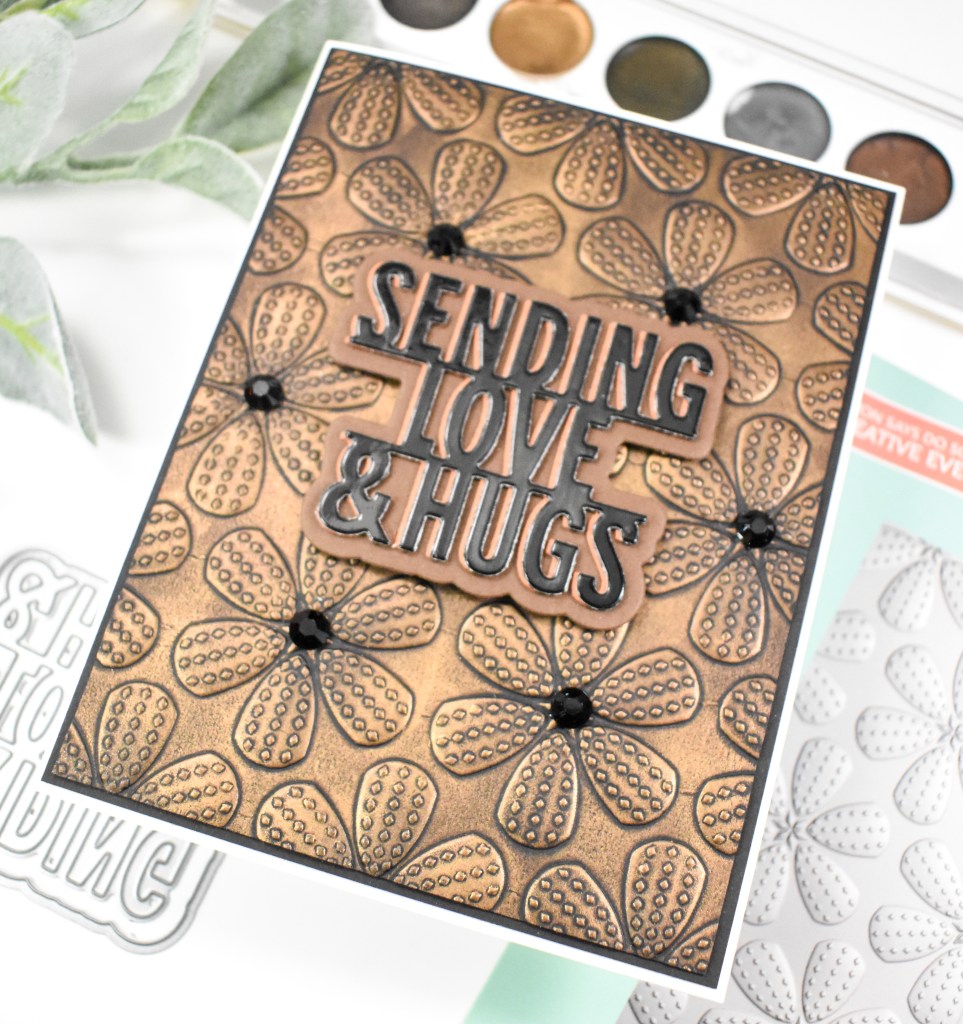
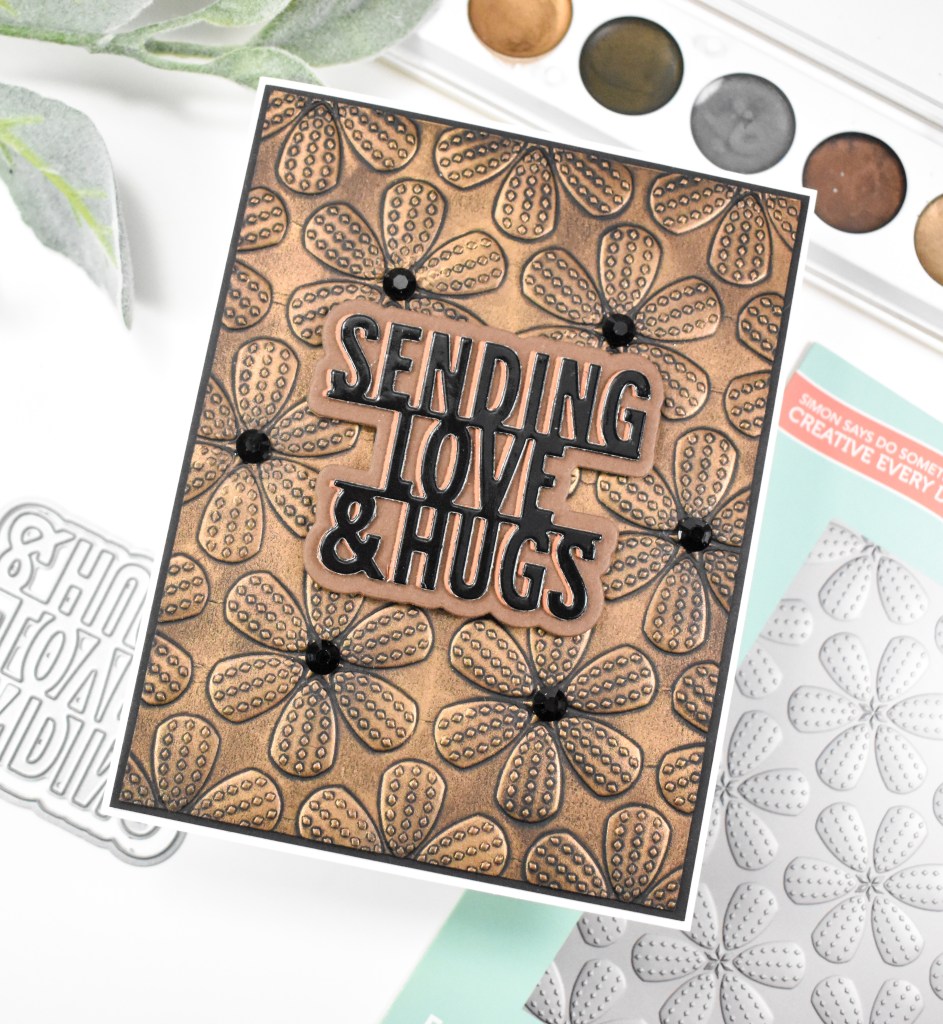
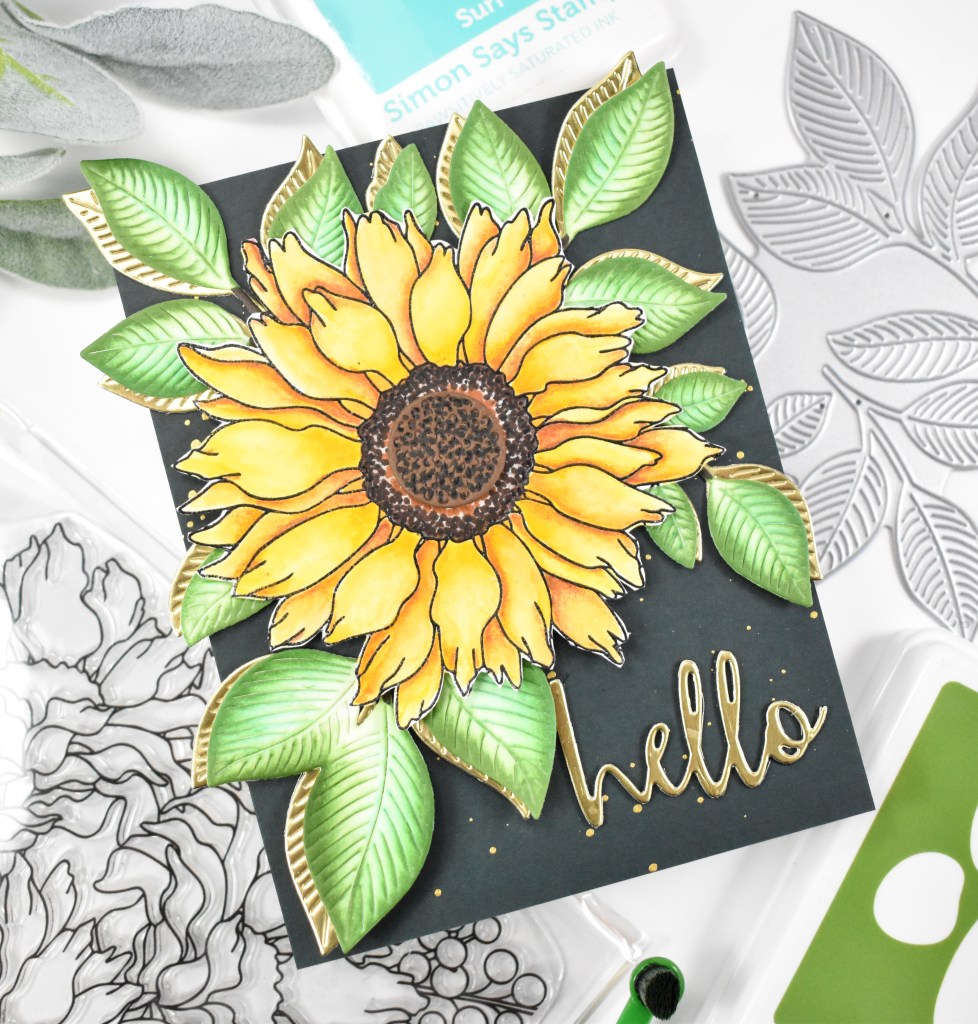
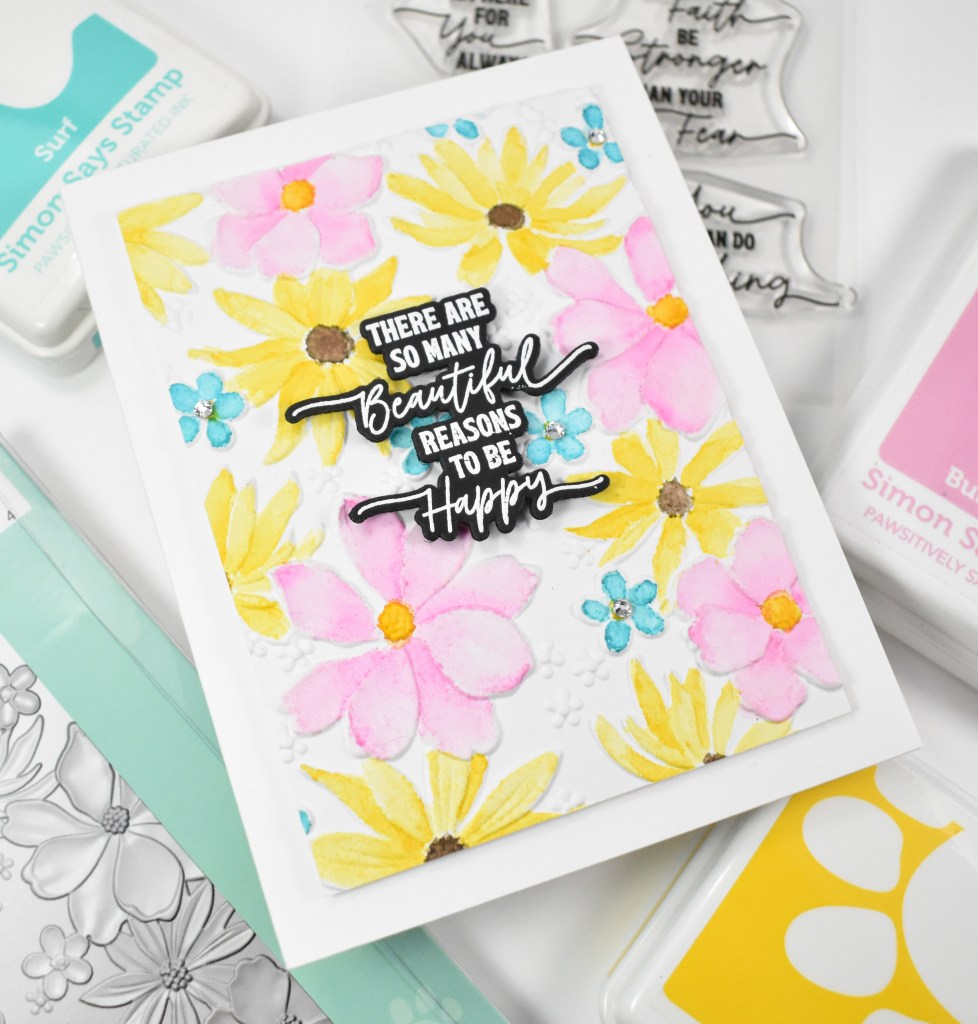
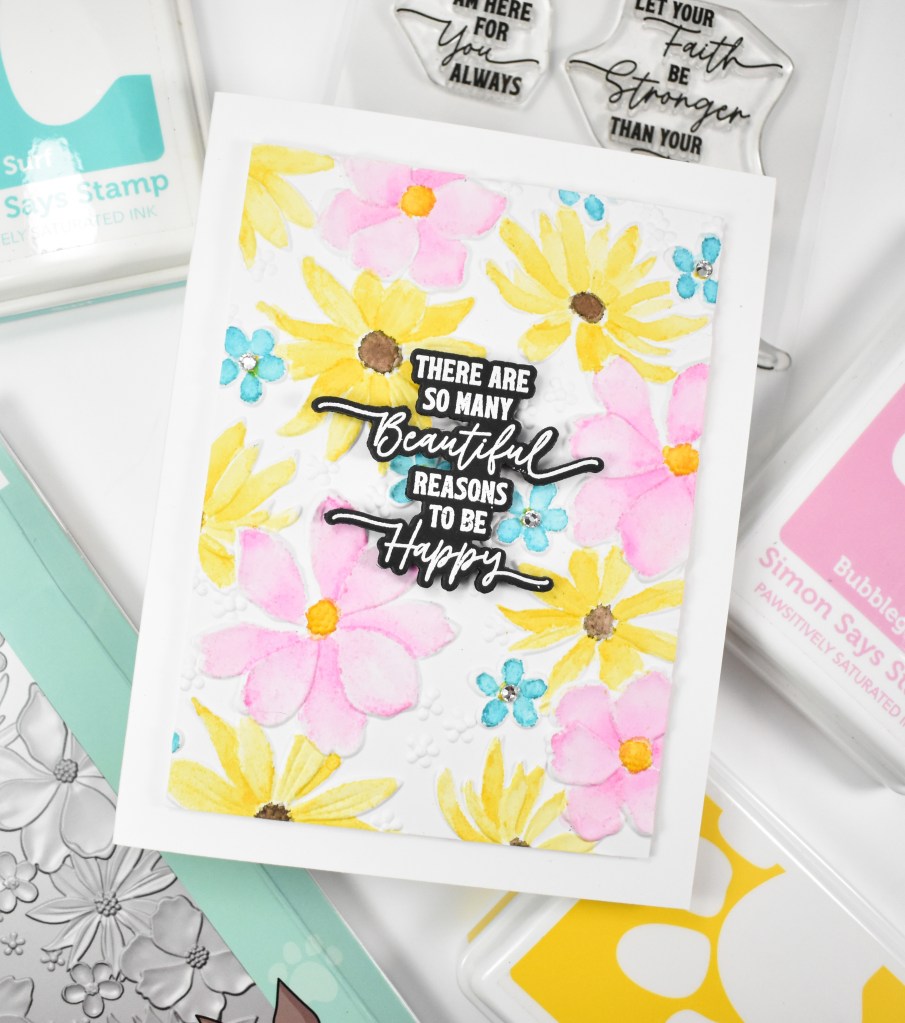
My background was created using the Snowflake Burst Pinpoint Plate and I adhered the sprigs in place using liquid glue, while the flower and acorns were adhered with foam tape. The sentiment was stamped using VersaFine Onyx Black and heat set using clear embossing powder. It was trimmed out using the coordinating die cut three times for a stacked sentiment. That was also added using foam strips to finish up.
That does it for this project. I hope you enjoyed it! I know this is technically a sunflower die cut, but I thought it was fine to use it as a poinsettia. What do you think? Don’t forget to check out the entire And Everything Nice release over on Simon’s website. Thanks again for stopping by, and I hope you have an awesome day!
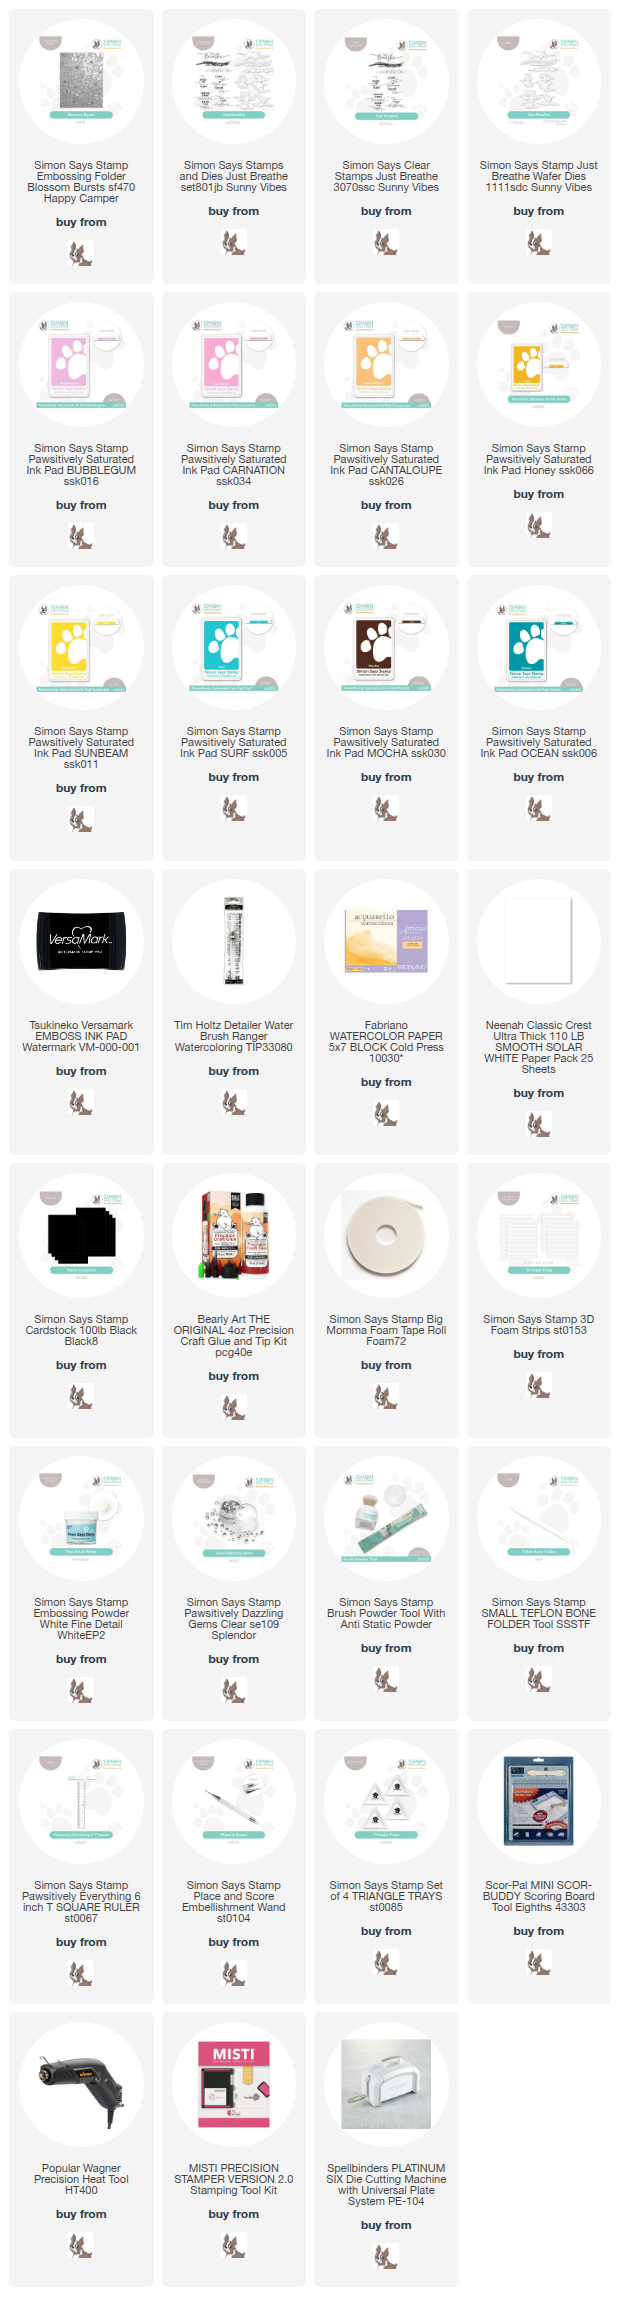
Supply List
Affiliate links used at no cost to you. What does this mean? If you use the links within this post to make a purchase, I receive a small commission, which allows me to continue to post crafty content for your enjoyment. I truly appreciate your support!
Latest Posts
- Simon Says Stamp Grungy Dewdrop Daisy

- Simon Says Stamp Pastel Birthday Wishes

- Simon Says Stamp Best Fish

- Simon Says Stamp Circle Thanks

- Simon Says Stamp Glowing Daisies
Latest Instagram Posts